Posts with «wearable computing» label

A multimeter heads-up display with Arduino glasses

With Alain Mauer’s Arduino glasses and a Bluetooth multimeter, electrical data is always in view!

If you’re in a job where you have to take readings inside a live electrical panel, one thing that’s inconvenient, and even dangerous at times, is having to look away from your hands to read your multimeter. With hopes of “making an engineer’s life easier and safer,” Mauer solved this problem using an Arduino Pro Micro and a BLE module to show data from a Bluetooth-enabled multimeter. Now he can see data on a display that looks similar to a Google Glass device. Perhaps this method could be expanded to other devices in the future!

If you’d like to build your own glasses, a description and 3D printing files can be found on Hackaday.io.

PIXIE is an Arduino-based NeoPixel watch

Not looking for a smartwatch? PIXIE is an Arduino-based NeoPixel wearable device that not only keeps time, but will also keep your geek cred intact.

You won’t find any numbers on this watch; instead, PIXIE uses LEDs to reveal the time–hours in blue, minutes in red, and seconds in green. Beyond that,  a capacitive touch switch on its strap will activate a flashlight mode.

In terms of electronics, PIXIE is equipped with an Arduino Pro Mini, an Adafruit NeoPixel Ring, a real-time clock module, and a few other components–all housed inside a simple cardboard box with a piece of transparent plexiglass.

Sound like you’d like around your wrist? Check out its Instructables page here.

This LED skirt will take your outfit to infinity and beyond

Redditor SexyCyborg–who you may recall from her Hikaru Skirt last year–is back with another Arduino-driven, open-source wearable project. Inspired by traditional Chinese armor, the aptly named Infinity Skirt features an array of LED-lit mirror tiles that together form a flexible, reconfigurable matrix. Safe to say, she’ll certainly turn some heads at this October’s Maker Faire Shenzhen.

Every tile measures 66mm on each edge, and has four magnetic electrical conductors that can link it to it’s neighboring tile. So long as each row and column gets power, there is endless variations that can be tried. With an Arduino and LED matrix controller, each individual tile can be controlled so complex patterns can play across the surface. This is just a first prototype though so all the lights get power continuously and there is no matrix control.

You can find more pictures of her build on Imgur, download all the skirt’s 3D files on Thingiverse, as well as read Adafruit’s original article here.

Kick the habit with a cigarette smoke-detecting shirt

You’ve heard it before, smoking is bad for your health. However, despite the countless warnings, millions of people continue to use cigarettes–including 7th grade student Petter’s dad. Mindful of this, the young Maker came up with a new way to shame smokers into quitting.

The aptly named “Cigarette Smoke Detecting Shirt” consists of an Arduino LilyPad, a smoke sensor, and three LED sequins, all sewn into the t-shirt using conductive thread. When cigarette smoke is sensed, one of three different lights illuminate alongside a message to embarrass the wearer such as “stinky breath,” “yellow teeth,” or “lung cancer.”

In the future, Petter hopes to finish the prototype and start making more shirts to sell on Etsy. Whether or not this idea takes off, it’s pretty cool nonetheless. As Adafruit puts it, “This is such a fine example of a project that works on an issue and gets students excited about STEM.”

Cosmic Bitcasting is a wearable radiation detector

Cosmic Bitcasting is a digital art and science project emerging from the idea of connecting the human body with the cosmos by creating a wearable device with embedded light, sound and vibration that will provide sensory information on the invisible cosmic radiation that surrounds us. This open-source project actually works by detecting secondary muons generated by cosmic rays hitting the Earth’s atmosphere that pass through the body.

Artist Afroditi Psarra and experimental physicist Cécile Lapoire worked together to develop a prototype of the wearable cosmic ray detector during a one-month residency at Etopia in Zaragoza, and is currently on display at the Etopia-Center for Art and Technology in Zaragoza as part of the exhibition REVERBERADAS.

Cosmic Bitcasting is comprised of an Arduino Lilypad, High Flex 3981 7×1 fach Kupfer blank conductive thread from Karl Grimm, Pure Copper Polyester Taffeta Fabric by Less EMF, white SMD LEDs, a coin cell vibration motor, and an IRL3103 MOSFET with a 100 Ohm resistor to drive the motor.

Intrigued? Take a look at the video below and read the diary of the residency to learn more!


Wear a connected hoodie that displays tweets and text

Let’s face it, developers and programmers love their hoodies. That’s why last fall, a few members of the FirstBuild team built a connected sweatshirt capable of displaying text and tweets with a specific hashtag.

The hoodie is equipped with a Blend Micro board and a 16 x 32 LED matrix panel with a plastic overlay that’s sewn into a cutout on the front of the shirt. The system connects with a smartphone over Bluetooth to reveal the message, though in the future its creators hope to add animated GIFs.

Power is supplied through a USB battery placed inside a wearer’s pants or the hoodie’s pocket, in which case a USB cable can simply run from the Blend Micro. Ready to turn some heads as you walk down the street? You can check out FirstBuild’s entire project step-by-step here.

Wearable device gives you an extra robotic hand

Have you ever thought about what it’d be like to have a few extra fingers? Sang-won Leigh has, which is why he has developed programmable robotic joints that are worn around your wrist to instantly give you an extra pinky, a third thumb, or even another hand. These cyborg-like devices, called Robotic Symbionts, consist of 11 motors that can detect brain signals sent to the forearm’s brachioradialis muscle and rearrange themselves to suit different tasks. Since these muscles aren’t used to move your human hand, anyone can learn to employ their Robotic Symbiont fairly quick.

According to its paper, the motors are linked together using LEGO parts, each of them with a 180-degree motion range. Cables from each motor are connected to an Arduino.

Physical interfaces with actuation capability enable the design of wearable devices that augment human physical capabilities. Extra machine joints integrated to our biological body may allow us to achieve additional skills through programmatic reconfiguration of the joints. To that end, we present a wearable multi-joint interface that offers “synergistic interactions” by providing additional fingers, structural supports, and physical user interfaces. Motions of the machine joints can be controlled via interfacing with our muscle signals, as a direct extension of our body.

What’s neat is that the robotic joints are controlled independently from the wearer’s actual hand and can be configured for various use cases, such as a grip to hold things below the wrist, a palm to grab large objects, an extra thumb to flip a page of a book while holding it open, a support for note taking, or even a joystick for computer games. You can read all about the project here.

(Photo: MIT’s Fluid Interfaces Group)

Make your first wearable with Arduino Gemma

Like the LilyPad Arduino boards, the Arduino Gemma is designed to create interactive projects you can wear. It can be sewn into clothing and other fabric with conductive thread and be connected to sensors and actuators.

After you explored the Getting Started page and learn how to move the first steps with it, it’s time to explore its features with a real project.

Becky Stern from Adafruit recently created a tutorial for making a vibrating mindfulness bracelet and learn the basics of wearables with Gemma! It’s like that “stand up every hour” feature you find on smart watches, but DIY.

The guide shows you how to solder up the circuit using an Arduino Gemma microcontroller, small pager motor, as well as how to whip up a cute linked leather bracelet to hold everything.

Build yourself a buzzing bracelet for subtle haptic feedback as time passes! It’s great for reminding yourself to get up and walk away from your desk for a few minutes each hour, or just as a way to have a new awareness of how the perception of passing time varies based on what you’re doing.

You’ll whip up a vibrating motor circuit using a transistor, resistor, and diode, and use GEMMA to control the frequency of vibration in between low-power microcontroller naps. The circuit lives inside a linked leather/rubber bracelet, but you could build it into whatever you please. This project involves some precision soldering, but is otherwise quite easy!

Read the bill of materials, follow the steps and create your Buzzing Mindfulness Bracelet on Adafruit.

Announcing a wearable collaboration with Adafruit: Arduino Gemma

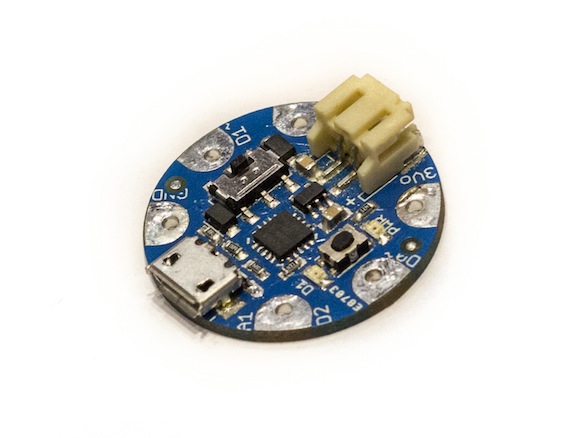
Arduino Gemma preview – Final board coming late autumn

During his saturday morning presentation at Maker Faire Rome, Massimo Banzi gave a preview of a new collaboration and a new board: Adafruit Gemma becomes officially Arduino Gemma, a tiny but powerful wearable microcontroller board in a 27mm diameter package.

Powered by an Attiny85 and programmable with the Arduino IDE over USB, anyone will be able to easily create wearable projects with all the advantages of being part of the Arduino family. The board will be default-supported in the Arduino IDE, equipped with an on/off switch and a microUSB connector.


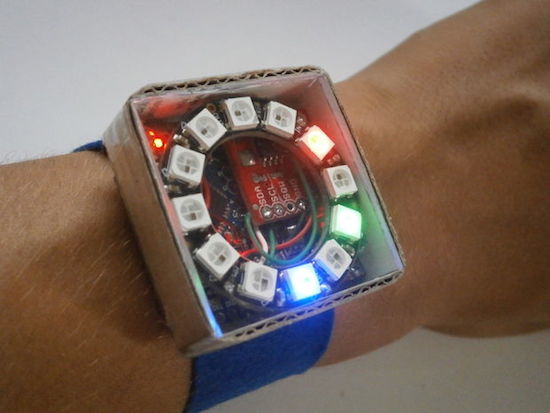
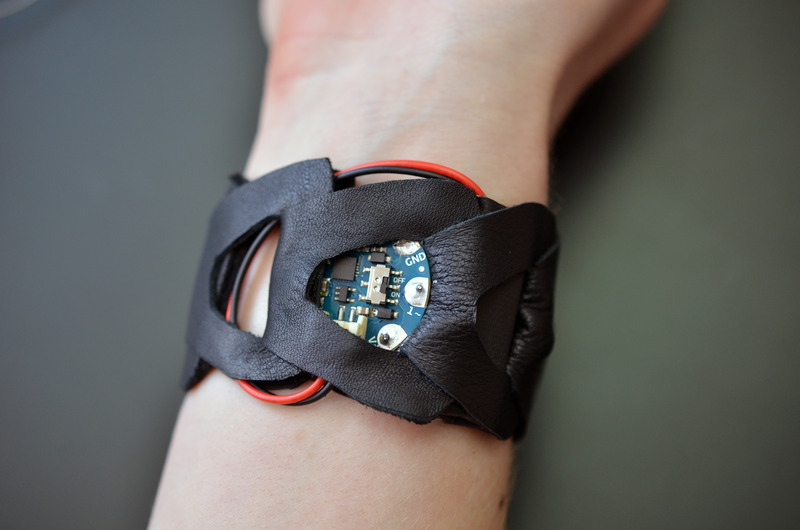
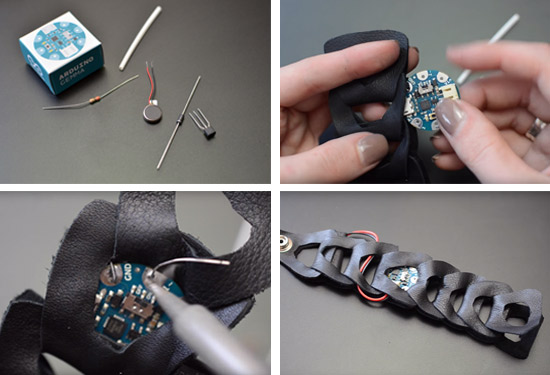
The Attiny85 is a great processor because despite being so small, it has 8K of flash and 5 I/O pins, including analog inputs and PWM ‘analog’ outputs. It was designed with a USB bootloader so you can plug it into any computer and reprogram it over a USB port (it uses 2 of the 5 I/O pins, leaving you with 3). Ideal for small & simple projects sewn with conductive thread, the Arduino Gemma fits the needs of most of entry-level wearable creations including reading sensors and driving addressable LED pixels.
After the fruitful joint effort developing Arduino Micro, once more the Arduino Gemma has been developed in collaboration with Adafruit Industries, one of the main leaders of the Maker movement. Arduino Gemma will be available for purchase on the Arduino Store and Adafruit Industries starting late autumn 2014.

Technical specifications:
Microcontroller: ATtiny85
Operating Voltage: 3.3V
Input Voltage (recommended): 4-16V via battery port
Input Voltage (limits): 3-18V
Digital I/O Pins: 3
PWM Channels: 2
Analog Input Channels: 1
DC Current per I/O Pin: 40 mA
DC Current for 3.3V Pin: 150 mA
Flash Memory: 8 KB (ATtiny85) of which 2.5 KB used by bootloader
SRAM: 0.5 KB (ATtiny85)
EEPROM: 0.5 KB (ATtiny85)
Clock Speed: 8 MHz
MicroUSB for USB Bootloader
JST 2-PH for external battery