Posts with «uno» label

Modernizing a 170 year old Antique Grandfather Clock

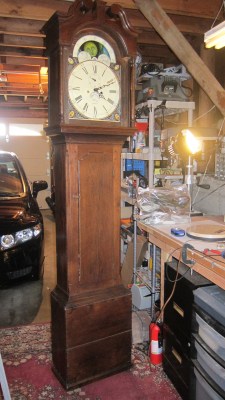
Frankly, we let out a yelp of despair when we read this in the tip line “Antique Grandfather clock with Arduino insides“! But before you too roll your eyes, groan, or post snark, do check out [David Henshaw]’s amazing blog post on how he spent almost eight months working on the conversion.

Before you jump to any conclusions about his credentials, we must point out that [David] is an ace hacker who has been building electronic clocks for a long time. In this project, he takes the antique grandfather clock from 1847, and puts inside it a new movement built from Meccano pieces, stepper motors, hall sensors, LEDs, an Arduino and lots of breadboard and jumper wires while making sure that it still looks and sounds as close to the original as possible.
He starts off by building a custom electro-mechanical clock movement, and since he’s planning as he progresses, meccano, breadboard and jumper wires were the way to go. Hot glue helps preserve sanity by keeping all the jumper wires in place. To interface with all of the peripherals in the clock, he decided to use a bank of shift registers driven from a regular Arduino Uno. The more expensive DS3231 RTC module ensures better accuracy compared to the cheaper DS1307 or similar clones. A bank of RGB LEDs acts as an annunciator panel inside the clock to help provide various status indications. The mechanical movement itself went through several iterations to get the time display working with a smooth movement of the hands. Besides displaying time, [David] also added a moon phase indicator dial. A five-rod chime is struck using a stepper motor driven cam and a separate solenoid is used to pull and release three chime hammers simultaneously to generate the loud gong sounds.

And here’s the amazing part – he did all of this before laying his hands on the actual grandfather clock – which was shipped to him in California from an antique clock specialist in England and took two months to arrive. [David] ordered just the clock housing, dial/face and external parts, with none of the original inner mechanism. Once he received it, his custom clock-work assembly needed some more tweaking to get all the positions right for the various hands and dials. A clock like this without its typical “ticktock” sound would be pretty lame, so [David] used a pair of solenoids to provide the sound effect, with each one being turned on for a different duration to produce the characteristic ticktock.

At the end of eight months, the result – christened Judge – was pretty satisfying. Check the video below to judge the Judge for yourself. If you would like to see some more of [David]’s clockwork, check out Dottie the Flip Dot Clock and A Reel to Reel Clock.


Filed under: Arduino Hacks, clock hacks

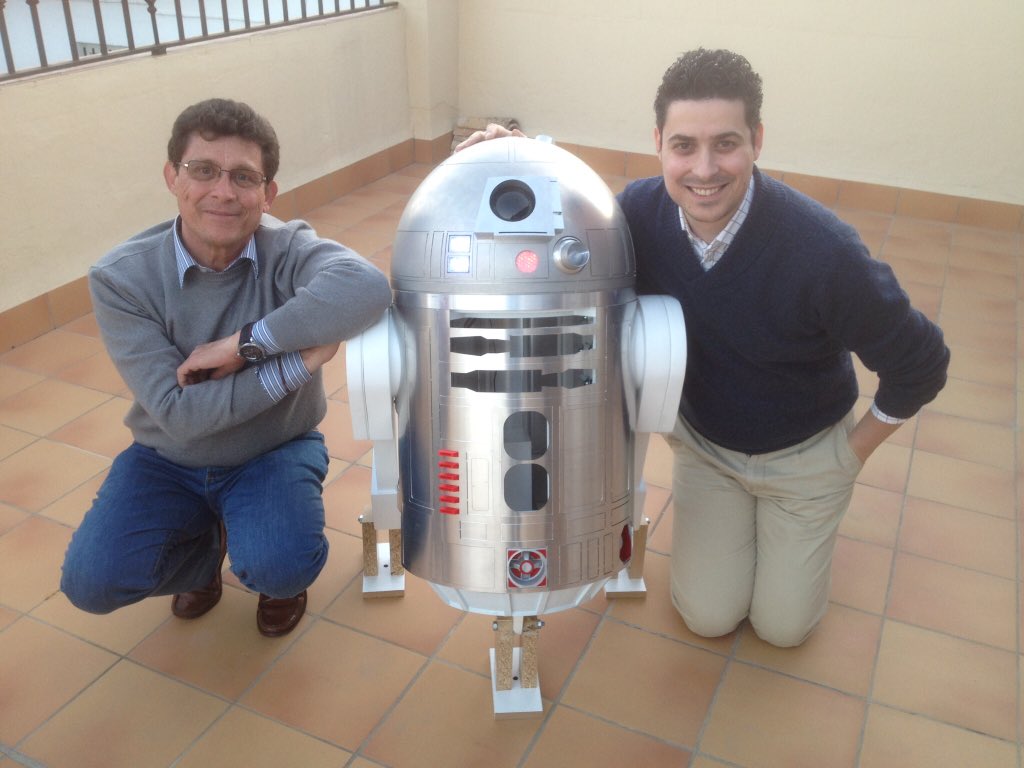
Star Wars fan builds an Arduino-powered R4-P17 replica

Alejandro Clavijo, together with his father Jerónimo, spent two years building the first official fan-made model of the R4-P17 Star Wars droid. For those not familiar with this family of droids, R4-P17 was the robot companion to the young Obi-Wan Kenobi.

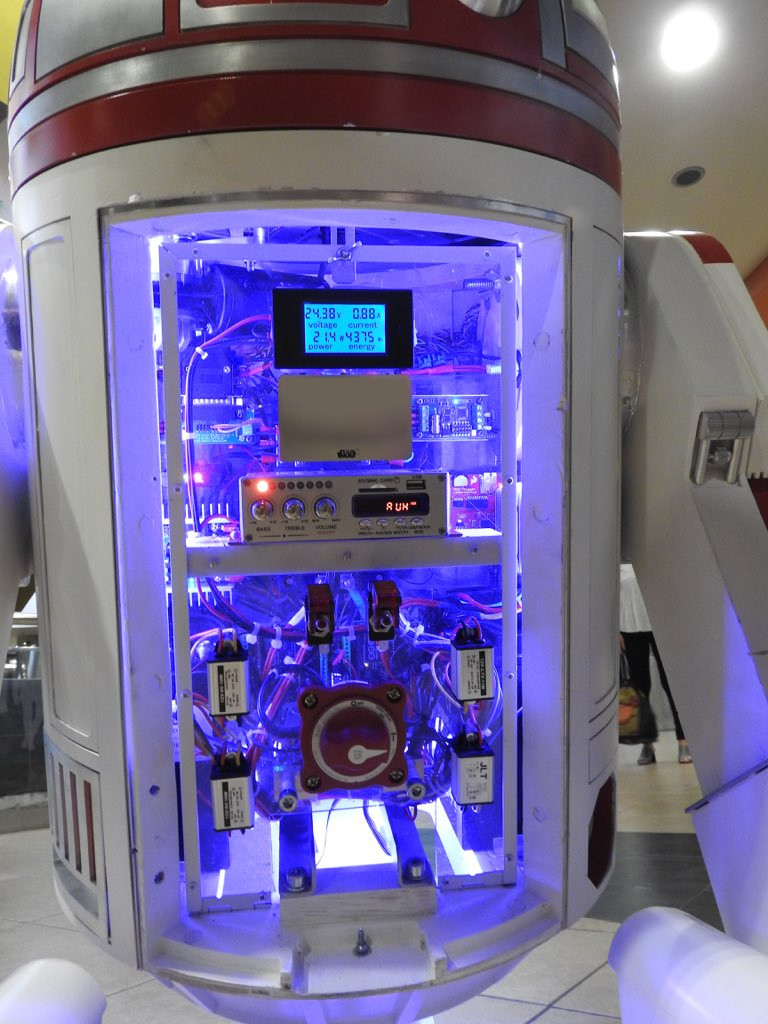
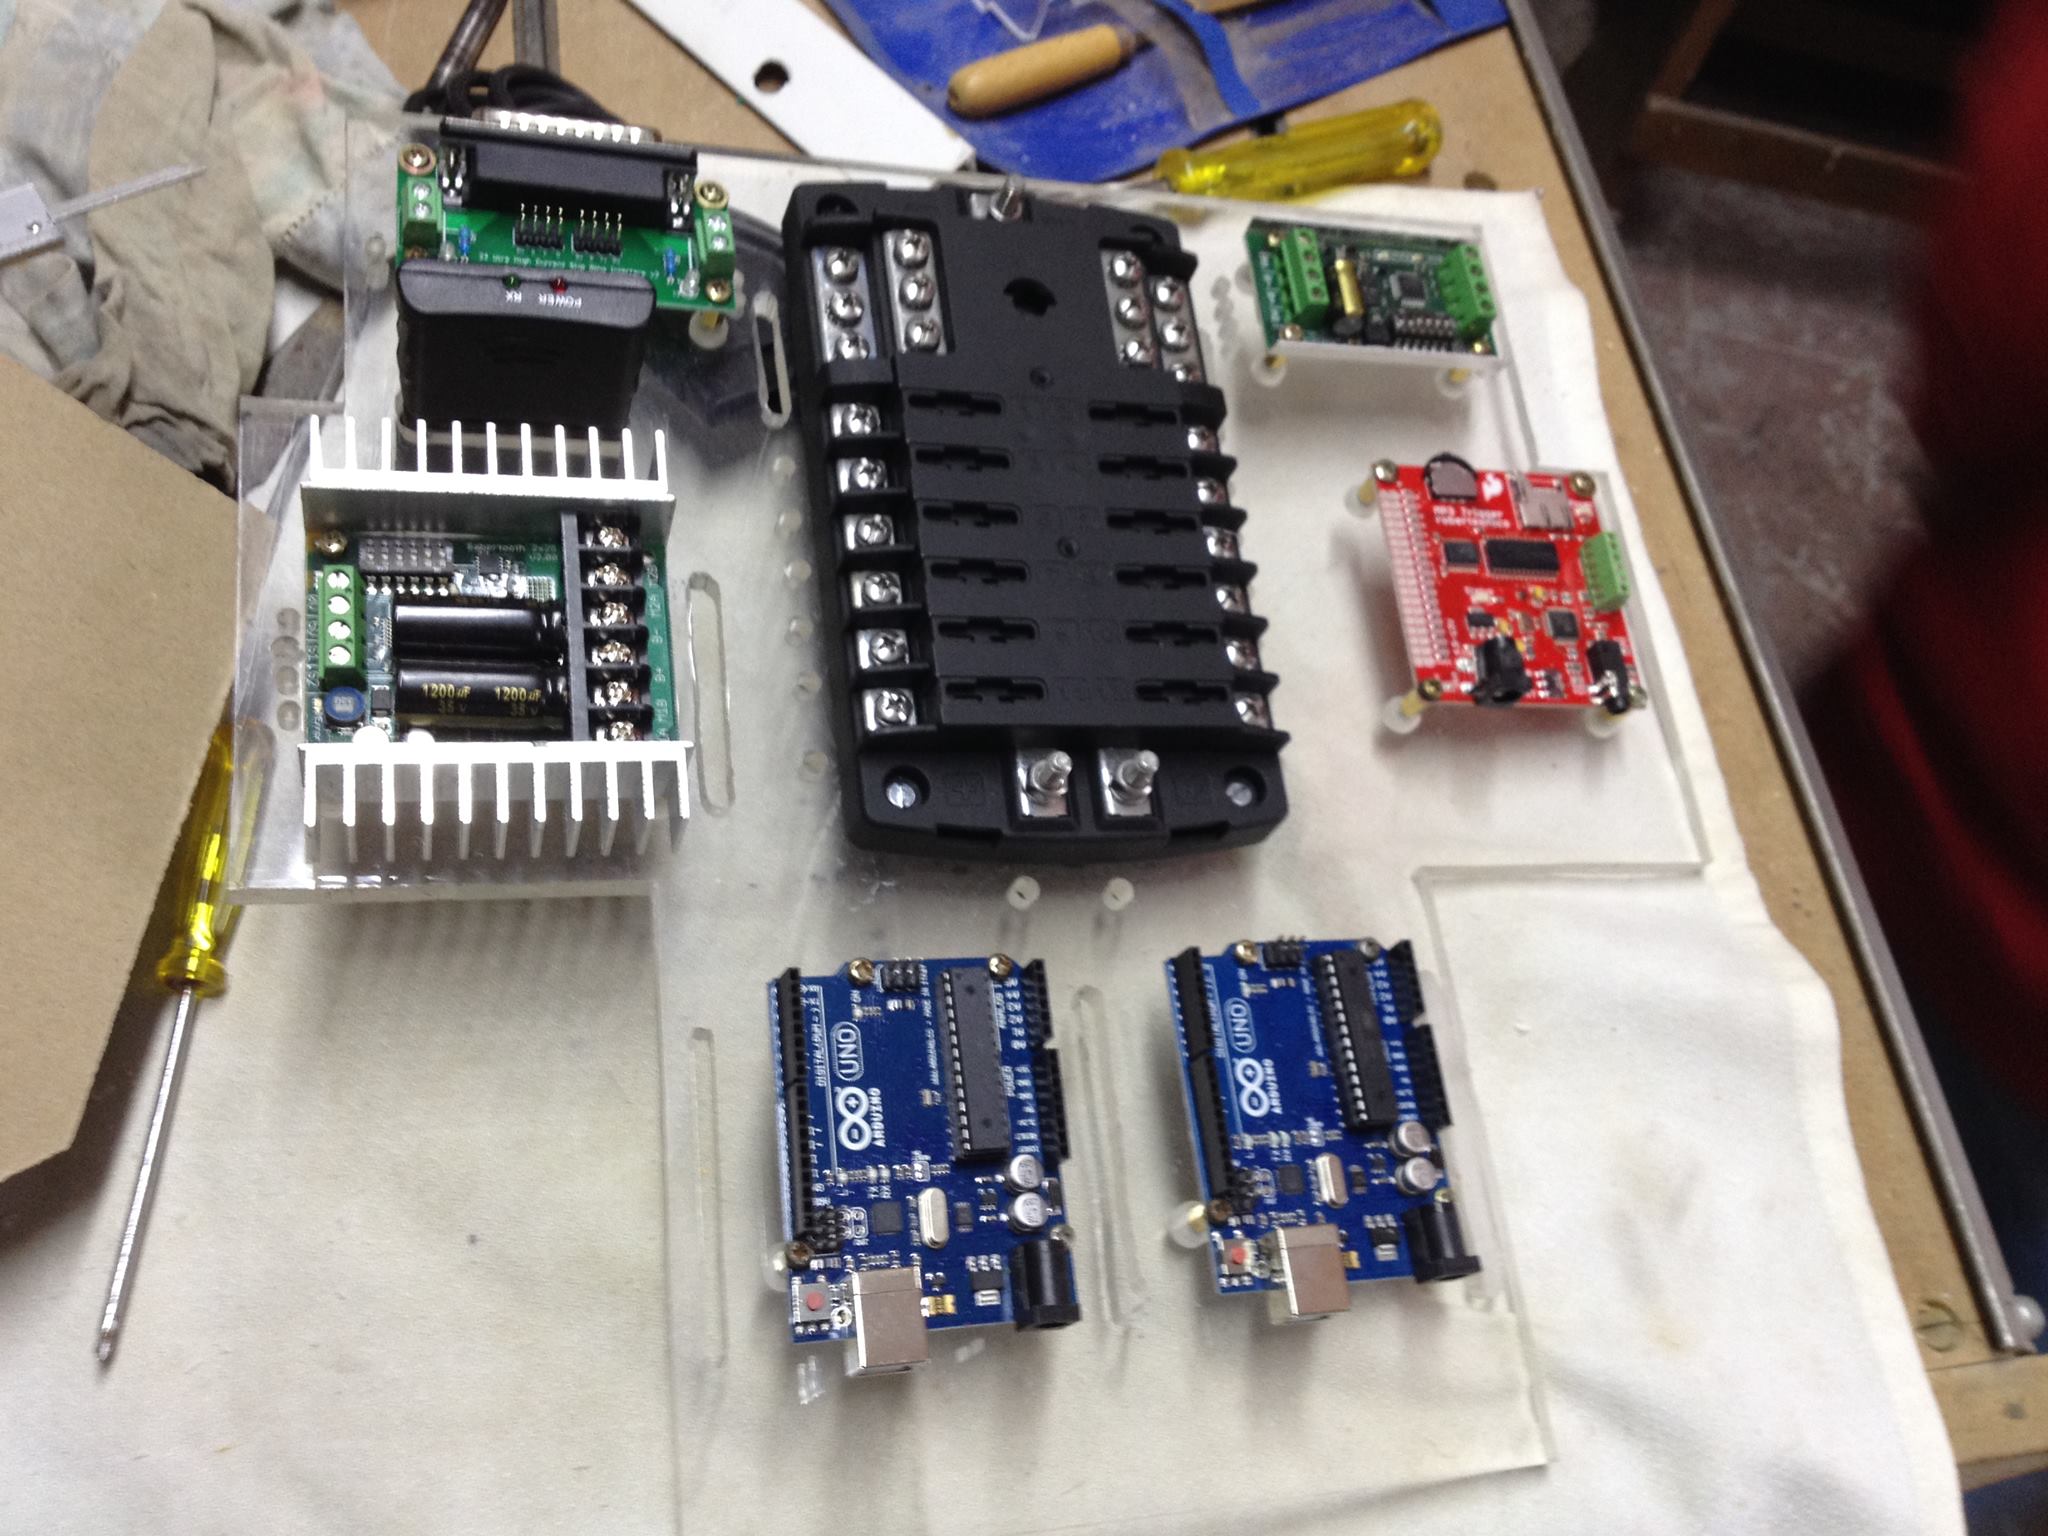
The replica is made of aluminum and wood, and runs on four Arduino boards. Impressively, the project has also been approved by Lucasfilm, the studio behind the saga, allowing Clavijo to bring it to official Star Wars events all over the world.

Clavijo sent us a bunch photos showing R4-P17’s construction, and more can be found over on its website. As you can imagine, the robot has been a big hit, already making several appearances on TV and in a number of blogs.

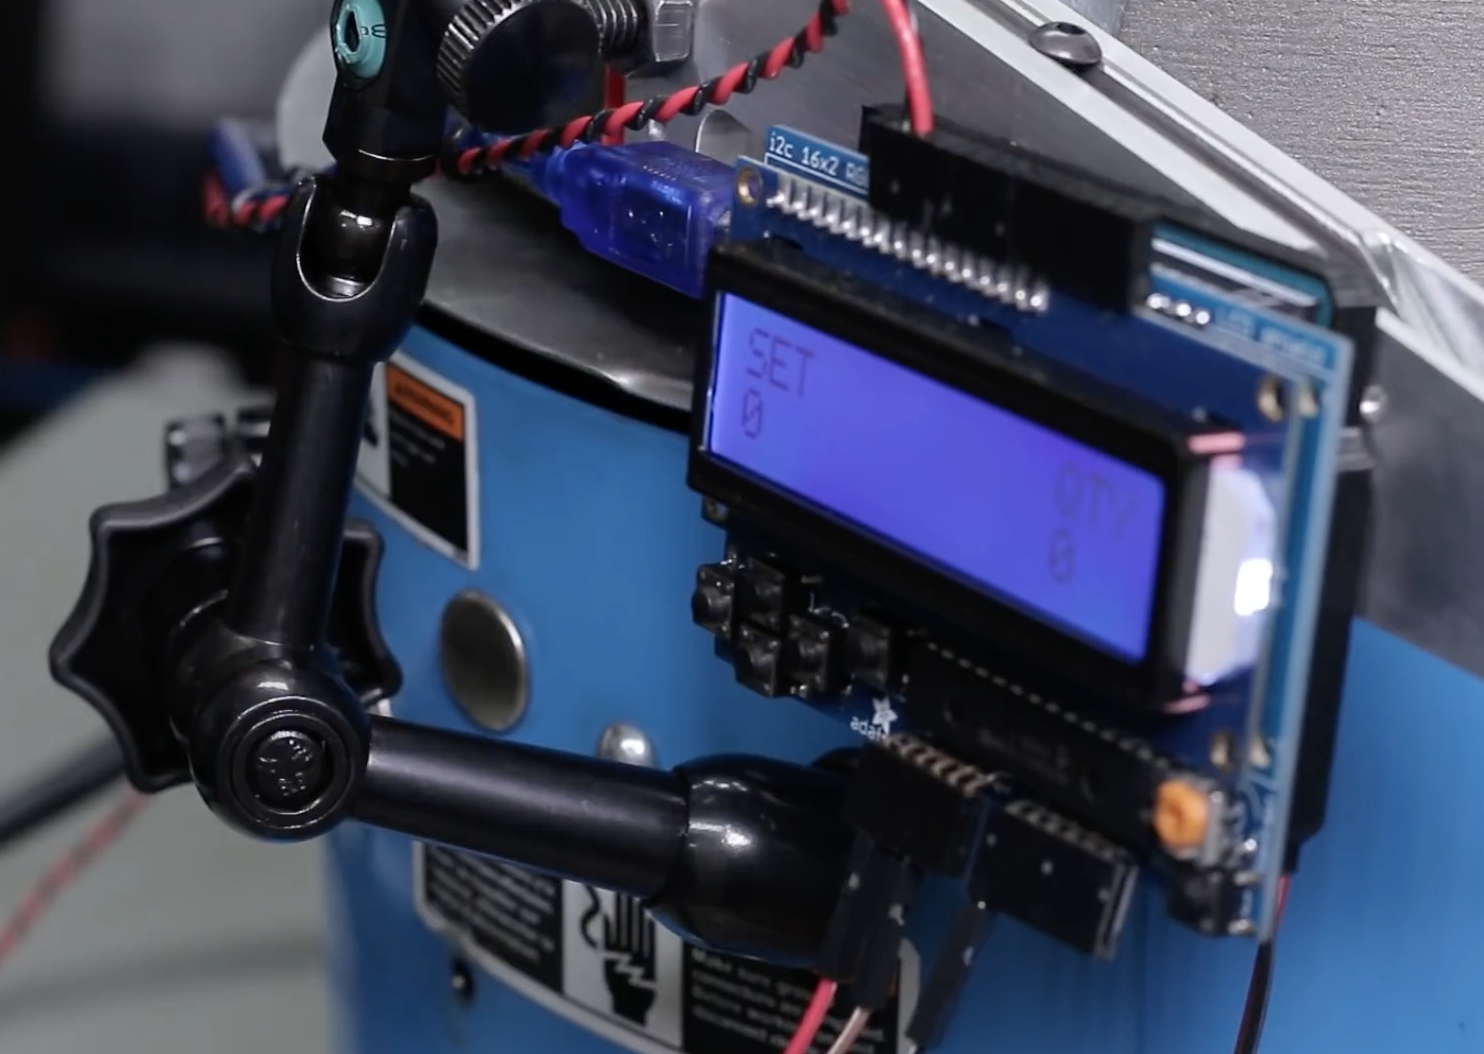
When not recreating Star Wars characters, Clavijo spends his days working as an engineer and has designed controls for “clean rooms” using Arduino Uno. You can see his design–made with CATIA–on Thingiverse.

Arduino Blog 13 Nov 19:40

Simple Computer Gesture Control with Arduino and Python

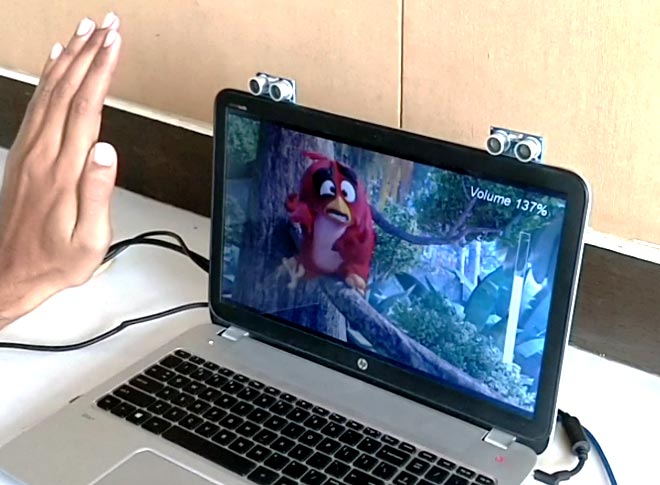
As outlined in this Circuit Digest write-up, with the right hardware, you can now control your computer using hand gestures. While interesting, this kind of technology can be a little expensive. But if you’d like to augment your notebook or laptop via simple gesture capabilities without breaking the bank, B. Aswinth Raj has your answer in the form of an Arduino Uno and two ultrasonic sensors.

His system places the two sensors at the top of a screen, which are read by the Uno. This data is then passed on to a Python program running on the host computer that allows for actions such as play/pause, fast-forward, and volume control while watching videos.

Given the nature of the setup, there’s no reason why more sensors or programming couldn’t be added for further control, perhaps as shortcut “keys” for your favorite design software package! You can read more about the project here, and see a demo of it below.

An Arduino vibe bowl screw feeder

Vibratory bowls, which feed small parts up a long curved ramp, are essential elements in many types of automated manufacturing. While the video seen here doesn’t get into how the bowls themselves are made, a crucial part of the setup is the ramp on the end, which controls how items exiting the bowl are aligned.

In the clip below, NYC CNC’s John Saunders machines a feed ramp and proceeds to integrate an Arduino Uno after the 21:00 mark, which uses a photo interrupt sensor to count how many parts have exited the bowl.

Once the proper number has been attained, it can then switch things off as needed using a PowerSwitch Tail. It’s a great setup for testing out the design before being put to use. Code and parts for the project can be found here.

Building an ALS communication device with Arduino

The father of hacker Ricardo Andere de Mello’s good friend has ALS. His symptoms have become worse recently, causing the loss of much of his motor control. To help with the situation, de Mello decided to build a device that would enable him to communicate with his family.

What he came up with was a finger-mounted accelerometer that senses movement, and feeds data to a computer using an Arduino Uno, updated for HMI use. The computer then allows the ALS patient to speak via the same ACAT software used by Steven Hawking.

The result is a system that is very affordable, and that can hopefully help a lot of people with this and other debilitating conditions. For more information, be sure to check out the project’s write-up and watch its demo videos below.

Students invent a low-cost electric wheelchair kit with Arduino

While electric wheelchairs are a vital tool for those with restricted mobility, they typically cost around $2,500, an amount that’s not the most affordable. To address this problem, a group of students from Aviv High School in Israel have come up with a low-cost, 3D-printed motor conversion kit that connects to a standard push-chair without any permanent modification or damage.

The system uses a pair of motors to steer like a tank, and features a joystick and Arduino Uno for control. Another interesting feature is shown later in the video below, when it’s folded up for storage with the motor kit still attached.

You can check out the team’s website for more details this incredible project, as well as All3DP’s recent article here.

A Playmobil Wedding Band

Two of Boris Werner’s friends, both musicians, were getting married, so for a unique gift he decided on a miniature stage setup with a Playmobil bride and groom as the guitarists. After some research and ordering quite a few parts, he was able to construct an impressive festival-like stage, complete with guitars, lights, and some tunes.

In order to bring this diorama to life, he used an Arduino Uno board to play WAV files from a micro SD card, along with NeoPixel rings in the background, and MOSFET-driven LEDs for lighting.

The stage even features a tiny disco ball that spins via a stepper motor, propelling the tiny bride, groom, and their young son as the drummer into the limelight.

You can check it out in the video below, and see Werner’s series of posts on the construction here.

Arduino Blog 16 Oct 19:17

Meet Moo-Bot, a robotic cow scarecrow

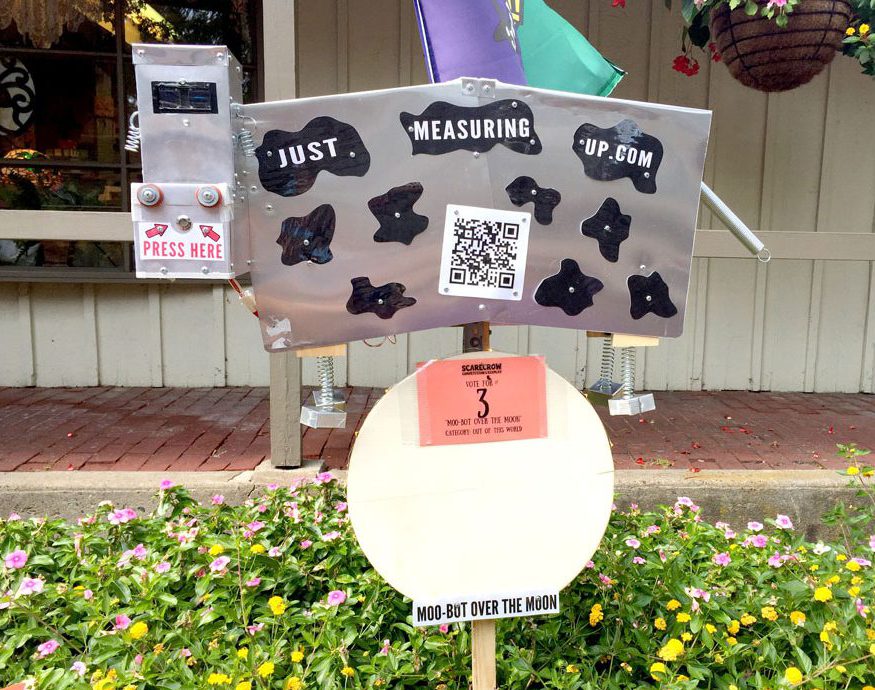
With Halloween around the corner, hackers are gearing up for festivals and trick-or-treaters, hoping to spook visitors or simply impress others with their automation prowess. DIY bloggers Ash and Eileen are no different, and decided to enter a local scarecrow contest in the “Out of this World” category. Their entry? Moo-Bot, an Arduino-powered sheet metal cow that looks like it came straight off the set of a 1950s sci-fi flick.

Not that that is a bad thing; somehow this retro-futuristic bovine looks quite interesting. Making it even better is that the robotic cow’s eyes are made out of two OLED displays, and that it can interact with observers through an internal speaker.

When someone presses a button on its nose, the onboard Uno powers up and tells a pre-recorded series of cow jokes via an MP3 player module. Power is supplied by eight D batteries, which is enough to keep the Moo-Bot going for a few months.

You can read more about the project here, and see it in action below!

The BecDot is an Arduino-based Braille teaching tool for children

While instruments are available for those with visual impairment to read electronic media, they can be quite expensive, costing over $1,000. This is good for adults, but something more kid-friendly (and possibly replaceable) is needed to open up this world to those just learning.

For this purpose, Jacob Lacourse, whose daughter Rebecca was born with Usher Syndrome, developed the BecDot educational toy.

The device–which is now in a prototype form–senses when a plastic object (a letter block, a plastic animal, etc.) is placed in the reader via preprogrammed NFC tags, then raises the corresponding dots on four Braille pads. The prototype uses an Arduino Uno for control, and a system that he developed to raise the Braille dots as needed.

I incorporated an NFC reader (Adafruit PN532) into the device.  The idea was that the reader would read a preprogrammed tag that a parent, caregiver or educator could place on a toy such as a letter block, a plastic dog, cow, goat, etc. When the child places the toy in the reader the device will display the braille equivalent of the object on the four cells.  Of course lights and sounds would also come later in the development of the device.

Lacourse hopes to one day bring the BecDot to market for under $100. Until then, you can check it out in the video below and read more about this amazing project here!

Maker builds an Arduino-controlled, chess-playing robot

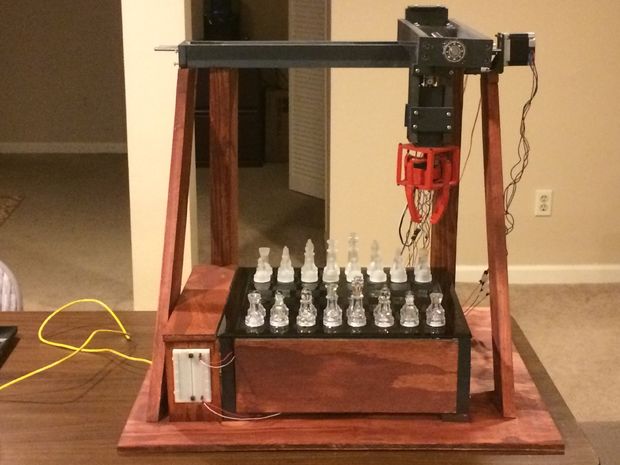
While playing board games on a computer screen can be entertaining, this experience lacks a certain tangible aspect. YouTuber RoboAvatar decided to take things into the third dimension with a chess machine that uses an XYZ gantry system and gripper to move pieces as needed.

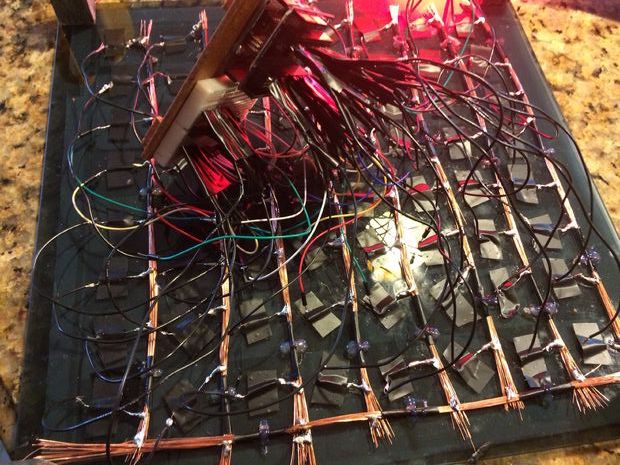
Instead of a vision system, RoboAvatar’s robotic device uses 64 reed switches (one for each square) to tell an Arduino Uno where the magnetized pieces reside. The project also features a Mux Shield and a pair of MCP23017 I/O expander chips, providing a total of 93 available pins.

While the Uno controls the physical motion and sensing of the board, a computer runs a Python program that does the chess game calculations and sends this information to it. You can see the machine demonstrated in the first video below. The second gives an overview of how it was made.

Want to build your own chess-playing robot? More details can be found over on Instructables.