Posts with «split flap display» label

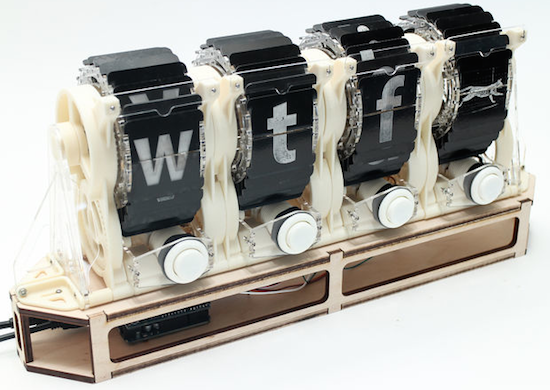
Check the weather on this Arduino-controlled split-flap display

Split-flap displays show information using characters changed by an electric motor. While they’ve largely been replaced by more modern means, hobbyists like “gabbapeople” have been keeping this this technique alive, in this case as a four-character weather display.

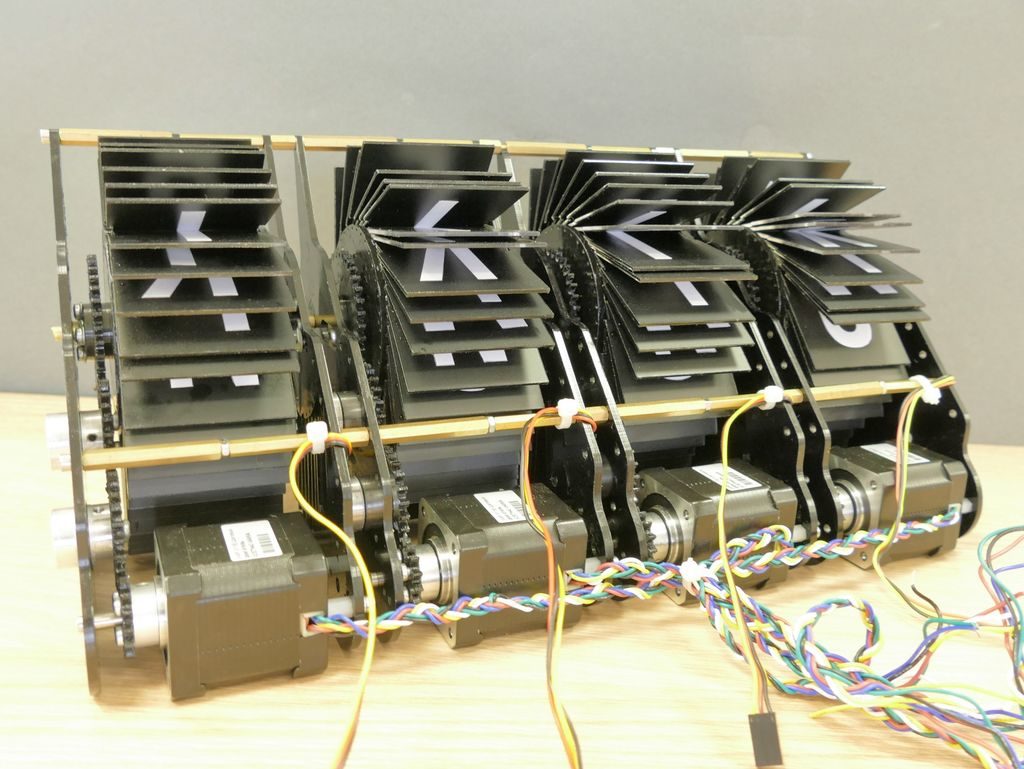
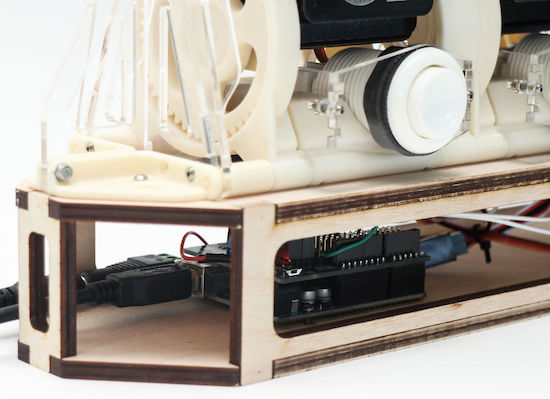
The device is built using laser-cut plexiglass, and uses four individual servos to actuate the character flaps. Control is accomplished using an Arduino Mega programmed in the XOD visual programming environment, along with the requisite driver modules. Weather data is pulled from the AccuWeather API. 

You can see it flapping away in the video below, displaying the weather in abbreviations such as “ICLO” for intermittent clouds, as well as the temperature in degrees Celsius.

OMG, this DIY split flap display is awesome

Let’s face it, there’s something magical about split flap displays. Common throughout older airports and train stations, the electromechanical devices are used to show changeable alphanumeric text (e.g. arrival and departures), fixed graphics, or in Jonathan Odom’s case, Internet slang.

With three-letter abbreviations like BRB, LOL, OMG and SMH commonplace in today’s smartphone and online conversations, the Maker decided to bring text and animation back to its mechanical roots with his own split flap display. As you can see in the video below, an arcade button under each frame enables him to cycle through all 26 letters to spell out his thoughts in acronym form, while a fourth frame reveals an animation of the very first cat video (by Eadweard Muybridge).

Structurally, the DIY gadget consists of 3D-printed parts, laser-cut acrylic for the tongue, flaps, brackets, wheels and spars, and plywood for the base. Everything is assembled by hand using screws and nuts. In terms of electronics, an Arduino Uno and Adafruit Motor Shield control a set of servo motors.

The configuration I built has four modules, but you could build as many as you want and connect them. The Arduino motor shield has 16 channels, so if you want more than than that you’ll have to find another means of controlling the rotation.

Want one for your desk? You can find all the necessary files and code on its project page, and see the final product in action below!