Posts with «levitation» label

Mini Ultrasonic Levitation Kit is an Exercise in Sound Minimalist Design
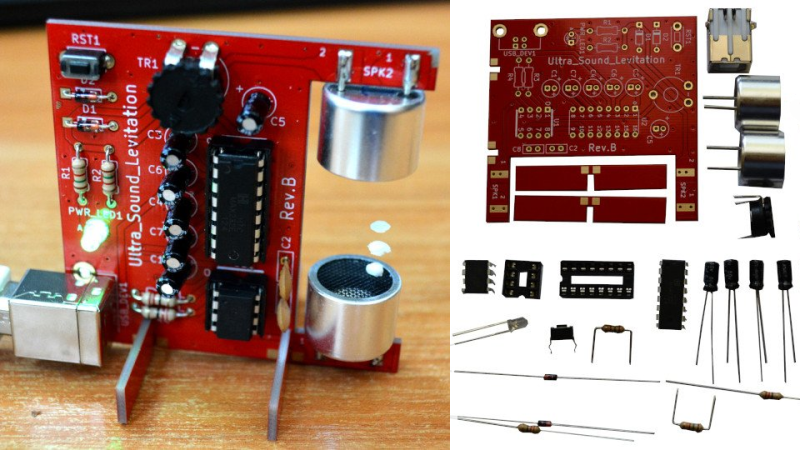
For those that haven’t heard, ultrasonic levitation is a process by which two or more ultrasonic transducers are set opposite to each other and excited in such a way as to create a standing wave between them. The sound is, as the name implies, ultrasonic — so outside the range of human hearing — but strong enough so that the small, light objects can be positioned and held fixed in mid-air where there’s a pressure minimum in the standing wave. [Olimex] has created a small ultrasonic levitation kit that exemplifies this phenomena.

The kit itself is made using through-hole components, with an ATTiny85 as the core microcontroller to drive two TCT40-16T ultrasonic speakers, and a MAX232 to provide a USB interface. Two slotted rectangular PCB pieces that solder connect to the main board, provide a base so that the device stands upright when assembled. The whole device is powered through the USB connection, and the ultrasonic speakers output in the 40KHz range providing enough power to levitate small Styrofoam balls.

The project is, by design, an exercise in minimalism, providing a kit that can be easily assembled, and providing code that can be easily flashed onto the device, examined and modified. All the design files, including the bill of materials, KiCAD schematics, and source code are provided under an open source hardware license to allow for anyone wanting to know how such a project works, or to extend it themselves, ample opportunity. [Olimex] also has the kit for sale for those not wanting to source boards and parts themselves.

We’ve featured ultrasonic levitation devices before, from bare bones system driven by a NE555 to massive phased arrays.

Suspend particles in midair with this acoustic levitation setup

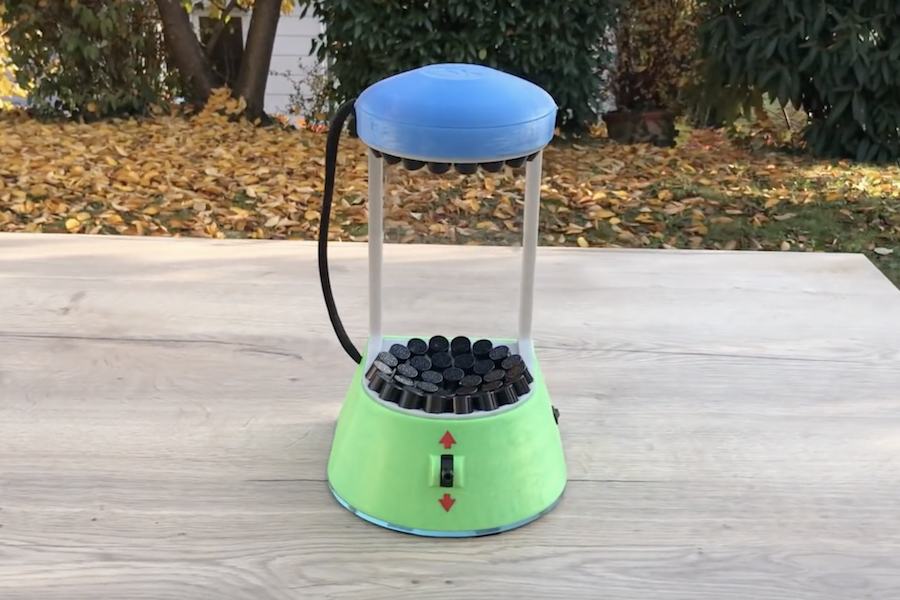
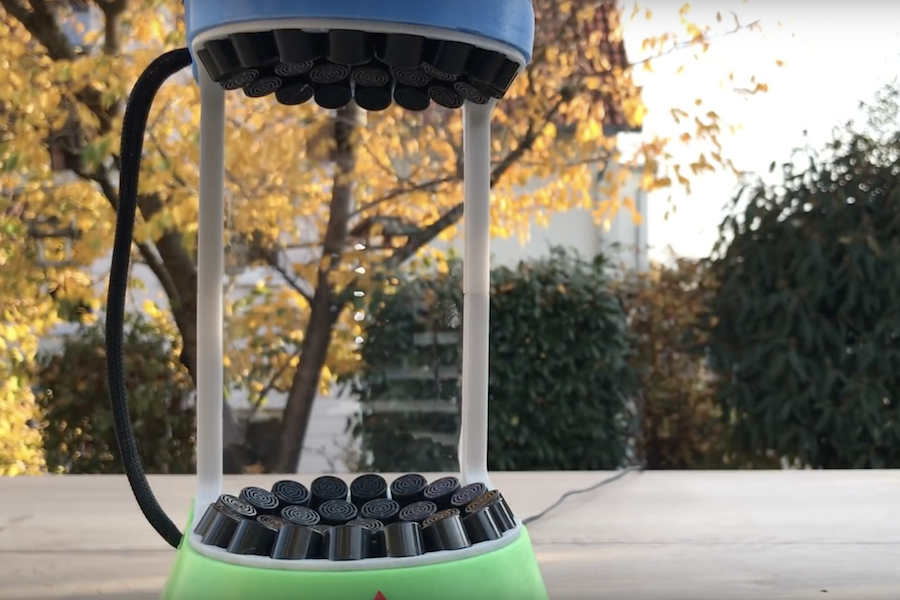
Of course Styrofoam floats on water, but have you ever seen it float in midair? That’s exactly what Julius Kramer’s 3D-printed acoustic levitator does, using an array of 72 40 kHz speakers to form standing waves of low and high pressure. When turned on, he’s able to simply insert a small foam particle which hovers like magic.

If this seems familiar, his Arduino Nano-powered device is based on work by Asier Marzo, Adrian Barnes, and Bruce W. Drinkwater. What’s interesting about Kramer’s build is that he does a great job illustrating how it works, starting at around 3:00 with an oscilloscope, and continuing on with diagrams, and even a visualization of the waves using steam. He also shows off a miniature version at around 6:00, which while less capable, could make this type of project approachable for those that don’t feel like soldering 72 speakers together!

Levitate liquids and other tiny objects with this DIY device

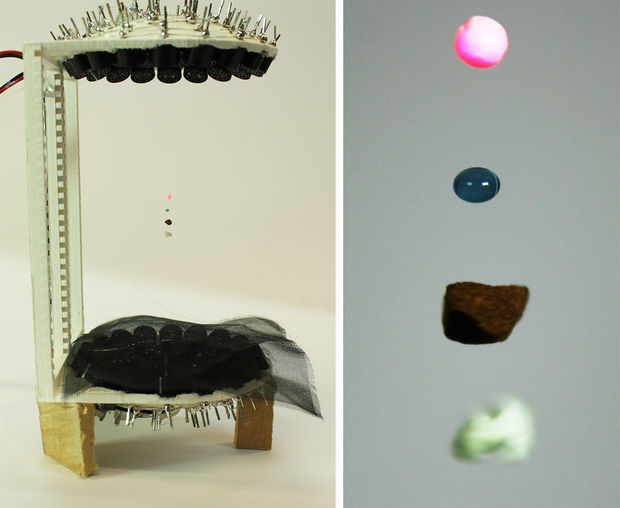
If you’ve ever wished you could levitate tiny drops of liquid, small solids, or insects in mid-air, new research has you covered. That’s because Asier Marzo, Adrian Barnes, and Bruce W. Drinkwater have developed a 3D-printed, Arduino Nano-controlled acoustic levitator.

Their device uses two arrays of 36 sonic transducers in a concave pattern, which face each other in order to suspend objects like Styrofoam, water, coffee and paper in between. Several items can even be trapped at the same time, and liquid is inserted into the “levitation zone” via a syringe.

The principle is similar to the vibration you feel when next to a large speaker, but in this case, the homemade levitator employs ultrasonic waves to push particles without causing any damage to humans.

Acoustic levitation has been explored in hundreds of studies for applications in pharmaceuticals, biology or biomaterials. It holds the promise of supporting innovative and ground-breaking processes. However, historically levitators have been restricted to a small number of research labs because they needed to be custom-made, carefully tuned and required high-voltage. Now, not only scientists but also students can build their own levitator at home or school to experiment and try new applications of acoustic levitation.

If you’d like to make your own, be sure to check out Marzo’s Instructables post or the team’s full paper on the experiment here.