Posts with «laser harp» label

Harp Uses Frikin’ Lasers

We aren’t sure if you really need lasers to build [HoPE’s] laser harp. It is little more than some photocells and has an Arduino generate tones based on the signals. Still, you need to excite the photocells somehow, and lasers are cheap enough these days.

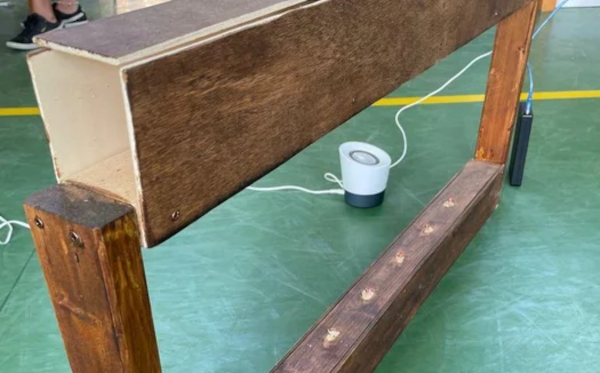
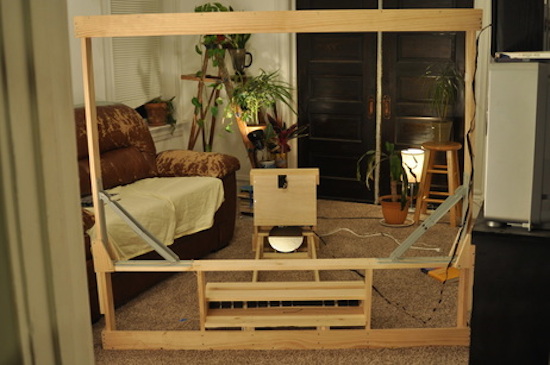
Mechanically, the device is a pretty large wooden structure. There are six lasers aligned to six light sensors. Each sensor is read by an analog input pin on an Arduino armed with a music-generation shield. We’ve seen plenty of these in the past, but the simplicity of this one is engaging.

We’ve used the copper tape writing trick ourselves and it is quite effective. The tape is often used for stained glass work and sticks to many surfaces. You can solder to it and solder overlaps where you need connections. The results are often as good as a simple single-sided PCB.

The code attached to the post is fairly straightforward and the MIDI shield does the bulk of the work. It should also make it easy to create some really impressive musical effects with a bit of extra coding.

If you want an artsy self-contained version, check out this previous Hackaday Prize entry. We’ve seen several of these at different levels of complexity.

Horizontal laser harp is like none you’ve ever seen before

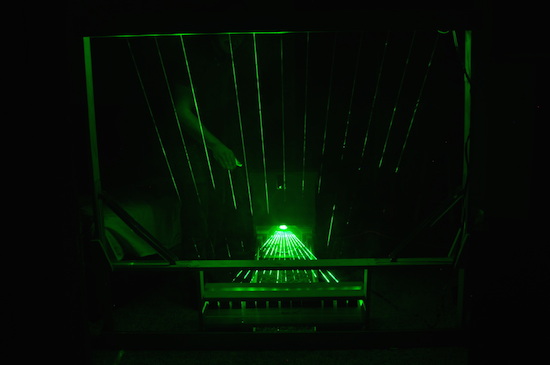
Apparently not content with a traditional laser harp, Jonathan Bumstead set out to take things in a different direction. What he came up with is a device whose laser strings are arranged horizontally, and loop though its boxy structure for an amazing audiovisual effect. 

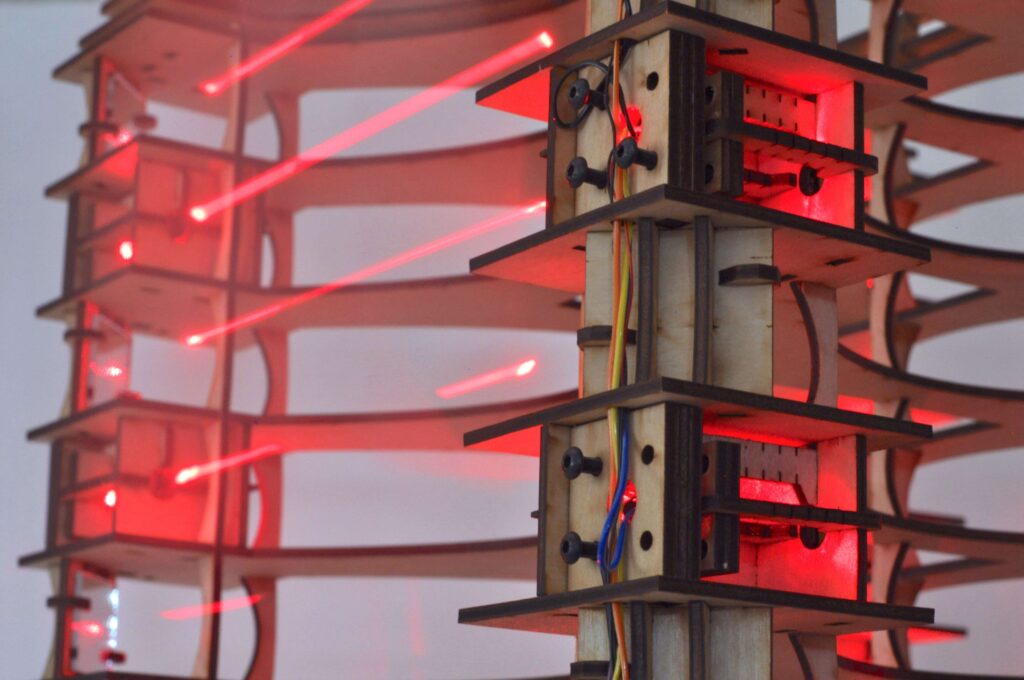
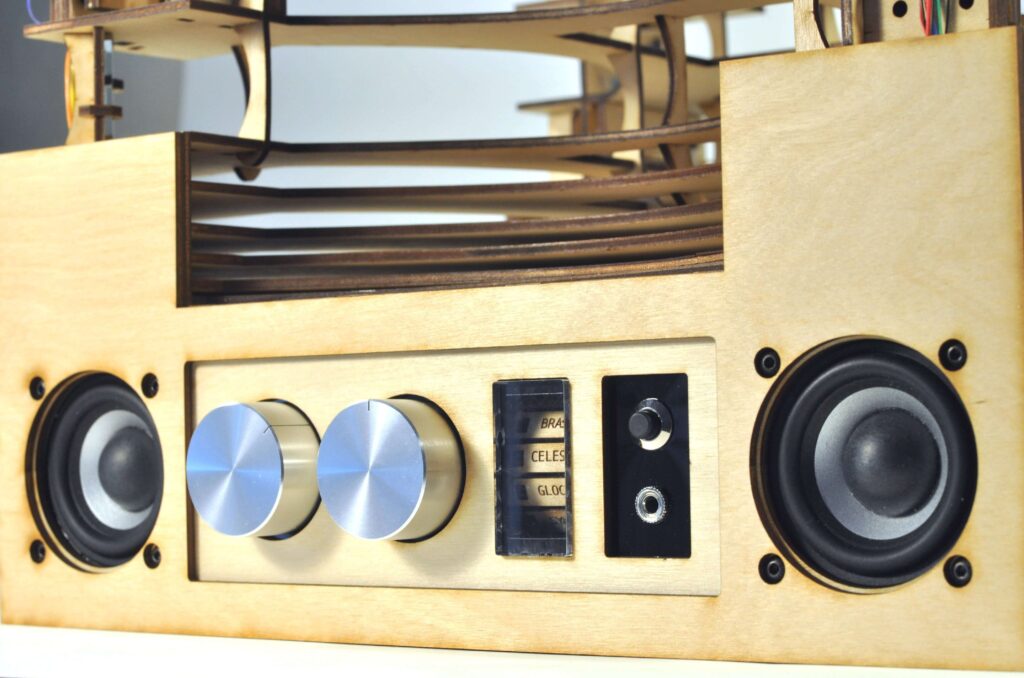
The aptly named Upright Laser Harp is divided up into six rows, which each contain two laser/photoresistor pairs for an instrument total of 12 notes. Each laser is reflected once before hitting its photoresistor to wrap the entire structure in light, and values are sensed by an Arduino Mega as note inputs. Sounds are then generated by an Adafruit Music Maker Shield, and different MIDI instruments are selected with a rotary switch and a stepper-based electromechanical display system. 

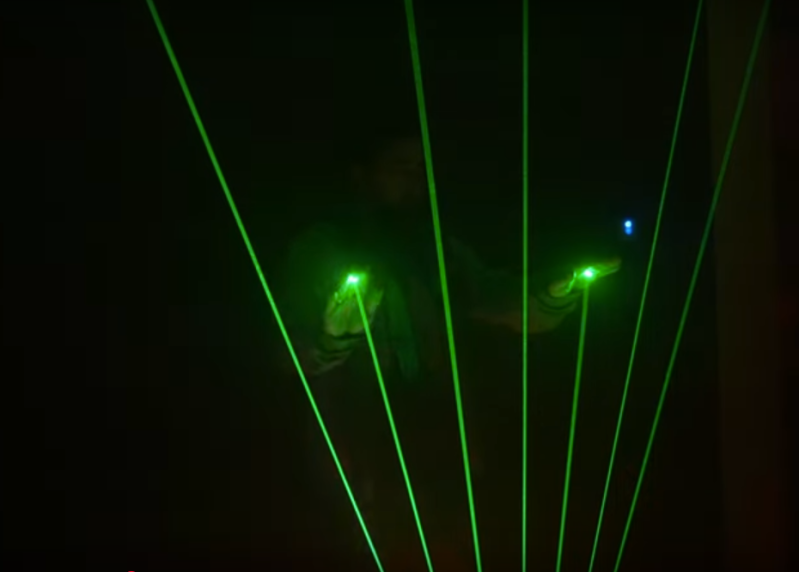
Laser harps are musical devices with laser beam “strings.” When the beam is blocked, a note is played by the instrument. Usually laser harps have the beams travel vertically in the shape of a fan or vertical lines. 

In this project, I built a laser harp with stacked laser beams that propagate horizontally. The beams reflect off mirrors to form square shaped beam paths. Instead of a MIDI output like my previous laser harp, this device has built-in MIDI player so the output is an audio signal. This means the device does not have to be connected to a computer or MIDI player (e.g. keyboard) to play sound. Both built-in speakers and audio output jack are available for playing music.

Be sure to check out the mini-concert and build details in the video below!

Play some tunes on a 13-note MIDI laser harp

Nowadays, it seems like instruments come in all different shapes and sizes. Take Jon Bumstead’s an electronic harp, for example, that plays music by blocking laser beams — similar to how a musician would pluck a stick on the real thing.

The project consists of a laser diode, an Arduino, a galvo, several mirrors to reflect the beams, 13 photoresistors and a couple 3D-printed components for the mounts. The harp’s large frame is made up of three wooden parts that can be folded with a few hinges and held in place with 18 bolts, while the electronics are secured in a box with the galvo mounted at the top.

This laser harp has thirteen strings. To generate these strings, a laser beam is moved to thirteen different position (for thirteen different strings/notes) by moving a mirror galvanometer. The mirror galvanometer, or galvo for short, is a mirror that can quickly move to different positions depending on a control voltage that is sent to it. At the end of each laser beam is a photoresistor that is used to detect if a beam is blocked. When this is detected, a note is played. I also needed the laser beam to be turned off when moving positions so that it appeared as though there were thirteen distinct positions and not a continuous sheet of light.

To generate these signals, I used an Arduino. One of the greatest challenges of the project was creating  an analog output that was fast enough to move the galvo (and laser beam) so that it appeared like there were really thirteen different beams and not a single beam being moved to different positions. I constructed a 4-bit R2R digital to analog converter (DAC). The digital output of pins 8-11 incremented thirteen times (for the thirteen positions), and the DAC generated an analog voltage ranging from 0 to 4V. I then amplified this signal  and ran it through a differential amplifier to get an analog voltage from around -7 to 7 volts for the galvo. The laser diode was synchronized with the galvo using the Arduino.

According to the Maker, the harp can be programmed to direct the beam to any position at any speed. And not only can you put on your very own laser show, but you can control the type of MIDI signal being created as well.

This laser harp is really a MIDI controller (i.e. it does not have its own sound engine). You can select whatever type of MIDI signal you desire. I chose to select middle C to the C one octave higher in frequency. Another MIDI instrument or reader (I used by Macbook Pro and Garageband) must then be used to actually create audio signals that could be played through speakers.

You can see it action in the video below!

New Project: Build a Two-Octave Laser Harp

I find laser harps fascinating. The first time I saw one was when I stumbled across a video of a guy using using lasers to play the theme song to Tetris. I thought it was the coolest thing ever, but I couldn’t justify the cost of buying one. Instead, I decided […]

Read more on MAKE

The post Build a Two-Octave Laser Harp appeared first on Make: DIY Projects, How-Tos, Electronics, Crafts and Ideas for Makers.

Laser Piano Worthy Of The Band ‘Wyld Stallyns’

[Robi] and [Kathy] from elecfreaks have put together a how-to article about a Laser Piano they just built. Instead of keys, the user breaks beams of laser light to trigger the sounds.

Several laser pointer diodes are wired in parallel and mounted in a box, cardboard in this case. The laser diodes are aimed at photocells that reside on the other side of the box. Each photocellis connected to a digital input pin on an Arduino. When the Arduino senses a state change from one of the photocell, meaning the beam of light has been interrupted, it plays the appropriate wave file stored on an external JQ6500 sound module.

[Robi] admits that there are some improvements to be made, specifically the trigger response time and the piano sounding too monotonous. If you have any ideas, please leave them in the comments section.

If you’d like to build one, the bill of materials and Arduino code are listed on the above site. We’ve features some other interesting laser-based instruments in the past, such as this guitar, this harp and this harp.

“Be excellent to each other!”


Filed under: musical hacks
Hack a Day 03 Jul 06:00