Posts with «kids» label

How to make your own Primo prototype using digital fabrication and Arduino boards

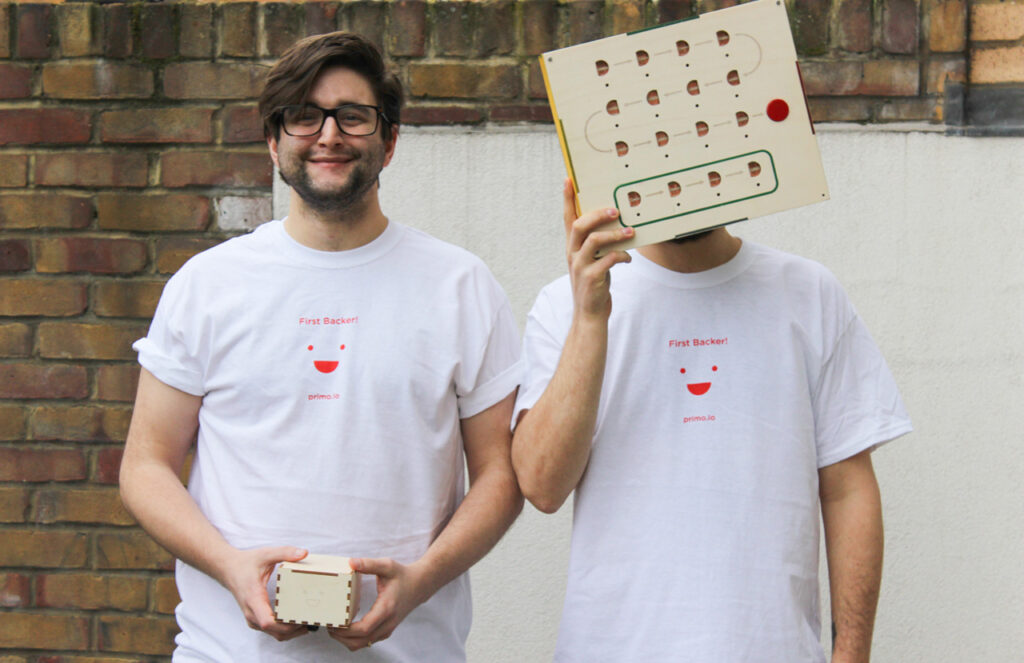
Primo‘s team sent us exciting news from their HQ about their contribution to the open source community. After the successful Kickstarter campaign to launch the wooden play-set that uses shapes, colours and spacial awareness to teach programming logic through a tactile, warm and magical learning experience, they took a step further. They released all the documentation and the instructions to produce a Primo prototype,  different from the product that they make and sell.

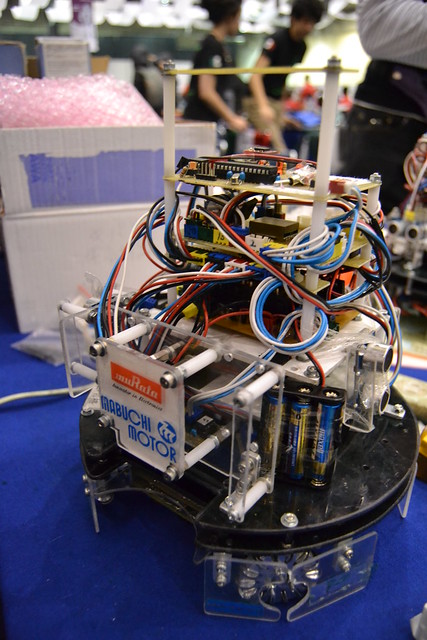
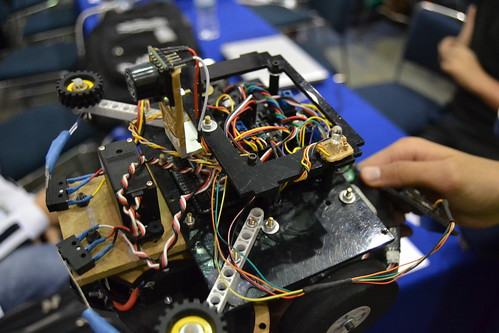
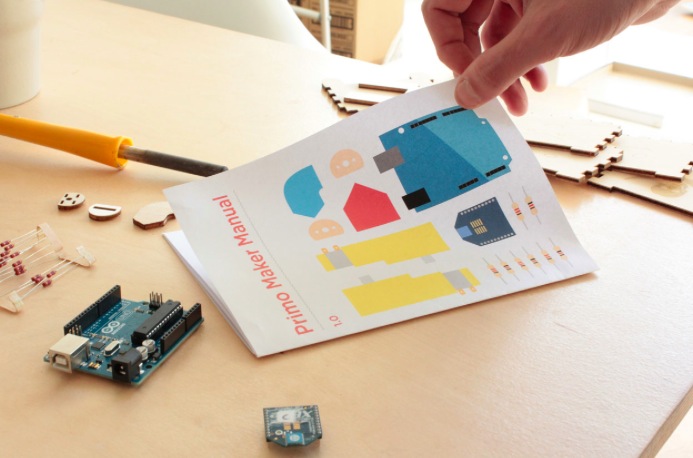
We just finished the first edition of the Primo play-set open documentation, that includes the design files that we used to make our first prototype and a step-by-step guide to make your own version of the Primo play set. This “maker” version of our product can be assembled using rapid prototyping techniques and common tools like Arduino boards.

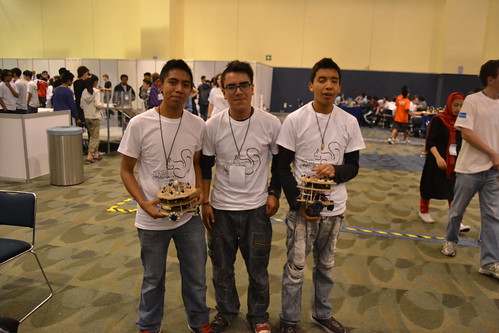
We recently published a preview of this documentation just for our Kickstarter backers, who already started to build their projects and to translate the document in their language. The FabLab in São Paulo for example already translated it in Brasilian Portuguese, while other languages like Dutch, Italian and Japanese are now in progress.

The whole documentation is completely transparent: it’s written in Markdown using Jekyll and GitHub pages. In this way it is very easy for creators to modify, translate and use it as a starting point for their projects.

In parallel we are developing an industrial version of our product, using manufacture-quality materials and custom Arduino-compatible electronic boards.


And if you want to read about the experience of a dad making a DIY version in 1 month and a half of work, follow this link.

Primo is an Arduino At Heart partner. If you have a great project based on Arduino and want to join the program, read the details and then get in touch with us.

Arduino Blog 16 Apr 22:17

Meet The Arduino Esplora

Here’s a new piece of hardware from your beloved OSHW project. The Arduino Esplora is meant for newbies and anybody willing to enter in the world of Arduino, without having to deal with breadboards or soldering. Shaped like a game controller, it’s designed to be used out of the box without extra parts since it comes with many sensors and actuators already on it.

Have a look at the Esplora Page on the Arduino site, you will find Arduino Esplora at Radioshack’s in its Retail Version (like the one you see on top) and soon on the Arduino Store and from our distributors in both Standard and Retail versions.

Massimo’s Talk at TEDGlobal

We are really thrilled to blog Massimo’s delightful talk of yesterday about Arduino and the open hardware movement: TED team chose it to be the first video to be traslated and released for everybody to see.

Enjoy!


How many robots?

How many robots run on Arduino? I really don’t know. The guys from Complubot keep on sending pictures from the robots they are finding at the Robo Cup in Mexico DF. Want to see some pictures? Look at the following:


(c) 2012 Complubot, Japanese Team on Soccer B

The Japanese Team on Soccer B have been working with Arduino for 3 years now. The robots on the picture are only using our IDE, as they made their own PCBs to host 8 InfraRed sensors, a compass, and the motor drivers. Take a closer look at it on the next picture.


(c) 2012 Complubot, Japanese Soccer B team at RCJ Mexico DF

On the other hand, the German team, running on an Arduino Mega, are controlling 60 InfraRed sensors to detect the ball on the field. They got the 1st price on Soccer A Open and have been using Arduino for just one year.


(c) 2012 Complubot, German Soccer A Open team (winner)

I bet you want to see that robot closer, 60 IR sensors are quite many. It also controls 4 UltraSound sensors and 1 Compass. Quite an achievement. Look at this:


(c) 2012 Complubot, German Soccer A Open robot

Well, the picture isn’t very sharp, but you can clearly see the amount of sensors on that machine. I have to make some more research to understand what is the black plastic thingy on the top board of the robot. It feels like some sort of exhaust pipe. The black dots on the red PCB are the IR sensors.

If there is a team that beats all about the amount of time they have been working with Arduino, is the Mexican coming from UNAM. On the Soccer B category, these guys have been running their robot on Arduino for only 2 months!! They are however controlling 8 IR sensors and one Compass over I2C.


(c) 2012 Complubot, Mexican (UNAM) Soccer B team

Also from Mexico, this time participating on the Rescue competition, we find a team with a really broad age range. The team from Monterrey ranges between 10 and 19 and made a robot controlled by Arduino Uno.


(c) 2012 Complubot, Moterrey Rescue Team

The Swiss team has been using Arduino during 2 years and are the only one in my list that have started using a camera. They run their bots on Arduino Mega and control 12 IR and 4 US sensors.


(c) 2012 Complubot, Swiss Soccer B team

If there is a country that is well know for soccer that is Brazil. Their Rescue A team at the RCJ looks like this:


(c) 2012 Complubot, Brazil Rescue A team

And their robots are pretty easy to spot, pitch black with an Arduino Mega in the stomach:


(c) 2012 Complubot, Brazil Rescue A robot

To close the post, I want to show you an image of my favorite robot so far. It is the one made by one of the Mexican teams again in the Soccer B category. It’s platforms are made in wood and it is a masterpiece of a combination of glue-gun and breadboard. Sometimes we think we need so much to build things, and others come to remind us how easy it is to make things happen with whatever you have in hand. If there was a price to the most low-tech solution at this competition, this team would win or be among the finalists.


(c) 2012 Complubot, Mexican Low-Tech team

Oh, yes … and a photo of the team:

(c) 2012 Complubot, Mexican Low-Tech Champions

Soon: some more images and thoughts about The Arduino Robot, after one week of beta testing in Mexico, stay tuned!

Arduino Blog 24 Jun 05:00
events  kids  robot  

UnoJoy – A USB Joystick for Mac, PC, Linux or PS3

There are people who use the Arduino for some serious electronics related stuff.

Then, there are folks who use it just for fun. Alan Chatham and his team over at UnoJoy have developed a concept for Arduino Uno based USB Controllers.


Here is an excerpt of our interview with Alan:

Me: What made you choose the Arduino Uno as the heart of the controller? There are many development boards available which incorporate an ATmega8U2/16U2 or even 32U2.

Alan: This is easy – everyone loves Arduino!  It comes down to ease of use and reach.  Our primary goal with this project is to make a tool that is both easy to use and accessible.  There’s lots of code out there to make joysticks with other chips, but all the Atmel USB chips are surface-mount, and they all need a whole big toolchain to use. Plus, USB is super-complicated, and we want to encourage people, even non-technical ones, to spend their time thinking up really sweet new ways to play games, not trying to figure out what an HID descriptor is for.  On the reach side of things, Arduino is a perfect platform – even those of us that love our inline assembly and fuse settings tend to have an Arduino around for quick prototyping, and of course, Arduino’s a great platform for students and designers.


Me: Any problems that you faced while developing the prototype?

Alan: I think the biggest challenge we faced was to make it much easier for non-experts to do some more complicated things, like re-flash the ATmega8u2 on the Arduino. Let’s face it, any instructions that open up with ‘First, install XCode’ aren’t exactly user-friendly. In that vein, I put together some simple one-click batch files for installing the appropriate drivers on Windows and OSX, as well as ones for reflashing the ATmega8u2 chip between Arduino and UnoJoy firmwares.  It’s still not as simple as I’d like, so if anyone out there is handy with basic OSX GUI application programming, or the program installation chain on Windows, drop me a line!

In the end, we’re hoping that our code and examples can inspire other designers and builders and gamers to make some really awesome controllers. If they do, I of course encourage them to send their pictures and videos our way, at unojoy.tumblr.com!

Now, you too can make yourself a USB Joystick/ Gamepad/ Controller by choosing any form of input that the Arduino boards can understand. The source code and all the necessary download files are available at Google Code. Don’t forget to check out the Controller for Gran Turismo:


Thank you Alan for sharing a wonderful project with us.

Arduino users are getting younger: Davis Fortenberry, 10

Arduino users are getting younger! Davis Fortenberry, Age 10 designed his own robot and won The Institute of Electrical and Electronics Engineers, South eastern competition, in Orlando. He competed with a lot of college level teams and had a robot that was equally competent.

Davis, who has tinkered with robots since he was 5, built his “davibot” in a week, starting with an m3pi (“a robot in itself, really”) as the base.

He added an Arduino (Italian microcomputer that tells the base unit whether to go left, right, straight ahead), then designed components for measuring contest specifics: voltage, capacitance, temperature and waveform.

He attends the Tennessee Virtual Academy an online approved school.

[Via: Commercial appeal]

Arduino Blog 27 Mar 12:49
arduino  competition  kids  robot