Posts with «instructables» label

RooBee One is an open-source SLA/DLP 3D printer
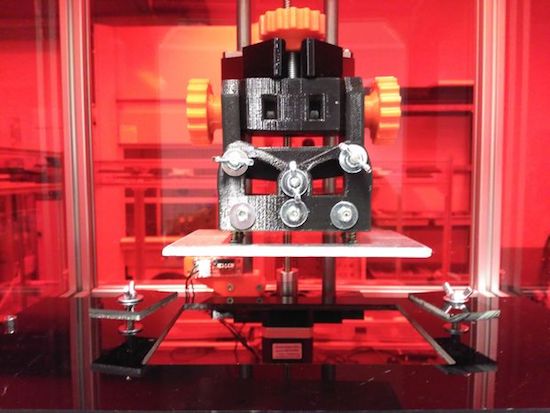
Aldric Negrier, a Portuguese Maker and owner of RepRap Algarve, has created an SLA 3D printer named RooBee One.

Most desktop 3D printers that you’ll see in Makerspaces or advertised for home use drop material onto a bed using a hot extrusion head. The open-source RooBee One, however, employs a DLP projector along with an Arduino Mega to light up each layer in a vat of resin. This causes each layer to solidify, thus making a complete object. You can see this process at around 0:30 in the video below.
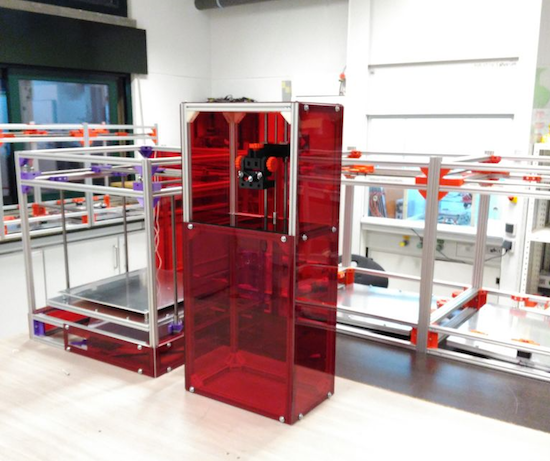
RooBee One features an aluminum frame with an adjustable print area of 80x60x200 mm, with up to a 150x105x200mm build volume. Aside from the Arduino, additional electronics consist of a RAMPS 1.4 shield, a NEMA 17 stepper motor, a microstepping driver, an endstop, and a 12V transformer. Negrier also installed a fan on top of the printer to help guide the toxic vapors outside and away from the machine’s operator.

This process may be unfamiliar to those used to “normal” 3D printers, as it “magically” pulls a complete part out of a bath. The project is fairly involved, but the resulting ruby-red machine looks quite impressive. You can find out how to build one on its Instructables page.

An Arduino laser pinball machine

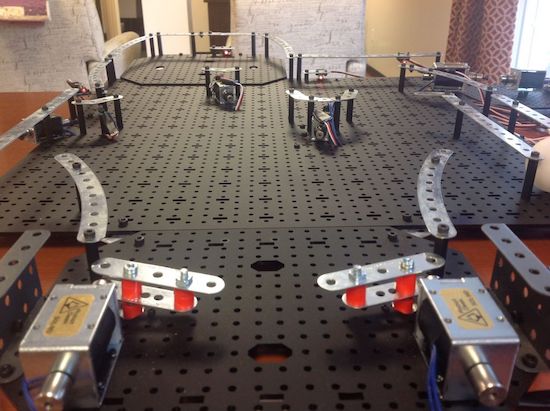
Pinball machines may seem like a good Maker project, but the mechanical components are quite involved. “Joesinstructables,” however, decided to take on this project on using an Erector Set, solenoids, and an Arduino board. In order to get around the challenge of using a heavy steel ball, he instead used a much lighter ping pong ball, sensed in the game by laser tripwires.

A number of solenoids propel the ball around and sound a service desk bell whenever a target is hit–one to three times depending on the difficulty level. Once the ball comes to rest in a target, a laser tripwire automatically triggers a solenoid to eject the ball, putting it back in play.

You can see more info on this build here, or even check out an earlier version for more inspiration!

A DIY Segway-style vehicle

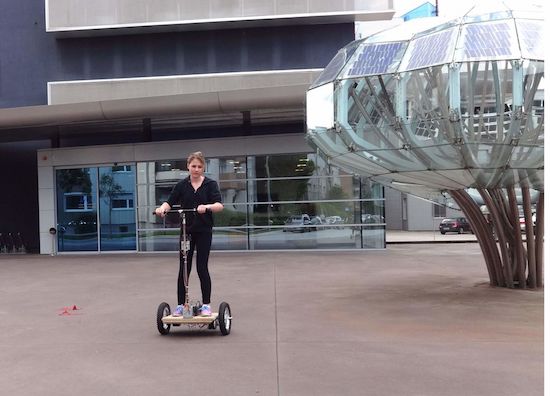
Instructables user “stoppi71” has been building a DIY Segway for a while now, and just posted a bunch of info on the project.

Balancing on two side-by-side wheels is rather difficult, though as the original Segway showed us, it’s quite possible with electronics to help. Naturally, hobbyists have tried to duplicate this effort, including stoppi71, who started his experiments several years ago. He uses both an accelerometer and gyroscope to determine the angle, along with PID control to apply the correct amount of power to each wheel. Buttons on either side handle steering.

Though not the easiest project featured here, if you’re thinking about doing something simlar, his writeup is worth a look! If you enjoy alternative modes of transportation, you may want to check out this electric unicycle as well!

An Arduino-controlled automated whiskey distillery

If you simply want to have a drink now and then, building your own automated distillery probably isn’t the easiest way to obtain alcohol. As shown in this Instructables post, however, it can be done. On the other hand, if you create your own “NanoStillery,” you’ll have to contend with possible legal and safety issues while running the process… and of course, the risks of actually using the product.

Though the writeup appears quite good, with three control panels, custom mechanical components and a nicely-welded frame, it’s likely not a good project to attempt without a bit of engineering experience!

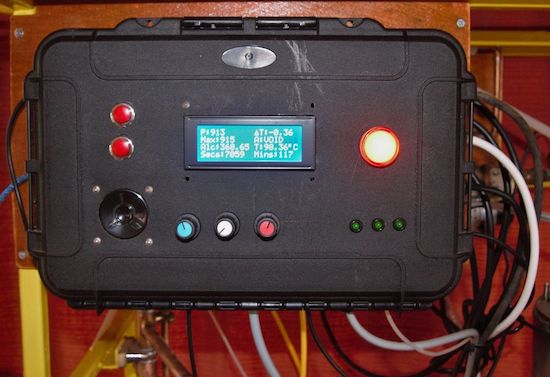
There are three panel boxes in the NanoStillery™, the main panel is driven by an Arduino Mega and the secondary one houses an Adafruit Feather GPRS board for transmitting data to the interweb. The third box has a large 12V power supply and a bank of relays in it.

The main control panel receives information from the various sensors in the system—temperatures, pressure and alcohol vapor levels and controls various valves, pump and the boiler heater via the relays. It then communicates with the Adafruit Feather via the I2C bus which then sends the data to a database where it is accessed from this webpage.

The GPRS module could very well have been bolted into the main control panel, but, for one, I had run out of room and secondly, I wanted the module to be removable so that it could be used for other projects in the future. Getting the two ‘machines’ to communicate with each other effectively was quite challenging. It was OK if the numbers were just simple small integers, but as soon as more complex ‘floats’ were involved, some serious number crunching code had to be developed.

Want to learn more? You can find all the necessary information on NanoStillery, including its code, over on Instructables.

This wireless game controller looks like a rug

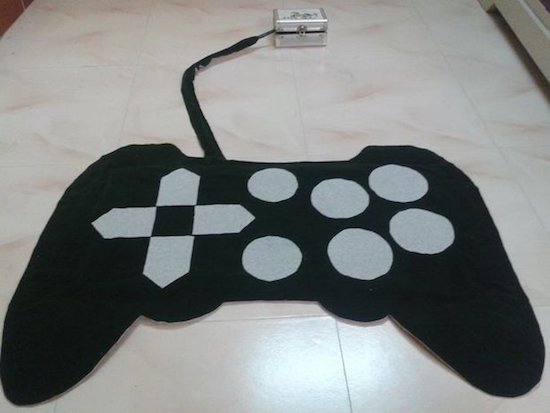
Cut in the shape of a gamepad, this controller sits on the floor for kids to enjoy!

Maker Jegatheesan Soundarapandian had gotten bored with computer games, and decided he, or rather his daughter, needed a new way to interact with the PC. What he came up with was a controller covered in cloth, with switches embedded between this covering and a wooden base.

Switches were made out of CDs and aluminum foil, which could be a good technique for others experimenting with unique interface devices. Control is accomplished with an Arduino Uno that communicates with a PC via a Bluetooth module.

Ready to play games and run apps by foot? Check out the project’s page on Instructables!

A wakeup light for kids

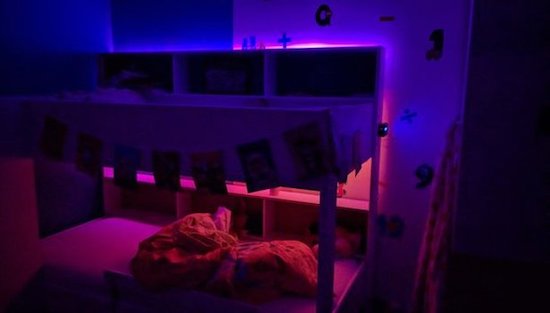
In order to convince his kids to stay in bed just a little longer, Maker Ralph Crutzen has created a “wakeup light” using an Arduino Mega and an RGB LED strip.

Those of us that have toddlers know that they can wake up very early. If you’d like to get some more sleep without leaving them unsupervised to dangerously play with your electronics and power tools, then a “wakeup light” could be a good solution.

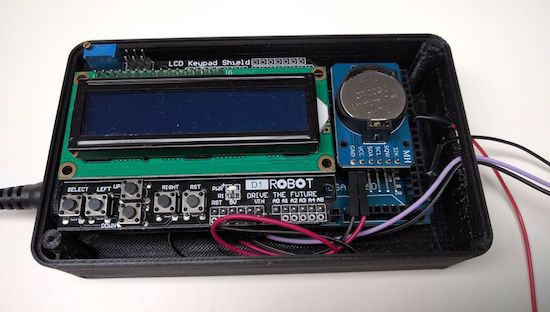
Crutzen’s system uses an Arduino Mega with a real-time clock to control a strip of LEDs, along with an LCD display to change settings. Besides a reminder to kids to “please stay in bed a few minutes longer,” perhaps a similar setup could be used as alternative alarm clock for adults as well.

You can find instructions for this build on Instructables, or check out the project’s code on GitHub. Finally, if you’d like to print an enclosure to protect humans and electronics, Crutzen used this design.

Turn mini Pringles cans into electronic drums

Ever find yourself drumming on Pringles cans with your fingers? This hack adds a MIDI output to make it sound awesome!

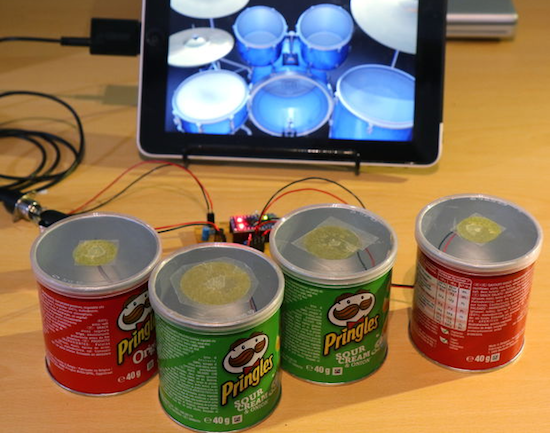
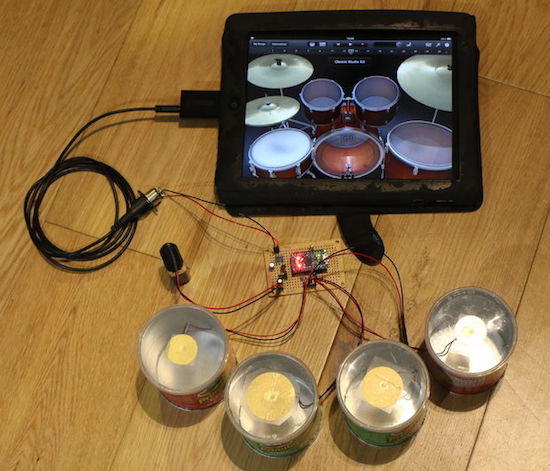
If you’re tired of playing virtual drums on an iPad or other device, and need some tactile feedback, snack-sized Pringles cans not only sort of resemble drums, but provide a nice “bounce” when hit by a finger or thumb. All that’s required, besides washing the lid and canister to remove grease, is the attachment of a piezoelectric sensor to the lid to detect taps. These impulses are then fed to an Arduino Micro, converting everything into a MIDI signal, which can be read by your favorite electronic instrument.

With a bit of luck, you can plug it straight in to a MIDI drum synth and start playing. The four pads transmit kick drum, snare, closed hi-hat and open hi-hat note values according to the General MIDI specification.

You can find more information on this excellent hack on its Instructables page, or check out the video below to see it in action!


Entertain your cat with a laser-enabled yogurt tub

We’ve already seen an Altoids tin enhanced with a laser for your cat’s entertainment, so why not a yogurt tub?

If you’re looking for a way to keep your kitty busy, but would rather not actually have to get up and wave a laser around, this setup allows you to use the Blynk app to turn on and manipulate a laser right from your phone.

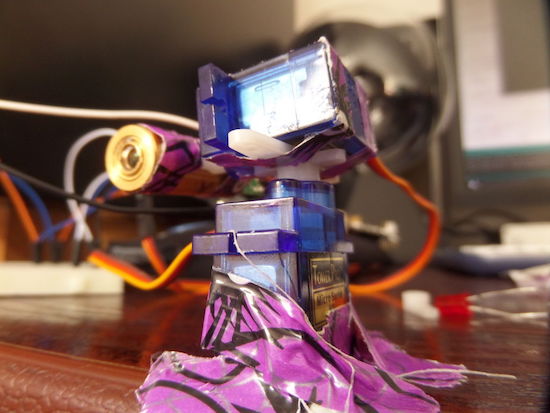
Keeping things simple, the enclosure for this project is a yogurt tub, and the laser manipulator is two Arduino-driven servos stuck together with tape. A computer provides power as well as Wi-Fi control, though with a Wi-Fi shield and battery it should be able to be used independently.

Now obviously the end result isn’t the most practical device you’ll ever build, but this was a great way for me to learn the fundamentals of programming Arduino and it can help you to learn too.

Looking for a new way to play with your feline friend? You can check out the project’s Instructables page, as well as the recent Altoids tin laser assembly here.

Build your own electronic drum kit using an Arduino Mega

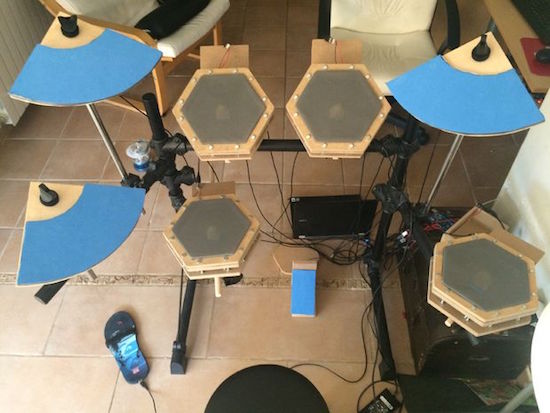
If you’d like to save some money on a drum kit, this one is made using an Arduino Mega, MDF, and even a left sandal!

Drum kits can be quite expensive, Maker Victor Herrero has created his own nine-piece set with readily-accessible components. Arduino code was modified from another project by Evan Kale, and is available for download. Although electronics is discussed, the Instructables article focuses on how to physically make the set, mostly out of MDF.

The results are something that looks quite different than a “normal” drum set, with hexagonal drum pads and a flip-flop for hi-hat control! You can find the project on Instructables here, and the code that you’ll need on its GitHub page.

An animatronic talking takeout container

An Arduino plus fake food and audio capabilities equals something truly unique!

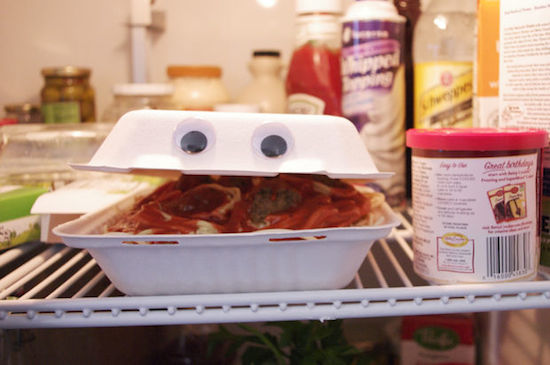
Randy “randofo” Sarafan had an idea when he was in college: a takeout container that talked. To the world’s great benefit, now that he knows about electronics, he finally made this dream a reality. Using an Arduino Mega with a Seed Studio Music Shield, he was able to coordinate the movements of a servo and thus the lid of a box with the audio coming out of a speaker. After attaching googly, or “googily” eyes, and modifying a fake serving of spaghetti, he had something that should be quite entertaining!

This idea came about after having taken a special effects film class when I was in college. While in the class, I made a short film of myself talking to a takout container with a face drawn on it. However, not having the know-how to do anything with electronics, the initial version was being controlled by a friend pulling upon and releasing a thin fishing line. While I do not doubt that my friend was skilled at controlling the lid in this manner, I couldn’t help but thinking that it would be great if I could automate the whole thing — at the very least — less embarrasing.

You can find more info on how to build this “foodie” contraption on the project’s Instructables page!