

Hackaday Dictionary: The ESP8266
In August of 2014, something new started showing up in the markets of Shenzen, the hi-tech area of China where the majority of the world’s electronics components are made. This is the ESP8266, a WiFi SoC (System on a Chip) that can connect to 802.11b/g/n networks on the 2.4GHz band. It can be addressed with SPI or a serial connection, and has an AT command set that makes it behave rather like an old-style modem. Basically, it has everything you would need to connect a device to a WiFi network, with the ESP8266 chip itself handling the complicated business of finding, joining and transmitting/receiving over a WiFi network.
That’s nothing particularly new in itself: WiFi connection devices like the TI CC3000 have been around for longer, and do much the same thing. The difference was the price. While the TI solution costs about $10 if you buy several thousand of them, the ESP8266 costs less than $7 for an individual board that can plug straight into an Arduino or similar. Buy the chip in bulk, and you can get it for less than $2.
The ESP8266 is more than just a WiFi dongle, though: it is a fully fledged computer in itself, with a megabyte of flash memory and a 32-bit processor that uses a RISC architecture. This can run applications, turning the ESP8266 into a standalone module that can collect and send data over the Internet. And it can do this while drawing a reasonably low amount of power: while receiving data, it typically uses just 60mA, and sending data over an 802.11n connection uses just 145mA. That means you can drive it from a small battery or other small power source, and it will keep running for a long time.
It wasn’t an easy ship to write applications for in the early days, though: it was poorly documented and required a dedicated toolchain to work with. This made it more of a challenge than many hackers were comfortable with. That changed earlier this year, though, when the Arduino IDE (Integrated Development Environment) was ported to the chip. This meant that you could use the much easier to write Arduino functions and libraries to write code for the chip, bringing it within reach of even the most casual hacker.

Why Is the ESP8266 Important?
The ESP8266 almost achieves the holy trifecta of electronics: cheap, powerful and easy to work with. Before this, if you wanted to add a wireless connection to a project, you had to use more power-hungry devices like USB WiFi dongles, or squish everything into a serial connection and use a wireless serial link. Either way added to the complexity of the project: you either needed a system that supported USB and had WiFI OS support, or you had to put up with the limitations of wireless serial links, which typically offer very limited bandwidth. The advent of WiFi SoCs removed these limitations because the SoC did the heavy lifting, and WiFi offered much more bandwidth. And the ESP8266 did this all at a very low cost: do some digging on eBay and you can get an ESP8266 board for less than $2. So, it is no surprise that we are starting to see the ESP8266 showing up in commercial products.
How Can I Use the ESP8266?
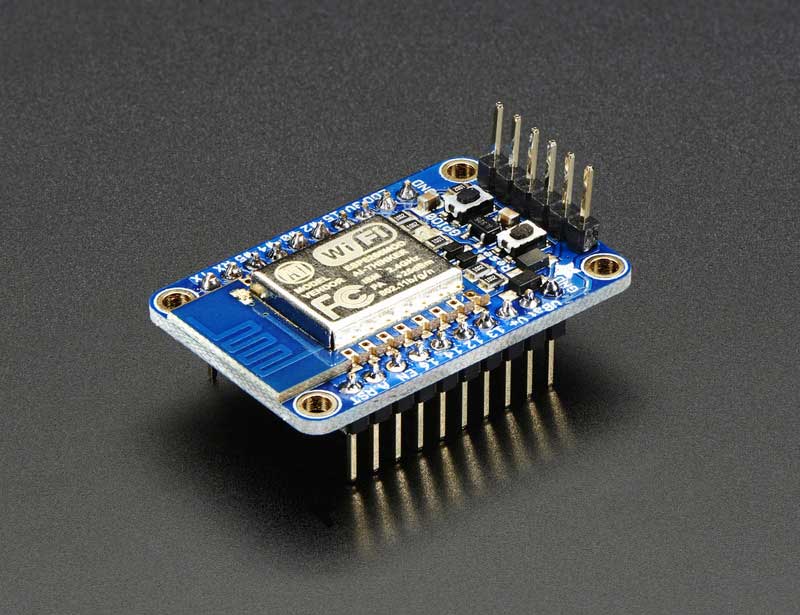
With the popularity of the ESP8266 for adding WiFi to projects, it is no surprise that there are a lot of options for trying it out. On the hardware side, ESP8266 development boards are available from a number of places, including Seeedstudio, Sparkfun and Olimex. Adafruit also has a nice ESP8266 board that breaks out all of the signals for easy breadboard use, and adds a 3.3V output, so it can drive an external device. It is also FCC approved, which is important if you are looking to sell or use the devices you build commercially. Some users have also been building their own development boards, which add features such as LCD displays and buttons.
On the software side, the easiest way to get into the ESP8266 is to use the Arduino compatible mode. This involves loading custom firmware that turns the chip into a mid-range Arduino board, which makes for much easier programming. The people behind this project have produced a list of supported ESP8266 boards: buying one of these will make the installation process easier, as they have noted which data lines in the Arduino SDK correspond to the physical pins on the board. These boards also provide easy access to the reset lines that you have to use to install the Arduino compatible firmware.
This does include some limitations, though: it is rather complicated to upload new sketches over WiFi, and you can’t produce multiple PWM signals, which would make controlling multiple devices difficult. To get access to the full capabilities of the ESP8266, you’ll need to go to the source, and use the SDK that the manufacturers offer. [cnlohr] published an in-depth guide here on Hackaday for bare-metal programming the ESP8266 whih was mentioned earlier. Espressif also offer a pretty good getting started guide that covers creating a virtual Linux machine and connecting this to their chips.
The third option is to flash NodeMCU to the ESP8266 module. This turns it into a Lua interpreter. Scripting can be done in real-time to prototype your program, then flashed to the EEPROM to make your program persistent and remove the need for a serial connection.
Beginners will be comfortable with both the Arduino and NodeMCU approaches, but experienced users should be able to wade straight in and start writing code for this cheap, powerful and fairly easy to use chip.
Filed under: Arduino Hacks, Hackaday Columns, wireless hacks

