Arduino Create is a one stop shop for Makers
More than 10 years ago, we set out to simplify electronics with easy-to-use, open-source hardware. 10 years later, we’re looking to do the same for Internet of Things development with Arduino Create — an integrated online platform that enables Makers to write code, access content, configure boards, and share projects.
Traditionally speaking, going from an idea to a fully-functional IoT device has been a tedious process even for the most advanced engineers and developers. Until now, they would have to frequently switch back and forth between various tools and screens, from IDEs to cloud services. That’s why Arduino has set out to launch a one stop shop for the Maker experience, which will change the way you create, collaborate and communicate with your projects and the rapidly growing community.
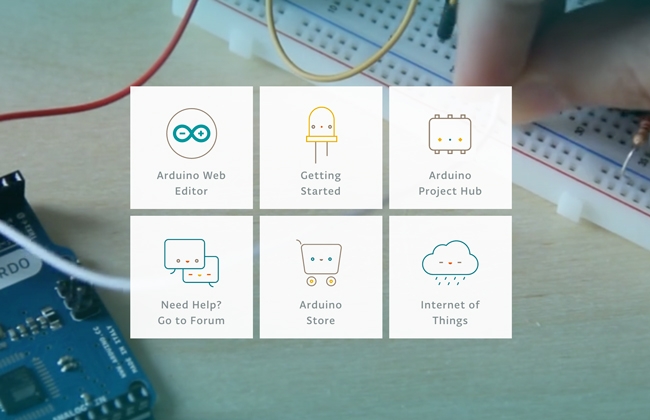
Whereas many companies deliver IDEs, some offer clouds and others curate DIY projects, Arduino Create converges all of that under one roof for an entirely fragmented-free user experience. Designed to provide Makers with a continuous workflow, the new platform connects the dots between every part of a Maker’s journey from inspiration to installation. Ideally, you will now have the ability to manage every aspect of your project right from a single dashboard.
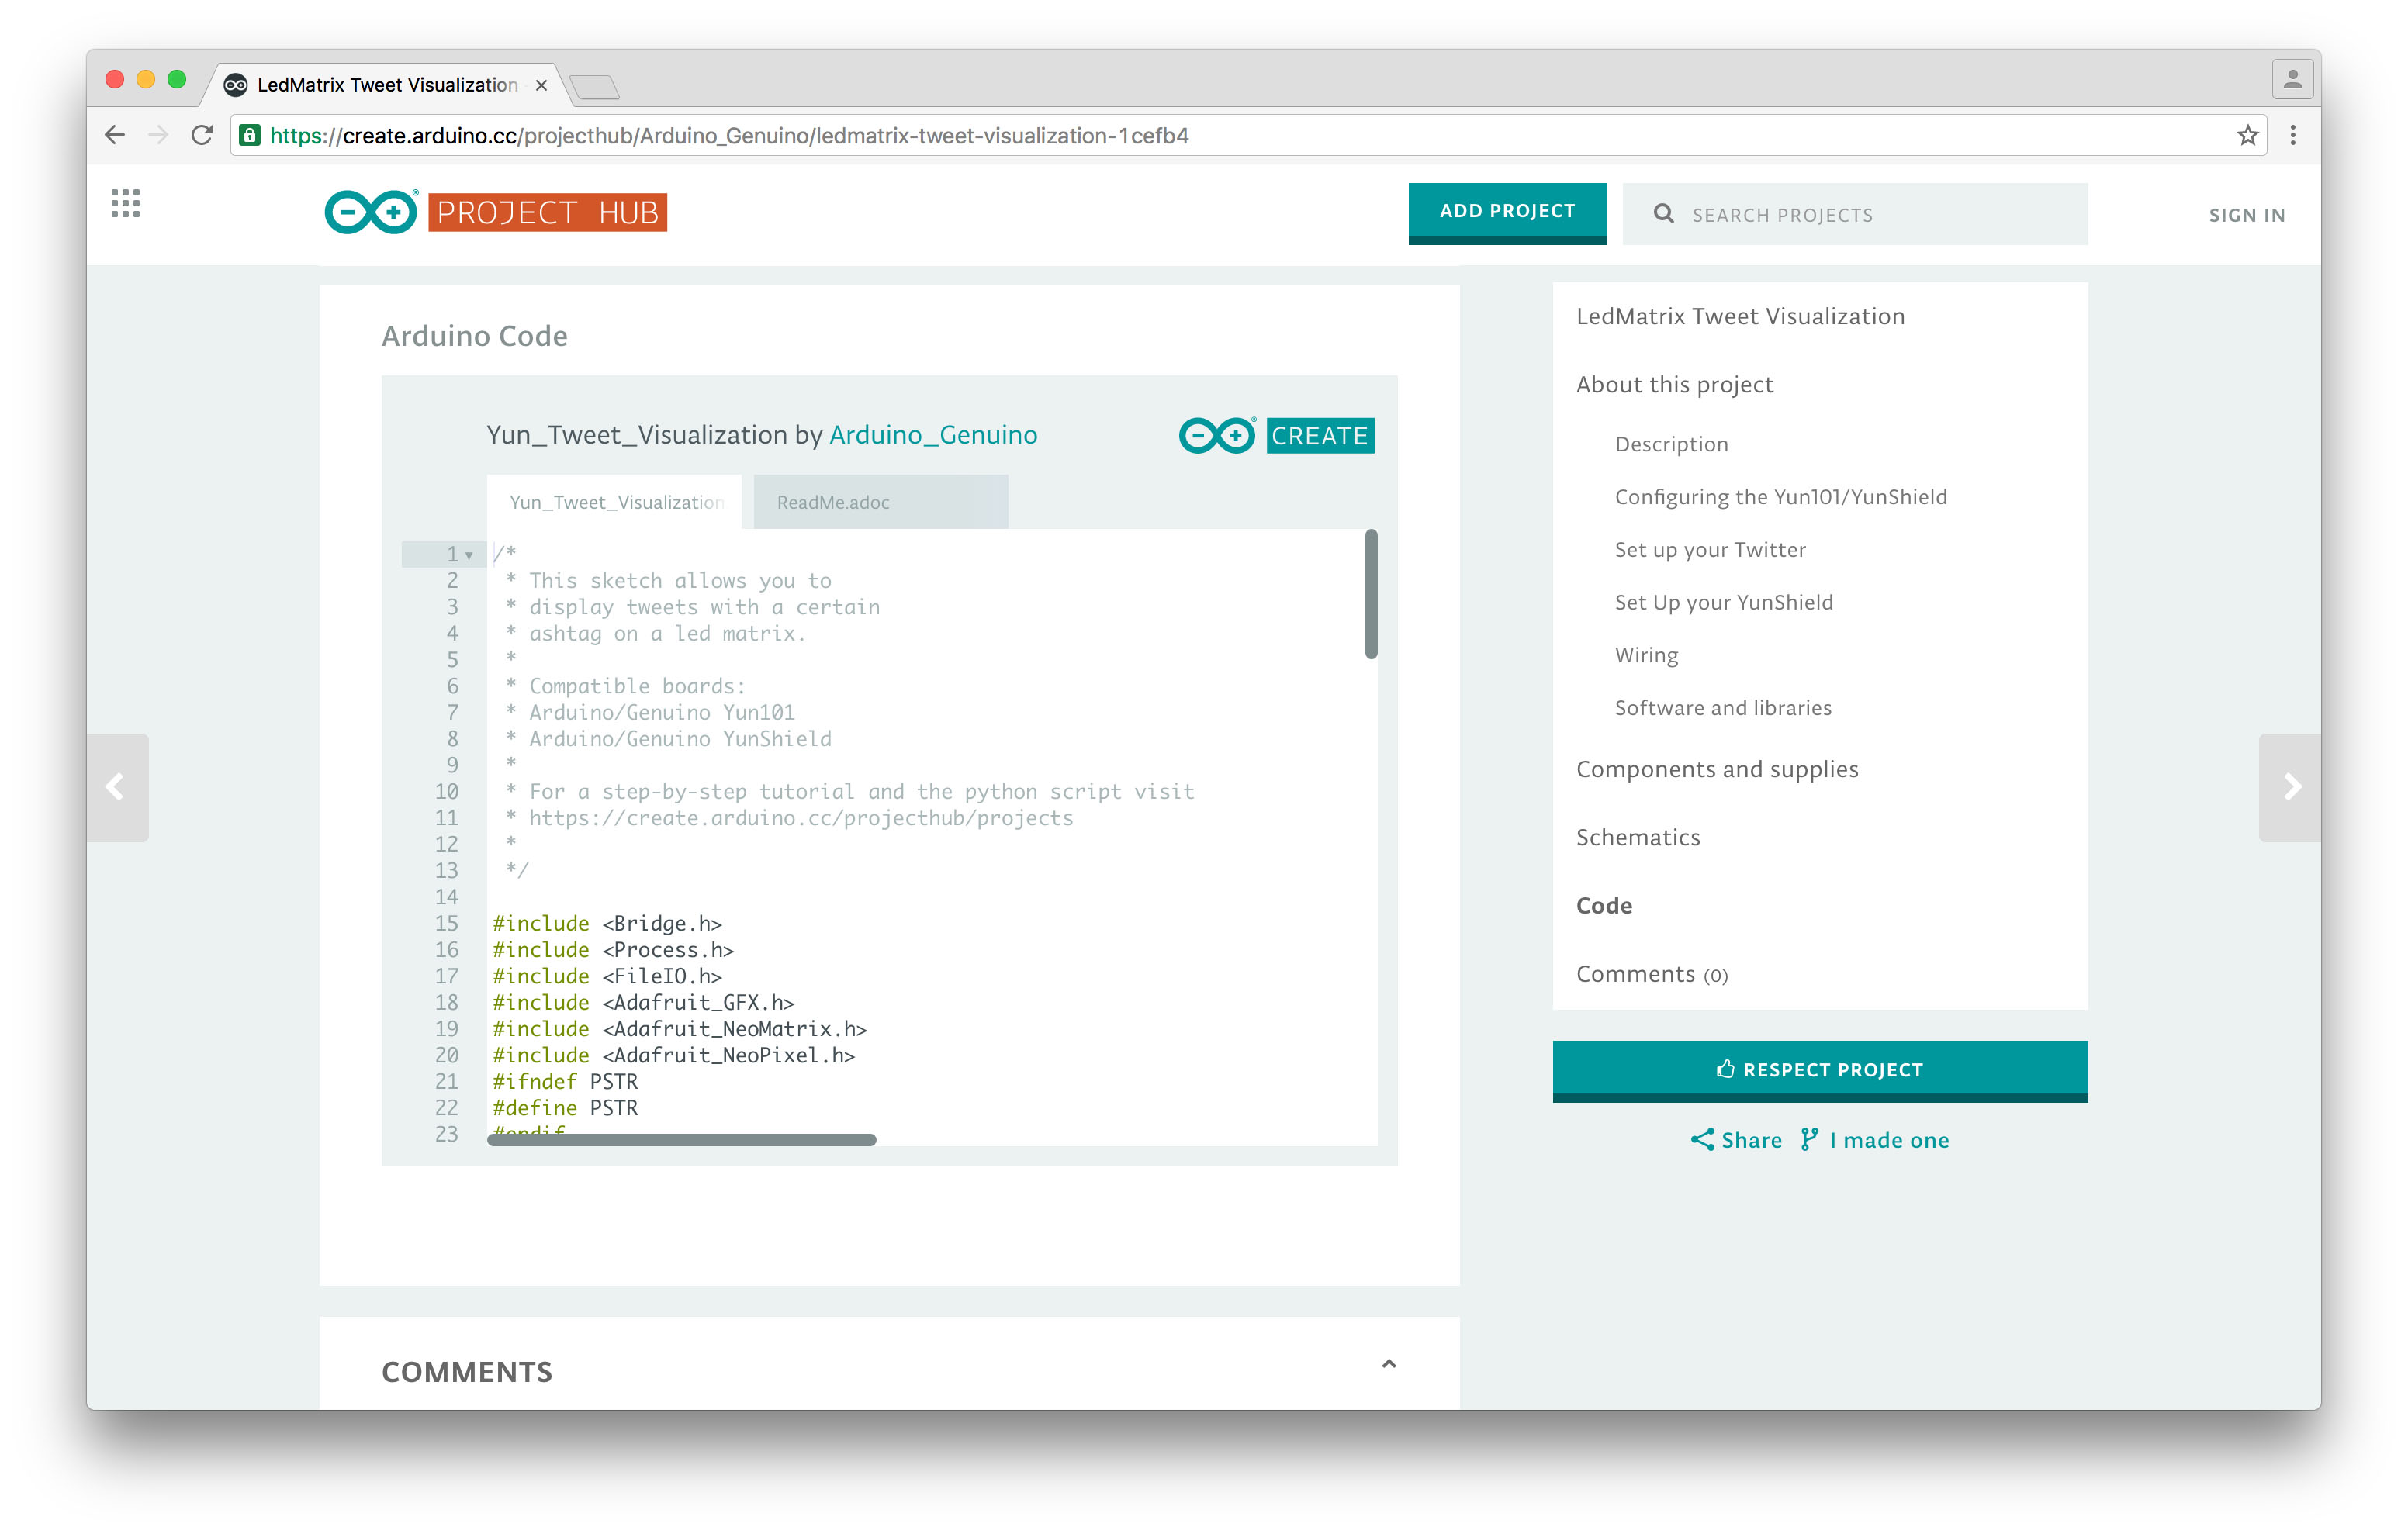
With Arduino Create, you can tap into the power of the community on the Arduino Project Hub by browsing a collection of projects and then making them your own. You can share your creations, along with step-by-step guides, schematics, references, and receive feedback from others.
Despite your skill level, Arduino Create features in-depth guided flows to help easily configure online services like the Web Editor and Cloud. There’ll even be an additional learning component via Arduino’s popular Creative Technologies in the Classroom (CTC) educational program in the near future that will spark collaboration between teachers and their students.
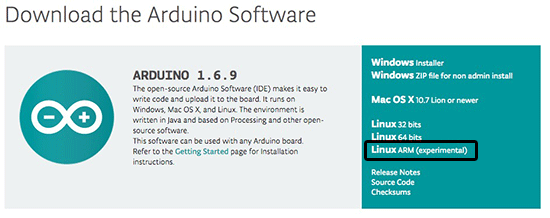
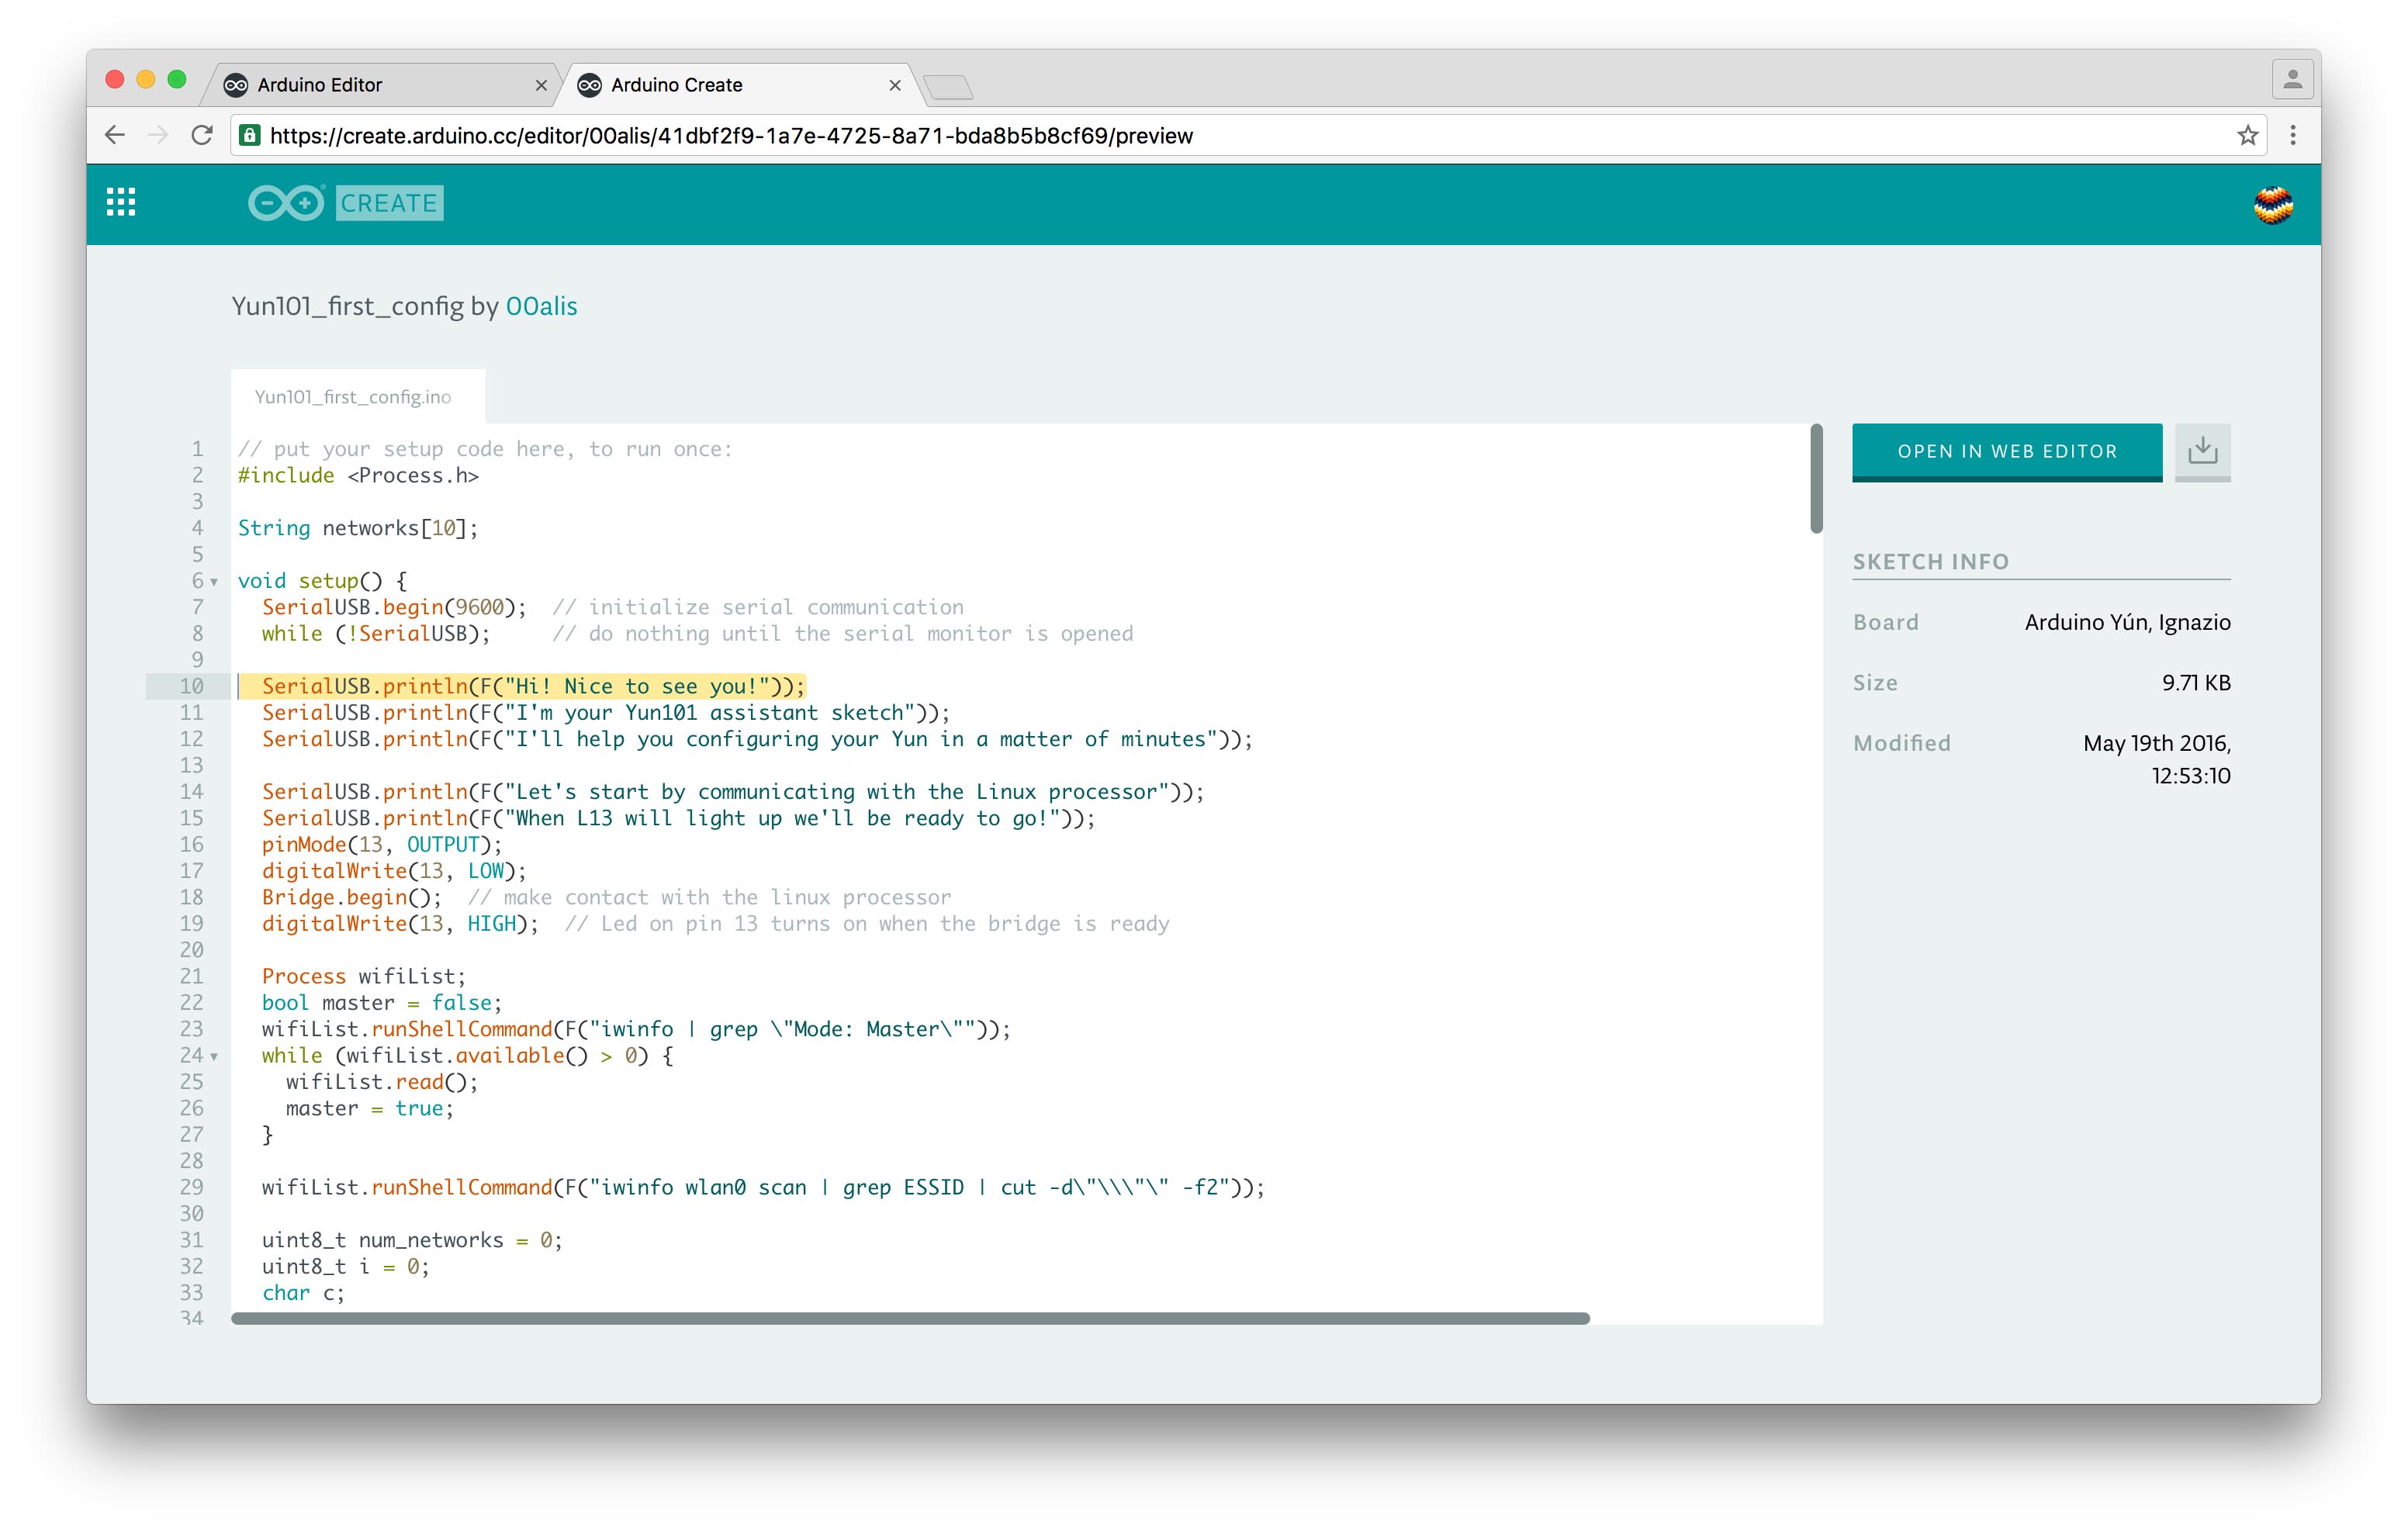
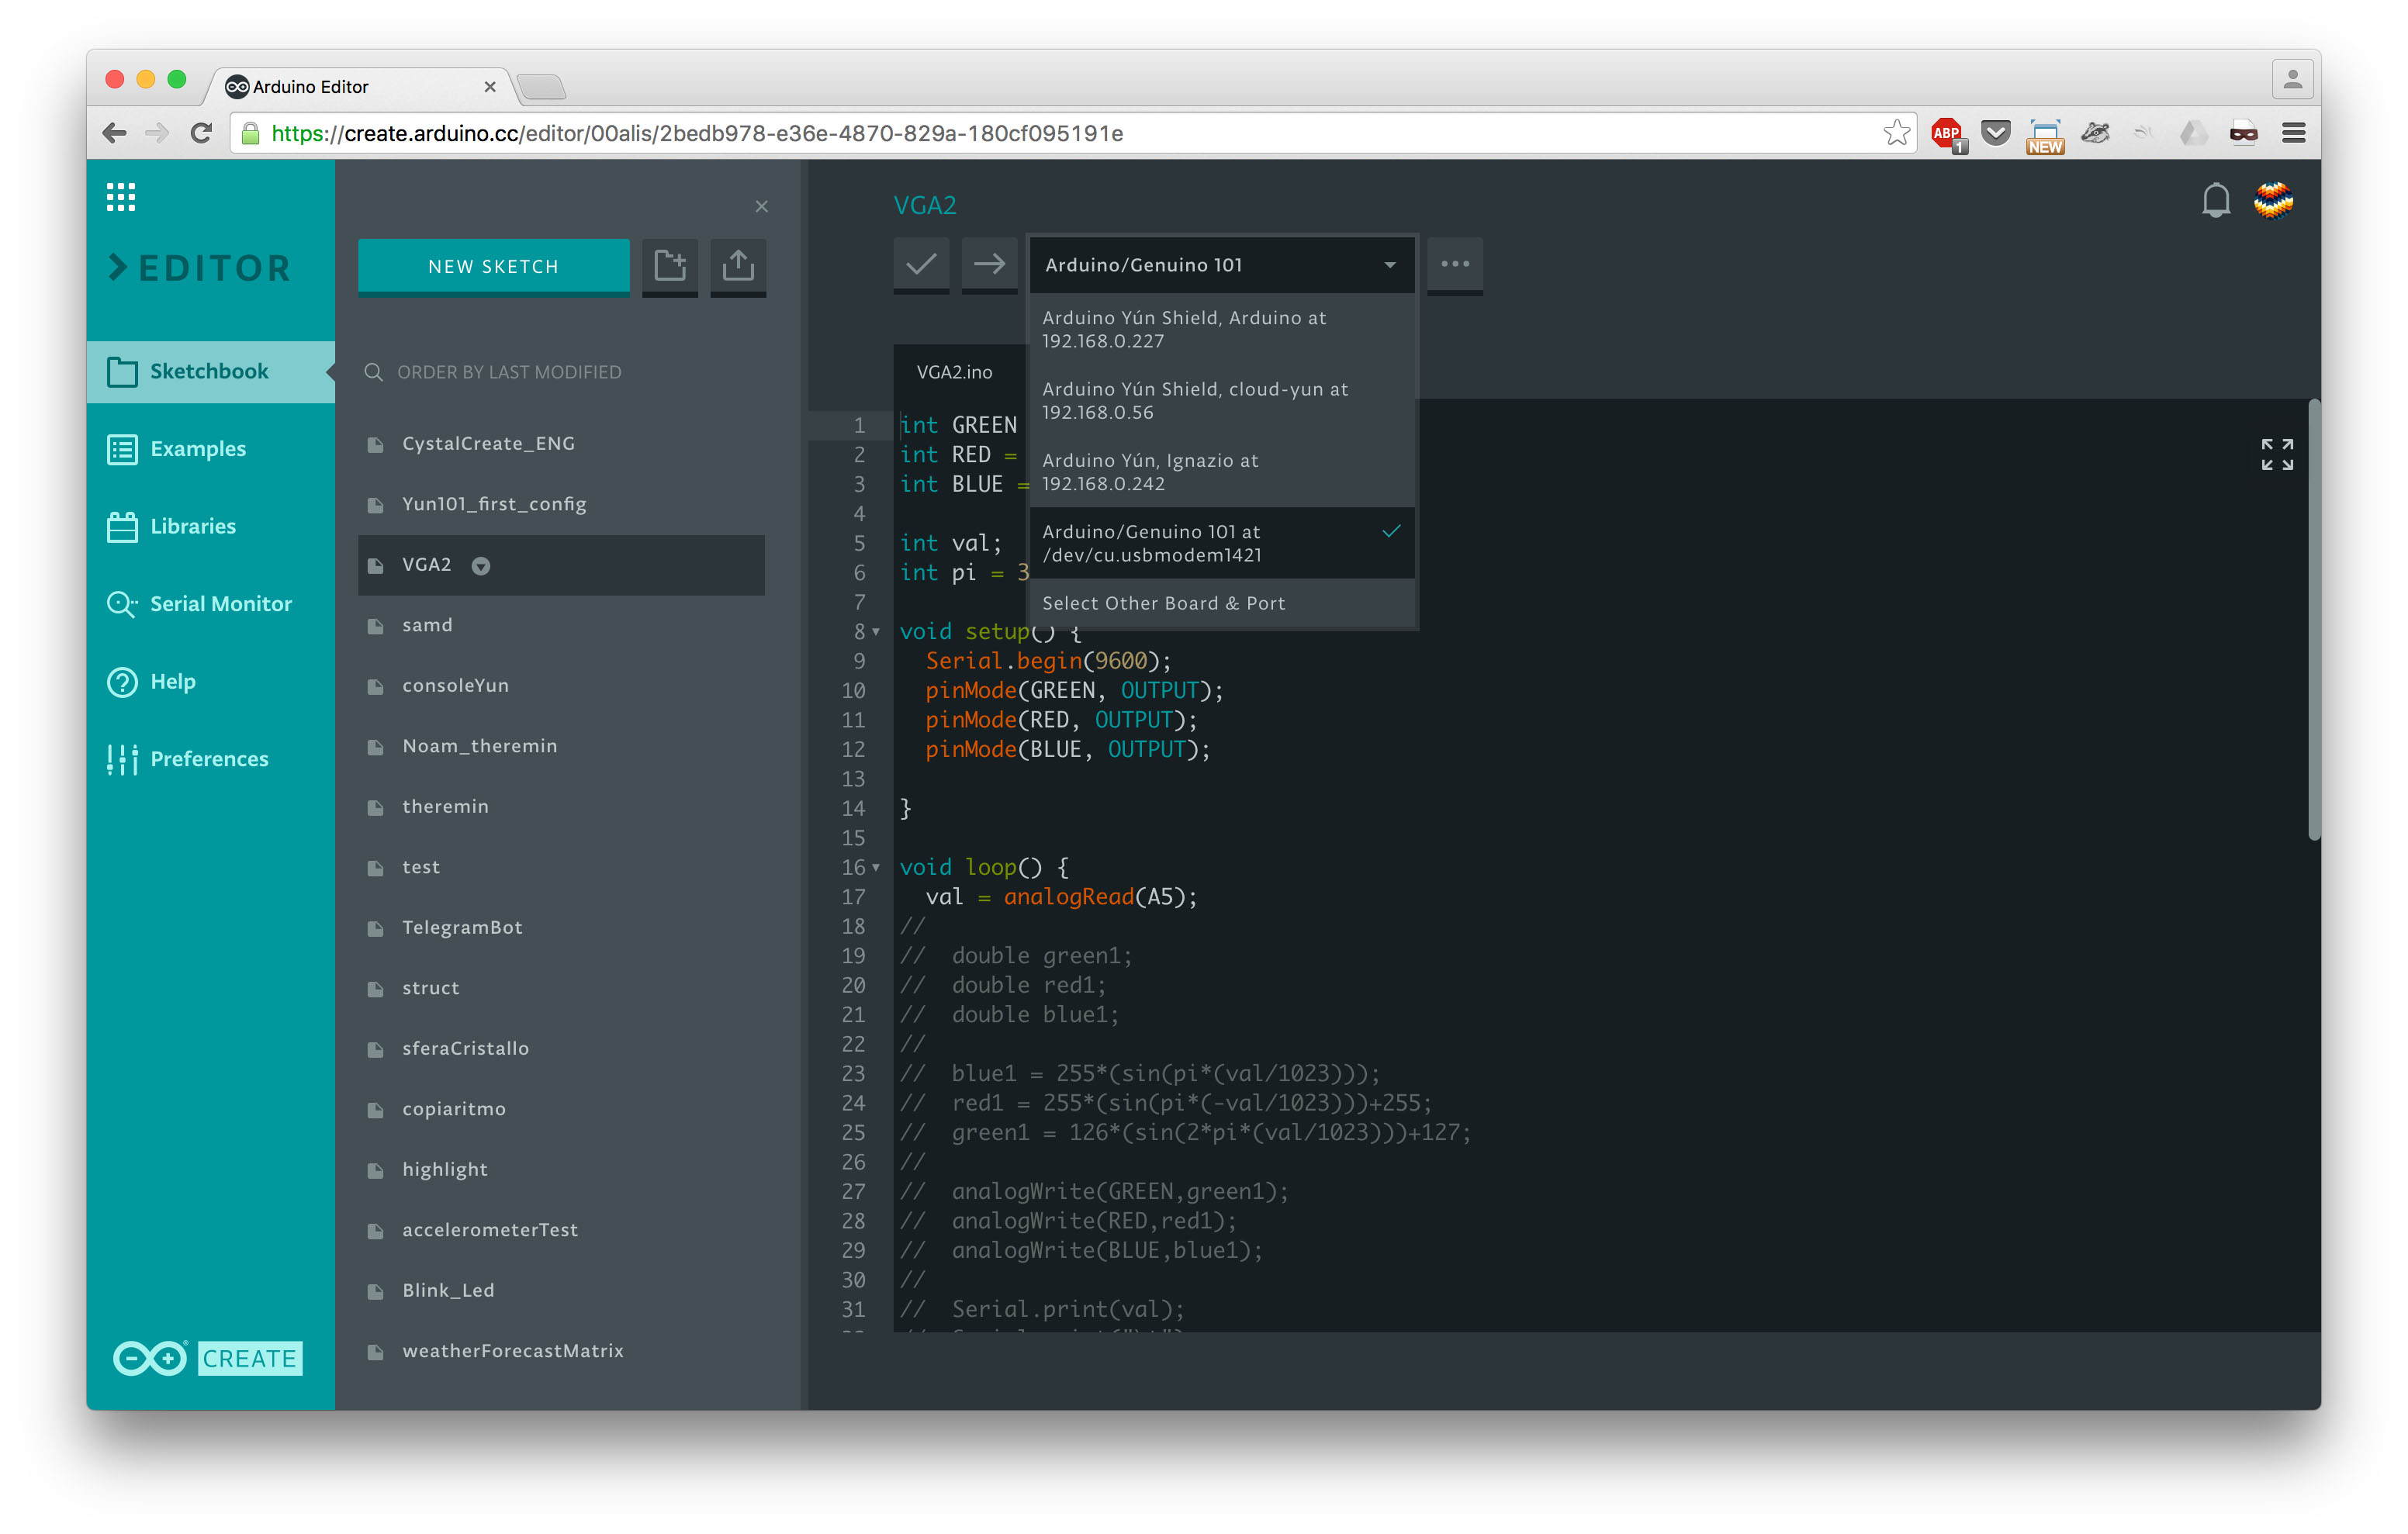
The Arduino Web Editor allows you to write code and upload sketches to any Arduino or Genuino board after installing a simple plug-in — your Sketchbook will be stored in the cloud and accessible from any device. You can even import your Sketchbook via a .zip file! What’s more, sharing a sketch is now as easy as sharing a link.


For Maker Faire Bay Area we are bumping up the number of beta testers for the Arduino Web Editor: the most active contributors will receive 10 invites each! If you’d like to contribute to the development as well, you can sign up on the waiting list to join more than a thousand testers.
It should also be noted that Arduino has partnered with Amazon Web Services to power the new Arduino Create ecosystem. “By adopting AWS IoT and AWS Lambda for our IoT Cloud infrastructure, we provide Arduino Cloud and Arduino Web Editor users with a secure, reliable, and highly scalable environment that will enable Makers to connect their projects to the Internet and manage them through the Cloud,” says Arduino co-founder Massimo Banzi.
Interested in learning more? Maker Faire goers can hear all about it from Massimo himself on Saturday, May 21 at 12:30pm in his annual “State of Arduino” address.