Posts with «arduino nano» label

What’s new at Maker Faire Bay Area 2019

It wouldn’t be a Maker Faire Bay Area without some exciting announcements!
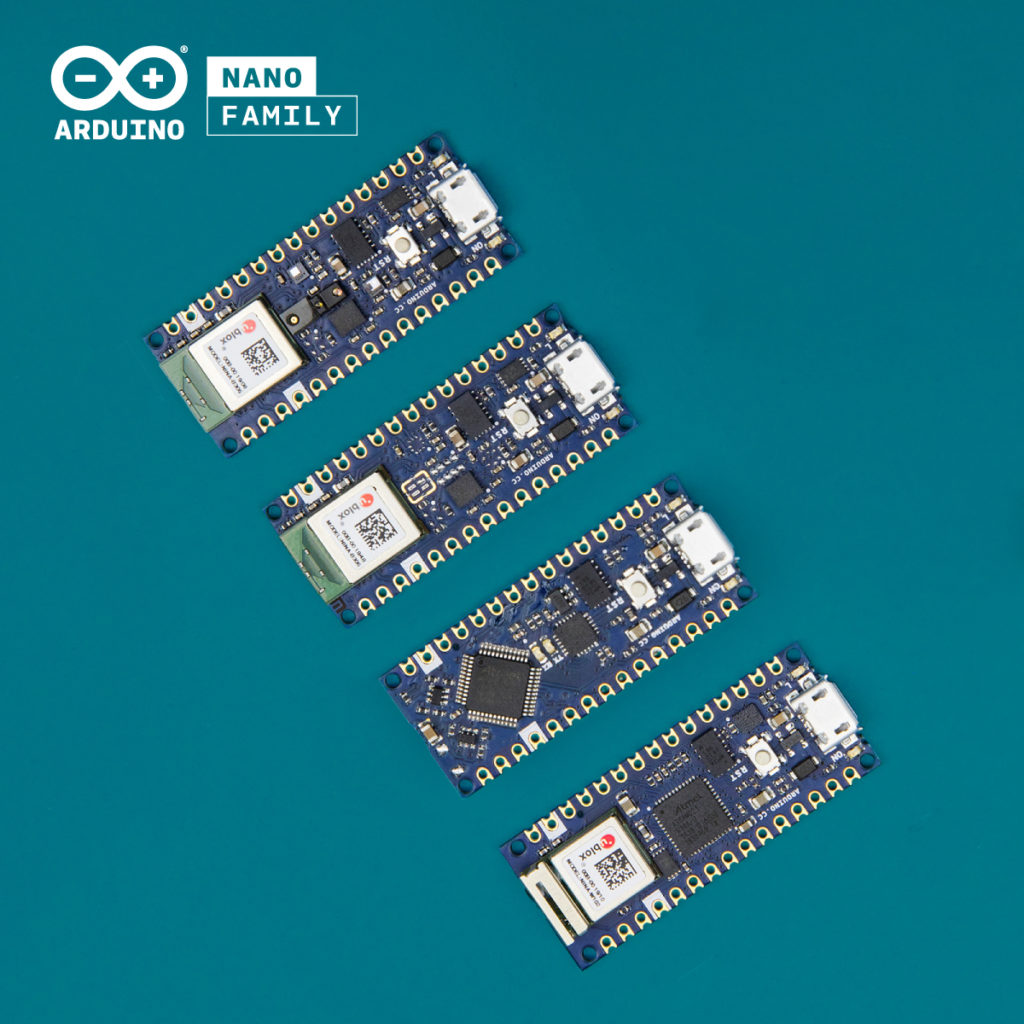
A New Nano Family

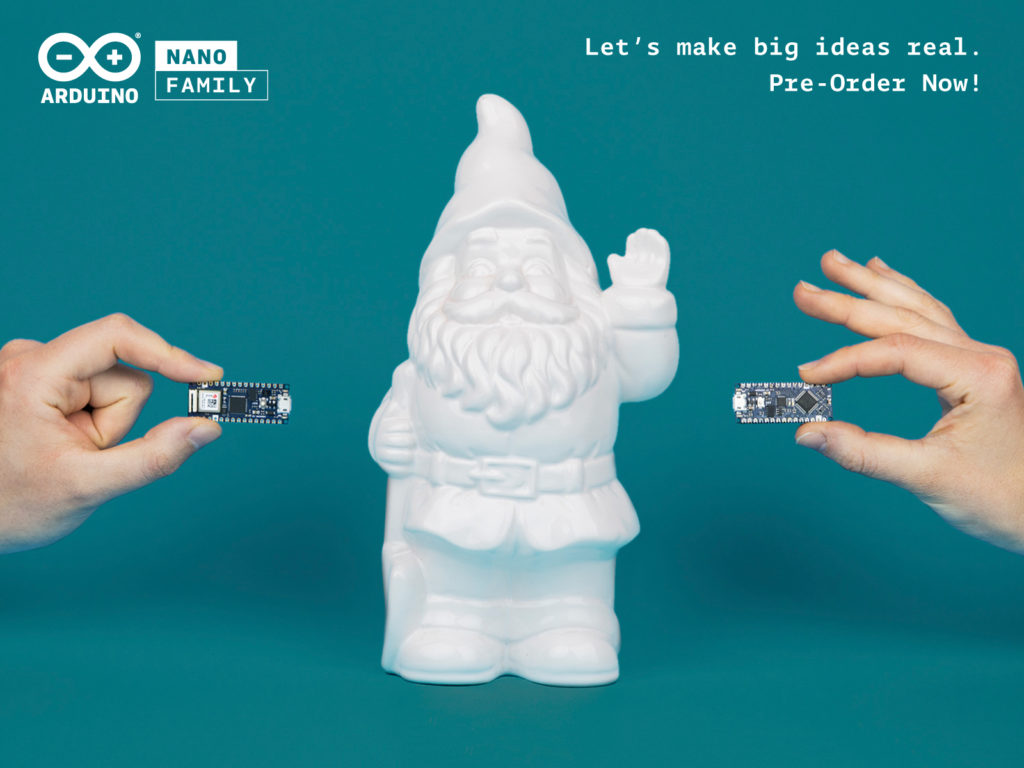
Designed with makers in mind, the new Nano represents a small, powerful and affordable solution for everyday projects. Retaining Arduino’s quality and reliability, they make it easier than ever to turn your project ideas into reality. They are compatible with classic Arduino boards, have low energy consumption, and are equipped with more powerful processors.

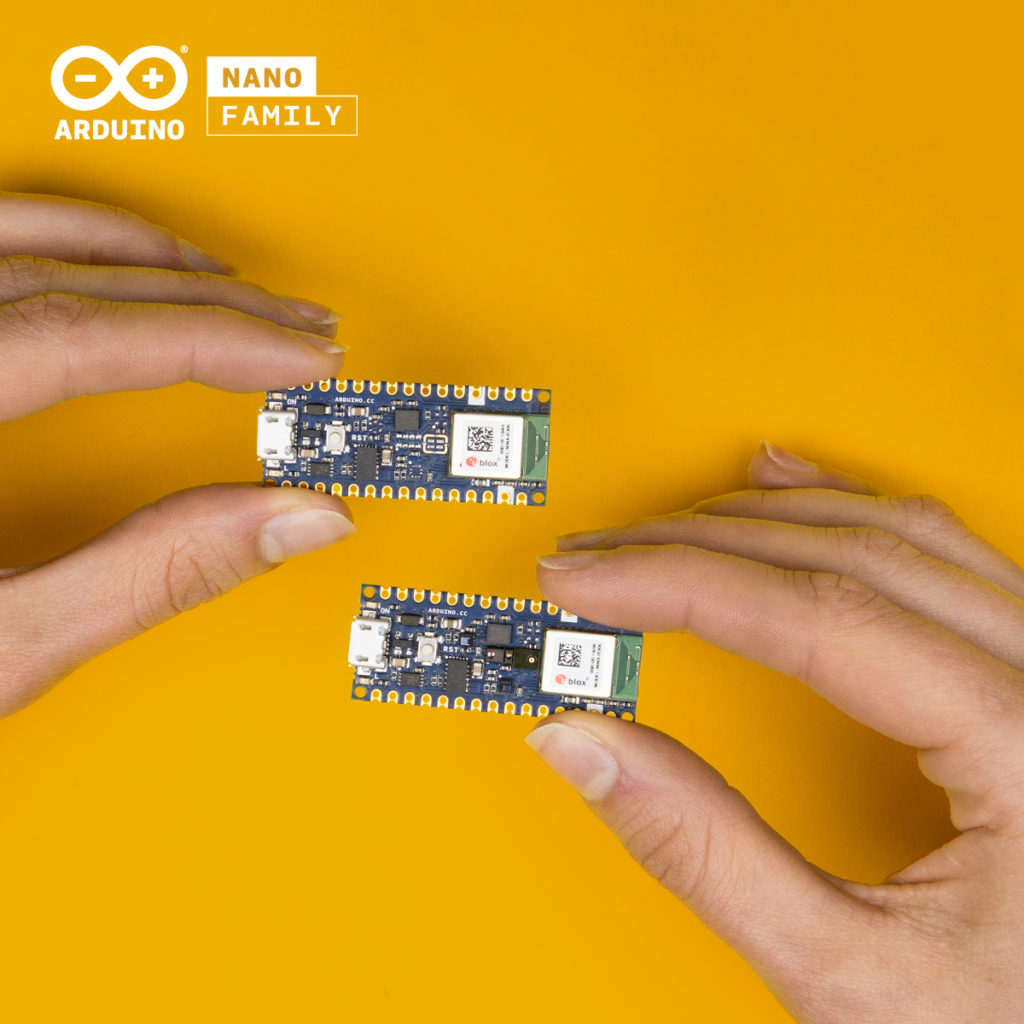
The family is comprised of four different boards:

Arduino Nano Every – perfect for everyday projects. (Pre-order here with headers or here without headers)

Arduino Nano 33 IoT – small, secure, and Internet-connected. (Pre-order here with headers or here without headers)

Arduino Nano 33 BLE – small, low-power, and Bluetooth-connected. (Pre-order here with headers or here without headers)

Arduino Nano BLE Sense – small, low-power, and Bluetooth-connected with a wide range of on-board sensors. (Pre-order here with headers or here without headers)

“The new Nanos are for those millions of makers who love using the Arduino IDE for its simplicity and open source aspect, but just want a great value, small and powerful board they can trust for their compact projects,” commented Massimo Banzi. “With prices from as low as $9.90 for the Nano Every, this family fills that gap in the Arduino range, providing makers with the Arduino quality they deserve for those everyday projects.”

Arduino SIM

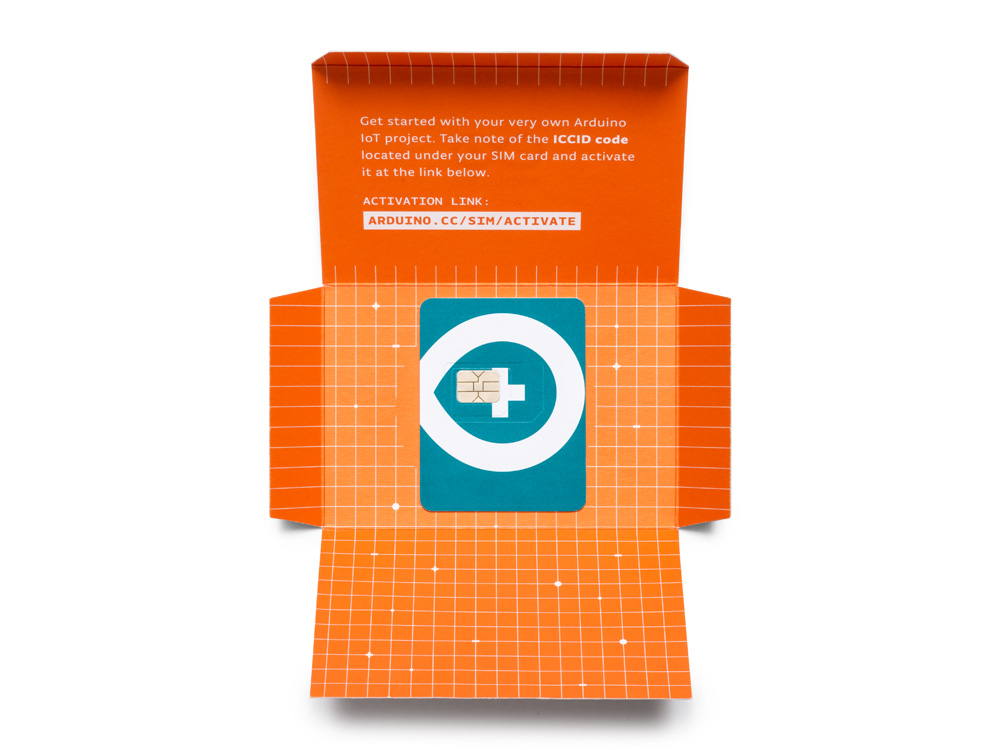
Connect the Arduino IoT Cloud to the world around you! 10MB free data for up to 90 days (5MB per month for $1.50 USD thereafter).

Arduino SIM is the new cellular connectivity service for the Arduino IoT Cloud. The SIM aims to offer the simplest path to cellular IoT device development in an environment familiar to millions. The cellular service, provided by Arm Pelion Connectivity Management, has a global roaming profile meaning a single Arduino SIM can be used in over 100 countries worldwide with one simple data plan. Compatible with the MKR GSM 1400 board, it is ideal for connected devices on the go. Arduino SIM is currently only available in the US — more information can be found here.

If you’re coming along to the faire, remember to bring along your MKR GSM 1400 board and we’ll give you a free SIM to try out!

Arduino Certification Program: Arduino Fundamentals

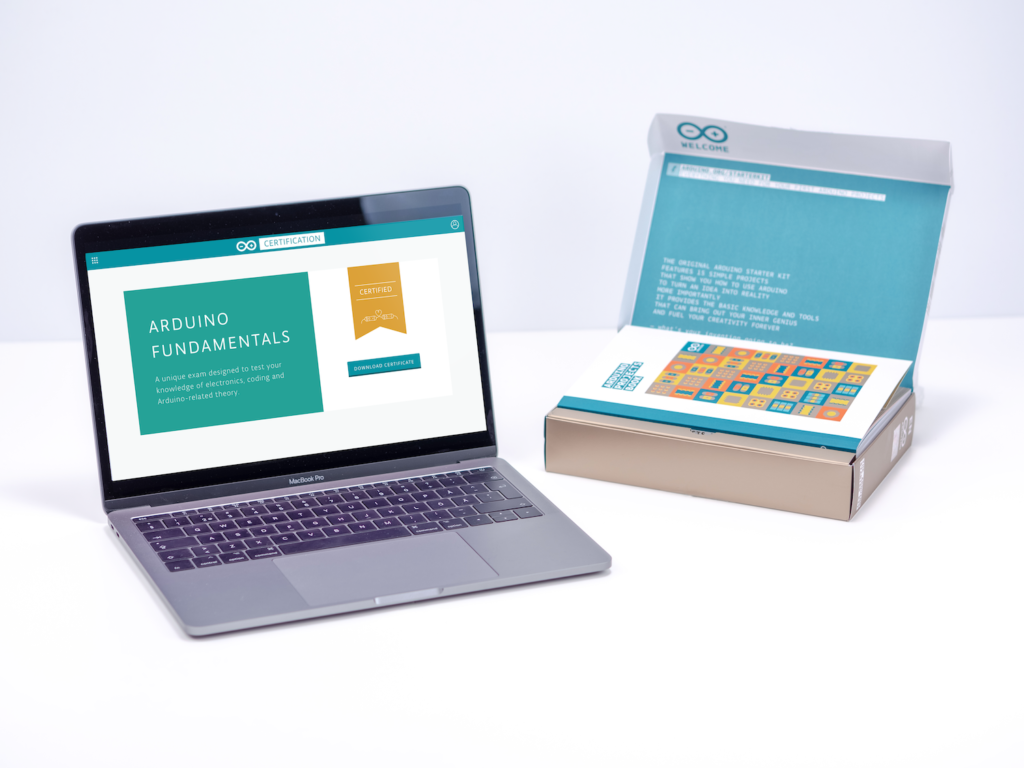
The Arduino Certification Program (ACP) is an Arduino initiative to officially certify Arduino users at different levels and confirm their expertise in key areas. Arduino Fundamentals, representing the first level of the ACP, is now available in the U.S. — access to the exam can be purchased either in combination with the Arduino Starter Kit or as a standalone exam.  

But Wait, There’s More!

If you’ll be in San Mateo, don’t miss Massimo Banzi’s ‘State of Arduino’ talk on Saturday at 2pm PT on the Center Stage, where he will reveal more news and updates!

Printed Perching Pals Proliferate

Anansi in African folktale is a trickster and god of stories, usually taking physical form of a spider. Anansi’s adventures through oral tradition have adapted to the situation of people telling those stories, everything ranging from unseasonable weather to living a life in slavery. How might Anansi adapt to the twenty-first century? [odd_jayy] imagined the form of a cyborg spider, and created Asi the robot companion to perch on his shoulder. Anyone who desire their own are invited to visit Asi’s project page.

Asi was inspired by [Alex Glow]’s Archimedes, who also has a project page for anyone to build their own. According to [Alex] at Superconference 2018, she knew of several who have done so, some with their own individual customization. [odd_jayy] loved the idea of a robot companion perched on his shoulder but decided to draw from a different pool of cultural folklore for Asi. Accompanying him to various events like Sparklecon 2019, Asi is always a crowd pleaser wherever they go.

Like every project ever undertaken, there is no shortage of ideas for Asi’s future and [odd_jayy] listed some of them in an interview with [Alex]. (Video after the break.) Adding sound localization components will let Asi face whoever’s speaking nearby. Mechanical articulation for legs would allow more dynamic behaviors while perched, but if the motors are powerful enough, Asi can walk on a surface when not perched. It’s always great to see open source projects inspire even more projects, and watch them as they all evolve in skill and capability. If they all become independently mobile, we’ll need clarification when discussing the average velocity of an unladen folklore robot companion: African or European folklore?

Small-scale Nano setup with pullup inputs and CR2032 batteries

Arduino boards are used in a wide—massive even—variety of projects. Sometimes, however, all you need is something to give your project the ability to blink an LED, sound an alarm, or accomplish some other simple task. 

For this purpose, maker Jeremy S. Cook has developed a sort of standard method for using these devices, with a 4-position DIP switch soldered to inputs D9-D12, and a double-CR2032 battery pack attached with shrink wrap.

This standardization makes for a very compact setup that can be implemented in a project very quickly. The configuration also highlights the use of “INPUT_PULLUP” in Arduino code, with switches wired to ground. Cook’s technique avoids floating inputs without the need for external resistors.

Arduino Blog 20 Mar 13:40

Synthbike Rolls To The Beat

Modular synthesizers are some of the ultimate creative tools for the electronic musician. By experimenting with patch leads, knobs and switches, all manner of rhythmic madness can be conjured out of the æther. While they may overflow with creative potential, modular synths tend to fall down in portability. Typically built into studio racks and composed of many disparate modules, it’s not the sort of thing you can just take down the skate park for a jam session. If only there was a solution – enter the madness that is Synth Bike.

Synth Bike, here seen in the 2.0 revision, impresses from the get go, being built upon a sturdy Raleigh Chopper chassis. The way we see it, if you’re going to build a synth into a bicycle, why not do it with some style? From there, the build ratchets up in intensity. There’s a series of sequencer modules, most of which run individual Arduino Nanos. These get their clock from either a master source, an external jack, or from a magnetic sensor which picks up the rotation of the front wheel. Your pace dictates the tempo, so you’ll want to work those calves for extended raves at the park.

The features don’t stop there – there are drums courtesy of a SparkFun WAV Trigger, an arcade button keyboard, and a filter board running the venerable PT2399 digital delay chip. It’s all assembled on a series of panels with wires going everywhere, just like a true modular should be.

The best thing is, despite the perplexing controls and arcane interface, it actually puts out some hot tunes. It’s  not the first modular we’ve seen around these parts, either.


Arduino BabyTV is Big Fun at Low Resolution

What kind of TV do you have? An older 720p model, or the now standard 1080p? Perhaps you’ve made the leap to the next generation, and are rocking a 4K display in the living room. All those are are fine and dandy if you just want to watch the local sportball contest, but where’s the challenge in that? With all the technology and modular components we have access to anymore, nowadays all the real hackers are making their own TVs.

Of course, when [Nikolai] built his very own LED TV, he did have to make a few concessions. For one thing, there’s no tuner on this model. Oh, and there’s the small issue of only having a 16×16 resolution. It might not be your idea of the perfect display, but it’s just perfect for his newborn son.

That’s right, [Nikolai] got his entry for the “Hacker Parent of the Year” award in early, and built an LED display for his son that he’s calling “BabyTV”.

Rather than the shows, trash, advertisements that they play on the kid channels, this TV only shows animated characters from retro games. We’ll concede that this project might be an elaborate Clockwork Orange style attempt at hypnotizing his son to instill an appreciation for classic gaming. But we’ll allow it.

To make his BabyTV go, [Nikolai] used a 16×16 WS2812B LED panel and an Arduino Nano. Two rotary encoders are used to allow adjusting brightness and change the character currently being shown on the screen. As a particularly clever hack, the Arduino has an IR sensor attached and is constantly watching for any signals. If an IR signal is detected, the BabyTV switches to the next image. So if Junior has a standard IR remote in his hands, any button he presses will cause the display to change to the next “channel”.

Historically speaking we haven’t seen much stuff for children here at Hackaday, but 2018 seems to be changing that. Recent projects like the incredible scratch built mini excavator and gorgeous AT-ST high chair would seem to indicate we’re currently witnessing a generation of hackers become parents. Don’t panic folks, but we might be getting old.

Final Project for Better Sleep

It’s that time of year again, and students around the world are scrambling (or have already scrambled) to finish their final projects for the semester. And, while studying for finals prevents many from sleeping an adequate amount, [Julia] and [Nick] are seeking to maximize “what little sleep the [Electrical and Computer Engineering] major allows” them by using their final project to measure sleep quality.

To produce a metric for sleep quality, [Julia] and [Nick] set out to measure various sleep-related activities, specifically heart rate, motion and breath frequency. During the night, an Arduino Nano mounted to a glove collects data from the various sensors mounted to the user, all the while beaming the data to a stationary PIC for analysis and storage. When the user awakes, they can view their sleep report on a TFT display at the PIC base station. Ideally, users would use this data to test different habits in order to get the best nights sleep possible.

Interestingly, the group chose to implement their own heart rate sensor. With an IR transmitter, IR phototransistor and an OP amp, the group illuminates user’s fingers and measure reflection to detect heartbeats. This works because the amount of IR reflected from the user’s finger changes with blood pressure and blood oxygen level, which also happen to change when the heart is beating. There were some bumps along the road when it came to the heartbeat sensor (the need to use a finger instead of the wrist forced them to use a glove instead of a wristband), but we think it’s super cool and totally worth it. In addition to heart rate, motion is measured by an accelerometer and breath is measured by a flex sensor wrapped around the user’s chest.

With all of their data beamed back by a pair of nRF24L01s, the PIC computes the sleep “chaos” which is exactly what it sounds like: it describes just how chaotic the user slept by looking for acyclic and sudden movement. Using this metric, combined with information from breathing and heart rate, the PIC computes a percentage for good sleep where 100% is a great night and 0% means you might have been just as well off pulling an all-nighter. And, to top it all off, the PIC saves your data to an SD card for easy after-the-fact review.

The commented code that powers the project can be found here along with a parts list in their project write-up.

This device assumes that sleeping is the issue, but if waking up if your problem, we’ve already got you covered, aggressive alarm clock style. For those already on top of their sleep, you might want some help with lucid dreaming.

Video of the project explained by [Julia] and [Nick] after the break.

Thanks to [Nick] for sending this in!


Filed under: hardware

Super simple controller for Motorcycle LED lights

For automobiles, especially motorcycles, auxiliary lighting that augments the headlights can be quite useful, particularly when you need to drive/ride through foggy conditions and poorly lit or unlit roads and dirt tracks. Most primary lighting on vehicles still relies on tungsten filament lamps which have very poor efficiency. The availability of cheap, high-efficiency LED modules helps add additional lighting to the vehicle without adding a lot of burden on the electrical supply. If you want to add brightness control, you need to either buy a dimmer module, or roll your own. [PatH] from WhiskeyTangoHotel choose the latter route, and built a super simple LED controller for his KLR650 bike.

He chose a commonly available 18 W light bar module containing six 3 W LEDs. He then decided to build a microcontroller based dimmer to offer 33%, 50% and 100% intensities. And since more code wasn’t going to cost him anything extra, he added breathing and strobe modes. The hardware is as barebones as possible, consisting of an Arduino Nano, linear regulator, power MOSFET and control switch, with a few discretes thrown in. The handlebar mounted control switch is a generic motorcycle accessory that has two push buttons (horn, headlight) and a slide switch (turn indicators). One cycles through the various brightness modes on the pushbutton, while the slide switch activates the Strobe function. A status indicator LED is wired up to the Nano and installed on the handlebar control switch. It provides coded flashes to indicate the selected mode.

It’s a pity that the “breathing” effect is covered under a patent, at least for the next couple of years, so be careful if you plan to use that mode while on the road. And the Strobe mode — please don’t use it — like, Ever. It’s possible to induce a seizure which won’t be nice for everyone involved. Unless you are in a dire emergency and need to attract someone’s attention for help.


Filed under: led hacks
Hack a Day 09 Sep 09:00

Regulate air flow with Arduino

Blow guns can be very helpful around your workshop, but sometimes you want a subtle shot of air instead of a full blast. There are several ways to take this on, but YouTuber “MBcreates” decided on a novel method using an Arduino Nano for control.

In his setup, a stepper is used to turn a screw as a linear actuator, pushing an intermediate blow gun’s trigger at progressively more aggressive intervals. This effectively regulates the air flow going into the handheld blow gun, allowing for a more subtle burst of air when needed.

Simple is often better. So I grabbed an old blow gun and used this a valve. The Arduino Digital Air Pressure Regulator uses a NEMA 17 stepper motor to press the lever of the blow gun. A micro end switch was placed against the lever. When the Arduino Nano goes through the setup, the stepper hits the end switch, now the program knows the exact position of the stepper.

The video seen here features some very clever build techniques, and it really turned out spectacular, especially considering it was MBcreates’ first Arduino project!

Fling discs with a brushless motor and an Arduino

YouTuber “austiwawa,” apparently not satisfied with other methods of causing mayhem in his garage and backyard, has come up with an innovative disc shooter.

His homemade device uses a brushless motor controlled by an Arduino Nano and an ESC to pull a vacuum belt at high speeds. A clear plastic tube on top holds a stack of about 27 3D-printed discs. At the press of a button, they are then fed one by one onto the belt surface by another motor, which accelerates the disc to ejection velocity and out the “muzzle.” There’s also a potentiometer that allows him to adjust the fire rate.

Although it appears to work quite well, destroying items like an apple and eggs, austiwawa notes that this is only a prototype, and plans to make a fully 3D-printed version in the future. At that point, he’ll release the Arduino code and STL files, making it easy for others to duplicate!

Until then, check it out in action below!

Hackaday Prize Entry: CPAP Humidifier Monitor Alarm

CPAP (Continuous Positive Airway Pressure) machines can be life-changing for people with sleep apnea. [Scott Clandinin] benefits from his CPAP machine and devised a way to improve his quality of life even further with a non-destructive modification to monitor his machine’s humidifier.

With a CPAP machine, all air the wearer breathes is air that has gone through the machine. [Scott]’s CPAP machine has a small water reservoir which is heated to humidify the air before it goes to the wearer. However, depending on conditions the water reservoir may run dry during use, leading to the user waking up dried out and uncomfortable.

To solve this in a non-invasive way that required no modifications to the machine itself, [Scott] created a two-part device. The first part is a platform upon which the CPAP machine rests. A load cell interfaced to an HX711 Load Cell Amplifier allows an Arduino Nano to measure the mass of the CPAP machine plus the integrated water reservoir. By taking regular measurements, the Arduino can detect when the reservoir is about to run dry and sound an alarm. Getting one’s sleep interrupted by an alarm isn’t a pleasant way to wake up, but it’s much more pleasant than waking up dried out and uncomfortable from breathing hot, dry air for a while.

The second part of the device is a simple button interfaced to a hanger for the mask itself. While the mask is hung up, the system is idle. When the mask is removed from the hook, the system takes measurements and goes to work. This makes activation hassle-free, not to mention also avoids spurious alarms while the user removes and fills the water reservoir.

Non-invasive modifications to medical or other health-related devices is common, and a perfect example of nondestructive interfacing is the Eyedriveomatic which won the 2015 Hackaday Prize. Also, the HX711 Load Cell Amplifier has an Arduino library that was used in this bathroom scale refurb project.


Filed under: Arduino Hacks, Medical hacks, The Hackaday Prize