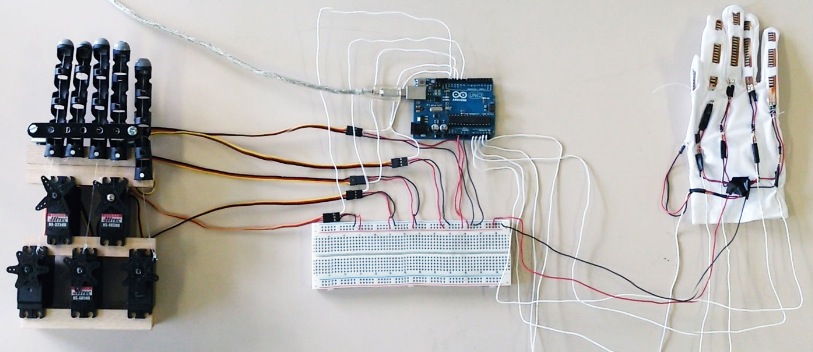
Gabri295 published on Instructable a tutorial for a project created during his last year of high school. It’s an artificial hand controlled by a glove with 5 flex sensors and Arduino Lilypad . The artificial hand reproduces the movements of the hand wearing the glove.
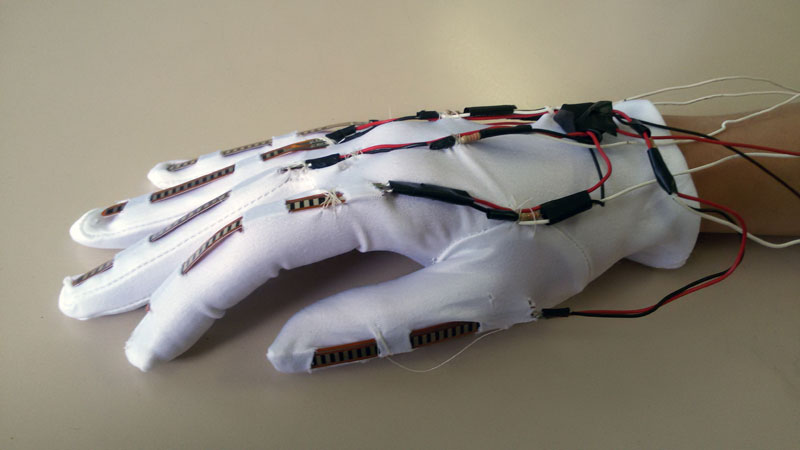
The components you need to control glove are:
• an elastic glove;
• Lilypad Arduino board (there are different versions, which usually only have 4 analog inputs, so pay attention and buy the one in the image);
• Shield to connect the Xbee module;
• 5 Flex sensors;
• 5 resistors: 47 K?;
• battery pack with 3×1.5 V batteries (Lilypad can be powered from 2.7 to 5.5 V, so 4.5 V it’s ok);
• LilyPad FTDI adapter (quite optional).
The materials needed for the robotic hand are:
• a steel structure for the palm of the hand and wood for the fingers;
• Arduino UNO board;
• 5 servomotors;
• to connect the servomotors I used the Robot_Shield from FuturaElettronica, which has also a switching regulator to power the entire circuit, but you can use any shield made for that;
• Shield to connect the XBee module (I made an horrible one, but it’s economic and I needed to make it small because of the size of the Robot_Shield, you can buy even XBee shields which have also pins to connect the servomotors);
• fishing wires;
• 9 V Battery.
Below you can take a look at the schematic and then follow the steps to make one yourself!


 A reddit user asked for workouts for his brother, who lost his hands. Another user responded with a 3D printed prosthetic.