Add smartphone control to your rolling backpack

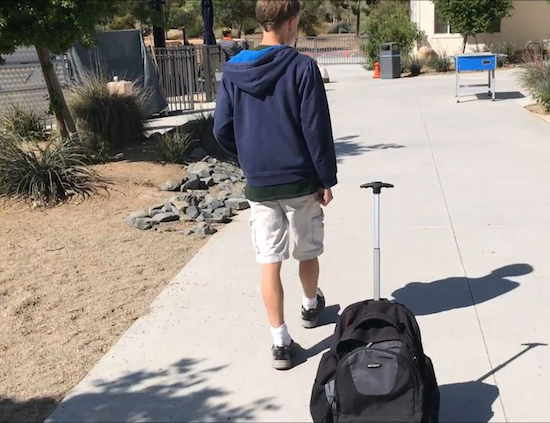
Have you ever hopped off the plane at LAX with a… rolling backpack, and wished it would just push itself? Using an Arduino and motor controllers, “TannerTech” made his own robo-backpack.
Carrying backpacks around is so 20th century. Modern travelers, of course, get their robotic minions to drive the bags around for them. Or at least that’s what this Maker’s vision seems to be. The backpack in question is wheeled around by two motors on mounts made out of paint sticks. Control is provided by an Arduino Mega using an H-bridge motor controller to handle the relatively high current required.
In order for a human to call the backpack to him or herself, an “Arduino bluetooth controller” Android app is used to send characters to the Mega and Bluetooth module in the bag. Electronics are housed inside of a pencil case, making this a surprisingly accessible project.
You can find out more on TannerTech’s Instructables page, and see a demo of it below!