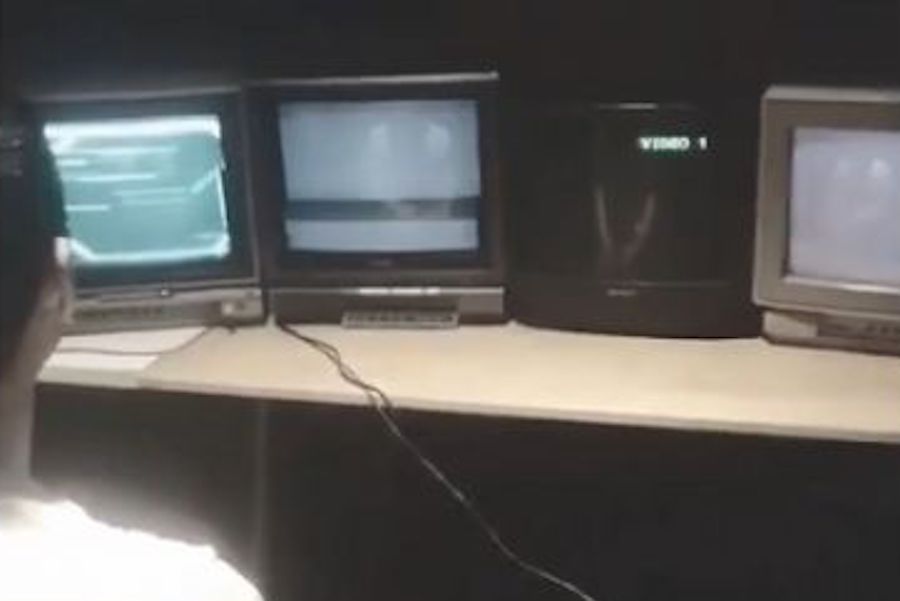
While you might see a CRT by the side of the street and think noting of it, Ryan Mason has come up with a novel use for five of them in a row called the Cathode MK1.
This set uses the Unity game engine along with an Arduino board to spread games across five tube TVs arranged side-by-side.
In order to keep project costs down, Mason’s gaming rig is restricted to displaying a game signal on one TV at a time. This makes gameplay even more interesting, especially considering that the way that each TV handles a loss of signal contributing to the experience.
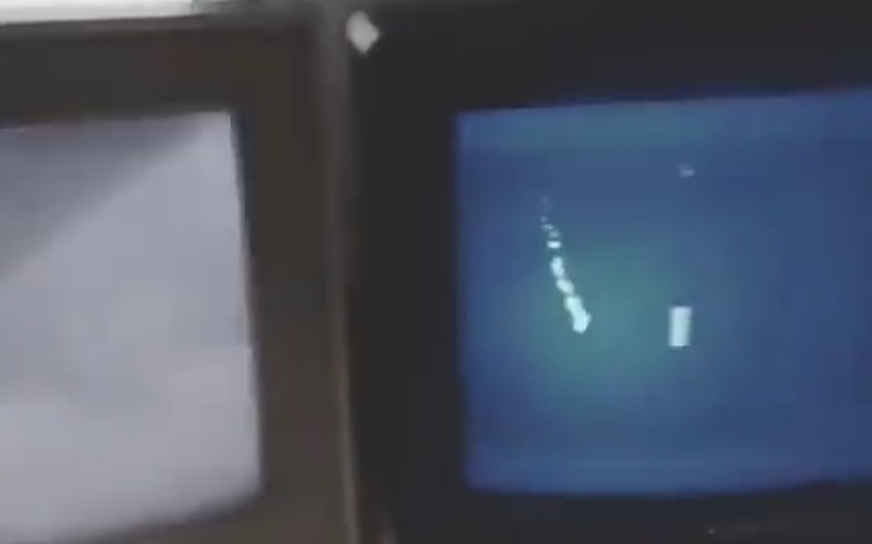
Several games are available for this unique system, including Long Pong AKA Pooooong, where a ball bounces from screen to screen as shown in the clip below.
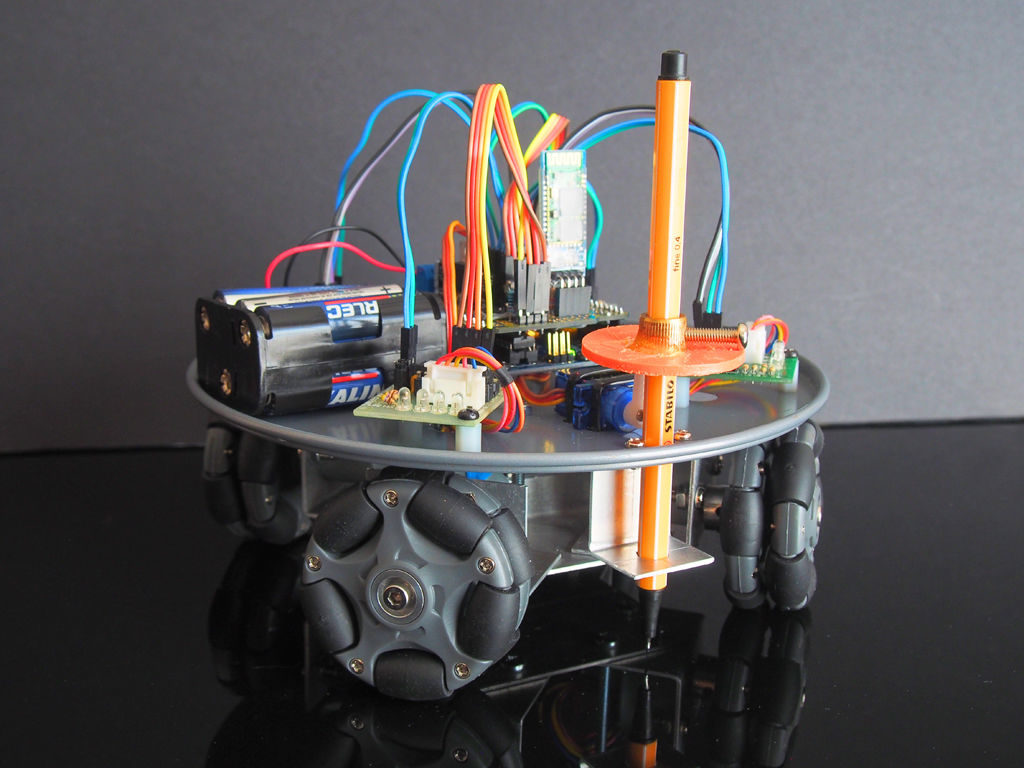
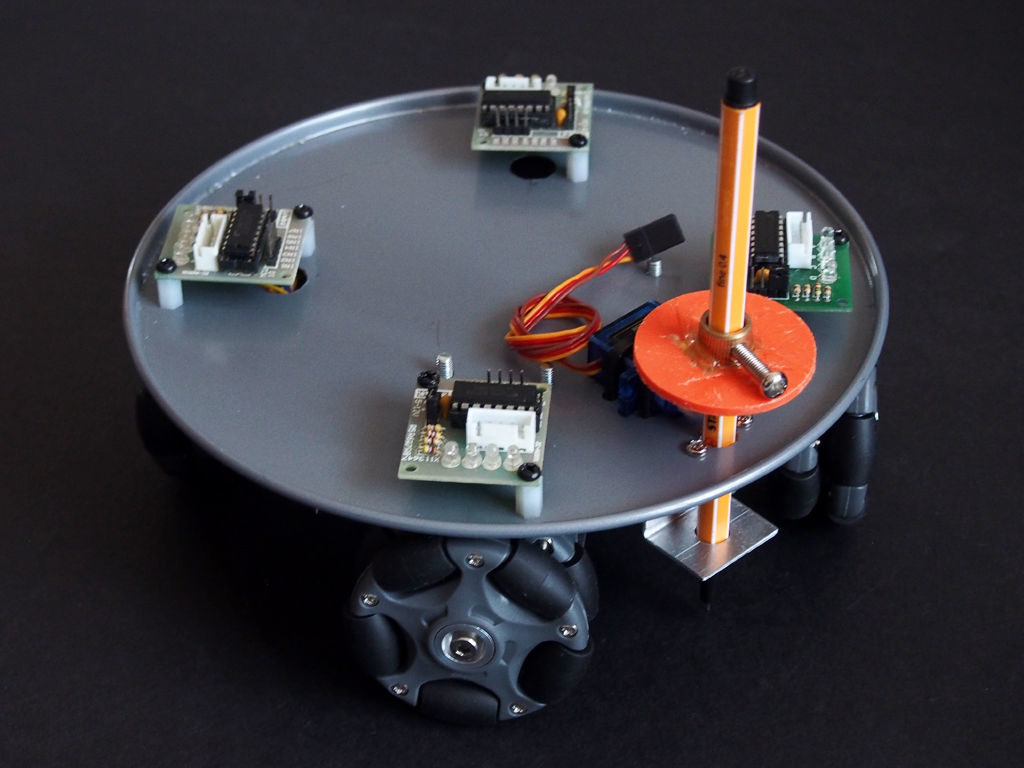
Retired maker “lingb” created an omni-bot, with four wheels that allow sliding motion in the X/Y plane courtesy of their perpendicular rollers. While that alone would have been a fun build, he also attached a pen, along with a servo-based lifting mechanism, turning this robot into a free-range plotter!
The device is controlled by an Arduino Uno and Bluetooth module, and takes movement commands via a linked smartphone or tablet. Four 28BYJ-48 stepper motors with ULN2003 drivers move each wheel, though outputs are shared between opposite motors to save on I/O.
This means that rotating the robot isn’t possible, but as shown in the video below, this isn’t needed to plot straight and curved lines with good accuracy.
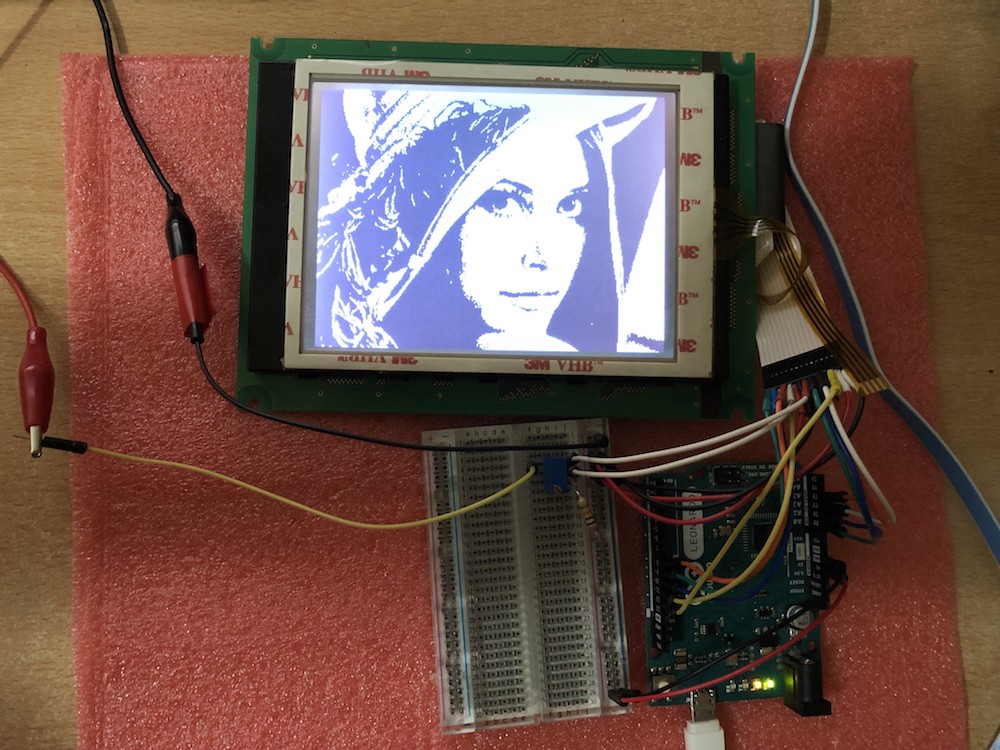
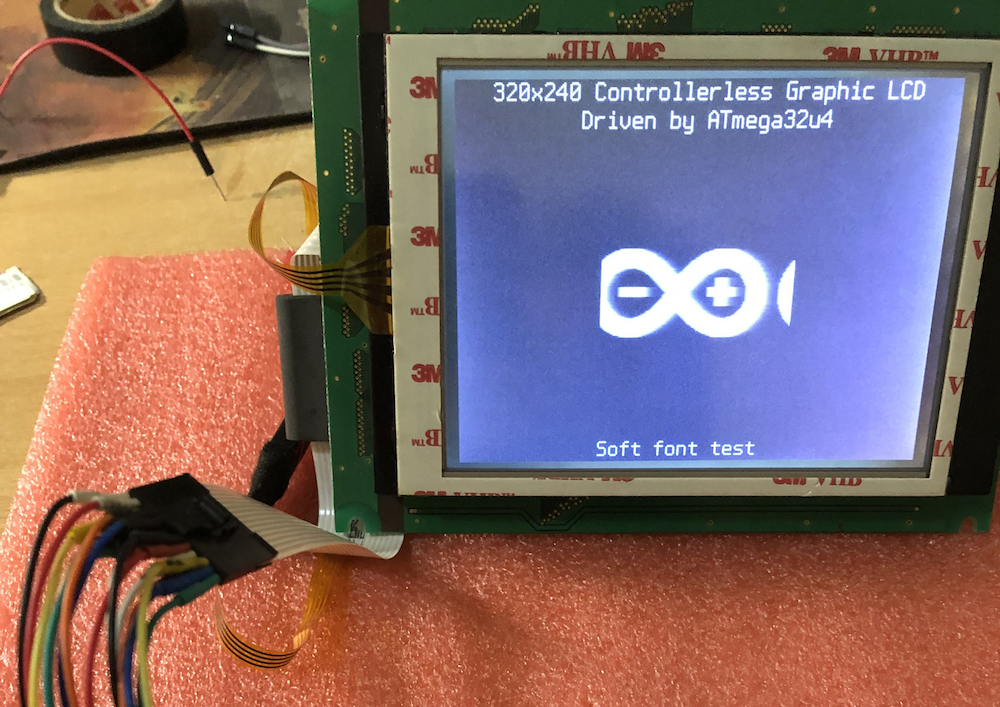
As hardware hackers, we’re always on the lookout for discarded components that can be re-purposed into something even more awesome. One such class of component that you may find is the controller-less graphics LCD modules, which can be found on old copiers, tape libraries, and the like.
This project by Ivan Kostoski shows how to drive one of these displays with a 320×240 resolution. He’s tested his code using several types of Arduino board, such as the Uno and Leonardo, using minimal external components.
Summary Repository contains code samples for driving 4-bit parallel controllerless graphics LCD (CLGLCD) module with AVR MCU on an Arduino board, using minimal external components and staying within Arduino IDE.
4-bit Controllerless Graphics LCD modules Controllerless graphics LCD modules are antiques that can be salvaged from old copiers, tape libraries, etc… They commonly are missing, well, the controller chip, the one with the memory. Don’t go buying one of these, for Arduino usage, even if you find them on sale. They are usually industrial, have poor viewing angles, generally slow response time, and pain to work-with. There, I said my peace… But if you already have one, their size (i.e. 5.7in) or simplicity can have its uses and beauty.
I have tested this code with 320×240 STN LCD monochrome module marked as F-51543NFU-LW-ADN / PWB51543C-2-V0, salvaged some time ago from retired tape library, without the controller module (which it appears is based on FPGA and wouldn’t be of much use anyway).
The same type of interface (4-bit data) with various signal names is present on many industrial modules based on multiplexed column and common row LCD drivers, like LC79401/LC79431. Or this is what is behind the controller IC. They all have some variations like LCD drive voltage (positive or negative, depending on temperature and size of the module), backlight (LED/CCFL), some logic quirks (i.e. CL2 is ignored while CL1 is up, etc…), so maybe this code can be adapted to other controllerless modules. Module’s datasheet is necessity for the connector pinouts and timing requirements. Some modules may even generate LCD drive voltage internally, and outputting it on a pin so actual V0 driving voltage can be adjusted.
More info on the build/technique is found on GitHub, where you can also download project code and find more background on how interfacing with these devices works.
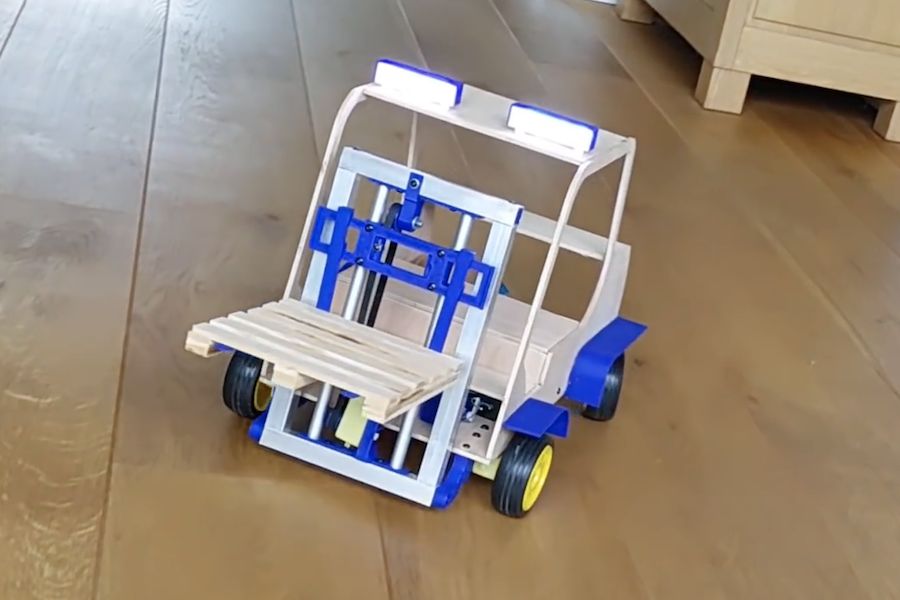
Remote control cars are interesting, but as Leon van den Beukel shows in the video below, an RC forklift can be even more challenging and fun to create.
His project was constructed using a variety of hand and automated techniques, resulting in a build that can easily manipulate tiny pallets. Forks are lifted into the air via a motor and belt assembly, and tilted with a small servo.
The device uses an Arduino Mega for control, and is linked to an Android phone over Bluetooth for user interface. Code, along with STL files and drawings, are available on GitHub and the custom Android control app can be found here.
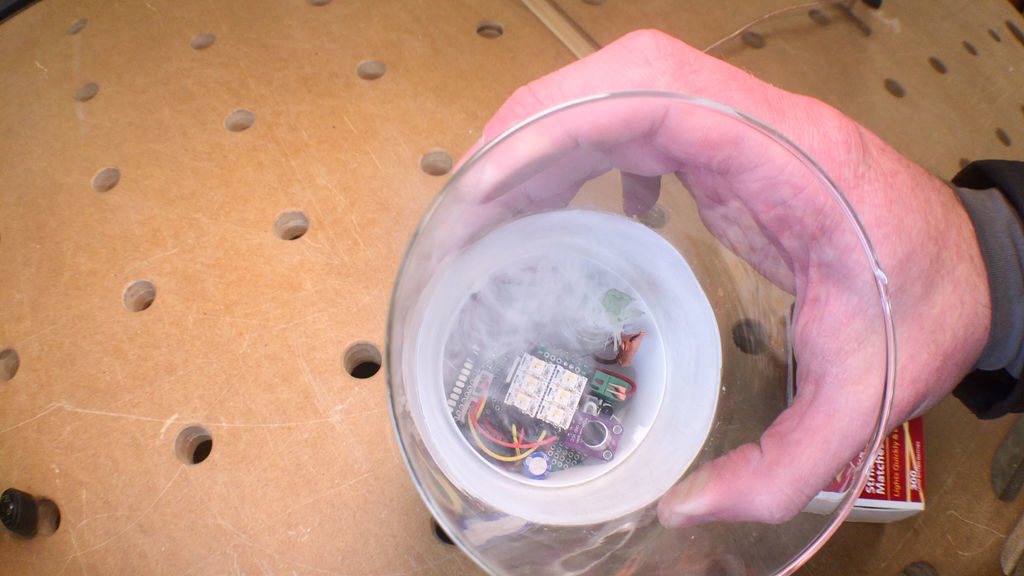
Keith of “Keith’s Test Garage” wanted an LED candle. While somewhat realistic flicking units are easy to find, he was in search of something much more like the actual thing, and after several years of work has come up with a rather amazing replica.
The device’s wax-embedded glass enclosure houses an Arduino, along with a series of six RGBW LEDs inside that randomly flicker away to simulate a flame. This effect is triggered via a real match, which is sensed by an IR module. To stop the effect, one literally blows out the candle through a microphone input that picks up on this action.
Most impressively however, upon putting out the faux flame, a length of resistive wire heats up glycerin and smelling oil on a wick, producing a puff of smoke to end the light performance.
Maker Jeremy S. Cook has experimented with both CNC machinery and light painting in the past, and decided to combine these two skills into a new artistic device.
His setup uses a web app found here to program a CNC router as a sort of dot matrix printer. But instead of a pen, pencil, brush or other marking utensil, it uses a button as an input to the onboard Arduino Nano when pressed to the router’s surface.
From this input, the Arduino then commands a diffused RGB LED to “mark” the surface with light, painting an image on the camera’s exposed sensor.
Code and print files are are available on GitHub if you’d like to try your own light art experiments!
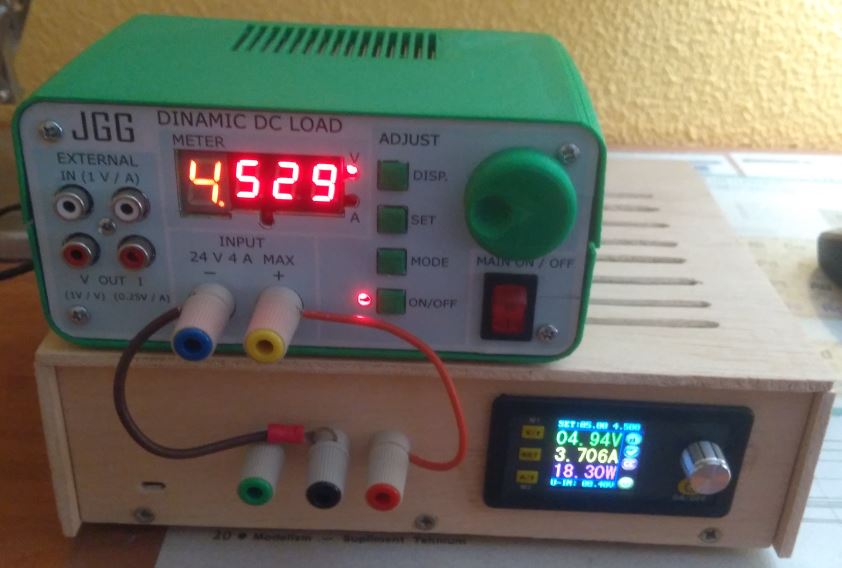
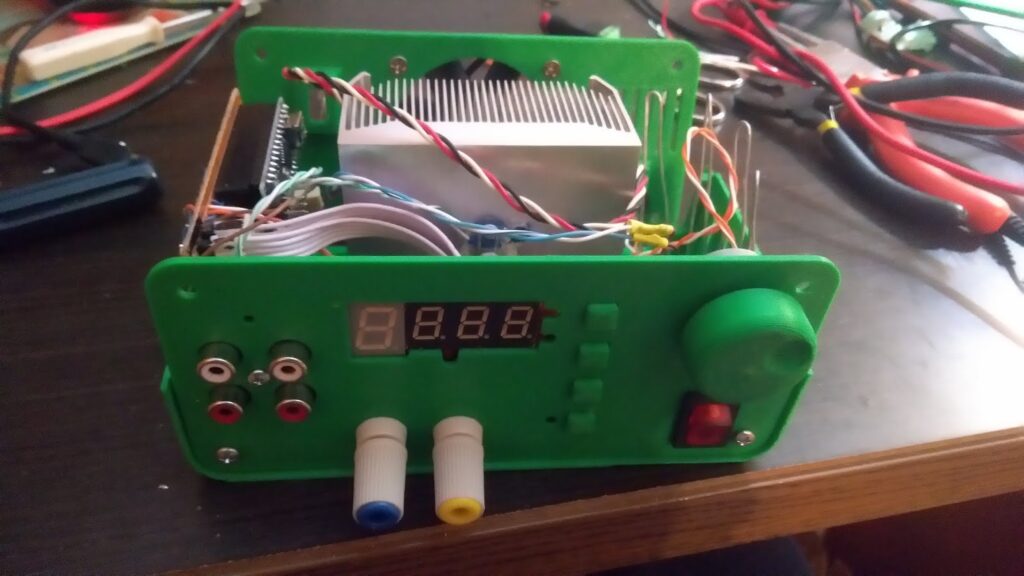
As seen here, Juan had some problems with his power supply, and while he wanted to “simply” build another one, he didn’t let the power supply go to waste. Instead he converted it into an adjustable dummy load based on the design by Dave Jones’ shown below.
This device, however, is no mere duplication of Jones’ and adds an Arduino for control, allowing for voltage, current, power, and temperature monitoring. The enclosure was designed in Fusion 360 and 3D-printed, and the front panel overlay in Inkscape.
Other interesting tricks include using a readily available DC motor for input instead of an encoder, along with an array of 7-segment displays that don’t quite all match, but act as functional outputs nonetheless.
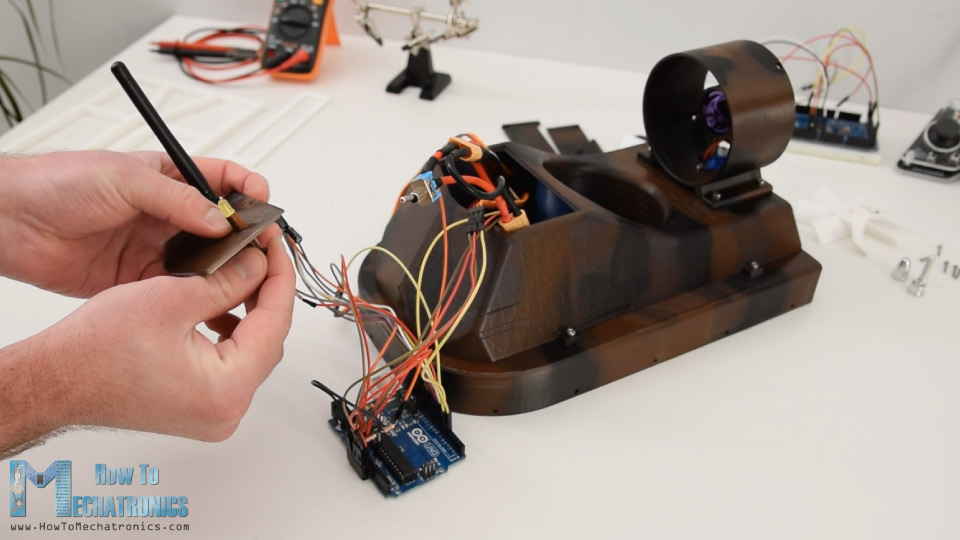
If you’ve ever considered building your own RC hovercraft, be sure to check out the latest project from “How To Mechatronics.”
The build shows how to assemble one using a variety of 3D-printed parts, a pair of brushless DC motors for hover airflow and forward motion, and a servo for steering.
An Arduino Uno along with an nRF24L01 module are employed for control, and as demonstrated in the video below, it slides across a basketball court with the greatest of ease!
More info is available on How To Mechatronics’ write-up, including CAD/3D printing files, a parts list, and Arduino code.
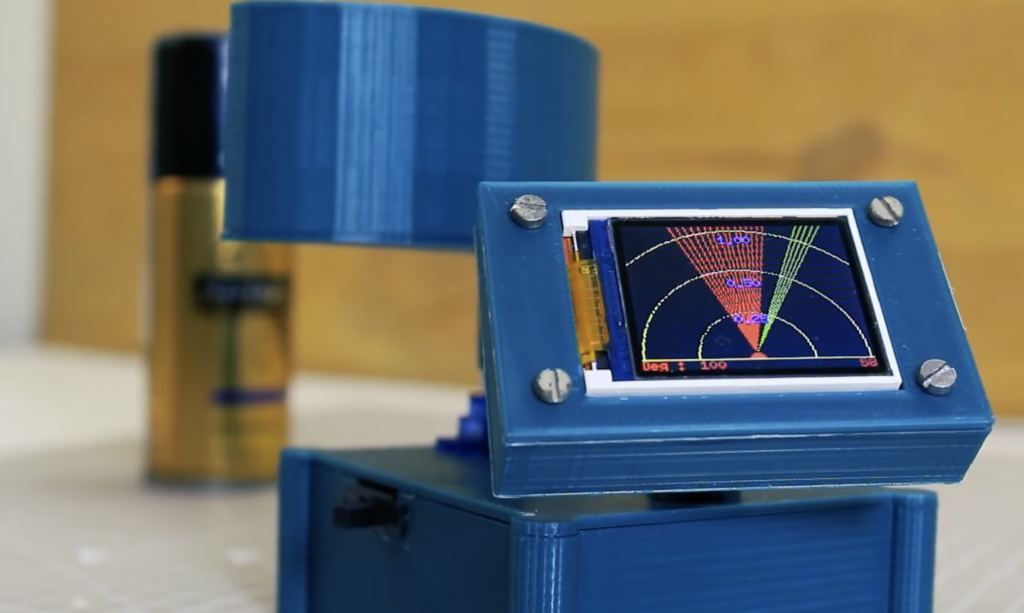
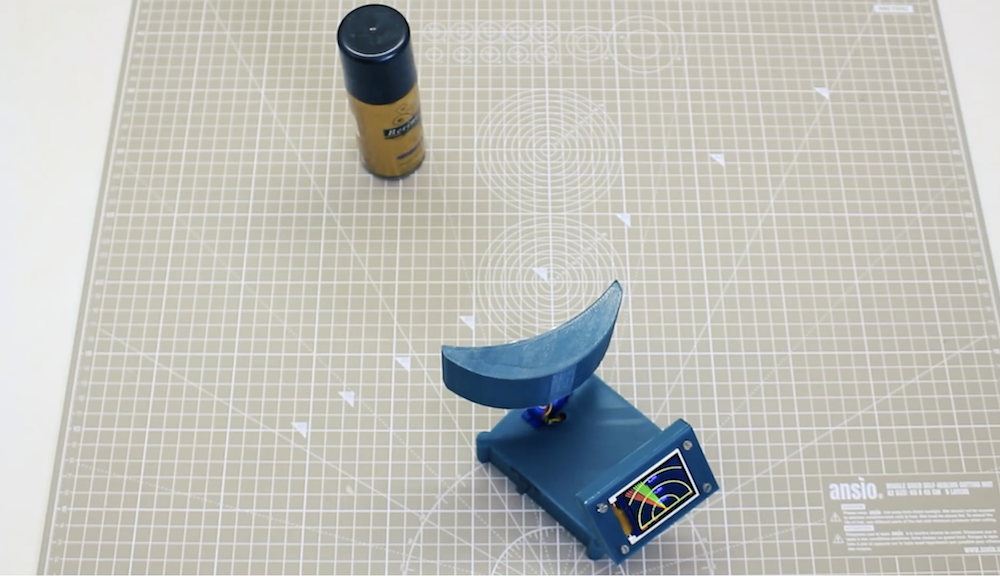
Ultrasonic sensors, which emit a high frequency sound wave then listen for its return to determine an object’s distance, are useful in a wide variety of robotics projects. If you’d like a visualization of how the sensor views an area, this “radar” from Mr Innovative presents a fun option.
The 3D-printed console features a small SG90 servo to pan the sensor over a space, picking up obstacles in its path. The readings are then transmitted to an Arduino Nano, which displays object info on a TFT screen set up to look reminiscent of a radar screen.
I have made a mini compact radar with display for that I have used HC-SR04 ultrasonic sensor, this sensor emit ultrasonic sound which came back to sensor after reflecting from an object, all the data visualization is displayed on 1.8″ ST7735 display, if any object detect by radar it’ll show in display in red line.
The build could function either as a great teaching tool, or perhaps the basis for a panning robot sensor. Print files can be found here, and code is available on GitHub.
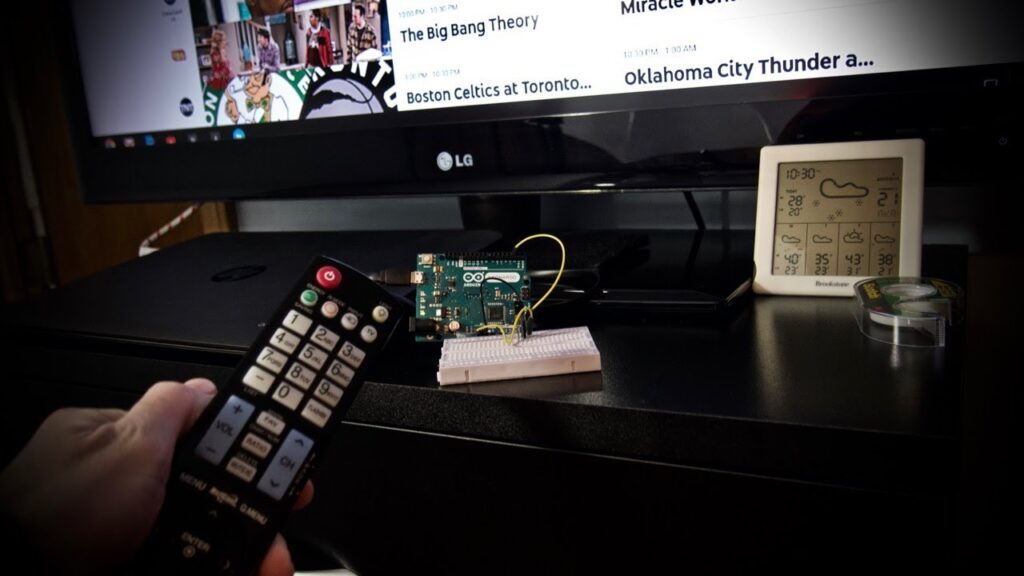
While channel surfing might increasingly seem to be a thing of the past, Kevin Darrah demonstrates that it’s possible to control your streaming computer with a traditional TV remote.
His simple solution reads IR signals with an IR detector module, which can then be passed along and translated into USB keypresses for computer control.
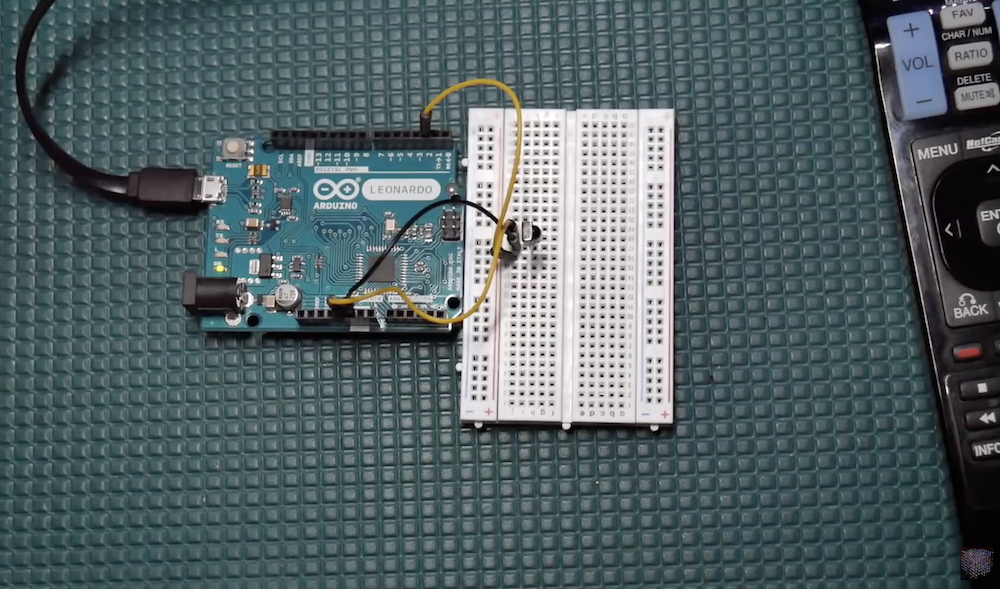
You can see his experimental Arduino Leonardo setup in the video below, which takes advantage of the board’s ATmega32U4 chip to emulate USD keyboard functions directly.
Fun project here that could have a lot of uses – basically a TV remote to USB translator, so could think of a lot of ways to use something like this. For me, I just wanted an easy way to channel surf using the same TV remote that came with the TV. For this, I just read in the IR codes form the remote, then map them to key-strokes to do different things. I could see the up/down left/right keys being used to drive the mouse around… lol, that might be my next project!
The bulk of the clip, however, is around a discussion on decoding IR signals and the programming involved (code available here), starting at about 6:00 in.