

The PICnDuino Review
For those of you that can’t make a decision between buying an Arduino and a PIC processor, [Brad] has come up with a novel solution, the PICnDuino. We’ve featured him before with his [Retroball] project, but this time Brad has been full funded on Kickstarter, and is pre-selling boards for delivery in March.
[HAD], specifically I, was fortunate enough to be sent one of the boards to try out early. I’ve worked with an Arduino before, but never a PIC processor, so read on to see if it was actually as easy as the tutorial video (at the end of the article) would have you believe it is to get started.
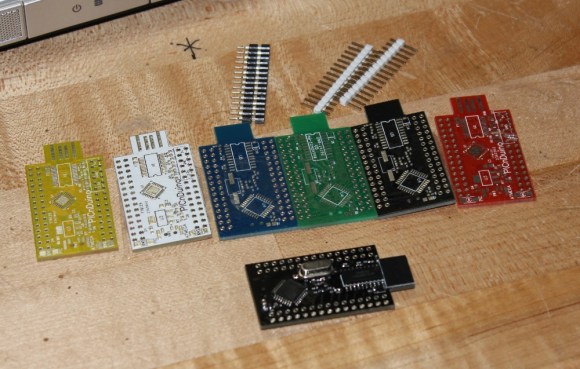
I was sent both a black board fully populated, as well as several blanks in the various colors pictured below. After loosely attaching the headers, I found that the oscillator on the bottom makes the board sit up a bit when placed into a breadboard. This is actually a clever design feature to make sit up a bit to allow USB attachment while breadboarded. After a quick physical inspection, the real trick would be seeing if it worked as advertised.
The first challenge for me was that, according to the documentation, this board runs in Windows or a virtualisation environment. I normally run Ubuntu, so, grabbing my wife’s circa 2000 vintage XP notebook, I downloaded and Amicus and Arduino software as explained in the video tutorial. The tutorial really spells out how to get the software running. This would be great for a total beginner, and made it so I didn’t have to even poke around for where to get the software.
The only issue I had connecting to the board(s?)was that I had to manually install the Amicus18 USB driver. I’m a total noob when it comes to the PIC processor, and only have limited experience with the Arduino, but once the driver was updated, it was quite easy to get everything going.
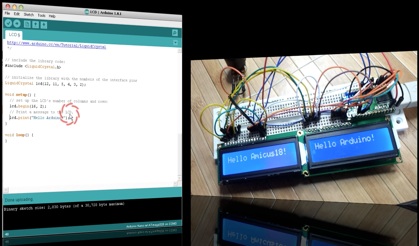
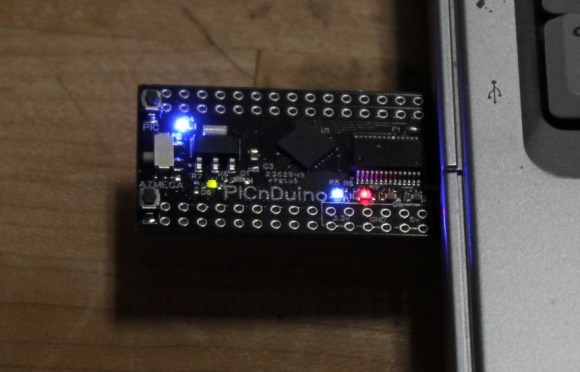
After programming a “blink” sketch using it as an Arduino, I then flipped a switch and opened the Amicus IDE. Programming the PIC was also simple, although I had to use a and modify a program called “LED_Flash” to match the video instead of the “blink” program as described in the tutorial. It was a bit strange to see the built in blinking light for the Arduino still working while the PIC was being programmed, as well as both built-in lights blinking slightly offset while running simultaneously.
The documentation is extremely well done for a product that won’t even be available for delivery until March 2013. I’m really excited to play with it more, and I think it will be a great tool for people to either run two processors simultaneously, or just have the option of learning to program both a PIC and (n) Arduino. So check it out here, and get it shipped worldwide straight out of Australia!
Side note, bonus points if you can tell from the two pictures what kind of computer I used for this review!
Filed under: arduino hacks, reviews


[original story: Hack a Day]