Posts with «uno q» label

How little does an AI agent need, and how cheap can it get?

A recent article revealed that OpenAI is purchasing tens of thousands of Mac minis and Mac Studios to give AI agents dedicated environments to run, make mistakes, and learn. It’s a smart infrastructure decision for agents meant to operate inside a computer clicking, navigating, using software: they need a full computer to practice on. But it got us wondering: is that always the right environment for an agent?

Why agents need their own environment

An AI agent isn’t a chatbot. It perceives a situation, takes an action, observes the result, adjusts, and tries again – in a loop that requires a persistent local environment with compute, I/O, and feedback. You can’t outsource the whole thing to a cloud API, because the agent needs somewhere to live and something to interact with. In OpenAI’s situation, the answer is: give it a computer. That works well when the goal is teaching agents to use software. But software isn’t the whole world.

Physical AI needs something different (and surprisingly cheaper)

A Mac mini today starts at around $900. At the scale OpenAI is reportedly operating, the infrastructure bill is substantial. That cost is justified when you need a full computing environment. But what if the agent’s environment doesn’t need to be a general-purpose computer? What if it needs to be a temperature sensor, a camera feed, a production line?

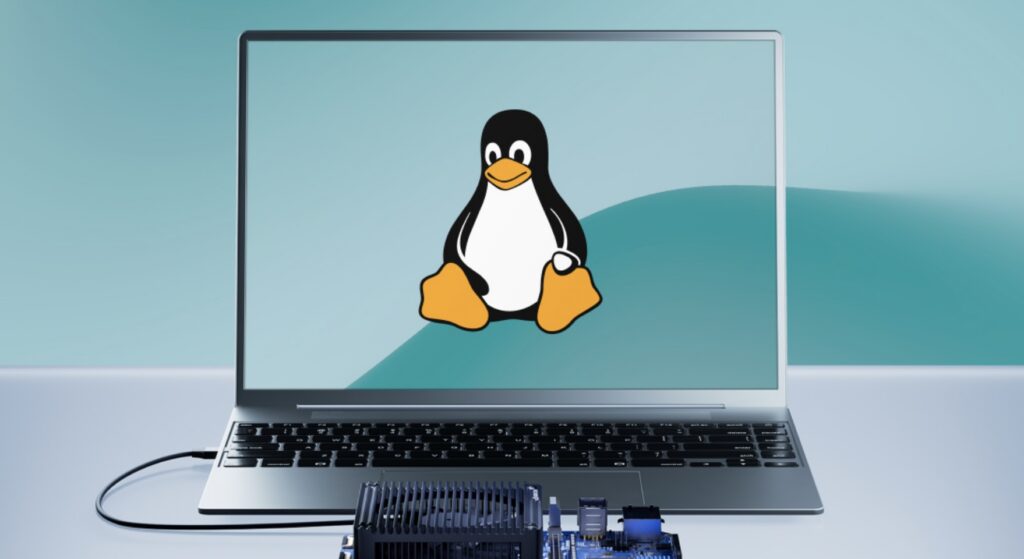
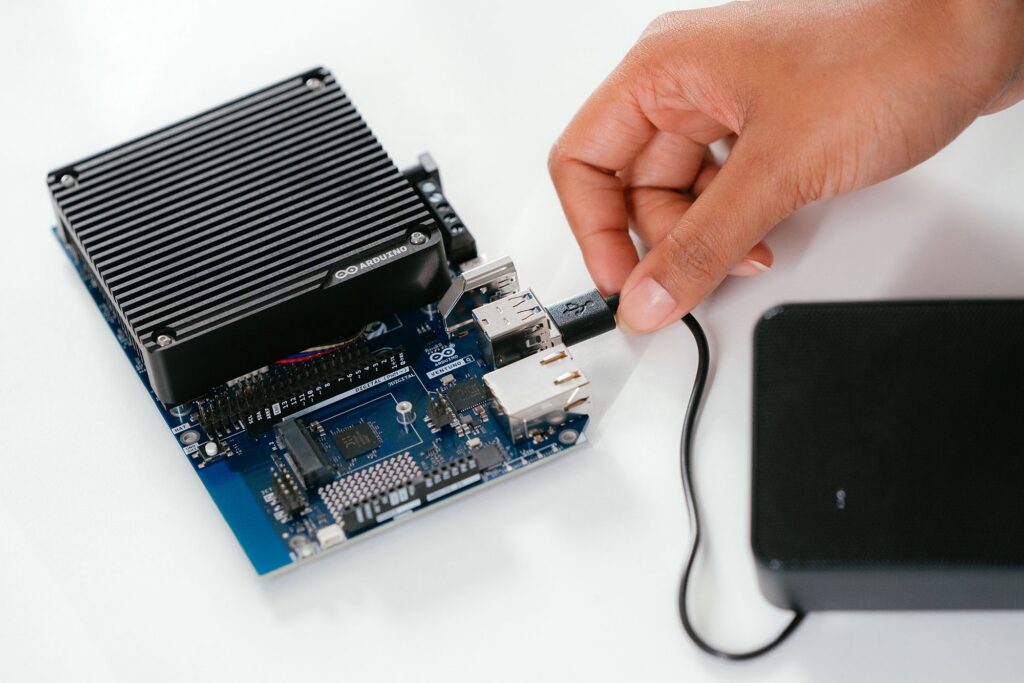
At a fraction of the cost, an Arduino® VENTUNO Q board can provide a persistent Linux environment for the agent runtime, local AI inference, and direct access to real-world I/O: cameras, sensors, actuators. The economics of deploying agent environments at scale look very different when each node costs significantly less, and can be embedded directly in the physical context it’s meant to ultimately operate in.

What an Arduino agentic environment actually looks like

VENTUNO Q is built to combine a Linux-capable MPU with NPU acceleration and a dedicated real-time MCU on a single board. The Linux side is engineered to run the agent – its reasoning, its model, its decision logic. The MCU side is designed to connect it to the world: motors, sensors, cameras, industrial interfaces. No cloud dependency. No separate controller. One self-contained unit that perceives, decides, and acts.

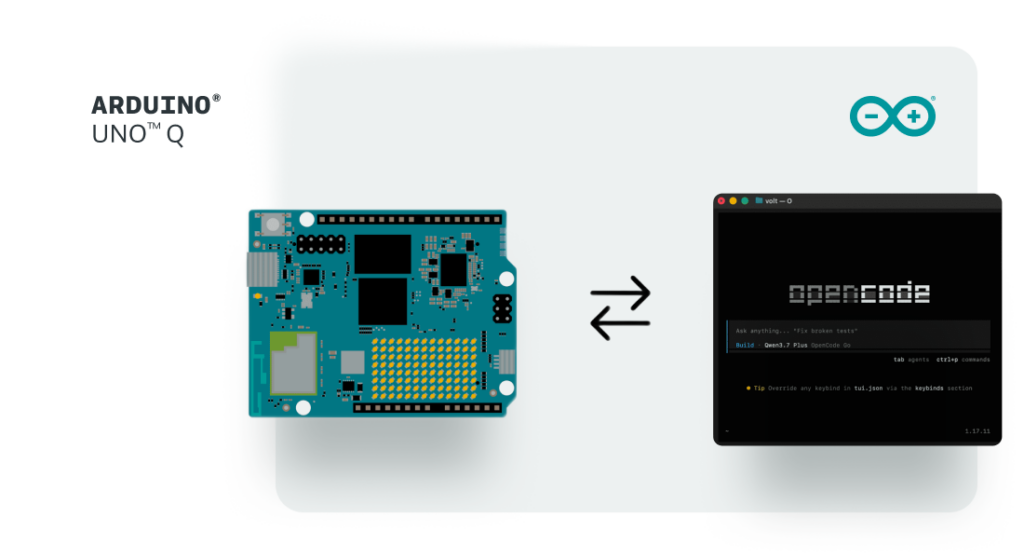
Arduino® UNO Q is structured to extend this further as a low-cost remote node. David Groom demonstrated this clearly leveraging OpenClaw, developing an agent framework on UNO Q designed to enable agents to interact with physical hardware. By connecting to Arduino shields and accessing additional hardware capabilities, the framework supports physical-world interactions while enabling deployment across multiple units simultaneously, each maintaining its own context and operational role.

Read about David Groom’s OpenClaw project here.

With these tools, it’s easy to envision a “swarm” model: VENTUNO Q built to serve as a local processing hub, with UNO Q units designed for distributed deployment as remote nodes, all supporting agent-based workflows that interact with physical environments rather than simulated ones.

More agents, more learning, lower cost

This is where the conversation becomes more interesting than individual compute specifications alone. Lower deployment costs can make broader deployment economically feasible, creating opportunities for more agent interactions, richer feedback loops, and exposure to a wider range of real-world operating conditions.

An agent that has operated across multiple physical environments, each with its own sensors, lighting conditions, and sources of noise, may be exposed to a broader set of inputs than an agent trained exclusively in software simulations.

Arduino can give agents something else to learn from: the physical world. By combining accessible hardware with scalable deployment models, Arduino platforms are designed to support the creation of large numbers of agent-enabled environments for experimentation, testing, and real-world interaction.

Ready to build your own agentic environment?

UNO Q is available on the Arduino Store, and can be ordered from DigiKey, Farnell, Mouser, Newark, RS Components, Robu.in, and other authorized distributors and resellers worldwide.

VENTUNO Q is also available on the Arduino Store or through our official distribution partners: DigiKey, Farnell, Kubii, Mouser, Robu.in, and RS, along with other authorized distributors and resellers.  

Arduino, UNO, and VENTUNO, and the Arduino logo are trademarks or registered trademarks of Arduino S.r.l.

The post How little does an AI agent need, and how cheap can it get? appeared first on Arduino Blog.

Face-tracking robot with Arduino UNO Q

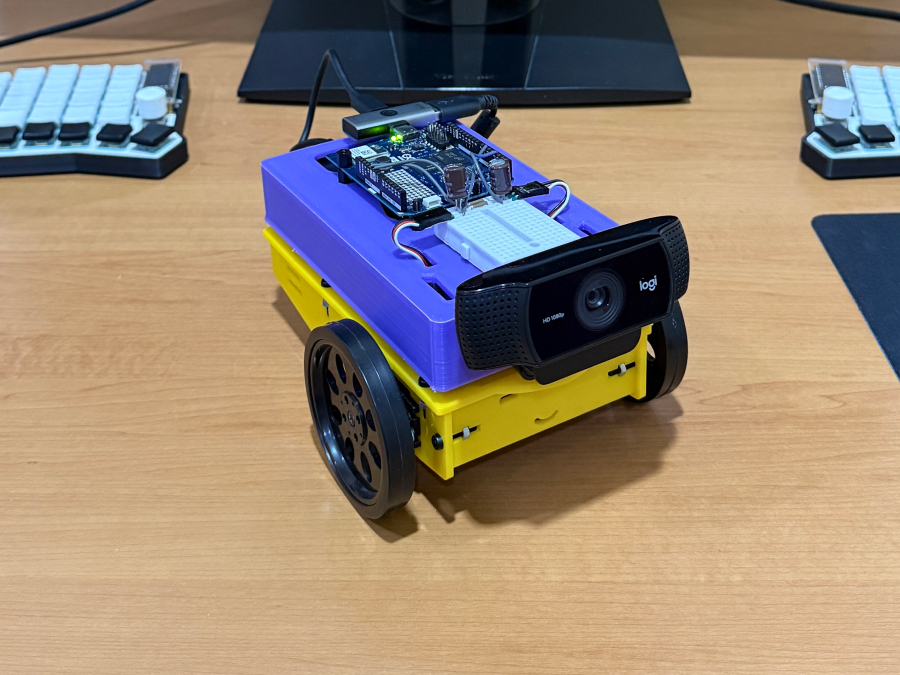
An inexpensive robot kit with Arduino UNO Rev3, obstacle-avoidance sensors, and line-following capability becomes a face-tracking robot. The trick is in the control board: just replace the UNO Rev3 with an Arduino UNO Q, which has the same headers and mounts an STM32U585 microcontroller alongside a Linux microprocessor. Iulia Feroli’s project shows how local artificial intelligence can be added to a low-cost robot without touching the mechanics.

The robot starts from the Elegoo kit, with its motor shield and sensors for obstacle avoidance and line following. The UNO Q slots in place of the original board, and the shield moves over without any modification. Thanks to the STM32 microcontroller and the Linux microprocessor, the new board runs machine learning models locally, with no cloud connection. A standard USB webcam is connected to the UNO Q to provide vision.

Video stream and face tracking

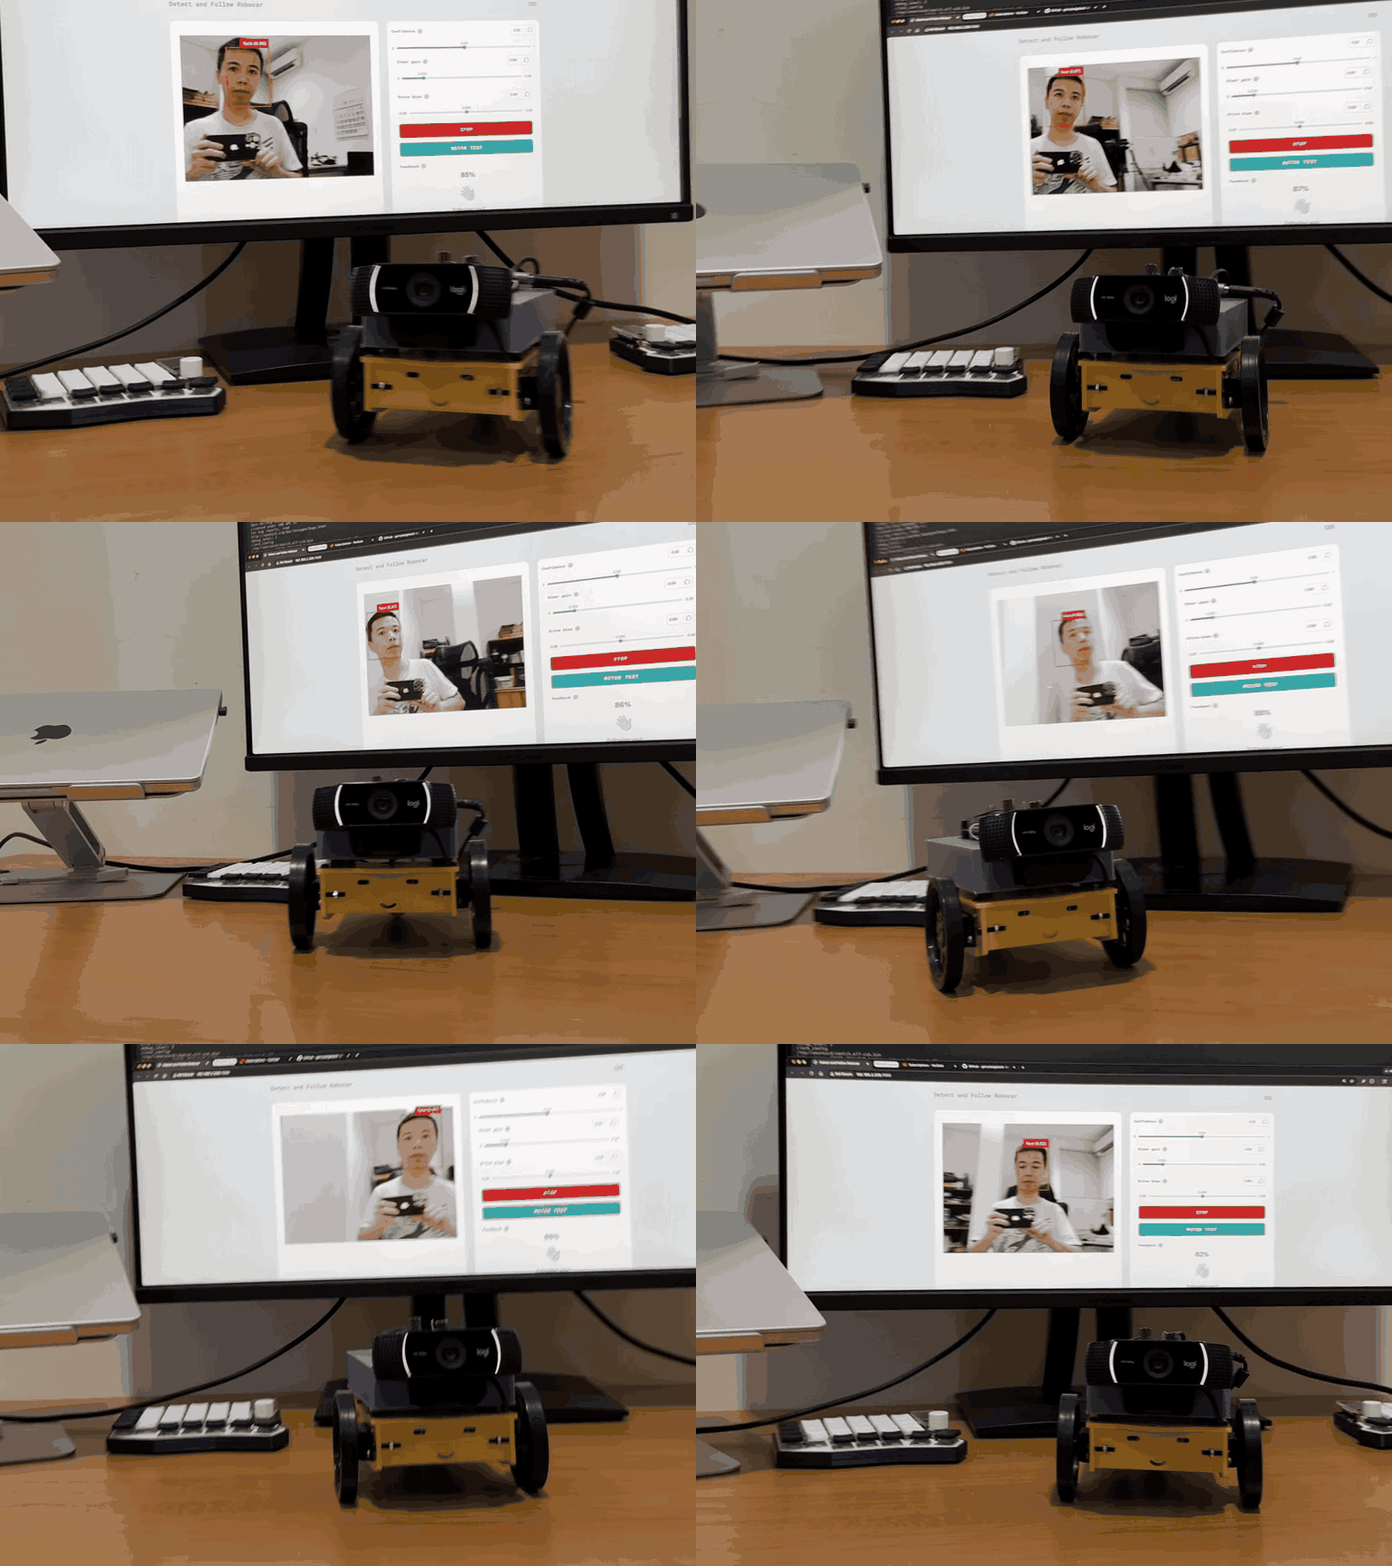
The webcam video stream is processed with the face tracking Brick from Arduino App Lab. The code converts the face position in the frame into movement commands for the robot. The robot rotates to center the face and moves toward it, always staying in front of the person. The result is a responsive face tracker that requires no external servers or Wi-Fi connections.

Iulia Feroli’s project is documented in a video showing the robot in action, with an explanation of the assembly and the code. Swapping the board is the core of the intervention: the UNO Q maintains electrical and mechanical compatibility with the UNO Rev3 but adds the computing power needed for AI. In addition, the face tracking Brick in Arduino App Lab simplifies managing the machine learning model, making the code accessible even to those without neural network experience.

What you need to rebuild the project

To replicate the robot you need only a few components, all easily available. The list includes the Elegoo kit, a USB webcam, and the control board. Here are the main steps:

  • Remove the Arduino UNO Rev3 from the Elegoo kit and keep the motor shield.
  • Mount the Arduino UNO Q in its place, checking that the headers align.
  • Connect the USB webcam to the UNO Q port.
  • Upload the sketch with the face tracking Brick from Arduino App Lab.
  • Power the robot and test it in front of a face.

The UNO Q is the heart of the system: it combines the simplicity of the STM32U585 microcontroller with the power of the Linux processor. This combination allows local machine learning models, such as face tracking, to run without additional hardware. The board is also available in a 4GB version with a full accessory kit, which includes everything needed to get started.

The original Elegoo kit, with its Arduino UNO Rev3 board, remains an excellent base for other projects. However, for this face tracker, the UNO Q is the right choice: it offers the necessary computing power and maintains compatibility with the shield. The overall cost stays low, and the result is a smart robot that impresses with its responsiveness.

Source: https://youtu.be/FIu14vCvGfs?si=8SSW0K6O7J6Y07tz

The post Face-tracking robot with Arduino UNO Q appeared first on Open Electronics.

Meet Nuvi: the AI desk companion that goes from Q to cute

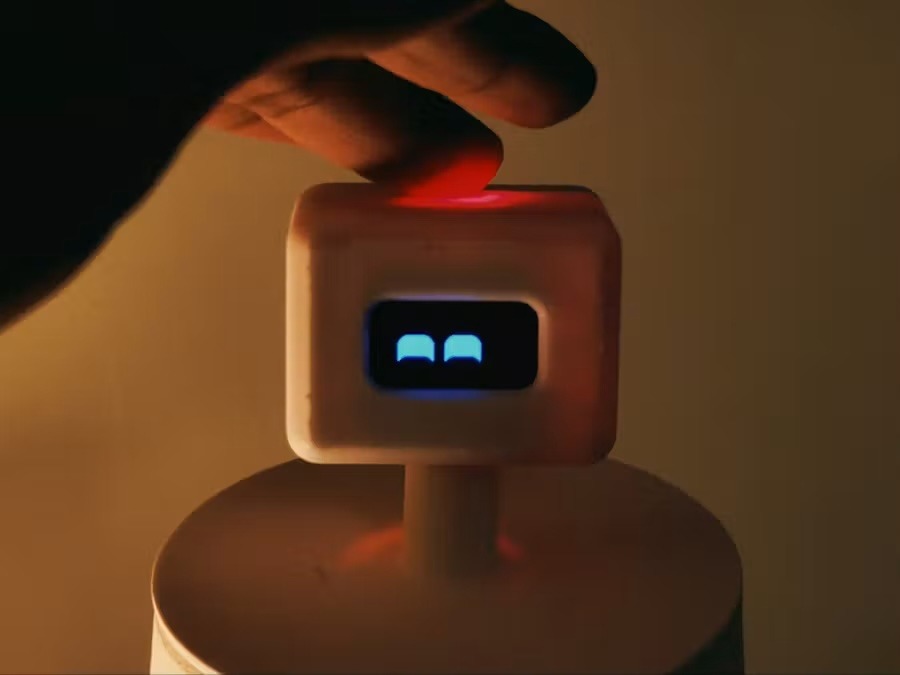
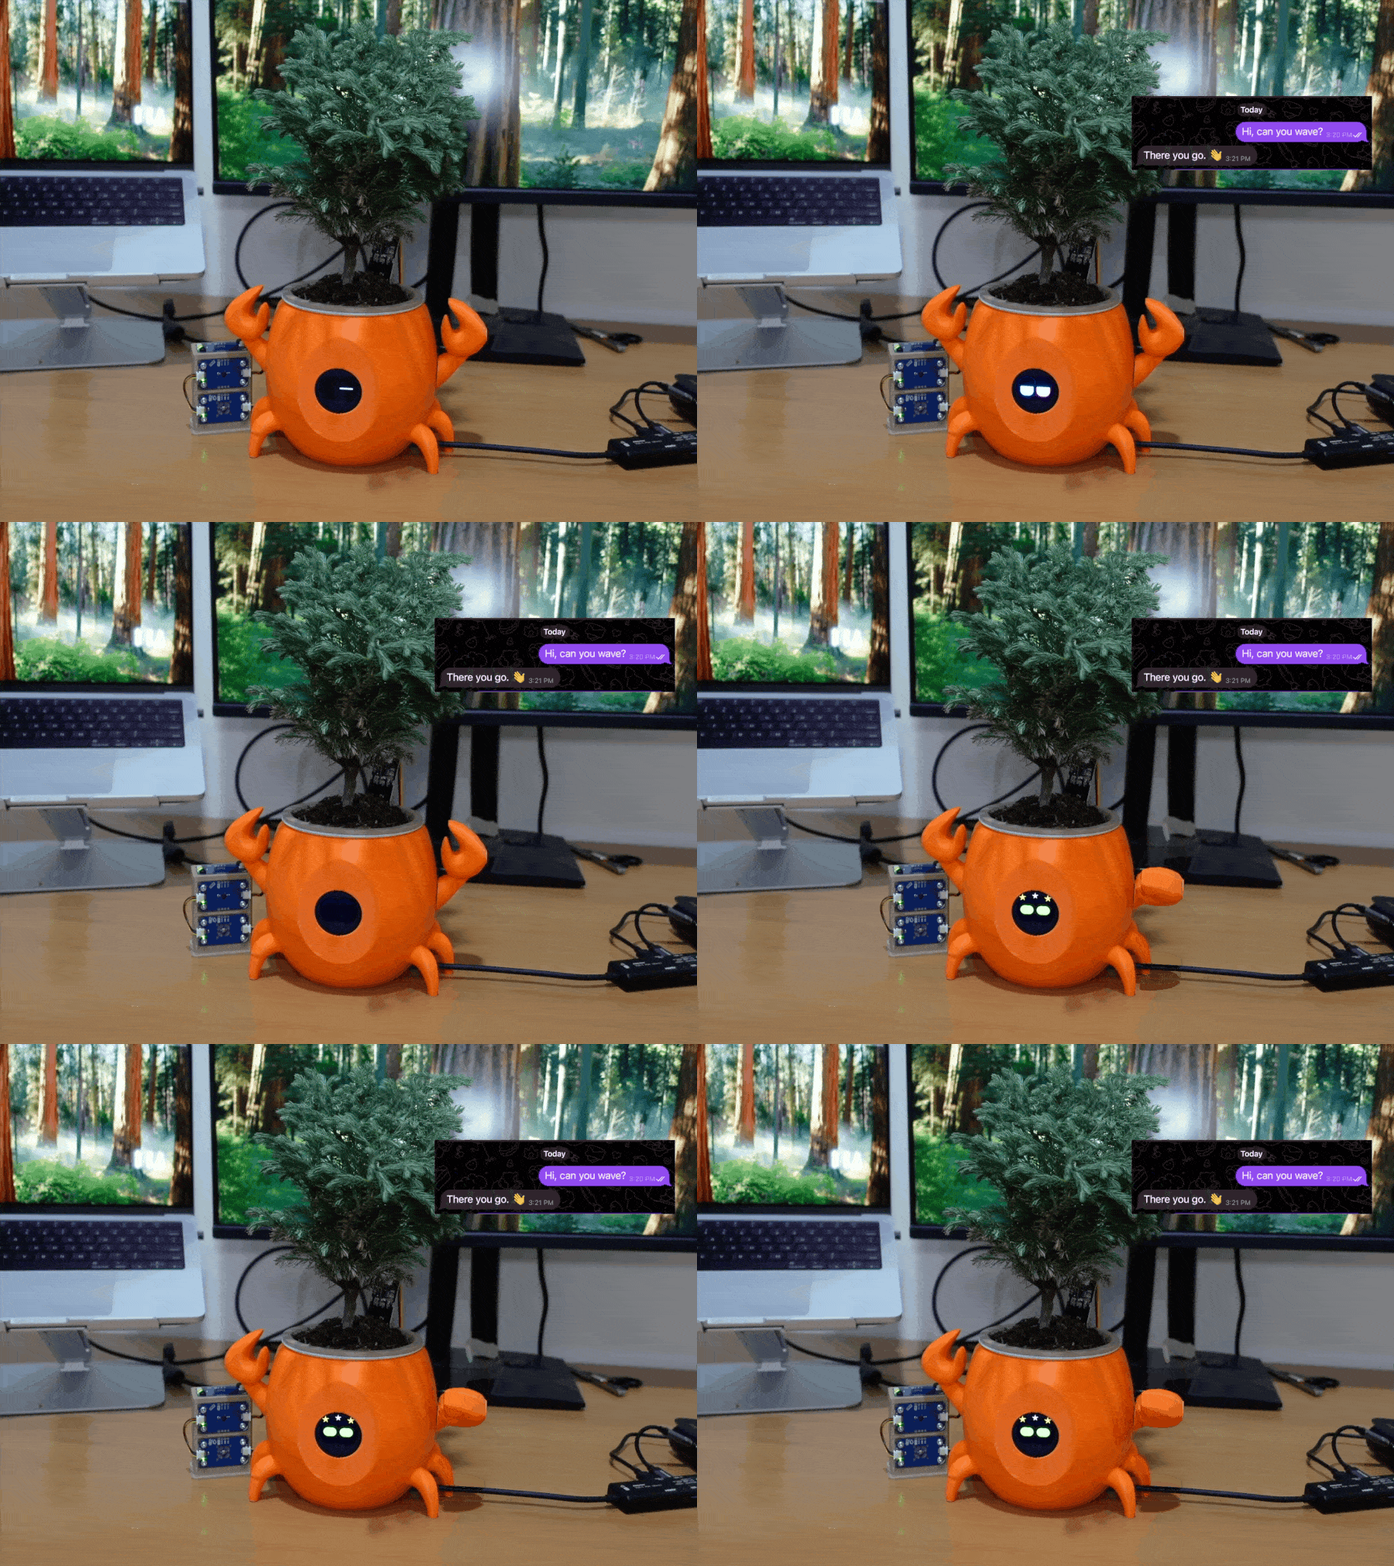
Luca Di Lorenzo (@LucaDilo on YouTube) recently worked with us on what was meant to be a simple robot assistant, but soon became something much more fun: a tiny, expressive desktop companion that notices you, listens to you, and talks back. Based on the Arduino® UNO Q board, Nuvi is designed to run everything it needs on-device, no internet required for the core experience. 

We think it’s the cutest, but maybe our team is partial to the project because the whole Arduino office in Turin, Italy loves its real-life inspiration: Kaito, the Shiba Inu our colleague Assunto sometimes brings to work.

Di Lorenzo says Nuvi’s first design worked but felt like a machine. With Kaito as a reference, he was able to find the inspiration to build something we would all actually want on our desk.

Talk to it and control your smart home

Nuvi is under 30 cm tall (approximately 12 inches) and packs a surprising amount into that compact form. It is built to wake up when you approach, responds when called by name, and holds a conversation powered by Gemini – which handles both understanding speech and generating replies in a single step, with no separate speech-to-text layer. For speaking without the cloud, Nuvi uses Piper, a voice engine running entirely on the board, so responses feel immediate. It can search the web when needed, toggle smart home devices by voice or a hand gesture, and read out room temperature and humidity when you flash it an open palm.

Beyond conversation, Nuvi has animated eyes that express different moods, moving ears and arms, head pan and tilt, touch reactions on its head and belly, and — just for fun — a dance.

How UNO Q makes this possible

Nuvi runs on UNO Q, and the board’s dual-brain architecture is exactly what a project like this one needed. The real-time microcontroller side is designed to handle all the physical control: four servos for the arms and ears, two serial servos for the neck, the display, sensors, and touch inputs. Meanwhile, the Linux side is built to run the AI pipeline, the voice engine, and the application logic. Everything lives on the board itself, not on a connected PC. Two jobs, one board, no compromises.

Build your own desk companion!

Di Lorenzo shares everything you need right here on Arduino Project Hub: 3D files, electronics, code, and a full step-by-step tutorial. If you’ve been looking for a project that shows just how much personality you can pack into a UNO Q build, this is it. Of course, feel free to customize it to resemble your favorite pet!

UNO Q is available on the Arduino Store, and can be ordered from DigiKey, Farnell, Mouser, Newark, RS Components, Robu.in, and other authorized distributors and resellers worldwide.

Arduino,UNO, and the Arduino logo are trademarks or registered trademarks of Arduino S.r.l.

The post Meet Nuvi: the AI desk companion that goes from Q to cute appeared first on Arduino Blog.
Digitize analog gauge readings with edge AI

Expense calculations in the industrial world tend to be unintuitive to individuals, because service and maintenance often consume larger chunks of the budget than the equipment itself. For that reason, modifications to equipment are usually seen as too risky to justify — they can too easily impact serviceability. So, what do you do when you want to bring an old piece of equipment into the modern age? Michael Bryan Ross’ solution was to use AI to look at analog gauges.

Ross wanted to address a simple and common problem: the equipment has an analog gauge and it would be nice to have that value available in digital form for monitoring and logging.

Most of us, when presented with that problem, would take the easy and seemingly reasonable approach. That might be something like replacing the analog gauge with a microcontroller outfitted with an ADC (analog-to-digital converter).

But very few plant managers or manufacturing engineers are going to give the green light on a modification like that. Not only is there upfront downtime to consider, but it also puts the equipment and future serviceability at risk.

Ross’ solution, on the other hand, is much easier to approve. That’s because it doesn’t require any modification to the equipment at all. In fact, it doesn’t even need to make physical contact with the equipment.

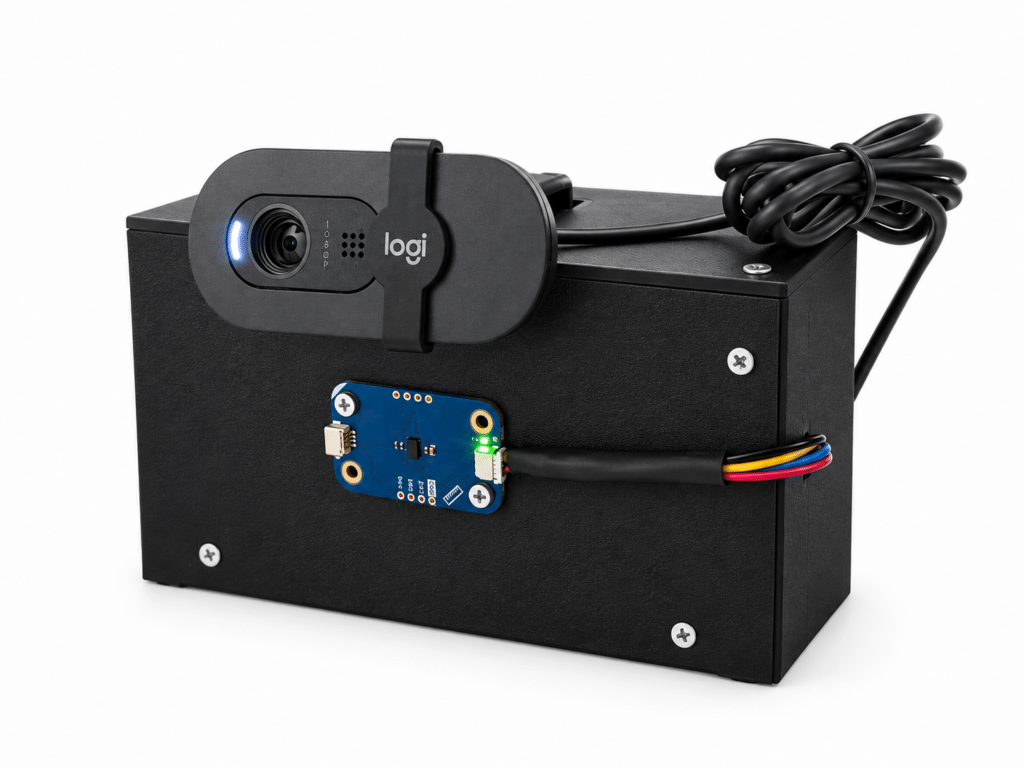
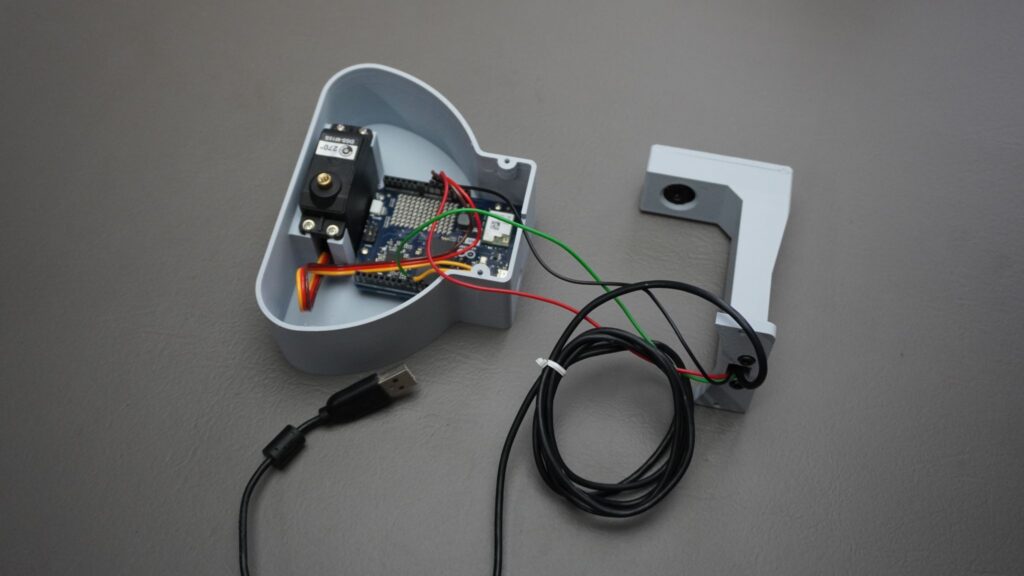
It works by using a camera and AI running on the edge to read the analog gauge. In this case, “the edge” is an inexpensive Arduino® UNO Q and it looks at the gauge through a standard USB webcam. The UNO Q runs a MobileNetV3-Small model through ONNX Runtime.

To test that — and to gather the images needed to train the model in the first place — Ross built a physical device with a real analog gauge driven by an actual pressure sensor. To create a training data set, Ross simply collected a bunch of images of the gauge’s needle in different position, then had GPT-5.6 read the black ticks to classify them by numeric value.

Ross acknowledges that the resulting model isn’t perfect. In particular, it tends to lose accuracy at very high and very low ends of the gauge range. But that is a fixable problem (largely through training). The concept holds: that this approach makes it possible digitize analog gauges, without spending much money and without modifying equipment.

The post Digitize analog gauge readings with edge AI appeared first on Arduino Blog.
Arduino Blog 18 Sep 13:44

Build your own smart doorbell and protect your privacy – in one hour, with Massimo Banzi

Go on your favorite online shopping platform, and you’ll find any number of smart doorbell options. Click to purchase, have it delivered, install it, download some app. But where’s the fun in that? And also, don’t you wonder how that thing works? 

That thing that watches you and your loved ones go in and out, learning to recognize friends and delivery people, helping you check on your home even while you are gone. If you are thinking about the security of the place where you live, why not be more hands-on about your privacy while you’re at it? 

Of course, we have an easy (even fun!) solution to these concerns: just build your own smart doorbell, and have complete control – not only over who comes and goes, but also over where your data is stored and how it’s handled. 

Massimo Banzi and Andrea Richetta are going to show you how to build your own smart doorbell, based on a computer vision model that can run locally on the Arduino® UNO Q board. 

Just click the ‘notify me’ button and follow the live build, on September 22nd at 3PM CET / 9AM ET. In one hour, we’ll see the whole project come together – and you’ll have a chance to ask questions directly to the Arduino team. 

The post Build your own smart doorbell and protect your privacy – in one hour, with Massimo Banzi appeared first on Arduino Blog.
Arduino Blog 16 Sep 15:06

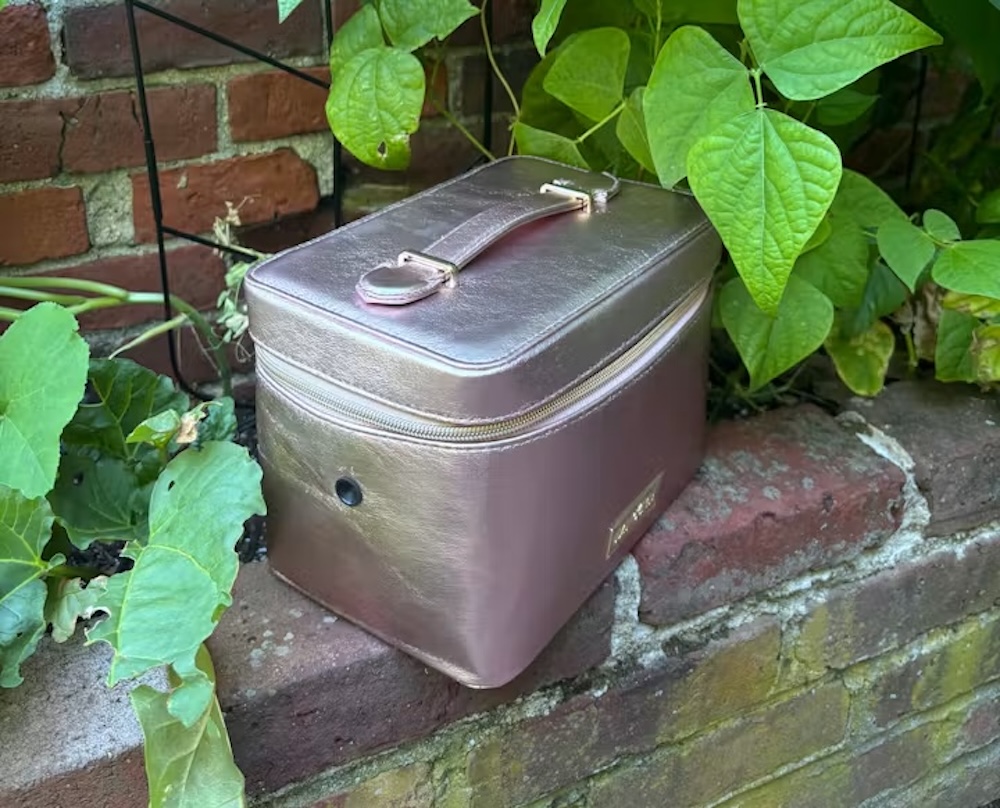
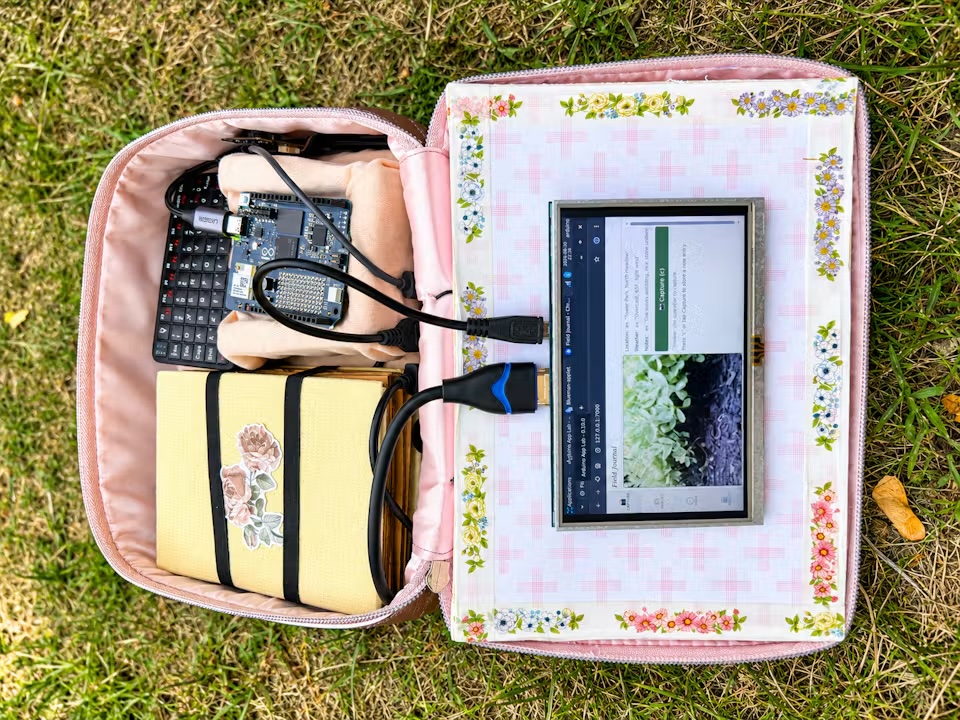
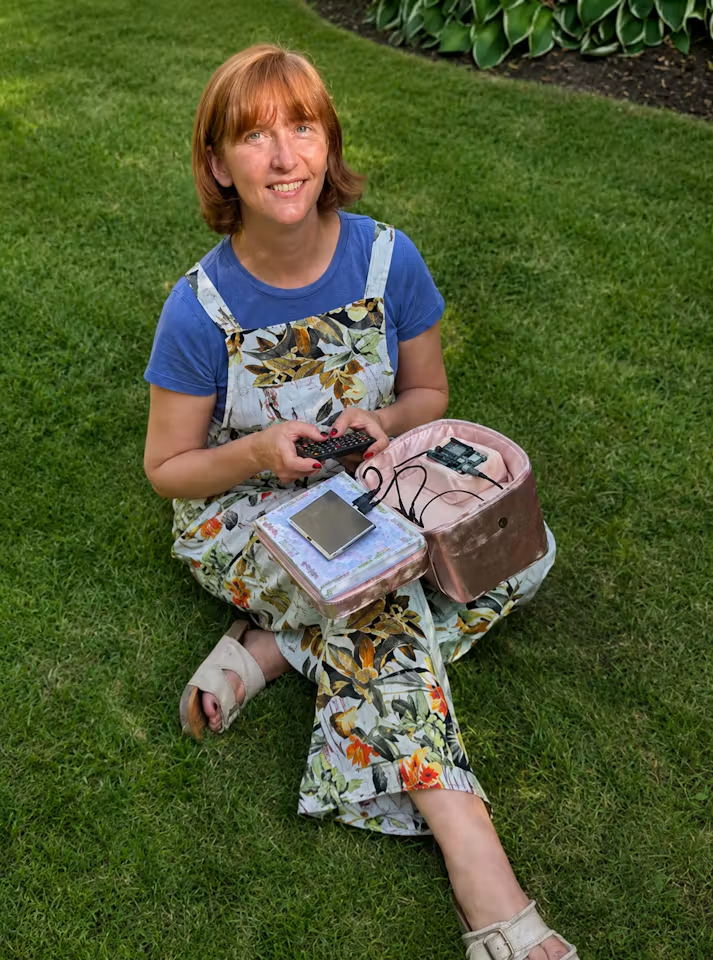
This cyberdeck is a… puppet?

The heart of the entire cyberdeck movement is personalization. Instead of shopping within the limits of what manufacturers deem to be marketable, cyberdeck builders can create designs that reflect their own personal tastes. But even so, most cyberdecks fit within a fairly narrow aesthetic—usually some variation of cyberpunk or cassette futurism, fitting the original Gibson source material. Natasha Dzurny (AKA TechnoChic) took things in a completely unique direction by building her Arduino® UNO Q cyberdeck as an Avenue Q-style puppet.

Avenue Q is musical that originally appeared off-Broadway way back in 2003 and has since enjoyed stints on Broadway, the West End, and Las Vegas. It is, essentially, a humorous adult spin on Sesame Street, which means it has all kinds of Hensonian puppets. Dzurny’s interest in Avenue Q and its phonetic similarity to “Arduino Q” led to this creation.

The electronic components are standard fare for a cyberdeck and include the UNO Q (2GB), a mini Bluetooth keyboard/touchpad device, a portable USB battery pack, and a 5” HDMI display. There is also a mini USB webcam hidden away for recorded puppet shows.

The real magic and creativity went into the “enclosure,” which is really the body of the puppet. To craft that, Dzurny started with a spherical mold made of translucent plastic. She then cut that to shape and built a frame structure inside, onto which she could mount the components. Once covered in thick fur, the sphere became a puppet head that Dzurny could put her hand into, so she could open and close the mouth. A couple of big expressive eyes completed the look and a chain strap made the puppet/cyberdeck easy to carry.

Dzurny’s project is the perfect example of why people love cyberdecks: because they’re a perfect outlet for creative expression that reflects the builder’s own personality. 

The post This cyberdeck is a… puppet? appeared first on Arduino Blog.
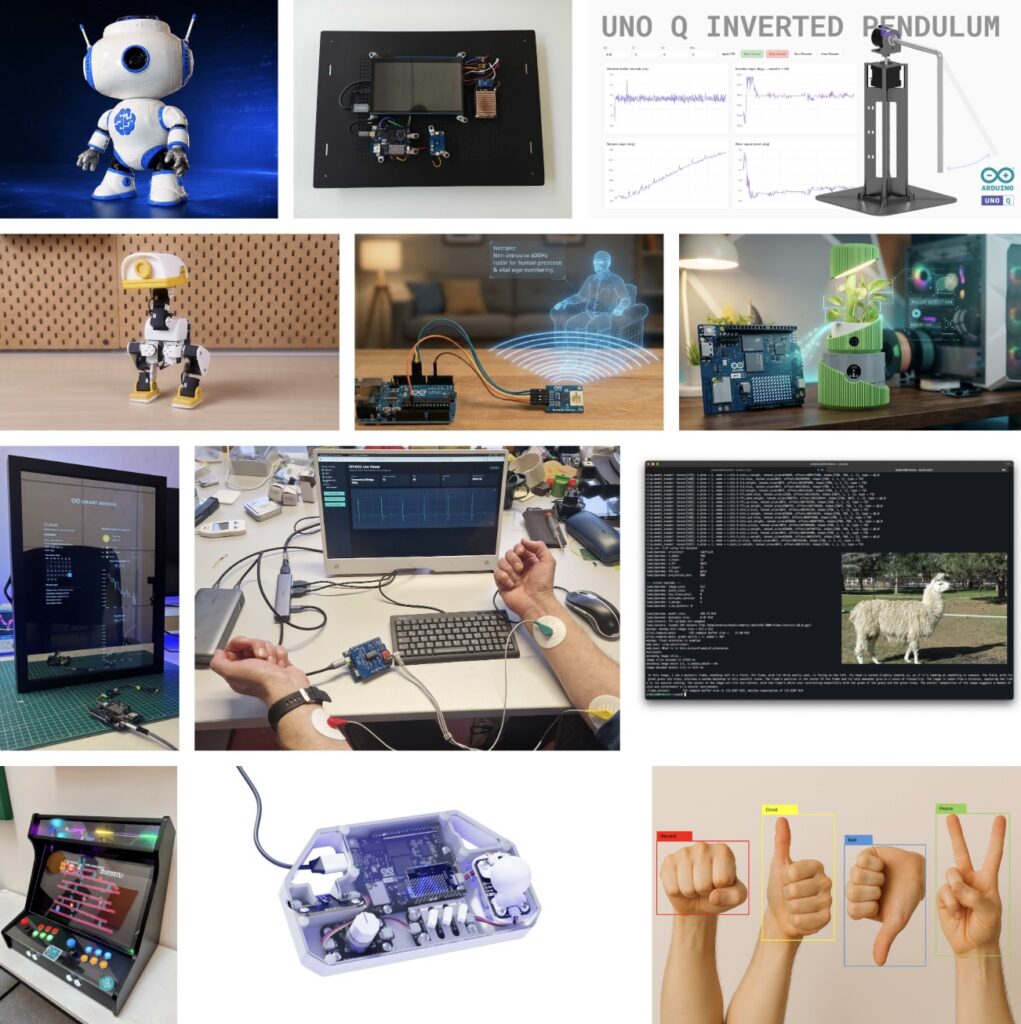
Arduino Blog 15 Sep 18:29

MYWAI™ VILMA™ is designed to bring human-like learning to robots via one-shot demonstration

Every day, hundreds of thousands of kits are prepared in warehouses before components ever reach an automotive production line. While robots have become commonplace in modern manufacturing, many upstream logistics activities still rely heavily on human operators performing repetitive pick-and-place and kitting tasks.

What if robots could learn these operations the same way humans do: by simply watching a demonstration?

That question was at the heart of I-GENIUS, a research project coordinated by MYWAI within the European ARISE initiative with Centro Ricerche FIAT (CRF) and the University of Genoa’s Department of Mechanical, Energy, Management and Transportation Engineering (DIME).

The project explored new approaches to Human-Robot Interaction, combining AI, computer vision, and robotics to enable machines to acquire manipulation skills from minimal human guidance.

One of the project’s key outcomes was VILMA (Visual Imitation Learning for Manipulation Activities), an AI-powered toolkit integrated into MYWAI’s EDGE AI middleware platform. VILMA helps enable robots and humanoids to learn complex manipulation tasks from one-shot human demonstrations, aiming to significantly reduce programming effort while improving flexibility in dynamic industrial environments.

The technology was evaluated in a large-scale automotive warehouse use case developed together with CRF and reproduced within the robotics laboratories at DIME.

Today, MYWAI is bringing this technology to a broader community of developers, makers, and robotics innovators by porting the VILMA Toolkit to new Arduino products powered by Qualcomm Dragonwing processors, including both the Arduino® UNO Q and VENTUNO Q boards.

This demonstration showcases the potential for edge-native robotics applications that use imitation learning techniques on hardware platforms built to support compact form factors and efficient power consumption.

At the iGenius final presentation, the founder and CEO of MYWAI, Fabrizio Cardinali, stated: “The dual-brain architecture of the UNO Q and VENTUNO Q platforms is an ideal foundation for MYWAI’s next generation of Edge AI robotics. After validating distributed intelligence concepts within the ARISE I-GENIUS project, we are now leveraging these platforms to bring World Action Models closer to the edge through the latest release of the MYWAI EdgeAI Management Platform and its mobile tracker, HEDGELOG. By combining One-Shot Video Imitation Learning with edge-native AI execution, we aim to enable robots and intelligent industrial machines to acquire, distribute, adapt, and execute complex manipulation skills with unprecedented flexibility and scalability.”

Watch the full demonstration of the I-GENIUS project and see VILMA in action in this video.

The MYWAI VILMA agent

VILMA is a visual imitation learning toolkit that helps enable robots to learn manipulation tasks from human demonstrations. It is designed to process RGB-D recordings or MP4 videos to extract hand and object trajectories, generate reusable robot skills using Dynamic Movement Primitives (DMPs), and produce robot-ready trajectories for playback. It is constructed to serve as the demonstration learning module, supporting rapid robot programming, skill reuse, and deployment.


The AI pipeline

One-shot demonstration acquisition

The one-shot demonstration acquisition step is set to record a human performing the task or retrieve an existing demonstration from a selected MYWAI equipment event. It stages the video, RGB frames, depth data, and camera parameters, and allows the user to select the target object for tracking. This information provides the inputs required by the remaining pipeline stages. 

Hand detection

Using MediaPipe, this stage is structured to detect 21 hand landmarks in each RGB frame and combine their 2D positions with depth data to calculate 3D camera coordinates. For demonstrations loaded from MYWAI, the staged RGB and depth data are processed through the same pipeline. Kalman smoothing and previous-position retention improve tracking robustness, and the resulting trajectories can be saved back to the MYWAI event. 

Object detection

Using a YOLO model, this stage is designed to detect or track the object selected through the local or MYWAI interface. It combines the bounding-box centre with depth information to calculate the object’s 3D position, applies Kalman smoothing, and saves the trajectory and annotated frames. These results can then be included in the pipeline artifacts stored in MYWAI. 

Trajectory and segmentation

This stage is constructed to load the smoothed hand and object trajectories, estimate the grasp point from the hand’s proximity to the object, and detect the release point from the object’s movement and stabilization. It uses the hand trajectory as the main motion path and divides it into reach, grasp, move, release, and post-release phases. The trajectories, event indices, and segmentation metadata can be packaged as MYWAI event data, a time and space data fusion format developed by MYWAI for its AI-IoT management platform particularly geared towards Multimodal AI and, next, towards World Action Models. 

DMP generation

The DMP-generation stage is designed to learn separate Dynamic Movement Primitive models for the reach and move phases. It evaluates different regularization values, selects the model that provides the best accuracy and smoothness, validates the reproduced motion, and saves the trained models and trajectories. These DMP artifacts can be uploaded to MYWAI with the other pipeline results for later retrieval and reuse. 

Demonstration

The demonstration stage is structured to convert the generated DMP trajectory into Cartesian robot positions using the configured scale, offset, and rotation, then apply inverse kinematics to calculate the joint trajectory. The robot model may be loaded from the selected MYWAI equipment, and the resulting motion is displayed through the MYWAI 3D Viewer, synchronized with the recorded video and its grasp and release events. 

DMP adaptation with new goal and new object

The adaptation stage is set to load the learned skill – either from the current pipeline or a restored MYWAI event – and detect a new target object using RGB and depth data. It calculates the 3D offset between the original and new objects, redirects the reach and move trajectories toward the new pick and release positions, and preserves the demonstrated motion characteristics. The adapted trajectory can then be visualized with the MYWAI 3D Viewer or sent to the robot. 

Live streaming adaptation and UNO Q and VENTUNO Q support

The Live stream phase represents the deployment and real-time inference stage of the VILMA Agent. While the initial learning phase is conducted on the MYWAI platform to generate Dynamic Movement Primitives (DMP), the Live stream phase focuses on shipping these DMPs along with a fine-tuned YOLOv8 model, supported today on UNO Q and VENTUNO Q.

Architecture and components

As illustrated in the system schematic below, the architecture is designed as a distributed setup divided into an Edge AI Layer for intelligence and a Communication Layer for hardware interfacing.

Let’s break down how the live stream pipeline is working considering the VENTUNO Q version.

1. Edge AI layer (VENTUNO Q)

Running on VENTUNO Q, this layer is structured to handle high-level decision-making.

  • VILMA Control Loop: The primary application logic responsible for the overall control loop. It It is designed to orchestrate object detection and performs DMP Adaptation to translate learned human motions into the current physical environment.
  • Video Object Detection Brick: This component runs on VENTUNO Q to manage the inference flow. It receives the incoming video feed and communicates with the inference service.
  • Docker: YOLOv8 Inference Service is formed as a containerized service that runs the quantized YOLOv8 model. This model is designed to be fine-tuned and deployed via the Edge Impulse platform using the “Bring Your Own Model” feature.

2. ROS 2 communication layer (Workstation)

A separate workstation connected directly to the devices manages the high-bandwidth data streams and robotic control via ROS 2.

  • ROS 2 Streaming Node: Interfaces with the ZED Camera/Depth Sensor to capture raw visual data, publishing it as a /camera_feed to VENTUNO Q.
  • ROS 2 Command Node: This node acts as a wrapper around the Fairino Python SDK. It is engineered to serve as the receiver for the /learned_trajectory sent from the edge device, utilizing the SDK to directly control the robot and help ensure it accurately follows the planned trajectory.

3. Physical hardware

External hardware is connected to complete the runtime VILMA ecosystem, namely:

  • ZED Camera: The stereo camera which is engineered to capture the image and depth data required for the vision system.
  • Fairino FR10 Robot: The robotic arm that is constructed to execute the pick-and-place tasks based on the trajectories computed by VILMA.

Component communication and data flow

The communication between these components is designed for low-latency execution as shown in the schema above:

  • Vision Input: The Workstation is engineered to stream the /camera_feed (image and depth) to VENTUNO Q.
  • Edge Inference: The VILMA Control Loop is designed to utilize a WebSocket stream to send frames to the Docker YOLOv8 Inference Service. The service returns the detected object bounding box to the control loop.
  • Motion Adaptation: The system is structured to take the detected object positions and adapts the human-learned DMP to calculate a precise pick-and-place trajectory.
  • Robotic Execution: The resulting /learned_trajectory is published back to the Workstation’s ROS 2 Command Node, which drives the Fairino FR10 robot to complete the task.

This modular approach is designed to allow the heavy vision processing and motion adaptation to happen on the edge (VENTUNO Q) while leveraging the robust ROS 2 ecosystem for robot communication and sensor streaming.

To learn more about the project and MYWAI’s EDGEAI Platform and Middleware, visit myw.ai.

Qualcomm branded products are products of Qualcomm Technologies, Inc. and/or its subsidiaries. 

Arduino, UNO, and VENTUNO are trademarks or registered trademarks of Arduino S.r.l.

The post MYWAI™ VILMA™ is designed to bring human-like learning to robots via one-shot demonstration appeared first on Arduino Blog.
Turn Arduino® UNO™ Q into your local 3D printing watchdog

A lot of newer 3D printers incorporate sophisticated sensor suites and cameras to detect problems with print jobs, like the dreaded “spaghetti failure.” Those work pretty well and prevent wasted time, wasted filament, and even damage to the printer. But what if you don’t have a printer with those features? Or if you want to protect your privacy? Then you can follow Philipp Schweizer’s guide to use an Arduino UNO Q as your local 3D printing watchdog.

Schweizer’s approach is to use the UNO Q and a camera to detect anomalies, rather than specific problems. It doesn’t look for spaghetti failure or clogging. Instead, it looks for a normal print. Anything abnormal gets flagged. That dramatically reduces the amount of training data required and accounts for all visible issues, whether they were anticipated and trained for or not.

The hardware required for this includes an UNO Q (4GB model), an Arduino®UNO Media Carrier, an V2-style IMX219 camera module, and a custom-printed mount with fasteners. The goal with that mount is to point the camera at the hot end and below, so it will likely require customization to fit the 3D printer model in question.

All of the magic happens thanks to the FOMO-AD anomaly model from Edge Impulse, implemented through Arduino App Lab. That requires training on images of normal prints and Schweizer explains how it is easy to collect those automatically during print jobs. By keeping the image resolution low (632×480), the overhead remains minimal and the model efficient.

As Schweizer points out, an overeager watchdog is worse than not having a watchdog at all. For that reason, Schweizer built his app so that it only automatically pauses a print if at least three out of the last four images show an anomaly. When that is the case, it pauses the job through the Moonraker API (standard for Klipper-based systems). For those who don’t use Klipper, it is possible to integrate the watchdog into Octoprint or other control software. It also sends an MQTT message compatible with Home Assistant for notifications and hosts a webpage where the status is visible.

All of that works without leaving the local network, so it is great for those who value privacy and security. Even if those factors don’t concern you, this is an affordable watchdog solution that doesn’t require a specific 3D printer model or a subscription service.

The post Turn Arduino® UNO™ Q into your local 3D printing watchdog appeared first on Arduino Blog.