Posts with «featured» label

Dad-daughter MechWarrior suit ready for trick-or-treating

The idea of a mechanized walking suit to carry you around seems like a great idea, but having a practical leg assembly for it is still a futuristic concept. As seen here however, if you’re still a kid, you might be able to get your dad to carry you around in a custom suit fashioned after a MechWarrior vehicle.

The suit is beautifully designed by creator Gridlock Cosplay, and features an Arduino-powered control system. This allows the little pilot to command the mech’s human “engine” via a joystick and system of lights. The suit also features exterior and interior lights, a pilot cooling fan, spinning “radar” assembly, retractable pilot cage, and of course a cell phone holder in the padded engine compartment.
Linear movement with Arduino and 3D printing

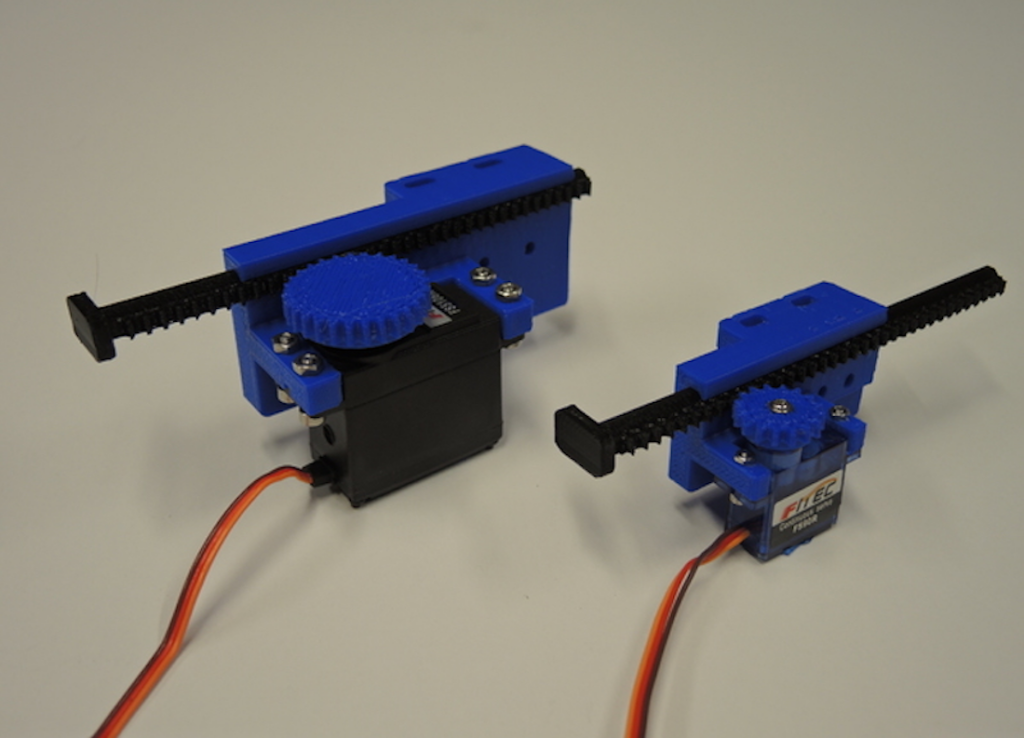
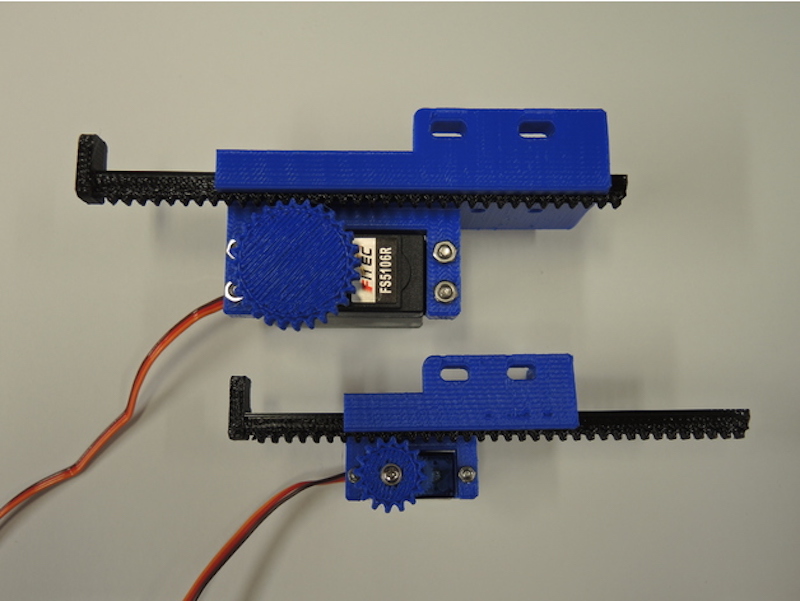
Arduino boards are great for controlling small servo motors, but what if you need something to provide linear travel? As spotted on Reddit, while the answer here is a little less straightforward, YouTuber Potent Printables has a great solution. It uses 3D-printed components, along with a dab of epoxy and fastener hardware to convert either a micro or standard continuous rotation servo into a rack-and-pinion mechanism.

The project can be seen in the video below with an Arduino Uno and motor shield, though any Arduino capable of PWM output should have no problem with this setup. Since the servos used here are meant for continuous rotation, travel distance is based only on timing. Depending on the application, you may want add a simple microswitch or other sensing mechanism for feedback.

This is a general purpose linear servo actuator (pusher style). Two sizes have been designed, for different space constraints and force outputs.

These use continuous rotation servos which helps keep the cost very low. Off the shelf actuators of this type can cost around $70 USD.

The “mini” version will fit in smaller spacers, but has a much lower force output. The “large” version has a higher force output, but is…larger in size than the “mini.”

Dragon Ball Z head-mounted Scouter computer replica

Those familiar with the Dragon Ball Z franchise will recognize the head-mounted Scouter computer often seen adorning character faces. As part of his Goku costume, Marcin Poblocki made an impressive replica, featuring a see-through lens that shows the “strength” of the person he’s looking at, based on a distance measurement taken using a VL53L0X sensor. 

An Arduino Nano provides processing power for the headset, and light from a small OLED display is reflected on the lens for AR-style viewing.

It’s not exactly perfect copy but it’s actually working device. Inspired by Google virtual glasses I made virtual distance sensor.

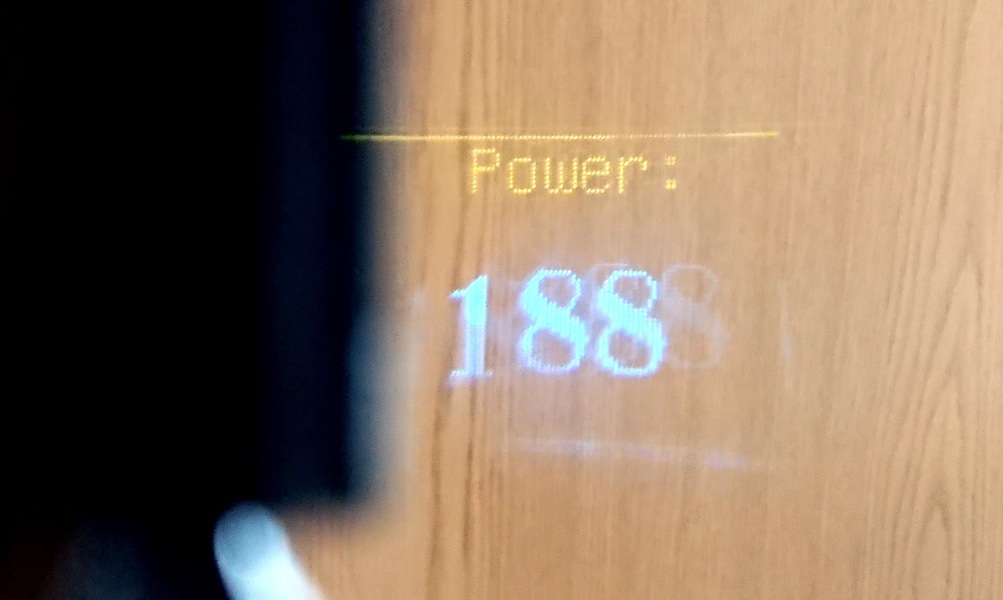
I used Arduino Nano, OLED screen and laser distance sensor. Laser sensor takes readings (not calibrated yet) and displays number on OLED screen. Perspex mirror reflects the image (45 degrees) to the the lens (used from cheap Google Cardboard virtual glasses) and then it’s projected on clear Perspex screen.

So you will still see everything but in the clear Perspex you will also see distance to the object you looking at. On OLED screen I typed ‘Power’ instead distance because that’s what this device suppose to measure in DBZ.

Print files as well as code and the circuit diagram needed to hook this head-mounted device up are available on Thingiverse. For those that don’t have a DBZ costume in their immediate future, the concept could be expanded to a wide variety of other sci-fi and real world applications.

Constructing an hourglass lamp with Arduino

With the proliferation of all sorts of digital timers, the need for an hourglass to keep track of whatever activity you’re working on seems like a relic of the past. Still, the hourglass is an interesting form factor, so YouTuber Emiel Noorlander (aka The Practical Engineer) has decided to take it into the 21st century.

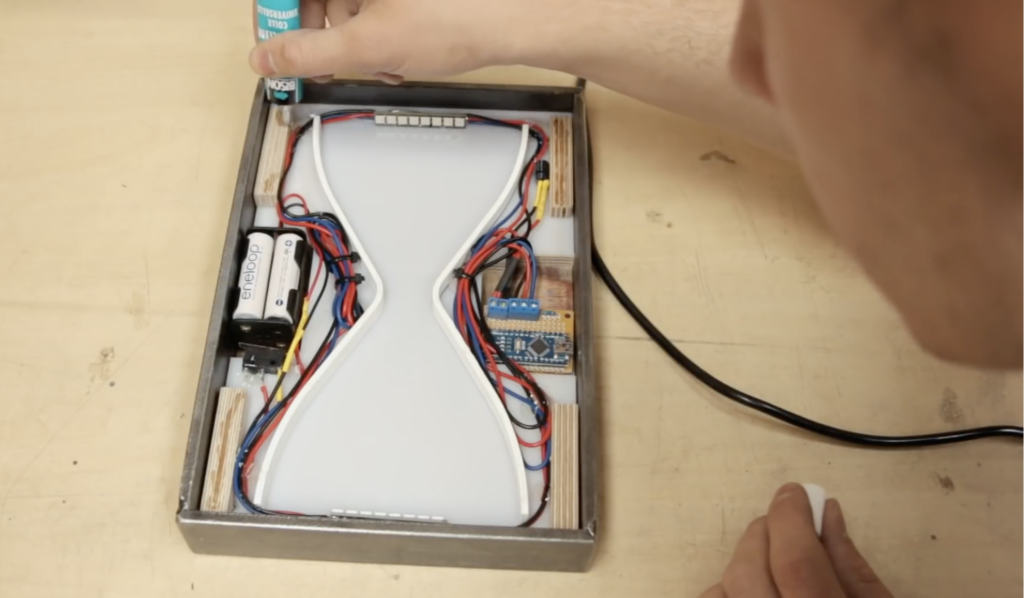
His device is about the size and shape of a rectangular picture frame, with the outline of an hourglass in wood attached to white polycarbonate. This diffuses programmable LEDs on the other side, controlled by Arduino Nano to simulate sand falling. The project is powered by a four AA battery pack, cleverly allowed to float in the internal structure, activating the on/off switch when positioned correctly.

In this week’s video I’m making an hourglass lamp with light effects that simulate the falling sand when you turn the lamp upside down.

Another cool feature I build into it is the on / off switch, this is hidden inside the lamp and turns on by putting the lamp on the right side. Turning it upside down then turns off the light.

The outside frame of the lamp is made of 40×6 mm metal strip that I cut to size and then welded as a frame. When this was done I went over to the bandsaw to cut the hourglass shape out of the wood. The semi-transparent panel where the light shines through is made from 3 mm opaque white polycarbonate sheet.

Salvaged Arduino powers animated House Party

What can you do with items that are destined for the dump? As seen here, if you’re Neil Mendoza, you transform furniture, an old TV, art, and even an Arduino Zero that somehow ended up in the trash into a musical installation.

His resulting “House Party” features decorations and control components that according to the project’s write-up are entirely salvaged. A MIDI interface, software written in openFrameworks, and a JSON file are used to coordinate sound and movements, which include spinning picture frames and flowers, tapping shoes, and a television that loops through a rather dreary weather report snippet. 

House Party is a musical installation that explores prized possessions in their native habitat. All the materials used to create this artwork, from the furniture to the computers, were scavenged from the discarded trash. The music is a mix of mechanical and synthesized sounds. The piece was created while an artist in residence at Recology SF.

The actuators in the installation are controlled by an Arduino Zero (also found in the trash) and each screen is connected to a computer running custom software written in openFrameworks (OF). Composition was done in Logic where a MIDI environment was set up to send MIDI data to the Arduino and an OF control program. The control program then sent the data to the other computers over ethernet as OSC. For the final installation, the control program read the data from a JSON file, triggered the screens and Arduino and played the synthesized parts of the music.

Be sure to see all the zany action in the video below!

Electrically assisted scooter senses forward kicks

Maker Bitluni wanted an electric scooter, but he lives in Germany, where electric vehicles of that type are illegal. Motor-assisted bicycles, however, are not. So he set to work making a sort of hybrid that is controlled not by a throttle directly, but provides assistance when the rider kicks the scooter forward.

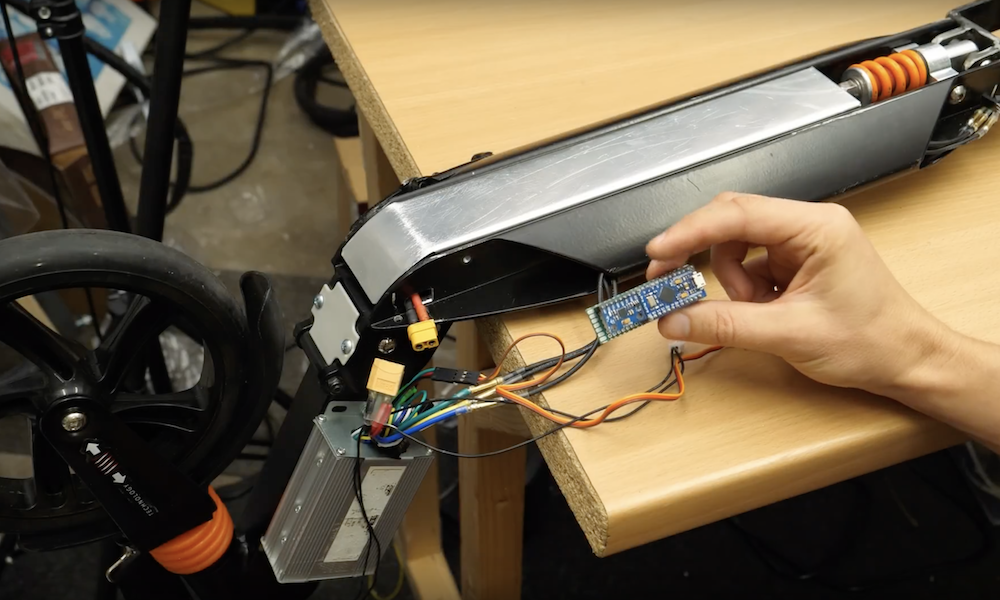
The scooter uses an accelerometer to sense forward pushes, along with an Arduino Micro that regulates speed via PWM output. A brake assembly is also implemented as a secondary input, starting up the device and powering it down as needed. 

Bitluni’s build and testing process can be seen in the videos below, and Arduino code is available on GitHub.

Custom weather station enhances and modifies electronic music

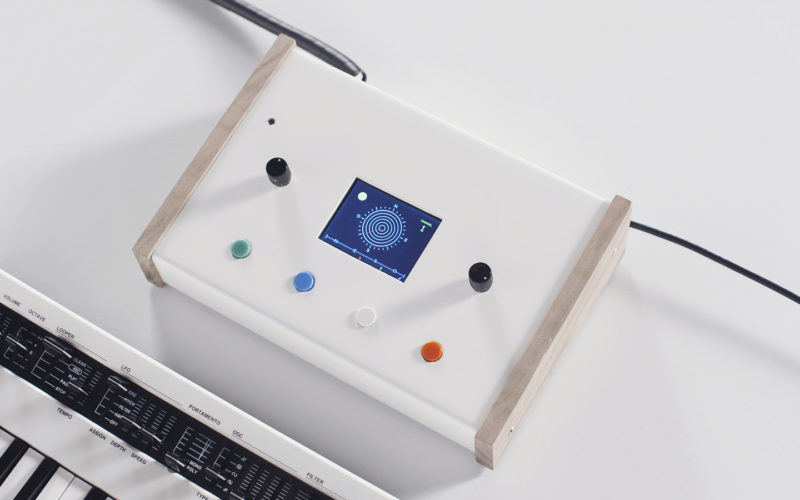
While the environment is important for any musical performance, generally it’s not an active part of the show. Adrien Kaeser, though, has come up with a device called the “Weather Thingy“ that integrates weather directly into electronic music performances. It’s able to sense wind direction and speed, light intensity, and rain, translating this data into MIDI inputs.

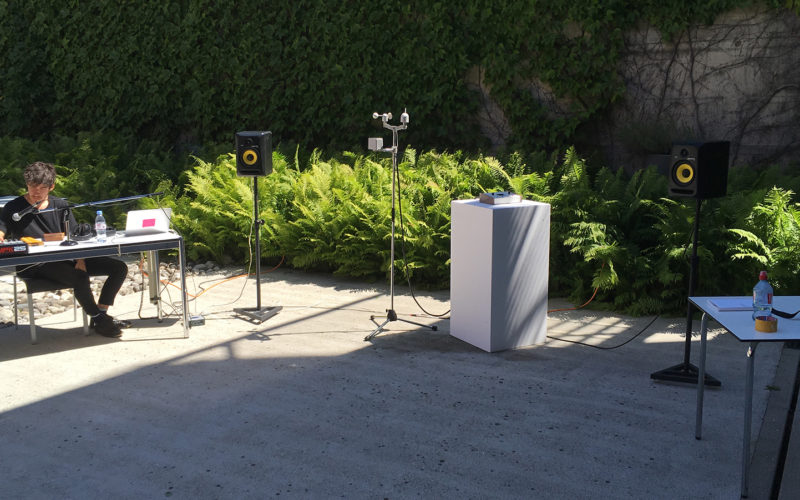
The system, which was created at ECAL, consists of two parts: a compact weather station on top of a portable stand, as well as a small console with buttons and knobs to select and modify environmental effects on the music. 

Hardware for the project includes an Arduino Mega and Leonardo, a small TFT screen to display the element under control and its characteristics, an ESP32 module, a SparkFun ESP32 Thing Environment Sensor Shield, a SparkFun MIDI Shield, high speed optocouplers, rotary encoder knobs, and some buttons.

Be sure to see the demo in the video below, preferably with the sound on!

Turn an Atari 2600 into a MIDI drum machine

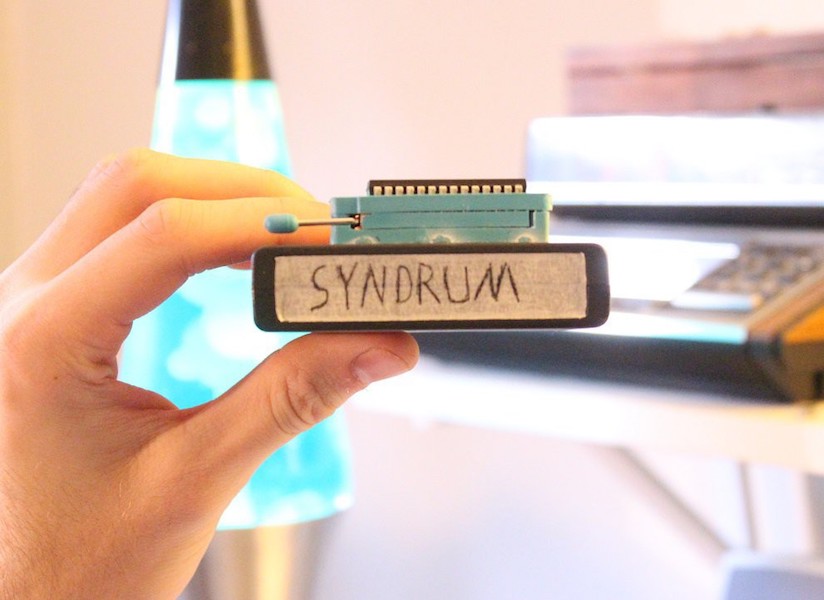
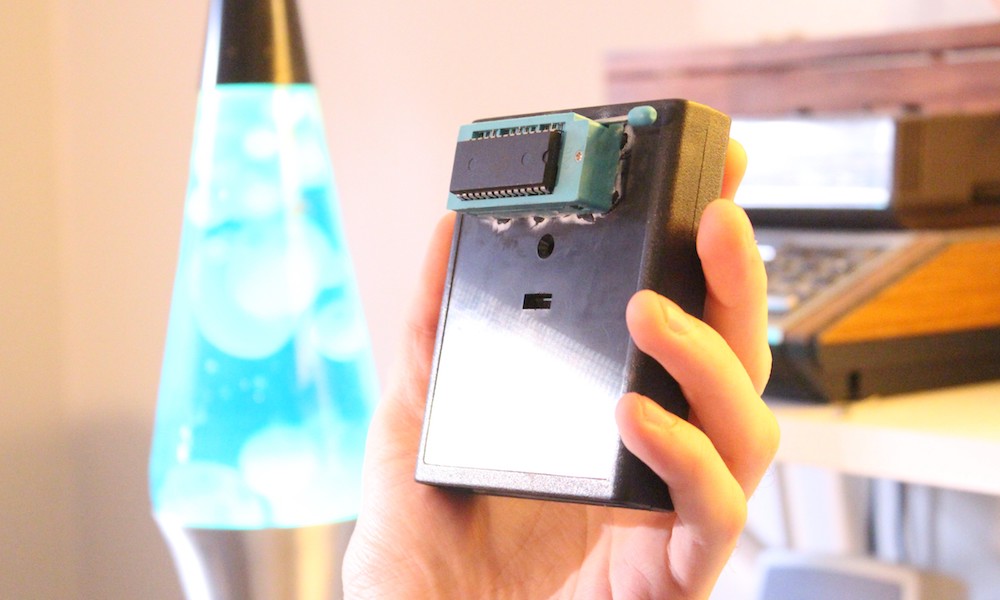
While not known for its musical prowess, John Sutley decided to turn an Atari 2600 into a simple four-note drum machine dubbed “SYNDRUM.”

While an interesting exercise in creating a custom cartridge out of repurposed components, pushing buttons to activate four tones and an onscreen VU meter can only keep one’s attention for so long.

To turn this project’s musical entertainment level up to 11, he programmed an Arduino Nano to take MIDI signals and translate them into the equivalent electrical signals that would normally come from a controller. 

The results, as seen in the video below, are spectacular. If you’d like to try something similar yourself, code for the SYNDRUM can be found here.

Communicate using your ear with Orecchio

When conversing face-to-face, there are a wide range of other emotions and inflections conveyed by our facial and body expressions. But what if you can’t express emotion this way, whether due to a physical impairment, or simply because of a covering—like a dust mask—temporarily hides your beautiful smile, and perhaps your hands are otherwise occupied?

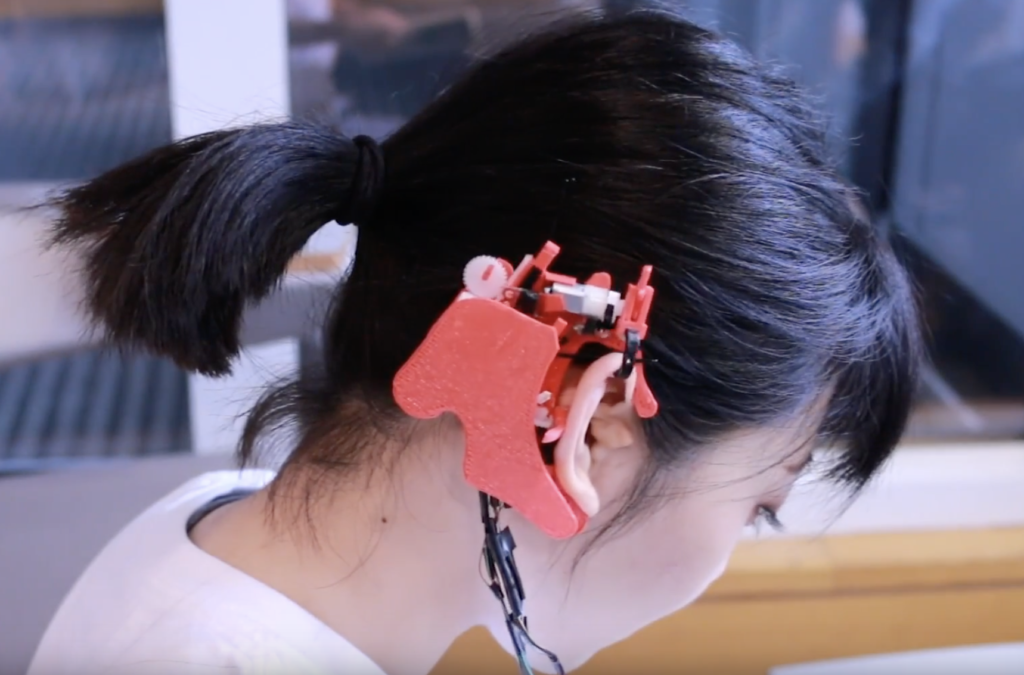
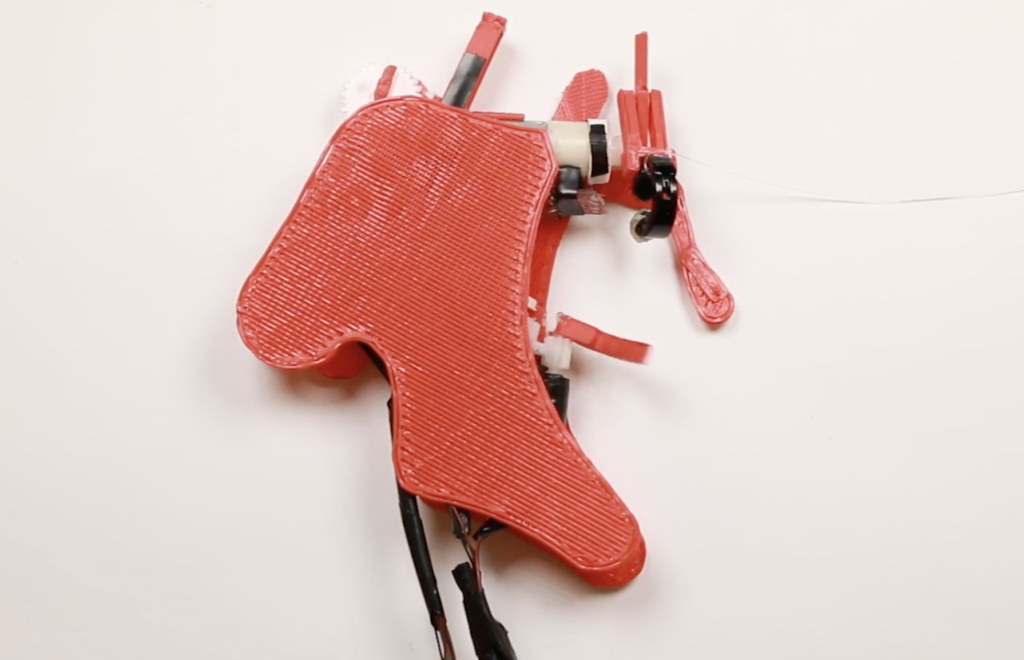
As a solution to this dilemma, a team of researchers has been working on Orecchio, a robotic device that attaches to the ear and bends it to convey emotion. Three motors allow the ear to be bent in 22 distinct poses and movements, indicating 16 emotional states. Control is accomplished via an Arduino Due, linked up with a windows computer running a C# program. 

The prototype was implemented using off-the-shelf electronic components, miniature motors, and custom-made robotic arms. The device has a micro gear motor mounted on the bottom of a 3D-printed ear hook loop clip. The motor drives a plastic arm against the side of the helix, able to bend it towards the center of the ear. Rotating the plastic arm back to its rest position allows the helix to restore to its original form. Near the top of the earpiece is another motor that drives a one-joint robotic arm that is attached to the top of the helix, using a round ear clip. Rotating the motor extends the robotic arm from its resting position, to bend the top helix downwards the center of the ear. The motor together with the one-joint robotic arm is mounted on a linear track that can be moved vertically through a rack-and-pinion mechanism, driven by a third motor. Moving the rack upwards stretches the helix.

The prototype is demonstrated in the video below, and more info is available in the project’s research paper.

DualPanto is a non-visual gaming interface for the blind

While there are tools that allow the visually impaired to interact with computers, conveying spacial relationships, such as those needed for gaming, is certainly a challenge. To address this, researchers have come up with DualPanto.

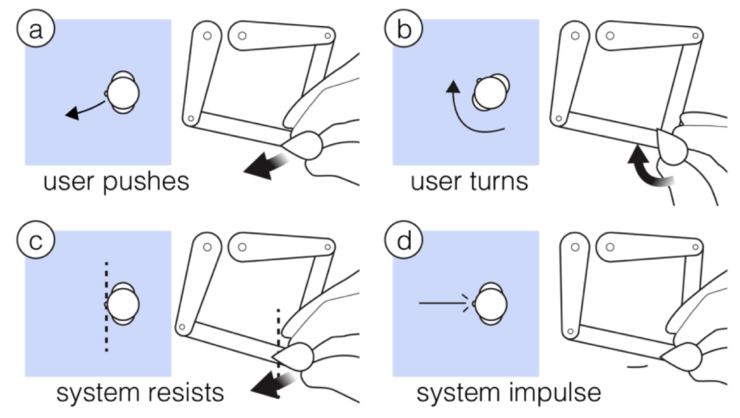
As the name implies, the system uses two pantographs for location IO, and on the end of each is a handle that rotates to indicate direction. One pantograph acts as an output to indicate where the object is located, while the other acts as a player’s input interface. One device is positioned above the other, so the relative position of each in a plane can be gleaned. 

The game’s software runs on a MacBook Pro, and an Arduino Due is used to interface the physical hardware with this setup. 

DualPanto is a haptic device that enables blind users to track moving objects while acting in a virtual world.

The device features two handles. Users interact with DualPanto by actively moving the ‘me’ handle with one hand and passively holding on to the ‘it’ handle with the other. DualPanto applications generally use the me handle to represent the user’s avatar in the virtual world and the it handle to represent some other moving entity, such as the opponent in a soccer game.

Be sure to check it out in the video below, or read the full research paper here.