Posts with «featured» label

Two-way lamp reborn with LEDs and Arduino

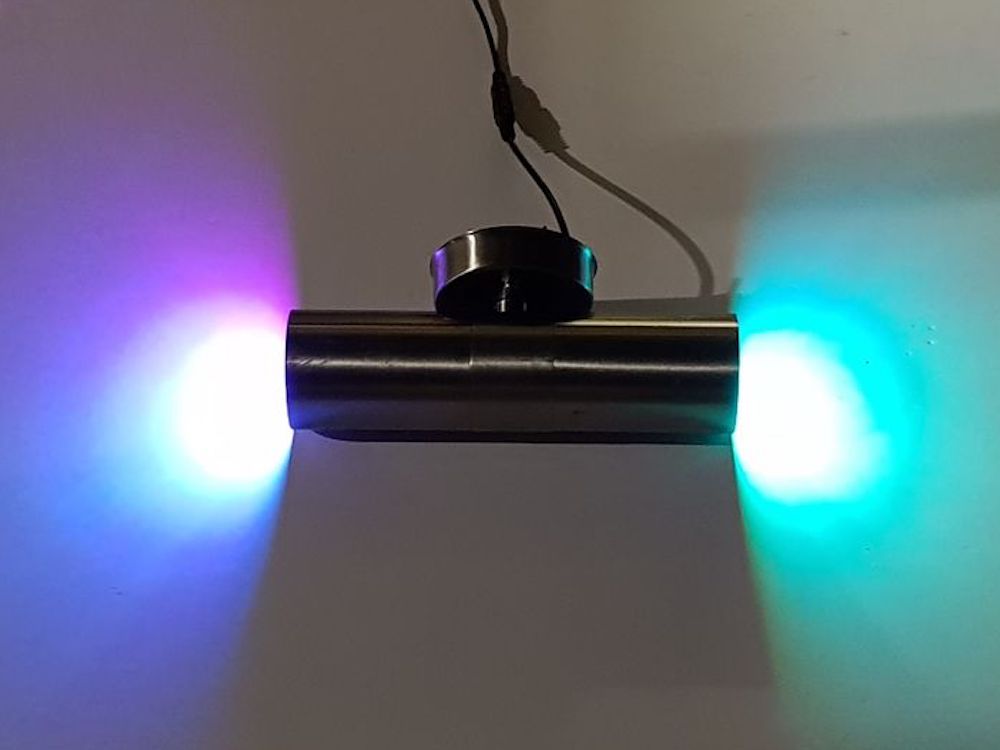
After finding a broken lamp at a scrapyard, which as meant to throw light both up and down, “tuenhidiy” decided to fix it. However, instead of using the normal two-bulb configuration, he replaced these lights with 64 individual RGB LEDs. The results are beautiful, as seen in the videos below.

Interestingly, this maker didn’t use NeoPixel-style programmable RGB lighting, but rather opted to control each RGB component directly using an Arduino, along with a shift register and transistor assembly. LED soldering was accomplished with the help of a flat wooden jig. The attached LEDs were then rolled up to fit the cylindrical fixture.

Lighting can be controlled in three modes—color wheel, morph, and HSB to RGB—with a potentiometer, selectable via a 3-way switch.

Build your own Arduino-powered portable function generator

If you need a certain electrical signal for testing, there are a variety of function generators available at a wide range of prices and capabilities. If, however, you’d like to build your own, this project by maker “Faransky” looks like a great place to start.

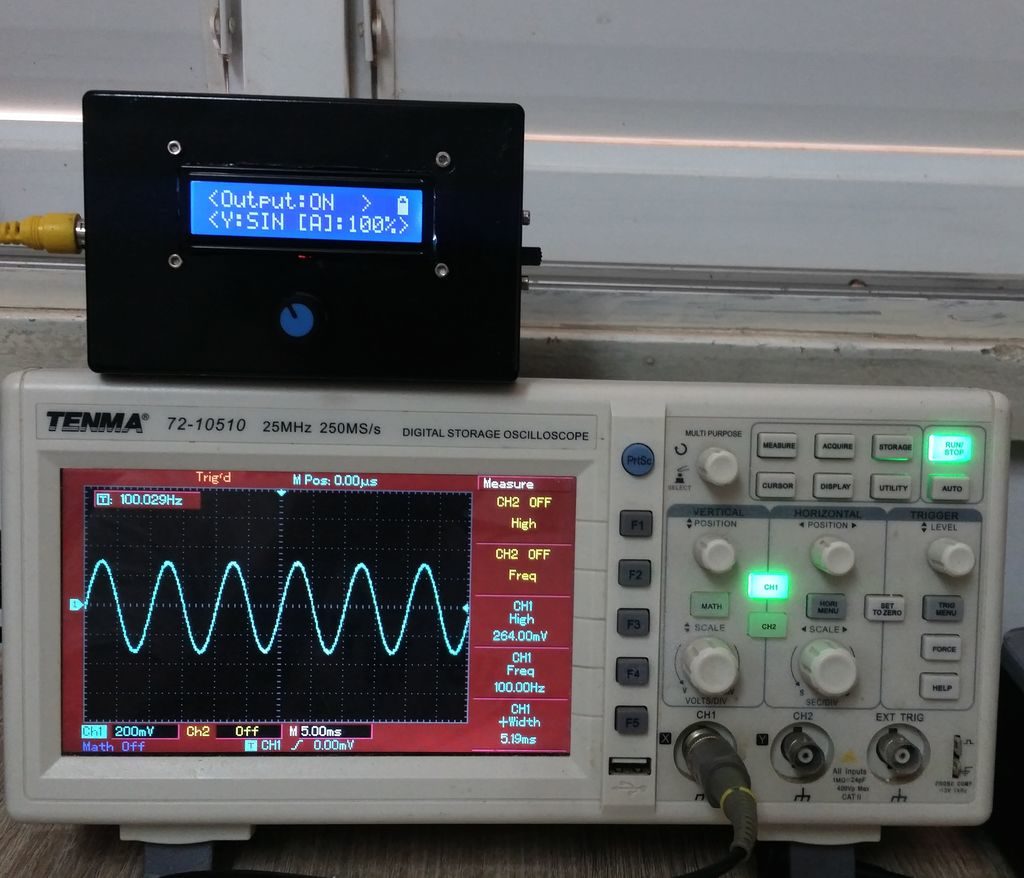
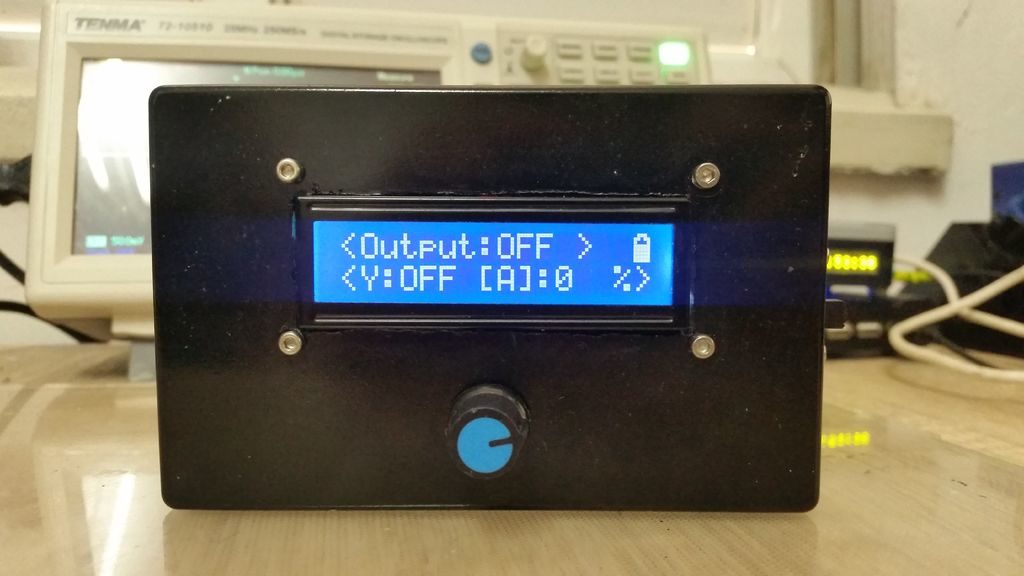
An Arduino Nano forms the core of this device, which interfaces with an AD9833 waveform generator module to produce the proper wave output. User interface is via a single encoder, which steps through different menu options using a built-in pushbutton, and a two-line LCD display provides feedback.

Everything is housed inside a nice compact enclosure, along with a lithium-ion battery to make it portable. Its capabilities are shown off in the video below, and build instructions and code are available here. 

Shy robotic sculpture imitates nature

In nature, animals often are sensitive to the outside environment, retreating into a hole, shell, or other protective structure upon sensing sudden movements. If you were to envision this kind of behavior in robot form, you might come up with something like “The Shy Machine” from Daric Gill Studios.

When it detects motion via a PIR sensor, the shell-like robot takes a reading of the ambient sound level using an internal microphone. If things are sufficiently quiet, it opens up using a stepper motor and lead screw, revealing a rainbow of colors provided by an array of RGB LEDs inside.

Its construction and a demo video are shown below, and you can see more about how this Arduino-powered robot was built and the results on Gill’s website.

Wheatley from Portal 2 comes to life with Arduino

If you’re a fan of Portal games, you’d probably like nothing more than to have your own Wheatley Personality Core to accompany you on real-life adventures. While that would be a passing thought for most, Luke Albertson has created his own amazing replica of the Portal 2 character. 

The device not only can say over 40 phrases from the game via an Adafruit soundboard, but contains a glowing blue eyeball that can pan, tilt, twist, and blink to help express what it’s thinking. It even has handles that move up and down, adding a kind of “flailing arms” effect to convey its emotions. 

Albertson’s animatronic project is controlled by an Arduino Uno, along with a Bluetooth shield and PS3 controller for user interface. It’s shown off quite nicely in the video below, and more info and clips are available here.

Create a constant current and power load with Arduino

If you need a device which draws a certain amount of current and power for testing, then GreatScott! has just the solution. 

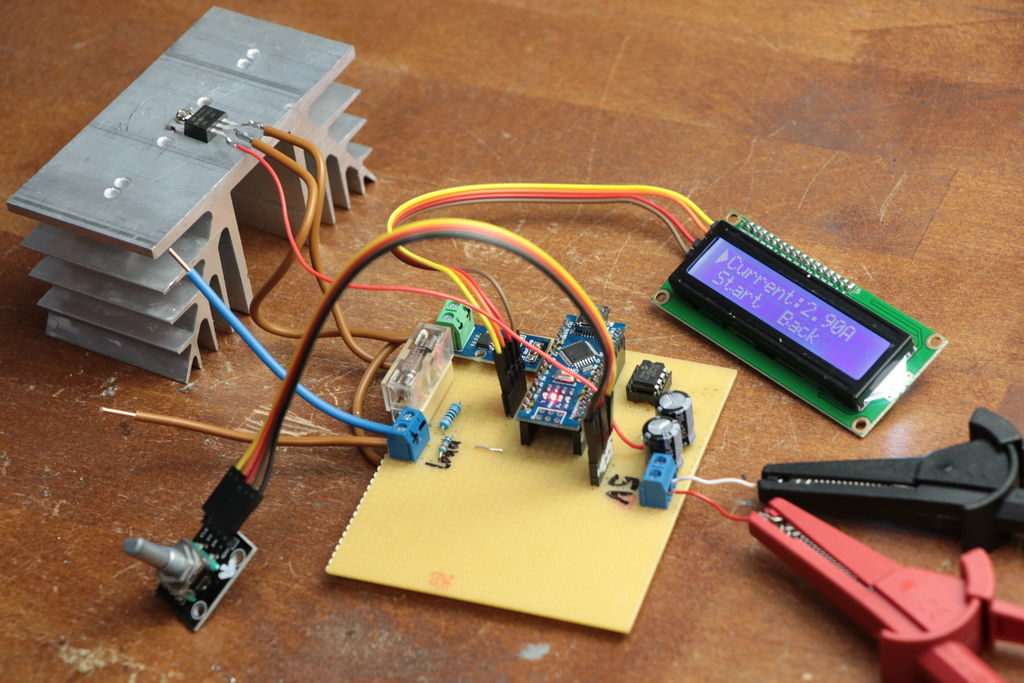
His project uses an Arduino Nano, along with a separate IC and a voltage divider, to measure both current and voltage input from the power source. It then employs this data to properly adjust a MOSFET, dissipating the correct amount of voltage and power as required.

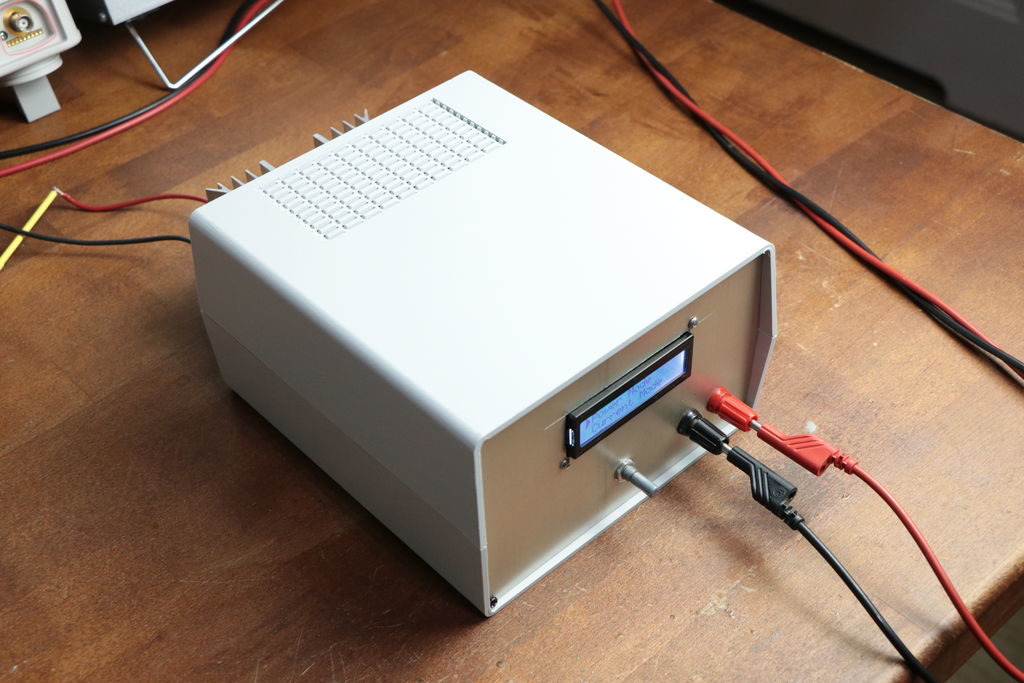
Interface is handled via a rotary encoder and a 16×2 I2C LCD display, and the electronics are housed in a solid-looking enclosure. 

As seen in the video below, the adjustable constant load features an impressively large heat sink, needed to take care of the 30V and 20A that the setup is capable of drawing.

Keep your ideas safe and secure with this biometric diary locker

If you want to keep your personal thoughts and ideas to yourself, here’s a diary locker from TechKiwiGadgets that opens with your personal fingerprint.

As shown in the demo video, this Arduino-based device can house a small notebook and even a smartphone, and locks with the press of a button. When you need your secured materials, you simply insert your finger into the fingerprint reader, and the small servo inside moves to allow access.

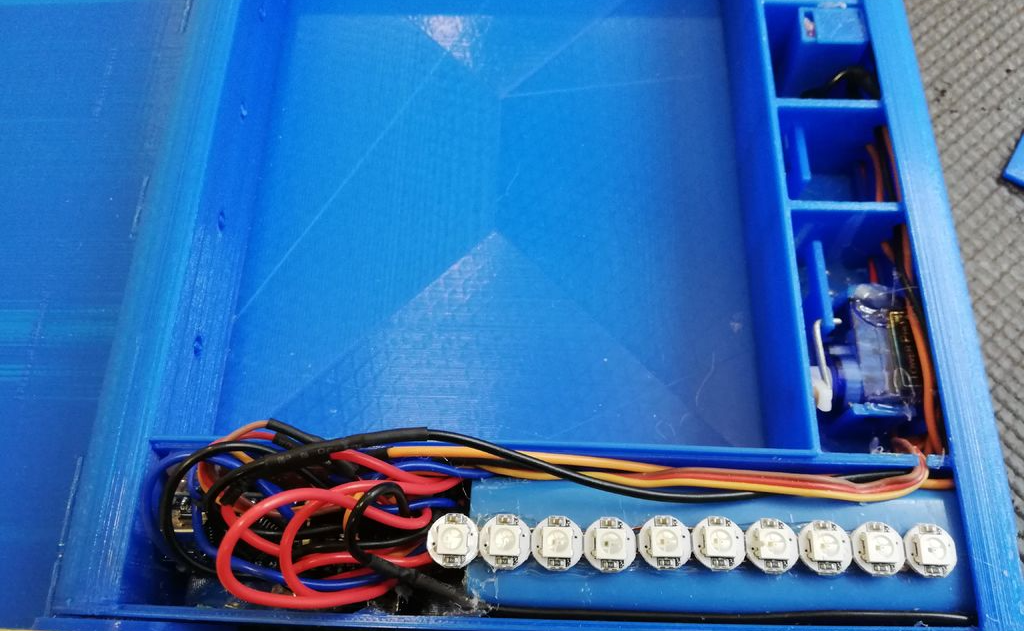
An infrared sensor is also implemented to make sure the door is closed, and a series of programmable LEDs toward the bottom provide visible user feedback. If you’d like to build your own, code and instructions are available here, and the needed 3D print files can be found on Thingiverse.

Announcing the Arduino Command Line Interface (CLI)

The Arduino team has been working hard to support the needs of our professional developer community. Many of you requested a way to use our tools in Makefiles, and wanted Arduino IDE features available via a fast, clean command line interface.  How cool would it be to install project dependencies with:

arduino-cli lib install “WiFi101” “WiFi101OTA”

So that’s what we’ve done! To make it even cooler, most Arduino CLI commands have the option to output JSON for easy parsing by other programs:

arduino-cli –format json lib search wifinina

{“libraries”:[{“Name”:”WiFiNINA”,”Releases”:{“1.0.0”:{“Author”:”Arduino”,”Version”:”1.0.0″,”Maintainer”:”Arduino \u003cinfo@arduino.cc\u003e”,”Sentence”:”Enables network connection (local and Internet) with the Arduino MKR WiFi 1010, Arduino MKR VIDOR 4000 and Arduino UNO WiFi Rev.2.”,”Paragraph”:”With this library you can instantiate Servers, Clients and send/receive UDP packets through WiFi. The board can connect either to open or encrypted networks (WEP, WPA). The IP address can be assigned statically or through a DHCP. The library can also manage DNS.”,”Website”:”http://www.arduino.cc/en/Reference/WiFiNINA”,”Category”:”Communication”,”Architectures”:[“*”],”Types”:[“Arduino”],”Resource”:{“URL”:”http://downloads.arduino.cc/libraries/github.com/arduino-libraries/WiFiNINA-1.0.0.zip”,”ArchiveFileName”:”WiFiNINA-1.0.0.zip”,”Checksum”:”SHA-256:79f133fedf86411ca7add773a4293137dec057a3b8f1a7904db2d444ed8f4246″,”Size”:65651,”CachePath”:”libraries”}}}}]}

The other big news is you can run Arduino CLI on both ARM and Intel (x86, x86_64) architectures. This means you can install Arduino CLI on a Raspberry Pi or on your servers, and use it to compile Sketches targeting the board of your choice (Don’t forget you can also remotely manage your Linux device with Arduino Create Device Manager!)

Getting Started

This first release is an alpha, and we would like your feedback to help us improve it. You can download the Arduino CLI alpha preview binaries from:

Linux (64-bit): https://downloads.arduino.cc/arduino-cli/0.1.0-alpha.preview/arduino-cli-0.1.0-alpha.preview-linux64.tar.bz2

Linux (32-bit): https://downloads.arduino.cc/arduino-cli/0.1.0-alpha.preview/arduino-cli-0.1.0-alpha.preview-linux32.tar.bz2

Linux (ARM): https://downloads.arduino.cc/arduino-cli/0.1.0-alpha.preview/arduino-cli-0.1.0-alpha.preview-linuxarm.tar.bz2

OSX: https://downloads.arduino.cc/arduino-cli/0.1.0-alpha.preview/arduino-cli-0.1.0-alpha.preview-osx.zip

Windows: https://downloads.arduino.cc/arduino-cli/0.1.0-alpha.preview/arduino-cli-0.1.0-alpha.preview-windows.zip

Once you’ve installed Arduino CLI, you can try it out using our getting started guide: https://github.com/arduino/arduino-cli#getting-started

The Arduino CLI code repository is also available at: https://github.com/arduino/arduino-cli. As usual, it’s open source – but if you’re a company who wants to use it to create a customized tool, you can also contact us for a commercial license.

Integrate Arduino Support Into Your Preferred Platform

After we used Arduino CLI for awhile, we decided to make it the standard way our software communicates. Imagine having the Arduino IDE or Arduino Create Editor speaking directly to Arduino CLI – and you having full control of it. You will be able to compile on your machine or on our online servers, detect your board or create your own IDE on top of it!

We want you to be able to add Arduino support to whatever development flow you prefer. Whether you use Atom, Eclipse, Emacs, Vim, VSCode, or are even building your own tools, Arduino CLI makes this possible. Let us know what you think!

Blow out this Arduino LED candle!

LED candles can provide a nice sense of ambiance, without the inherent associated risk of fire. For better or worse, however, they don’t normally respond to air currents. 

Paul Dietz, however, shows that this kind of response is actually possible, as an LED’s forward voltage drop is affected by how well it dissipates heat due to ambient air conditions.

This means that when you puff on an LED, the resulting voltage changes can be picked up by an Arduino Uno.

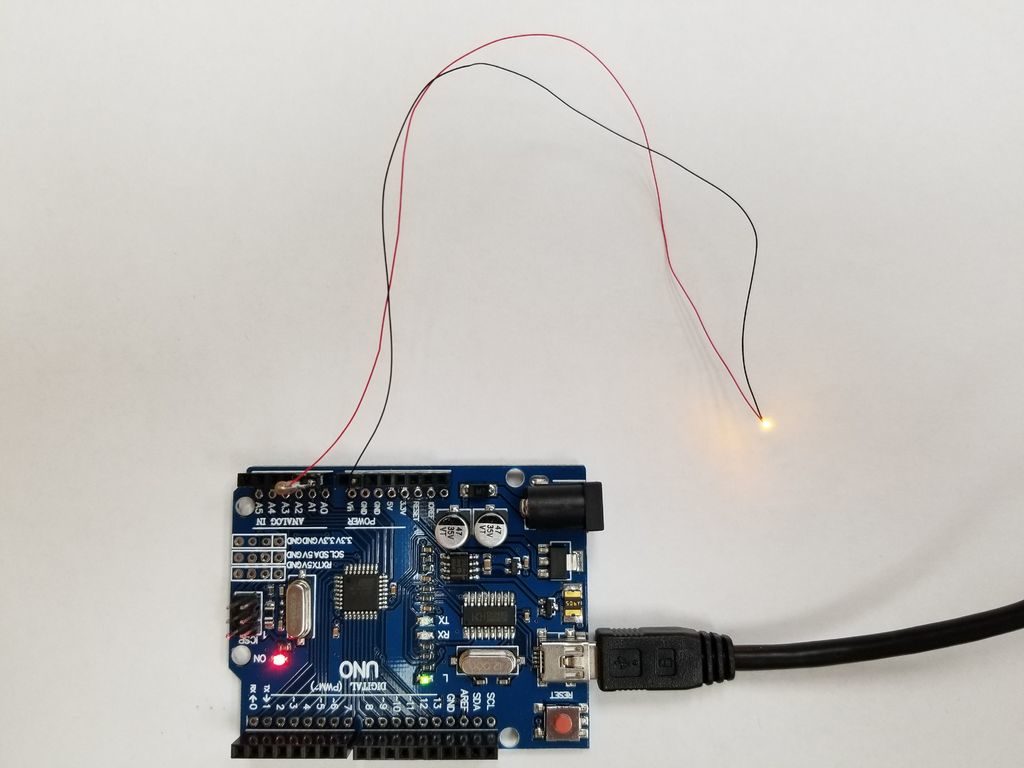
LEDs are designed to emit light, but they also make surprisingly capable sensors. Using only an Arduino UNO, an LED and a resistor, we will build a hot LED anemometer that measures wind speed, and turns off the LED for two seconds when it detects you are blowing on it. You can use this to make breath controlled interfaces, or even an electronic candle that you can blow out!

How Does This Work? 

When you run current through an LED, its temperature rises. The amount of rise depends on how effectively you are cooling it. When you blow on a hot LED, the extra cooling lowers the running temperature. We can detect this because the forward voltage drop of an LED increases as it gets cooler.

The circuit is very simple and looks much like driving an LED. The only difference is that we will add an extra wire to measure the voltage drop of the LED while it is on. To work well, you want to use a very small LED (I suggest using an 0402 surface mount LED) connected by the thinnest possible wires. This will allow the LED to heat and cool very quickly, and minimize the heat lost through the wires. The voltage changes we are looking for are just millivolts – at the very edge of what can be reliably detected via the UNOs analog pins. If the LED is resting on something that conducts heat away, it may not be able to get hot enough, so it works best if it is up in the air.

As shown in the video below, he turned this concept into a novel “candle” setup, blowing his tiny 0402 SMD-format LED out over and over—like a trick birthday candle!

Arduino Blog 21 Aug 18:48

DeepWay helps the visually impaired navigate with a tap

In order to help those with visual impairments navigate streets, college student Satinder Singh has come up with an innovative solution that literally pokes the user in the right direction. 

Singh’s system, called DeepWay, uses a chest-mounted camera to take images of the road that a wearer is walking down, then feeds this information to a laptop for processing. 

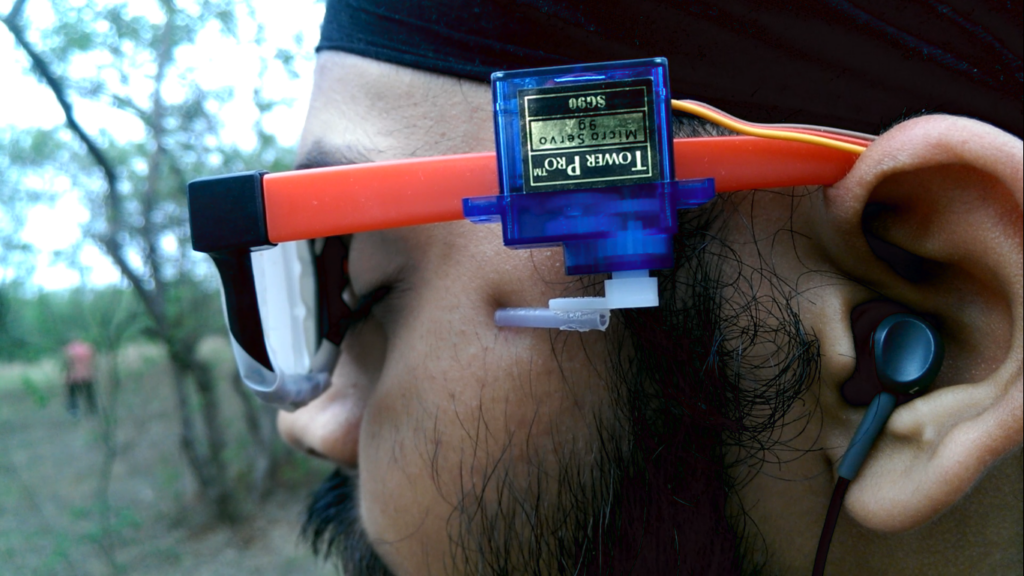
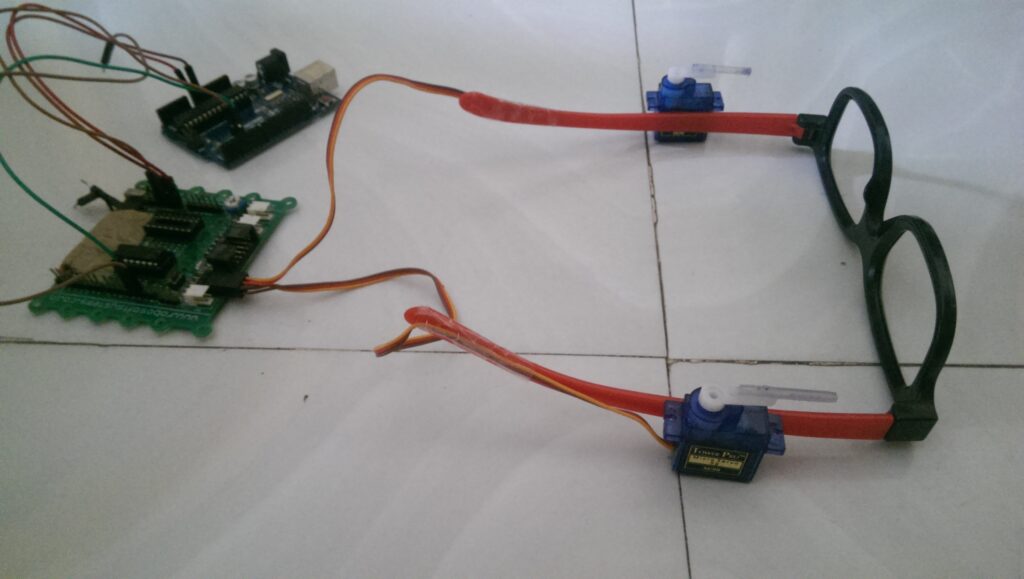
If the deep learning algorithm determines that the user needs to move left or right to stay on the path, a serial signal is sent to an Arduino Uno, which in turn commands one of two servos mounted to a pair of glasses to tap the person to indicate which way to walk. Additional environmental feedback is provided through a pair of earphones.

This project is an aid to the blind. Till date there has been no technological advancement in the way the blind navigate. So I have used deep learning particularly convolutional neural networks so that they can navigate through the streets.

My project is an implementation of CNNs, and we all know that they require a large amount of training data. So the first obstruction in my way was a correclty labeled dataset of images. So I went around my college and recorded a lot of videos (of all types of roads and also off-roads). Then I wrote a basic Python script to save images from the video (I saved 1 image out of every 5 frames, because the consecutive frame are almost identical). I collected almost 10,000 such images almost 3,300 for each class (i.e. left right and center).

I made a collection of CNN architectures and trained the model. Then I evaluated the performance of all the models and chose the one with the best accuracy. I got a training accuracy of about 97%. I got roughly same accuracy for all the trained model but I realized that the model in which implemented regularization performed better on the test set.

The next problem was how can I tell the blind people in which direction to move. So I connected my Python program to an Arduino. I connected the servo motors to Arduino and fixed the servo motors to the sides of a spectacle. Using serial communication I can tell the Arduino which servo motor to move which would then press to one side of the blind person’s head and would indicate him in which direction to move.

A demo of DeepWay can be seen in the video below, while code for this open source project is available on GitHub.

Build a 4-button arcade game out of LEGO

If your kids (or you) have somehow gotten tired of playing with LEGO bricks, Lenka Design Workshop has a great way for you to breathe new life into this unused pile. 

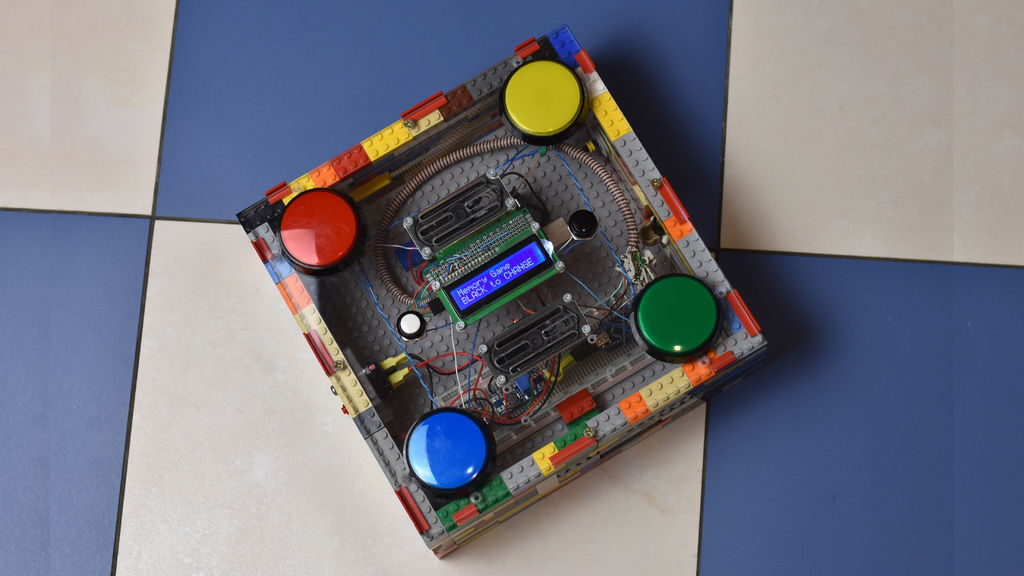
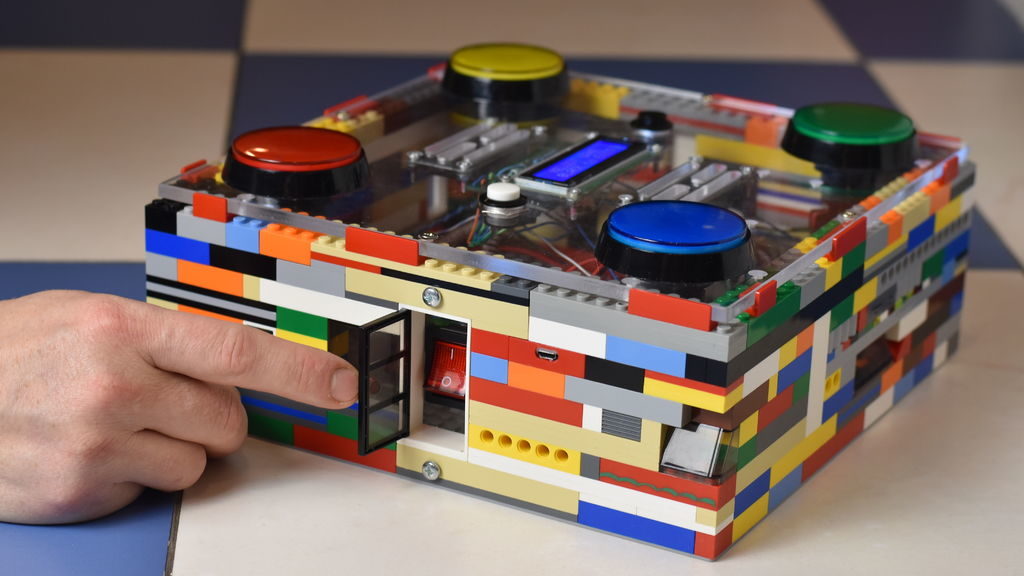
Their game enclosure consists of a 32×32 LEGO baseplate, along with walls made of blocks to support a clear acrylic cover. This in turn holds four large arcade buttons for gameplay control. Five games are currently implemented to run on the game’s Arduino, with light and sound feedback.

We decided to recycle the unwanted Lego bricks and created an arcade game.

The code has been written in such a way that it doesn’t have dependencies and will compile on any Arduino board. And of course the games have been intensively tested by our kids.

How is this game different from many others that have been published before?

First of all, there are 5 games built into it:

  • Memory Game (“Simon-Says”-like, similar to Touch Me game)
  • Reaction game (similar to Whack-a-Mole game)
  • Contest/Competition game (for 2-4 players)
  • Melody Game (Push and Play free mode for toddlers and smaller ones)
  • War game (for 2-4 adults)

Secondly, it has a great design (from our perspective) and can be easily repeated.

And thirdly, it is earth-friendly because it allows you to recycle the plastic.

You can see a short demo of the system in the video below, or check out the project write-up for more info. 

Arduino Blog 17 Aug 15:58