Posts with «featured» label

Ariadne Headband is a wearable device for haptic navigation
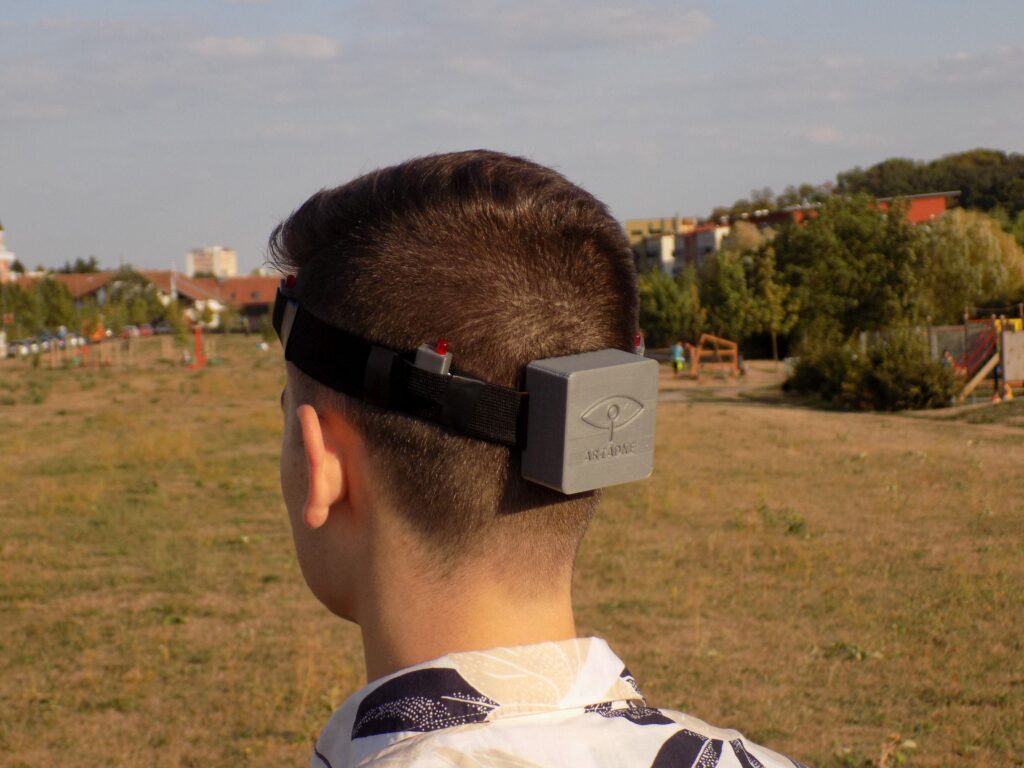
In a new take on haptic navigation, makers Vojtech Pavlovsky and Tomas Kosicek have come up with a novel feedback system called the “Ariadne Headband.”

This device—envisioned for use by people with visual impairments, as well as those that simply want to get around without looking down at a phone while walking or biking—uses four vibrating motors arranged in a circle around the wearer’s head to indicate travel direction.
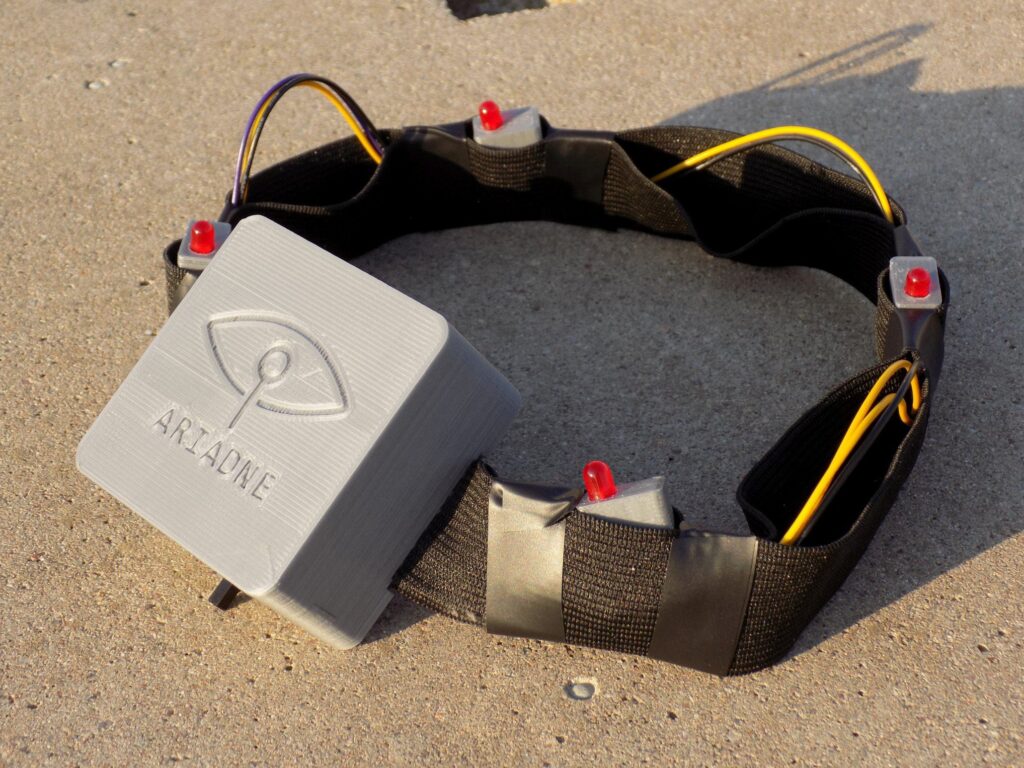
An Arduino Nano provides computing power for the setup, along with a compass module and a Bluetooth link to communicate with a companion smartphone app. The Ariadne Headband is currently a prototype, but this type of interface could one day be miniaturized to the point that it could be placed in a hat, helmet, or other everyday headgear.
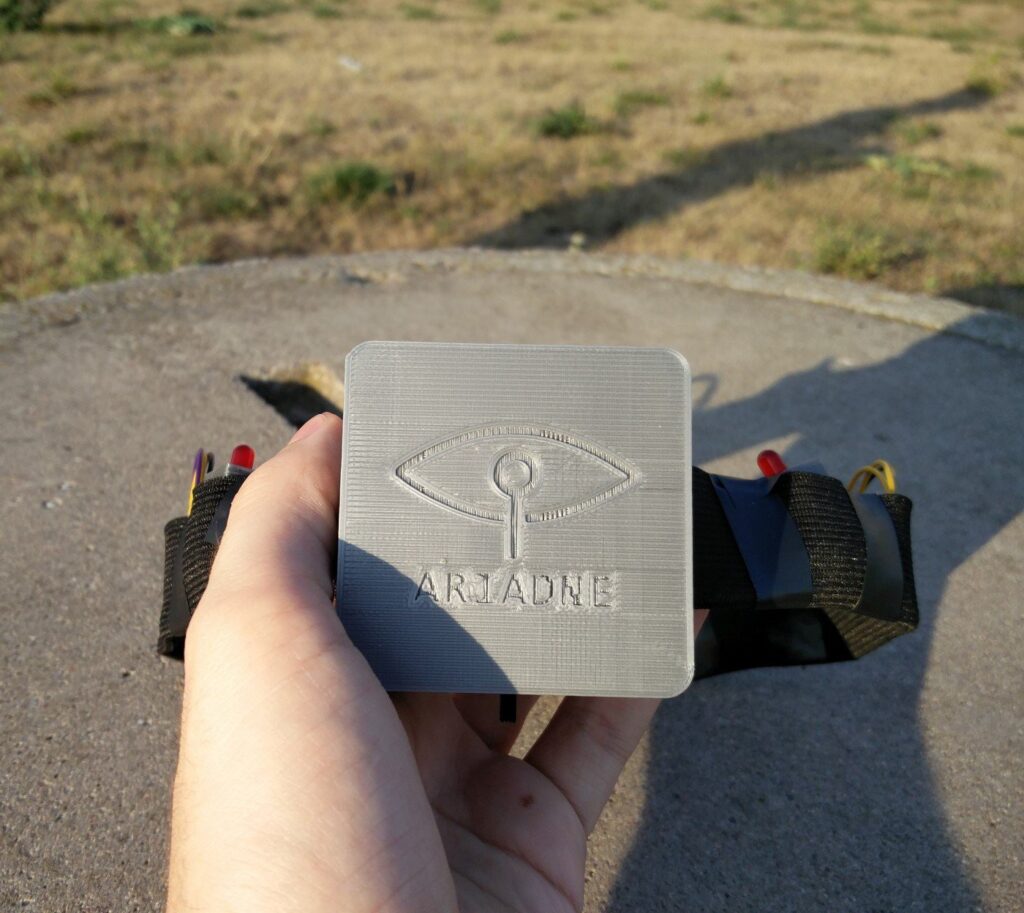
Project Ariadne Headband is made out of two parts: headband and control app. The common usage flow is following. First, you open Ariadne Headband Android app. Using this app you connect via Bluetooth to your Headband. Next, the app will ask for you current GPS location. Then you open Google Maps integrated into our app and select your destination (place where you want to go).

Our Android app will compute the geographical azimuth from your current location and chosen destination. When you are ready you start navigating by pressing a button that sends computed azimuth to the Headband you put on your head.

Headband consists of Arduino Nano board, GY-271 compass module, HC-06 Bluetooth module (we selected this module only for local availability and will switch to BLE soon) and 4 vibration motors. Compass module allows us to know current azimuth, that is where is the user looking. All components are placed into a small box on back of your head. Our aim in the future will be to make this as small as possible so you will not even feel it. It is also possible to place everything into a hat or helmet for example instead of rubber headband. We are using rubber headband because it is very easy to manipulate.

Vibration motors around your head are placed in set directions so they can signalize where you should head. Your heading is computed by taking your current azimuth and the azimuth sent from android app (that is where you are currently going and where you should go, respectively).
Let this Arduino robotic bartender mix you a drink

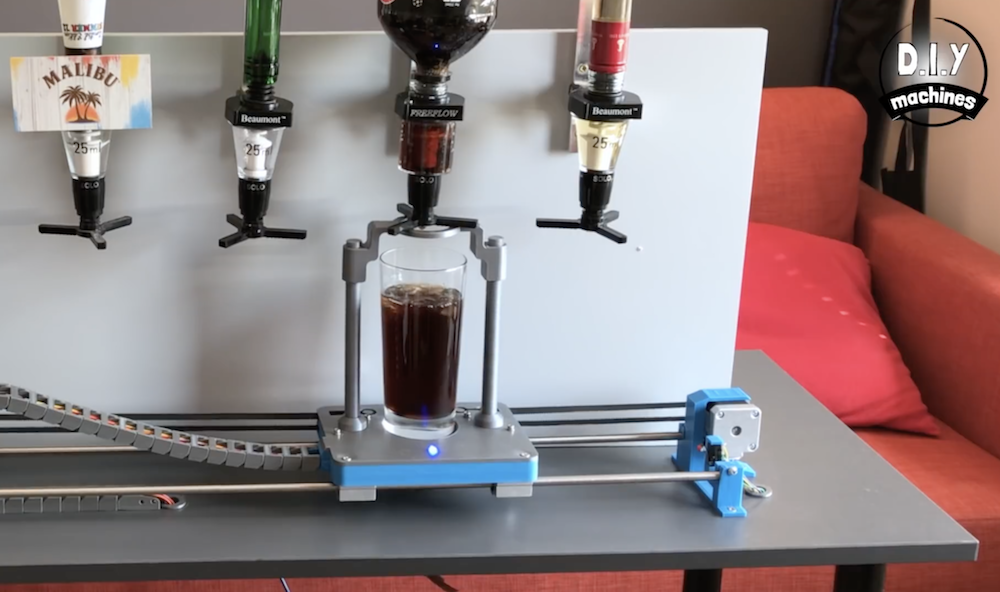
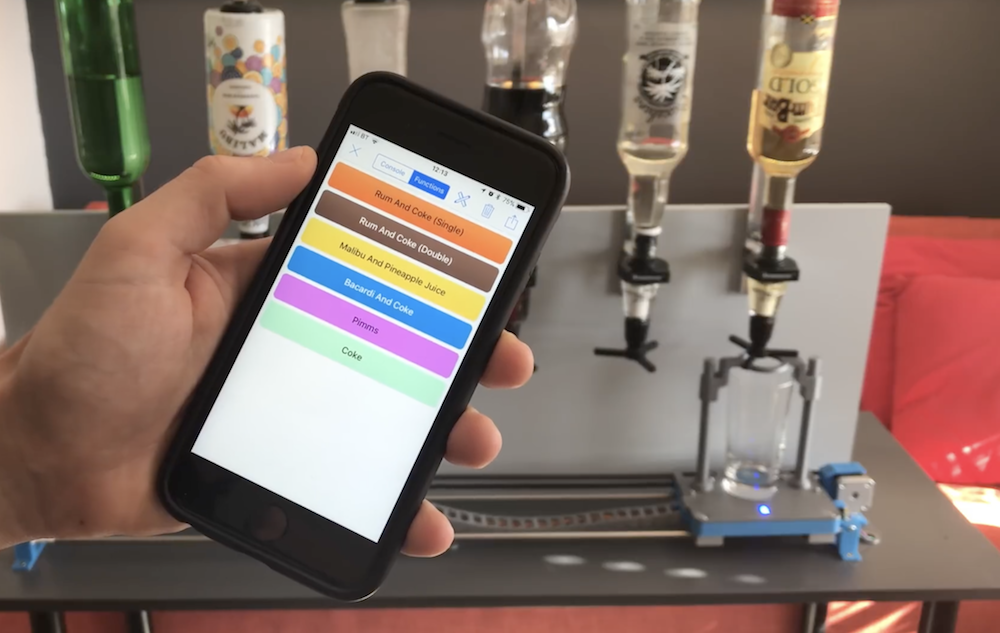
We’ve seen different versions of robotic bartenders over the last few years, but this one by DIY Machines looks quite clean, and because of its battery-powered operation can be taken anywhere.

The device works like a simple CNC machine, using a stepper and pulley setup to transport a glass between one of six upside down bottles. When it’s in the correct position, two more stepper motors push a lifting assembly into the selected bottle’s dispenser valve, emptying the correct amount of liquid into the glass. An Arduino Uno is used for control, with user interface provided via a Bluetooth module and smartphone app. 

More videos and build instructions can be found in the project’s write-up, while Arduino code is available here.

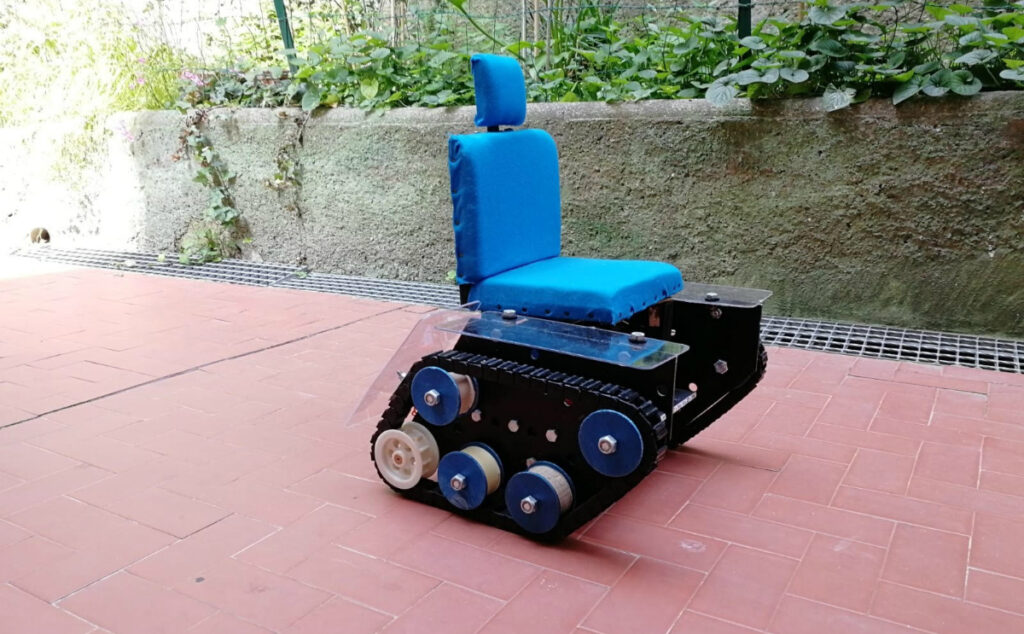
Robust wheelchair model with treads!

Most people accept that a wheelchair is, in fact, a chair with wheels. This, however, didn’t stop recent Galileo Galilei Technical Institute graduate Davide Segalerba from turning this concept on its head and producing a “wheelchair” scale model driven instead by a pair of treads. 

This concept was inspired by Segalerba’s experience using a wheelchair himself while recovering from multiple surgeries, observing that our environment isn’t always conducive to wheeled transportation.

An Arduino board controls the device, and user input is via a joystick, or from a smartphone app over Bluetooth. You can read more about the projector on Wired Italia or translated to English here.

Control your camera with this Arduino intervalometer

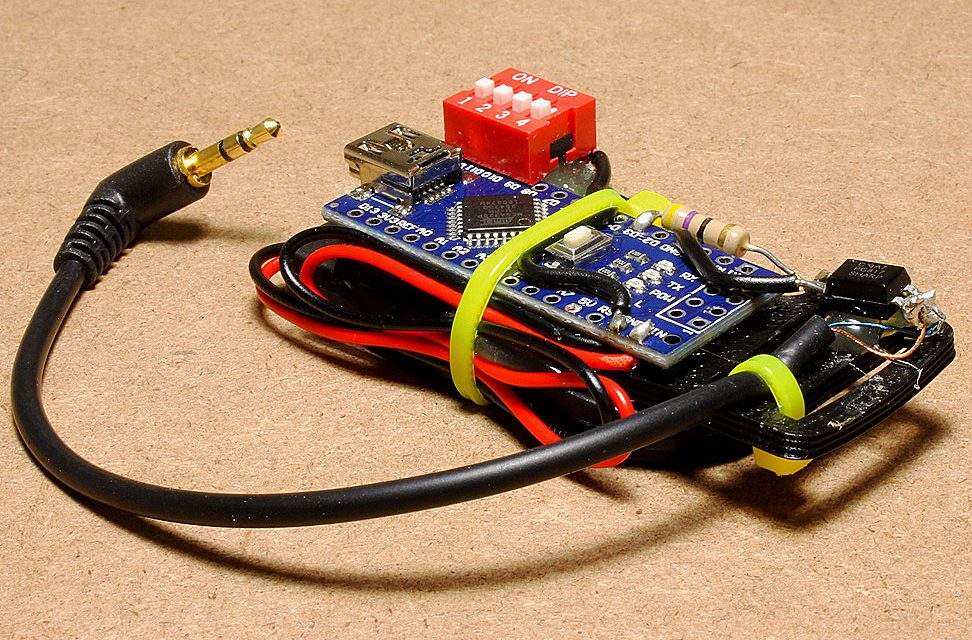
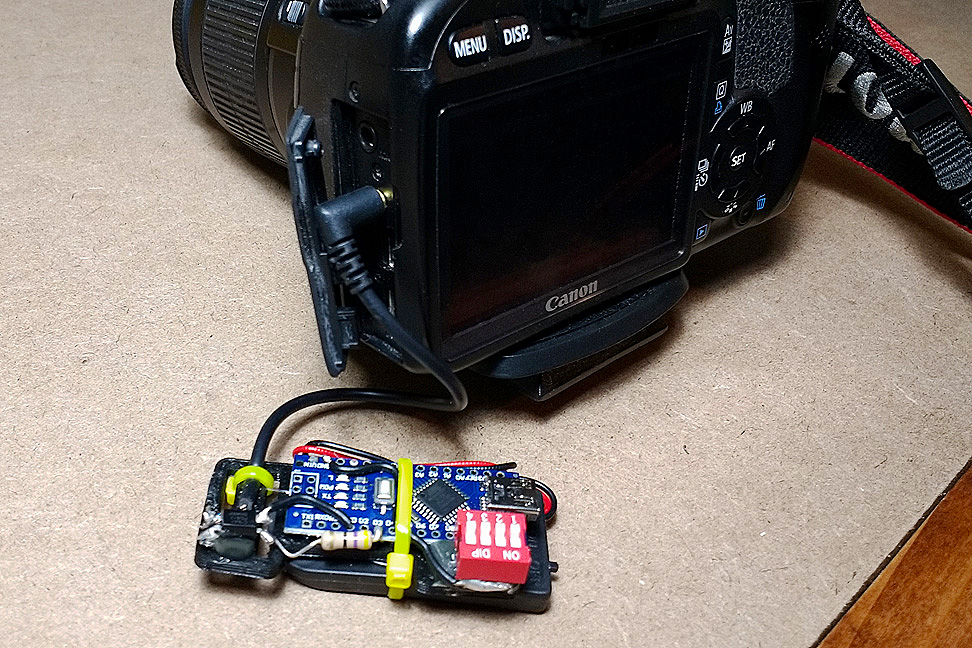
When you need a high-quality image, it’s hard to beat the resolution and lens options of a DSLR. But what if you want to take a photo over and over at set intervals to produce a time-lapse sequence? You could purchase an intervalometer, or make one using an Arduino Nano.

The device shown in the video below uses a 2.5mm audio plug for the input to a Canon T2i camera. An opto-isolator is activated by the Nano, connecting the ground (base) and tip (shutter) pins. Intervals are set via a 4-position DIP switch, allowing photo intervals of 5, 10, 30, and 60 seconds—or any combination thereof.

While the functionality shown is quite basic, the setup could be adapted for other timing patterns, or even for use with a sensor. Build instructions are available here, and you can find code and the 3D-printed base on GitHub.

Build an Arduino Mega fingerprint door lock

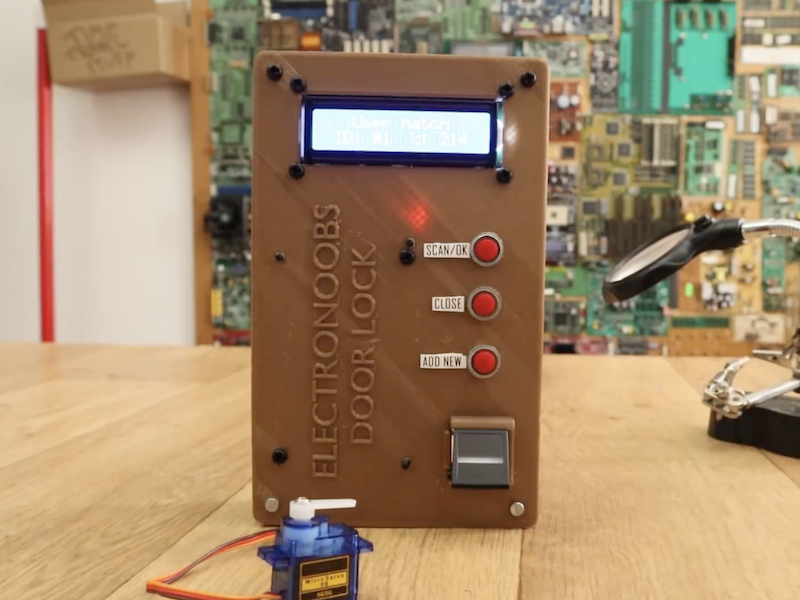
If you don’t want to carry keycard or memorize a passcode, this build from Electronoobs might be just the thing. 

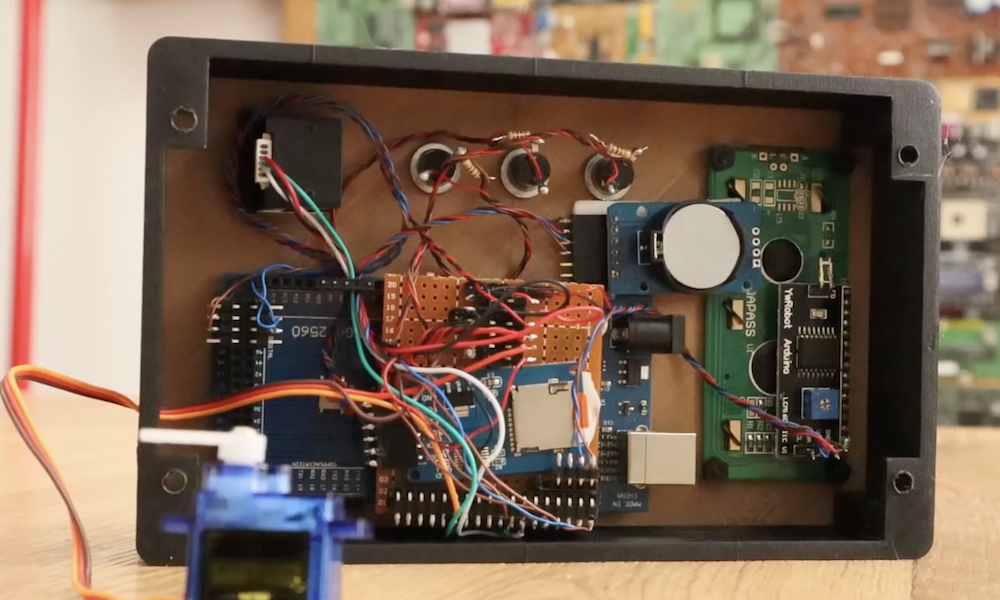
The system uses a fingerprint reader to check to see if you have access, and if approved, the device’s Arduino Mega unlocks the theoretical door using a micro servo motor. Three push buttons and a 16×2 LCD screen complete the user interface, and allow more authorized fingers to be added with the main person/finger’s permission.

While you might question the security gained by a hobby servo, the video notes that this could trigger any sort of security device, perhaps via a relay or electromagnetic coil lock. Besides security, the build gives a good introduction to Arduino fingerprint scanning, as well as the use of an SD card for data logging functions.

The Airdrum plays music with Arduino and six sensor PCBs

Playing music well can be difficult for anyone, especially those with certain disabilities. To make this form of self-expression easier for everyone,  Alessandro Verdiesen and Luuk van Kuijk built the Airdrum—an IR sensor-based instrument that is played simply by the wave of a hand.

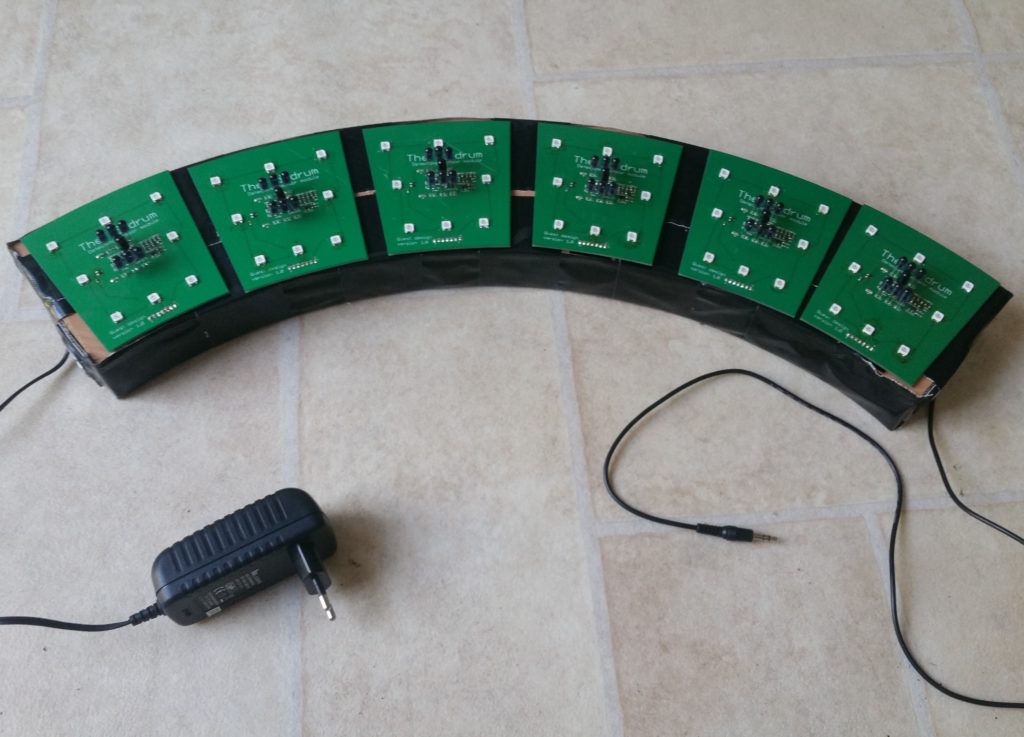
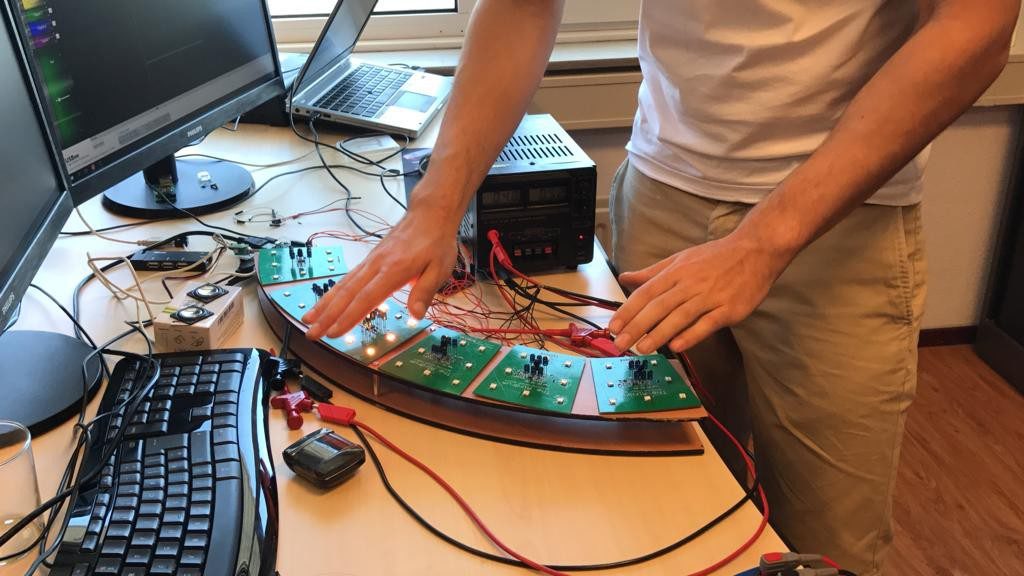
The Airdrum uses six individual sensor boards to detect when a hand is present. This input is then processed via an Arduino Uno and passed along to a Raspberry Pi to produce individual tones.

People with multiple severe disabilities often encounter the difficulties of playing a music instrument due to their mental and physical deficits.

Health care institutions which facilitate housing, learning opportunities and day care for these people often encounter the difficulties of communicating with their clients. These institutions experienced that making music together is a great way of communicating and therefore many institutions offer music therapy. According to music therapists, the main goal is having fun. It is proven that people learn more when having fun. When playing an instrument, clients can share emotions and practice their motor skills.

We have designed a musical instrument which is easy and fun to play, not just for people with severe disabilities, but for everyone: the Airdrum. The Airdrum is a small device containing panels with motion sensors and colored lights. When somebody moves their hand or head above the panels, they light up and they play sound.

The device, as shown in the demo video, appears to still be a work-in-progress, but has all the functionality needed to play a simple tune with RGB LED feedback.

Hack your coffee machine with voice control

Are you still pushing buttons and adjusting knobs with your fingers to brew your favorite coffee? If so, then this voice-controlled solution could be the next project on your list.

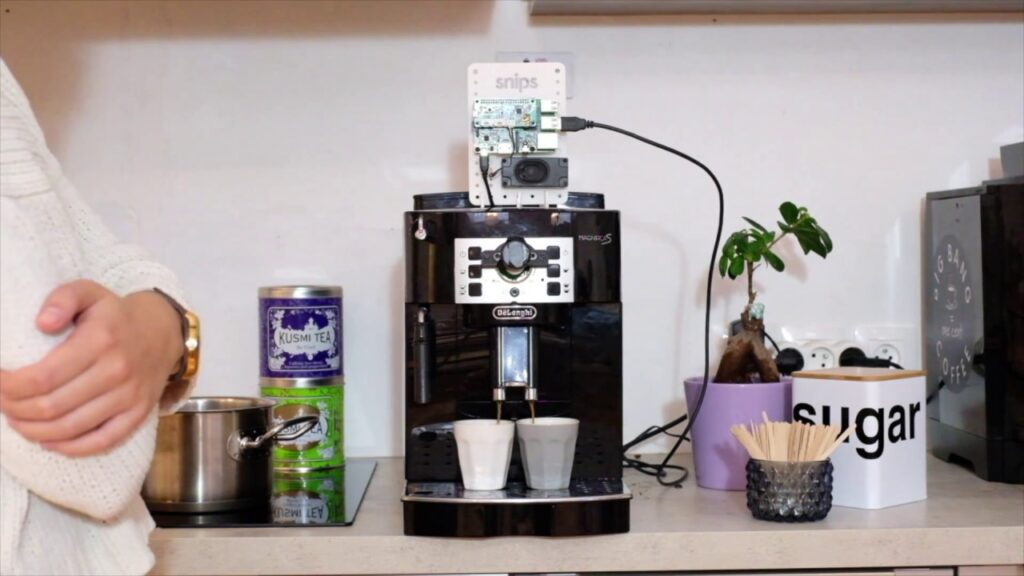
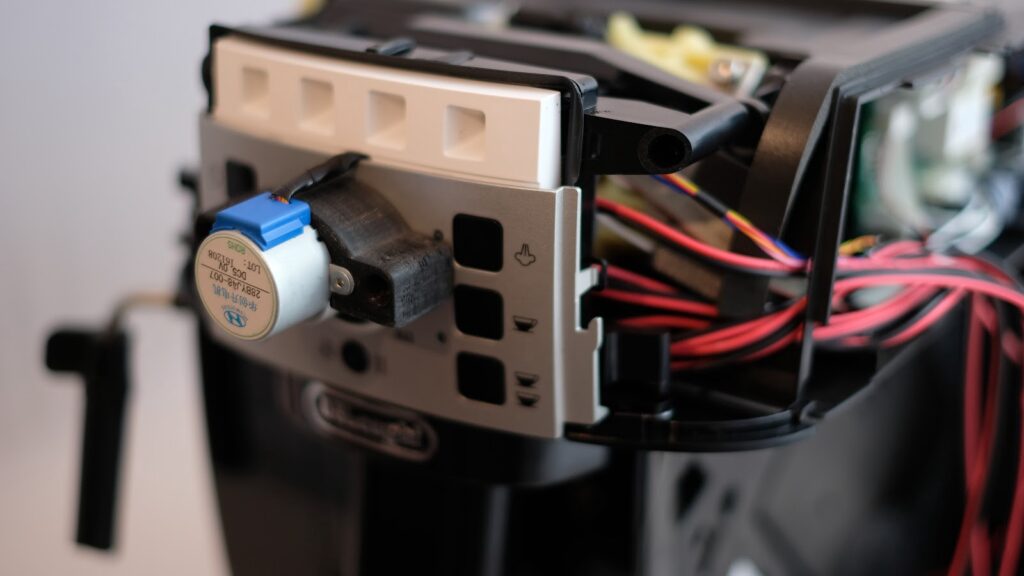
To accomplish this hack, a rather high-end coffee maker was disassembled and modified, adding an Arduino Nano to press buttons, along with a small motor and driver board to adjust its dial. Voice control is provided via Snips software running on a Raspberry Pi, which passes the pertinent commands along for coffee making.

When the devices around you no longer require a lengthy operation manual, but rather, require only a voice command, this unlocks an environment where technology disappears into the background, so that you can regain the freedom to spend quality time with the people you care about. That is in fact our mission at Snips, to make technology disappear.

Case-in-point: this voice-activated coffee machine. You can ask it to make you a double espresso or a flat white, to pour you some hot water or even to turn itself off.

It’s purely a demo project, but at our Snips office in Paris, we’ve grown used to the convenience, and so we wanted to make it as easy as possible for anyone interested to replicate it at home.

Code and modification instructions are available on the Snips team’s blog post, while the brewing results can be seen in the demo video below. 

Show tidal shifts with this Arduino-powered moon clock

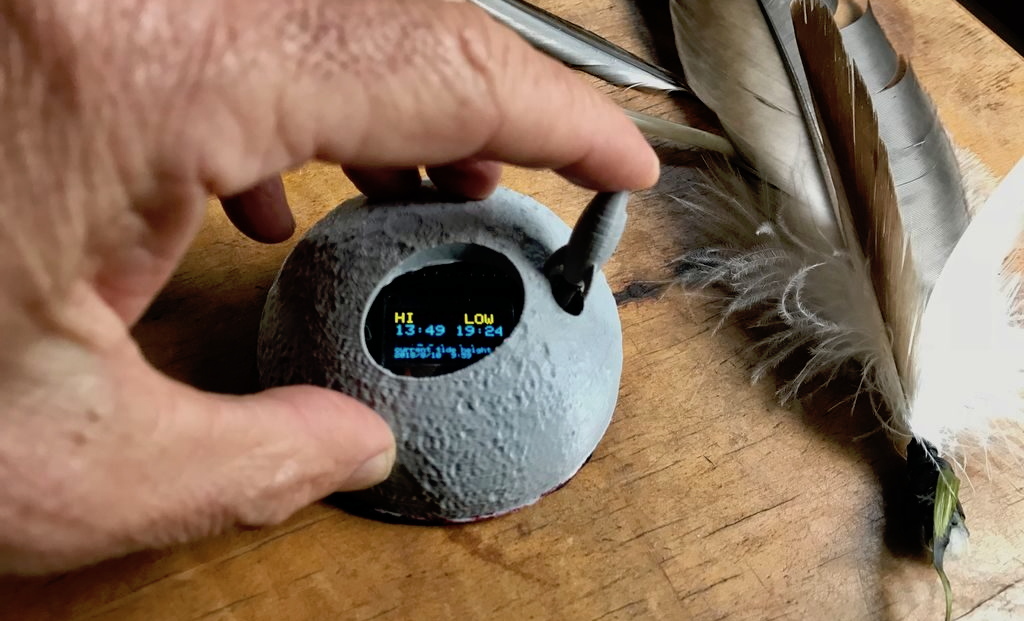
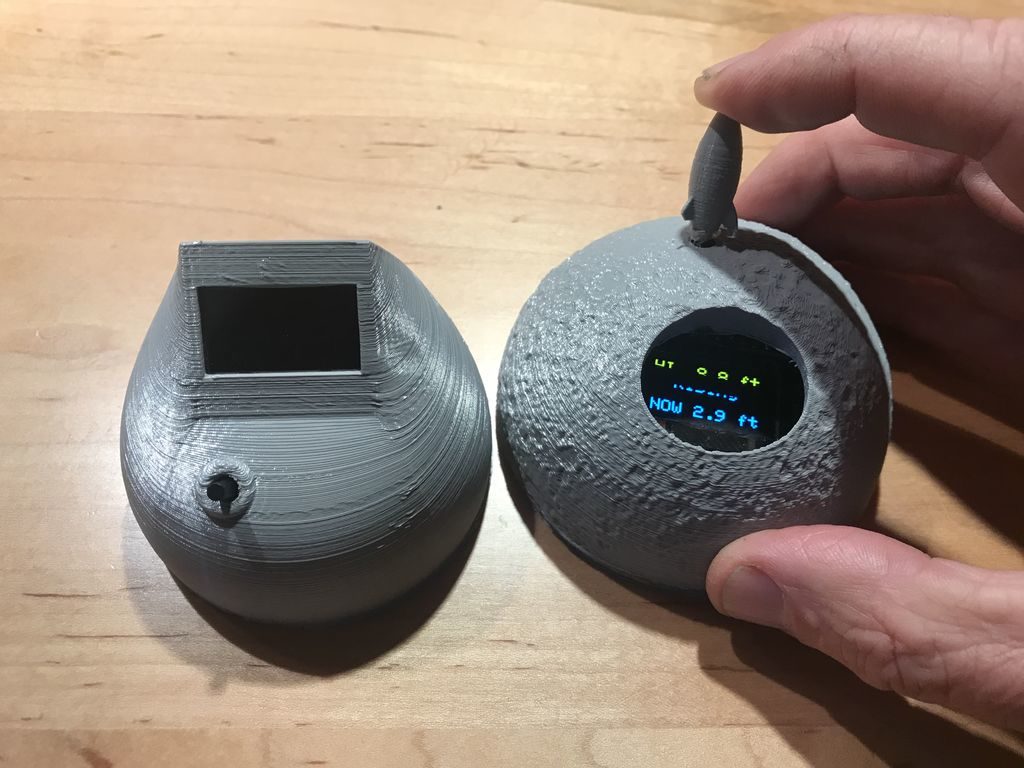
If you want to know the tide in your area, you could look it up in the paper, on the Internet, or using an app, but this moon-shaped tide clock provides a unique way to see what’s going on at a glance.

The 3D-printed device uses an Arduino Nano for processing, along with an RTC module to keep accurate time—thus accurate tide predictions. A tiny OLED display provides three info screens, selected via a rocket shaped button taking off of the moon’s surface. 

As the clock is meant for education, the moon design will provide a nice reminder of what actually shifts the tides. Arduino code as well as 3D-print files are available on the project’s write-up.

Arduino Blog 12 Sep 17:42

Sip and puff Morse code entry with Arduino

Those that need a text entry method other than a traditional keyboard and mouse often use a method where a character is selected, then input using a sip or puff of air from the user’s mouth. Naturally this is less than ideal, and one alternative interface shown here is to instead use sip/puff air currents to indicate the dots and dashes of Morse code.

The system—which can be seen in action in the video below—uses a modified film container, along with a pair of infrared emitters and detectors to sense air movement. The device was prototyped on an Arduino Mega, and its creators hope to eventually use a Leonardo for direct computer input. 

A tube connected to a custom made bipolar pressure switch drives an Arduino which translates puffing and sucking into Morse code and then into text.

Puffs make repeating short pulses (dots) and sucks repeating longer pulses (dashes) just like ham radio amateurs do with a dual-lever paddle.

Code for this open source project can be found on GitHub.

A beautifully-designed LEGO pneumatic compressor

LEGO sets have long been able to work with simple pneumatic controls, but what about a full air compressor built out of these components? Would this be possible?

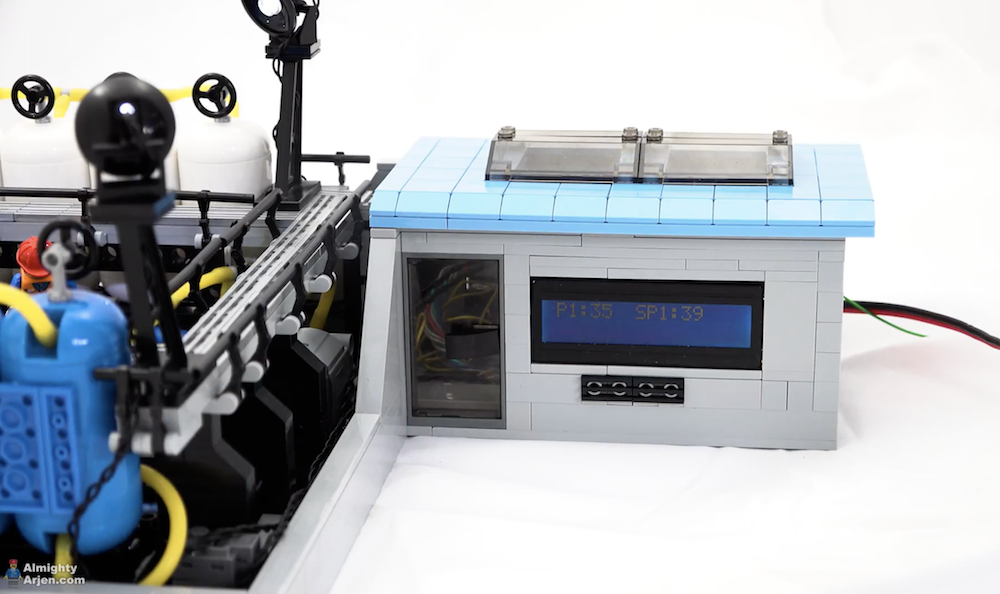
As demonstrated in the video below, this can in fact be accomplished, and in brilliant style no less. The design uses four motors, eight pneumatic pumps, and 10 air tanks to produce a pressure of 35PSI and beyond.

Controls consist of an Arduino board, along with a pair of resistors to set two separate tank pressures. User feedback is provided by two external displays, and the setup even features a lighting system to allow “workers” to perform maintenance access 24 hours a day!

For a quick start, the compressor has a Turbo function which is enabled under 35 psi this makes the motors run on 12V instead of the rated 9V. This way the air tanks are filled a bit faster but without overloading the motors.

The compressor has two sections which can be used separately with their own setpoint or as one big compressor. This selection is done by switching the outlet valves at the back of the compressor and by setting a jumper on the circuit board.

The Arduino control also tracks the running time of each section in hours and is shown when a switch on the circuit board is pressed.

The pressure is measured by a non official Lego pneumatic sensor by Mindsensors.com.