Posts with «featured» label

View the sea floor in 360° with this Arduino-powered dropcam

A dive mask or even SCUBA tanks are a great way to explore the ocean, but at depths of much more than 30 meters, things become a bit dicey. 1,000 meters is generally unthinkable for amateur divers but WorkshopScience has come up with a way to explore these regions without undue danger.

His device, developed during an internship with Blue Robotics, is touted as the world’s first consumer deep-sea dropcam. It’s able to dive to 1,000 meters and capture 360° video, as well as pressure and temperature readings. 

When a sufficient amount of time has passed, an Arduino board releases a weight by disintegrating a length of nichrome wire with electrical current. It then floats to the surface for data analysis. How it works, along with a resulting 360° video can be seen below.

Three-axis rotary machining with Arduino

For many years CNC machining was the purview of well-equipped shops and manufacturing facilities. With the availability of inexpensive control hardware, such as Arduino-based GRBL packages, this type of control has come to the (technically inclined) masses, enabling us to create complicated 2D and 3D shapes automatically.

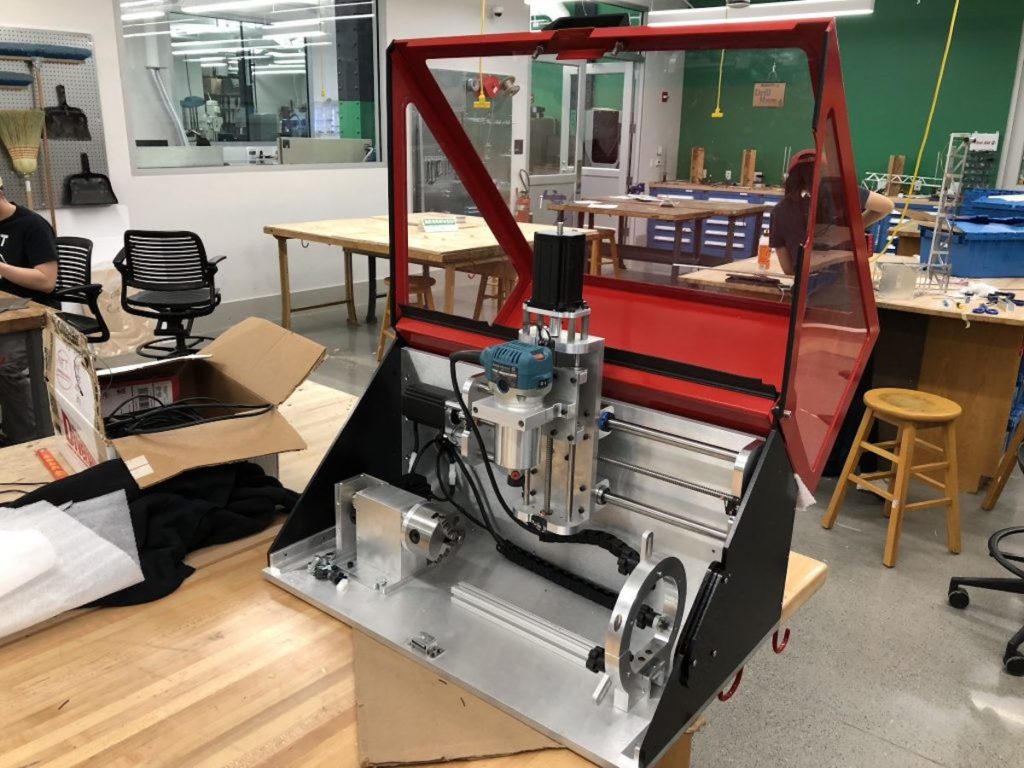
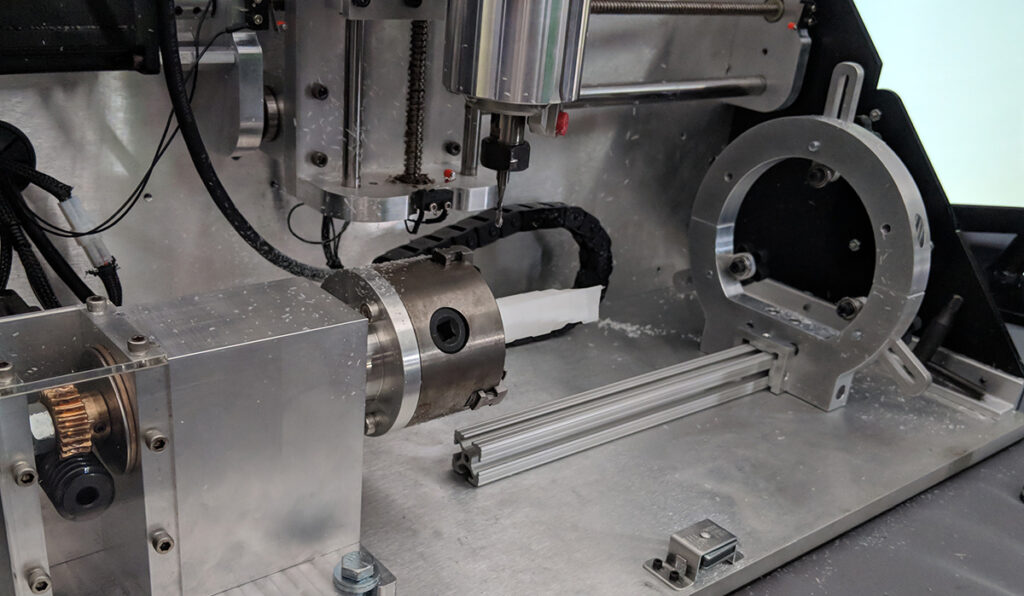
Normally, this means X, Y, and Z axes that control a cutting head, and if you wanted to much further in complexity and cost, you could add a fourth or even a fifth axis to tilt things as needed. The RotoMill, however, seen at World Maker Faire in New York, puts a different “spin” on things, substituting a stepper-controlled spindle for the Y axis. The result is a machine with unique machining capabilities, driven by an Arduino Uno running custom GRBL firmware.

As for now, the CNC can easily mill parts out of softer materials like plastic, wood, and foam, although it is designed to cut aluminum as well.

A three-axis rotary CNC built for the Mechanical Engineering senior design capstone course at Carnegie Mellon University by a team of engineering students. The CNC uses NEMA24 motors for each of the axes, with the X and Z axes actuated by lead screws, and the A (rotary) axis actuated by a worm gear. The spindle is an off-the-shelf Makita hand router, which allows for any router bit to be used.

Each motor is controlled by a stepper motor driver, which are all coordinated by an Arduino Uno running a customized version of the GRBL firmware. This is in turn controlled by a laptop running open-source GCode sending software.

To generate the GCode, we would create a 3D model of the part that we wanted to machine. We then “unwrapped” about the A axis. This basically takes the part and converts it from Cartesian coordinates to Cylindrical coordinates.

To generate the GCode, we would create a 3D model of the part that we wanted to machine. We then “unwrapped” about the A axis. This basically takes the part and converts it from Cartesian coordinates to Cylindrical coordinates.

At this point, we could take the unwrapped part and load it into Autodesk HSM, a popular industrial CAM package. This allowed us to generate a toolpath for machining the part. We basically “fooled” the CNC into thinking that it was a normal, three-axis Cartesian CNC. The trick, however, is that the Y axis is wrapped around and becomes the A axis.

Additional information and photos can be found on RotoMill’s page or Hackaday’s recent write-up.

Calling volunteers for Maker Faire Rome!

Planning to attend Maker Faire Rome in October? We’re currently seeking volunteers to join our team during the event—staffing tables and displays, helping with demos, and providing technical assistance when necessary.

Those who help us for one shift will receive a day pass; spend two days with us, and you’ll have a ticket for the entire weekend to explore the show. Water and snacks will be provided, of course, and we’ve even prepared a small gift to show our appreciation for your time and effort.

Interested? Please fill out this questionnaire, and we’ll get back to you soon! (If you are under the age of 18, we will need your parents’ permission.)

Maker Faire Rome: AAA, cercasi volontarie e volontari per il booth Arduino

Cercasi volontari/e per Arduino! Hai in programma di visitare Maker Faire Roma? Siamo alla ricerca di volontarie e volontari per lo il nostro booth – che ci aiutino a spiegare i progetti e diano supporto durante le demo.

Con un turno di volontariato allo stand Arduino, avrai a disposizione un pass per la giornata; se, invece, sarai al nostro booth per almeno due giorni avrai il pass per l’intero evento. Sappiamo quanto sia importante il tuo tempo e quanto sia fondamentale il tuo aiuto al nostro booth, per questo motivo saremo felici di offrirti il pranzo e una selezione di gadget Arduino.

Ti interessa partecipare al booth Arduino? Per favore completa questo form, ti faremo sapere prestissimo!

Se hai meno di 18 anni, puoi partecipare ma con il consenso firmato dei tuoi genitori!

Star Wars mouse droid reveals hidden scrolling LED display

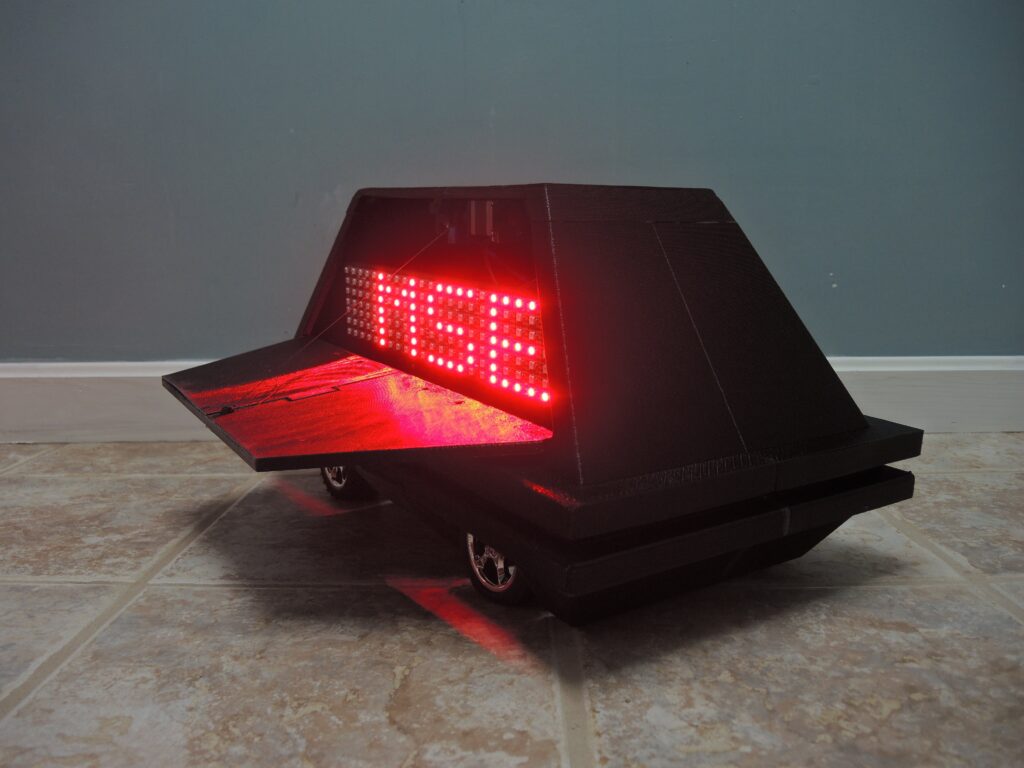
In several iterations of the Star Wars saga, small black droids can be seen scurrying around imperial installations. While they tend to fade into the background or provide a fun distraction in the movies, the mouse droid by Potent Printables acts as a sort of physical messaging app. It’s able to travel to the correct location, then pop open to unveil a scrolling LED sign.

Potent Printables can trigger the side door using a Bluetooth app on his phone. On command, an RC servo pushes it open, and lowers it down using a stepper motor/reel setup. An Arduino Uno along with an Adafruit Motor Shield are used for control, while an HC-05 module enables communication with the system.  

Check out the latest video in this build series below!

ArdOsc is a matchbox-sized, Arduino Nano-based oscilloscope

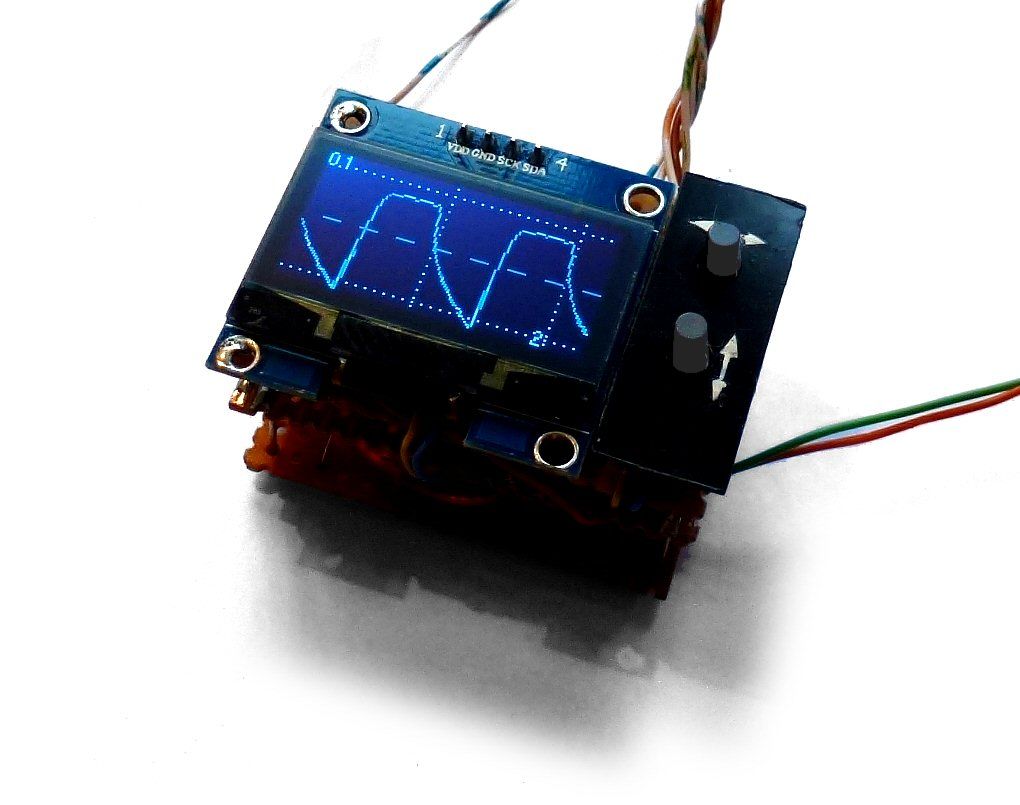
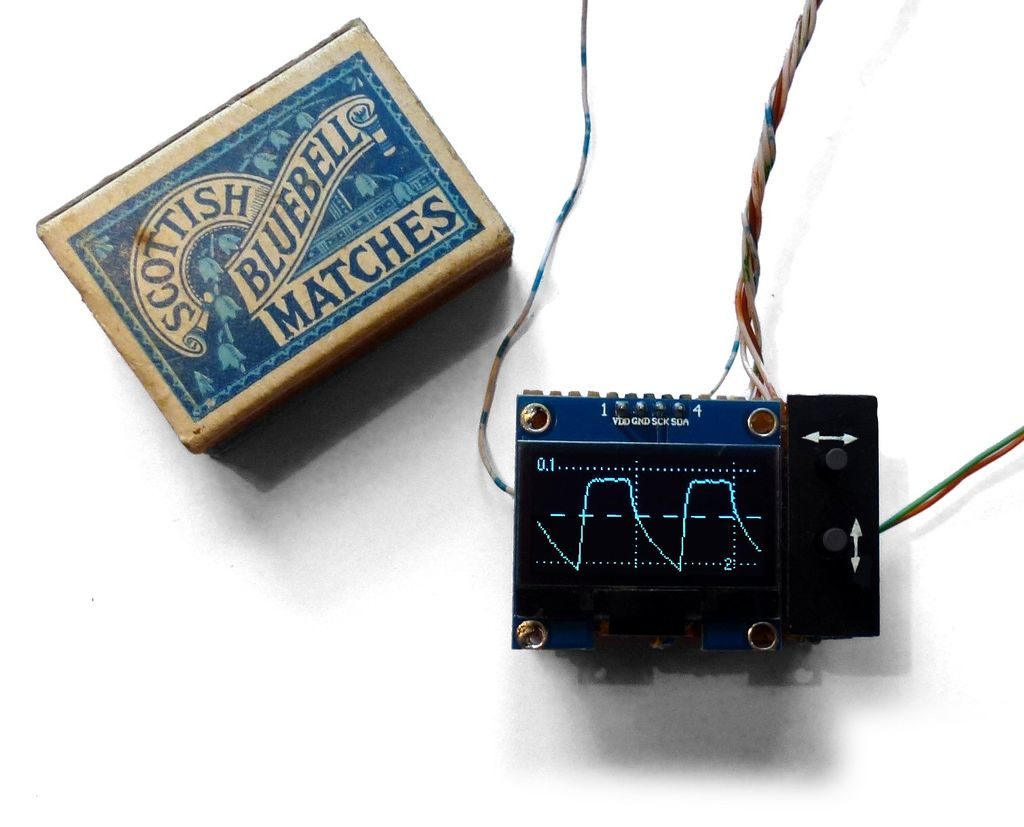
Oscilloscopes come in all different shapes and sizes, and now with just a few discreet components, maker Peter Balch has been able to turn an Arduino Nano into an oscilloscope the size of a matchbox. 

The simplest version of this device, which he calls the “ArdOsc,” displays data on a computer screen, but a small 1.3” OLED can also be added if you want to use it on its own.

His build write-up goes through several versions of the instrument, progressively adding capabilities including a logic display, signal generator, and other useful tools. It’s certainly worth checking out, whether you need tiny test equipment or just want to marvel at how something this small can be made!

This oscilloscope costs the price of an Arduino Nano, plus a few pence for resistors, etc. Its specifications are:

  • Max 1M samples/second, min 1000sps
  • 8-bits per sample
  • DC 0-5V; AC +/- 550mV, AC +/- 117mV, AC +/- 25mV
  • USB “PC scope” or built-in display
  • Could be battery-powered
  • Optional logic display
  • Optional frequency meter
  • Optional voltmeter

3D-printed “orbament” lights up with movement

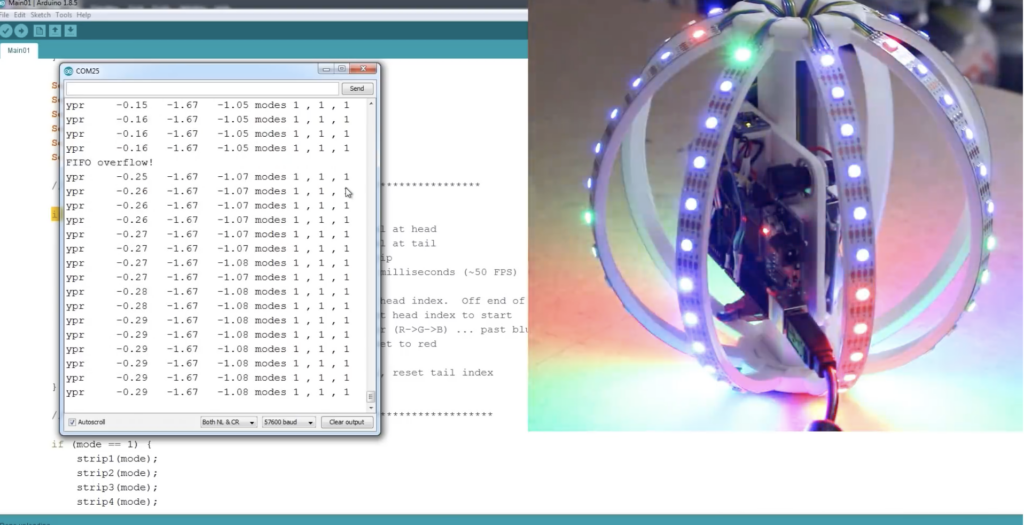
What would you get if you crossed a gigantic Christmas tree ornament with an LED strip and Arduino/IMU control? Perhaps you’d come up with something akin to this colorful “RGB LED Ball” by James Bruton.

The device features eight curved supports along with a central hub assembly, forming a structure for APA102 RGB LED strips. Each of these is linked together via wiring that winds through the central hub making them appear to the Arduino Mega controller as one continuous chain of lights. 

Several animations can be selected with a pair of control buttons, and the ball even responds to movement using an MPU6050 IMU onboard. Files for the build are available on GitHub.

A DIY stroboscope is a bright idea!

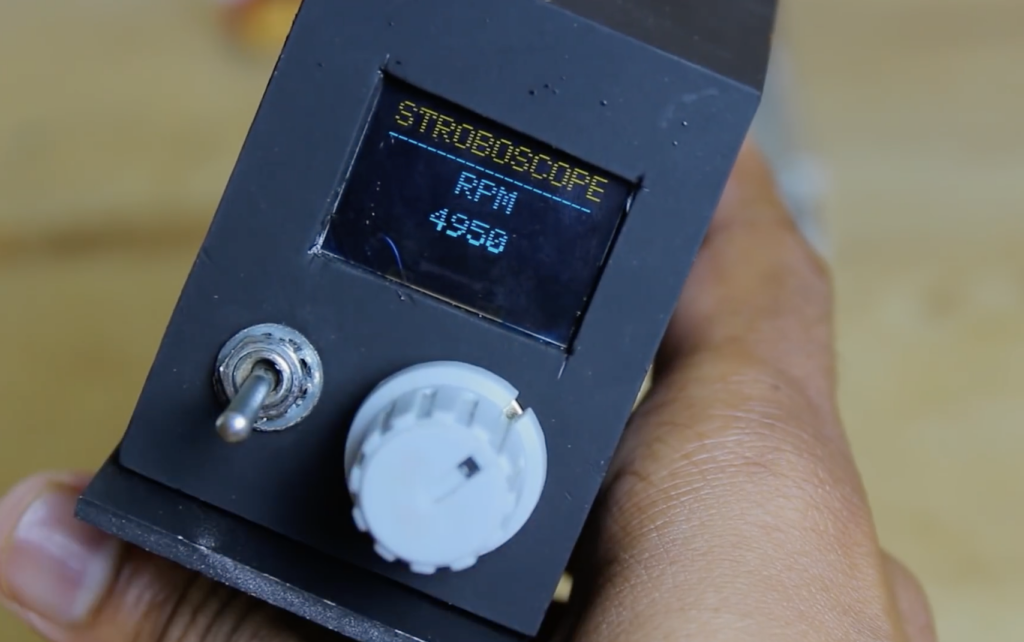
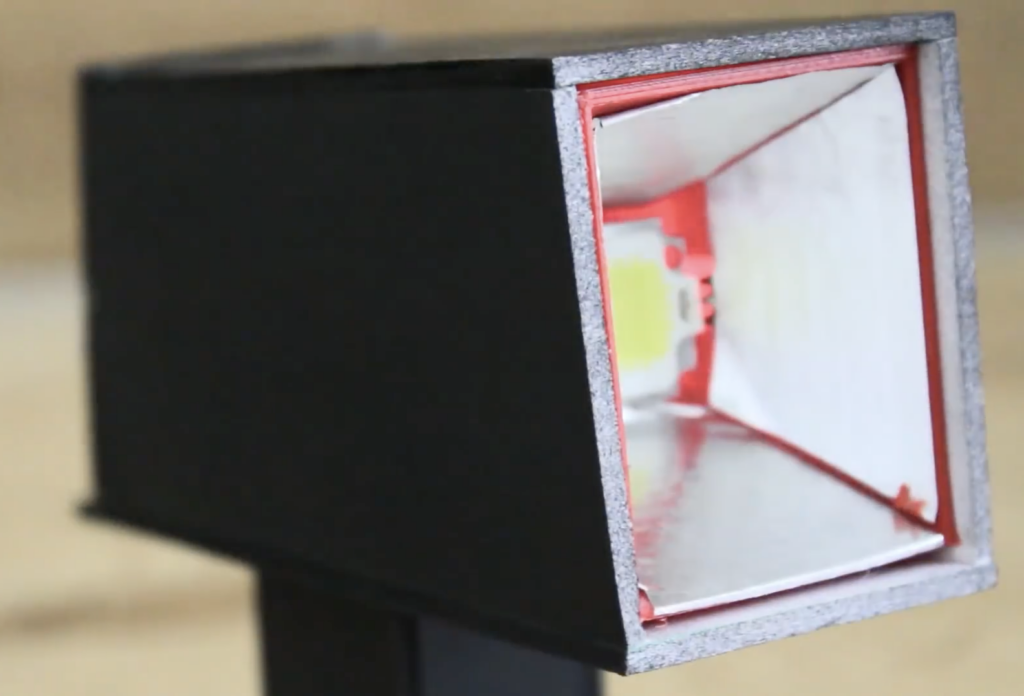
Stroboscopes produce carefully timed pulses of light in order to make a rotating object appear still. While this may seem like something of an exotic concept, YouTuber Mr. Innovative decided to build his own using an Arduino Nano.

His project uses a PN2222A transistor to drive a 10W LED, which acts as the device’s light source. The spinning RPM is set via a potentiometer, and a small OLED provides user feedback.

As shown in the video below, the stroboscope is able to cause a sign spinning around on a fan to appear nearly stationary. If you’d like to create you own, Arduino code is available here.

Steampunk anglerfish is a mechanical marvel

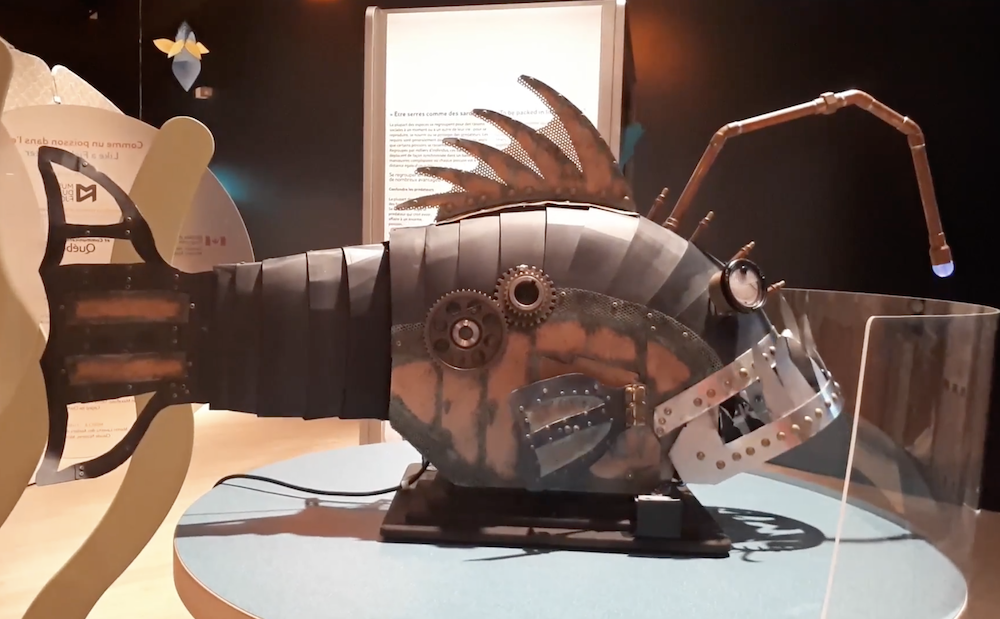
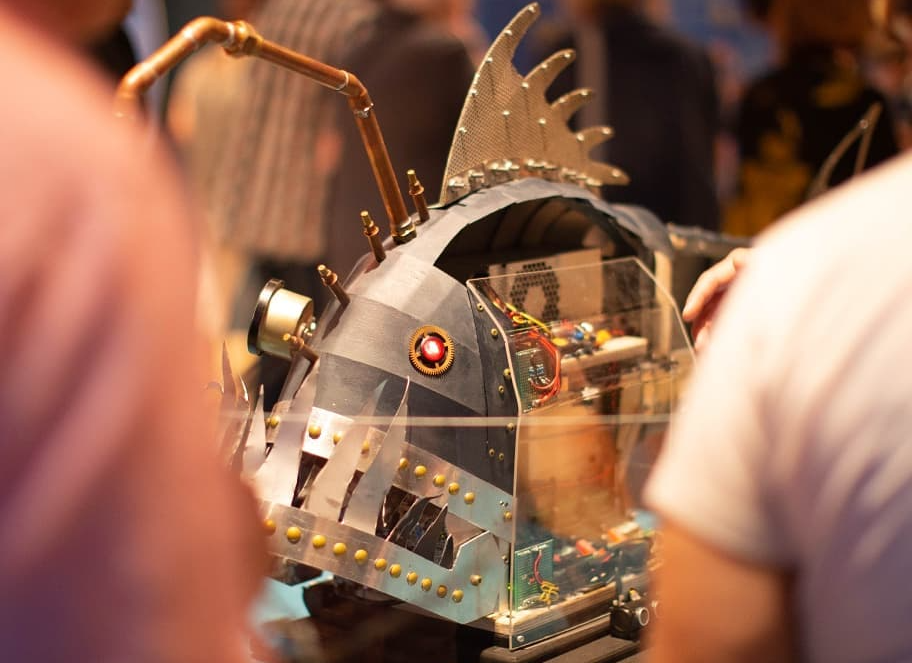
Underneath the sea are a wide variety of strange and amazing animals. Perhaps none more so than the anglerfish, with its characteristic light-up lure in front of its face. Club Asimov decided to recreate this fish in a steampunk style, using a linkage system to actuate the tail, and another to open and shut its menacing mouth.

Three stepper motors provide power for the fish’s movements, and two Arduino boards are used for control. Additionally, the fish’s lure illuminate to attract human observers, along with a heart that rhythmically lights up.

You can see this mechanical marvel in action in the first video below, while the second provides background on how it was made.

Burning Man camp marker with dancing LED robots

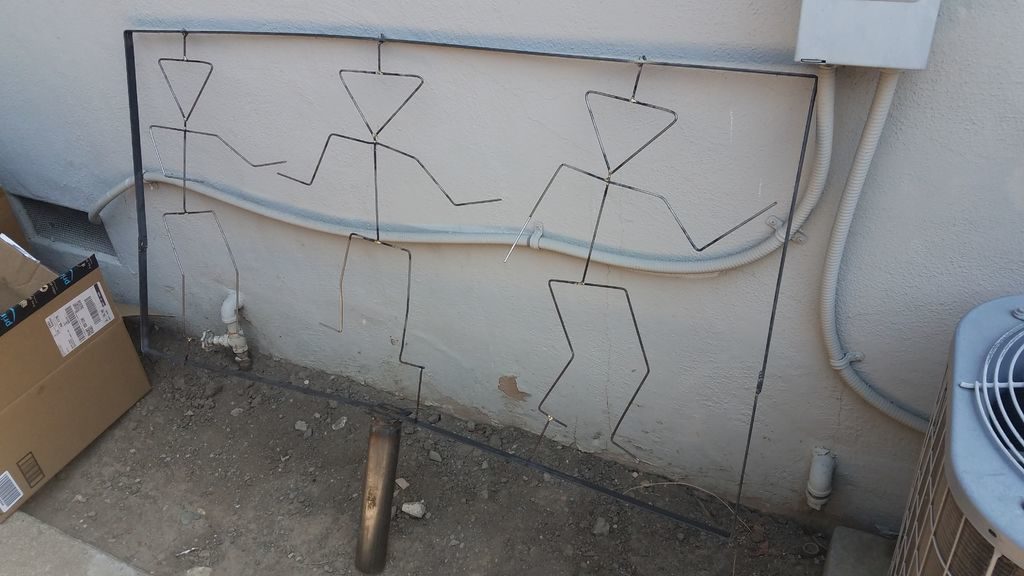
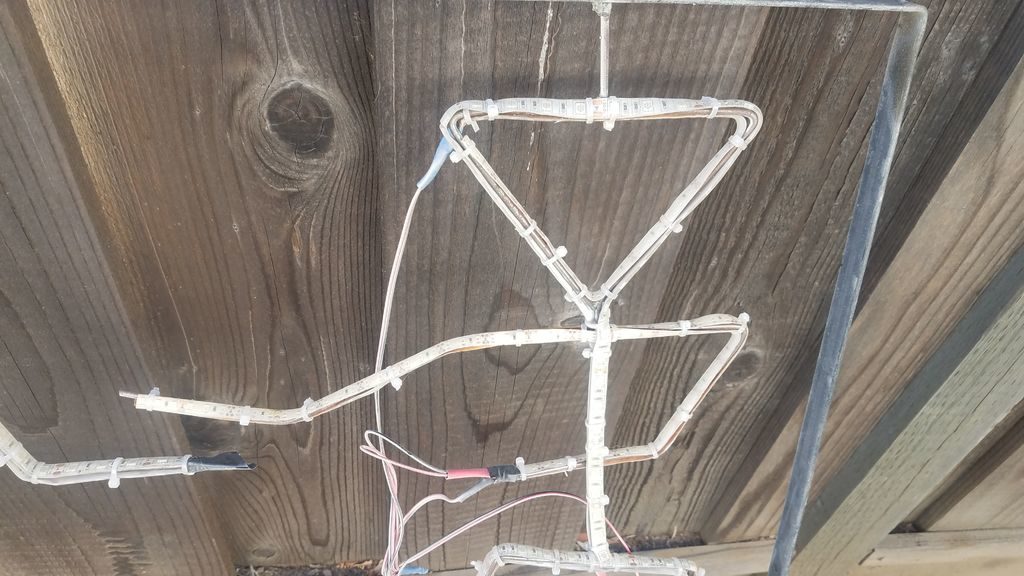
Instructables user “r570sv” needed a marker to find his way back to camp at Burning Man 2018, and decided to make a trio of LED dancing robots that could be raised high up on a pole. The idea is that he could see this from anywhere in the desert, making it great for this particular event—and perhaps for later expeditions, such as beach camping.

The robots were bent out of 1/8” steel wire, with single-color red LED strips affixed to it using zip ties. Three robotic panels are sequentially lit up using an Arduino and a bank of relays to form animations, similar to a neon sign. The flagpole used to raise the animated sculpture was affixed to his truck, creating a sturdy base as well as convenient source of 12V power.

I wanted to make something so I could find our camp at night at Burning Man 2018. 2018 was a robot theme and I’m a fan of neon but no way was gonna head that route so I came up with an idea about a dancing cocktail glass kinda robot.

We beach camp and have sand rails so I know how useful flying some kind of flag can be during the day and some kind of LED light pole is at night. So I figured, use it an burning man and keep using when we go to the beach.

So using metal and welding is in my wheel house and I’m good with Arduinos so that’s the medium that I chose to implement this project in.

Pay for art with your mugshot

As reported here, digital artist Matthias Dörfelt has created an art vending machine in an attempt to increase awareness around blockchain possibilities, as well as how we handle our personal information.

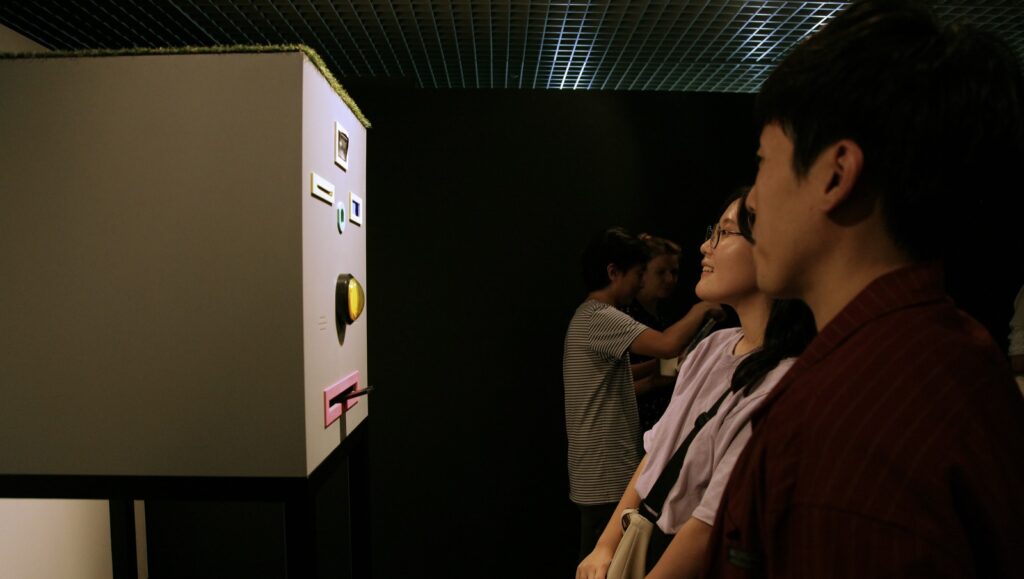
Face Trade, now on display at Art Center Nabi in Seoul, takes the form of a large vaguely face shaped box. When it detects a human in front of it, the installation invites the participant to swap his or her face for art, confirmed using a large yellow button that connects to the system’s computer via an Arduino.

Once confirmed, Face Trade snaps the person’s picture and uploads it to a blockchain in exchange for a computer generated facial image. The resulting art’s conflicted expression is meant to signify the good and bad possibilities that can come out of using this technology. For their trouble, participants also get a receipt showing their captured headshot that now appears along with each transaction on itradedmyface.com.

Face Trade consists of a camera flash, webcam, receipt printer, inkjet printer, computer, speakers, LCD screen, button and an Arduino (to control the button, LCD screen and camera flash).

The main application that ties everything together is written in Python. It uses OpenCV to do basic face tracking and take the images. All the Ethereum related things were done using web3.py which is the official python version of web3 to interact with the Ethereum blockchain. The receipt printer, inkjet and Arduino are controlled via Python, too. The process is comprised of taking a picture, uploading it to the blockchain, passing the resulting transaction hash to the face drawing generator that uses it to seed the random numbers (so that each face drawing is uniquely tied to the transaction that it belongs to), printing the resulting drawing and finally printing the receipt.