Posts with «featured» label

When in Rome: Join us at Europe’s Biggest Maker Faire!

We’re just days away from Maker Faire Rome — The European Edition, where we will be partnering with Microchip in Pavilion 8.  This year’s booth will be broken up into three areas:

  • Education: The Arduino Education team will be exhibiting the flagship CTC 101 program and the Engineering Kit. Starting at 11am, there will be 15-minute demos every hour that address the ways Arduino can be implemented as a learning tool from primary schools all the way up to universities.
  • Makers: We have been working on a pair of new projects to highlight the key specs and possible use cases of the Uno WiFI. Moreover, visitors will have the opportunity to meet the winner of the Arduino /Distrelec Robotics & Automation Contest.
  • Internet of Things: This section will be focused around a smart greenhouse connected to the Arduino IoT Cloud, along with two demos of the MKR Vidor 4000. Finally, we will be showcasing some practical demos on how startups and companies have turned to Arduino to bring their products and services to market.

The Arduino booth will also include a special station dedicated to the Arduino Store, where will be giving away 500 discount vouchers for online purchases on a first come, first serve basis.
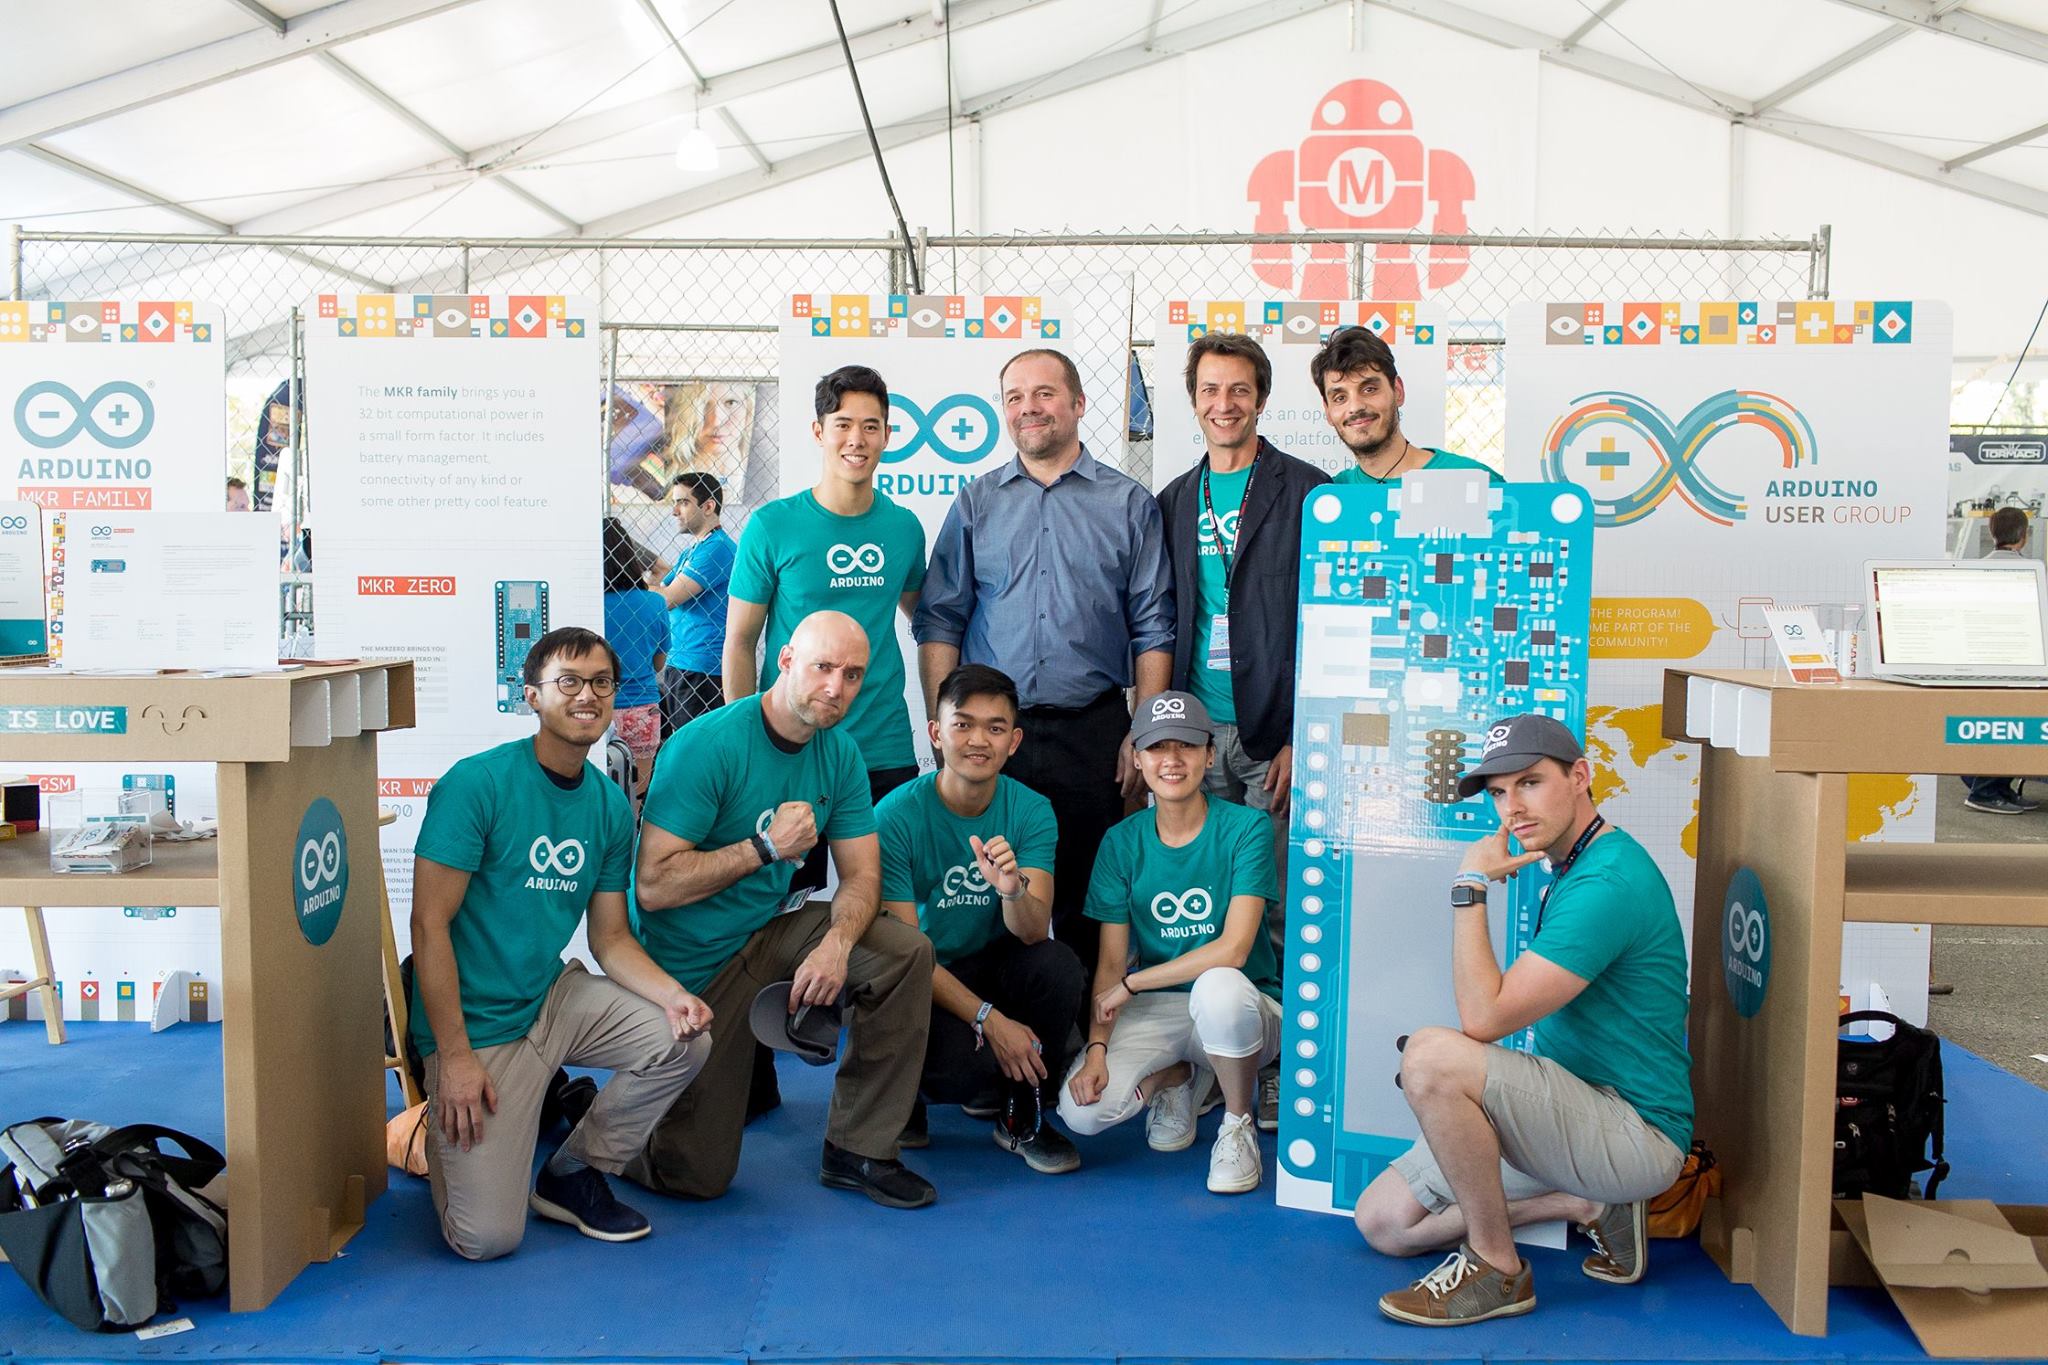
But that’s not all! Members of the Arduino team can be found throughout Maker Faire Rome’s program all weekend long. The schedule is as follows:

Friday, October 12th

10:30am: Opening Conference (Pavilion 10 – Room 1/Sala Alibrandi): Massimo Banzi, Arduino co-founder, will join Maker Faire’s opening conference ‘Groundbreakers: Pioneers of the Future’ with the talk Democratizing Industry 4.0. Register here.


2:30pm – 5:30pm
(Room 17 SC3): Debugging with Arduino: A hands-on workshop with Microchip’s Wizard of Make, Bob Martin, and Arturo Guadalupi, Arduino Hardware Design Engineer, which will explore advanced debugging techniques for Arduino sketches. More info here.


2:30pm – 3:30pm
 (Pavilion 9 – Room 11): CTC: Bring Open-Source into Your Classroom: In partnership with Campus Store Academy, this informative workshop will walk you through implementing Arduino in the classroom with Arduino CTC 101. Register here.

Saturday, October 13th

11:30am – 12:30pm (Pavilion 7 – Room 7): Arduino MKR Vidor: Democratizing FPGA: Led by Martino Facchin, Arduino Senior HW Engineer, this session will discuss how the MKR Vidor combines the power and flexibility of an FPGA with the ease of use of Arduino. More info here.

11:45am – 12:45pm  (Pavilion 9 – Room 11): In partnership with Campus Store Academy, this informative workshop will walk you through implementing Arduino in the classroom with Arduino CTC 101. Register here.

2:15pm – 3:15pm (Pavilion 7 – Room 7) Arduino IoT Cloud: The  Internet of Things Revolution: Luca Cipriani, Arduino CIO, will focus on the potential of the Arduino IoT Cloud, the latest developments in the Arduino ecosystem, as well as how to build connected objects in a quick, easy, and secure manner. More info here.

4:15pm – 5:15pm ( Pavilion 9 – Room 13): Arduino Engineering Kit: Advanced Programming and Learning Applications: In collaboration with Campus Store Academy, this workshop is concentrated on helping tomorrow’s engineers approach mechatronics and automated control. Register here.

5:45pm – 6:45pm ( Pavilion 9 – Room 11): STEAM with Arduino: In collaboration with Campus Store Academy, this session will introduce you to the Arduino Starter Kit Classroom Pack and how Arduino is being used as a flexible learning tool. More info here.

Sunday, October 14th

2:45pm – 3:45pm: Shape Your Future with MATLAB and the Arduino Engineering Kit: In collaboration with the MathWorks team and Jose Garcia, HW Engineer at Arduino, this talk will feature live demos of a robot designed and controlled with Arduino and MATLAB. More info here.

4:15am – 5:45pm (Pavilion 9 – Room 11): CTC: Bring Open-Source into Your Classroom: In partnership with Campus Store Academy, this informative workshop will walk you through implementing Arduino in the classroom with Arduino CTC 101. Register here.

Want to learn more? The entire agenda and all other important information is available on Maker Faire Rome’s website. Planning to attend? Save on admission using the code: MFR18EBGMT.
 

CasioKeyBot plays electronic keyboard with automated fingers

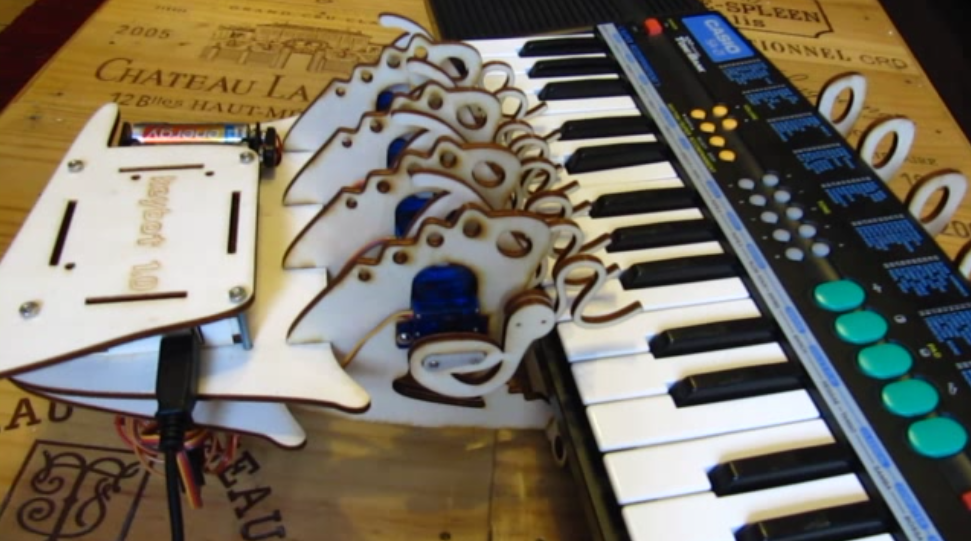
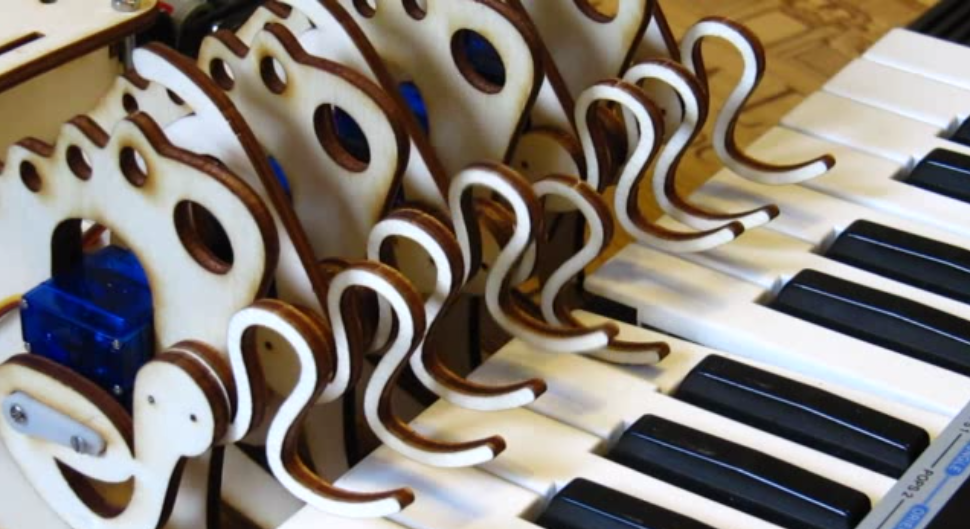
Electronic keyboards have been around for many years, taking human input and translating it into a variety of sounds. In a strange twist on this technology, Igor Angst has decided to substitute a robot in to push the synthesizer’s keys, using a laser-cut finger setup controlled by an Arduino Uno.

The MIDI sequence/notes to be played are provided by a computer running ALSA (Advanced Linux Sound Architecture), and interpreted by a C program that translates it into USB serial signals that the Uno can use. It then actuates its wooden fingers, playing a pleasing tune along with apparently keyboard-provided accompaniment in the video below.

I really like the crappy sound of those ‘80s toy keyboards. Unfortunately, I am a lousy live keyboarder and I only have so many hands. So I thought about adding MIDI capability to my good old Casio SA-21. The simplest way to do this is obviously building a robotized hand with 8 servo motors controlled by an Arduino microcontroller, which in turn receives its commands through the serial-over-USB interface sent by a tiny C application that connects to the ALSA sequencer world of my Linux live music setup.

Laser cutter files are available on the project’s write-up and code can be found on GitHub.

Twinky, the Arduino robot assistant

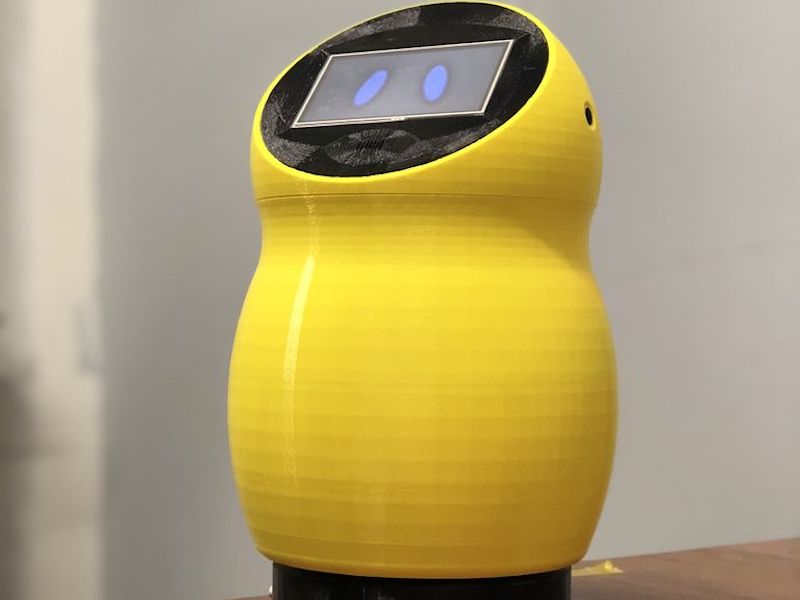
In the middle of a project, you may find that what you’re making is similar to something that’s been done before. Such was the case with Adrian Lindermann when he started constructing his “Twinky” robot and found the Jibo social bot had a similar design. 

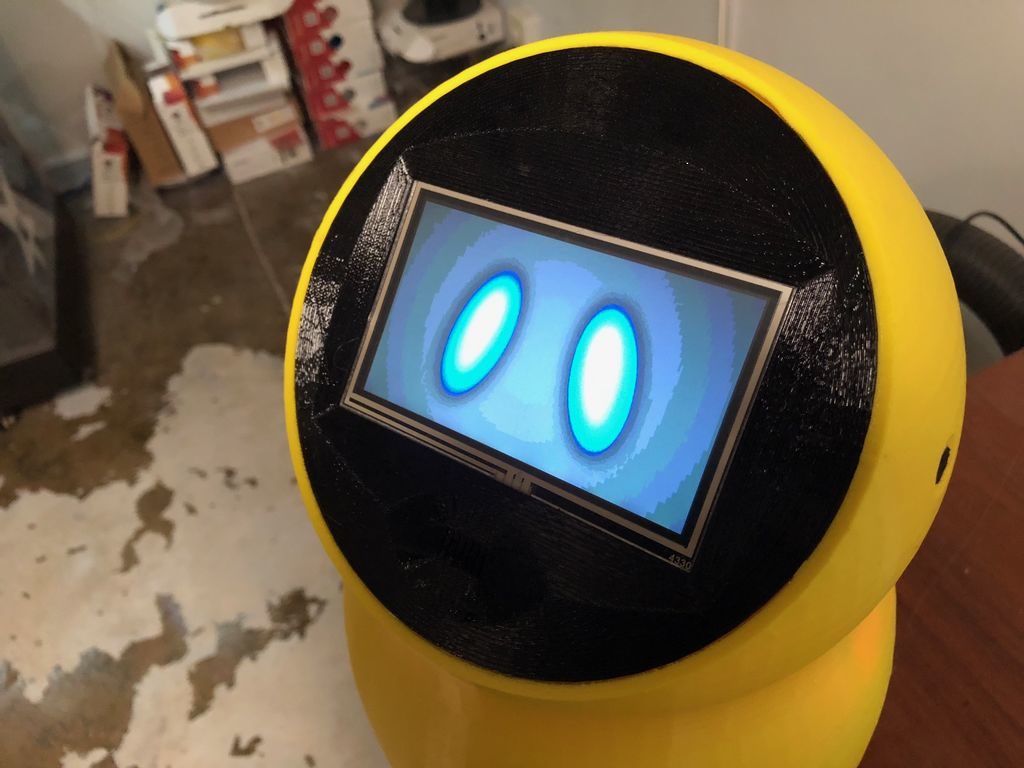
Like any good hacker, he pressed ahead with his build, creating a small yellow companion that can respond to voice commands via a SpeakUp click module, along with pressure on its face/touchscreen.

Control is provided by an Arduino Mega, and Twinky can interact with other devices using a Bluetooth module. The robot’s head can even turn in order to point the display in the needed direction, and it’s able to play sound through an audio amplifier and speaker. 

IT CAN SPEAK! PLAY MUSIC, SET TIMERS, ALARMS, TURN ON/OFF THE LIGHTS OR OTHER APPLIANCES. IT HAS A CALCULATOR AND A WEATHER STATION! DATE & TIME, BLUETOOTH 4.0, EVERYTHING WITH VOICE COMMANDS!!! And also with a touchscreen, it has one little motor so it can turn around when one of the two microphones hear you talk or make a noise.

For more on this wonderful little robot, check out the project’s write-up and and build files here.

Measure noise levels in your home with the Hello Light

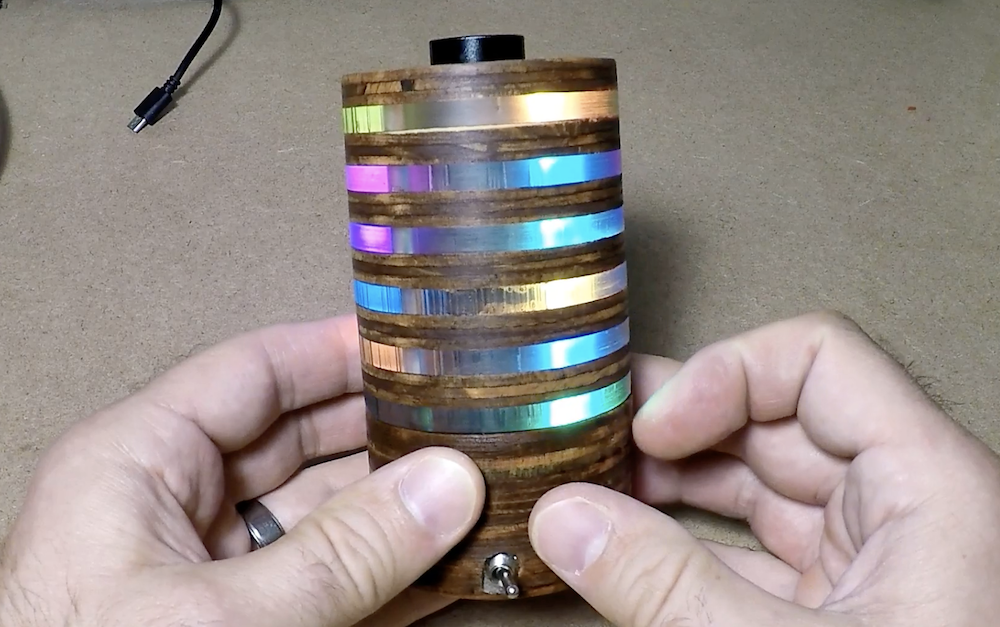
After realizing that asking his kids to keep the noise down was meaningless without some sort of standard, maker Jeremy S. Cook decided to construct the “Hello Light.”

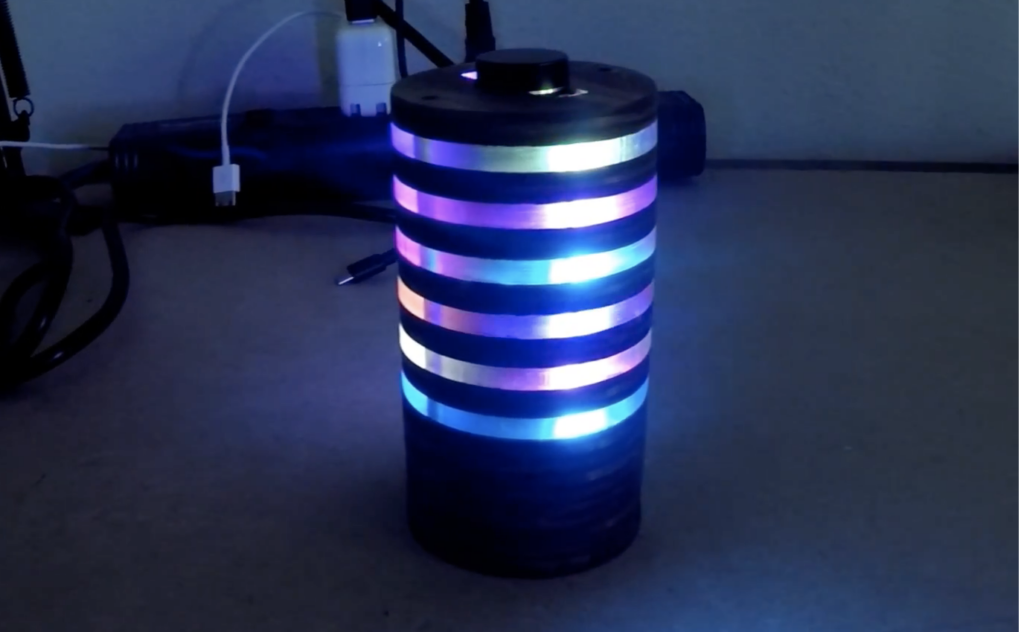
This cylindrical device measures sound with an electret microphone and an Arduino Nano, then commands a set of RGBW lights to progressively light up depending on the noise level.  

In the end, the Hello Light eventually ended up as more of a game to see who could trigger the flashing volume limit warning—not particularly effective for its intended purpose. It does, however, make a fun interactive decoration, and also features a random lighting mode, and a slowly blinking white light setting.

Code for the project is available on GitHub, and the build process can be seen in the clip below.

MobiLimb is a robotic finger that plugs into your smartphone

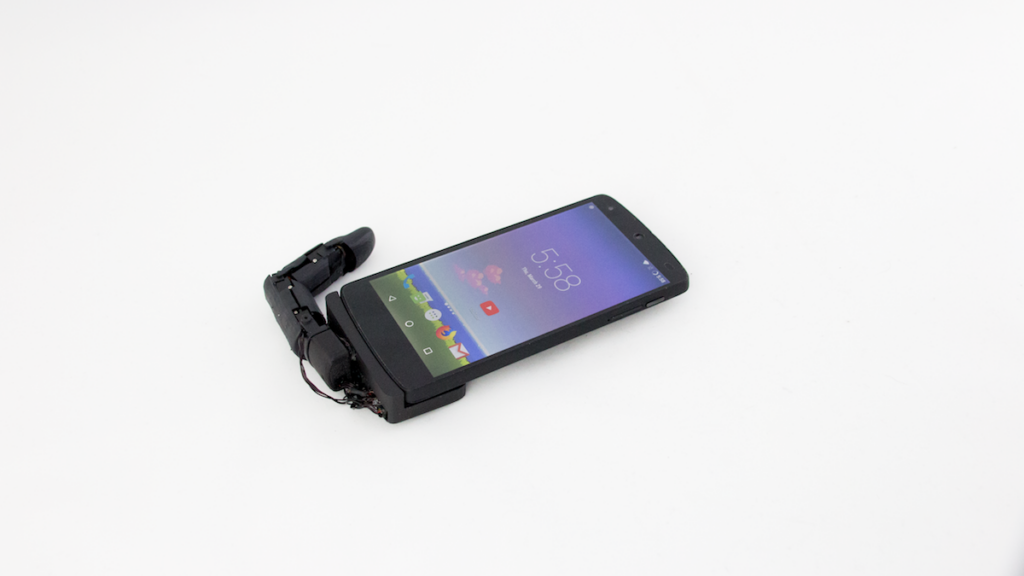
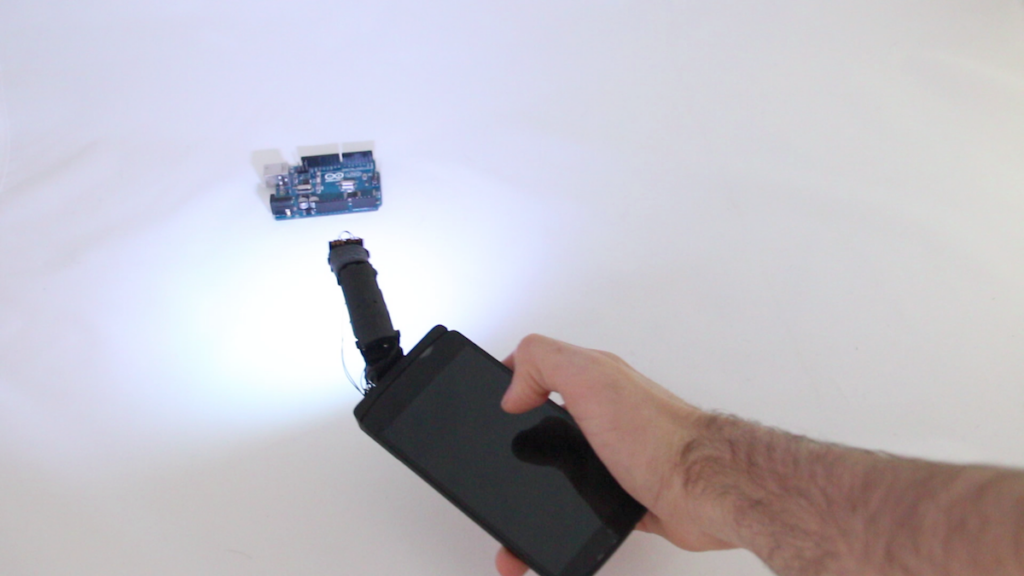
You’re constantly poking and prodding your smartphone throughout the day, but have you ever wondered what would happen if this little computer could poke back? Well now that’s actually possible, with the MobiLimb accessory by Marc Teyssier and a team stretching across two universities in France.

The device uses an Arduino to interface with the phone or other smart device via its micro USB port, and powers a servo-actuated robotic manipulator with five degrees of freedom. The servos give the artificial finger enough power to pull the phone itself across the ground, and for other interactions like acting as a physical avatar, propping the phone up as a stand, or even taking input as a joystick apparatus.

MobiLimb is a new shape-changing component with a compact form factor that can be deployed on mobile devices. It is a small 5 DoF serial robotic manipulator that can be easily added to (or removed from) existing mobile devices (smartphone, tablet). In the spirit of human augmentation, which aims at overcoming human body limitations by using robotic devices, our approach aims at overcoming mobile device limitations (static, passive, motionless) by using a robotic limb.

This approach preserves the form factor of mobile devices and the efficiency of their I/O capabilities while introducing new ones:

  • The users can manipulate and deform the robotic device (input)
  • They can see and feel it (visual and haptic feedback), including when its shape is dynamically modified by the mobile device.
  • As a robotic manipulator, it can support additional modular elements (LED, shells, proximity sensors).

More info is available in Teyssier’s write-up, and you can see it in action in the video below.

Talking Baymax inflatable robot greets kids at the pediatrician’s office

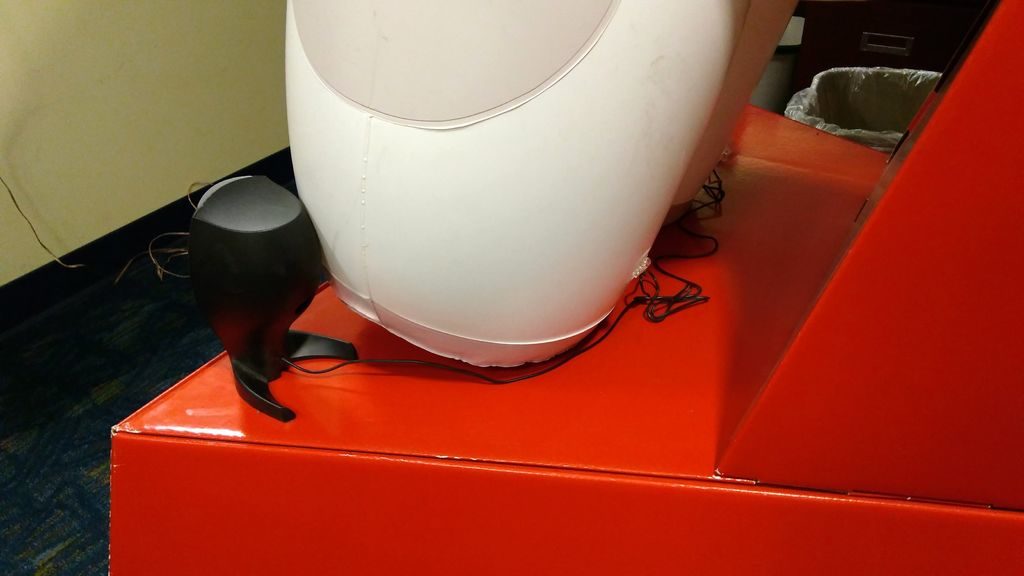
At Jason Poel Smith’s local pediatrician’s office, they have a variety of movie posters and displays to help make the environment more welcoming to kids. The most popular of them all is a huge inflatable Baymax robot character from the Disney movie Big Hero 6. 

While a beautiful display, Smith decided that what would make it even better is if it could talk, and went to work adding this functionality with an Arduino Uno, an MP3 shield, and a very large button. 

Now when kids arrive, they can hit the button to hear Baymax welcome them to the office as their “personal healthcare companion” via a pair of powered speakers. 

Arduino code and more info is available here, if you’d like to build something similar!

Arduino Blog 02 Oct 13:56

Augment RC vehicle control with an IMU-based transmitter

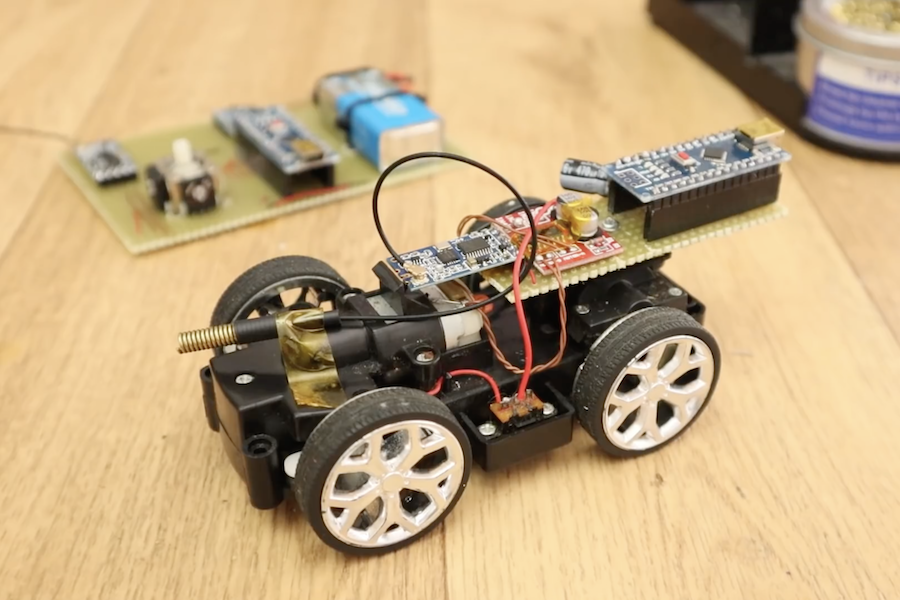
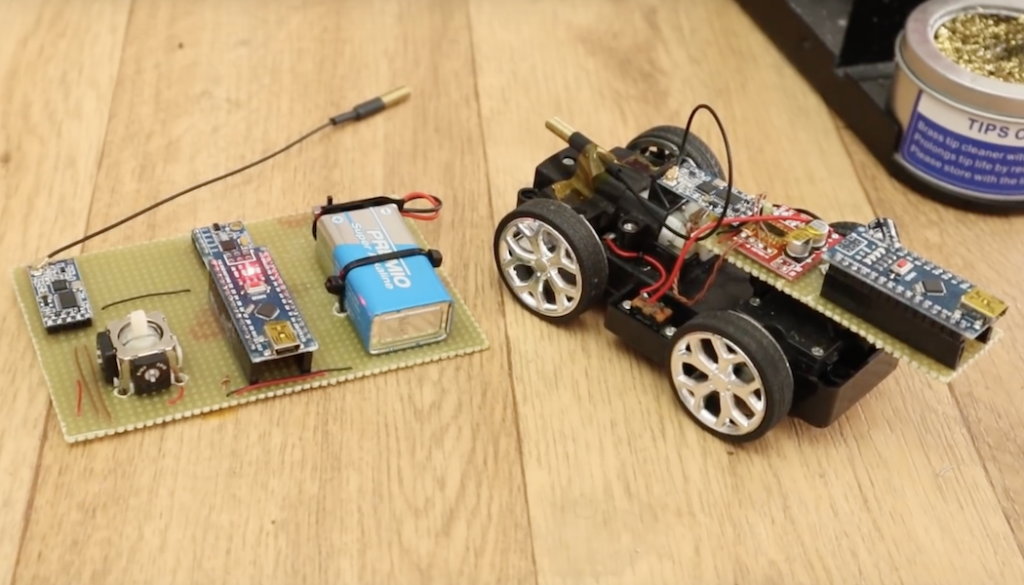
When piloting a vehicle remotely, it’s only natural to tilt your controller one way or the other to “help” guide it in the right direction. While usually this has no effect whatsoever, YouTuber Electronoobs decided to take this concept and run with it, creating a remote control transmitter that responds to an onboard MPU-6050 inertial measurement unit.

The transmitter’s Arduino Nano takes movement data, and sends the corresponding signals to a custom receiver board on the RC car via a pair of HC-12 wireless modules. A second Arduino mounted in the car then commands the vehicle’s DC motors with the help of an H-bridge. 

This is a radio controller that has 2 analog channels and the data is out from a MPU-6050 gyro module. So, we could control a toy car for example just by rotating the controller. I usually use the nRF24 module, but in this project I also want to show you how to use the HC-12 module. You will learn how to get the IMU data, how to use the HC-12 radio connection and how to control 2 DC motors using PWM signals and an H-bridge.

It’s quite a versatile build, and it can even be set up to output PWM signals if you need to interface with more advanced electronics.

Arduino Blog 02 Oct 13:43

Winners of the Arduino/Distrelec Automation & Robotics Contest announced!

Earlier this year, Distrelec launched an Automation & Robotics Contest that invited our community to help advance Industry 4.0 leveraging the Arduino ecosystem. Submissions were required to use Arduino hardware—ranging from WiFi (MKR1000 and Yún Rev2) to GSM/narrowband (MKR FOX 1200, MKR WAN 1300, and MKR GSM 1400) to feature-rich boards like the popular Mega and Due—along with Arduino Create to set up, control, and connect their devices.

Fast forward five months and the winning entries have now been selected, with the top project receiving a Keithley DMM6500 Bench Top Multimeter and a trip to Maker Faire Rome to showcase their work. Other prizes included a Weller WT1010 Set (2nd place) and Grove Starter Kits for Arduino (3rd-10th).

So without further ado, let’s take a look at the winners!

1st Place: Arduino Data Glasses for My Multimeter

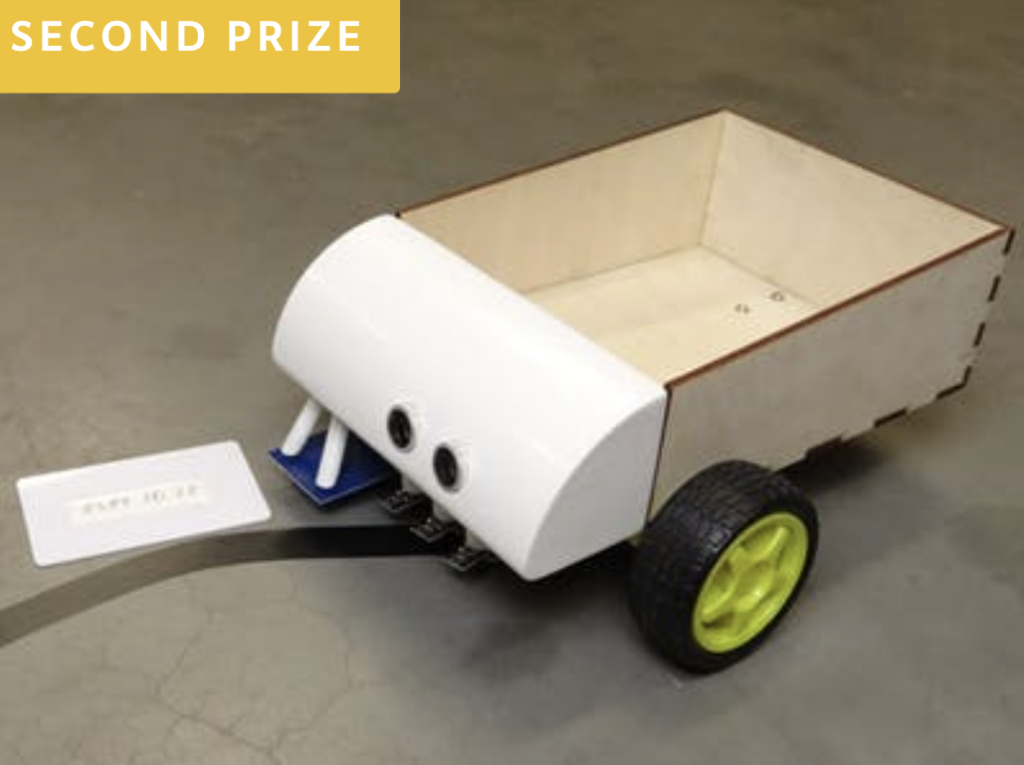
2nd Place: Industrial Line Follower for Supplying Materials

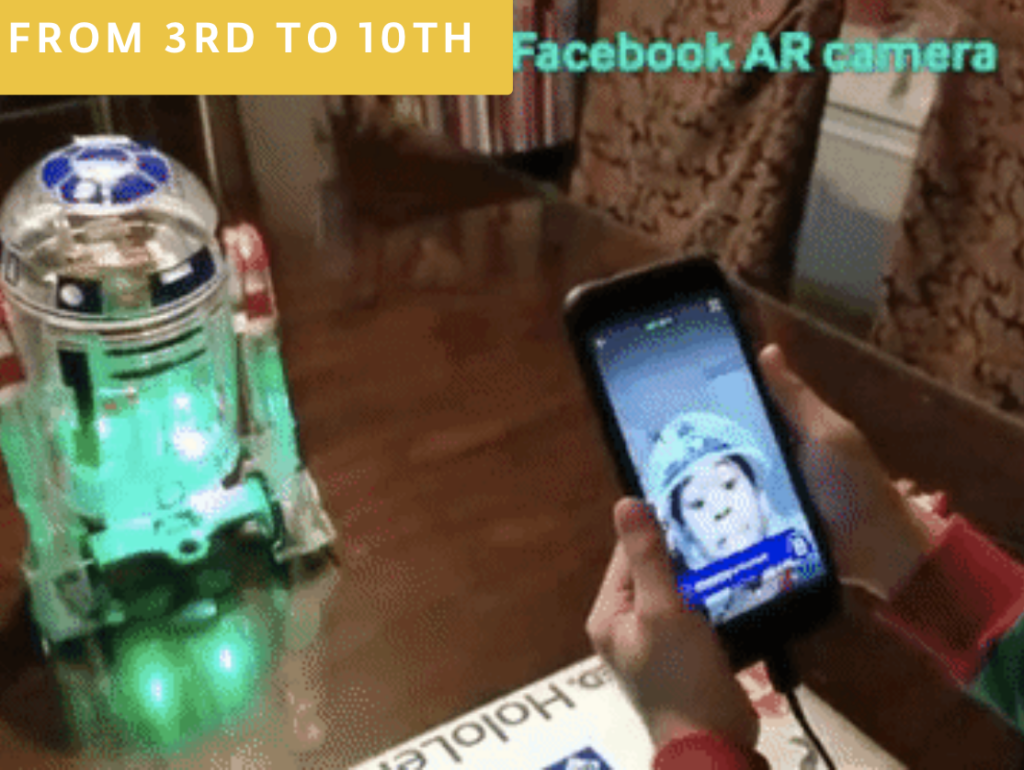
Runner-Up: Accessibility Controls for Droids

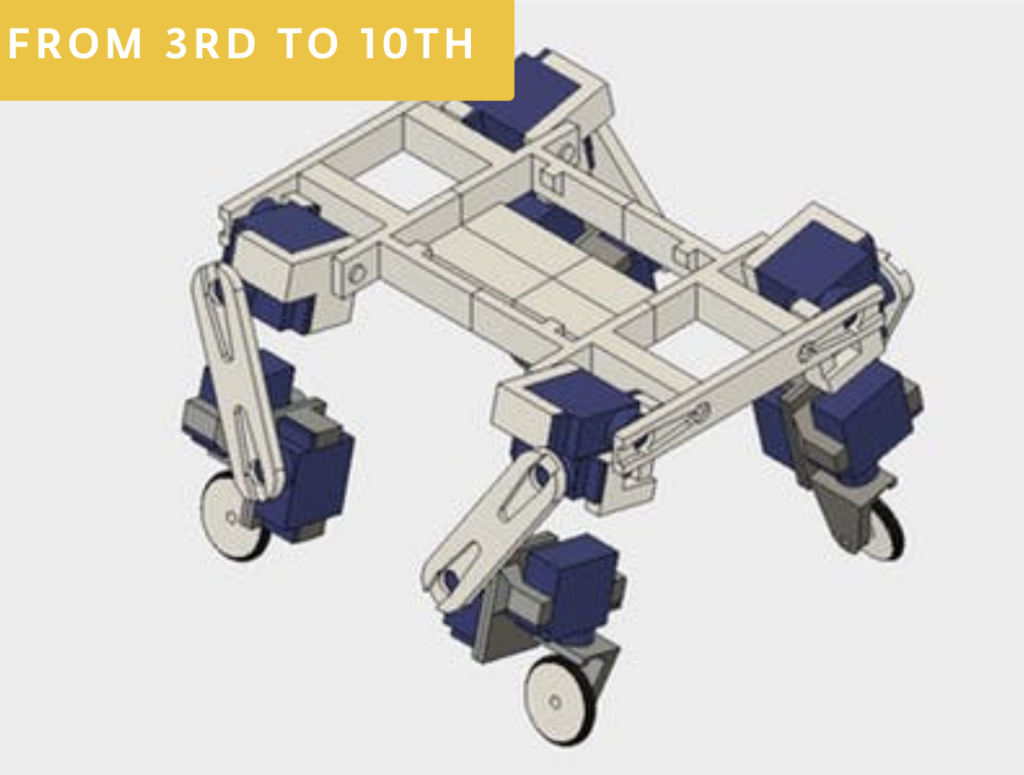
Runner-Up: Skating Robot  

Runner-Up: Autonomous Home Assistant Robot

Runner-Up: Object Avoiding FSM Robot Arm

Runner-Up: Automatic Monorail Control

Runner-Up: Smart Crops: Implementing IoT in Conventional Agriculture

Runner-Up: Building a Sensor Network for an 18th Century Gristmill

Runner-Up: Robot Arm Controlled Through Ethernet

Congratulations to everyone! Be sure to also check out the contest page to browse through several other projects, such as an IoT platform for vehicles, a universal CNC machine, a gesture-controlled robotic arm, and more!

Vintage ham radio transformed into epic party game prop

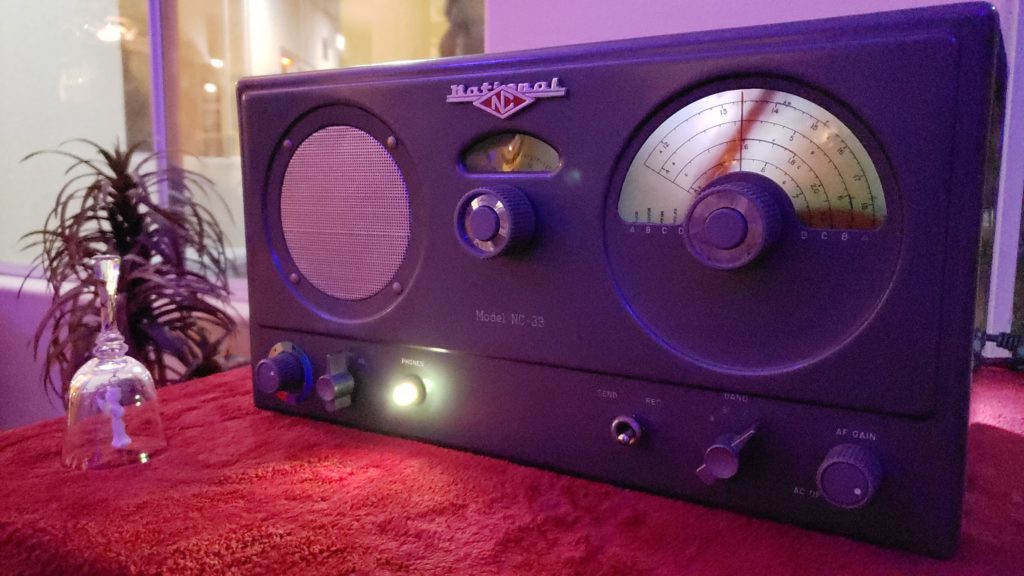
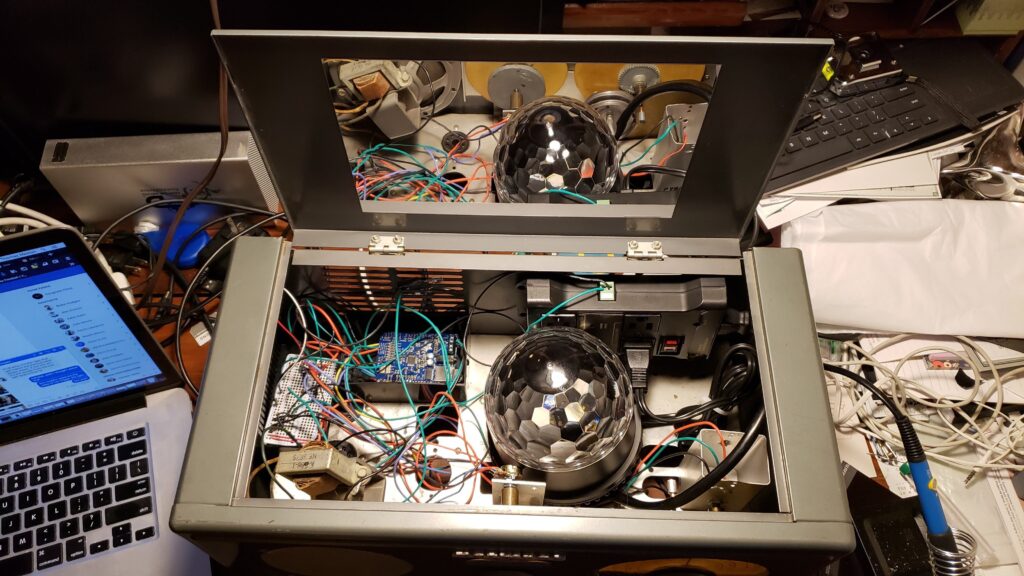
Maker Thomas Meston needed a “mysterious looking device” that allows players to enter codes obtained via an original party game. What he came up with is entitled “Dr. Hallard’s Dream Transmission Box,” and consists of an Arduino, a party light, a smoke machine, and other components stuffed into a broken National NC-33 ham radio.

This radio makes a really excellent enclosure for the electronics inside, and when the device is properly activated the winning team hears a special message via an Arduino Uno-controlled MP3 shield, accompanied by laser lights and smoke. 

How it works:

  • When the box is switched on you hear static and see a yellow light. The device is ready for the codes to be entered.
  • Once all three dials have been set, the player switches the bottom toggle to “send” state, the box will message back whether team blue or team red has entered any codes with a quick flash of either a red or blue led.
  • If all three dials are set to red codes, the red team wins and hears a special message through the speaker just for them. The laser lights and smoke machine will be activated at the same time.
  • If all three dials are set to blue, a different message will play as well as activating the smoke machine and laser lights.

More info on the project can be found here, and while it might seem like a shame to modify this kind of vintage equipment, Meston notes that he sees this as giving it a nice second life since it was previously non-functional.

Arduino Blog 02 Oct 13:30

Custom “doorbell” flashes house lights for the hearing impaired

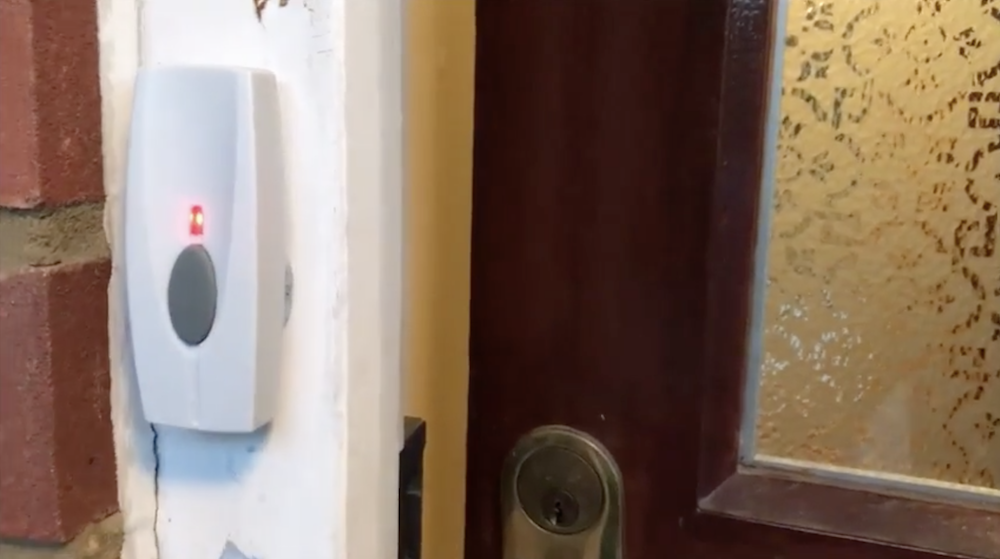
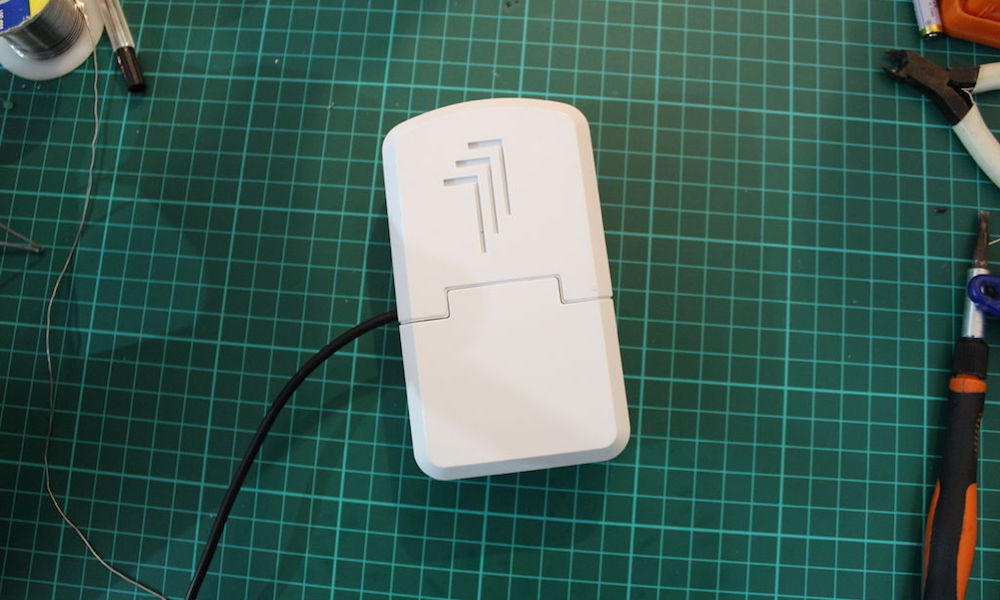
Darren Lewis’ parents both have a difficult time hearing the doorbell. He experimented with an off-the-shelf flashing light, but found that could only really be seen when they were in the room—an obvious problem. In response to this, Lewis decided to make his own system that flashes multiple house lights at the same time.

His device uses an Arduino Nano to detect the stock doorbell speaker voltage. When a press is sensed, it then activates a RF light switch via a modified remote, using an output pin and opto-isolator to substitute in for the normal button press. 

It’s a clever hack, and certainly one that will certainly help alleviate doorbell frustration in the future!