Posts with «featured» label

Make your own soda fountain out of cardboard

If you’re ever wanted to make something awesome, but thought that you just didn’t have the right tools to do so, this soda fountain by “The Wrench” could provide the needed inspiration. 

The project uses an Arduino Nano to control a small air pump via a relay, which turns on when a glass is the correct dispensing position. This pushes air into a sealed soda bottle, and soda is pushed out of another tube to equalize the pressure.
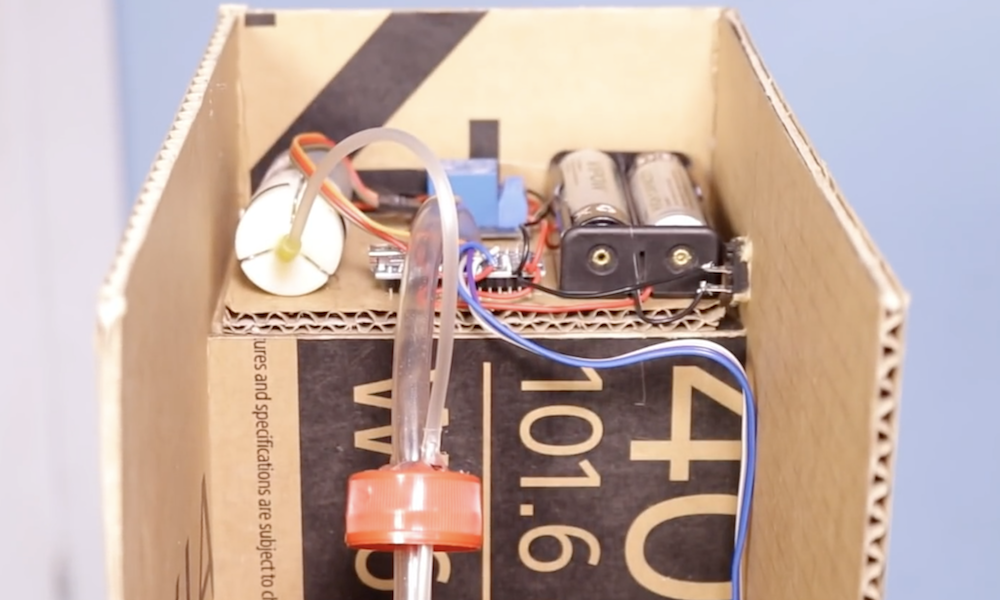
It’s a certainly a neat trick. Given its frame made out of cardboard stuck together with hot glue, the raw materials are very easy to obtain and dispose of when needed. The build process is explained in the video below, while the circuit diagram and Arduino code can be found here.
An Arduino-controlled turntable for 3D scanning

Many DSLR cameras can be operated with a simple infrared signal, making them perfect targets for Arduino control. Travis Antoniello took advantage of this with his brilliantly simple 3D scanning rig.

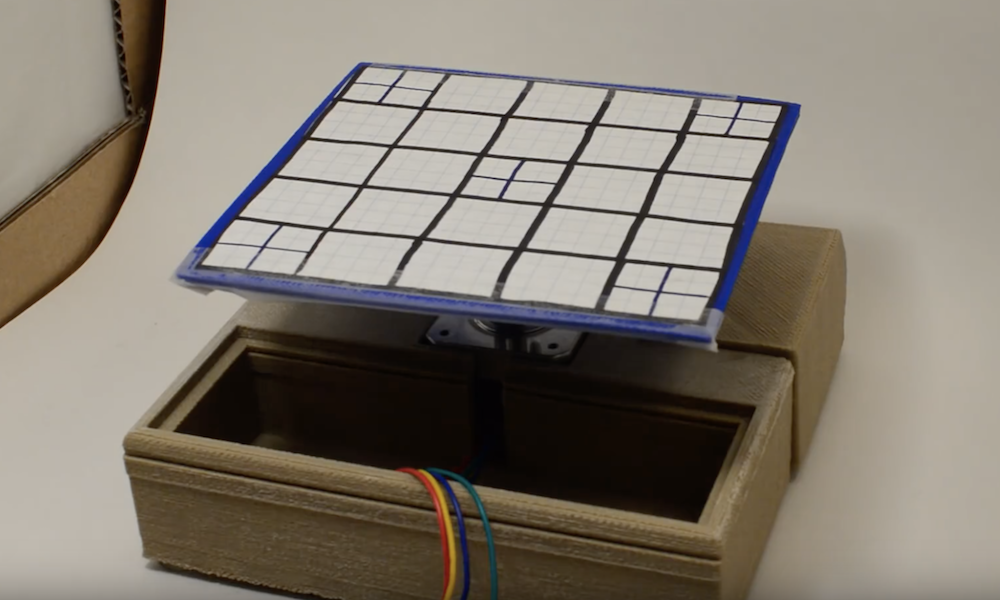
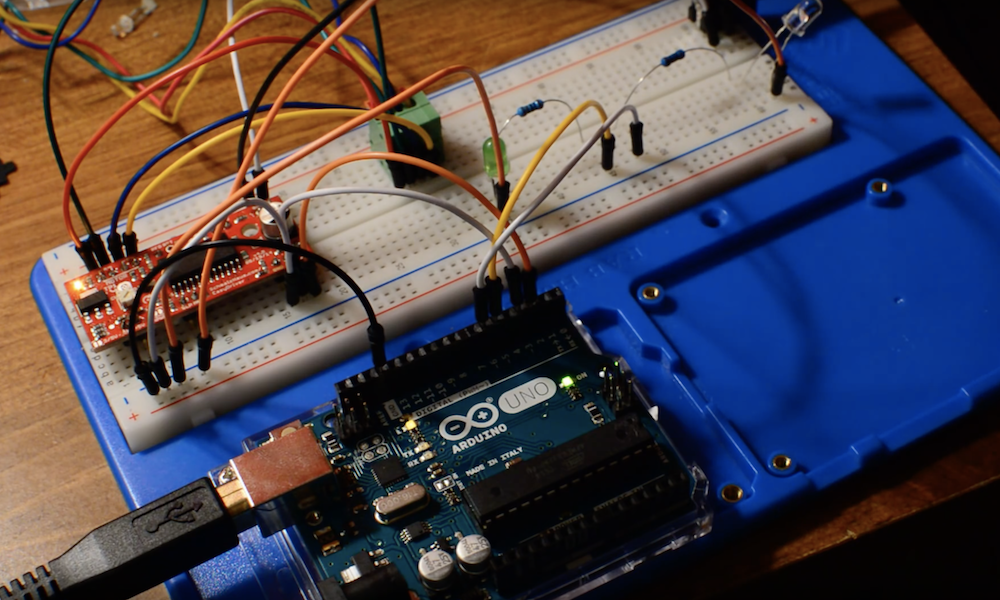
Electronics are handled by an Arduino Uno, which commands a stepper motor to rotate a scanning platform 10 degrees per photo. After rotation, it stops for a set amount of time to let scanned objects settle, and triggers the camera, a Nikon D3200, via an infrared LED. It then repeats this process over and over until a full set of photos is taken. 

Code for the build can be found on GitHub, and the device’s 3D-printed components are available on Thingiverse. The project video seen here gives a good overview of how it works, and the scanned object on display just after 2:30 looks absolutely brilliant.

Turn the pages on your Kindle remotely with Arduino

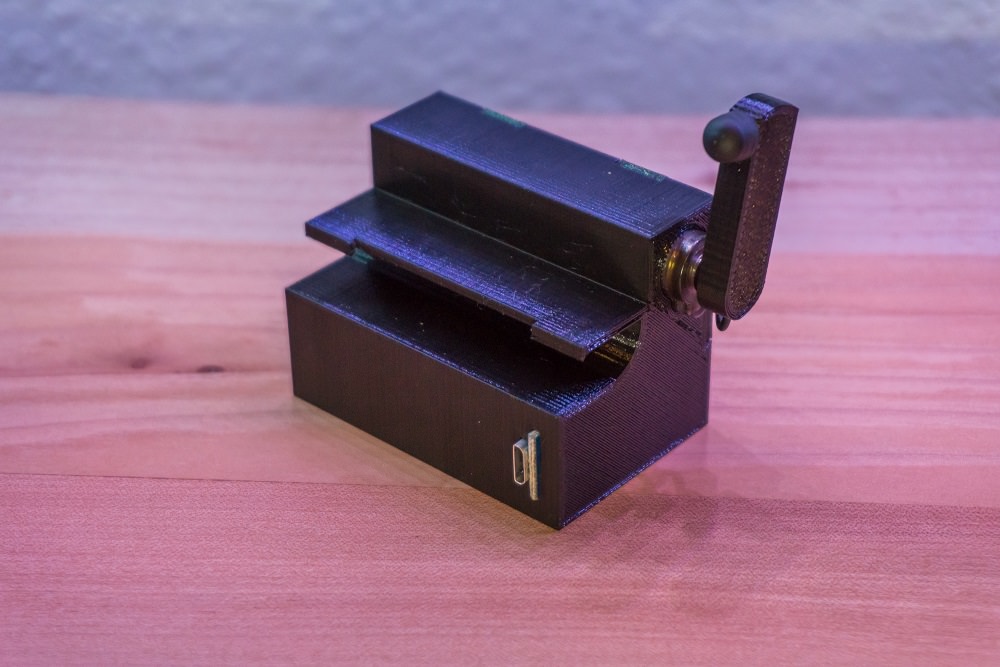
As seen here, Alex Mikes enjoys reading his Kindle in bed at night, but prefers to use a stand rather than hold it in his hands. The one disadvantage to this is that one normally has to lift his or her hand up to change pages. Thanks to a clever bit of engineering, Mikes only has to press the button on a small RF remote, signaling an Arduino Nano-based robot to press it for him.

The device uses a micro servo motor to actuate the fake finger, which swings into the correct position to advance pages on command. A 3D-printed frame holds everything in place, and in order to properly control his Kindle’s capacitive touchscreen, a wire is wrapped inside the stylus tip and connected to the circuit ground. 

Not since Rick and Morty’s butter-passing robot has there been a more hyper-specific, purpose-built device than perhaps Alex Mikes’ automatic Kindle page turner. Instead of having to raise his arm to tap the edge of the screen while reading in bed, a simple click of a wireless remote makes the attached contraption do all of that hard work for him.

More photos of the project are up on Imgur.

Monopoly transformed into the world of Skyrim with LEDs and Arduino

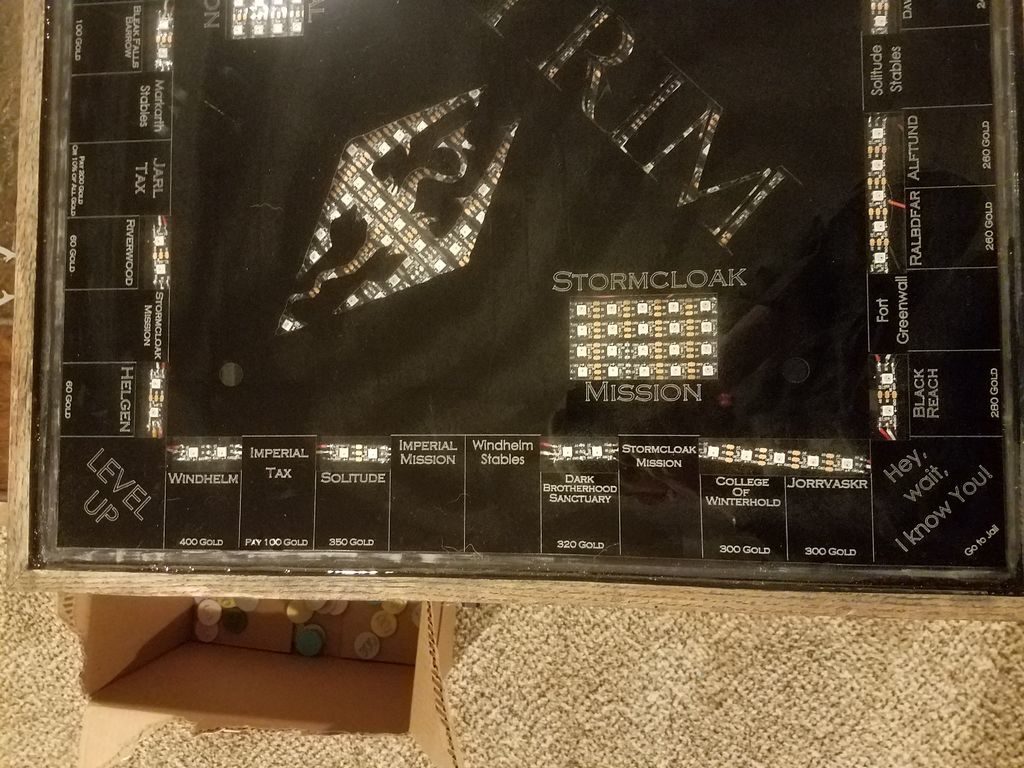
While “Boardwalk” and “Park Place” may not mean anything to you outside of the game of Monopoly, there is a plethora of custom versions to suit your particular interest. If you enjoy the world of Skyrim, then you need to check out this board by Charles Ledford. 

The build features an anodized aluminum playfield coated in epoxy, along with a wooden frame that conceals electronics including an Arduino Uno inside. This enables a set of programmable LED strips to light up a dragon and lettering in the middle, as well as properties in the correct Monopoly color. 

Custom coins, playing cards, characters, and even farms and castles (houses and hotels) complete the project, allowing for fully Skyrim-themed gameplay!

You can find more details in Ledford’s write-up, and see a quick demo of it below! 

Thomas the Tank Engine turned into a karaoke robot

When Hunter Irving spotted a knockoff Thomas the Tank Engine toy at a thrift store, he simply had to buy it, telling himself that he’d turn it into an animatronic contraption at some point. While these kind of promises often go unfulfilled, Irving converted it into an egg-shaped, karaoke-singing robot, with a mouth and eyes that move along with music.

The body of this new robotic device is designed in Blender and 3D-printed, while the mechanicals inside are actuated with a servo. Control is handled by an Arduino, which responds to MIDI signals from a speech synthesizer, used to produce its eerie electronic voice. 

Electric-powered fan rocket takes off and lands(?) vertically

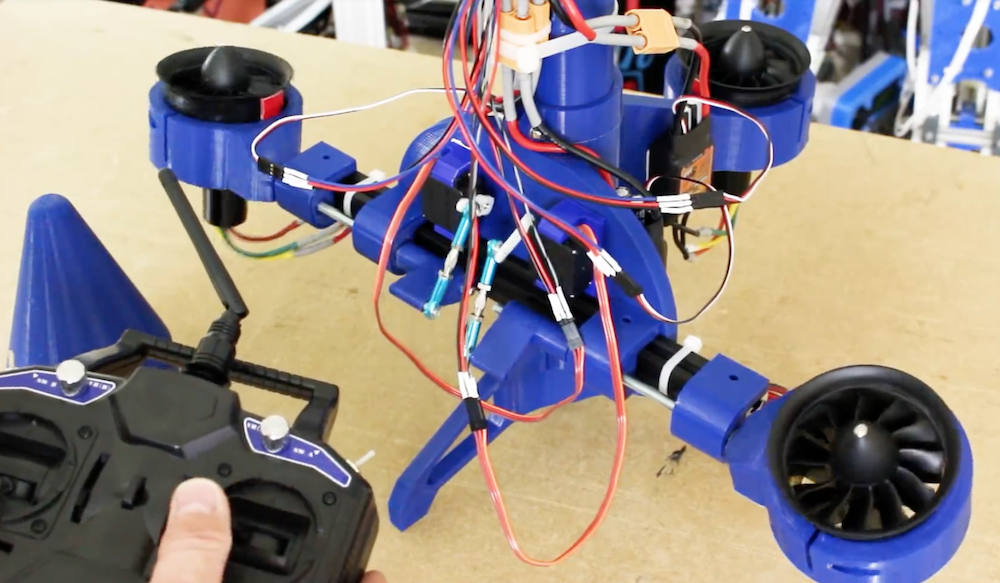
Does a rocket need to use a certain type of fuel, or even be capable of spaceflight? While James Bruton’s build might not fit everyone’s definition of this type of craft because of its electric ducted fan (EDF) propulsion, it does face the same major challenge of controlling a tall pipe-like structure from thrust coming from the tail. It’s meant to both take off and land in a vertical orientation as well, something inconceivable in traditional rockets until very recently.

For control, Bruton uses an Arduino Mega inside the main fuselage of the craft, which regulates the speed of the three EDFs. It also turns two of these fans with a servo and linkage system in order to compensate for unwanted roll. A second Arduino and an IMU are embedded in the nose cone, which passes data to the Mega board via a serial connection. 

The build and early tests can be seen in the video below, and a full test is planned for the future alongside Ivan Miranda, who has been working on his own version.

Check the weather on this Arduino-controlled split-flap display

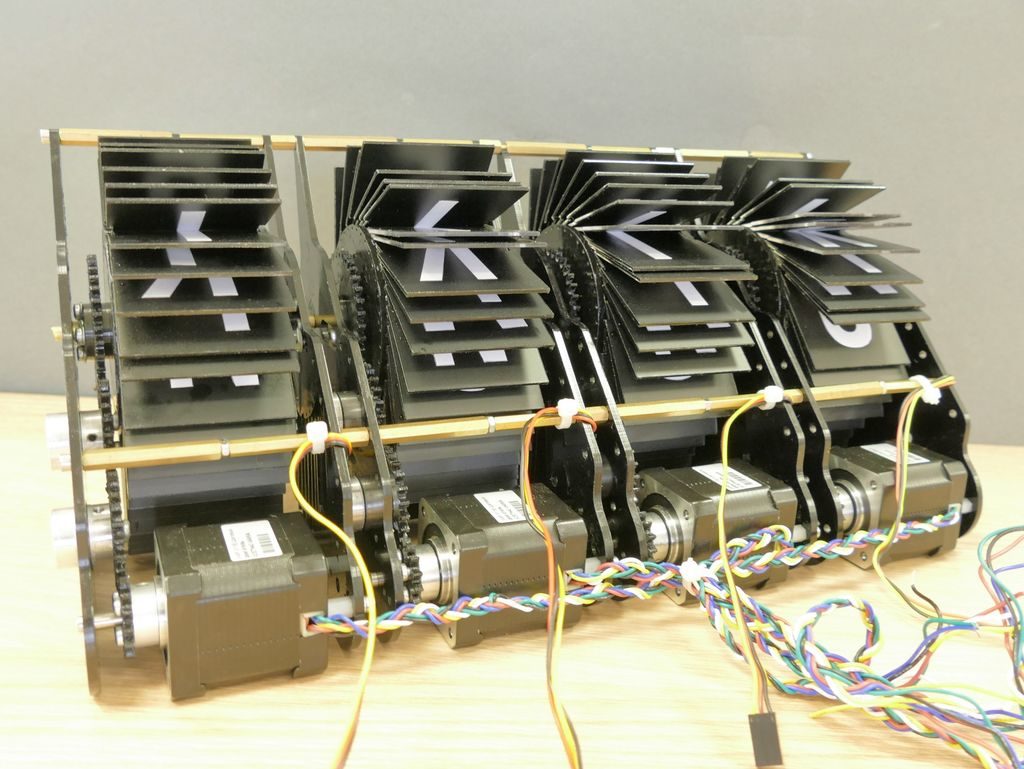
Split-flap displays show information using characters changed by an electric motor. While they’ve largely been replaced by more modern means, hobbyists like “gabbapeople” have been keeping this this technique alive, in this case as a four-character weather display.

The device is built using laser-cut plexiglass, and uses four individual servos to actuate the character flaps. Control is accomplished using an Arduino Mega programmed in the XOD visual programming environment, along with the requisite driver modules. Weather data is pulled from the AccuWeather API. 

You can see it flapping away in the video below, displaying the weather in abbreviations such as “ICLO” for intermittent clouds, as well as the temperature in degrees Celsius.

Automate motor winding with Arduino

When you want to make a mobile robot, DC motors can be a great choice. We normally accept that they can be purchased for a few dollars each, but what if you want to make your own?

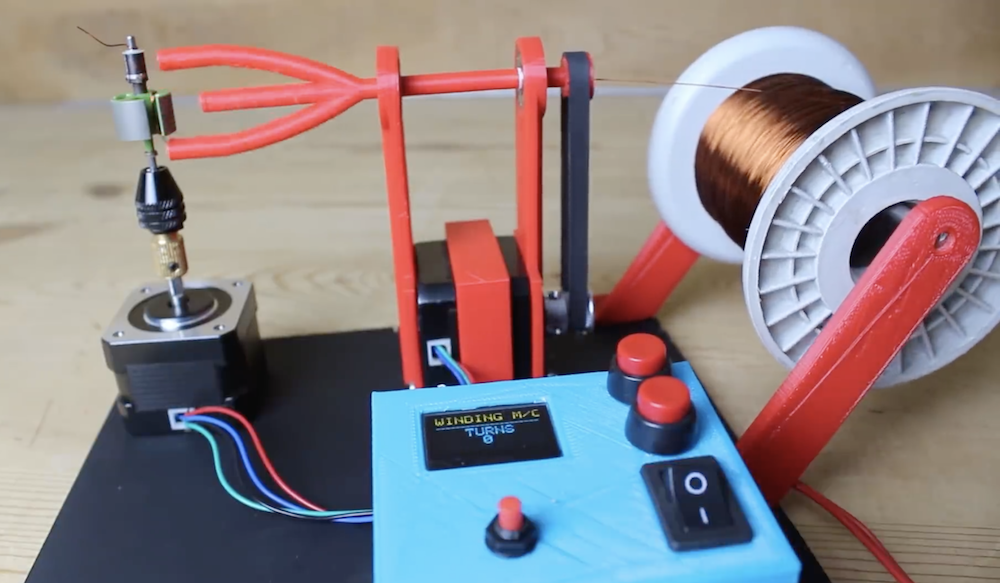
In order to assist with the winding process for a self-built—or at least self-wound—motor, Mr. Innovative created an… innovative fixture with two stepper motors and an Arduino Nano for control. 

The bare motor armature is held in a vertical orientation by one stepper, while the other winds wire using a hollow 3D-printed feeder mechanism. User interface consists of an OLED screen and buttons that let you select the number of windings and another to advance the armature to the next coil location. 

Arduino code and electrical drawings can be found here, and 3D-printed parts are available on Thingiverse.

Feed Barbie with the J’ai faim! mechatronic game

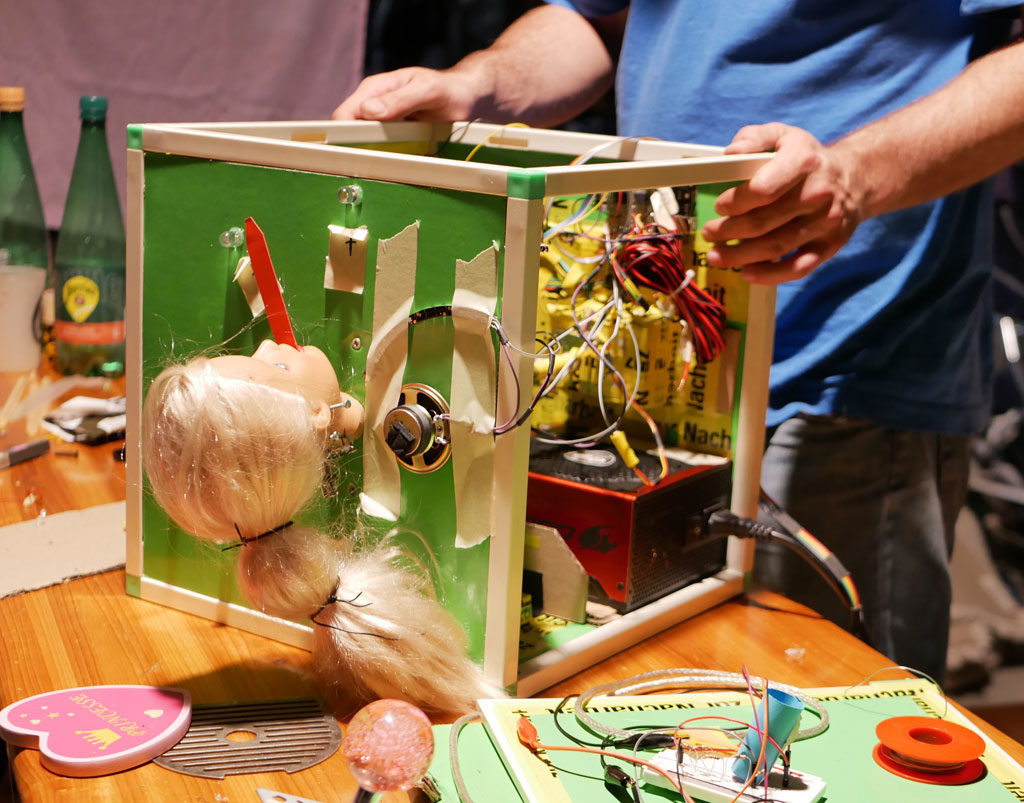
According to this project’s write-up, while some struggle to get enough nourishment, those in more developed countries often aspire to consume too little food. As an apparent commentary on this situation, Niklas Roy and Kati Hyyppä have created a mechatronic game called J’ai faim!, French for “I’m hungry!”

In this Arduino-controlled game, participants rotate a Barbie head to point her comically over-sized tongue over a piece of sushi lit up by an LED. When in position, the player fires her solenoid-actuated tongue using the joystick, and if the correct sushi is eaten the score progresses from “starving” to “well fed.” 

You can see the game—reminiscent of a very strange version of whack-a-mole—in the video below.

Generating waves with Arduino

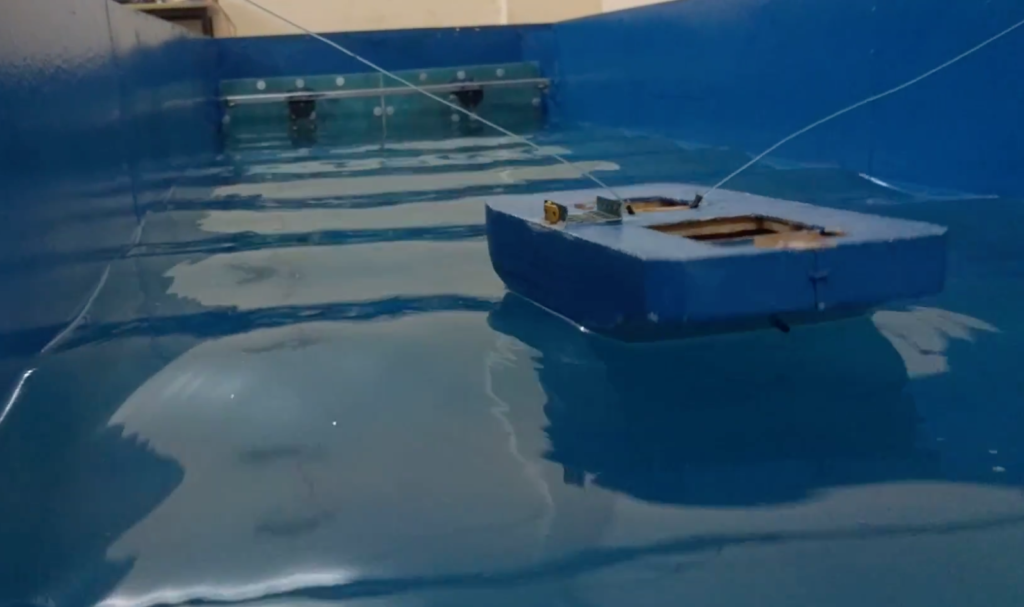
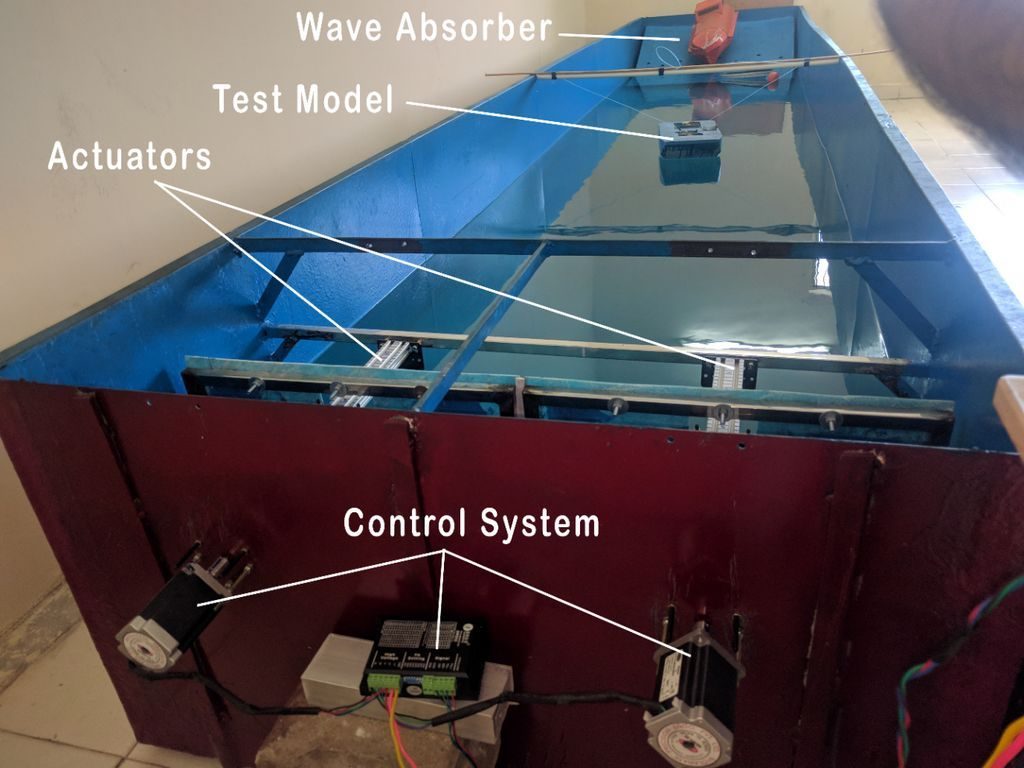
Need a wave generator to test out your latest boat, barge, or submarine design, but can’t quite afford one? If so, then you might consider Subham Bhatt’s DIY tank that he was able to construct for around $1,200 USD. 

Bhatt’s device features a pair of stepper motors and lead screws that push a stainless steel paddle through the water, producing waves formed to his precise specifications. An Arduino Mega is used for control, along with a single stepper driver to power both motors. 

User interface is provided through the Arduino IDE’s serial interface, set up to take commands via a simple text-based menu system.