Posts with «featured» label

Develophead takes (some) of the work out of film photography
Today, if you take a photograph, more than likely it’s digital. This presents many advantages over its film counterpart, but many serious photographers still use the format in order to produce just the right effect. Pablo Zárate is one such photographer, and combined this passion with Arduino and 3D printing knowledge to produce the “Develophead.”
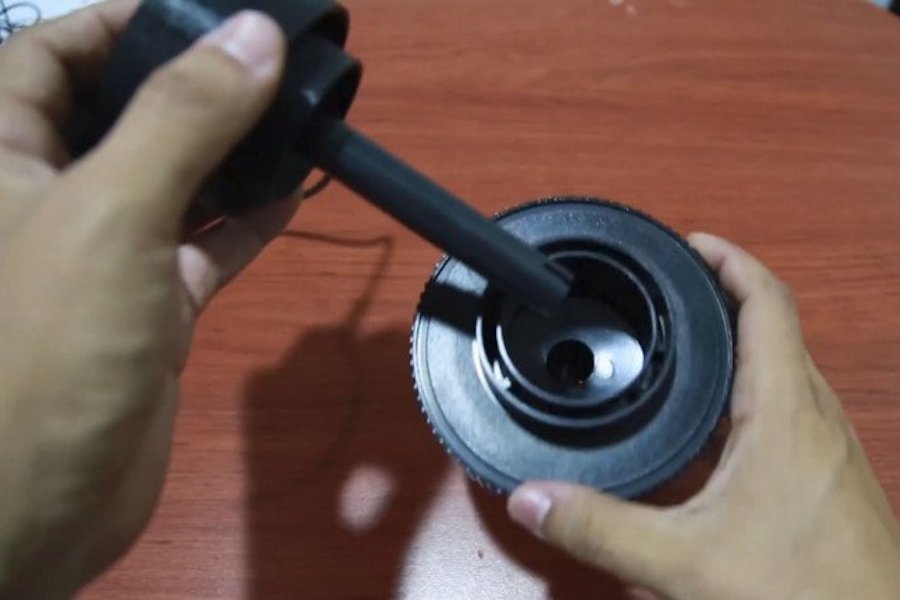
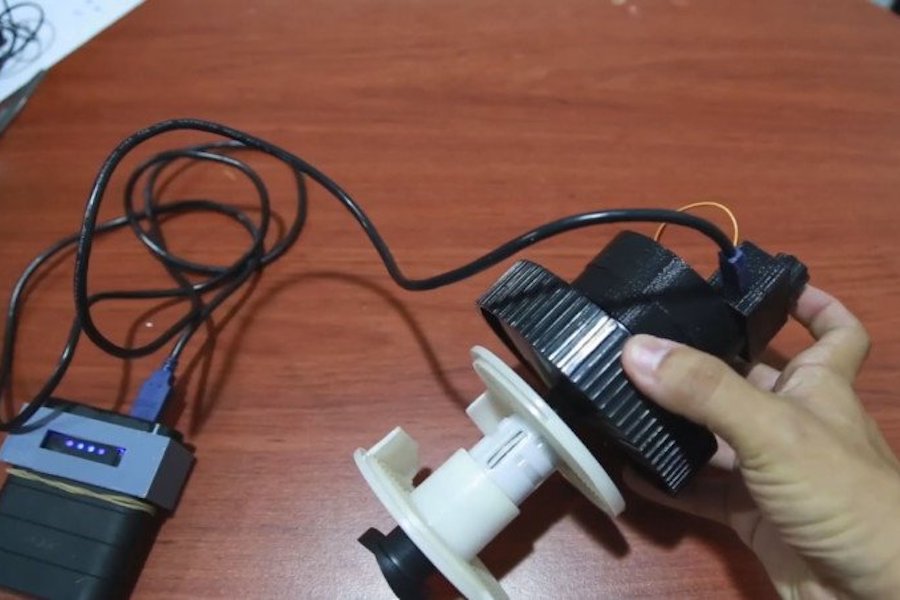
Develophead is meant as an augmentation to AP brand developing tanks, adding an automatic agitation function. This previously had to be done by hand, including 16 minutes of manipulation in the case of C41 rolls. 

Develophead is built on Arduino Nano and uses a 5-volt power source. It’s a cap that fits onto the top of a development tank, inserting an agitation rod into the hole that chemicals are poured into and out of. Turn the cap on and the rod begins to turn the film reel back and forth. A knob on the top of the cap lets you adjust the speed/intensity of the agitation.

As of now, this labor-saving device is meant for AP Classic development tanks, but  Zárate has released the plans on GitHub and hopes others will help expand on this concept.

Notable Board Books are an Arduino-powered way to enjoy music

Annelle Rigsby found that her mother, who suffers from Alzheimer’s, is delighted to hear familiar songs. While Annelle can’t always be there to help her enjoy music, she and her husband Mike came up with what they call the Notable Board Book that automatically plays tunes.

The book itself is well laid-out, with song text and familiar photos printed on the pages. Electronics for the book are in a prototype state using an Arduino Uno and an Adafruit Sound Board to store and replay the audio bits.

Page detection is handled by an array of photocells, and it is meant to turn on automatically when picked up via a series of tilt switches. When a switch is triggered, a relay can then hold the book on until the song that is playing is done, or for a predetermined amount of time.

A time-telling web powered by Arduino

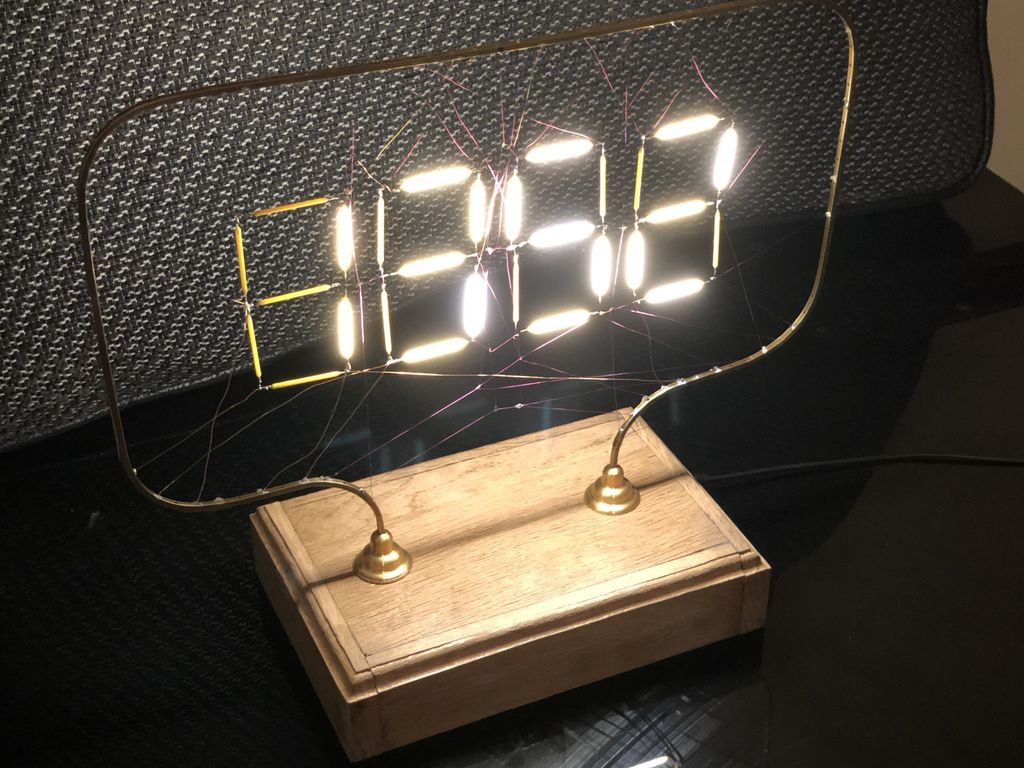
Flament bulbs, commonly known as Edison bulbs, contain a variety of interesting LED lights. So interesting, in fact, that maker Andy Pugh decided to take these individual components up and turn them into a 7-segment display clock.

While making a clock isn’t an uncommon hacker pursuit, this Arduino-controlled device uses a series of wires to both power and support the clock’s four digits from a bent brass frame. This gives it a decidedly web-like appearance, so much so that Pugh notes it’s reminiscent of the cobweb writing in the book Charlotte’s Web. 

The clock also features the ability to sync the time via radio signals, though this functionality appears to still be in the experimental phase. 

Code for the build can be found here, and you can see it cycling through numbers in the video below.

Ingenious marble clock runs on Arduino

Arduino boards and custom clock builds seem to be a great match, as illustrated by Görkem Bozkurt’s recent project. 

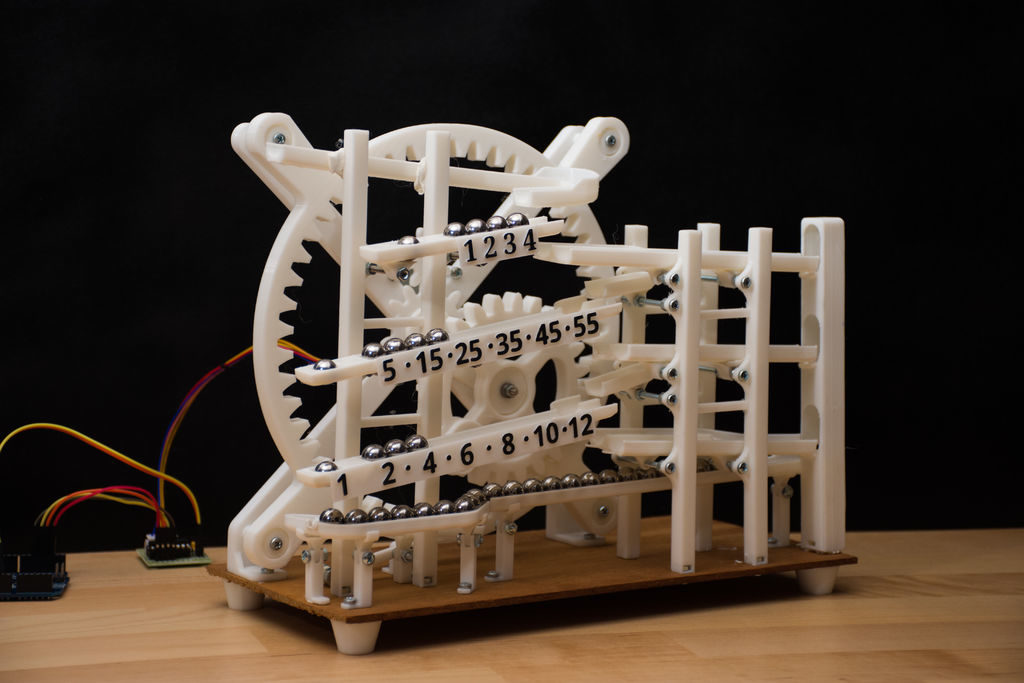
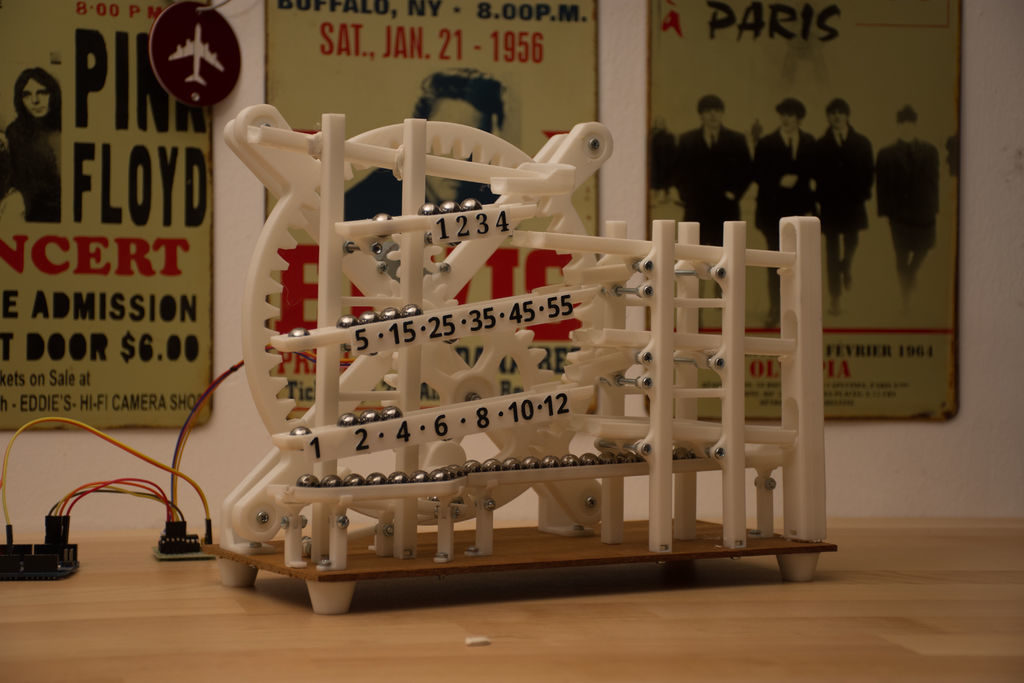
His 3D-printed marble clock uses a stepper-driven gear mechanism to lift 11mm steel spheres to the device’s top chute. The spheres then roll down to a five-minute rail, which empties when filled and transfers a single marble to another minute rail, graduated in five-minute increments up to 60. This then fills the hour rail in a similar process, letting you tell the time of day, or simply be mesmerized by its movement.

The main gear mechanism is powered by a small stepper motor, controlled by an Arduino Uno for timekeeping.

If you’d like to build your own, code is available on Bozkurt’s write-up, as well as the needed print files.

Light painting rig is a masterpiece of artistic hardware hacking

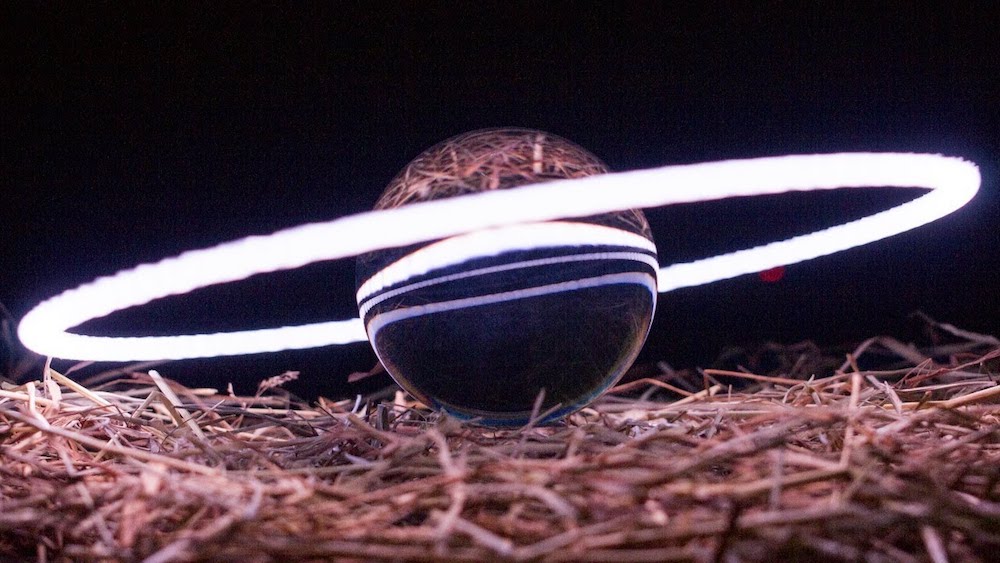
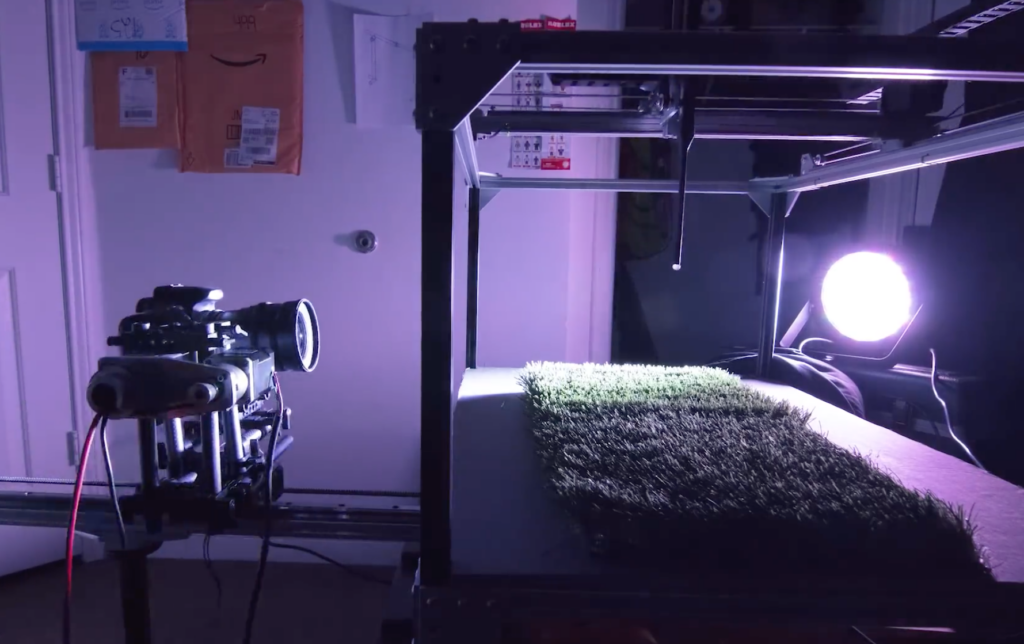
Light painting is an art form where dark areas are selectively lit to form interesting effects. While normally a manual operation, Josh Sheldon has come up with a rig to automate and enhance the process. The results are nothing short of spectacular, producing not static images, but astonishing animated light displays.

His device resembles a 3D printer made out of aluminum extrusion. X,Y, and Z axes are controlled by a series of stepper motors, but it uses a point of controlled light instead of melted plastic to form shapes. 

Light animations are set up in Blender, and a hardware and software toolchain including Processing, an Arduino Mega, and a Dragonframe module are implemented for control.

Check out the whole story in the video below, or see code/build documentation are available on GitHub.

Ceiling-mounted cable robot with Arduino Mega

Cable-based robots are a common sight at sporting events as remote camera operators, but what about one for your living room? As spotted on Reddit, Nathaniel Nifong decided there was no reason not to have one of these devices, and made his own personal Skycam-like robot.

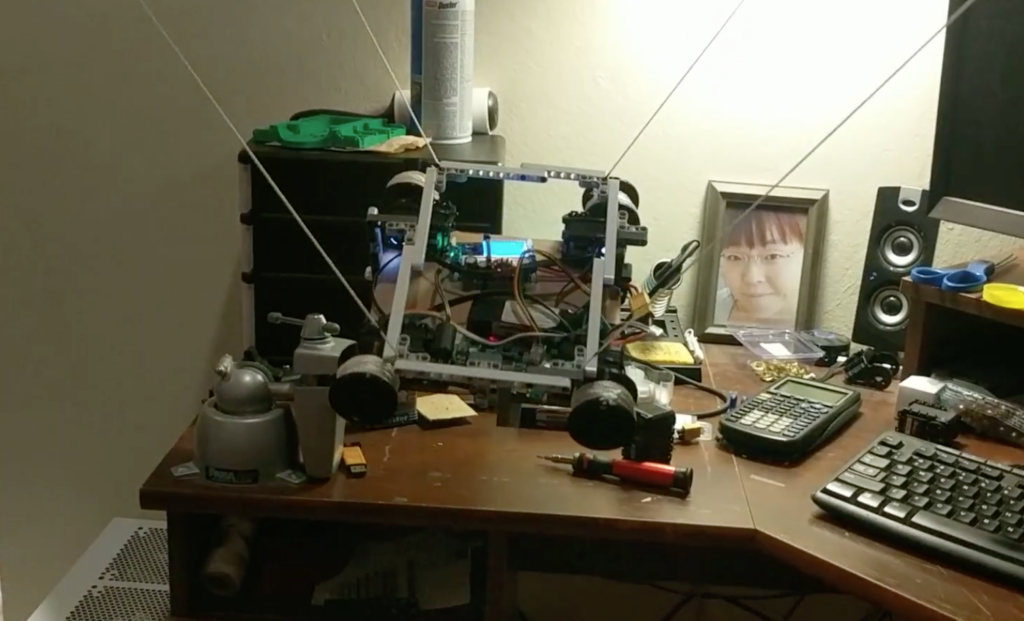
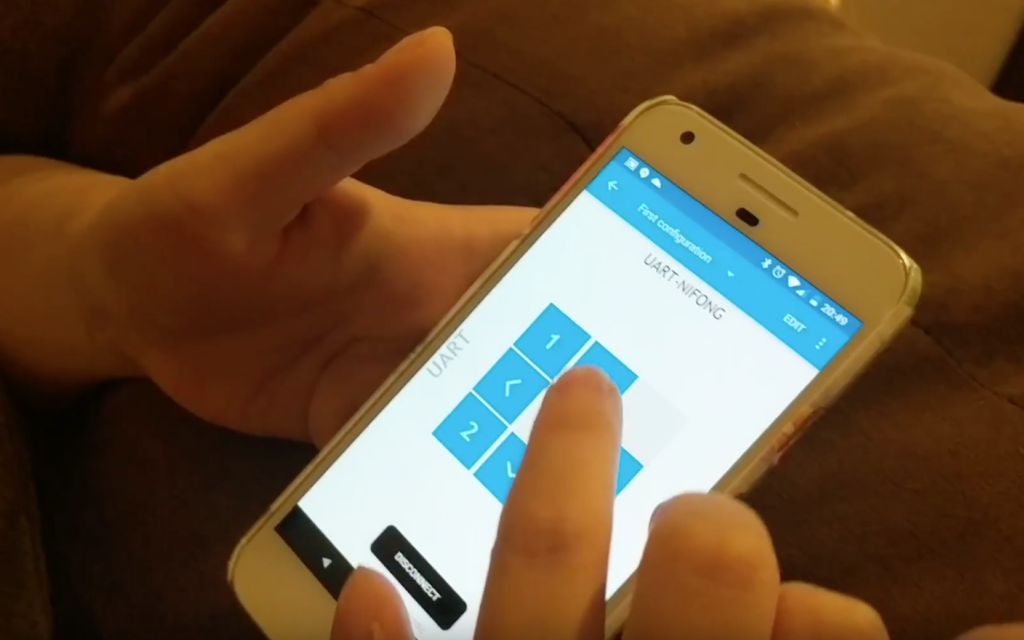
The system uses four servo motors to wind cables attached to the ceiling around 3D-printed wheels, and can be controlled using a smartphone via Bluetooth and an Arduino Mega. 

The prototype—constructed using cardboard and what appears to be LEGO components—is seen moving around Nifong’s dwelling in the videos below, and the eventual goal is to let it move items around using a servo gripper assembly.

This is the first wireless movement demonstration of a robot I’m building. It’s based on parts from an XYZ 6-DOF robotic arm.

The Bluetooth control is done by using Nordic toolbox to send commands to a an MDBT40 Bluetooth module that was reprogrammed with an ST-Link V2. The module forwards the command to the Arduino.

Commands are to move 10 cm in any direction. It calculates what the change in rope lengths would be to achieve the new position.

Stop motion short filmed with the help of Arduino

One can imagine that making a stop motion animation film is a lot of work, but if you’ve ever wondered what one involves, James Wilkinson decided to document the process of making Billy Whiskers: The Mystery of the Misplaced Trowel. 

The main character of this film is a mystery-solving feline, who is animated with the help of five servos that control mouth movements under Arduino control.

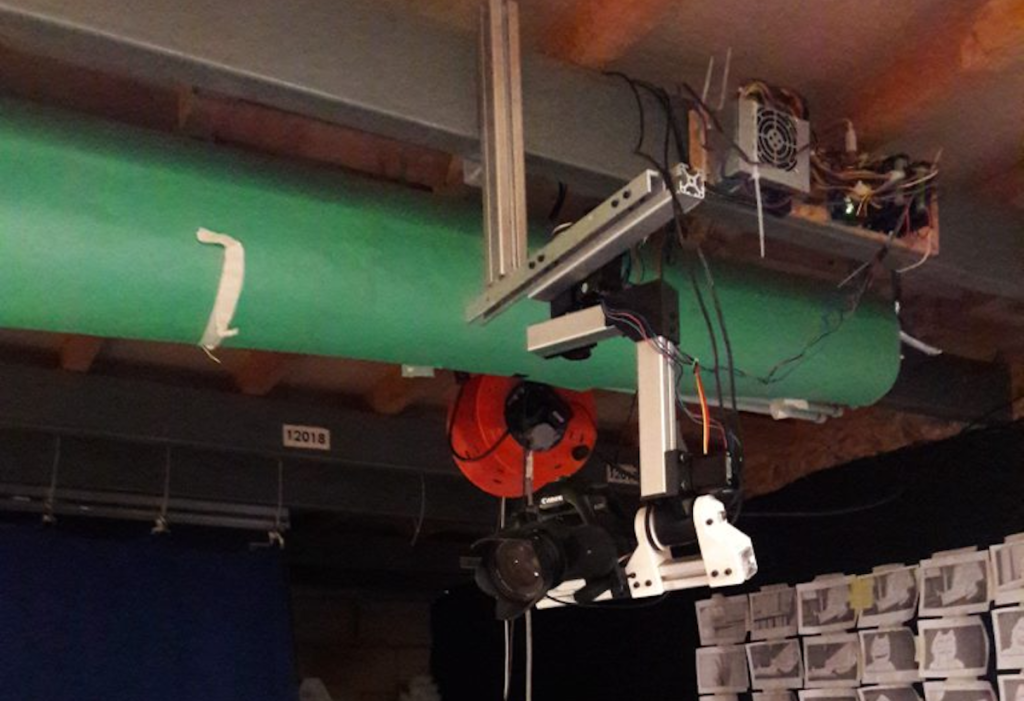
In order to get shots that move properly, Wilkinson also came up with his own motion capture rig, moved by a number of stepper motors via an Arduino Mega. His documentation is certainly worth checking out if you’re interested in animatronics or advanced filming techniques, and you can see a trailer for the film below.

Single-handed smartwatch text entry with WrisText

Smartwatches can keep us informed of incoming information at a glance, but responding still takes the use of another hand, potentially occupied by other tasks. Researchers at Dartmouth College are trying to change that with their new WrisText system.

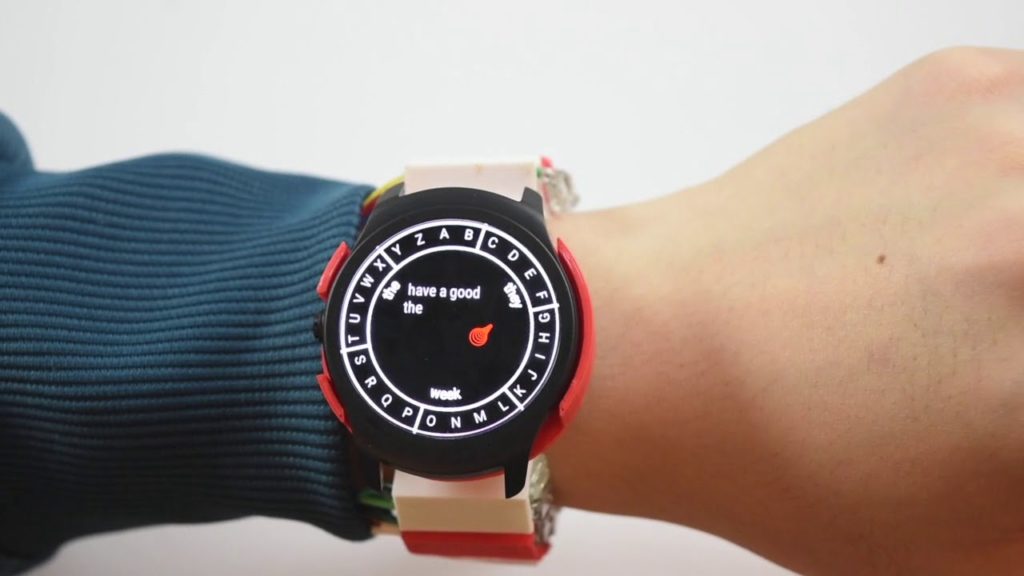
The device divides the outside of a Ticwatch 2 into six sections of letters, selected by the movement of one’s wrist. As letters are chosen, possible words are displayed on the screen, which are then selected automatically, or by rubbing and tapping gestures between one’s finger and thumb. 

The prototype employs an Arduino DUE to pass information to a computer, along with proximity and piezo sensors to detect hand and finger movements. 

We present WrisText – a one-handed text entry technique for smartwatches using the joystick-like motion of the wrist. A user enters text by whirling the wrist of the watch hand, towards six directions which each represent a key in a circular keyboard, and where the letters are distributed in an alphabetical order. The design of WrisText was an iterative process, where we first conducted a study to investigate optimal key size, and found that keys needed to be 55o or wider to achieve over 90% striking accuracy. We then computed an optimal keyboard layout, considering a joint optimization problem of striking accuracy, striking comfort, word disambiguation. We evaluated the performance of WrisText through a five-day study with 10 participants in two text entry scenarios: hand-up and hand- down. On average, participants achieved a text entry speed of 9.9 WPM across all sessions, and were able to type as fast as 15.2 WPM by the end of the last day.

More information can be found in the project’s research paper, or you can see it demonstrated in the video below.

DolphinView headset lets you see the world like Flipper!

Dolphins are not only amazing swimmers and extremely intelligent, but can also observe their surroundings using echolocation. While extremely useful in murky water, Andrew Thaler decided to make a device that would enable him to him observe his (normally dry) surroundings with a similar distance-indicating audio setup.

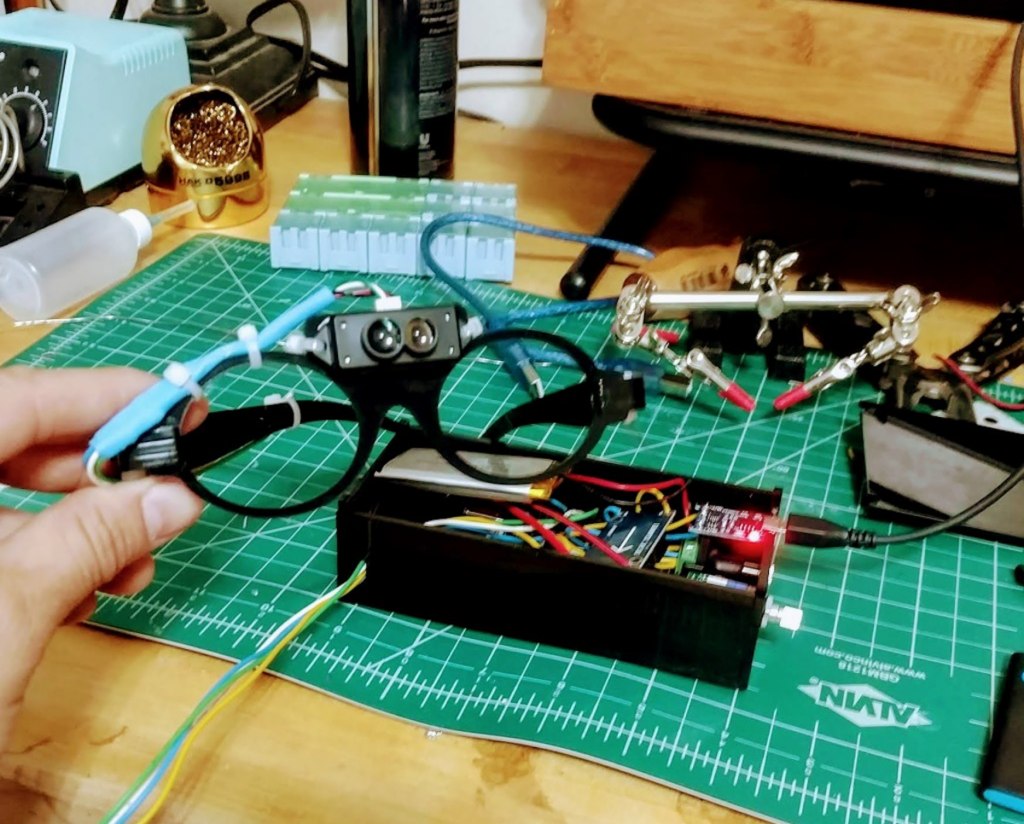
While he first considered using an ultrasonic sensor, he eventually settled on LiDAR for its increased range, and uses an Arduino to translate distance into a series of audio clicks. Sound is transferred to Thaler through bone conduction speakers, mimicking the way dolphins hear without external ears. 

He notes that while using the “DolphinView” headset is initially disorienting, he was eventually able correlate his surroundings with the system’s audio feedback. Arduino code and parts list is available on GitHub, and the mechanical frame design can be found on Thingiverse if you’d like to build your own!

Arduino Blog 26 Jul 15:31

Two CD-ROM drives combined into fledging drawbot

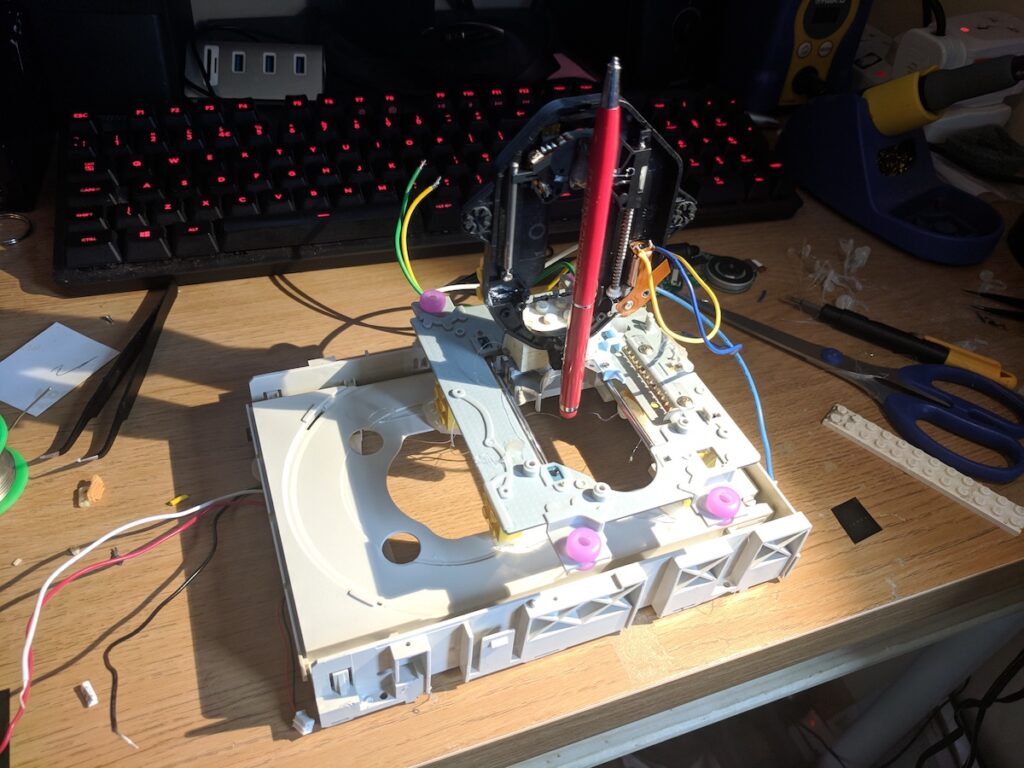
Even if you don’t have access to fancy tools like a 3D printer or CNC router, that doesn’t mean you can’t make something interesting. James, using only a “hot glue gun, some scissors, and a screwdriver,” was able to construct a rudimentary drawing robot that marks paper with a sharpie.

2 CD drives were creatively modified to form X, Y, and Z axes, letting him lower his writing instrument and draw. An Arduino Uno along with an Adafruit Motor Shield forms the controls for the device, and the structure is built out of LEGO bricks. 

As of now it’s described as more of an “Etch A Sketch type thing,” but it looks like a great starting point for more advanced drawbots in the future! Code for the build is available on GitHub.