Posts with «featured» label

Ping pong ball bounces forever under Arduino control

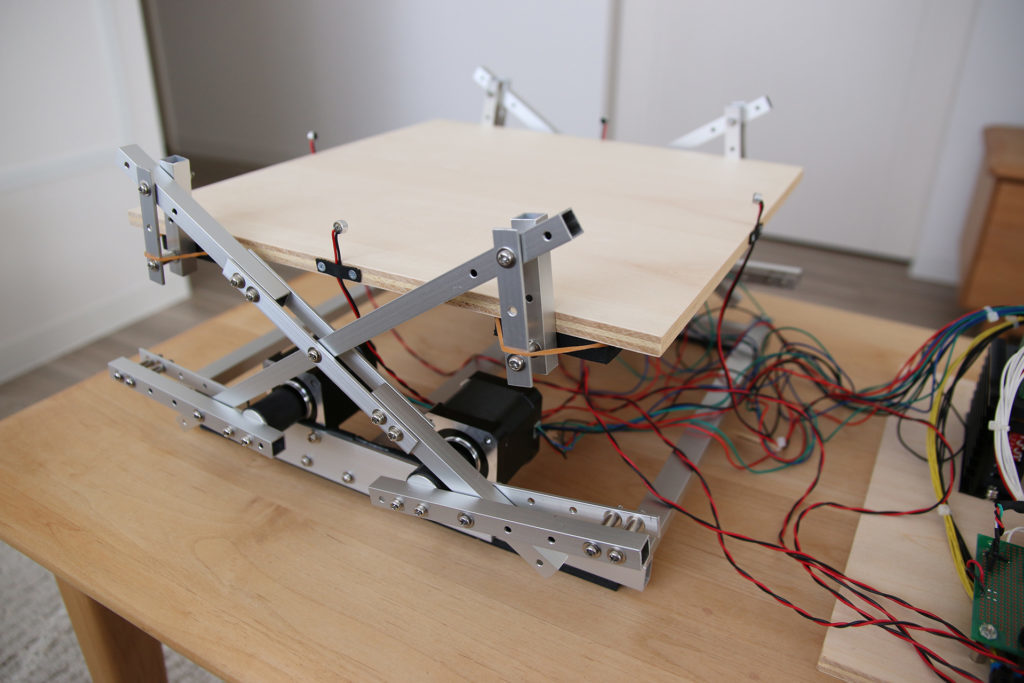
As spotted on Reddit, maker “tkuhn” of Electron Dust decided to make a machine “with the sole goal of keeping a ping pong ball bouncing for as long as possible.” 

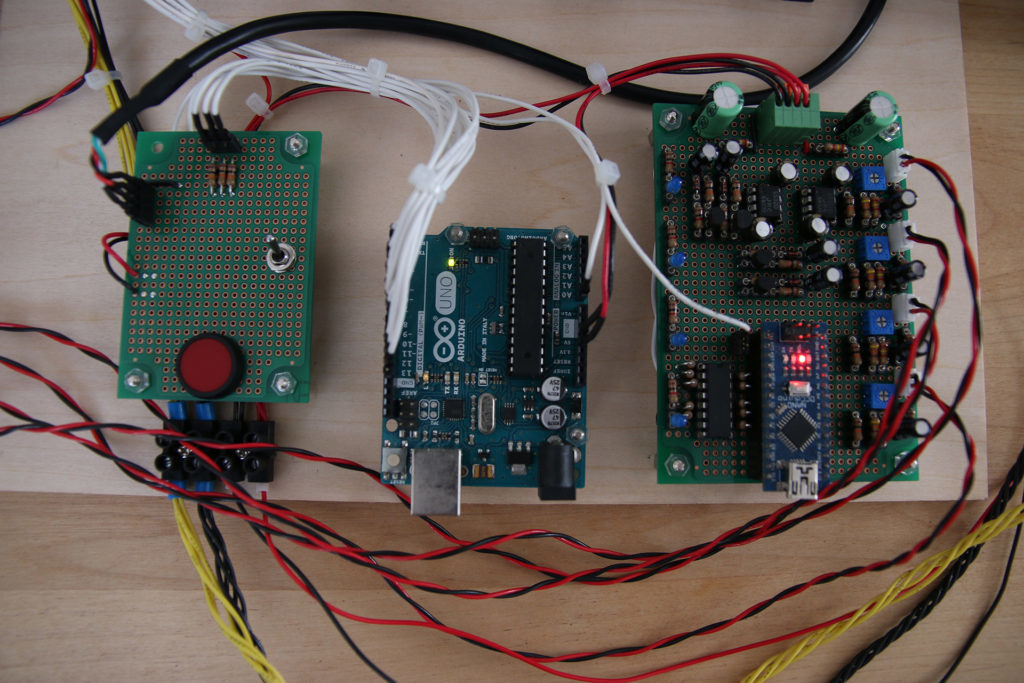
To accomplish this, he turned to audio feedback using the time difference between when four electret microphones sense the sound of the bouncing ball. Audio processing is accomplished with the help of a simple flip-flop circuit, while an Arduino Nano is used to reset it after each cycle.

Data is then passed along to an Arduino Uno, which employs four steppers motors/drivers and a linkage system to keep the ball in play. This impressive setup can be seen in the video below, and code is available on GitHub.

Arduino Blog 25 Jul 16:11
arduino  featured  nano  uno  

Add fading light effects to the buttons on your arcade controller

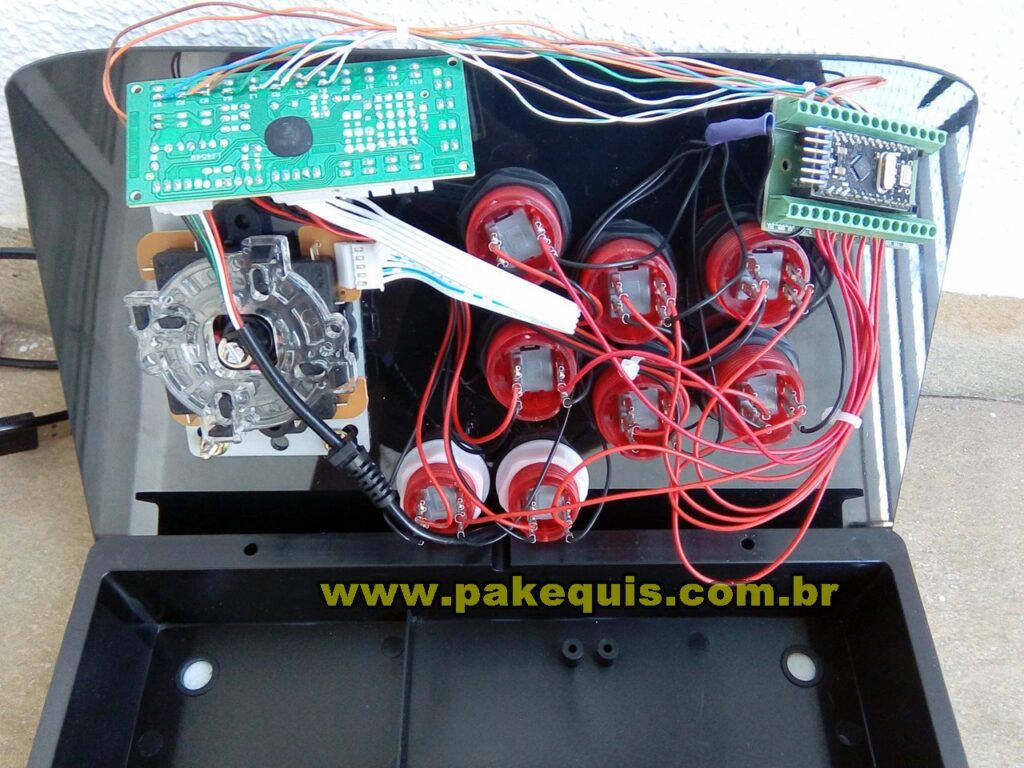
Making a custom arcade cabinet has become something of a rite of passage for aspiring hackers. As seen here, maker Rodrigo decided to add an extra bit of “flair” to his build (Portuguese), with buttons that light up under Arduino power. 

As demonstrated in the video below, the button lights slowly fade out after being pressed, and he’s created a pair of these light-up control boxes, one featuring blue buttons and the other red.

Notably, he’s using a separate controller to pass signals to his setup, leaving each Arduino free to control the lighting. Code for the project can be found on GitHub if you’d like to try something similar yourself.

Arduino-Controlled Signal Attenuation

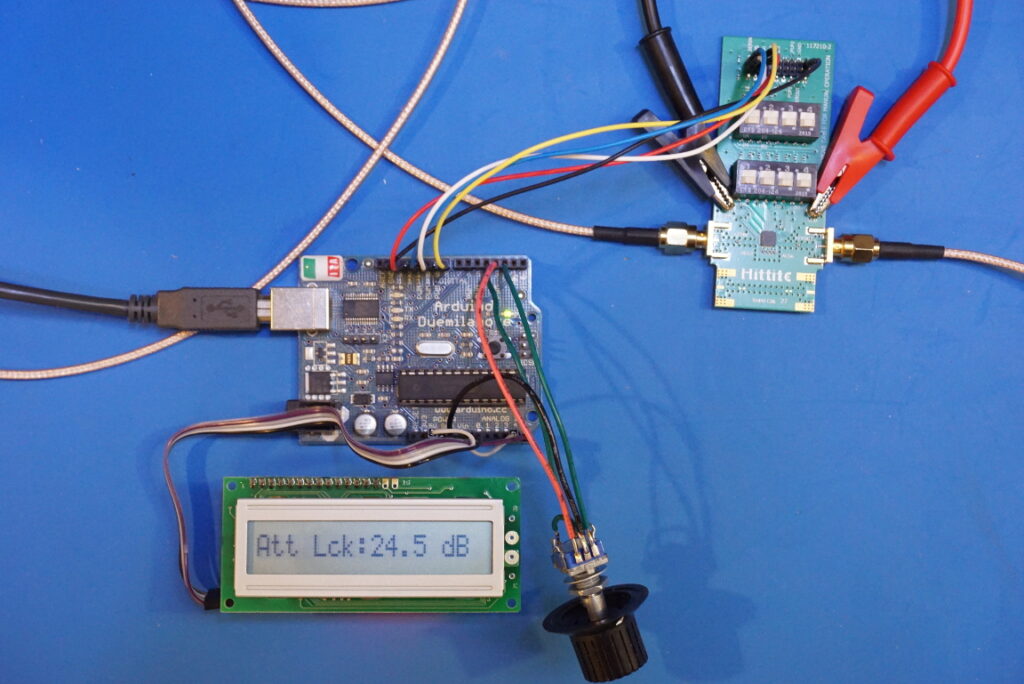
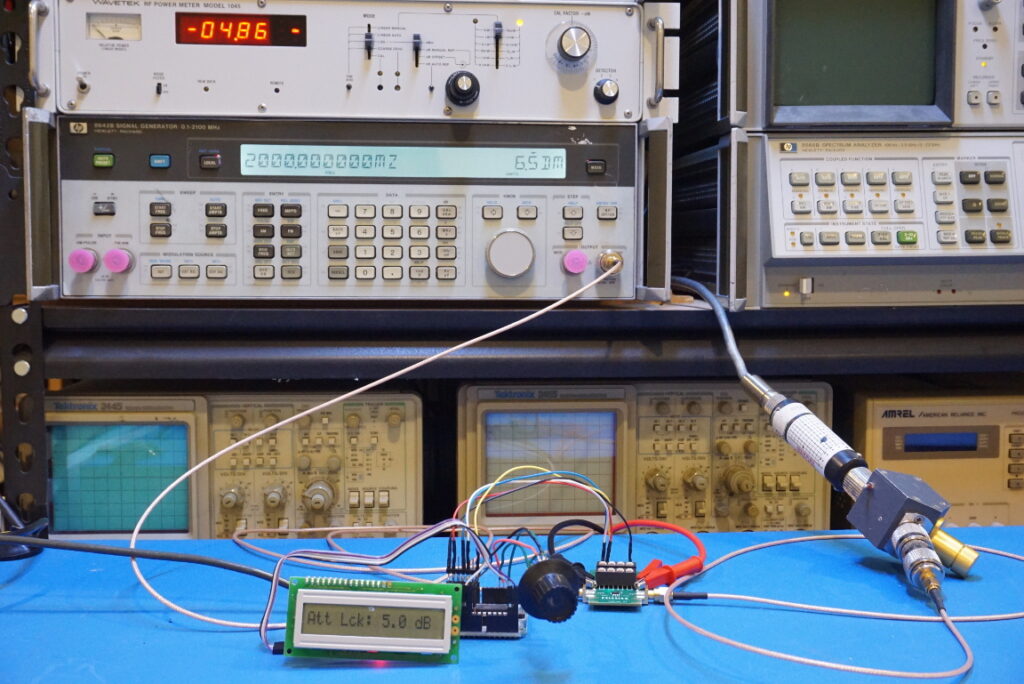
There are many ways to modify analog and digital electrical signals, but things get a bit more complicated—or at least specialized—when working with coaxial signal transmission. To this end, Kerry D. Wong found an unused attenuator evaluation board in his “miscellaneous PCB bin,” and decided to give it a new life using an Arduino.

The attenuator functions through a set of switches to set power dissipation from 0 to 31.5 dB, but it can use a serial interface for this function as well. In his new setup, the Arduino provides the needed control signal, via a user interface consisting of an encoder and LCD display.

The fact that it’s now programmable would also open up automated testing possibilities. More on this project is seen in the video below, with the Arduino configuration showing up at around 10:00.

Ramp up programmable LED troubleshooting with the BlinkBox

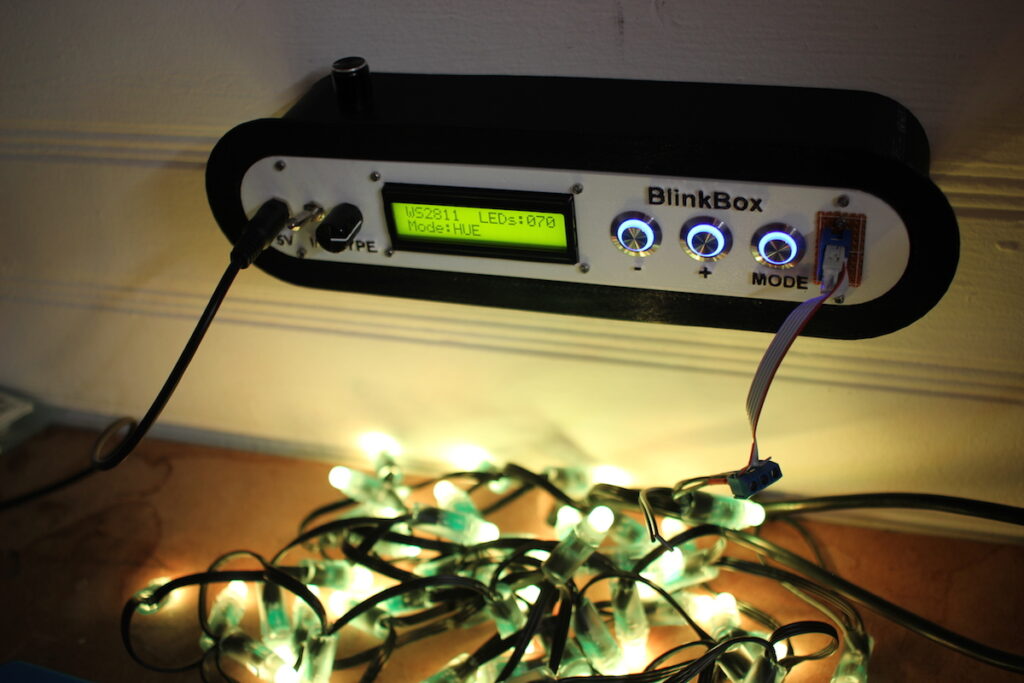
Programmable LEDs are amazing pieces of hardware, allowing hackers to add a rainbow of colors to projects at reasonable prices. Troubleshooting these devices, however, can be a pain, so Devon Bray developed the “BlinkBox” to help with this task.

The resulting Arduino-based tester can work with multiple types of LEDs, and is able to cycle through each individual LED module in a string, and change the animation pattern as needed. He had previously done this kind of testing on a breadboard, but his new iteration is much more permanent and professional looking. 

You can find CAD and code for it on GitHub if you’d like to build your own!

Smart hydroponic assembly made with Arduino Mega

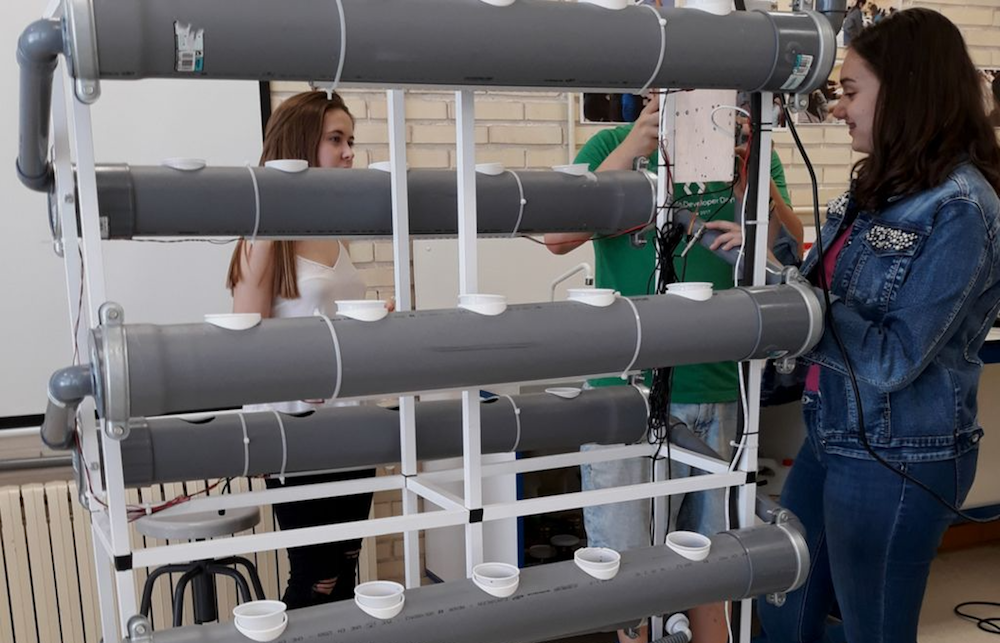
If you love electronics as well as plants, what better way to combine the two than with a smart hydroponic system? Students at the Juan de Lanuza School decided to do just that, creating a portable hydroponic assembly that’s automatically controlled with the help of an Arduino Mega.

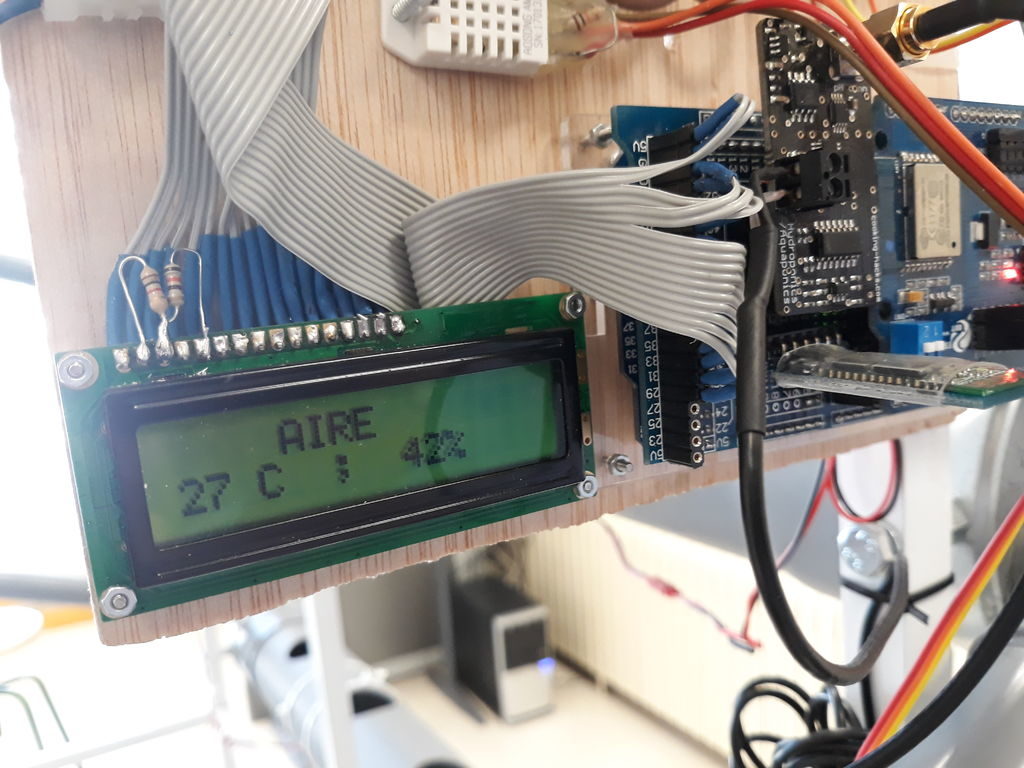
The system uses six lengths of PVC pipe to house plants and pass a nutrient rich liquid solution through their roots. The control assembly measures elements such as temperature, humidity, and pH, then adjusts the lighting, water pump, and nutrient feeder to accommodate for conditions. 

The device transmits data to ThinkSpeak for human monitoring, and also features a smartphone app for visualization. Build details are available here in English, or you can see a video of the setup in Spanish below.

“Magical” fountain bends time under Arduino control

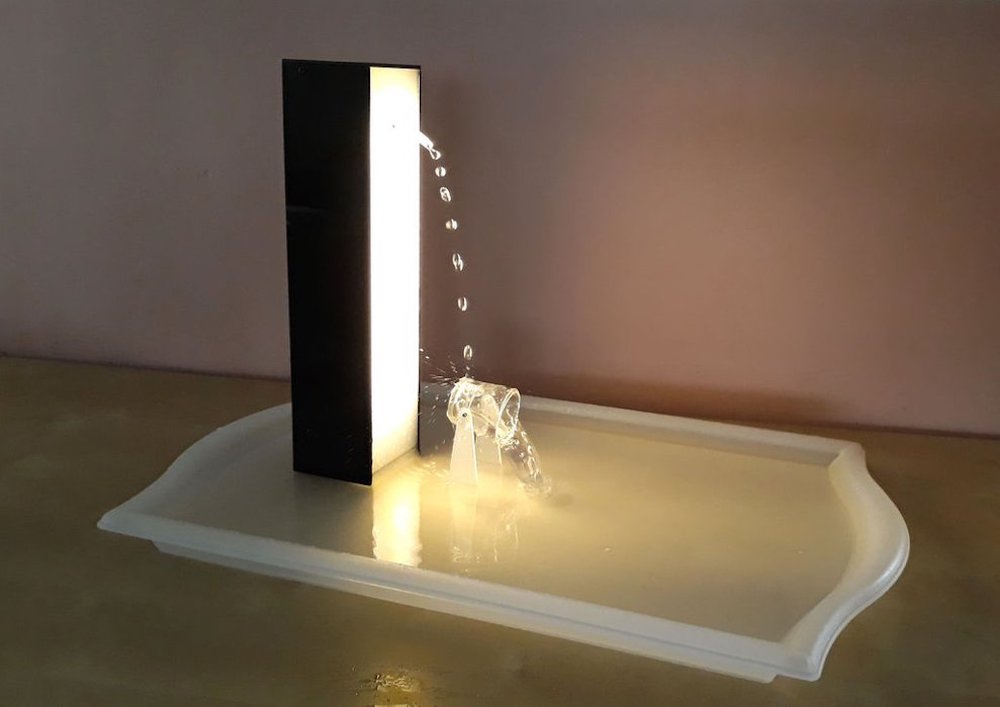
Years ago, engineer and photographer Harold “Doc” Edgerton figured out how to “bend time” by pulsing a strobe light at the nearly the same speed as droplets of water, making them appear to move in slow motion, freeze, or even more backwards. Today, Nick Lim of jolliFactory has created the same effect, controlled by an Arduino Nano.

His excellent build is outlined here, including a surprisingly simple circuit that controls the pump, solenoid valve, and LED illumination via a trio of MOSFETs. 

One simply places the fountain over a water supply, which pumps it up into the solenoid valve, allowing 45 drops to fall per second. The lights then strobe at this speed—or slightly faster or slower—producing the time-bending display shown in the video below.

Arduino Blog 16 Jul 20:21

An Arduino “Whack-a-Button” Reaction Game

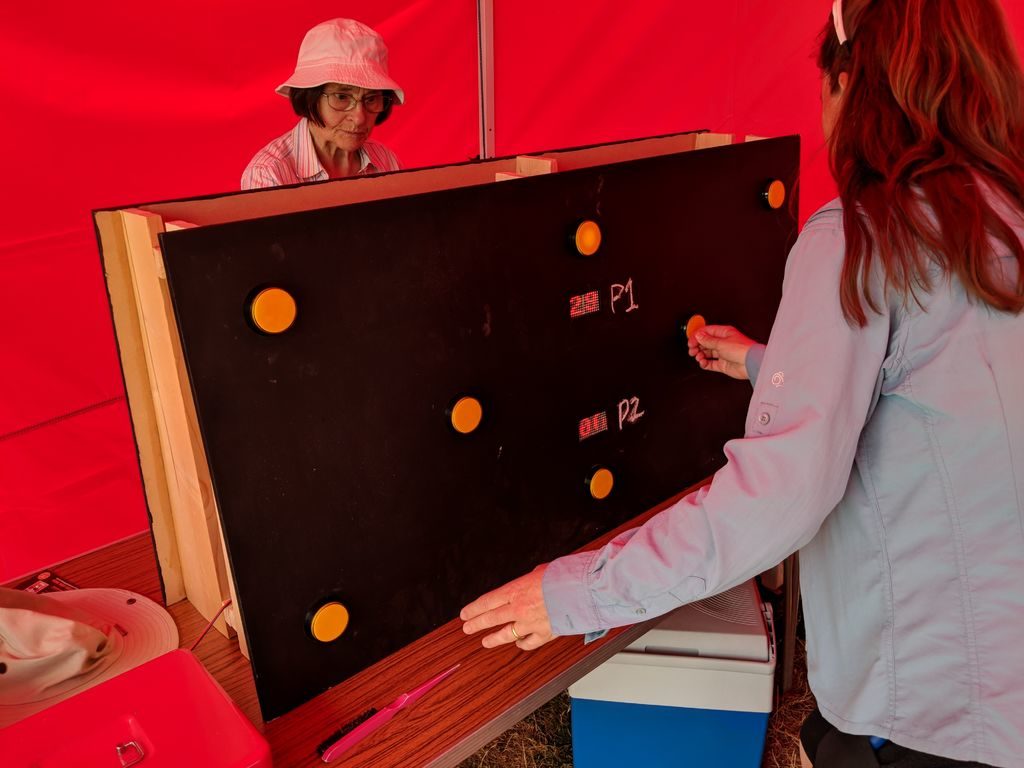
After Instructables user R0RSHACH’s son won a place at the World Scout Jamboree in 2019, the maker decided to create a fairground-style game for fundraising. 

The resulting device is akin to a Whack-a-Mole or Batak game that can be found at high-end gyms, and features eight large light-up buttons per player on a wooden frame.

When activated, an Arduino Mega turns on the button-lights in sequence to test how long it takes participants to push each one. While it can be made in a single-player version, the two-player game looks like a lot more fun, allowing participants to compete on opposing boards. 

Code and instructions are available here, and you can see it demonstrated in the videos below.

imPulse is an energy harvesting alternative for bicycles

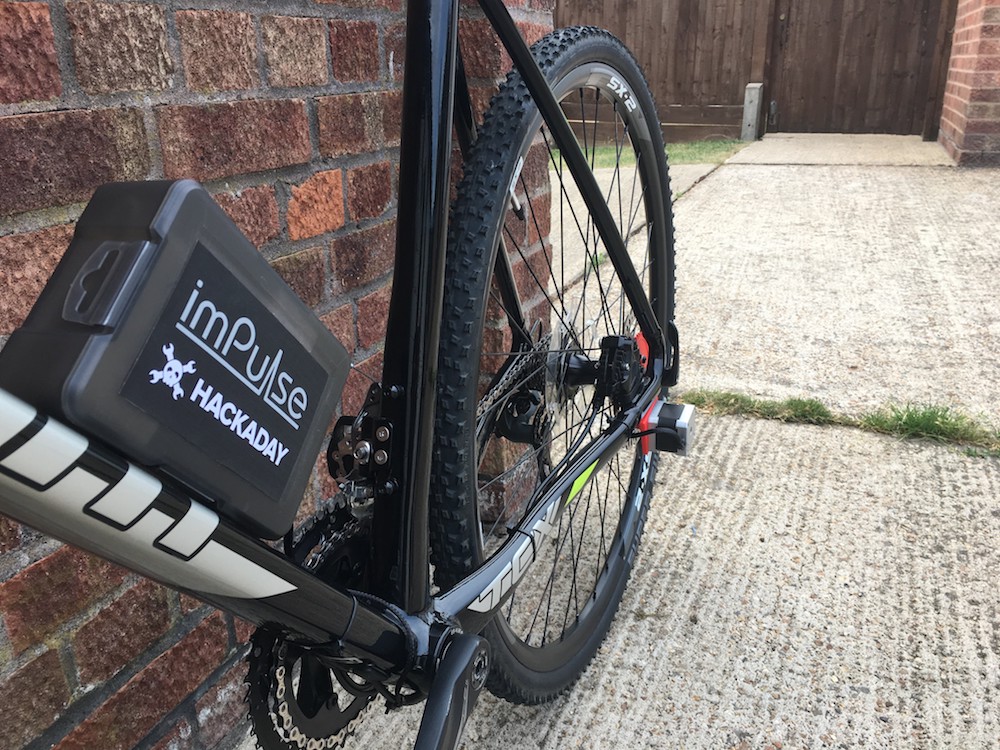
Javier Betancor is developing a system which collects power as you ride a bike, with the goal of powering data collection and lighting. “imPulse” uses a stepper motor for power generation, along with a geared hub to make the motor spin at multiples of the wheel speed.

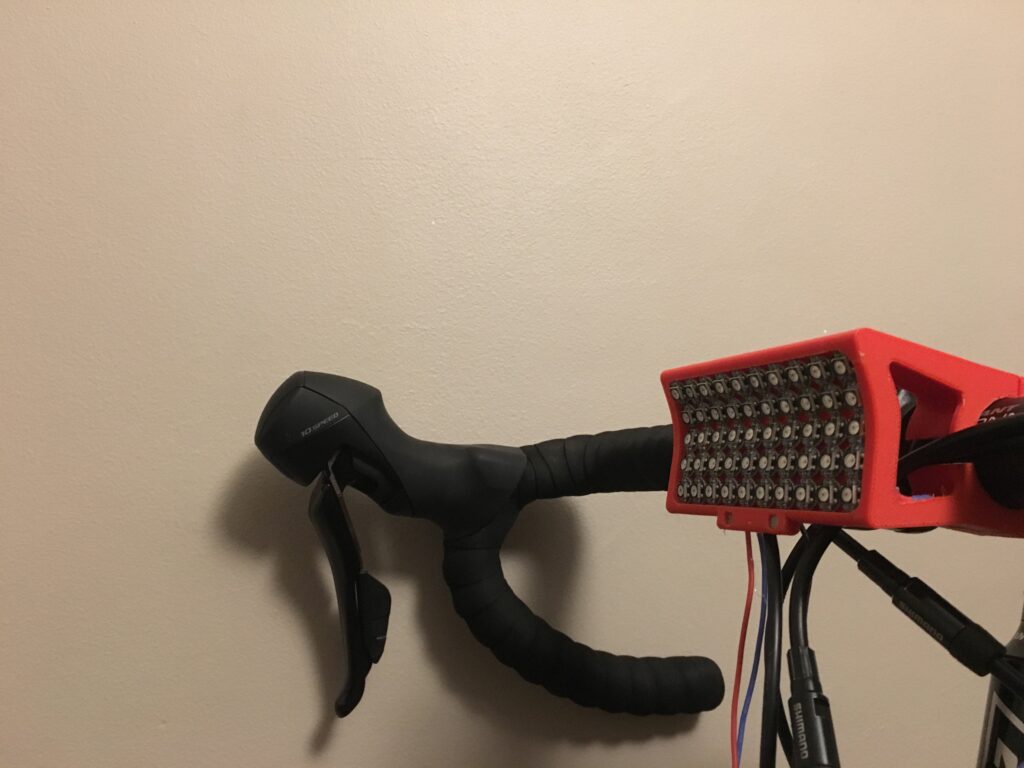
While the project is still a prototype, the headlights and rear lighting assemblies already look very good, and CAD files as well as Arduino code are available here.

The aim of this project is to provide a cost-effective alternative to power generation on bikes using conventional stepper motors while adding other capabilities, such as: 

– An integrated data logging system to monitor power generated on each trip.

– A smart lighting system with addressable LEDs, working as indicators, braking lights and headlights, incorporating Light Dependant Resistors (LDRs) to sense the environment and to reduce the risk of glare.

– Power Distribution Board (PDB) to charge two different/generic powerbanks. While one powerbank is charged, the other one is used to supply energy to the system.

You can see a prototype of the lighting system in the video below, using an Arduino Uno for control as a turn signal and brake light, as well as a constant beam for visibility. Find additional information and follow along with Betancor’s progress in his Hackaday log. 

Arduino Blog 16 Jul 20:06

Stepper motor utilized as a rotary encoder with Arduino

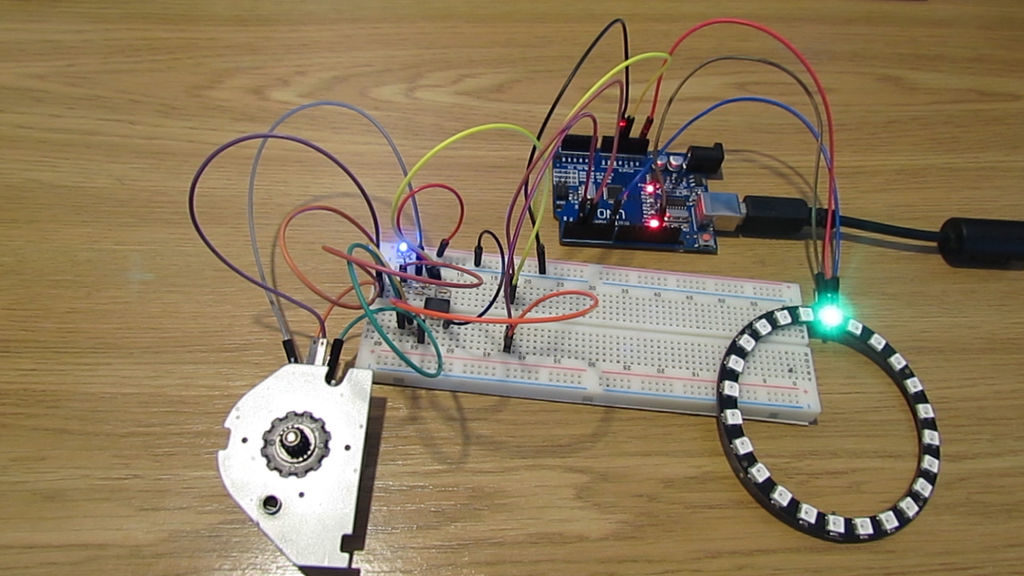
Stepper motors work by alternating a series of magnets in order to rotate its shaft by a certain angle. When the shaft is manually twisted, these magnets produce an electrical signal in a predictable pattern, which as shown in the video below, can be used as an encoder with the help of an Arduino Uno.

More information, including a circuit diagram and the Arduino code used for the stepper-NeoPixel and stepper-stepper examples can be found here. While the write-up notes that this stepper-encoder won’t work reliably if turned too slowly, it seems to work quite well at the fairly low speed shown in the demonstrations.

I want to tell you how to make incremental encoder from stepper motor. When we turning shaft of stepper motor it works like generator. It generates certain impulses on its coils. After some signal processing, we get same impulses as incremental encoder. This encoder has one problem, it can drop steps if you turning very slowly. But for many applications, it doesn’t matter.

Dual ultrasonic sensors combine for 2D echolocation

Ultrasonic sensors are great tools for measuring linear distance or object presence. As shown in this experiment by “lingib,” two sensors can also be combined to determine not just linear distance to a sensor, but its position in an X/Y plane.

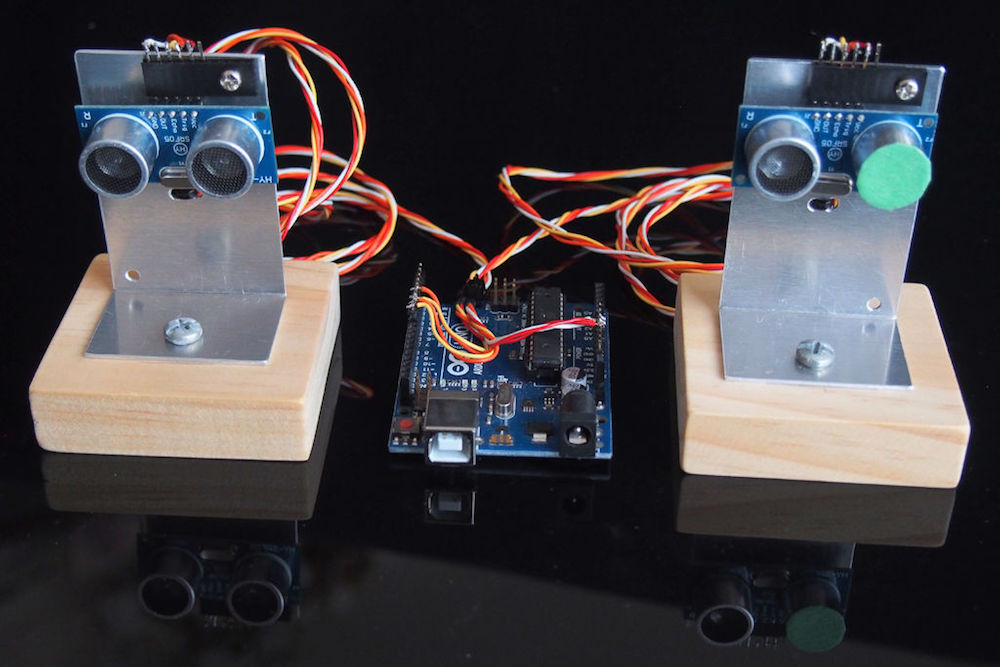
For his experiment, he hooked two of these units up to an Arduino Uno at a known distance from each other, with one emitter blanked out with masking tape. The non-blanked emitter pulses an ultrasonic signal, which is bounced back to it as well as the second sensor by the measured object. From the time it takes to receive the return signal, distance to each sensor can be inferred, giving a triangle with each side known. Trigonometry is then used to pinpoint the item’s position, and a Processing sketch displays coordinates on lingib’s computer.
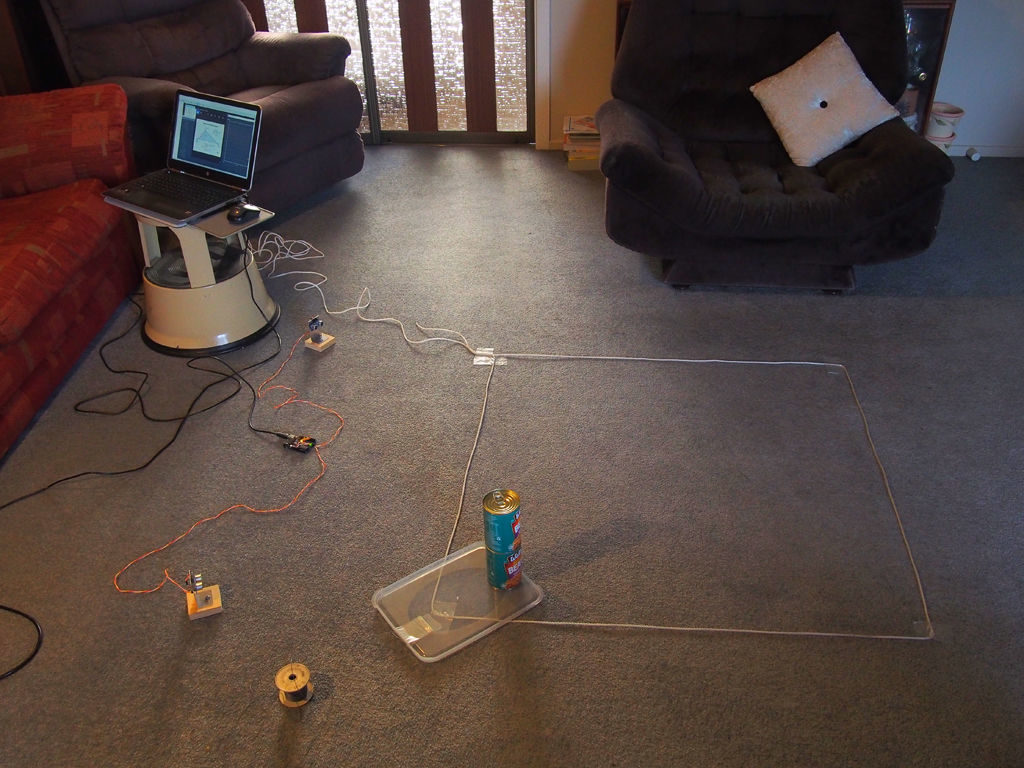
This Instructable explains how to pinpoint the location of an object using an Arduino, two ultrasonic sensors, and Heron’s formula for triangles. There are no moving parts.

Heron’s formula allows you to calculate the area of any triangle for which all sides are known. Once you know the area of a triangle, you are then able to calculate the position of a single object (relative to a known baseline) using trigonometry and Pythagoras.

The accuracy is excellent. Large detection areas are possible using commonly available HC-SR04, or HY-SRF05, ultrasonic sensors.

Construction is simple … all you require is a sharp knife, two drills, a soldering iron, and a wood saw.