Posts with «featured» label

Morse code input for Android with Arduino
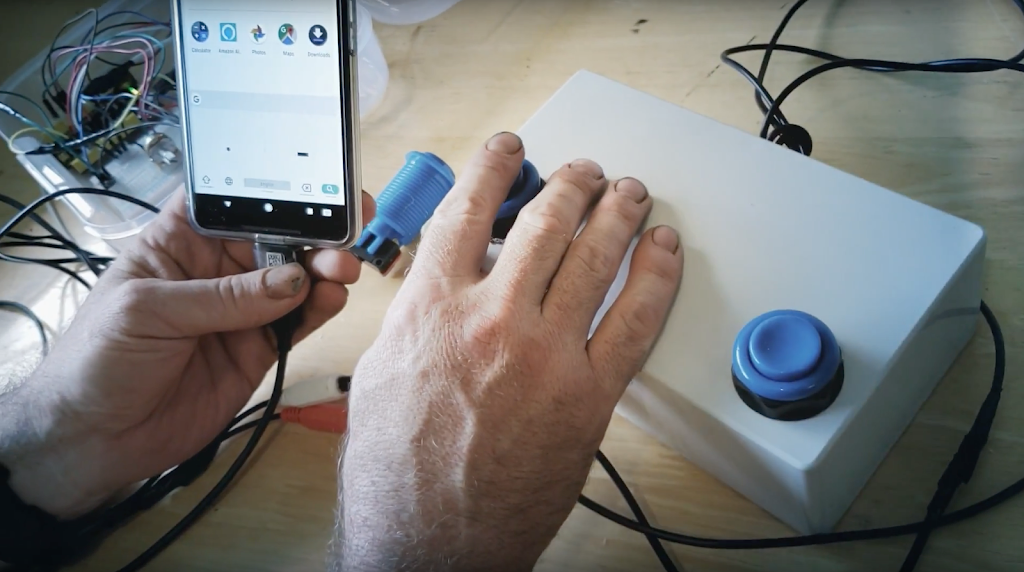
Morse code may not be as widely used as in its heyday, but it still certainly has its adherents. One avid user is Tanya Finlayson, who has been using this as her method of communication for roughly 40 years. Now, with the Gboard phone keyboard supporting input via dots and dashes, the world of Android computing has been opened up to her as well.

In order to get button presses to the phone, Ken Finlayson used an Arduino Leonardo to read inputs from a trio of buttons, indicating dot, dash, and mode select. The third button allows for phone navigation in addition to text input. Because of its built-in HID capabilities via the ATmega32U4 chip, the Leonardo is a great choice for this application, demonstrated in the video below. 
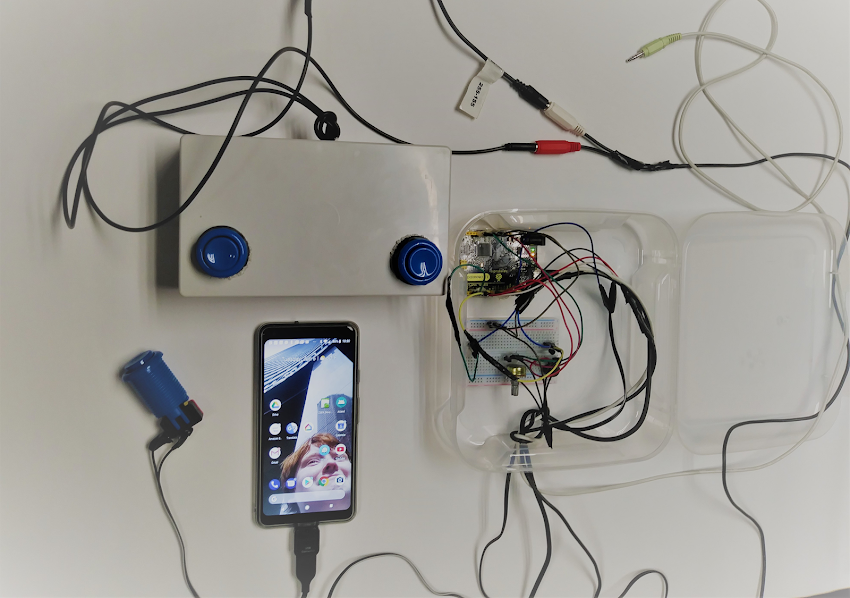
Many people cannot use keyboards and touchscreens to control their digital devices. Instead, they use custom hardware switches that emulate typing, swiping, and tapping. The Android operating system provides software that allows these switches to control Android devices, and recently Google provided a new Morse Keyboard within the Gboard keyboard for people who find this method easier for text entry.

This experiment is a DIY hardware adapter that enables assistive tech developers to connect existing switch based input systems to their Android device. Once connected, 2 switch assistive systems (with an additional switch for mode switching) can control both the standard Android accessibility func

tions as well as text entry through Morse on Gboard.

This experiment is built using Arduino and is compatible with most standard assistive 2 switch systems with 1/8” mono outputs.
Arduino Blog 12 Jul 22:12

Camera questions user, saves photographic response

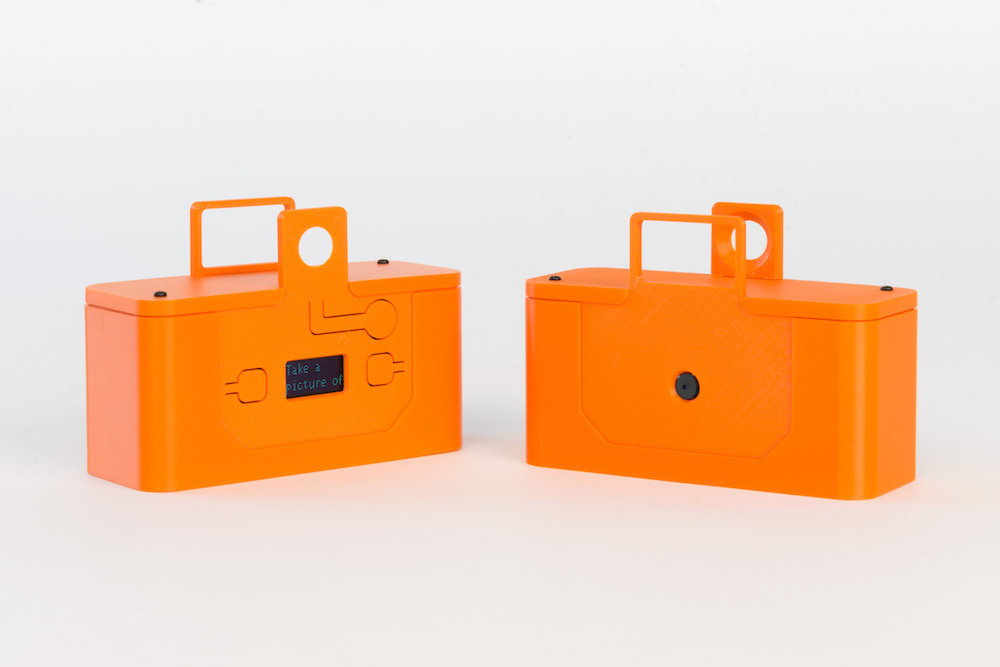
Cultural probes aim to elicit unique responses by asking people to respond to a question, many times in the form of a photograph. While disposable cameras once worked quite nicely for this purpose, their relative rarity today meant a new digital alternative was needed. For this, Interaction Research Studio came up with a series of ProbeTools cameras that anyone can make and customize.

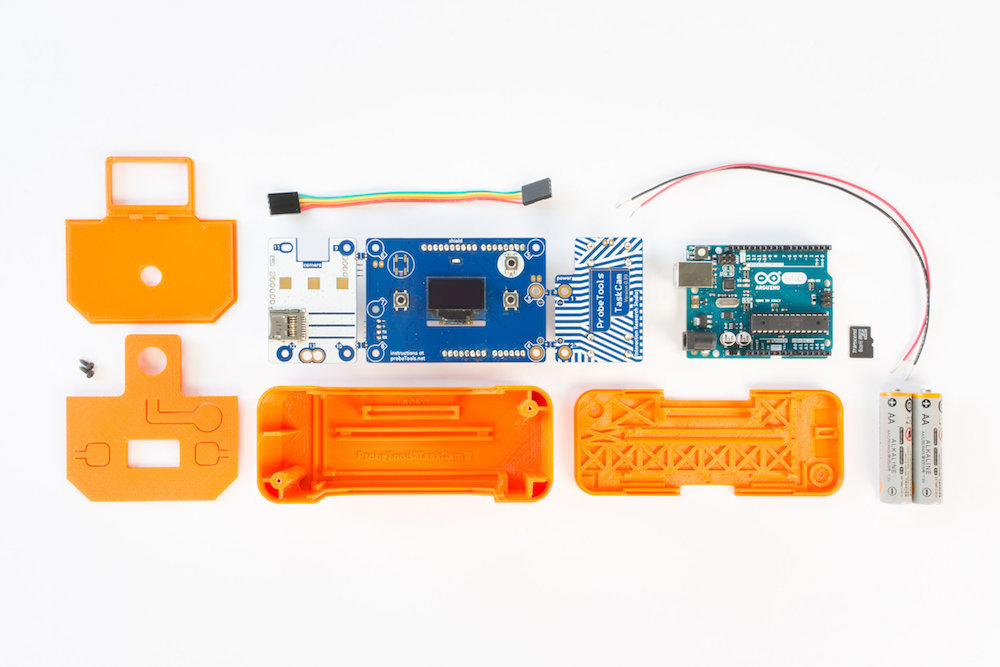
The most basic type in this series of cameras is known as the TaskCam, which features a 3D-printed frame and an Arduino Uno at its core. A shield with several snap-off sections provides user interface, including a trio of buttons, and a display that shows questions that are read off of a micro SD card. Users then respond to queries with photographs, saved with the corresponding question for future analysis.

TaskCams recreate the proven Cultural Probe technique of relabelling disposable cameras with requests for pictures. The 3D Printed TaskCam is the basic workhorse of the collection, robust and flexible enough to use across multiple studies.

The 3D Printed TaskCam has a small screen on the back that shows a scrollable list of requests for pictures.  Researchers can load their own list of requests onto the camera to prepare for a study. When users take a picture, the image is tagged with the current request, and stored on a standard flash drive that can be removed for downloading.

The casing for the 3D Printed TaskCam can be printed successfully without support materials even on low-end printers. The device requires a custom Arduino shield,  buy online at cost price, or follow the open-source plans to make yourself. Smart power management mean that two AA batteries provide more than enough power for an entire user study.

You can find more details on ProbeTools here, as well as in Designboom’s recent article. 

Audio preamplifier with tiny OLED display and unique case

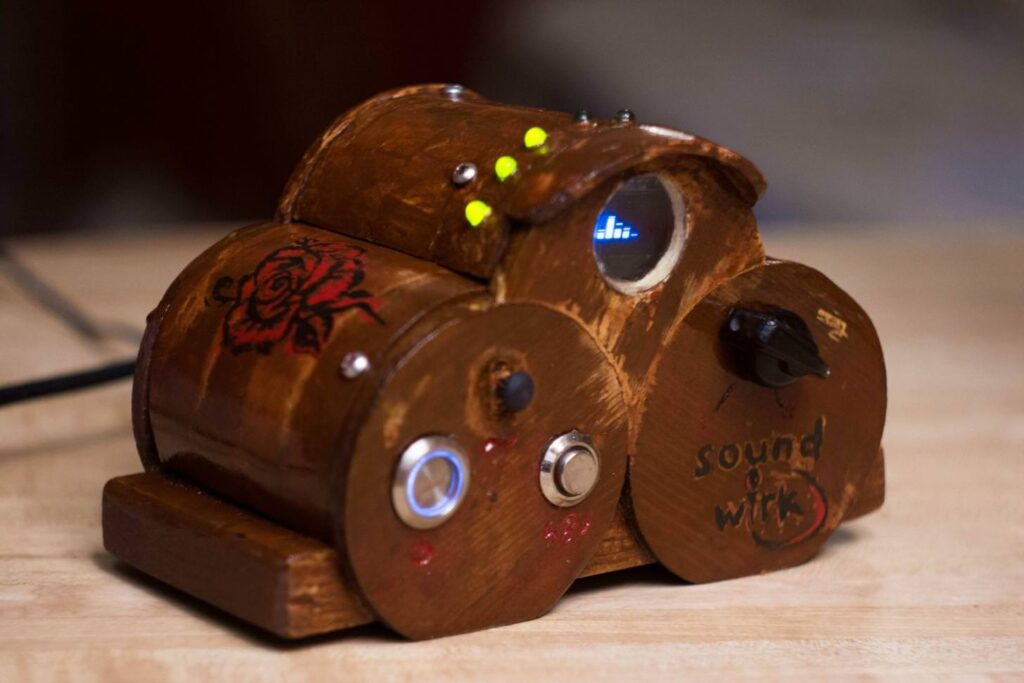
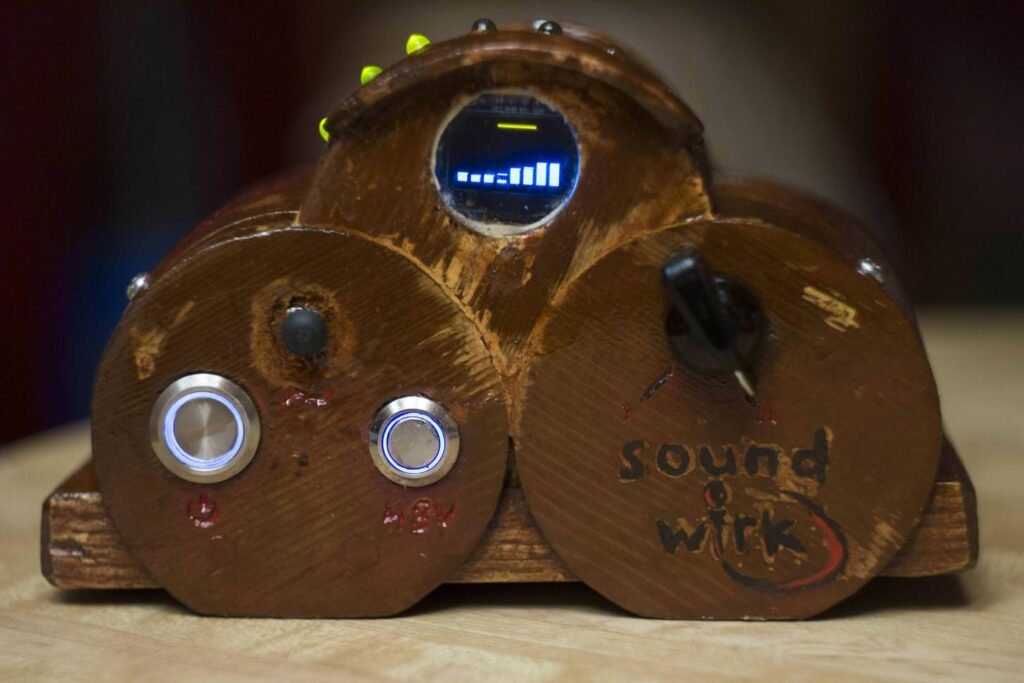
As spotted here, Sam Izdat decided to make a preamplifier for a friend who provides voice talent for audiobooks and the like. The primary audio circuitry for the build is provided by a purchased PCB based on the INA217 chip from TI, but from there things get a bit more interesting.

To complete the project, Izdat added a tiny Arduino-powered OLED display. This shows a VU meter, along with a variety of other animations, seen through a window in the enclosure made from a broken wristwatch. 

The device was prototyped using an Arduino Uno, while a Nano was embedded in the final product, allowing everything to fit into the unique compartmentalized enclosure that he constructed.

The amplifier is based on the Texas Instruments INA217 chip, with an Arduino Nano and 128×64 OLED display providing the visualization. [Sam] was able to find a bare PCB for a typical INA217 implementation on eBay for a few bucks (see what we mean?), which helped get him started and allowed him to spend more time on the software side of things. His visualization code offers a number of interesting display modes, uses Fast Hartley Transforms, and very nearly maxes out the Arduino.

Robot transforms to slide under doors and more

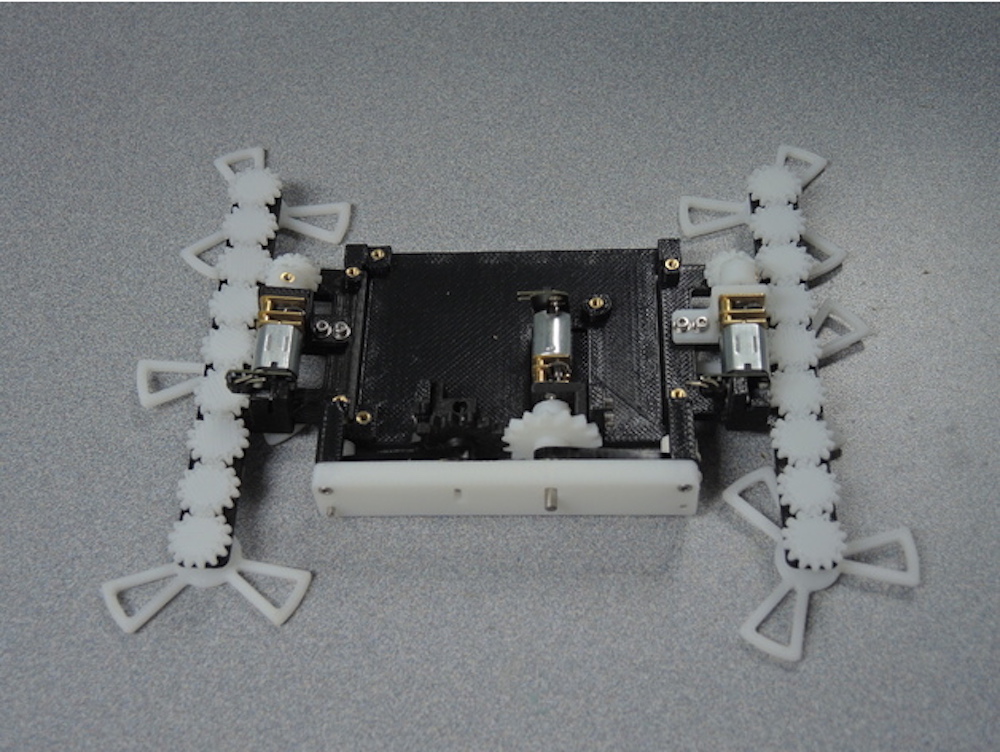
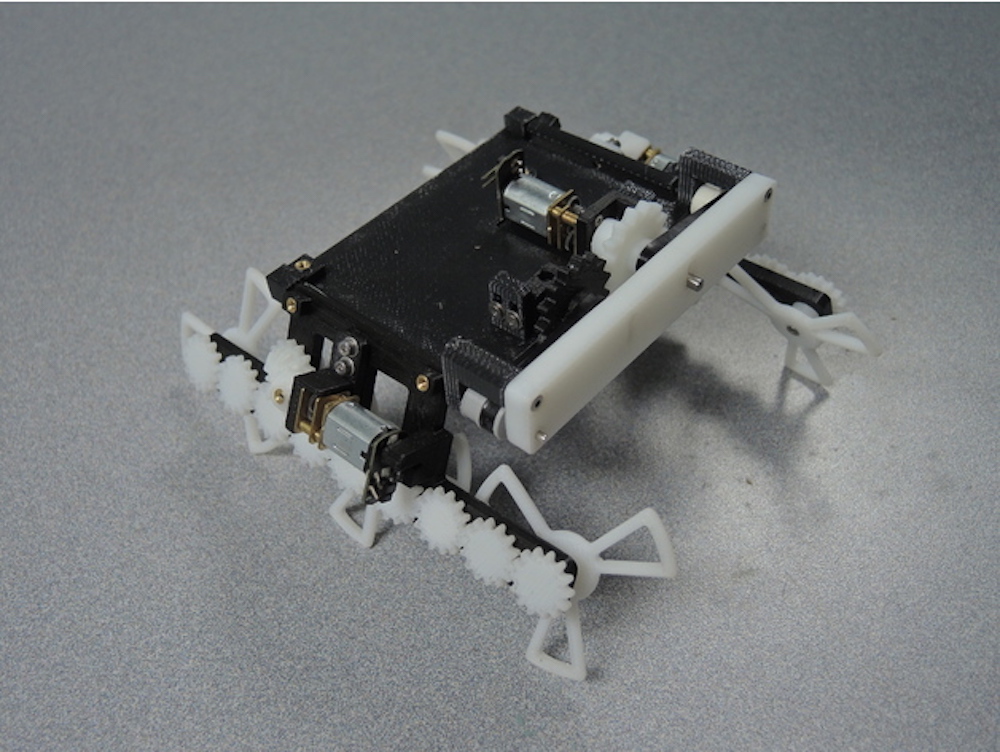
While the STAR, or Sprawl Turned Autonomous Robot, is more than capable of traveling over obstacles with its three-pointed wheels, it can also make itself thin enough to simply slide under others as needed. This clever design uses an Arduino Pro Mini for control, and normally moves around like a tank, rolling on six wheels that are turned by two motors.

When the task calls for it to go under something, a third motor cranks these wheels to nearly parallel with the floor, shrinking the robot down to a very slim profile—so thin, in fact, that it can actually slide under a door as seen in the video below! 

Print files and more information on the build can be found here, while the original paper upon which this robot is based is also available.

Tell time on a three-module voltmeter clock

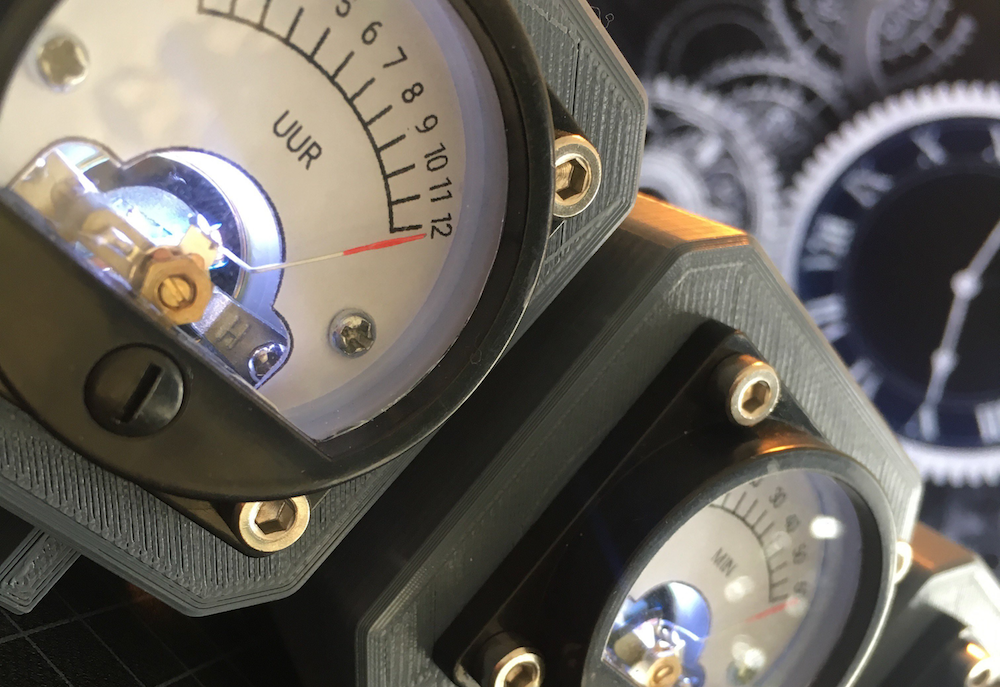
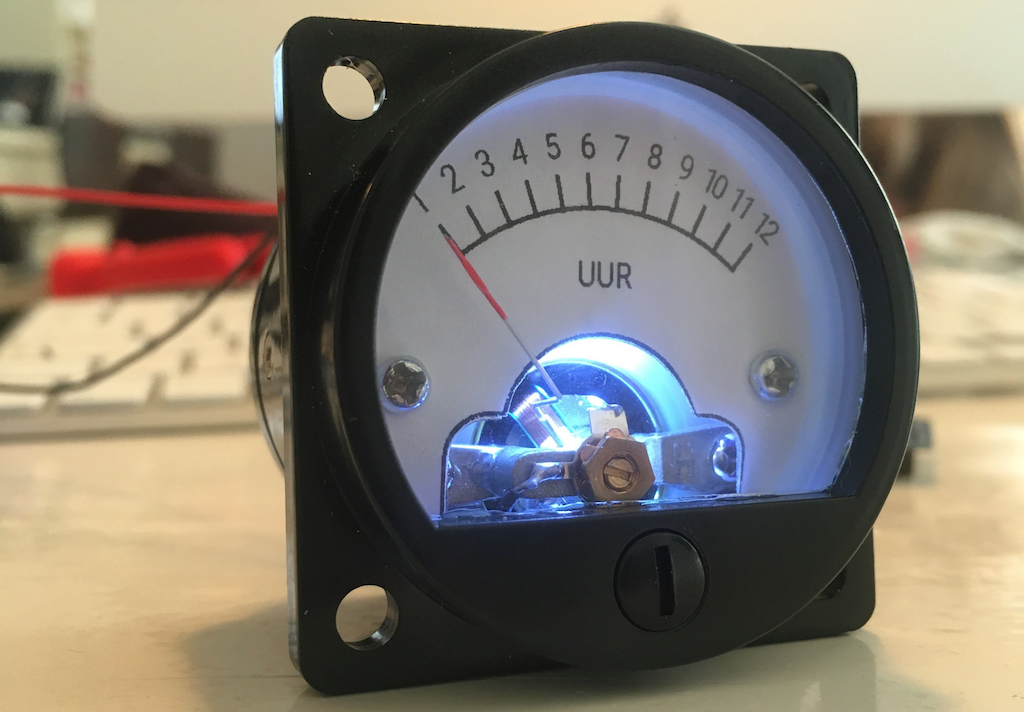
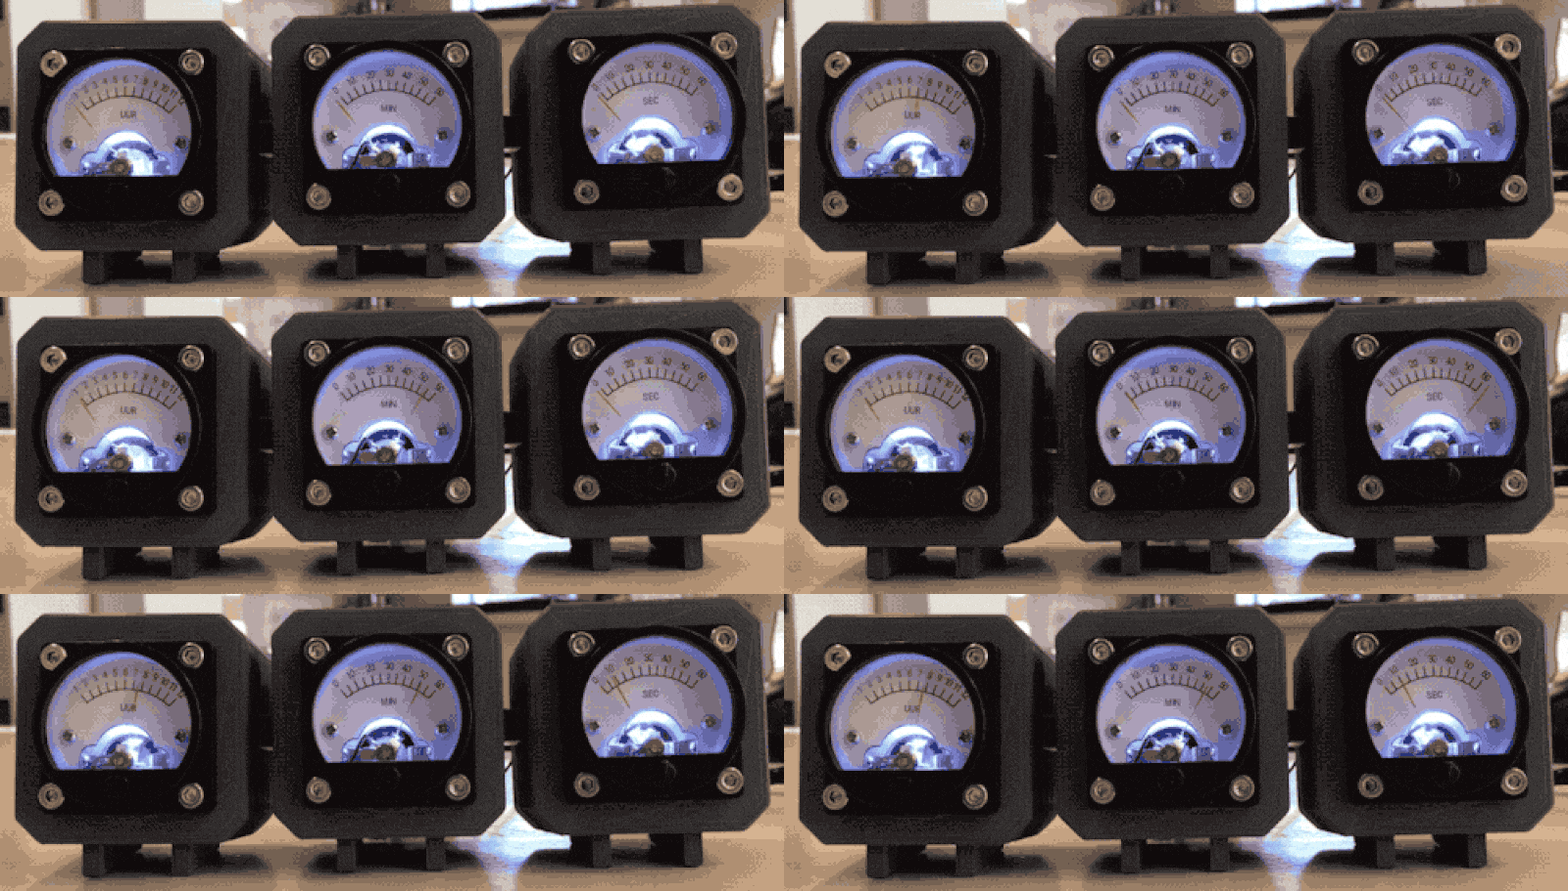
Father’s Day 2018 has come and gone, but it’s never too early to start planning for next year. As seen here, Michael Teeuw decided to build a clock out of three analog voltmeters for his dad in 2017. After getting sidetracked last year, he was finally able to complete it on time for 2018!

Teeuw’s clock features a trio of indicators, properly scaled and labeled for hours, minutes, and seconds, with control via an Arduino Nano, along with an RTC module for accurate timekeeping. Each indicator is housed in its own 3D-printed module, with white LEDs added for visibility. 

If you’d like to build your own, Teeuw’s code is available on GitHub and the 3D print files can be found on Thingiverse.

Track the sun with this Arduino-based solar panel

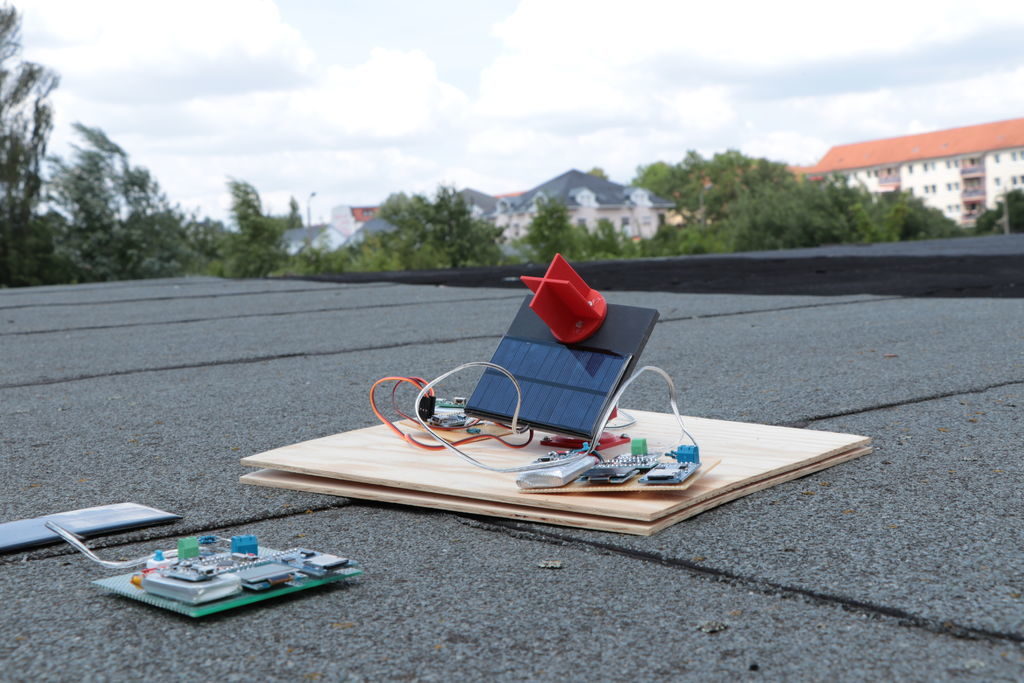
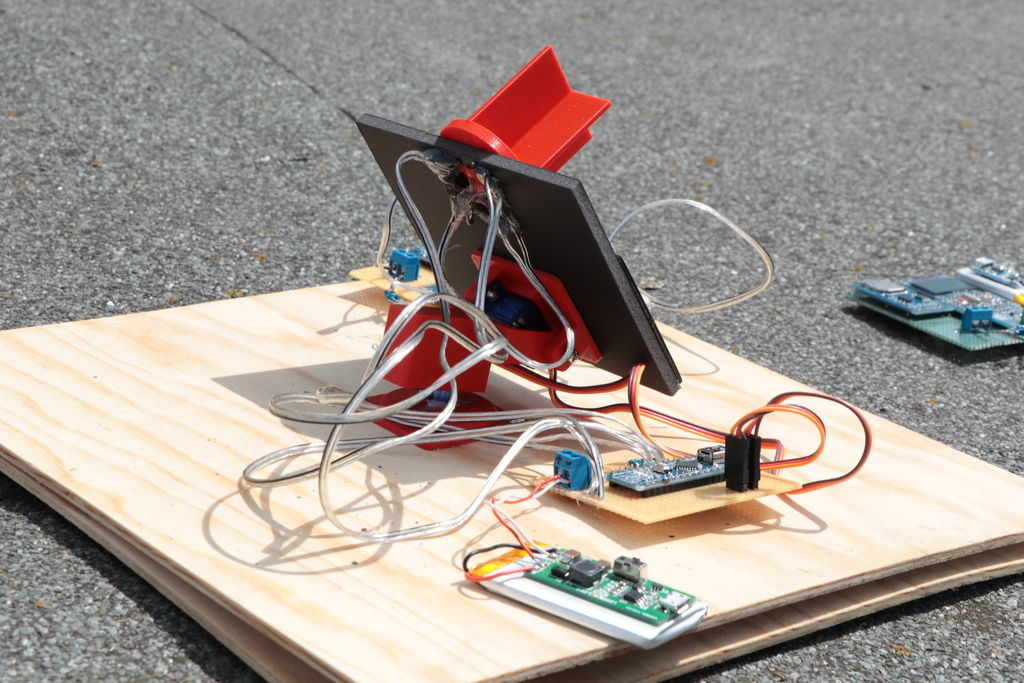
Solar panels are a great way to produce power literally out of thin air, but how much power they produce depends, in part, on how they are aimed. In order to figure out just how much better his solar setup could be with active tracking, YouTuber GreatScott! decided to test this by creating a miniature solar tracking system.

His device uses four LDRs to feed position data to an Arduino Nano, which then moves the small panel to properly face the sun.

The tracker/panel was set up next to a non-moving panel lying flat on his roof, and after a 2 ½-hour test, he found that the moving configuration generated 15% more energy. Of course there are other factors to consider, including time of day and how much power the tracker itself consumes, so be sure to see the experimental project and his thoughts on the results below.

Nature and Arduinos combine as binary driftwood alarm clock

Binary clocks, which use a series of dots to indicate the time, are nothing new, but you’ve never seen anything like this device by Matt Wos! 

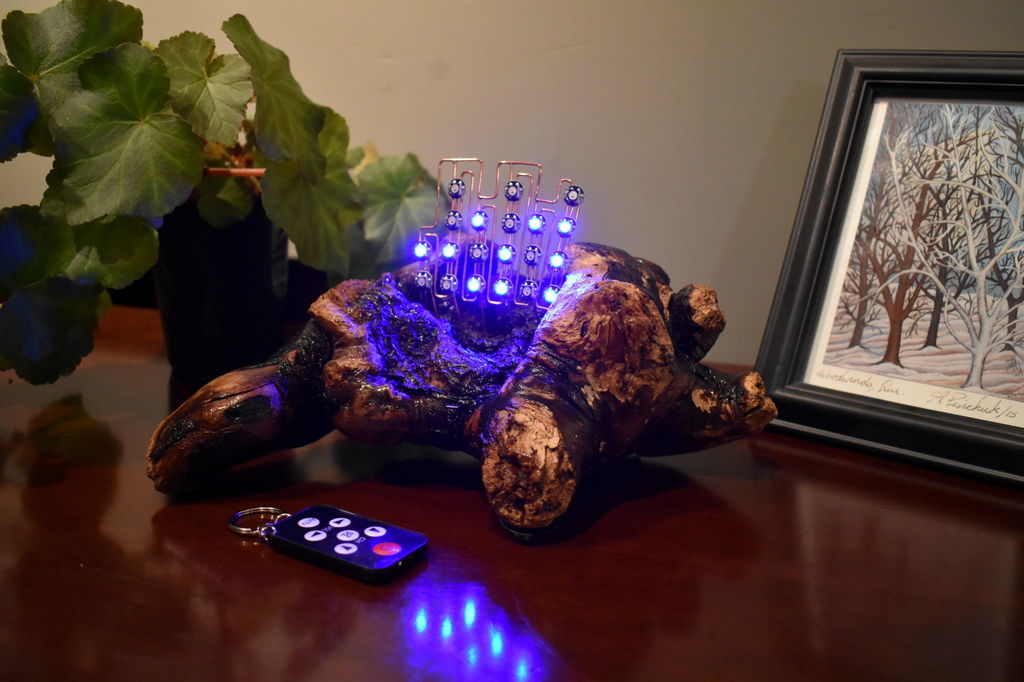
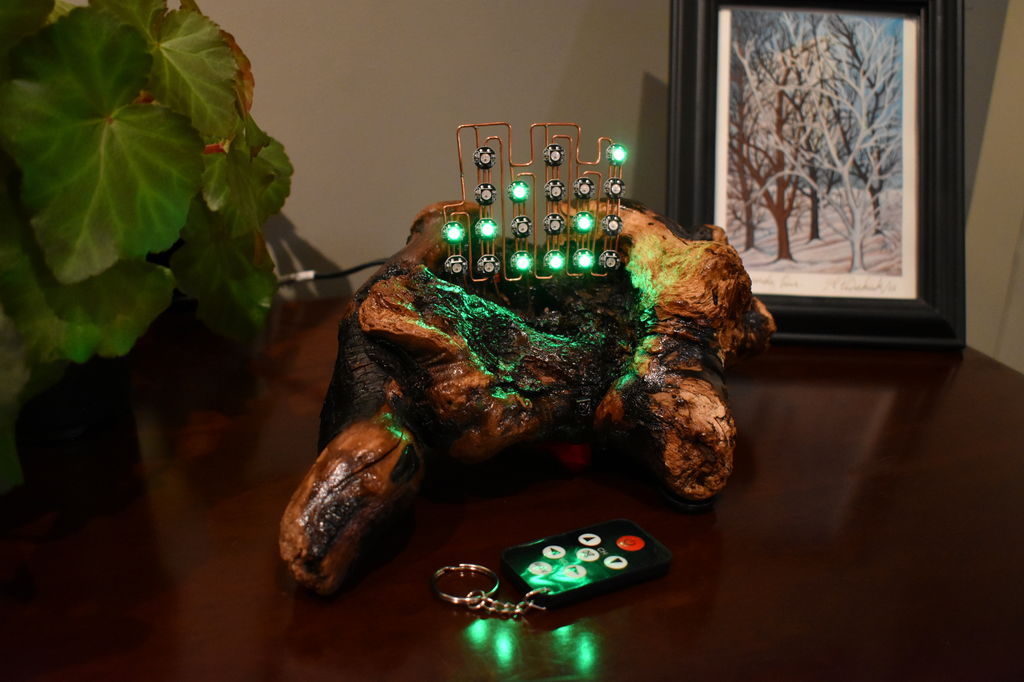
Wos’ project features a beautiful driftwood base, and WS2812B RGB LED dots that are suspended above it with copper wire to show the time.

Inside are a pair of Arduino Nanos used to control the LEDs and take input from a small infrared remote, along with an RTC module that allows it to keep accurate time. When the alarm function goes off, you’re treated not to a normal buzzer, but the “soothing” tones of a dial-up modem via an MP3 module and speaker!

Binary clocks have always attracted my attention and here is my version. There are a number of design elements that I believe sets it apart from other variants described on Instructables and other internet sites:

  • Addressable RGB LEDs have been mounted on a copper frame that is external to the body that houses the electronics.
  • An IR remote is used to set the time / alarm, snooze the alarm, select a display colour.
  • The alarm tone is able to be easily personalised.
  • Its in a piece of driftwood!!

The use of the external frame to support the LEDs was due to how much I liked the completed look of the display. The original plan was to have it mounted inside a box, behind opaque perspex but this would have been a design crime!

Novel lathe control method with Arduino

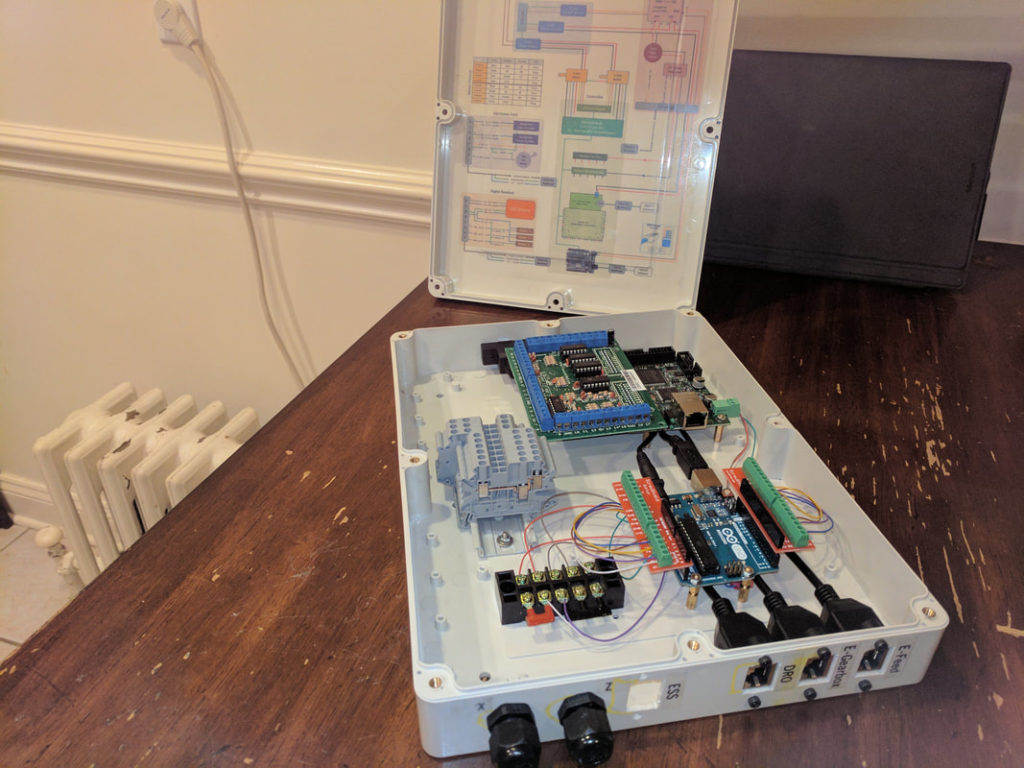
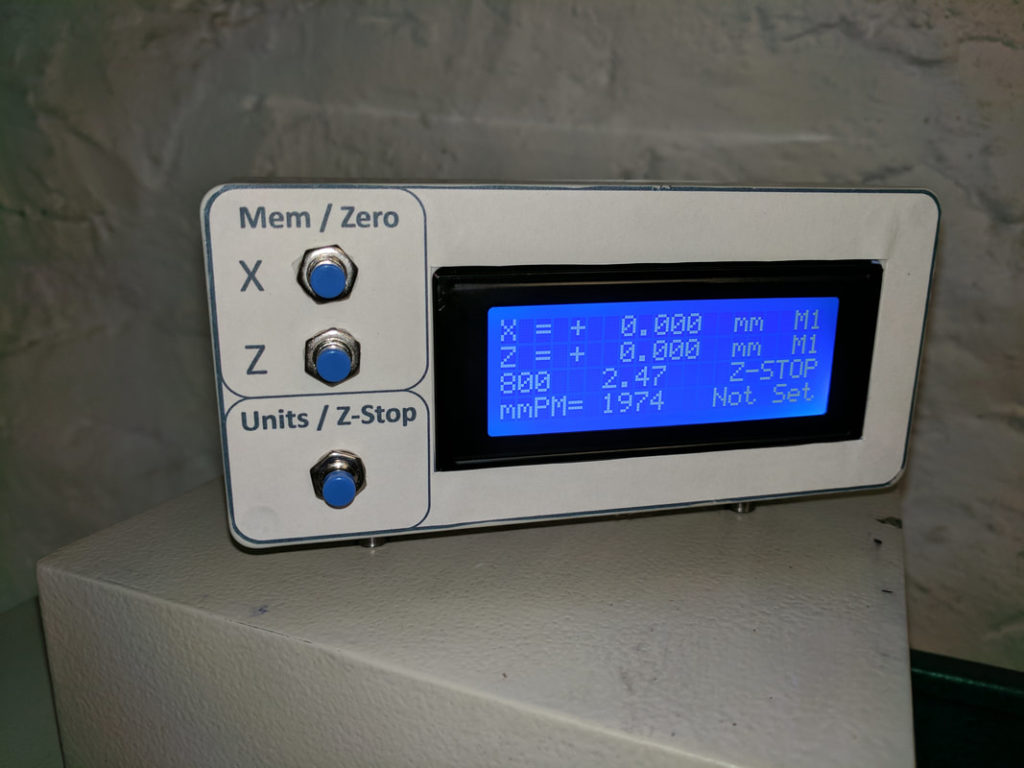
If you want to work with round parts, a lathe is the tool to have, but takes some time to master. A full CNC version takes even more time and skill to understand, but mechanical engineer “Wade’o Design” has come up with something in between. Instead of running his machine with code directly, his device allows the operator to input numbers into an Arduino Uno-based controller pulled off of a mechanical drawing.

The machine then uses this information to automatically move the cutter with a pair of servos, turning out a perfect part. As an added feature, it maintains full manual control, but uses an encoder on each crank to read inputs and turn the servos in a kind of machine-by-wire setup. Cutter position is displayed on the interface screen in this mode, assisting the user even when making parts manually. 

You can see everything in action below, while more build details are available here.

Arduino Blog 11 Jul 16:50
arduino  cnc lathe  featured  uno  

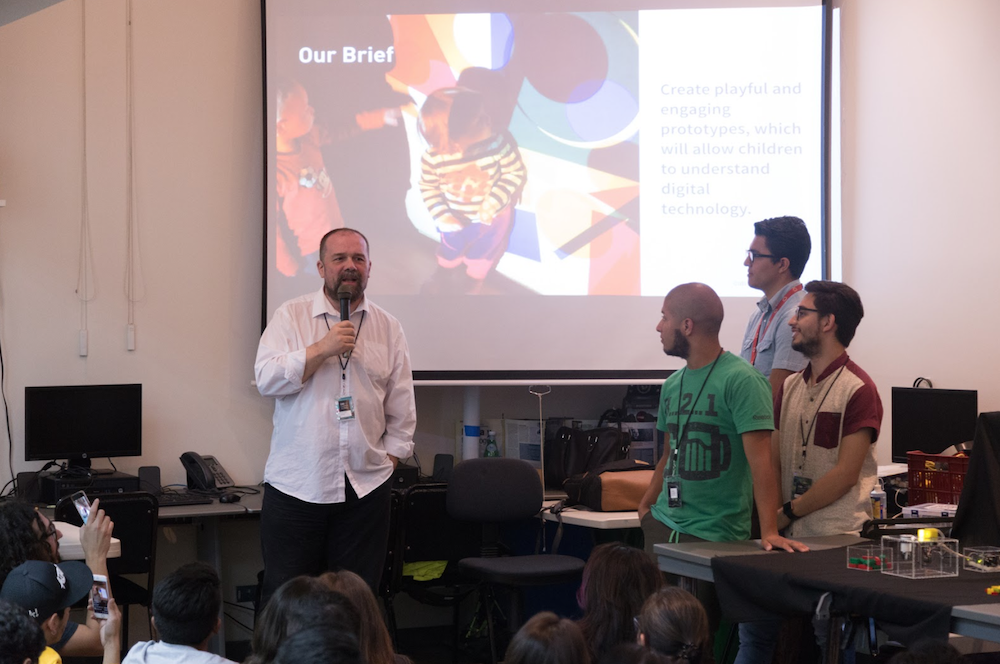
Arduino goes to summer school in Costa Rica!

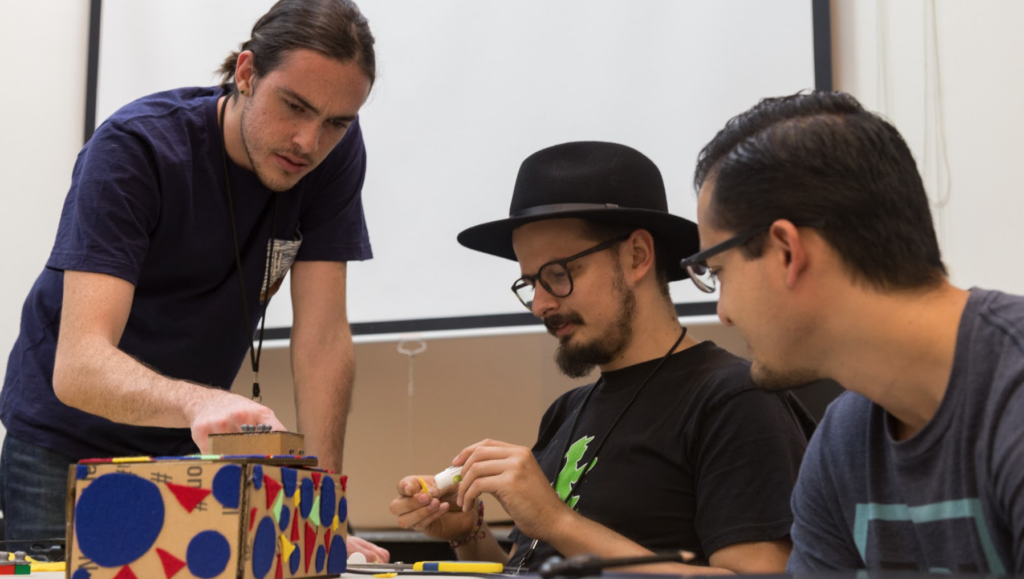
Back in May, the Arduino team ran a physical computing workshop as part of the summer school program organized by the Copenhagen Institute of Interaction Design. Each workshop was taught in the context of the United Nations Sustainable Development Goals. The one-week long class focused on designing physical and interactive objects that can help kids understand the building blocks of the digital world and its foundation (e.g. the binary system, barcodes, RGB colors, digital images, digital sounds, programming, laser printing…) in an experiential and playful way.

Italian pedagogues have, at different stages, imagined innovative learning approaches where children are the center of their own learning process through a direct experience of phenomena and concepts applicable in the real world, which is a radical departure from the classic lecture-based system.

To implement this active and experiential learning approach they also designed tools that help children discover abstract concepts through play like, for example, the Montessori Pink Tower to introduce the concept of scale and the decimal system, or the tactile workshops by Bruno Munari to explore the sense of touch and textures.

In the XXI century, human experiences are increasingly mediated by digital tools, and the world we live in is going through a radical digital transformation which requires a deeper understanding of its complexity. To make this world more accessible, we need to encourage children to understand how these digital tools work and enable them to become active citizens of the future, rather than passive learners.

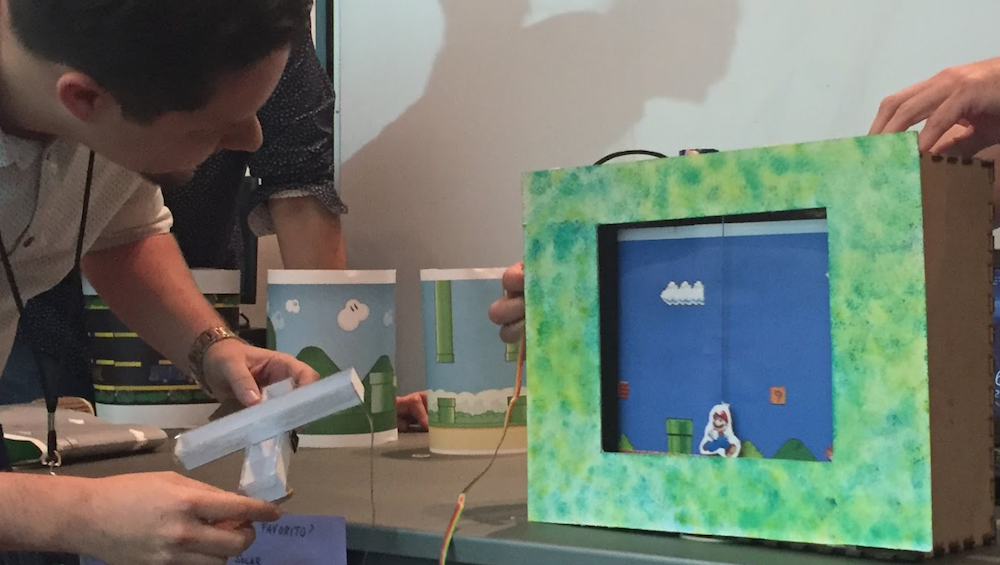
A handful of playful and engaging experiences have been designed by the students, which will allow children to understand a specific technology, such as how solar panel works, how to express colors in binary language, how RFID tags are able to activate objects, and even identify the principle behind accelerometers that we use everyday in video games controllers.

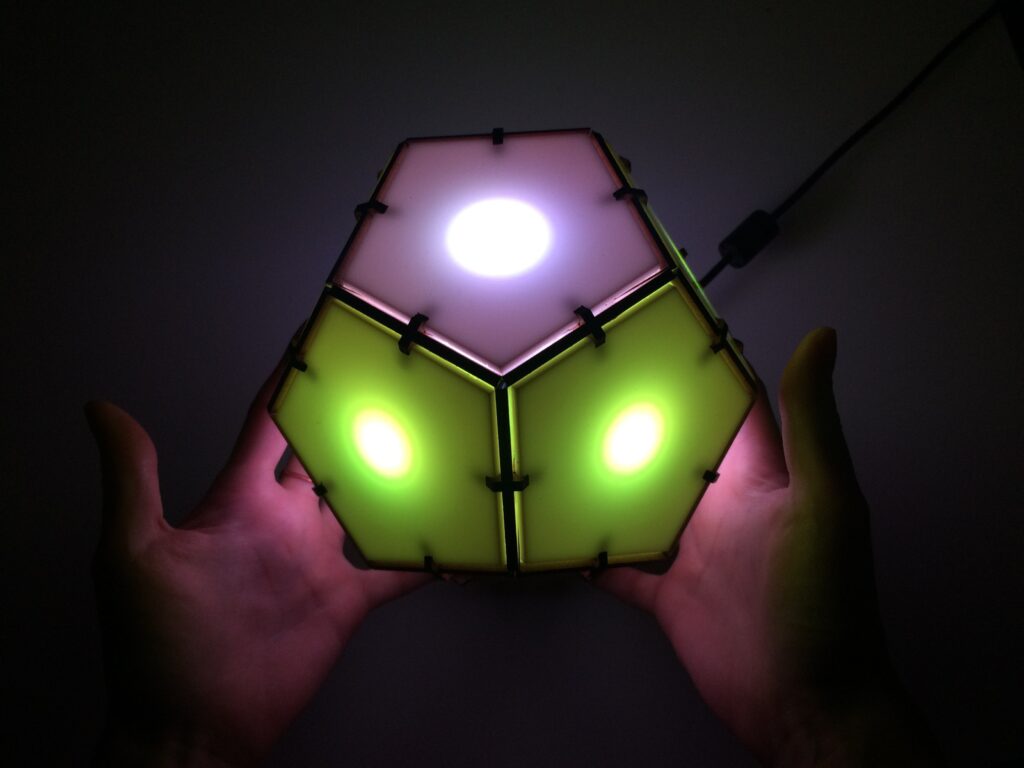
Bucky Glow is an Arduino-controlled LED dodecahedron

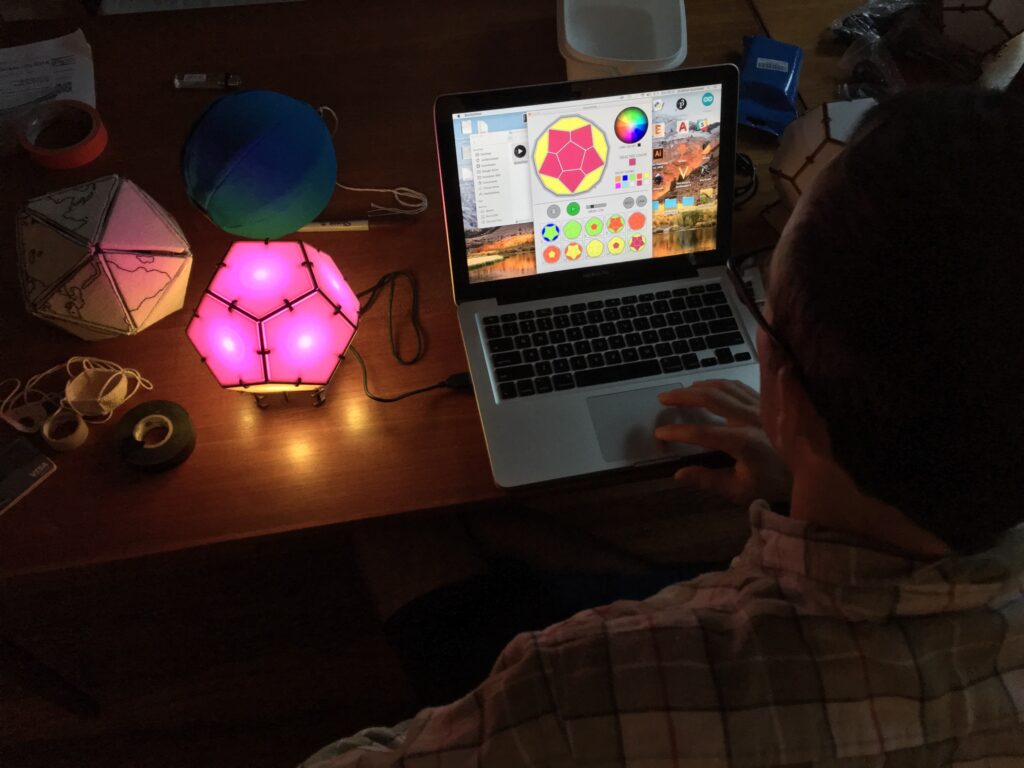
After successfully building a gigantic geometric interactive light structure, Jonathan Bumstead decided to do things in a more approachable manner, creating a more a reasonably-sized dodecahedron controlled by an Arduino Nano. The device, named “Bucky Glow,” uses 11 RGB LEDs to light up each side with the exception of the bottom pentagon section.

While it doesn’t have its own light, the base does have a few interesting tricks of its own, with both an opening for programming the Arduino, along with female headers that allow you to access 11 of its I/O pins. This means that you can hook up your own sensors to create your own interactive contraption without designing everything from scratch, and an app interface is even available if you’d like to forgo programming, at least initially.

The Bucky Glow is an interactive LED dodecahedron consisting of 11 LEDs, which are controlled with an Arduino Nano. Using the Arduino programming environment, you can create endless light-up patterns. The Bucky Glow also includes break-out header pins, so you have access to eleven digital I/O pins, a TX (transmit) pin, a RX (receive) pin, reset pin, and ground pin. These pins enable you to connect the Bucky Glow to sensors (e.g. capacitive touch, infrared, ultrasonic), motors, MIDI jacks, and any other electronics you can think of. There are tons of unique ways to make the Bucky Glow musical and interactive.

More info on the Bucky Glow can be found in Bumstead’s write-up here, and kits are on sale via the demo video’s description.