Posts with «featured» label

A toast-buttering robot for your breakfast routine
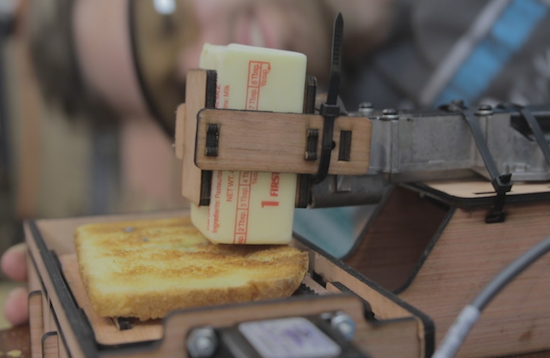
Tired of buttering your toast in the morning? Well, William Osman has just the solution for you, albeit slightly dangerous and excessive for the task at hand.

For his “extremely violent” machine, Osman used a jigsaw motor to hold the butter and an Arduino-driven linear stepper motor to move the slice of toast back and forth. The robot’s frame, spikes, and mounts are all crafted out of laser-cut wood, and everything is held together by a bunch of zip ties.
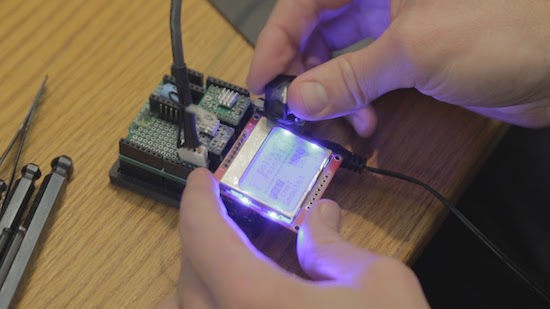
I was planning on making a more cohesive user experience. But then I didn’t. The jigsaw trigger was wired to a 12v lead acid battery, and the stepper motor was driven by a motion control driver I built several years ago.

Osman documented his entire build process and shared the end result in the video below. Be sure to also check out his other projects here!
Power a 1980s MicroVox with an Arduino Uno

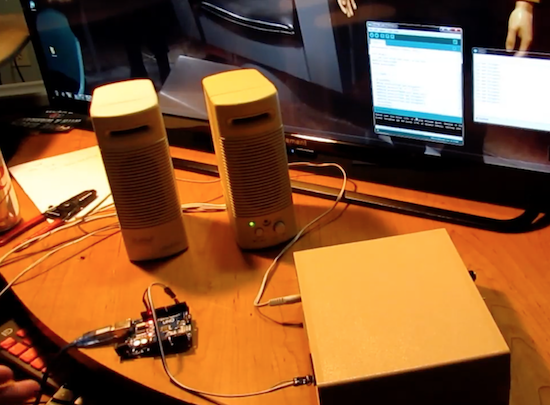
After digging through an extremely complete manual, Monta Elkins used an Arduino Uno to make a MicroVox speech synthesizer do his bidding.

The bad thing about obsolete gear is that it is generally very hard to hook up to modern equipment. The great thing for Makers, though, is that many of the devices from one’s childhood (or before) can now be driven with inexpensive tools such as Arduinos. Some of them, like the 1982-vintage MicroVox model that Elkins got his hands on, even include a manual with schematics and components listed.

After going over his new find and the enclosed manual, the video really hits a highlight around 13:45, when he powers it on to hear it burp out “ready” in a deep monotonous tone that may bring back memories of the robotic future you remember fondly. He finally hooks up the Uno just after that, and gets it to spit out an “interesting” catch phrase just after 16:30.

You can read more about the project on Hackaday and see other projects by Elkins on his YouTube channel here!

Arduino Blog 23 Feb 22:11

Turn an old mixer into a MIDI input fader with Arduino

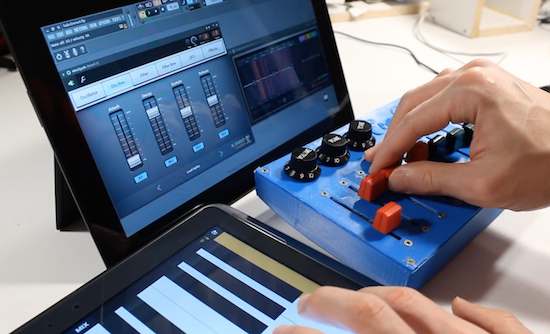
Using an Arduino as an HID, Evan Kale turned a “gently used” analog mixer into a computer interface.

Older audio equipment may not have the interfaces that you need to make totally electronic music, but they can be very well-built, so are perhaps worth salvaging. In the video below, Kale salvages potentiometers from an old mixer, then hooks them up to a Pro Micro. This allows the Arduino to take these 12 inputs, and output them as a USB MIDI signal.

Along the way, Kale points out a few very important hacking tricks, including that the library may have a printer ready for you to use, and that analog slider pots many times are logarithmic (or close to it) and need to be calibrated. Also, around 5:25 he introduces viewers to analog multiplexers which can give you eight analog inputs at the cost of three digital and one analog pin.

You can check out more of Kale’s Arduino-based hacks on his YouTube channel here!

Make sure guests never miss your house with these numbers

If you’d like for someone to visit you, it’s quite helpful if you have the house number displayed somewhere on your premises. Rather than simply rely upon someone reading the numbers as they drove by, “Superbender” has decided to do something a bit different make his home stand out.

During the day, you can identify Superbender’s residence by the giraffe mailbox, but to help point the house out by night, he came up with the glowing Arduino Uno solution seen in the video here.

The numbers were cut on a scroll saw and RGB LED strips were added in the back to enable them to illuminate. The setup allows for one color per night, or the numbers can change every three seconds in “party mode.”

The software was tested on an Uno, then transferred to an ATmega328P in a DIY control board. You can read more about this project on Instructables and watch a demo of it below!

Bring some zen to your living room with this CNC end table

Why settle for a some boring furniture, when you can have your own sand and rock display powered by an Arduino Uno and stepper motors instead?!

According to his write-up, Instructables user “MakrToolbox” gets many ideas that never leave the pages of his Moleskin notebook. Although it has to be difficult to decide which ones gets to live in reality, this Zen Garden CNC End Table seems like it was a great build choice.

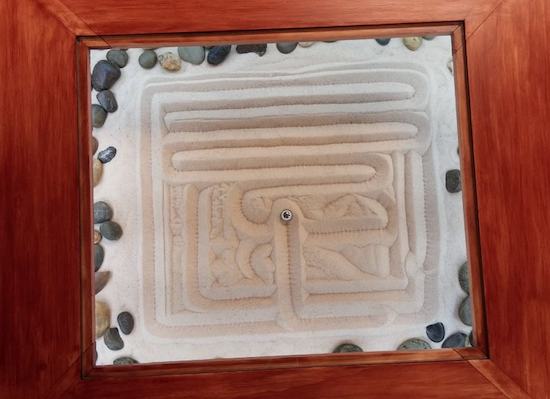
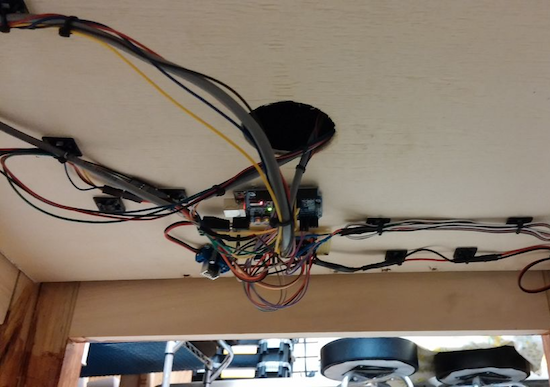
The table consists of a piece of plate glass covering a “garden” of sand and stones. On top of this is a metal ball that moves around via a joystick on the side of the table, traversing the sand and making interesting shapes, like a giant Etch A Sketch. The ball is pulled around with a magnetic servo-powered gantry system underneath.

Look like something you’d love to have in your living room? Be sure to check out the project’s page for more!

Homemade MDF desktop CNC router for €200

Using an Arduino Uno with a CNC shield,  Thimo Voorwinden has made his own CNC out of MDF for just over €200 ($212).

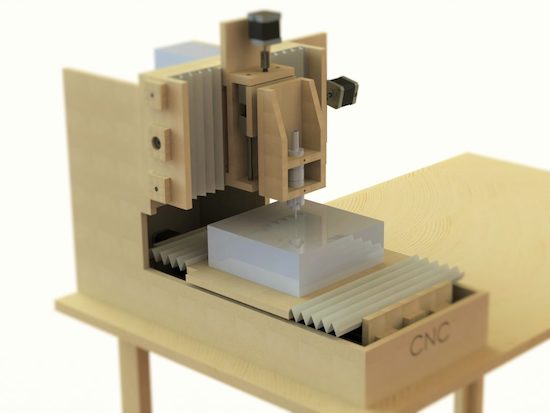
CNC routers really open up what the type of item you can make, but tend to be expensive. Voorwinden’s homemade version, however, features a work area of 200mm x 250mm x 100mm. As shown in the results video below, it’s accurate enough to cut two pieces of MDF so that they can nest securely inside of one another. Impressively, the whole assembly was created using basic tools.

Two interesting features on this build are that the workpiece is fastened down with wood screws into the Y-axis gantry, and that it employs an offset motor with a flexible shaft to transfer power to the cutting head. 12 bearing blocks and 8mm diameter steel rod are used to keep everything lined up.

You can see more of this project in Voorwinden’s write-up, including several other videos as well.

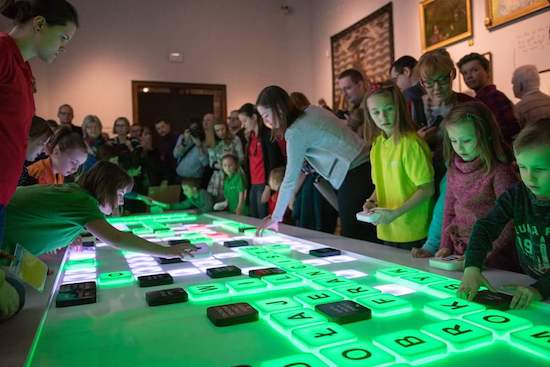
Giant interactive crossword puzzle uses over 130 Arduino

In what is perhaps the most Arduino boards used together, 130 Arduino Nanos, (plus an Arduino Mega), 130 RFID readers, and 750 RGB LEDs power this interactive crossword puzzle.

As you might suspect, bringing a giant crossword puzzle to life was lot of work. If you’d like to know how much, you can see the process laid out in the video below. Like many great hacks, this project starts out with a lot of prep, making sure the mechanical pieces go together as they should. Everything is then wired and programmed, and on day six, it finally goes out the door, destined for the National Museum in Warsaw, Poland.

Each letter has an RFID tag. Under the table are custom made circuits with Arduino Nano, RFID reader, and WS2812B. There is 130 of those circuits and the are connected by I2C interface together to Arduino Mega 2560, which is the main brain. So basically, the table recognizes letters and takes proper actions.

  • When there is no letter: LED are dimmed white
  • When letter is good: LED are green
  • When letter is bad: LED are red
  • When whole word is completed: LED play colorful animation
The main controller (Arduino Mega) communicates with a PC via RS-232. This PC plays special graphic visualization on the wall. When the whole crossword is completed, the whole table begins doing disco + sound effects.

It’s quite a colorful display, and it looks like the kids playing with it in the “Anything Goes” exhibition love it! You can see more about this project in Robert Mordzon’s write-up.

Save the date for Arduino Day 2017: April 1st

For the fourth year, we invite the open source community to join us in celebrating Arduino’s birthday on Saturday, April 1st!

Arduino Day is a 24-hour-long worldwide event – organized by our team and the community – where people interested in Arduino can get together, share their experiences, and learn more about the platform through all sorts of activities, tailored to local audiences. Participation is open to anyone, from young Makers and students to professional engineers and designers.

More than 330 were held by Arduino enthusiasts across the globe in 2016. This year, we are hoping to make that number 500! If you want to organize Arduino Day festivities of your own, please fill out the online form and submit your proposal here by March 11th.

In the coming weeks, be sure to visit the official website to learn more or find an event in your area. And don’t forget to post, engage, and follow along on social media using the hashtag #ArduinoD17!

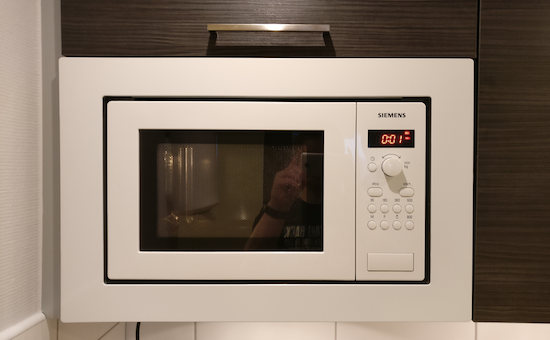
Replace a microwave’s beeping with the Windows XP startup sound

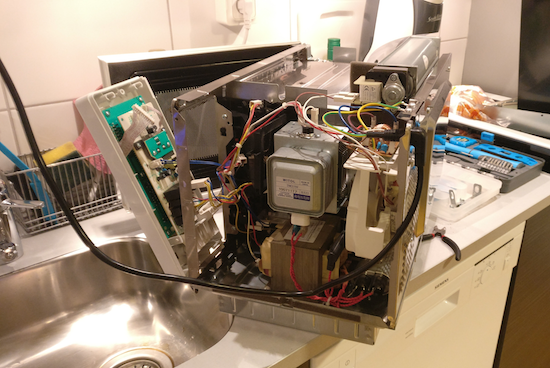
When your microwave is done with its food, it generally beeps… and beeps… and beeps. Though you definitely want to know when your frozen burrito is edible, if you get to it right when it wants, things can get quite annoying. Tim Gremalm decided to do something about it, and replaced the buzzer in his appliance with an Arduino Nano, an amplifier, and small speaker.

His initial speaker/amplifier combination wasn’t loud enough so he replaced it with more appropriate options. After this hack, he now has something that can play a more pleasing tone—in his case, the Windows XP startup sound—and do so only once!

You can see more of this project on Gremalm’s page, as well as check out his code here or this Arduino program that inspired his code. It’s a neat hack, and a great example of what can be done with an Arduino, but you probably shouldn’t mod your microwave unless you really know what you’re doing!

An extremely well thought out marriage proposal with Arduino

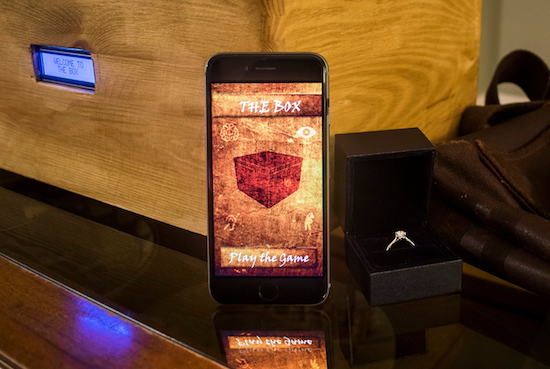
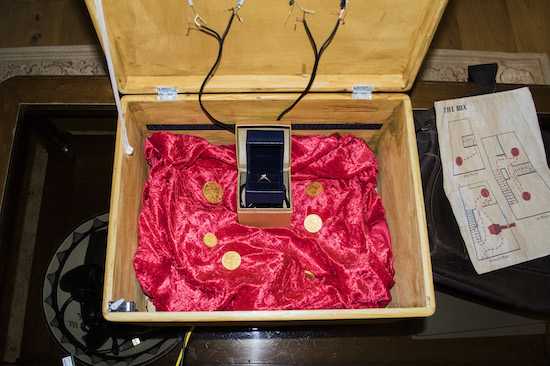
Once solved via a series of brain teasers and a physical challenge, this puzzle box opens to reveal an engagement ring.

When proposing to your significant other, the normal course of action is to hopefully do something romantic, get on one knee, and present your hopefully soon-to-be fiancé with a ring. David Hoskins however, apparently confident that his girlfriend would have the will as well as the mental and physical capacity to pass his test, instead created “The Box.”

This device put the user through challenges including a water weight puzzle that will be familiar to Die Hard fans, an audio puzzle, a visual puzzle, and even an endurance challenge involving an exercise bike. Of course, if his girlfriend failed to complete the puzzle, that would really ruin the setup, so Hoskins, who got the idea for the game while studying for a masters degree in user experience design, tested things thoroughly beforehand.

Things apparently proceeded as planned, since she said “yes!”

“The Box” was an interactive puzzle game not too dissimilar to the likes of the Crystal Maze or Escape the Room, where the user has to solve a series of puzzles (in my case, 4) to unlock the final prize (for me, an engagement ring). The game utilized a mixture of spatial engagement technology, utilizing Arduinos to connect physical objects and beacons to guide and inform the user as they passed through physical spaces undertaking each challenge.

You can read more about Hoskins’ project and the testing that went into it here.