Posts with «featured» label

Teenage Maker builds his own Arduino drone

When most people decide they’re going to build a quadcopter, they likely go to their favorite online retailer or hobby shop, and get the correct parts to connect together.

17-year-old Maker Nikodem Bartnik instead decided to customize things further, programming an Arduino to act as his flight controller, and constructing a transmitter (or “pilot” as he refers to it) from scratch. Finally, he attempted to 3D print the frame, but after some difficulty chose to just buy one.

The rest of the electronics consisted of four motors, four ESCs, some propellers, two nRF24L01 radio modules, an MPU-6050, a LiPo battery, and a bunch of other small components. You can see more of Bartnik’s project over on Instructables, as well as check out “Ludwik” (named partially as a nod to Nikodem’s friend “lukmar”) flying quite nicely in the video below.

A robotic dancing teapot

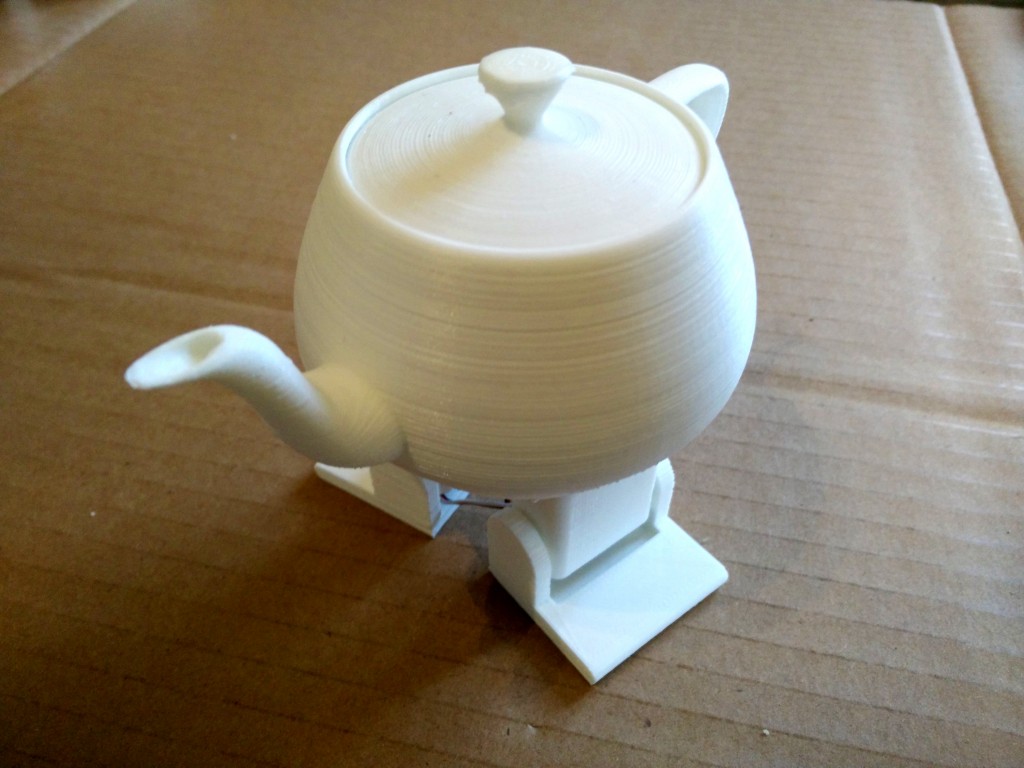
You may have seen robots that wobble around, such as BOB, OTTO and ZOWI. Though their locomotion style of shifting the unit’s weight on huge feet is clever, they all share a rather similar look. French computer scientist Paul-Louis Ageneau decided to do something about this and created his own biped in the form of a dancing teapot a la Disney’s Beauty and the Beast.

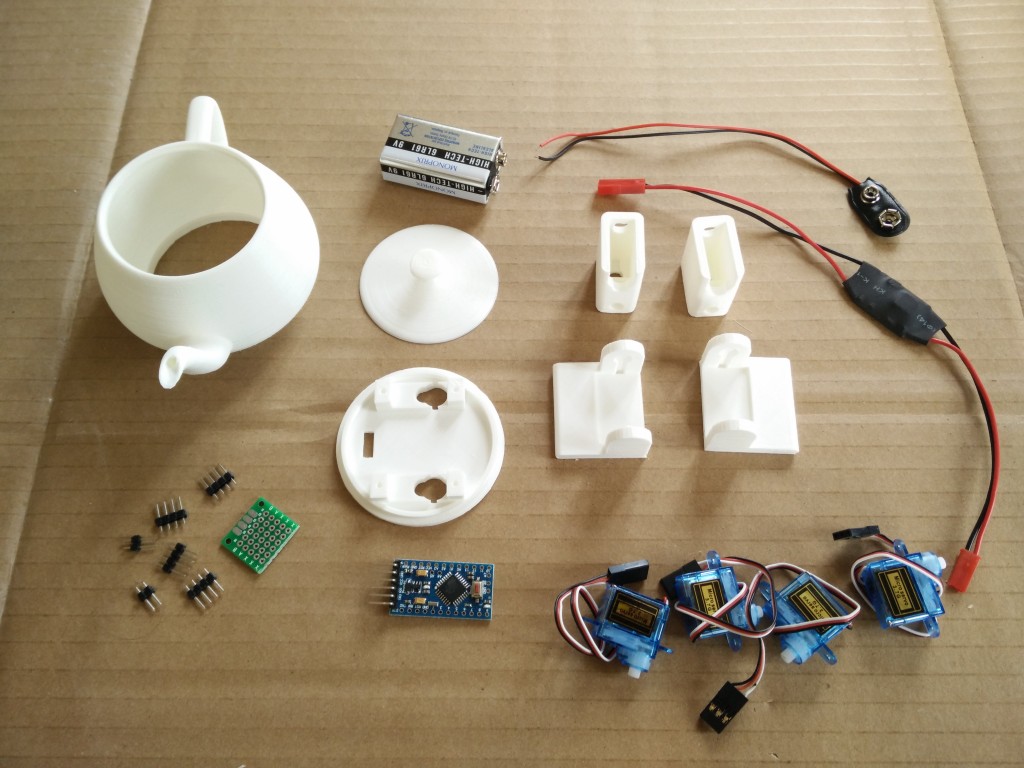
To accomplish this, he attached four servos to the robot’s hips and ankles, which were connected to an Arduino Pro Mini and powered by a 9V alkaline battery. All the electronics are housed inside the 3D-printed teapot. It’s a neat build in itself, and in a separate post he goes over how to play music on an Arduino, which should make this little guy even more entertaining!

You can find Ageneau’s original blog here, as well as the Disney-like bot’s code on GitHub.

An Arduino Final Countdown Timer

While playing a game called slither.io, Nathan Ramanathan was asked by his father to turn on a wet grinder for “exactly 45 minutes.” As explained, this device uses stones to grind rice into dough, producing material for delicious-looking Dosa cakes.

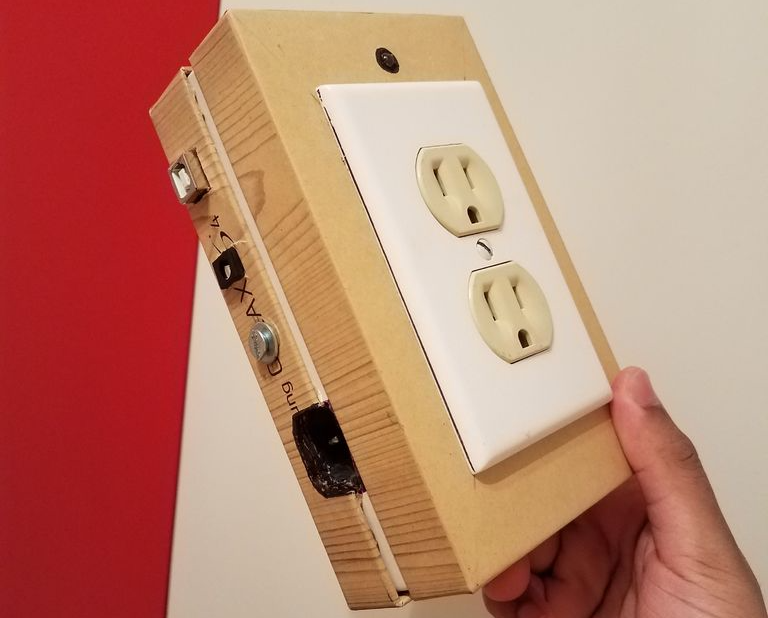
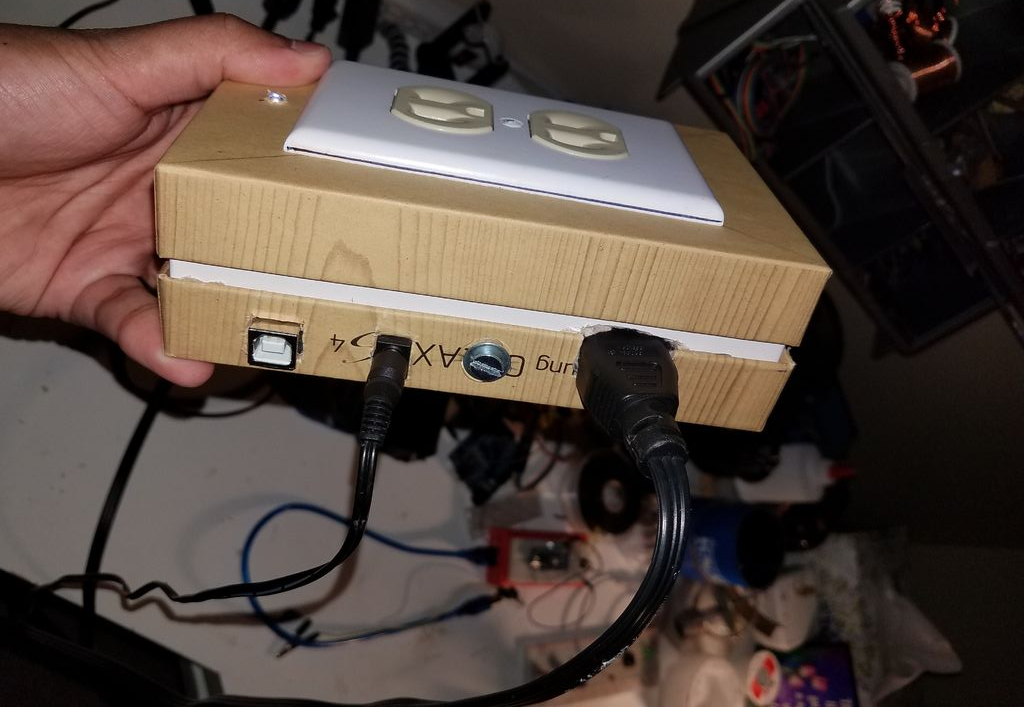
Deliciousness aside, Ramanathan would rather have the grinder stop automatically than wait around for it, and came up with his own Arduino Uno-based outlet timer controlled via smartphone over Bluetooth. As a bonus, it plays “The Final Countdown” by Europe when only a few seconds remain. 

His write-up includes some discussion about multitasking and the perils of using the delay() function, so be sure to check that out if you’d like more information. Also, when dealing with outlet/mains power, use extreme caution and get help from someone qualified if needed.

DIY panoramic thermal imaging

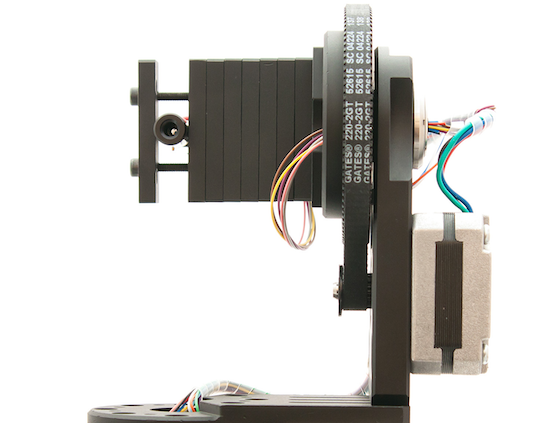
Using an Arduino Nano and two rotary stages, this Maker hacked together a panoramic thermal imaging camera.

After ordering and finally receiving a thermopile (infrared thermometer) in the mail, the author of this project set to work to construct his own scanning thermometer. This type of setup acts like an IR camera, but instead of taking one instantaneous picture, it stores thermal data points that are then resolved into a coherent image.

Though the panoramic results can be fantastic, since the thermometer has to be rotated to each point individually via stepper motors on the rotary stages, a single image capture can take over an hour.

You can find more details of the build here.

Introducing the Arduino MKRFOX1200

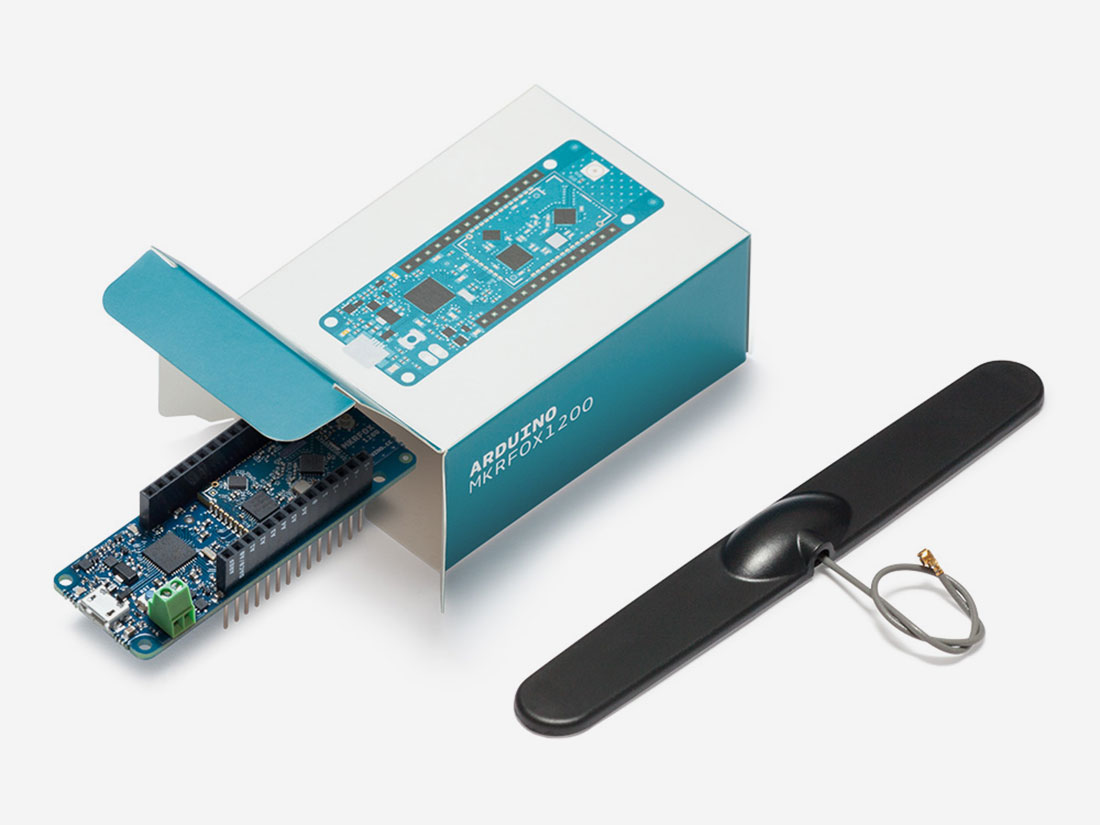
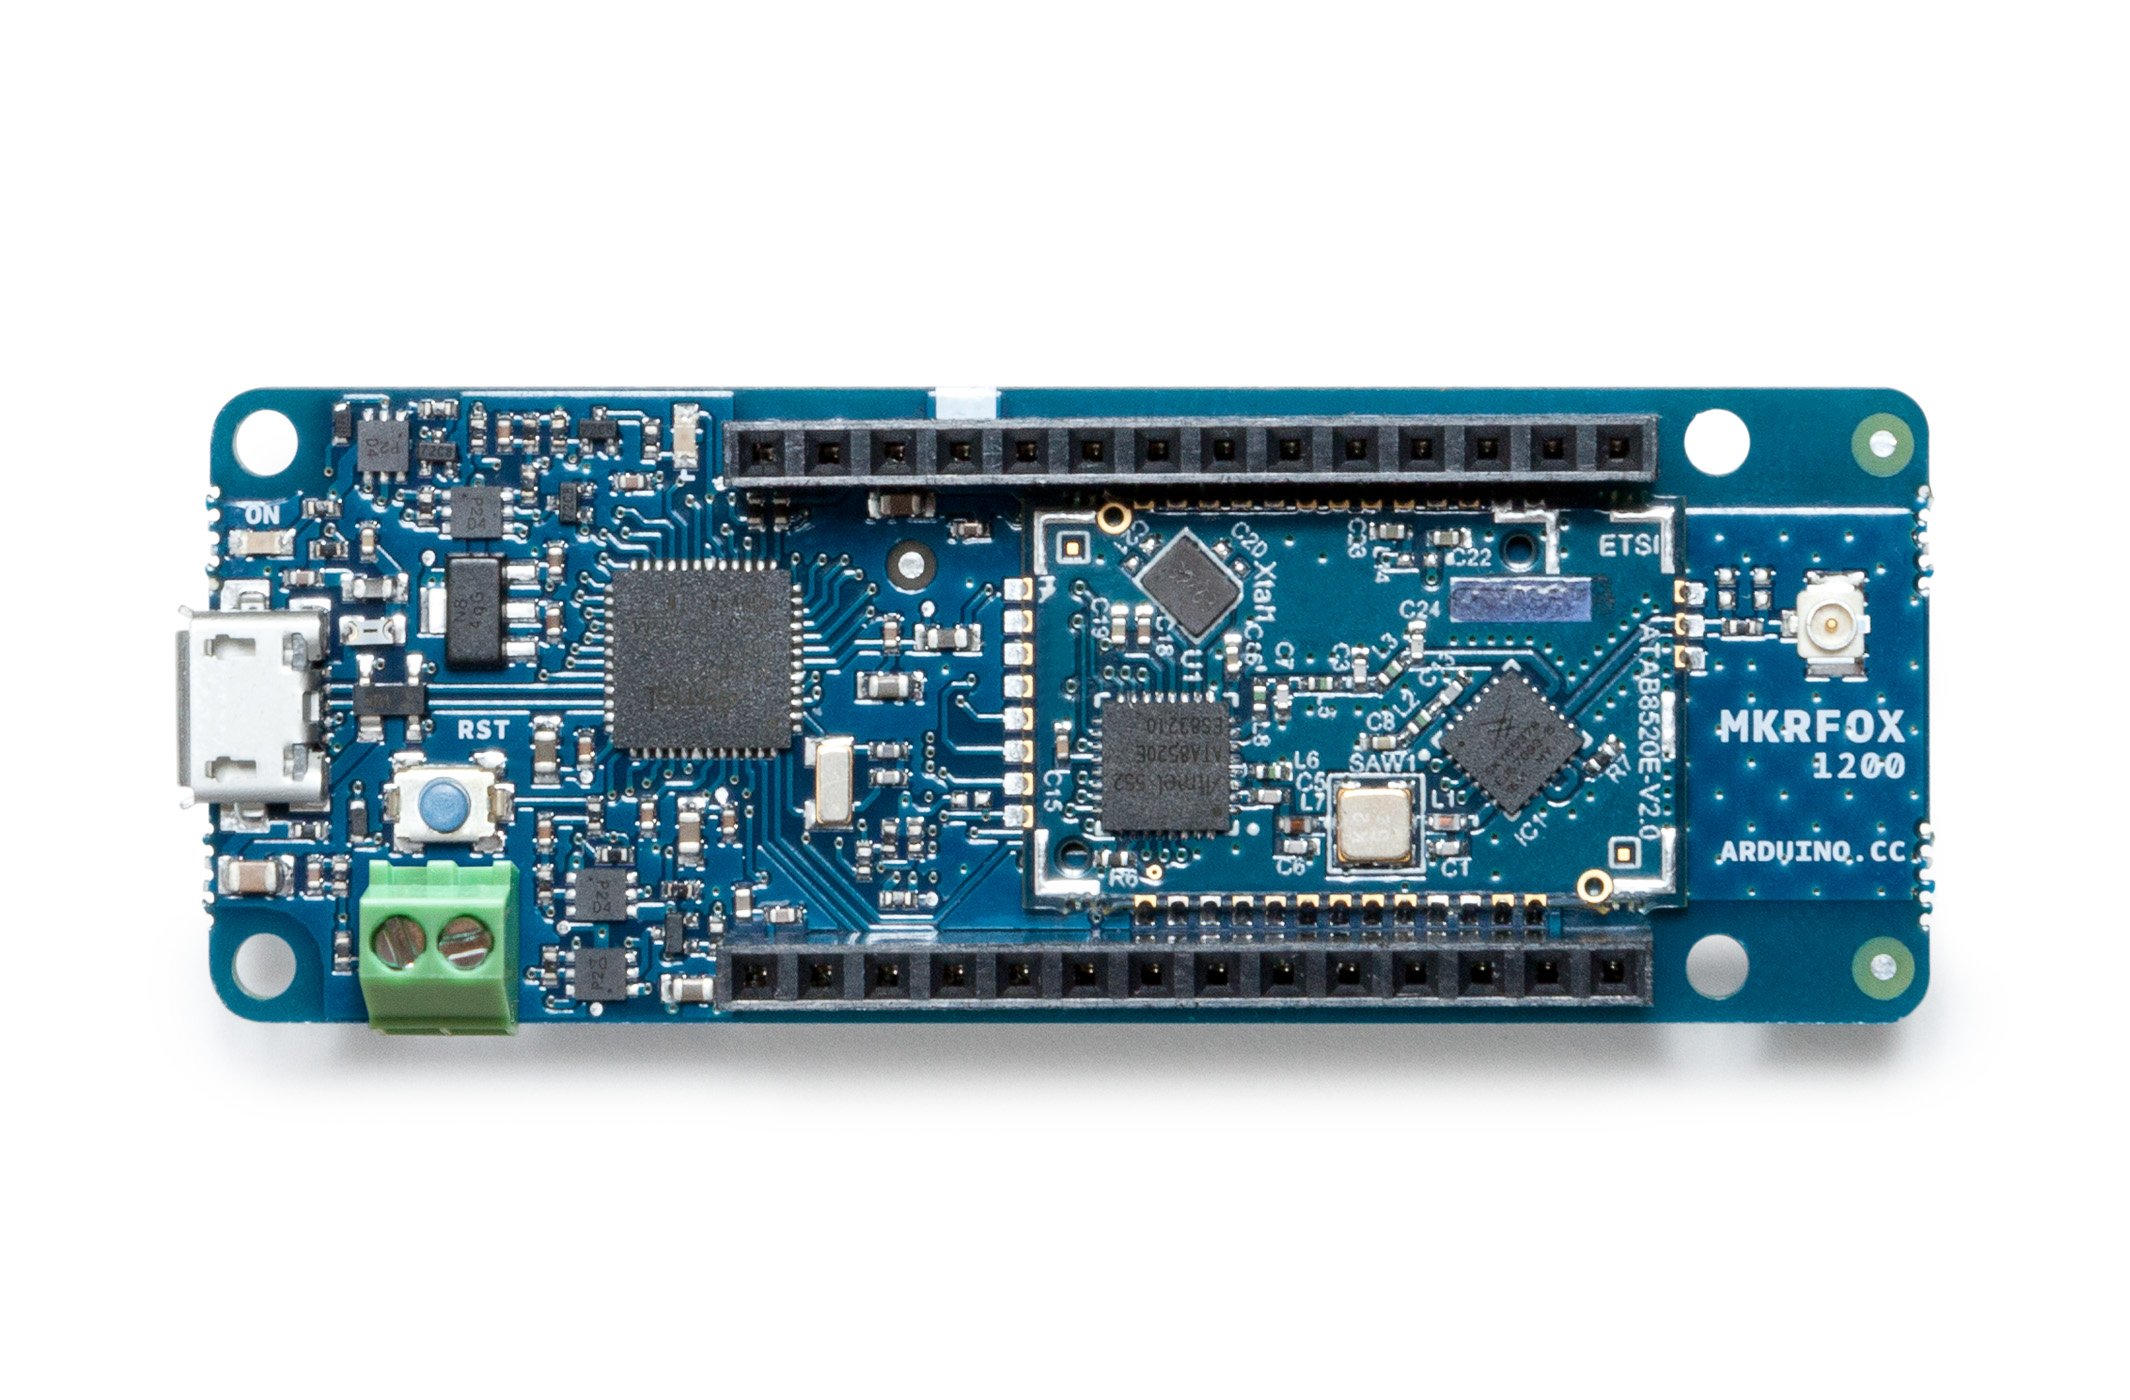
On Arduino Day, we announced the latest member of the Arduino MKR family: the MKRFOX1200. This powerful IoT development board offers a practical and cost effective solution for Makers looking to add Sigfox connectivity to their projects with minimal previous networking experience.  

The MKRFOX1200 shares several similarities with other MKR products, like the MKR1000 and MKRZero, including a compact form factor (67 x 25mm) and a Microchip SAM D21 32-bit Cortex-M0+ microcontroller at its core. The recently unveiled board also features an ATA8520 module for long-range, low-energy consumption, and is capable of running for over six months on two standard AA 1.5V batteries.

Designed for Makers ready to take their IoT projects into the real world, the MKRFOX1200 comes with a GSM antenna that can be attached to the board and a two-year subscription to the Sigfox network. This provides users with full access to Sigfox’s efficient messaging system (up to 140 messages per day), cloud platform, webhooks, APIs, as well as the new Spot’it geolocation service.
MKRFOX1200 can be used in a wide variety of settings, from agriculture (livestock management, smart irrigation and weather stations), to smart cities (dumpster monitoring, air quality networks, street lighting or parking lot tracking), to utility metering and other industrial applications.

“Sigfox loves Makers,” says Nicolas Lesconnec, Head of Developer Relations. “Sigfox aims to empowers billions of new IoT solutions. We’re proud to partner with Arduino, the leading open-source electronics platform, to offer the simplest way to connect anything.”

Sigfox currently operates in over 30 countries, with more to follow in the next few years. (Use this map to see whether it has been deployed or is rolling out in your area.) The first version of the MKRFOX1200 is compatible with Sigfox Radio Configuration Zone 1 (868MHz, 14dBm), meaning it is only supported in network-covered regions of Europe, the Middle East, and South Africa.

Interested? You can find the MKRFOX1200’s specs here, and watch Massimo Banzi’s overview below. The board is now available on Arduino’s European online store!

Arduino Blog 18 Apr 12:14

Pablo Odysseus is an autonomus bot that rakes art in the sand

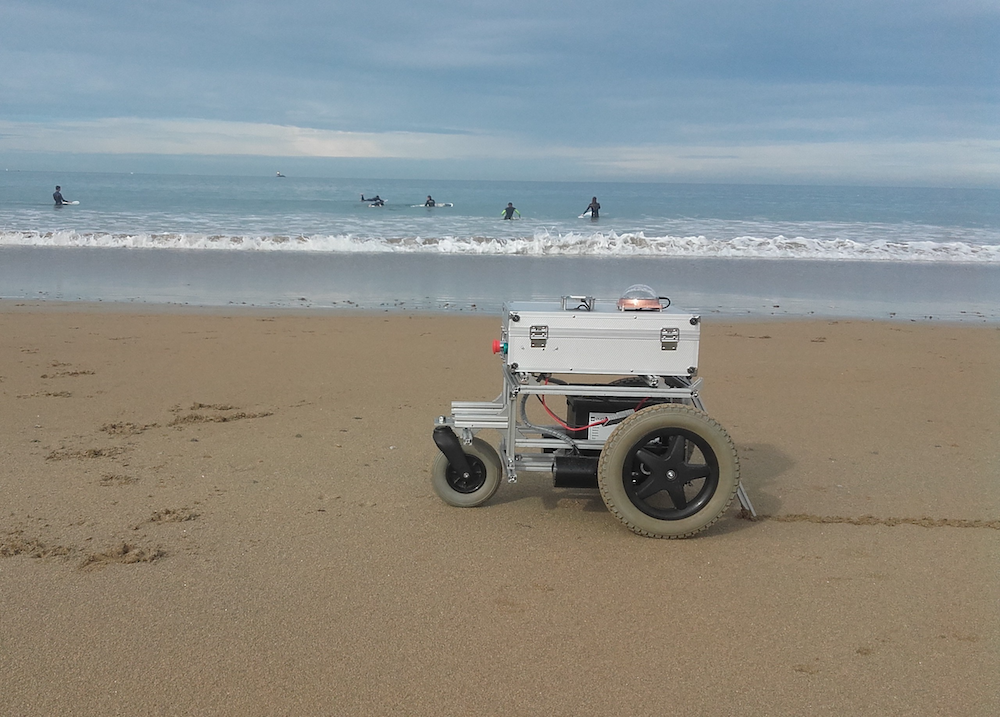
For this year’s Hackaday Prize, hacker “Ulysse” has designed an autonomous beach art rover using an Arduino Mega and a pair of Micros.

While walking along the shore, the footprints you leave behind are mildly interesting, and perhaps you might go to the effort of scraping a pattern in the sand if you were feeling rather creative. If, however, you wanted to make drawings on a massive scale, Ulysse’s robot “Pablo Odysseus” looks like an elegant solution.

The Arduino-powered rover uses two wheelchair motors to propel it along the beach, as well as a rake to leave a mark as to where it’s been. Navigation is provided by a GNSS receiver (a more general term for “GPS”), a digital compass, and an odometer set up on each of the motors. Meanwhile, USB dongles enable it to communicate wirelessly with a smartphone and laptop.

Now, Ulysse can simply program in an artistic pattern, and Pablo will take care of the rest! You can see more about this project on Hackaday.io and GitHub.


This Maker built a game board that lights up correct moves

Want to help familiarize someone with the rules of checkers? Tired of cheating opponents? Well, Bogdan Berg has just the thing for you!

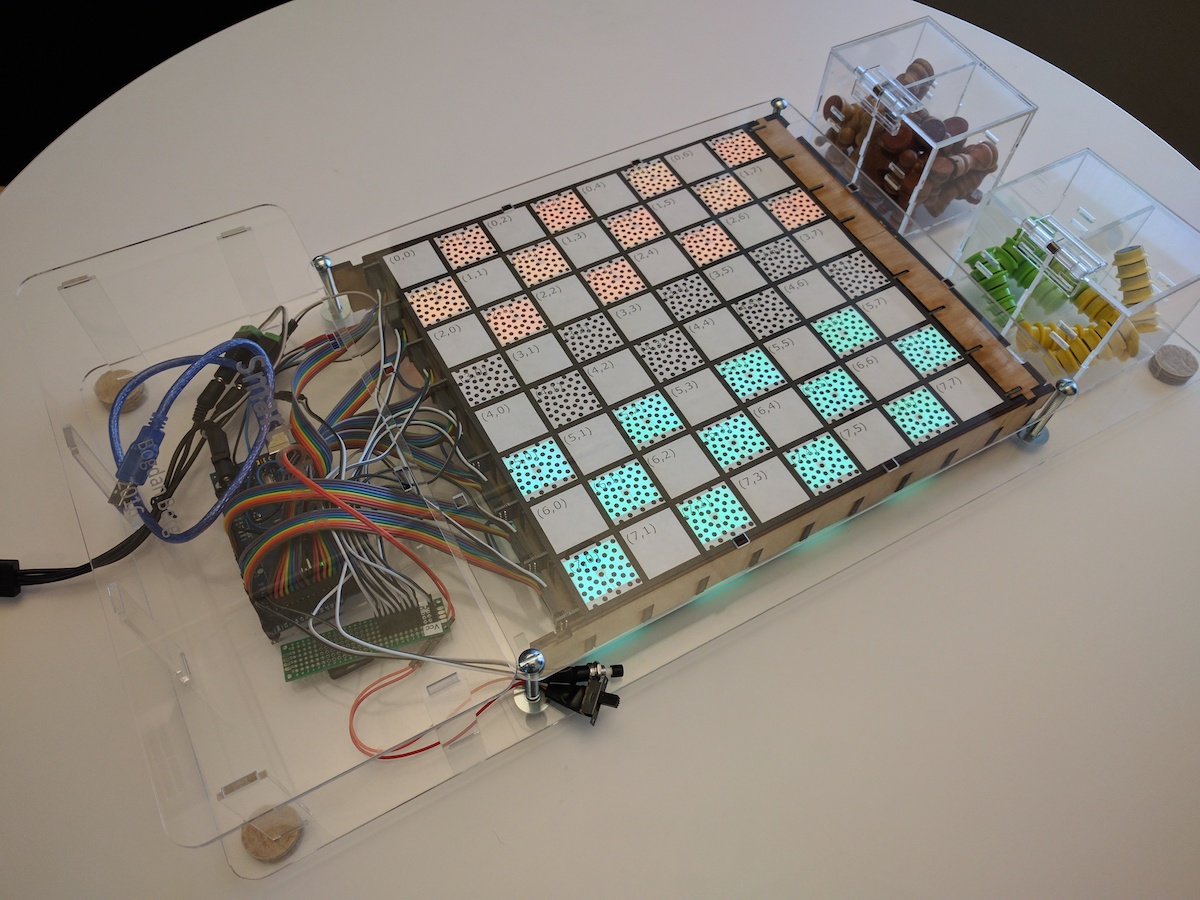
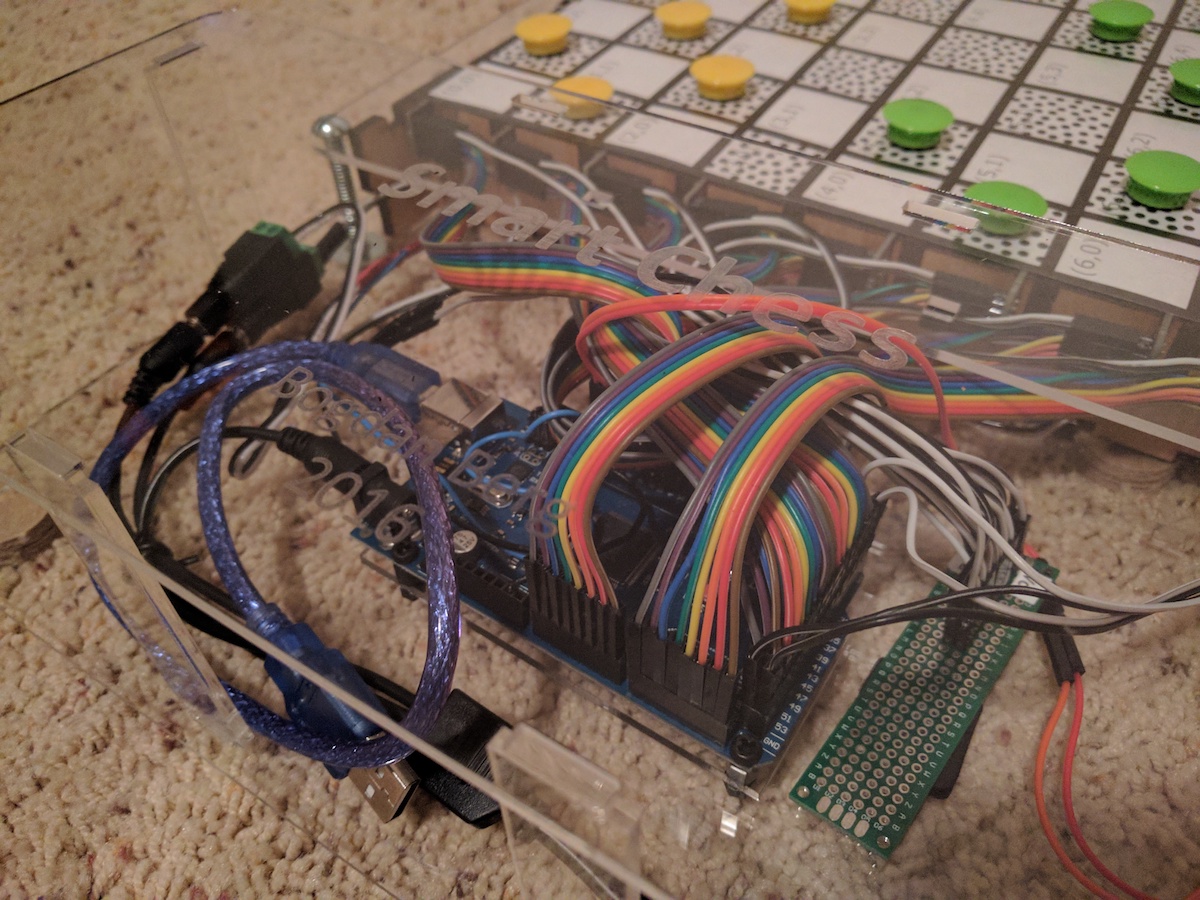
After discussing the idea for an electronic board that teaches kids how to play chess, Berg decided to make this a reality. Hall effect sensors on each square tell the Smart Game Board—rather the Arduino Mega controlling the board—where pieces are, and when one is picked up, LEDs highlight what moves are possible. These lights can also show the pieces’ starting positions, assisting novice players in this important part of the game.

Currently, the device is programmed to play the international version of checkers, but there’s no reason other games like chess and tic-tac-toe couldn’t be added as well. You can see more about this project, which took about six months to complete, in Berg’s write-up here.

Multi-player retro gaming on an Arduino VGA console

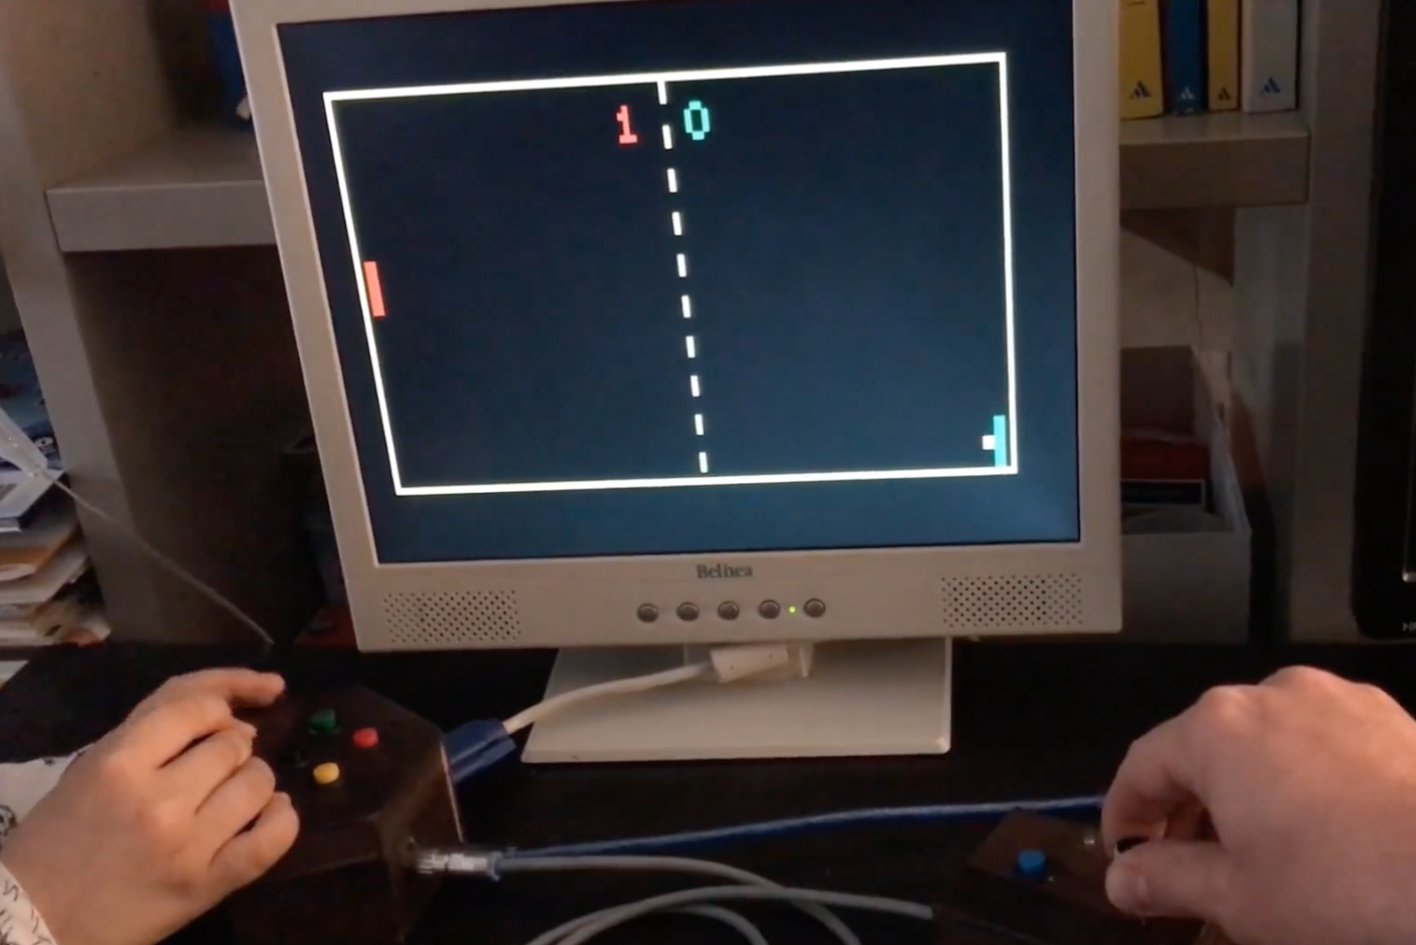
When you’re introduced to an Arduino Uno, perhaps you want to take button inputs, control a few LEDs, or move a hobby servo motor. These boards are quite good at that, but with some creative coding, they can actually control a VGA monitor and even play low-resolution games like Pong, Snake or Tetris.

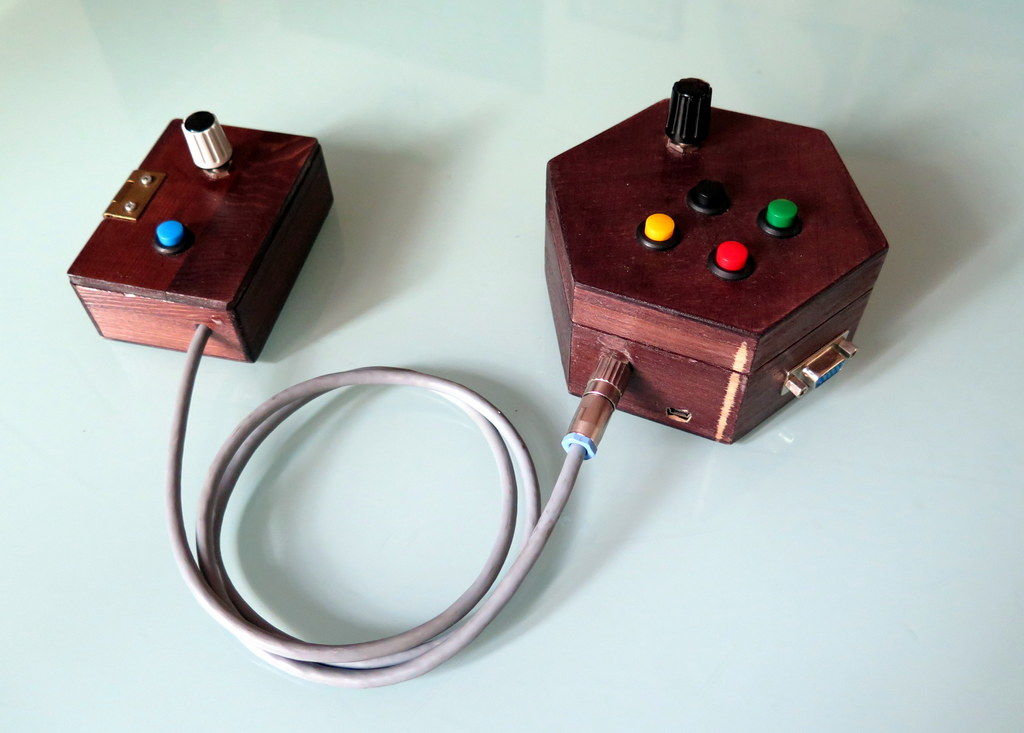
Using Sandro Maffiodo’s VGAx libraries, Instructables user Rob Cai built his own gaming setup, wiring the controls into two separate units. Now, while the base unit hooks up to the actual screen and takes inputs from player one, the second allows player two to participate as well.

I decided to split it in two units: one with a potentiometer and four buttons for the single player games, the other with one button and the second potentiometer for the second player. Thus in total you need 5 buttons, two potentiometers, a VGA connector (DSUB15 female) and, of course, an Arduino! Most importantly, there is no need of supporting IC or special shields!

Want to make one of your own? Check out the DIY VGA console in action below, and find more details on the project’s Instructables write-up. Smaffer’s VGAx libraries can be found here.

Lift takes finger tracking accuracy to a new level

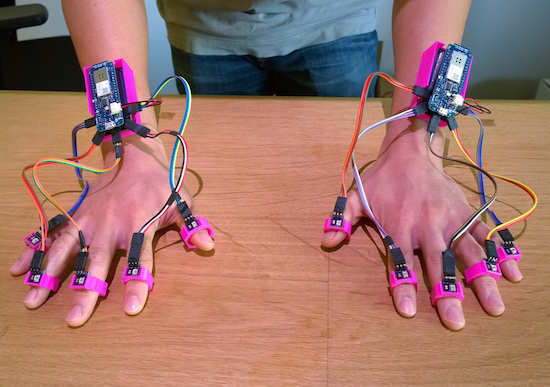
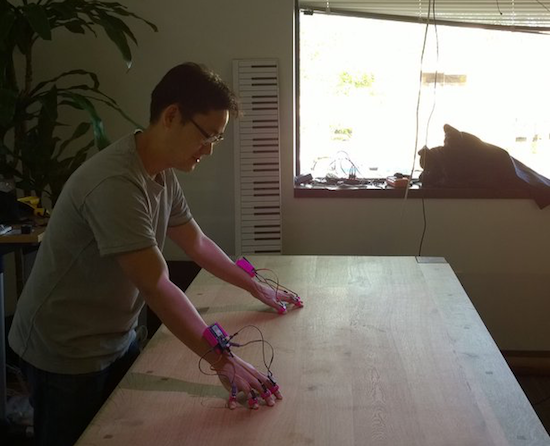
Using a pair of Arduino MKR1000s, researchers at the University of California, Irvine and FX Palo Alto Laboratory have come up with a new way to track 10 fingers to within less than two millimeters.

In this technique, called “Lift,” a normal DLP projector is used to display a series of tiny encoded images onto any flat surface. Instead of using an external vision system, or even an accelerometer, Lift employs tiny light sensors on each finger to detect this pattern, then relay this information to the MKR1000 mounted on each wrist. From there, the Arduino is able to translate these light signals into positional data with an average accuracy of 1.7 millimeters and an average refresh rate of 84Hz.

By projecting encoded visible patterns onto an object’s surface (e.g. paper, display, or table), and localizing the user’s fingers with light sensors, Lift offers users a richer interactive space than the device’s existing interfaces. Additionally, everyday objects can be augmented by attaching sensor units onto their surface to accept multi-touch gesture input.

You can find a quick summary of this project here, and download the team’s entire paper to learn more.

Photos: Shang Ma

Arduino Blog 14 Apr 02:21

Turning a Wii Nunchuk into an RC car controller

With the help of an Arduino, this dad turned a Wii Nunchuk into a wireless remote for a kid’s RC car.

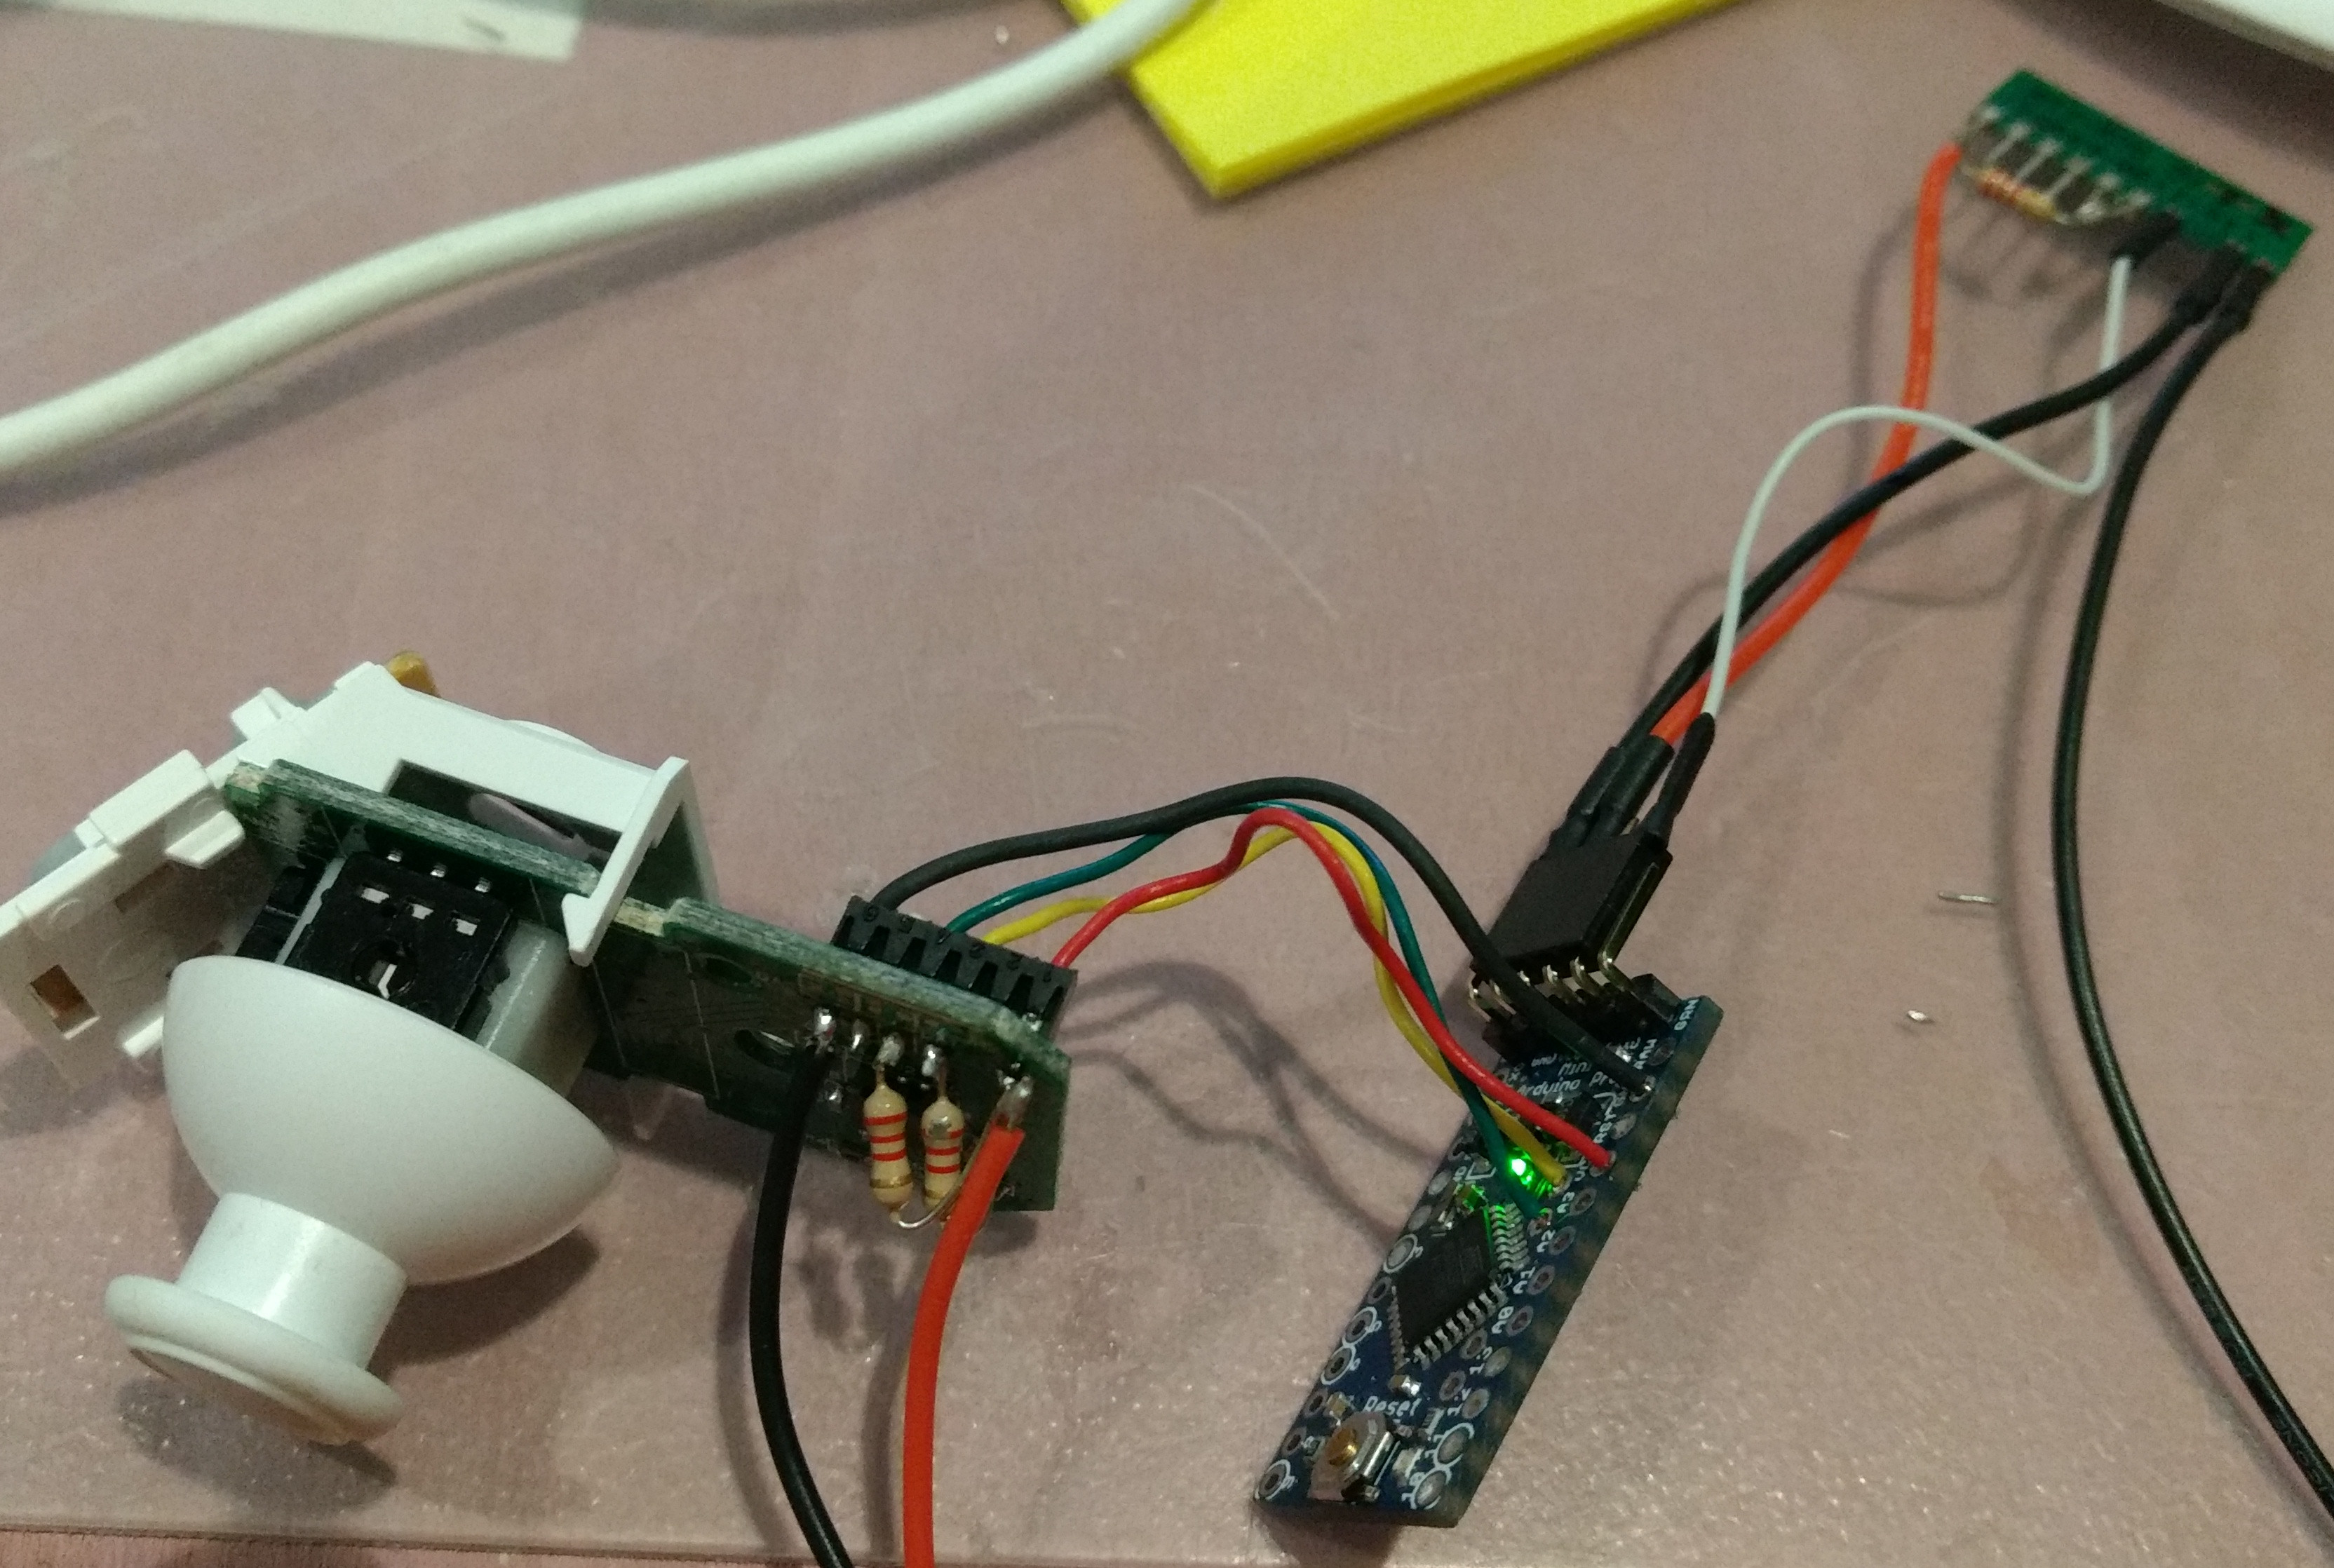
The Wii Nunchuck has been a favorite control device for hackers since it’s debut in 2006. And why not, it has a simple design with a directional joystick, and can output signals via the I2C protocol. For this project, software engineer “trandi” used an Arduino Pro Mini to translate these signals into 9600bps serial signals needed for the wireless module he was using. The car is also hacked with a corresponding receiver, a TI Stellaris Launchpad, and a motor controller.

Perhaps what’s most interesting, however, is that it’s somewhat of a continuation of a project that he took on in 2013, repairing his then 18-month-old son’s toy car. Now several years older, maybe he has a new appreciation for this device and his dad’s skill! You can see more in trandi’s write-up here.