Posts with «featured» label

Physically mix digital colors with Colorwise

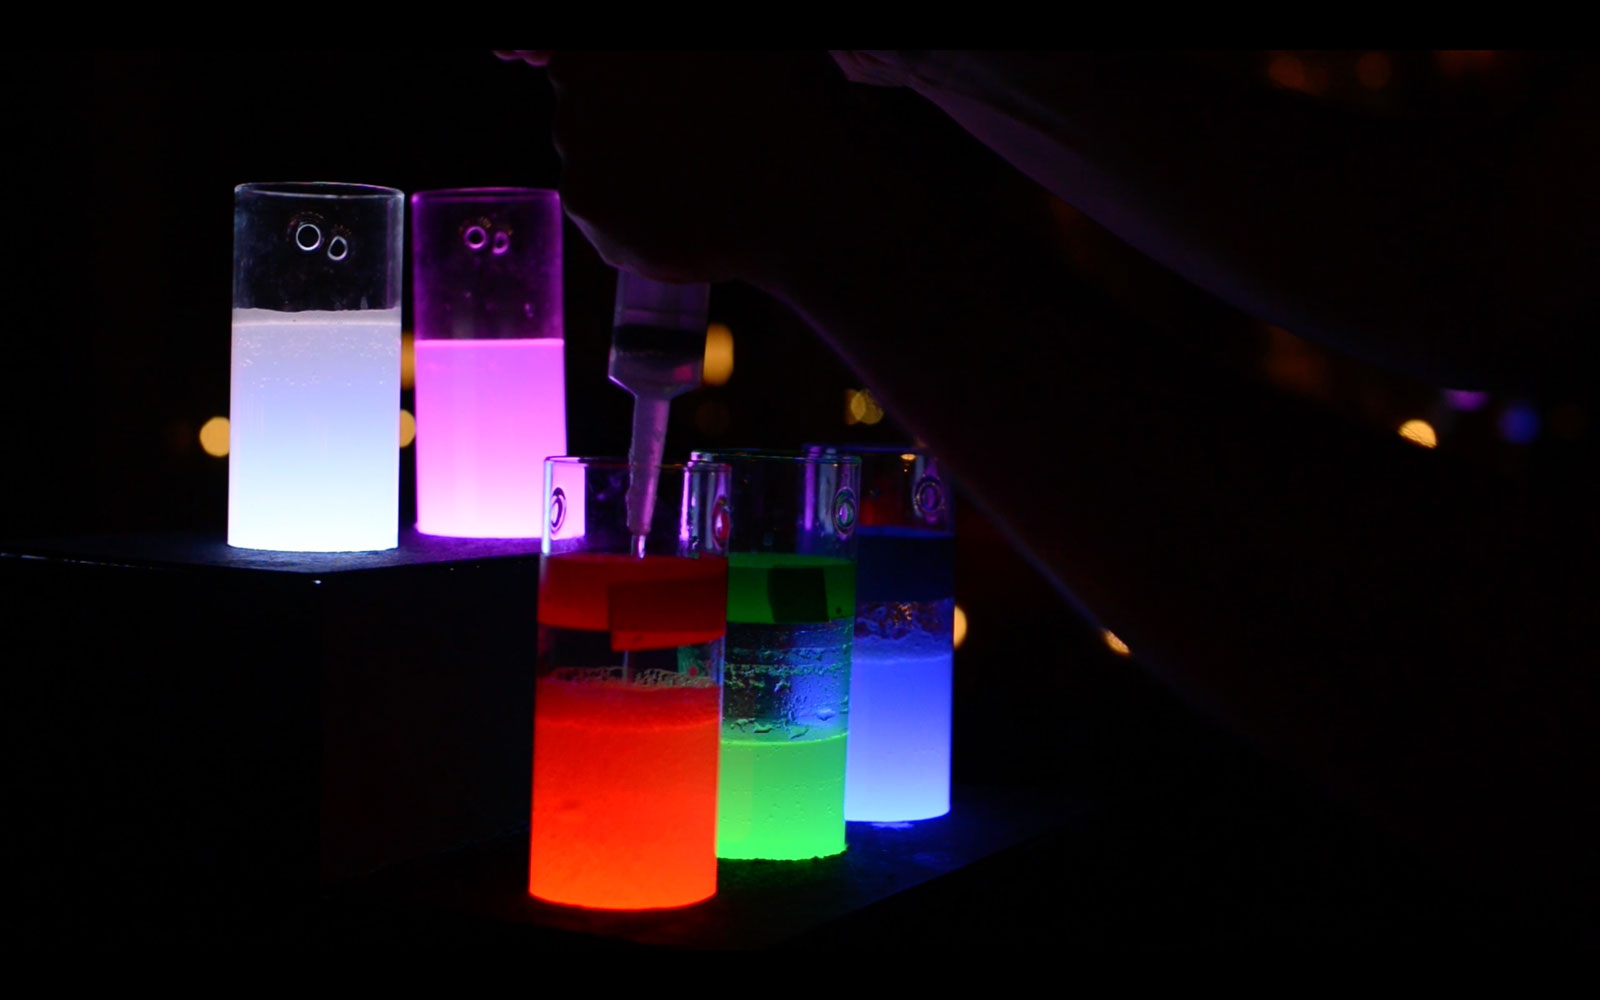
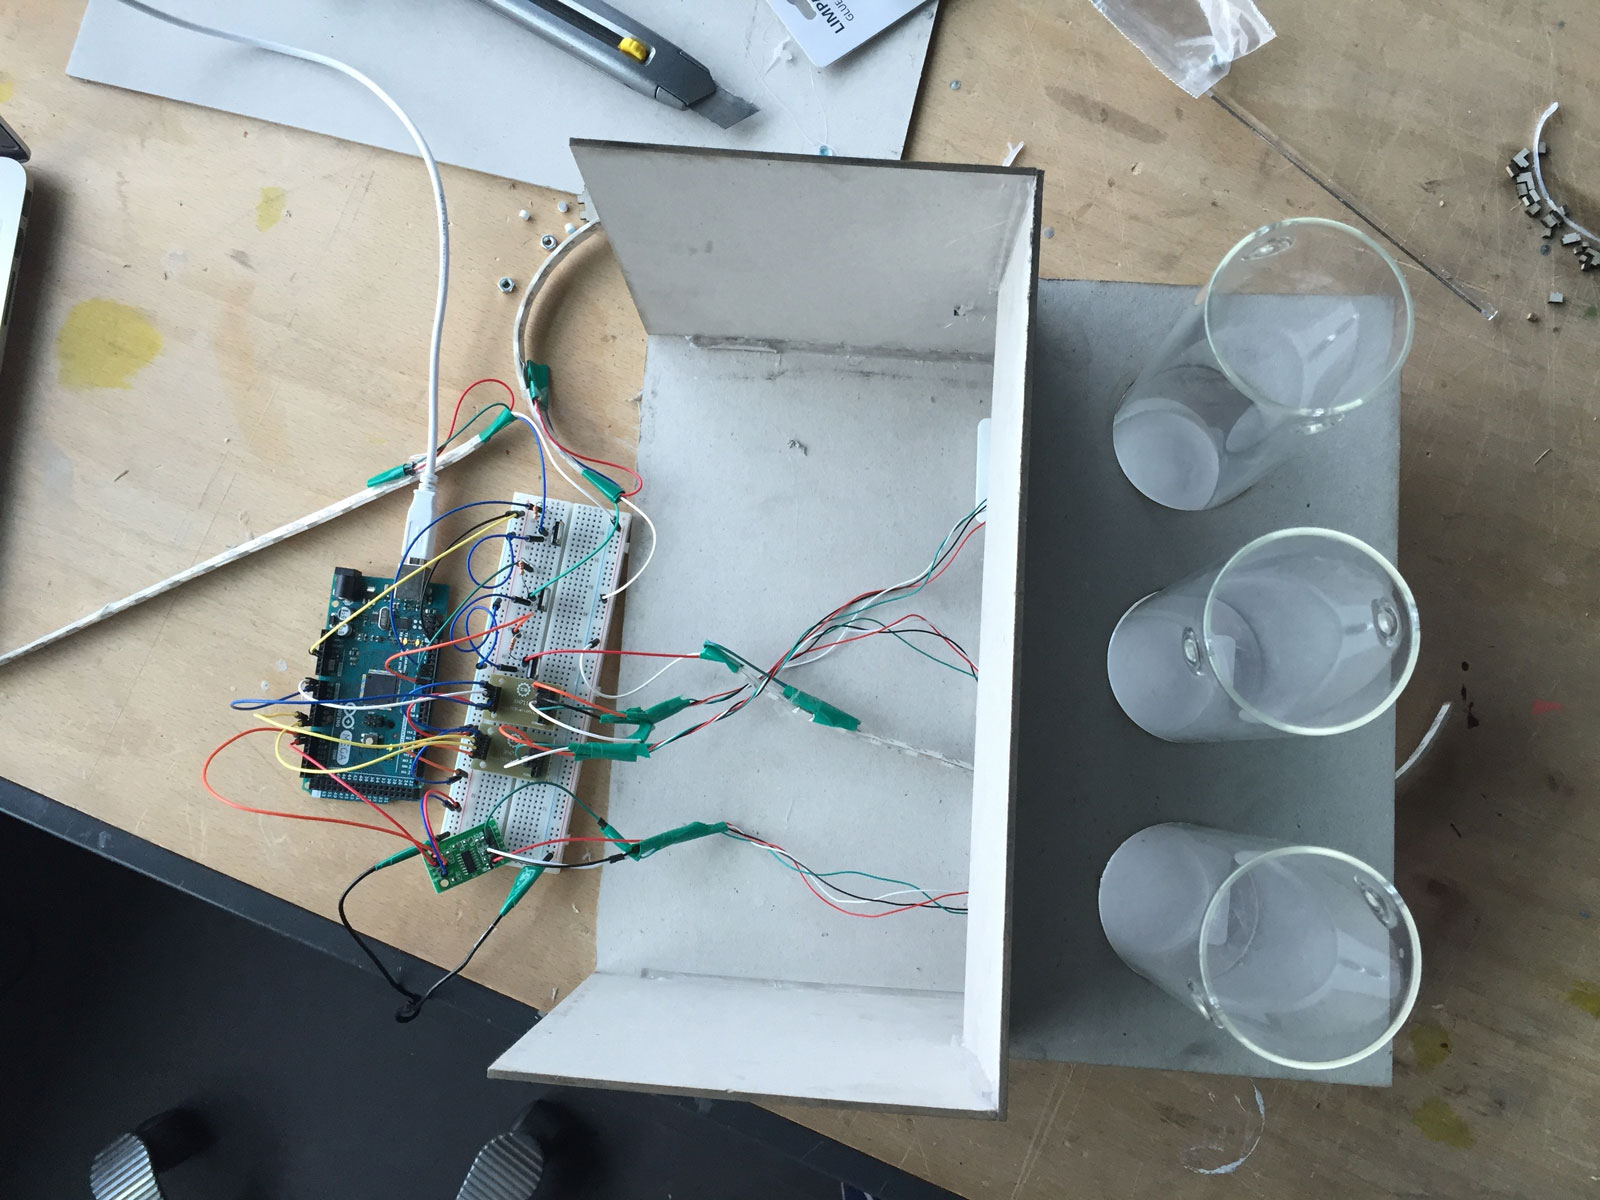
As seen here, mixing colors in real life is simple enough to understand, if difficult to perfect. With red, green and blue, any color in the rainbow can be produced, and the same can be done virtually using these digital RGB components. To help make color theory easier to grasp, Justin Daneman and Tore Knudsen developed a tangible interface that employs an Arduino to detect the fill levels of three cylinders, which represent red, green, and blue.

The intensity of each color is increased by pouring more water into the corresponding container, and decreased by removing it with a syringe. In one mode, users can explore how RGB colors create and affect a digital image on a computer screen, which in this case is Leonid Afremov’s painting “Misty Mood.” A second Color Challenge mode places a random color onscreen—or even in another glass—and participants try to match it by correctly proportioning the three liquid containers.

Colorwise is a physical game and exploration concept that aims to create awarness about digital color theory. More spiecifically, the RGB color system. Through a tangible interface of three cylinders, you mix different combinations of red, green and blue. This is done with water which works as a metaphor for digital data. By rearranging the water, a feedback of aesthetic visual and audio is experienced.

You can read more about Colorwise on its page here, and see a demo of it below!

An Arduino-powered backlit Clemson Tiger Paw

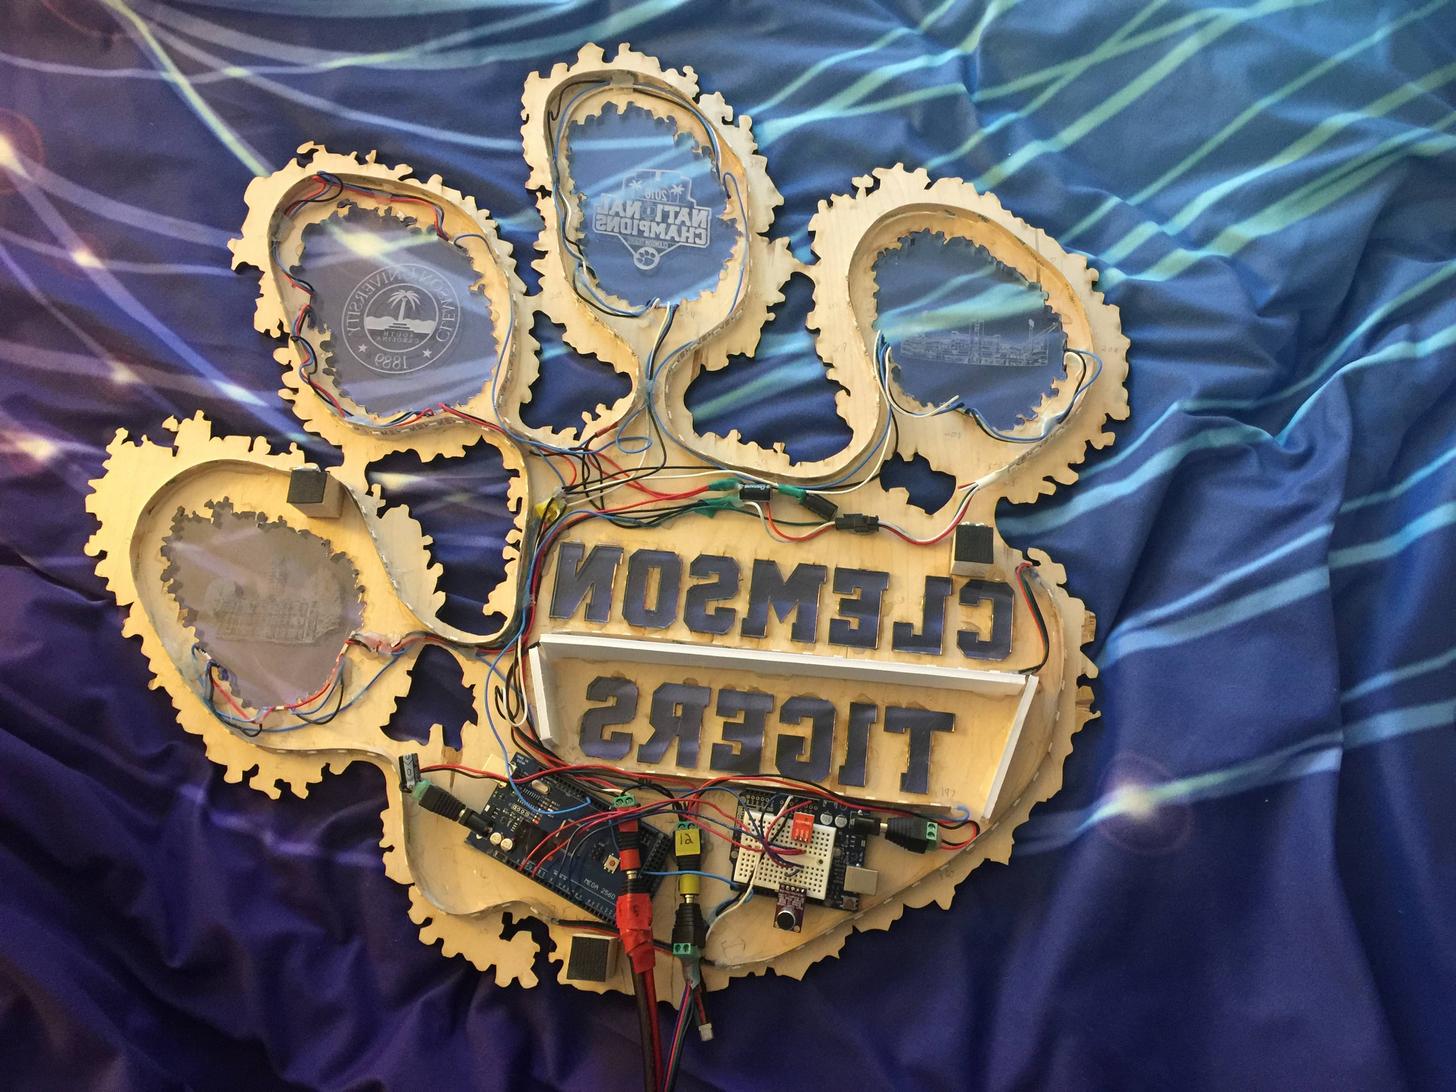
Most people support their school or favorite sports team by buying a shirt or tuning into games. Jacob Thompson, however, took things one step further and created his own Arduino-powered, backlit Clemson Tiger Paw.

Thompson’s “WallPaw,” as he calls it, uses an Arduino Uno to receive signals from an infrared remote and to pick up sounds with a small microphone. This information is passed on to an Arduino Mega, which controls a five-meter-long strip of WS2812 LEDs to provide lighting effects.

He notes that it would be possible to use only one Arduino board for everything, but patterned his code after this tutorial that included two. The paw itself is cut out of wood and clear acrylic, allowing the lights underneath to shine through nicely.

You can see the build in action below and find more details on Thompson’s website here.

Build an arcade-style hoops game with Arduino and LEGO

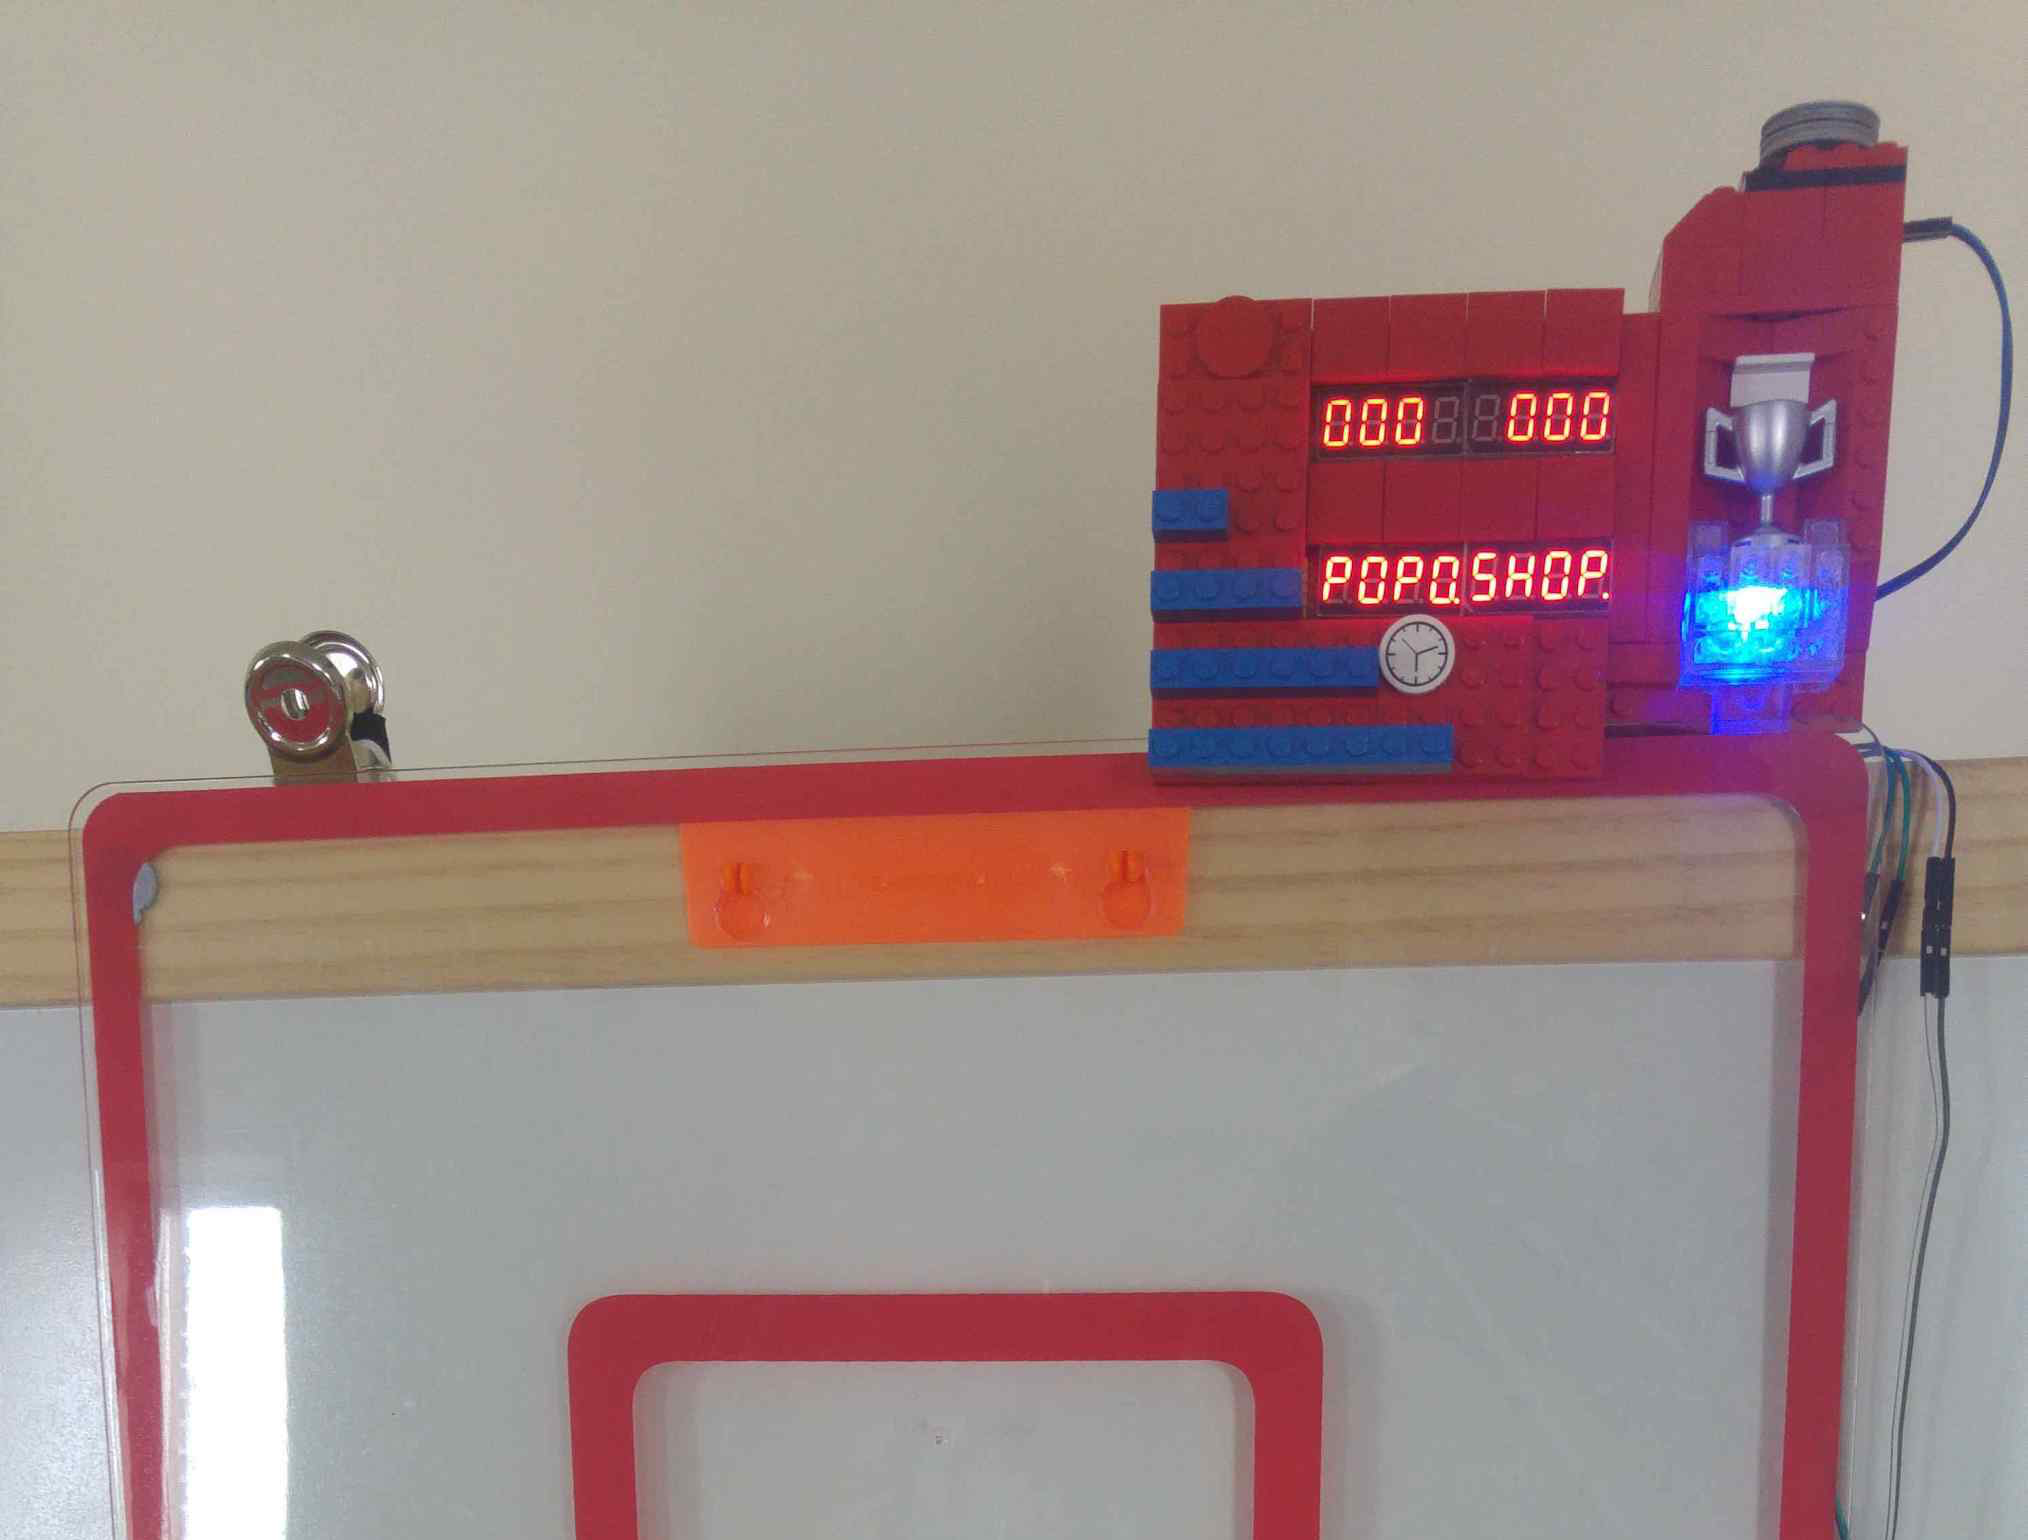
You may be familiar with “Pop-A-Shot” at arcades and amusement parks, which allows you to shoot baskets at a hoop for fun and prizes. This Maker, apparently unsatisfied with not having one of these at home, decided to duplicate the game with the “Pop o Shop.”

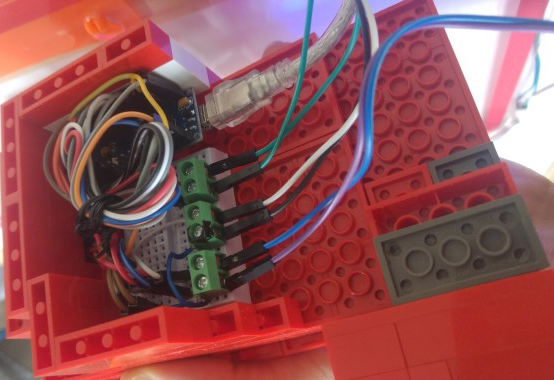
In this version, an ultrasonic sensor in the hoop tells an Arduino Nano when a shot has been registered, while two 7-segment displays inside of a LEGO scoreboard show the current count, time remaining, and high score. There is also an RGB LED that turns green after every made basket and changes color with a new top score.

Incidentally, one of the displays can also spell out “POPOSHOP,” which dictated the name of the game, since there is no “T” character in the LedControl library used! For more info and code, be sure to check out the “Internet of LEGO” build log!

An Arduino fidget spinner arcade controller

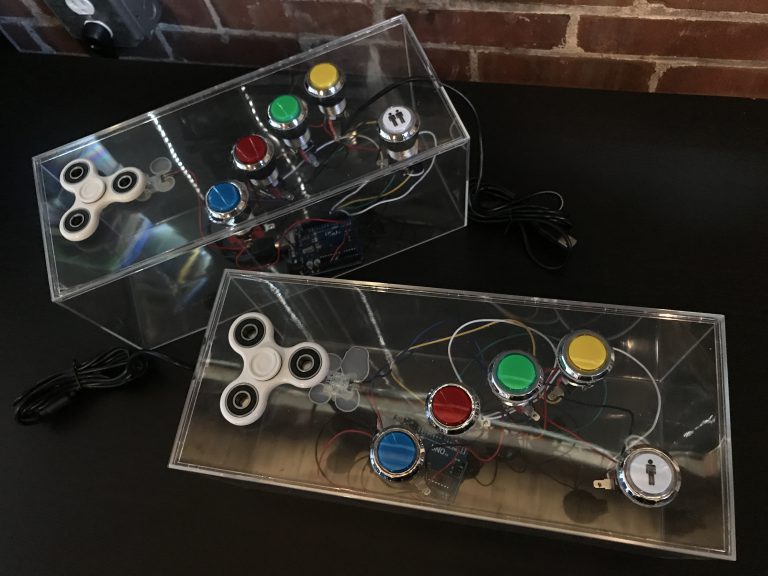
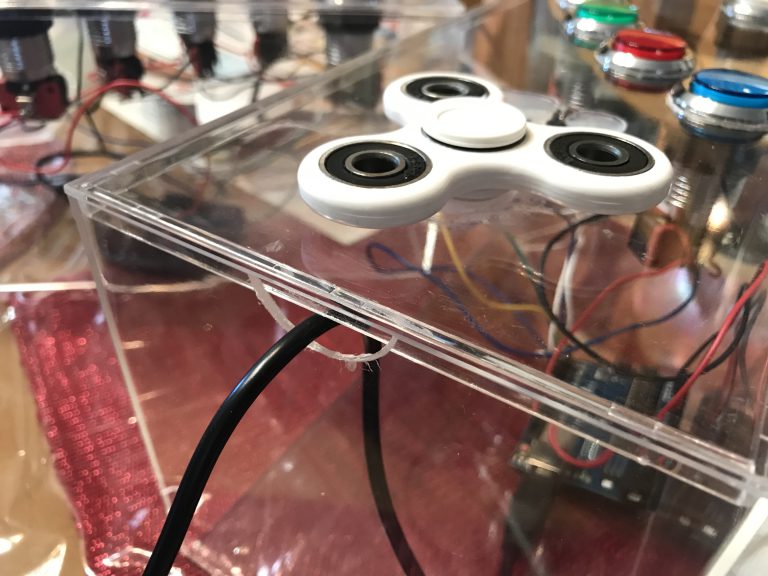
Apparently unsatisfied with existing video game input devices, game designer Rob Santos created his own using, what else, fidget spinners. His system combines a spinner and five buttons on a pair of controllers to interface with Flock Off, an arcade game loosely based on Flappy Bird.

To register spinner input, a magnet is embedded on each lobe, triggering a Hall effect sensor three times per revolution when spun. An Arduino in each control box reads these signals, then sends this information, along with button inputs, to the game via USB accessible through a serial port.

Although using the Uno means that the game must be programmed especially for this type of input, Santos notes that using an HID-capable board, such as the Leonardo, would give it the capability to act as keyboard input by itself.

Create an interactive laser sheet generator with Arduino

What’s better than a laser? How about two rapidly rotating lasers, attached to servo motors and controlled by an Arduino Mega? That’s exactly what Jon Bumstead made with his “Interactive Laser Sheet Generator.”

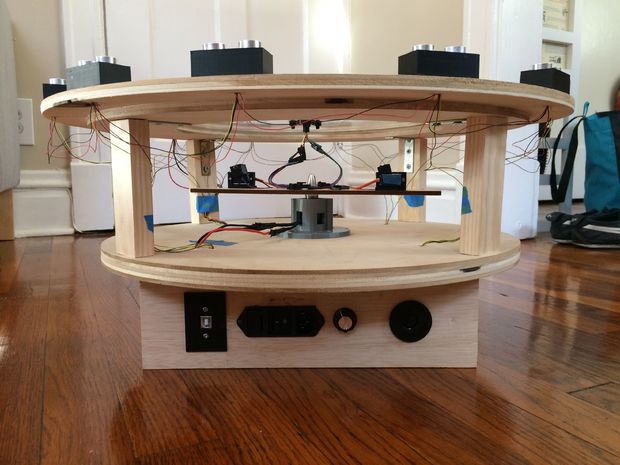
In addition to controlling the lasers, his device can sense hand motion on top of it using an array of 12 ultrasonic sensors, and can even coordinate music through a built-in MIDI output.

As seen in the demonstration video, Bumstead’s project–which was constructed with the help of a CNC router–looks like a cross between a coffee table and a test fixture for a space vehicle. When activated, a brushless motor spins the two lasers at a high speed, while the Mega controls the laser angles via two servos, creating a unique vortex-like light show!

I included distance sensors in the device so that the laser sheets could be manipulated by moving your hand towards them. As the person interacts with the sensors, the device also plays music through a MIDI output. It incorporates ideas from laser harps, laser vortexes, and POV displays. The instrument is controlled with an Arduino Mega that takes in the inputs of ultrasonic sensors and outputs the type of laser sheet formed and music generated. Due to the many degrees of freedom of the spinning lasers, there are tons of different laser sheet patterns that can be created.

You can find more details on the laser sheet generator on Instructables.

UNLEASH your creativity for the greater good!

**To the members of the Arduino community interested in social innovation and tech for the greater good, this is a call for your help.**

Almost a year ago I was awarded with an Ashoka Fellowship, which got me to join a group of people working with projects all over the world having to do with social change through entrepreneurship. Issues covered by the Ashoka fellows range from gender equality, passing by collaborative economy, democratic access to all sorts of material resources, and ending with education using technology.

I have always been engaged in different social initiatives in my life: helped creating two Scout groups, joined several student associations (became president of one), played in a band (sorry we’re not on Spotify), taught martial arts to kids with visual impairments… and helped create the largest community dedicated to open hardware in the history of technology (so far).

During the last 10+ years I have been focused in building the Arduino platform, but also in reaching out to other communities, including arts, design, and more recently, education. Therefore, the Ashoka Fellowship feels like the perfect fit to encourage me to continue to be engaged with the development of our platform by making it more accessible to others.

(For those interested, the Ashoka Fellowship got me and Arduino to collaborate with the PUIG Foundation in helping Spanish speaking teachers to realize some of their educational tools, but that is material for a different blog post.)

The role of the Arduino founders is, among other things, engaging with the community in trying to improve the platform, but also society in general. Not in vain, we work with open source, use open tools and create open content. In the past, thanks to the Arduino community, we have translated the Arduino IDE and the Arduino reference to multiple languages, added features to the software (also some bugs), or corrected errors on the website. With this post, I (we) want to invite the Arduino community to engage in a larger effort for the greater good. Something that can help shaping the future of how technology engages in making the world a better place.

This year (as a matter of fact, starting next week) Arduino will be working with UNLEASH in an effort to help them accomplish their goals through the innovative use of our platform. From August 13th to 21st, 2017, Denmark will host the first UNLEASH event, where 1,000 top talents from 129 countries are going to meet to create innovative solutions to challenges within the UN’s Sustainable Development Goals (SDGs). The talent pool draws from tech entrepreneurs, leading academics, and young development program officers. This year, talents will co-create solutions focusing on seven SDG-related themes: health, food, water, education & ICT, energy, urban sustainability, and sustainable consumption & production.

Over the nine days, the participants will work to create real, scalable solutions to the Sustainable Development Goals. The UNLEASH event has made a call for young talent and can only host 1,000 volunteers, but we want to augment their ability to share and collaborate online. Arduino has created a channel on the Arduino Forum named “UNLEASH 2017” where we invite all of you to participate in the online discussion to help those participating on site with possible technical challenges they may face. The channel will be open for as long as the collaborations go on. We expect some interesting projects to emerge, where some of the Arduino community members may even team up with those attending the event IRL.

Personally, I will be hosting an open seminar online (URL to be announced) on August 16th at 5pm CET to help the participants–but also anyone interested–in getting started with the use of Arduino tools. I will highlight examples of projects using Arduino, and there will be some time for questions via a chat. Later, I will follow the Arduino Forum and help with the moderation of the conversations happening there. I would love to see some of you there as well!

15-year-old Maker builds his own $60 AR headset

Instructables author Daniel Quintana loves mountain biking, but after having to interrupt a ride to continuously check the time, he did what any normal teenager would do in this situation: he created his own Google Glass-like headset from scratch.

His DIY AR device, called “Uware,” takes the form of a 3D-printed enclosure with a tiny 0.49″ OLED screen stuffed inside, along with an HC-06 Bluetooth module, an APDS-9960 gesture sensor, a 3.7V battery, and of course, a tiny Arduino Pro Mini for control.

In normal usage, the wearable displays the time and text messages transmitted from Quintana’s phone over Bluetooth via a custom app that he wrote. Swiping right in front of the gesture sensor puts it into camera mode, allowing him to capture the environment hands-free!

Want to see more? You can find Quintana’s write-up here, or check out Uware’s prototype electronics setup and custom magnetic charging rig in the videos below!

This alarm clock will steal the covers right off your bed

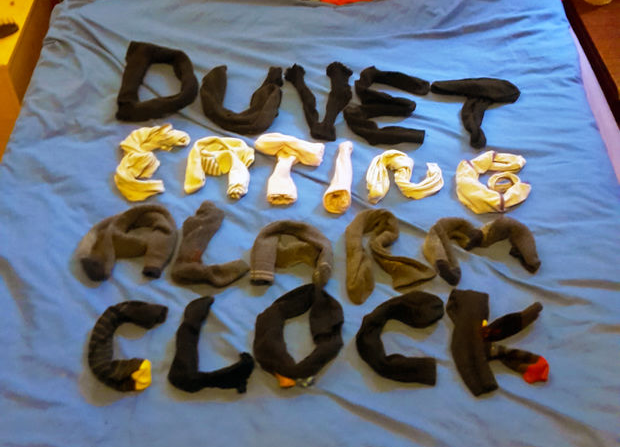
When you hear the words “Arduino alarm clock,” likely you think of something that uses a real-time clock (RTC) module to wake one up in a creative way, perhaps with light patterns or pleasant sounds. Though creative, the Duvet Eating Alarm Clock is not pleasant, literally ripping the covers off of your bed for a very “rude awakening.”

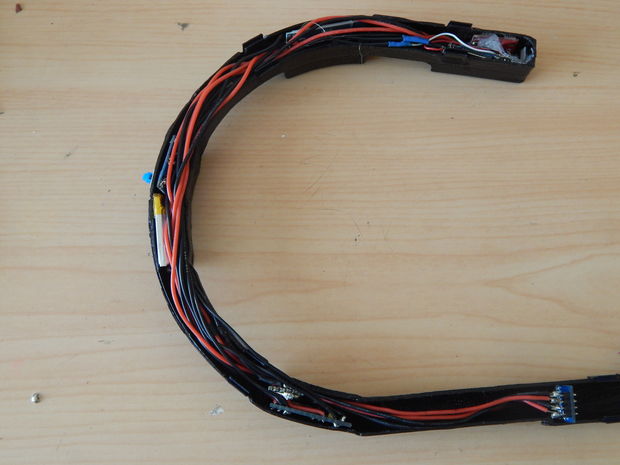
This project, the brainchild of YouTuber “1up Living,” uses a modified mechanical alarm clock to signal an Arduino Uno to start the duvet stealing machine. A powerful winch turns a custom-made drum that progressively wraps the bed cover around it, leaving no option but to get up and get dressed!

If you need a little more motivation in the morning, you can find 1up Living’s build instructions here.

Mini Hacker Breaks Down How To Build It

I read the other day that the hot career choice for kids these days is: YouTuber. That means every kid — yes, including mine — has two or three attempts at a YouTube show on their account and then they get into the next big thing and forget about it. On the other hand, sometimes you find someone who has a lot of ideas to share, and the dedication to keep sharing them.

[Kevin Zhou], an 11-year-old from Indonesia, has filmed around  70 videos in the past couple of years, with a fantastic variety of nerdy projects ranging from Mindstorms to Arduino to wood shop projects, and even a Blender tutorial. His projects show a lot of complexity, with serious, real-world concepts, and he shares the technical details about the various components in the project, and he walks you through the code as well.

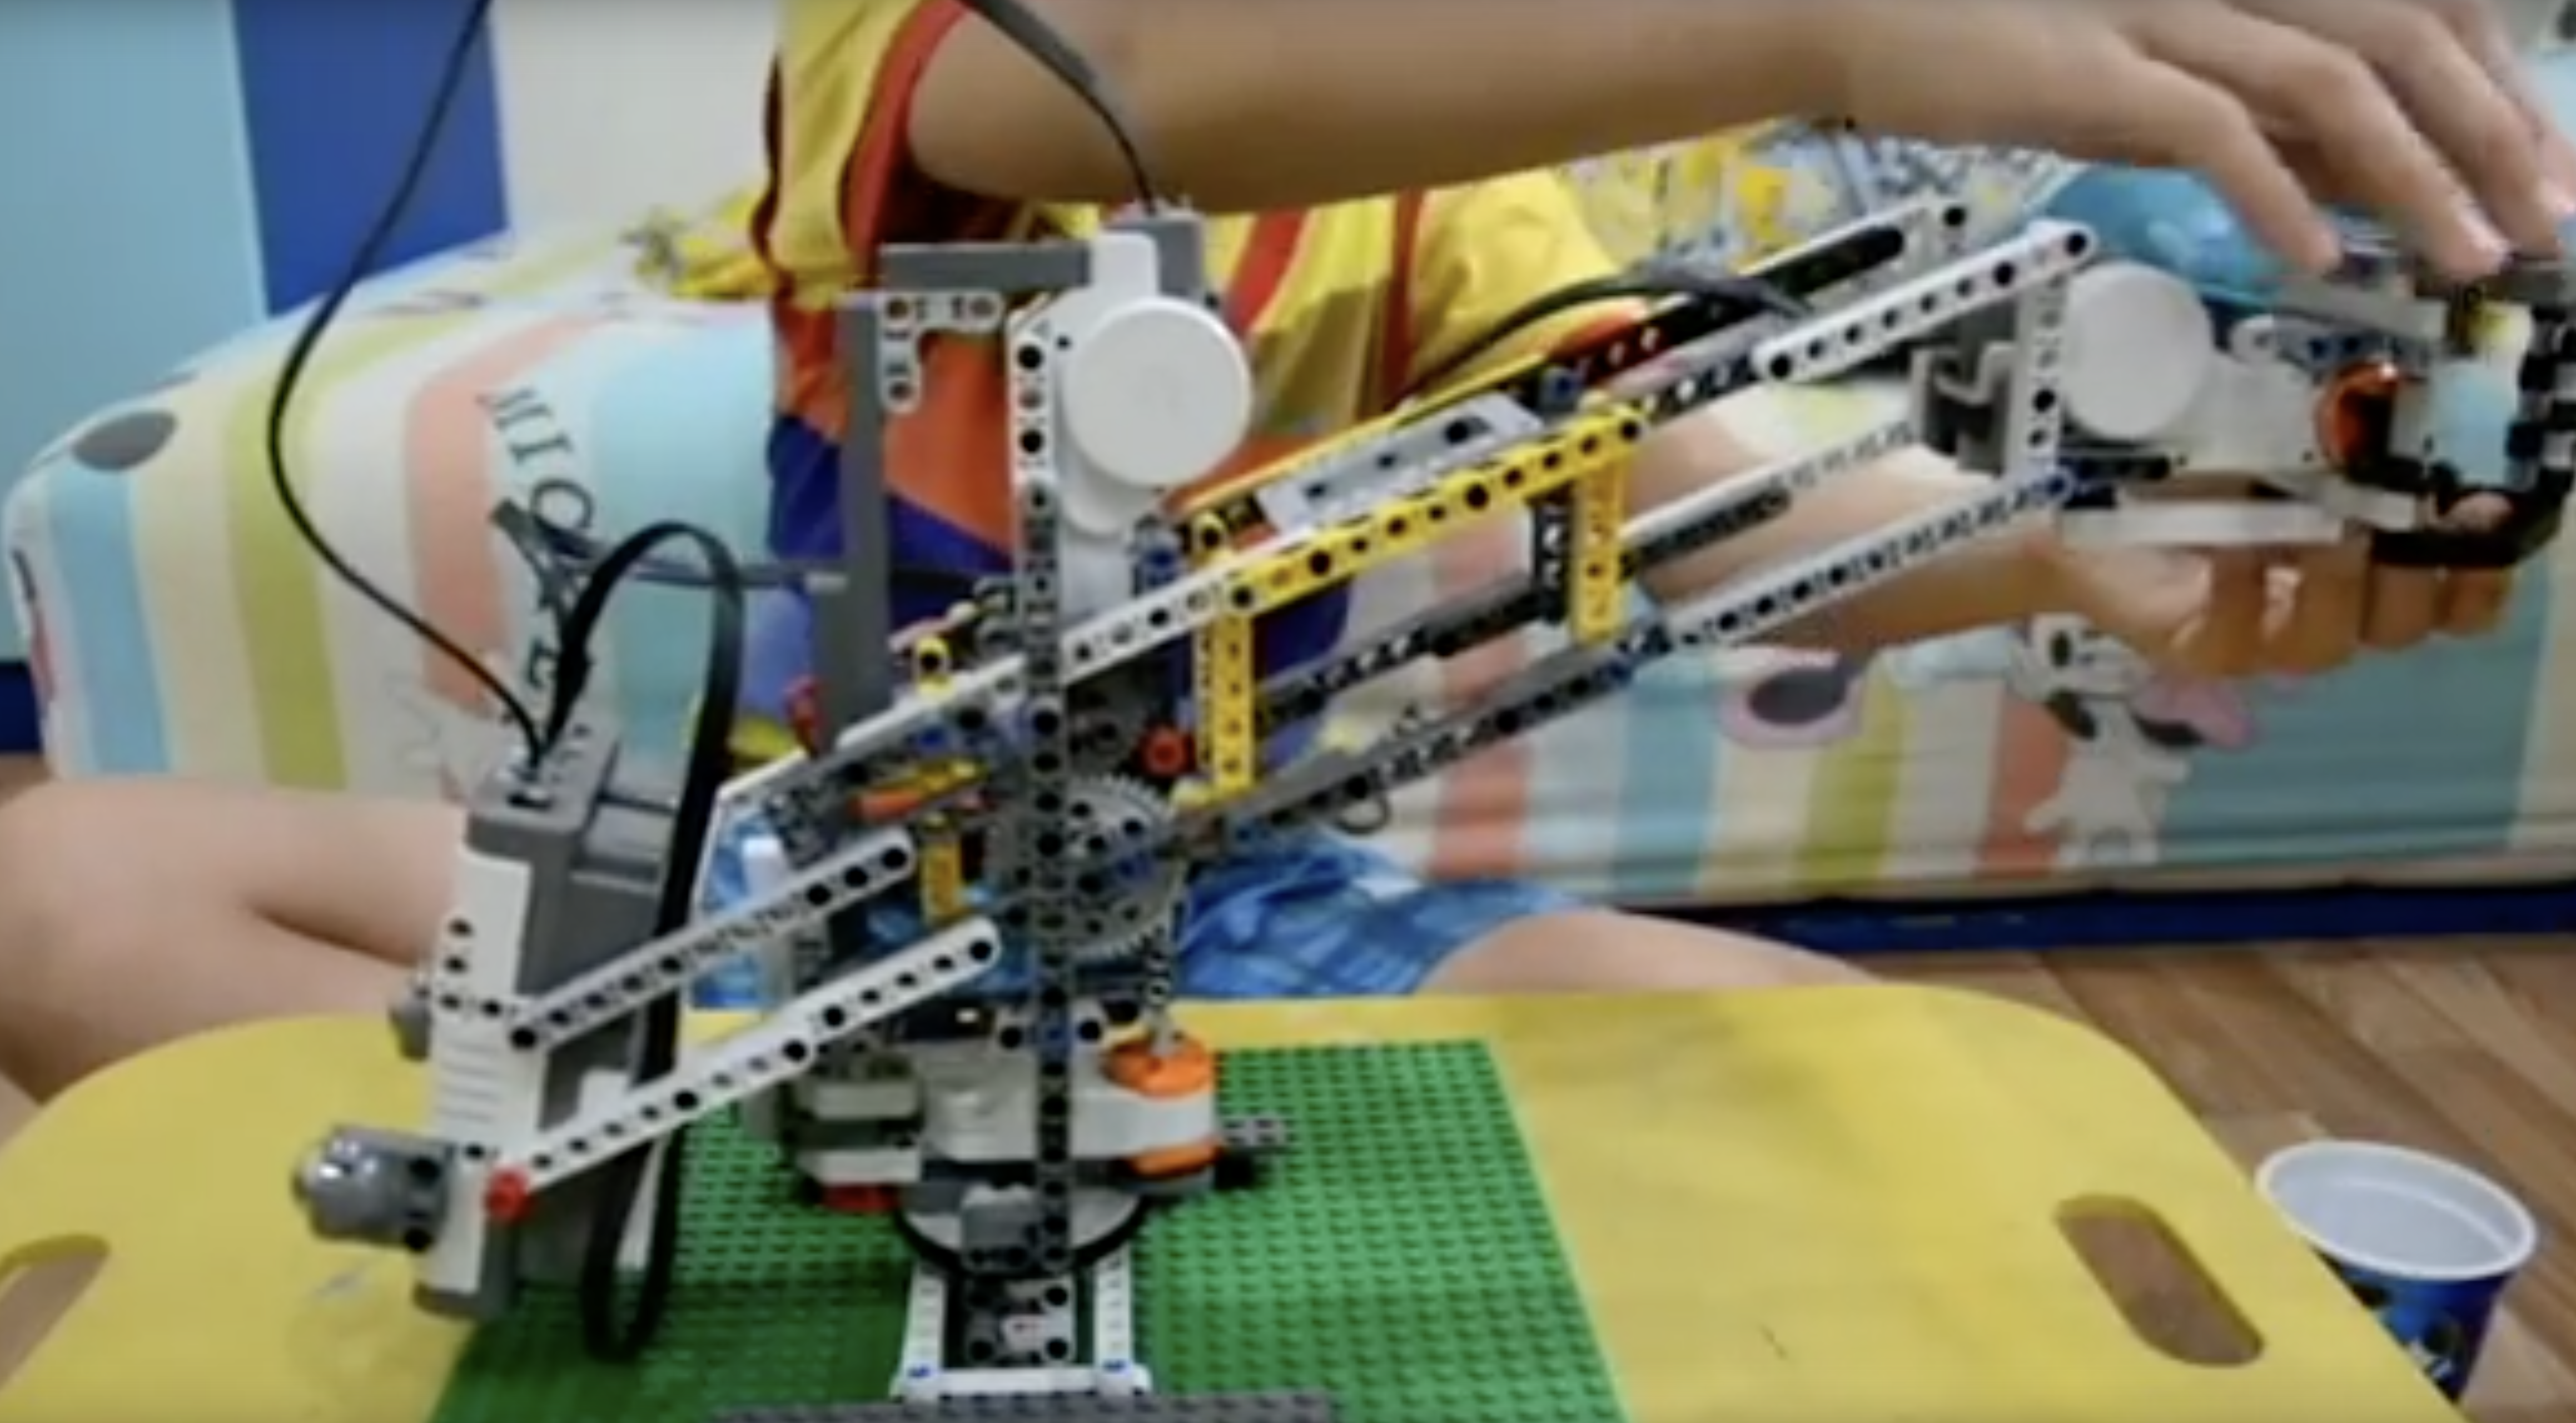
He made a Mindstorms carving machine, pictured above, with a gantry system holding a motor steady while the user carves into a block of floral foam with LEGO bits. He does a lot of home automation projects using an Arduino and relay board, as well as a number of water-pumping robots. He doesn’t stick to one medium or technology. He has a jigsaw and in one video he shows how to build a Thor’s hammer out of wood. He prints out each layer’s design on office paper and glues the paper to a piece of wood, cutting out the cross-sections on his jigsaw. The whole stack is glued together and clamped. [Kevin]’s design featured a hollow space inside to save weight, which he cut by drilling a 1-inch hole in the center with his drill press, then threading the jigsaw blade through the hole to cut out the inside. As an amateur woodcrafter myself, I like seeing him branching out working on small wood projects.

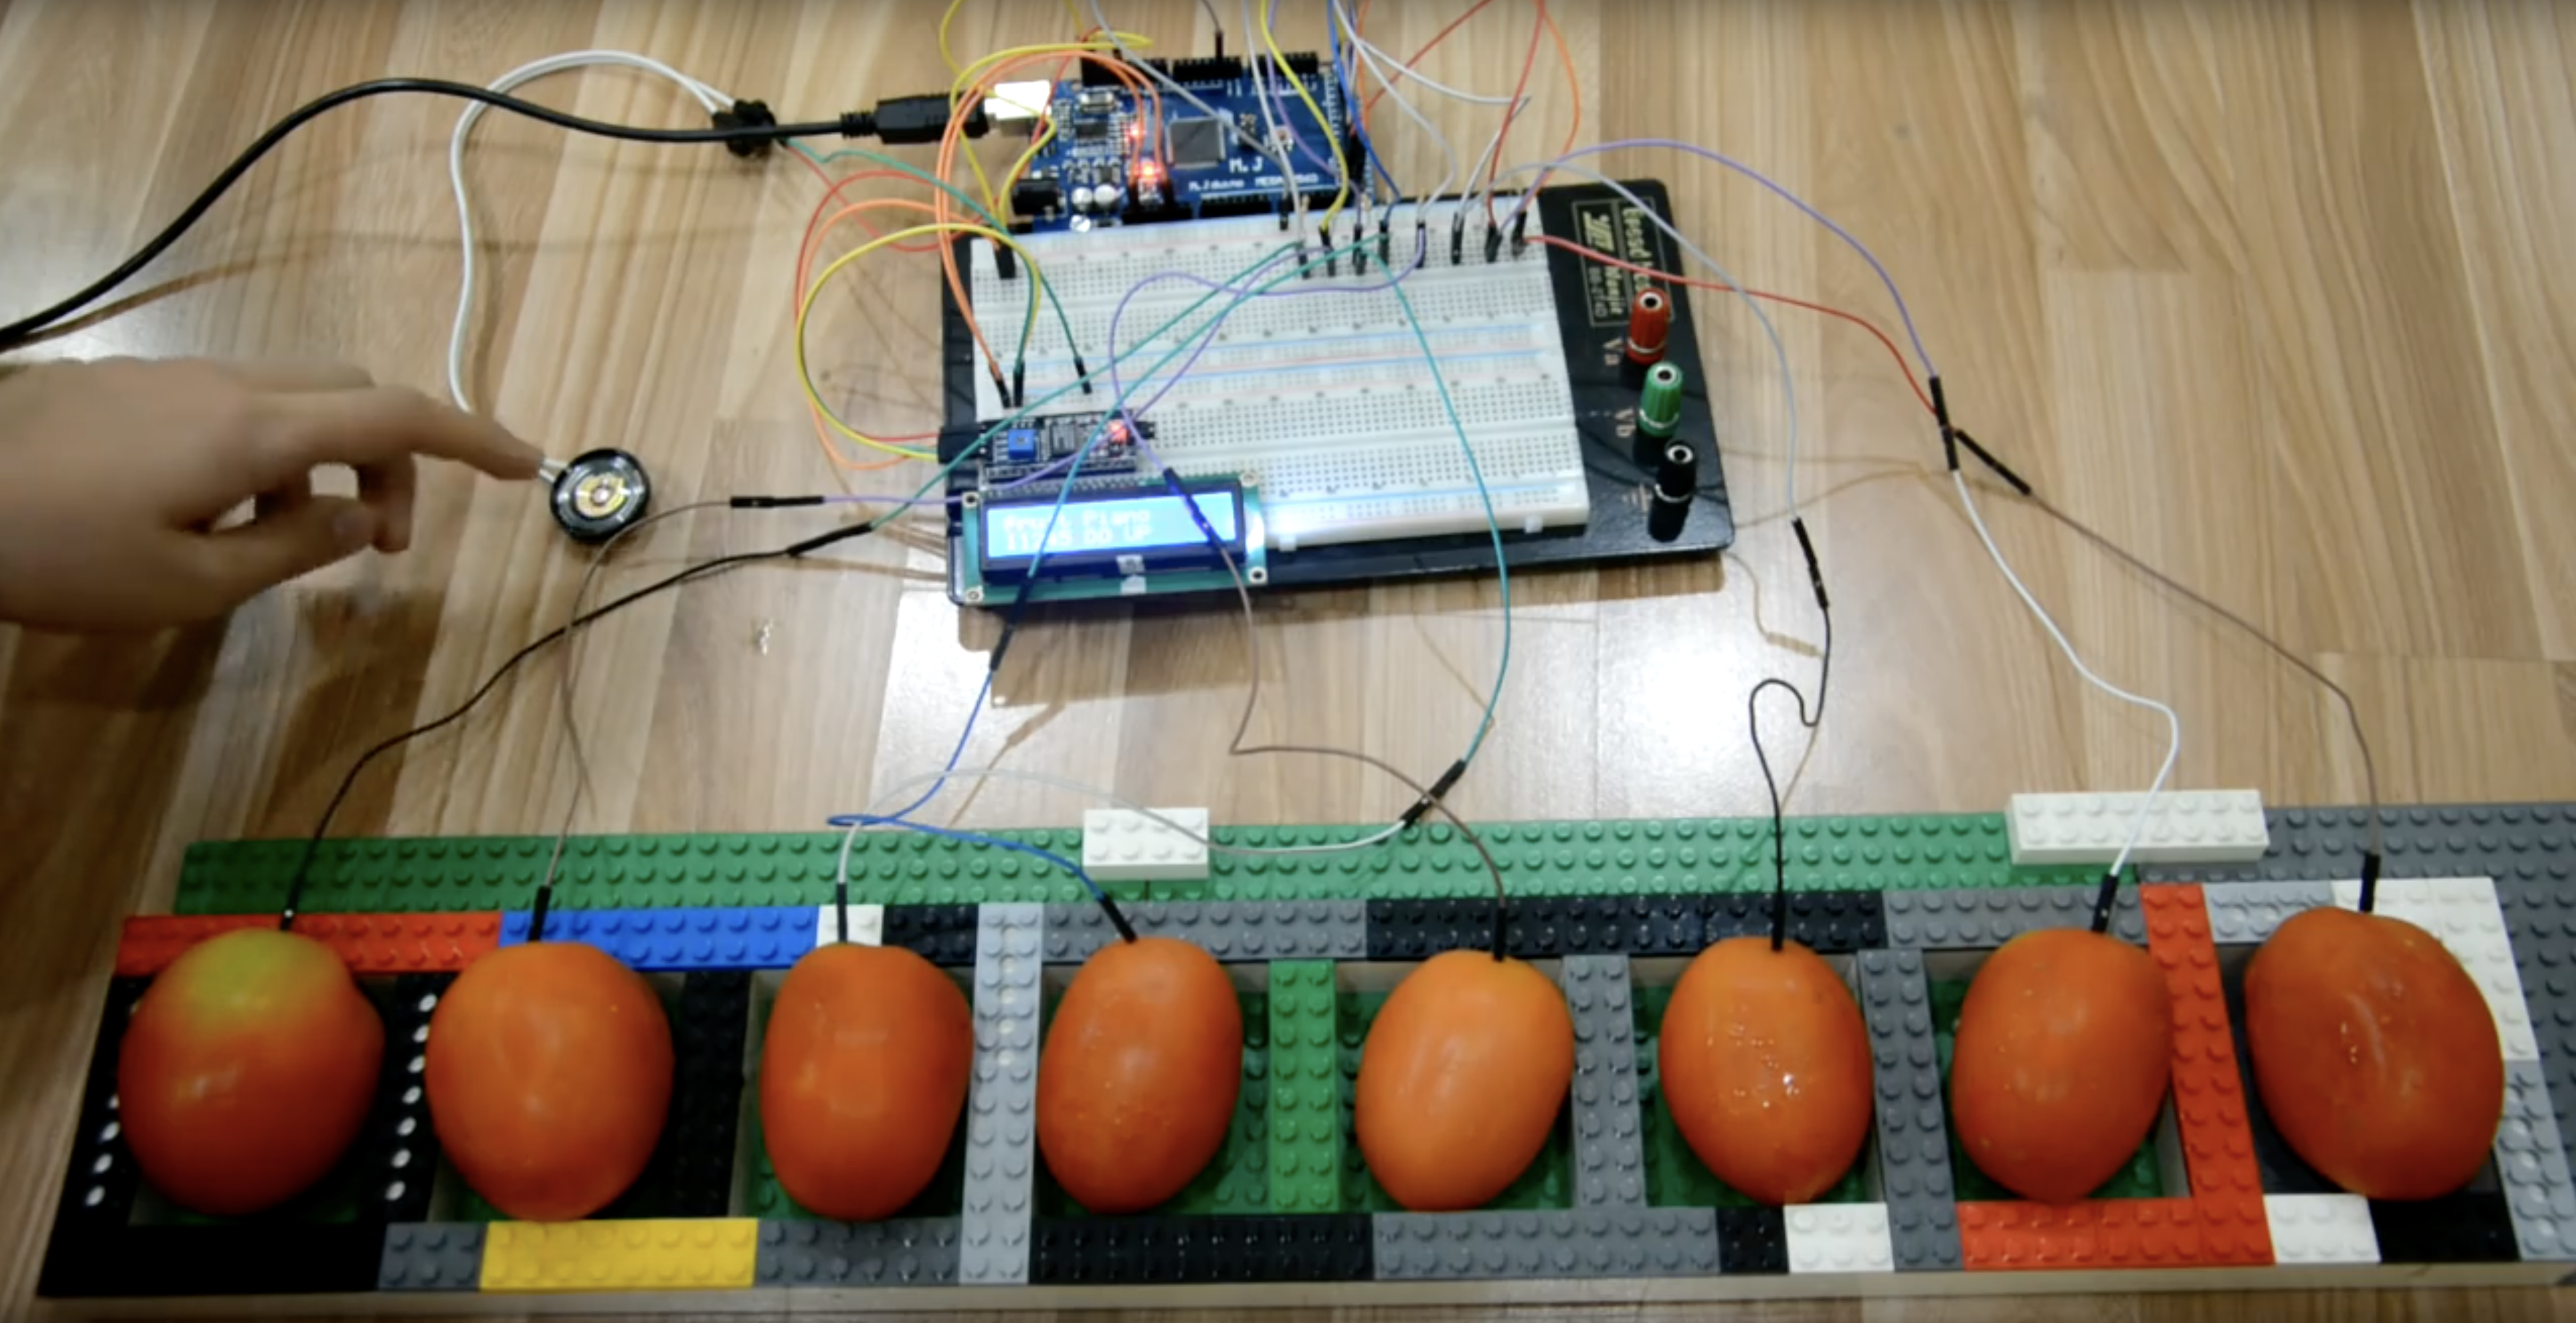
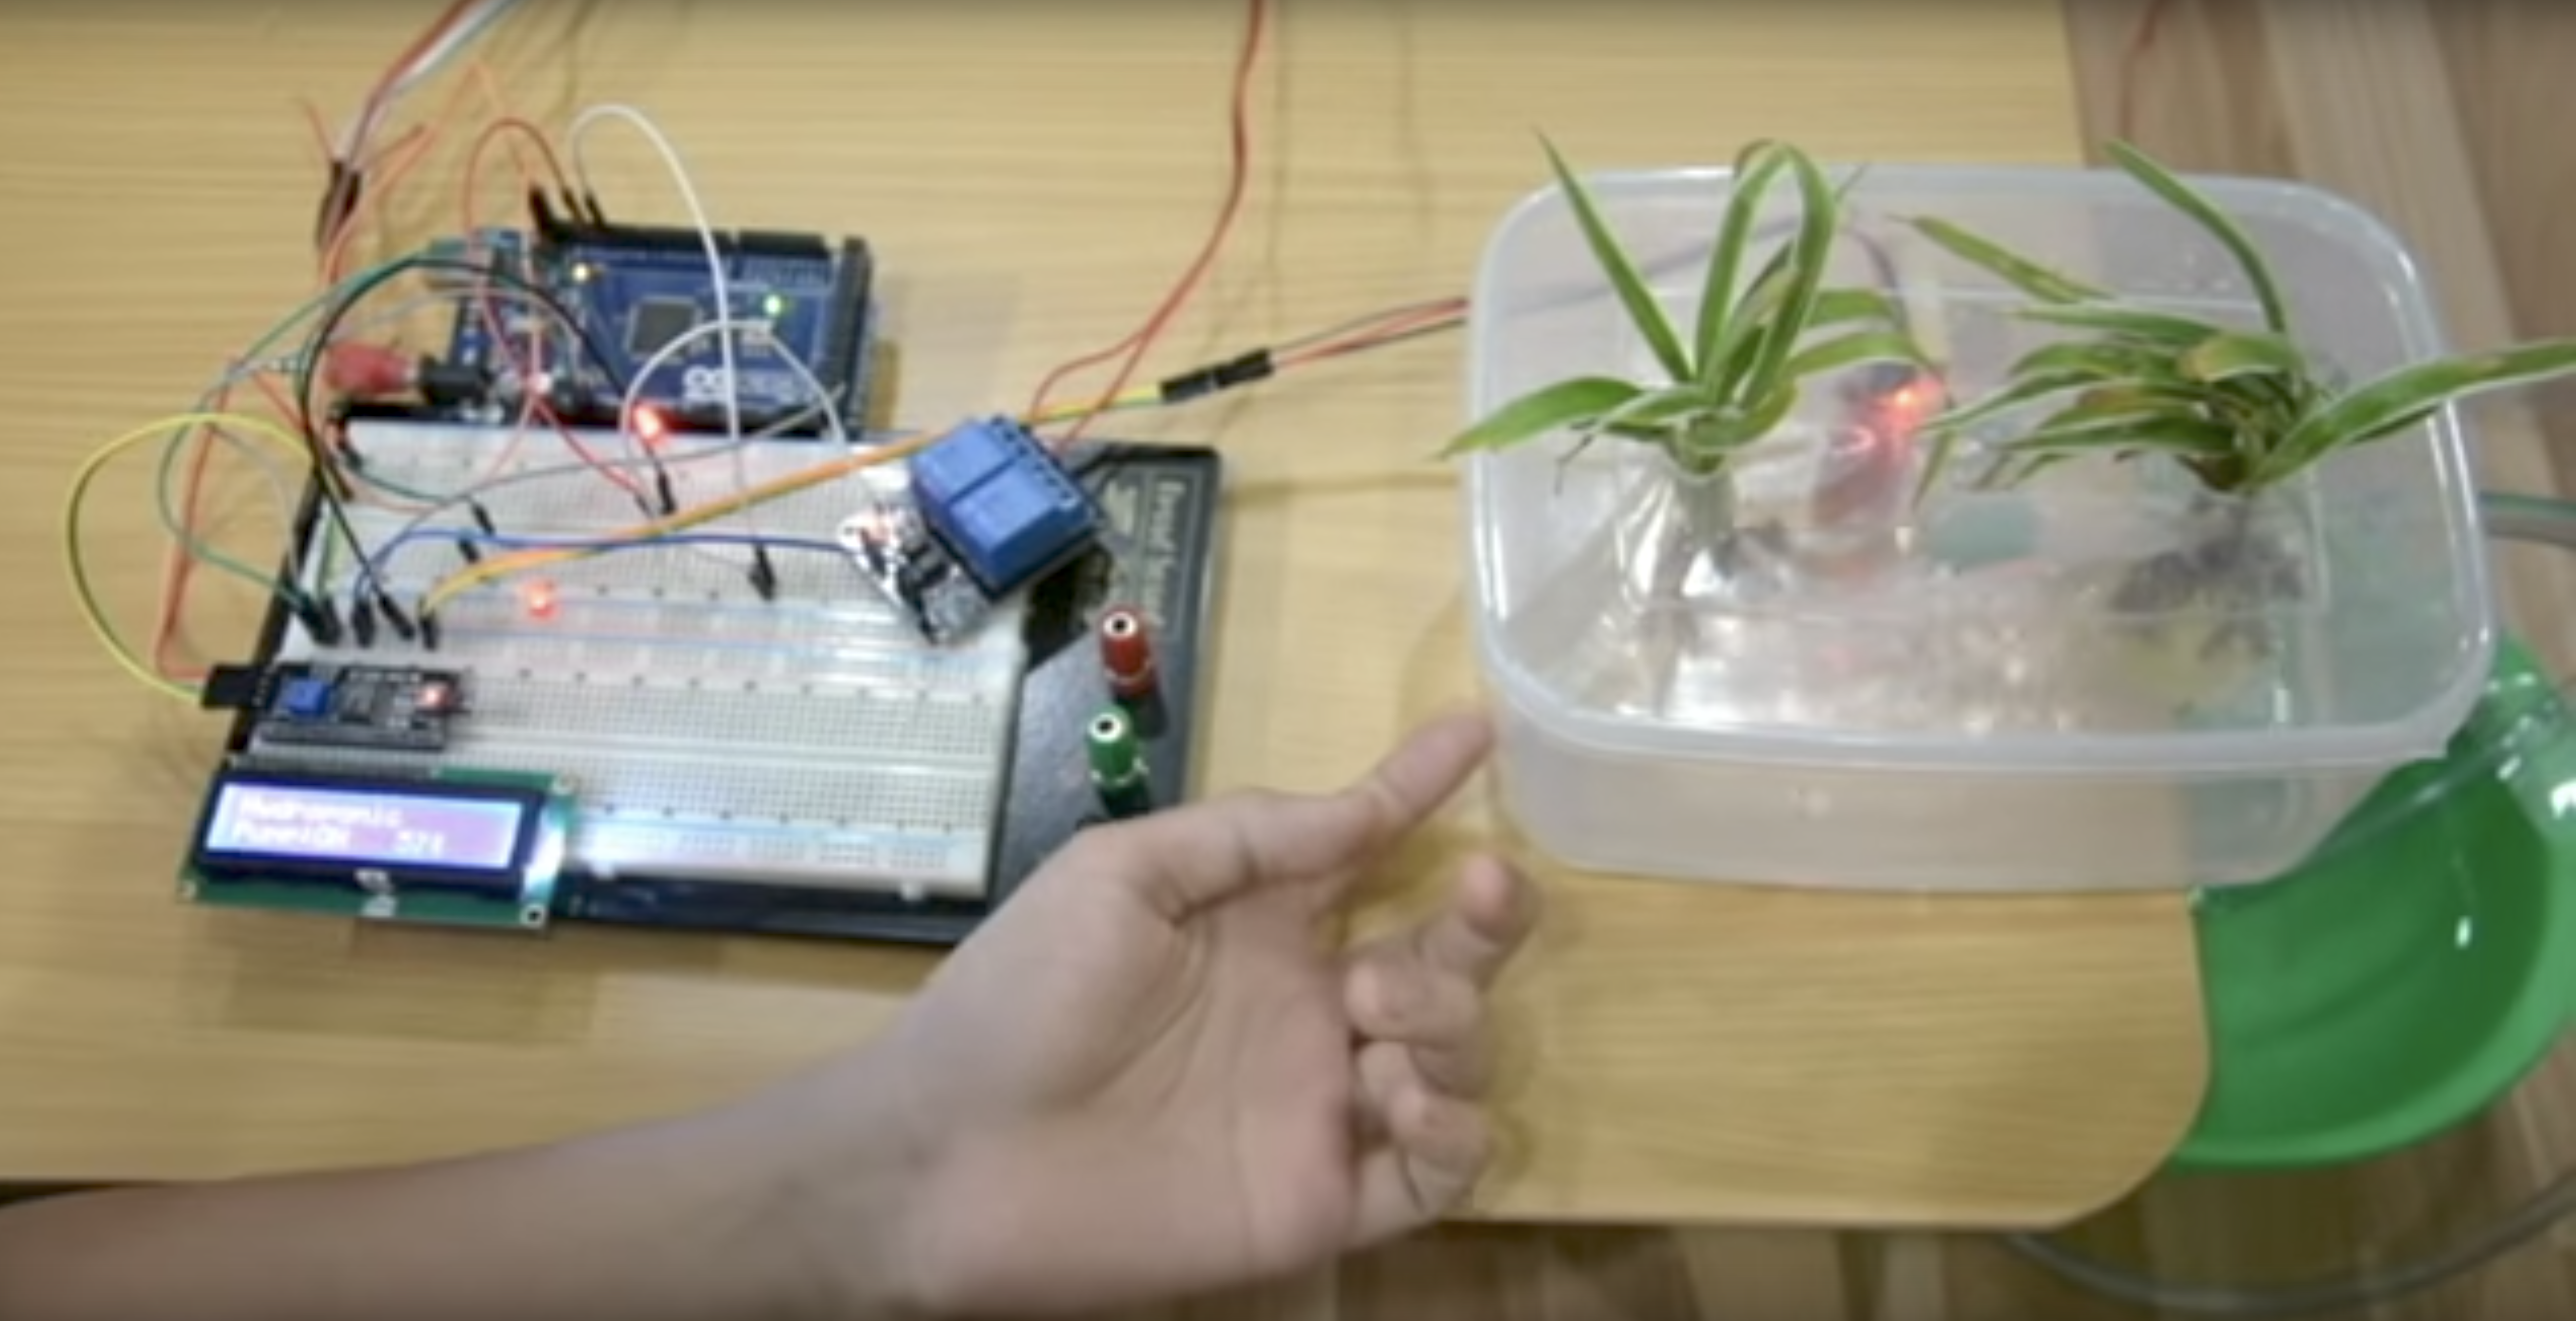
[Kevin]’s full automatic water dispenser is one of a series of water-pumping projects including a couple of plant-watering robots. [Kevin] uses a relay-triggered pump and a water-level sensor, all running on an Arduino Mega plugged into a 1360-point breadboard.

He has a lot of common modules. He uses a LED display plugged directly into the breadboard, with its backpack plugged into same rows so it can lay flat. He plays around with an IR remote, as well as a 12 V / 5 A Peltier thermo-electric cooler running off of a relay. He has a couple of different relay boards making for a number of home automation projects, including a fairly complicated security system featuring RFID and keypad entry.

There are many LEGO and Mindstorms projects as well, including a complicated robot arm controlled by a smartphone app, as well as a Technic beam sorter that rolls the beams down a conveyor so that shorter elements fall through smaller holes, while longer pieces continue on to fall in larger holes down the line. Intriguingly to me, he did a couple of projects involving mixing Arduinos and LEGO/Mindstorms, and frequently uses the building set to build enclosures and support structure.

I suppose you could say the individual projects aren’t that challenging–connecting a relay board to an Arduino, for instance. All of these parts are fairly simple to run individually but together show he’s been working at this for a long time: 70 videos. A DIY security system is a far cry from turning on a LED.

Besides, I like how [Kevin] finishes projects, then riffs off of them. He tries out a few variants in a row, making changes and improvements. I just hope he keeps building–I can’t imagine what he’ll be making fifteen years from now.

Check out some of his videos:


Filed under: Arduino Hacks, Featured

Apply now for Arduino Core Developer Workshop!

Calling all developers in Italy and beyond! We will be hosting a three-day workshop in our Turin office, September 29th to October 1st, designed for students, hackers, and engineers ages 18 to 28 with a deep interest in microcontrollers, IoT, and open source development.

The workshop will focus on three main topics:

Teamwork and Open Source

  • GitHub and GitHub Flow
  • Hands-on collaborative projects on GitHub

Microcontrollers

  • Review of framework for MCU development
  • Introduction to Arduino core architecture
  • Arduino ecosystem tools
  • C++ and Stream
  • Understanding the difference between Arduino and other frameworks
  • Hands-on project with AVR, ARM, ARC32

Internet of Things

  • The future of IoT
  • Security, networks, protocols
  • Low-power
  • Hands-on “Chinese whispers” project involving multiple protocols, e.g. infrared, WiFi, BLE, Sigfox, LoRA, and Zigbee.

The workshop will be tutored by Martino Facchin, senior developer at Arduino, and is open to a maximum of 25 selected participants. The cost (150 EUR) covers all of the necessary materials, lunches, and social activities (breakfast with Massimo Banzi and aperitivo with the Arduino team).

Interested? You can start by applying here (deadline: September 10th). All confirmed participants will receive an email on September 12th with a link to buy their seat at the workshop (deadline: September 17th) via the Arduino online store. For more information, feel free to email us at events@arduino.cc.

ARDUINO DEVELOPERS WORKSHOP

DATES: September 29 – October 1, 2017, from 9.30am to 6pm

VENUE: Arduino c/o Toolbox Co-working, Via Agostino da Montefeltro 2, Torino

TUTOR: Martino Facchin

COST: 150 EUR + VAT

Application for the event can be found here. Additional information at events@arduino.cc.