Posts with «featured» label

Start and stop an action camera with Arduino

Digital cameras have revolutionized the ways that we can record and share our lives. Action cameras, such as the GoPro and other similar models, have taken things one step further, allowing use in rugged environments. If you want to capture nature, however, you may want your camera to start recording automatically.

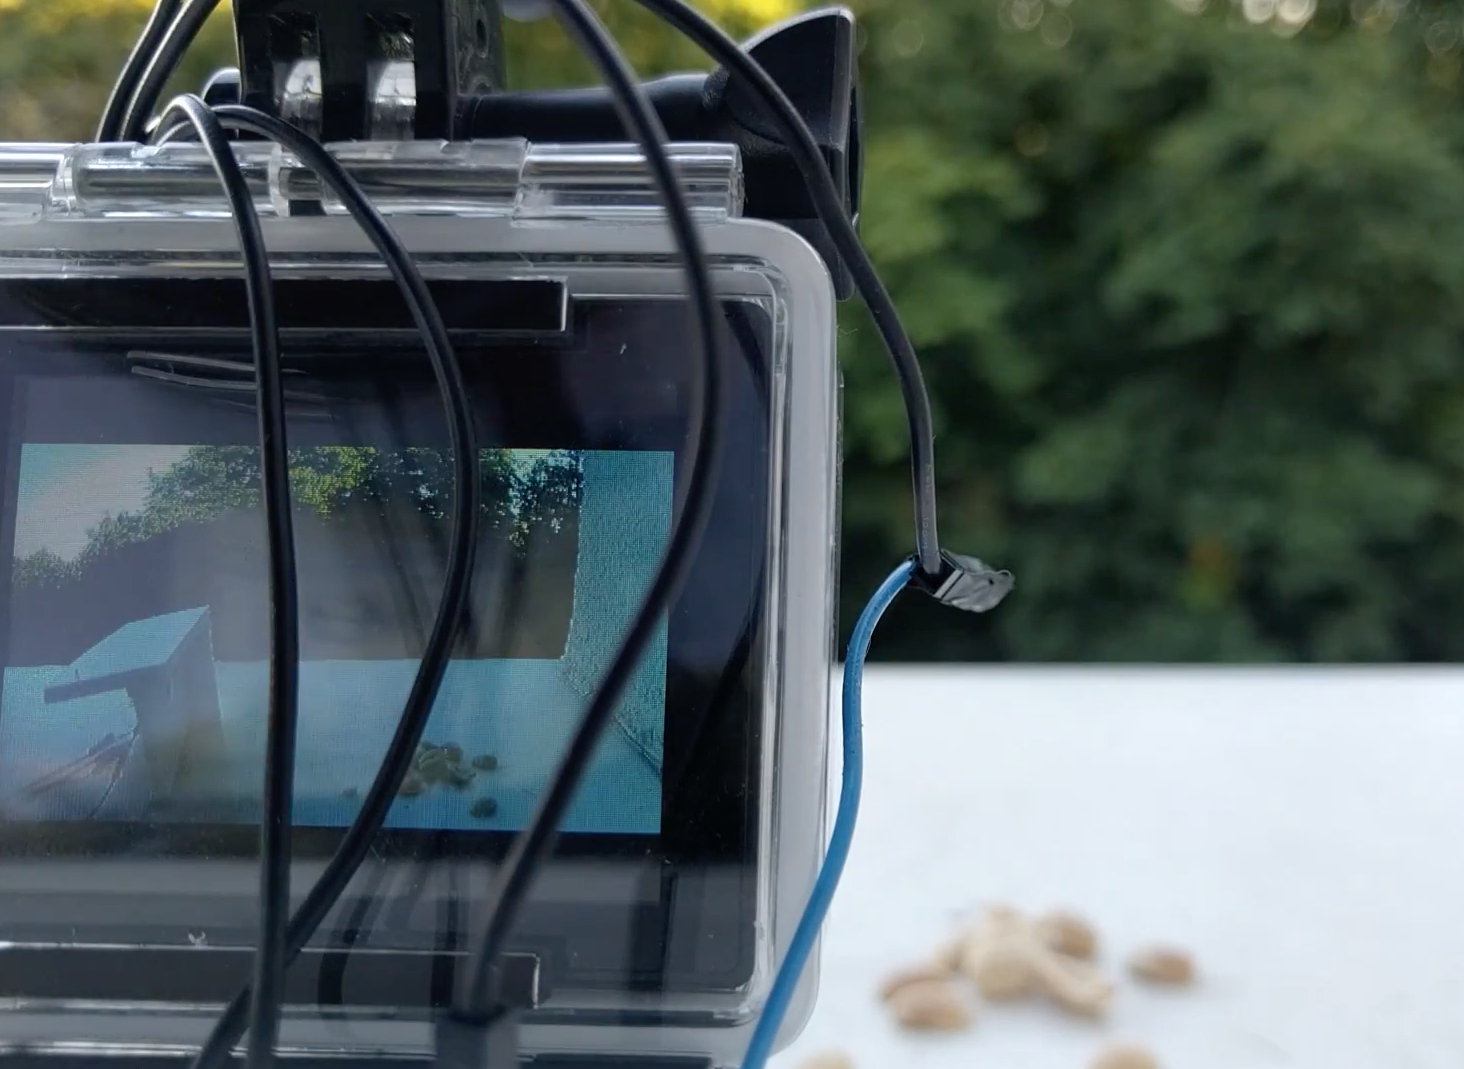
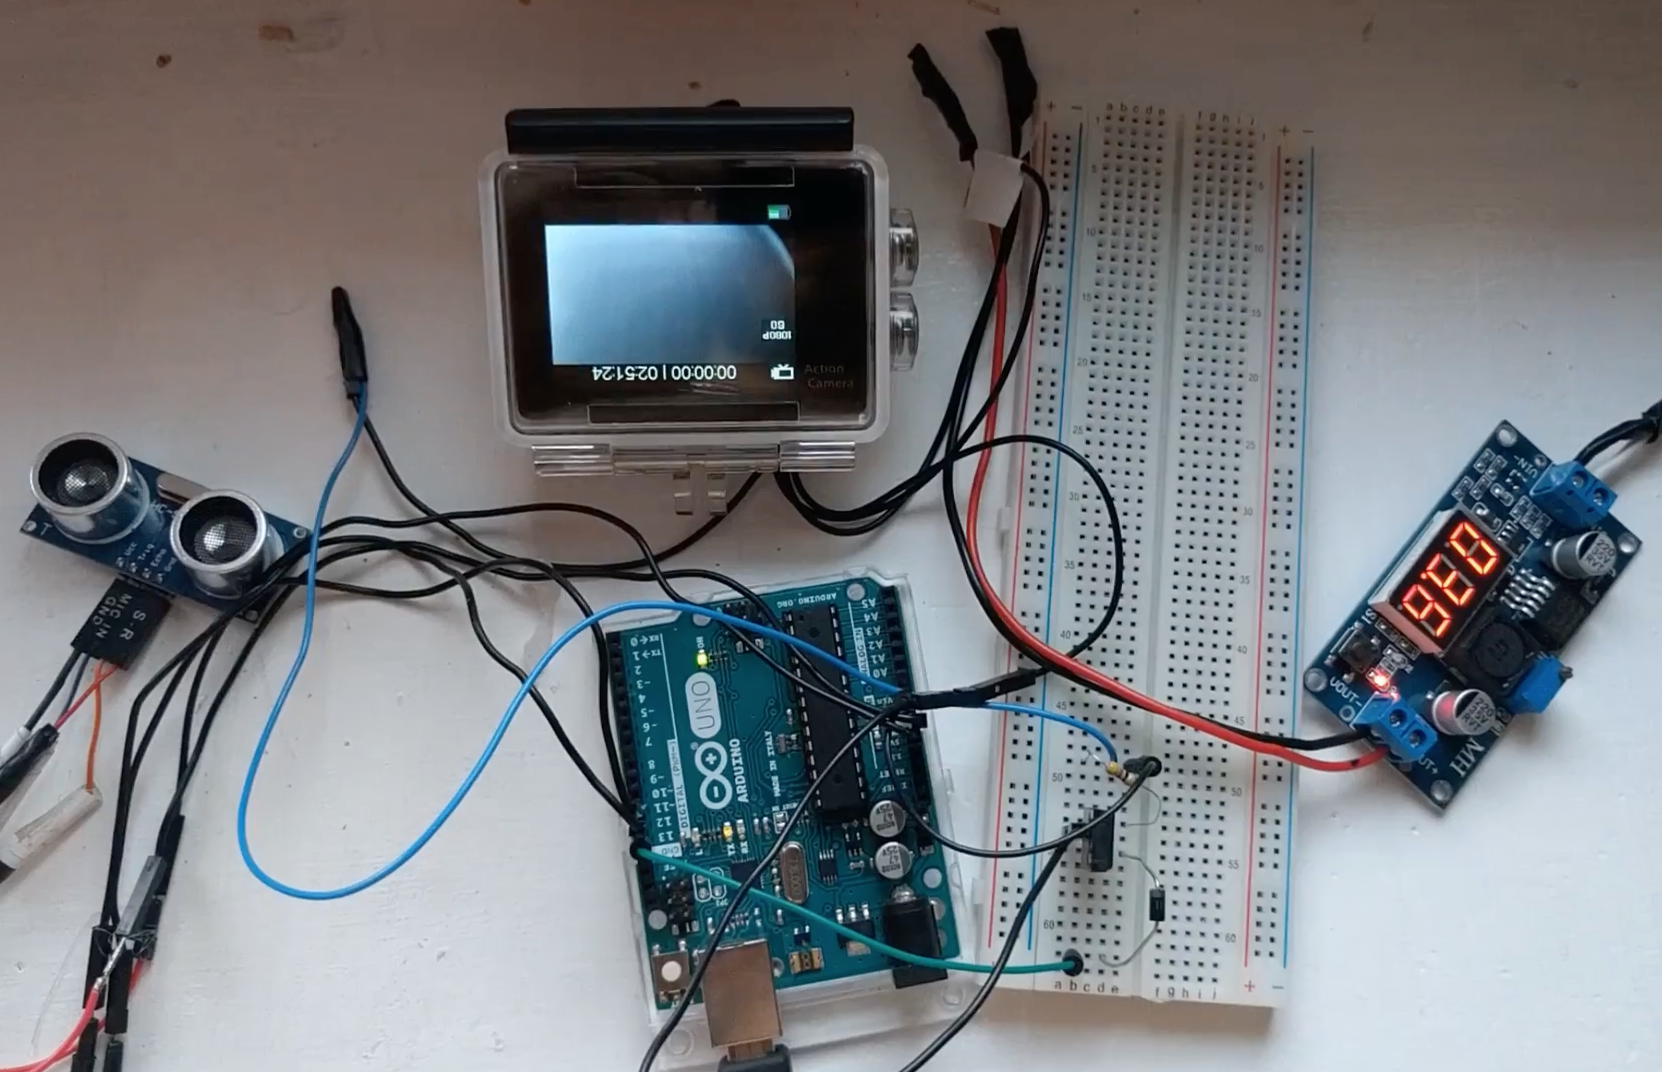
In order to add this ability, YouTuber “ItMightBeWorse” hooked up an ultrasonic sensor to his CA Kenai CA2001 camera using an Arduino Uno along with a transistor to act like the normal start/stop button. The output is soldered directly to the button leads, and he also tapped into the battery terminals to give himself more power supply options.

He can now record birds as they feed without being there to scare them away!

A new era for Arduino begins today

BCMI, the company founded by Massimo Banzi, David Cuartielles, David Mellis and Tom Igoe, co-founders of Arduino, announces that today it has acquired 100% ownership of Arduino AG, the corporation which owns all of the Arduino trademarks.

Following the acquisition, Mr. Massimo Banzi becomes the new Chairman and CTO of Arduino. Dr. Fabio Violante will be appointed as the new CEO, replacing Mr. Federico Musto who will pursue other opportunities outside Arduino AG.

“This is the beginning of a new era for Arduino in which we will strengthen and renew our commitment to open source hardware and software, while in parallel setting the company on a sound financial course of sustainable growth. Our vision remains to continue to enable anybody to innovate with electronics for a long time to come,” said Mr Banzi.

“I’m really excited and honoured to join Massimo, the co-founders and the amazing Arduino team as CEO. In the past two years we have worked very hard to get to this point. We envision a future in which Arduino will apply its winning recipe to democratize the Internet of Things for individuals, educators, professionals and businesses,” said Dr. Violante.

Arduino Blog 28 Jul 18:01

NOMNOM is an audiovisual DJ machine

Perhaps you enjoy various flavors of electronic music, and would love to try making your own. Although this seems like a fun idea, after considering the amount of equipment and knowledge that you need to get started, many people simply move on to something else. On the other hand, the NOMNOM machine, seen here, allows you to create tunes visually using YouTube clips as samples.

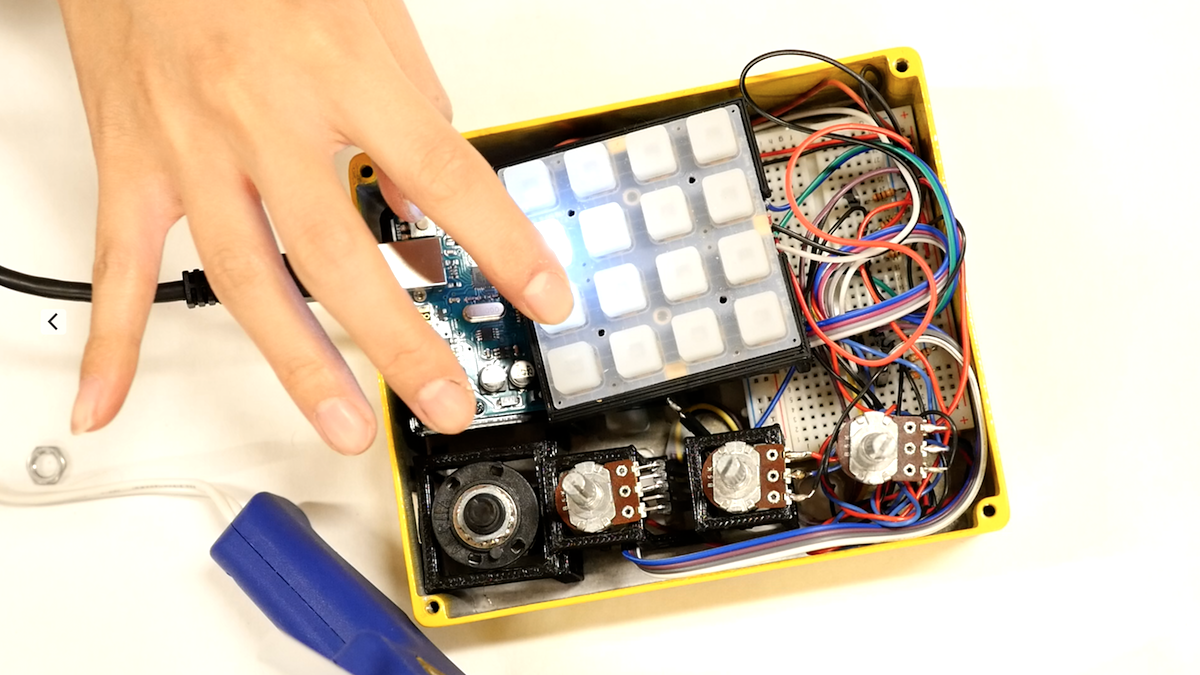
The device has 16 buttons which can start and stop up to 16 clips displayed via a JavaScript web application. An Arduino Uno takes input from these buttons as well as four potentiometers to modify the clip sounds, and sends the appropriate signals to the computer running the app. There are also four knobs that control the repetition rate, volume, speed and playable length of each selected video. This enables you to make really interesting music without the normally steep learning curve.

For more details, you can check out the project log on Hackaday.io or on GitHub. NOMNOM will also be making an appearance at the World Maker Faire in New York City this fall, so be sure to see it in person if you’re there!

Arduino Blog 28 Jul 17:35

Search for coins and jewelry with this DIY metal detector

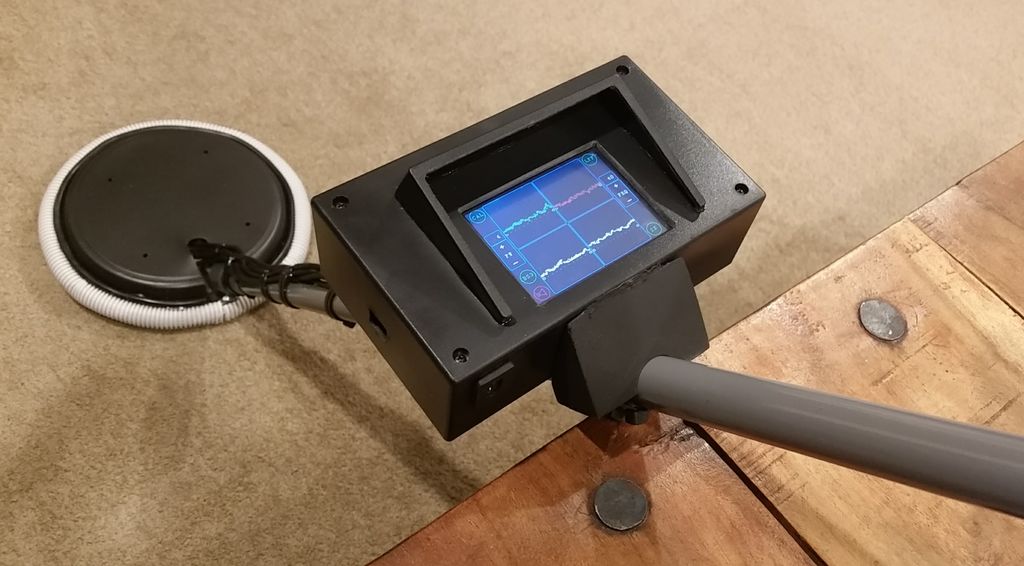
While using a metal detector to find valuable jewelry, and less valuable aluminum cans, can be interesting, the more accurately you can pinpoint the “treasure,” the easier it is. For excellent accuracy while maintaining a wide sensing field, Maker “TechKiwiGadgets” built a detector with not one, but four sets of sensing coils, all controlled using an Arduino Mega.

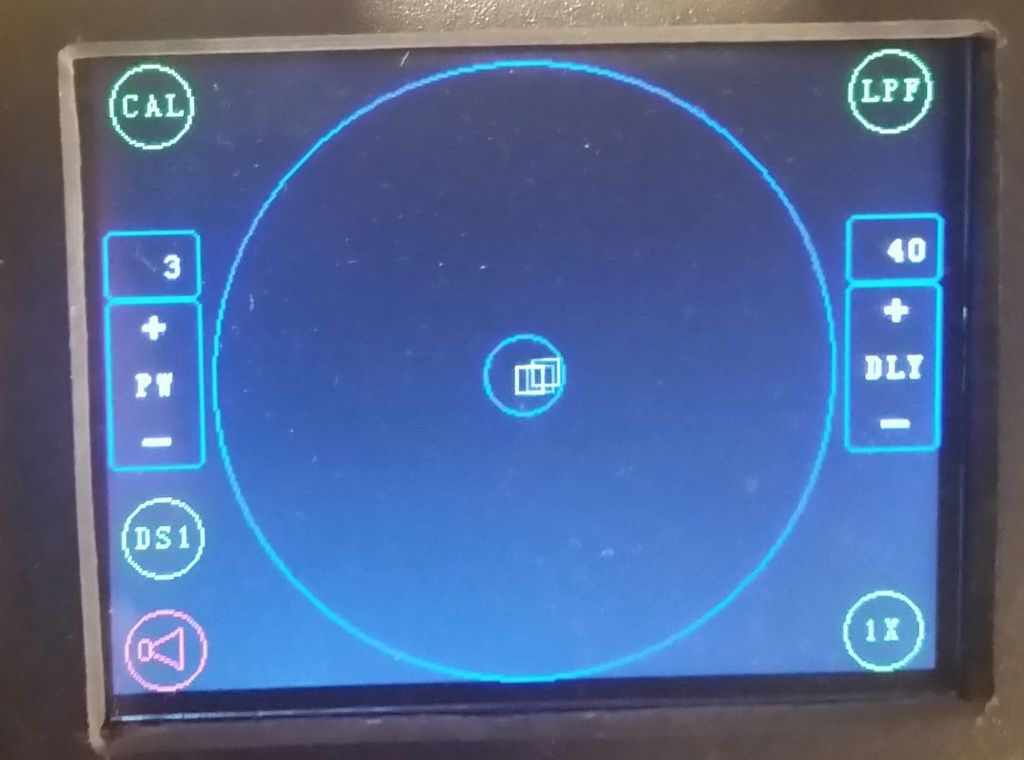
The device generates and senses a magnetic pulse from each set of coils, which is modified if there is a metallic object present. In search mode, the four signals are combined into a single display, and once an object is located, the four sensors can be shown in a split-screen. You can then dig where, and only where, it’s needed, minimizing work and your environmental impact!

Want to create your own? Check out TechKiwiGadgets’ Instructables page for more details and see a demo of it below!

Get into shape as you game with Cykill

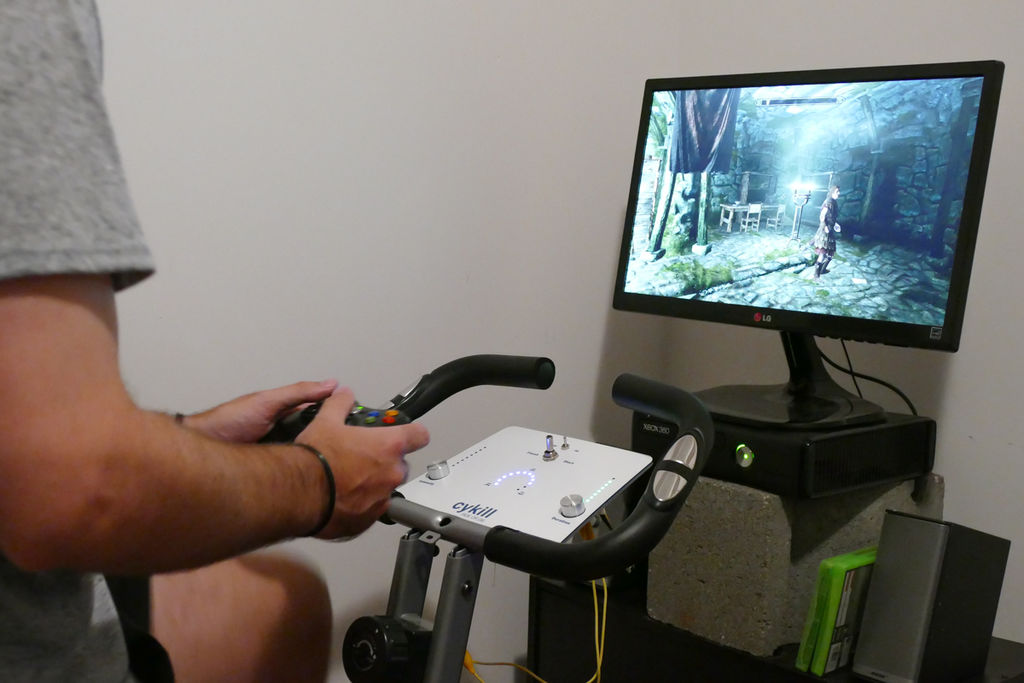
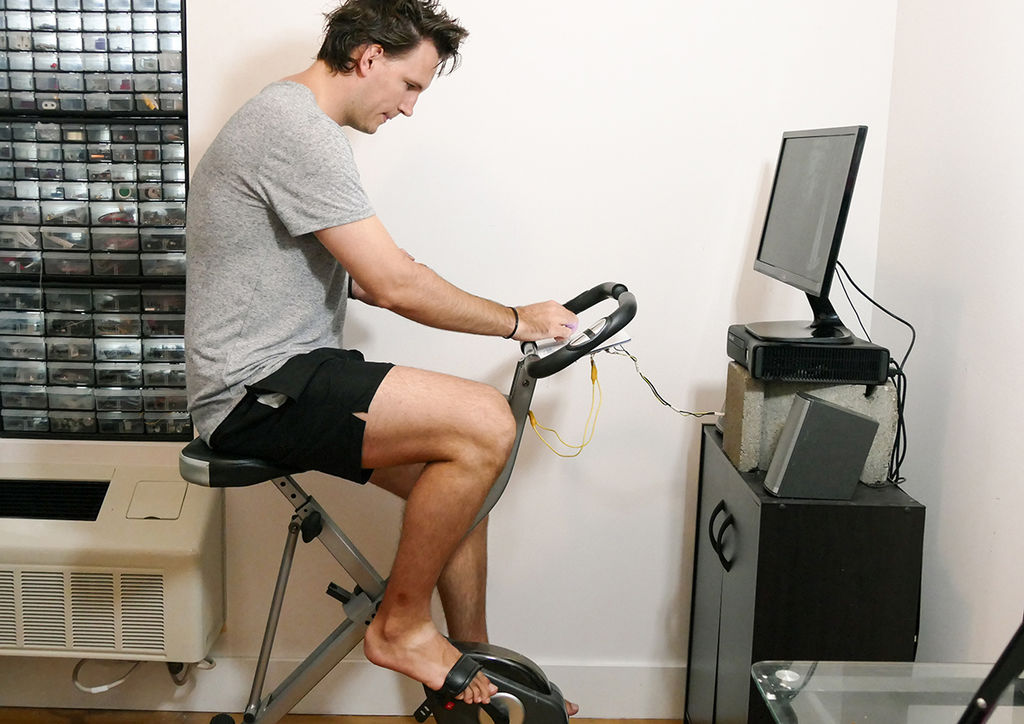
If you’re having trouble finding time to work out because you’d rather play video games, then this is the solution you’ve been waiting for. The Cykill device modifies a normal exercise bike into a device that won’t let you power on your Xbox unless you’re pedaling sufficiently fast enough.

Making this even more motivating, is that if you stop pedaling fast enough, it immediately cuts power, ruining any in-progress game, and potentially even damaging your hard drive!

To implement this hack, Instructables user “Fuzzy-Wobble” used an Arduino Uno to intercept the bike’s normal control signals. From this data, as well as settings on a custom control panel, it decides whether or not to activate switchable plug that provides power to the Xbox.

If you’d like to build your own forced-fitness setup, be sure to check out the project’s write-up here. Gaming not your thing? Perhaps it’s Netflix binge-watching getting in the way of your healthy lifestyle instead…

’60s jukebox modernized with an Arduino Mega

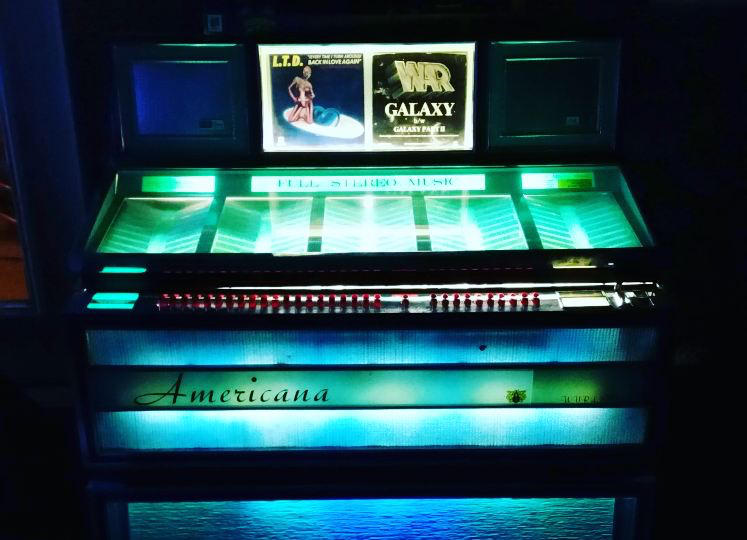
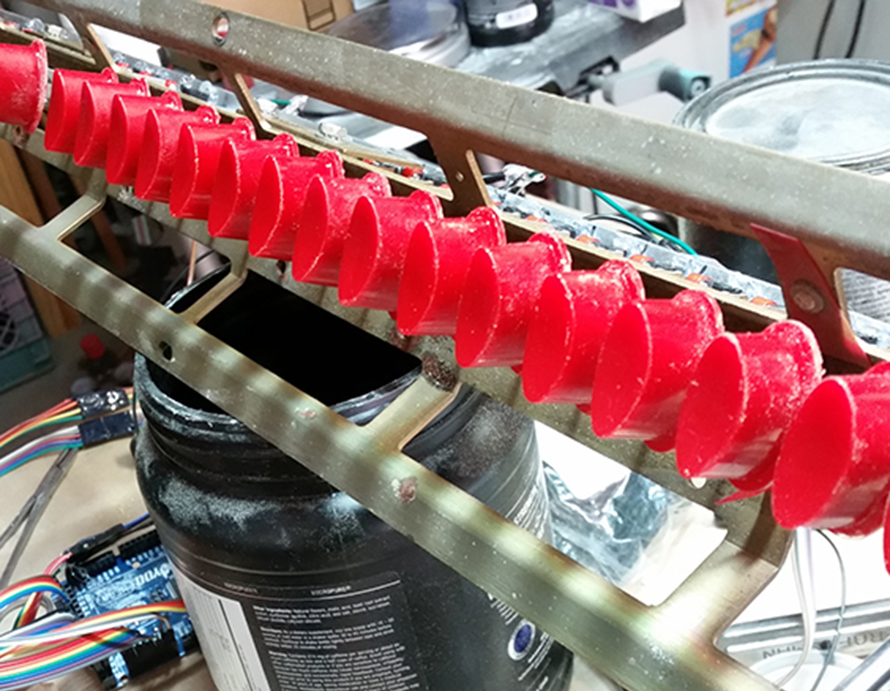
As seen here, artist Tijuana Rick’s father-in-law received a 1969 Wurlitzer 3100 jukebox for free, with one small catch. It didn’t come with any records. Of course, Rick could have purchased vintage records from a number of sources, but instead decided to transform it into an amazing retro music streaming device.

In order to take input from the jukebox’s 40+ interface buttons, he turned to the Arduino Mega. After the Mega receives these on/off signals, it then pushes selection information to a Raspberry Pi, which does the actual streaming.

Luckily, he had stumbled upon this GitHub repository from Thomas Sprinkmeier, which became the foundation for the project’s software. You can find more details and images of Tijuana Rick’s restoration on his website, including how he cast replacement buttons that he needed for the jukebox in silicon molds!

Make your own Operation-style board game with Arduino

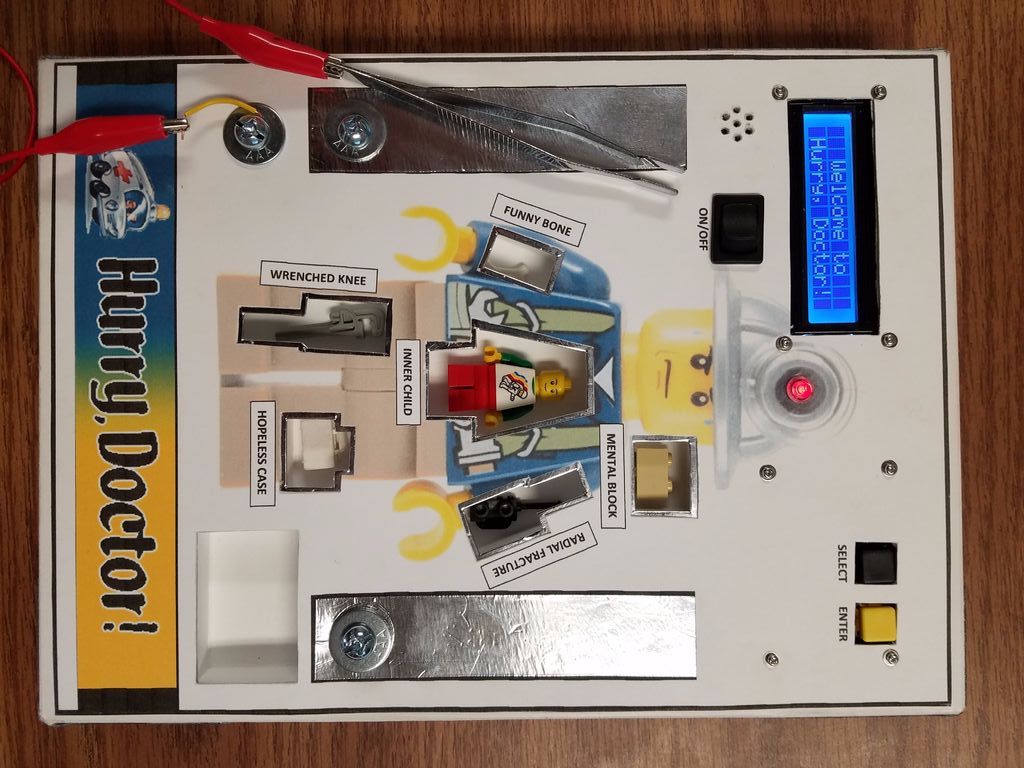
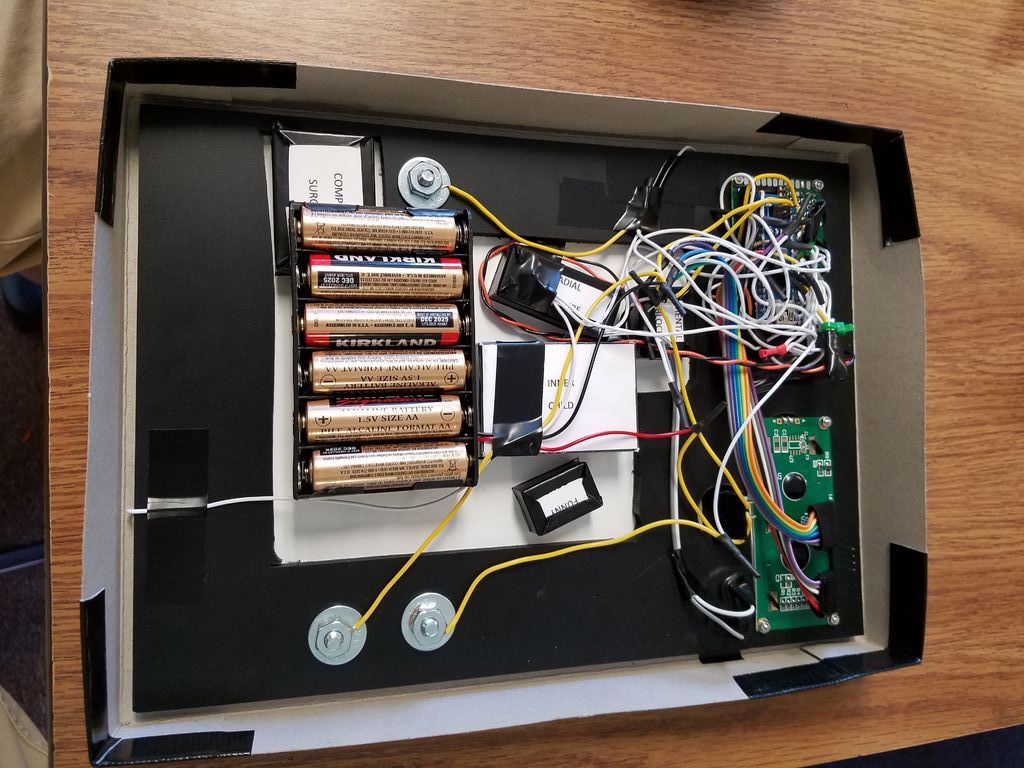
Usually, when you think of doing “surgery” on electronics, it’s to replace a component, or maybe modifying an appliance into something different. In this case, an Arduino Nano powers Hurry, Doctor!, an updated version of the board game classic Operation meant as a middle school STEM exercise.

This game, of which creator “TrevorB23” gives an extensive explanation in his Instructables write-up, features a LEGO minifigure with cutouts inside that house obstructions such as a “mental block” and “funny bone.” As with the original, the objective is to remove these foreign bodies without touching the sides, constructed here with conductive aluminum foil tape in order to signal the Nano.

With its enhanced electronics, TrevorB23’s version adds a timing element to encourage “surgeons” to complete tasks faster, as well as doctor names and melodies that can be altered if so desired. Want to make your own game? You can follow along with his 31-step tutorial.

An Arduino-powered iris door… for chickens!

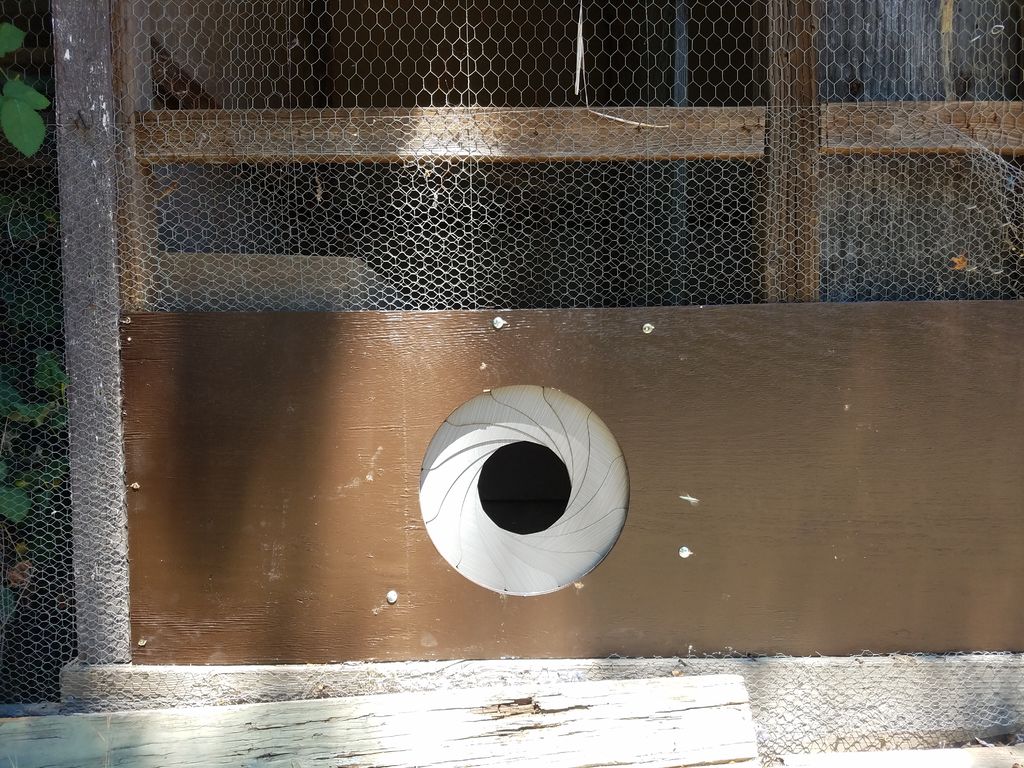
There’s something beautifully sci-fi about the way an iris opens, whether as part of a camera or perhaps even as an entryway. Knowing that his father wanted an automatic chicken coop door, Ziven Posner decided to build one in the form of an iris, adding style to what would normally be the mundane task of letting the birds in/out.

The resulting iris mechanism is powered by a DC motor, and actuated by a toggle switch. Starting and stopping is controlled with an Arduino Uno, which prevents overtravel on the door via a set of limit switches.

If you’d like more details on the project, be sure to check out his Instructables post!

Arduino Create comes to Chrome OS devices!

Arduino Create is now available to everyone on Chrome OS devices, with $0.99 per month subscription. An Arduino account and Google ID is all you need to use it, just follow the Create Getting Started guide on your Chrome OS device. We are actively working on specific licensing and pricing for schools, so stay tuned.

The new Arduino Create Chrome App enables students and other users to write code, access tutorials, configure boards, and share projects. Designed to provide a continuous workflow from inspiration to implementation, Makers can easily manage every aspect of their project right from a single dashboard.

Developed with the classroom in mind: The Arduino Chrome App allows you to teach and tinker with Arduino electronics and programming in a collaborative, always-up-to-date environment.

Built for Chrome OS: Code online, save your sketches in the cloud, and upload them to any Arduino connected to your Chrome OS device, without having to install anything locally. All the contributed libraries are automatically included.

The following Arduinos are currently supported: Uno, 101, Mega, Esplora, Nano (ATmega328), Micro, Zero, MKR1000, MKR Zero, MKR Fox 1200, Pro and Pro Mini (ATmega328). We are actively working with the Chromium team to restore support for the Arduino Leonardo in a future Chrome OS release.

The launch of this app would not have been possible without the following open source components:

As usual if you encounter any bugs, issues, or have an idea on how we can improve the Chrome app, please open a discussion thread on this Forum page.
Please note that this app will work only on Chrome OS, if you click on the Google Store link on any other OS you will not be able to install it.

Ball-on-plate machine uses touchscreen position sensing

Redditor “xmajor9x” has spent several weeks building a three-legged machine to balance a metal ball on top of a plate. The device uses three servos attached to a rectangular surface with linkages that translate servo position into linear displacement of the table. This allows it to keep the ball centered, or rotate around the perimeter in a circle or square pattern.

An Arduino Due controls the ball using a PID loop, and the ball’s position is sensed not by an external camera, but by the top “plate,” which is actually made out of a resistive touchscreen. Although this adds a very unique element, it means that the ball on top must be quite heavy to be reliably tracked, and its creator is considering switching to a computer vision system in the future.

Be sure to check out the project’s GitHub page for code and more info on the build! <!–more–>

Arduino Blog 14 Jul 19:48