Posts with «featured» label

Small CNC machines for customizing coasters
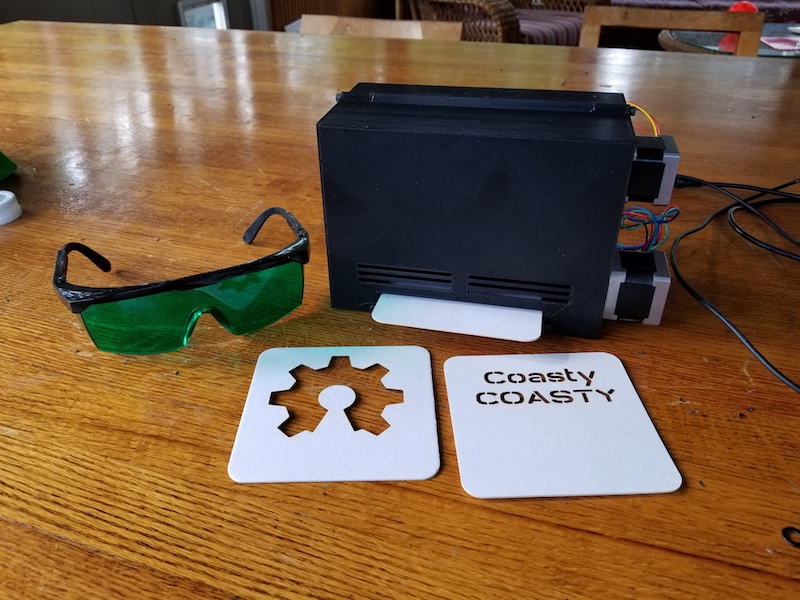
As seen on Make:, Barton Dring wanted to make something interesting to bring to a hardware meetup, along with learning more about the Grbl Arduino machining package. What he came up with was a pair of drawing robots that are both small enough to fit inside of a backpack, and are used to decorate coasters!

The first of these projects, known as “Coasty,” employs a laser to mark, or even cut, square coasters. They are fed in from the side, then pop out again with a new pattern.
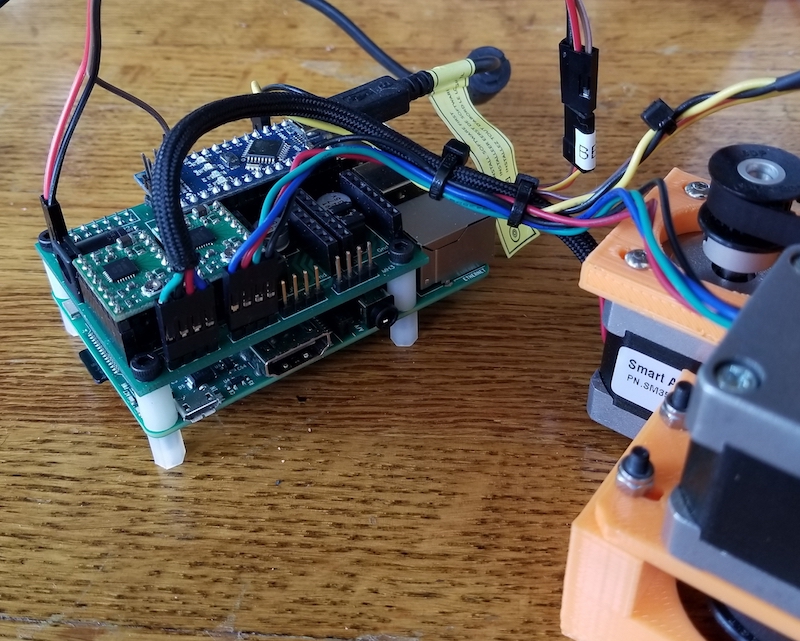
The second device uses a much different method, showing off Grbl’s versatility as a polar plotter. Round coasters are placed on a rotating base, and a pen goes around and around until a new doodle is produced.

Be sure to check out both of these machines in action in the videos below!
Regulate air flow with Arduino

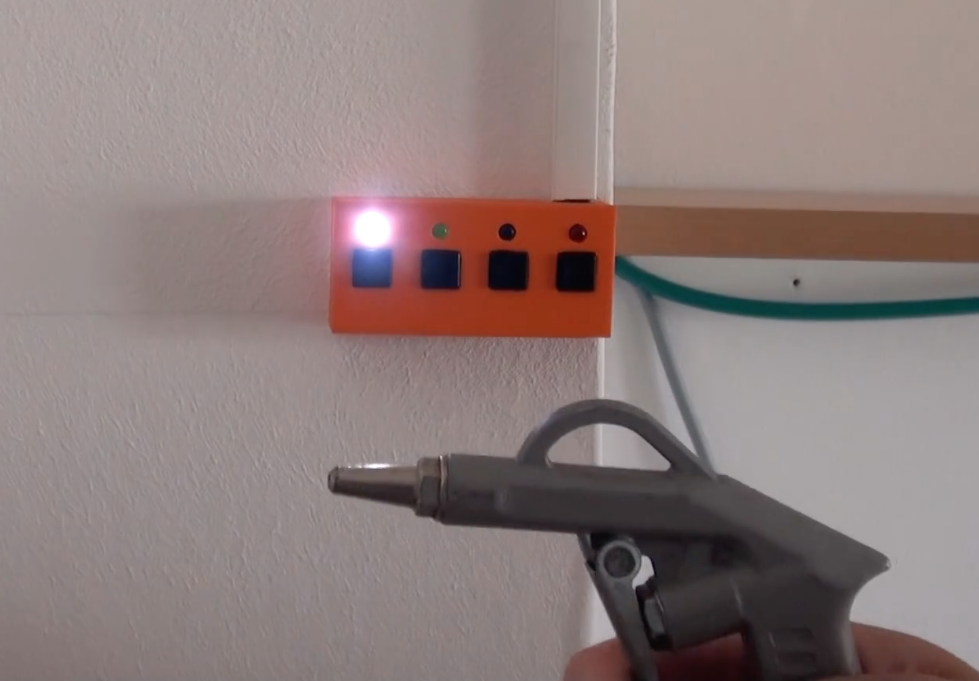
Blow guns can be very helpful around your workshop, but sometimes you want a subtle shot of air instead of a full blast. There are several ways to take this on, but YouTuber “MBcreates” decided on a novel method using an Arduino Nano for control.

In his setup, a stepper is used to turn a screw as a linear actuator, pushing an intermediate blow gun’s trigger at progressively more aggressive intervals. This effectively regulates the air flow going into the handheld blow gun, allowing for a more subtle burst of air when needed.

Simple is often better. So I grabbed an old blow gun and used this a valve. The Arduino Digital Air Pressure Regulator uses a NEMA 17 stepper motor to press the lever of the blow gun. A micro end switch was placed against the lever. When the Arduino Nano goes through the setup, the stepper hits the end switch, now the program knows the exact position of the stepper.

The video seen here features some very clever build techniques, and it really turned out spectacular, especially considering it was MBcreates’ first Arduino project!

Fling discs with a brushless motor and an Arduino

YouTuber “austiwawa,” apparently not satisfied with other methods of causing mayhem in his garage and backyard, has come up with an innovative disc shooter.

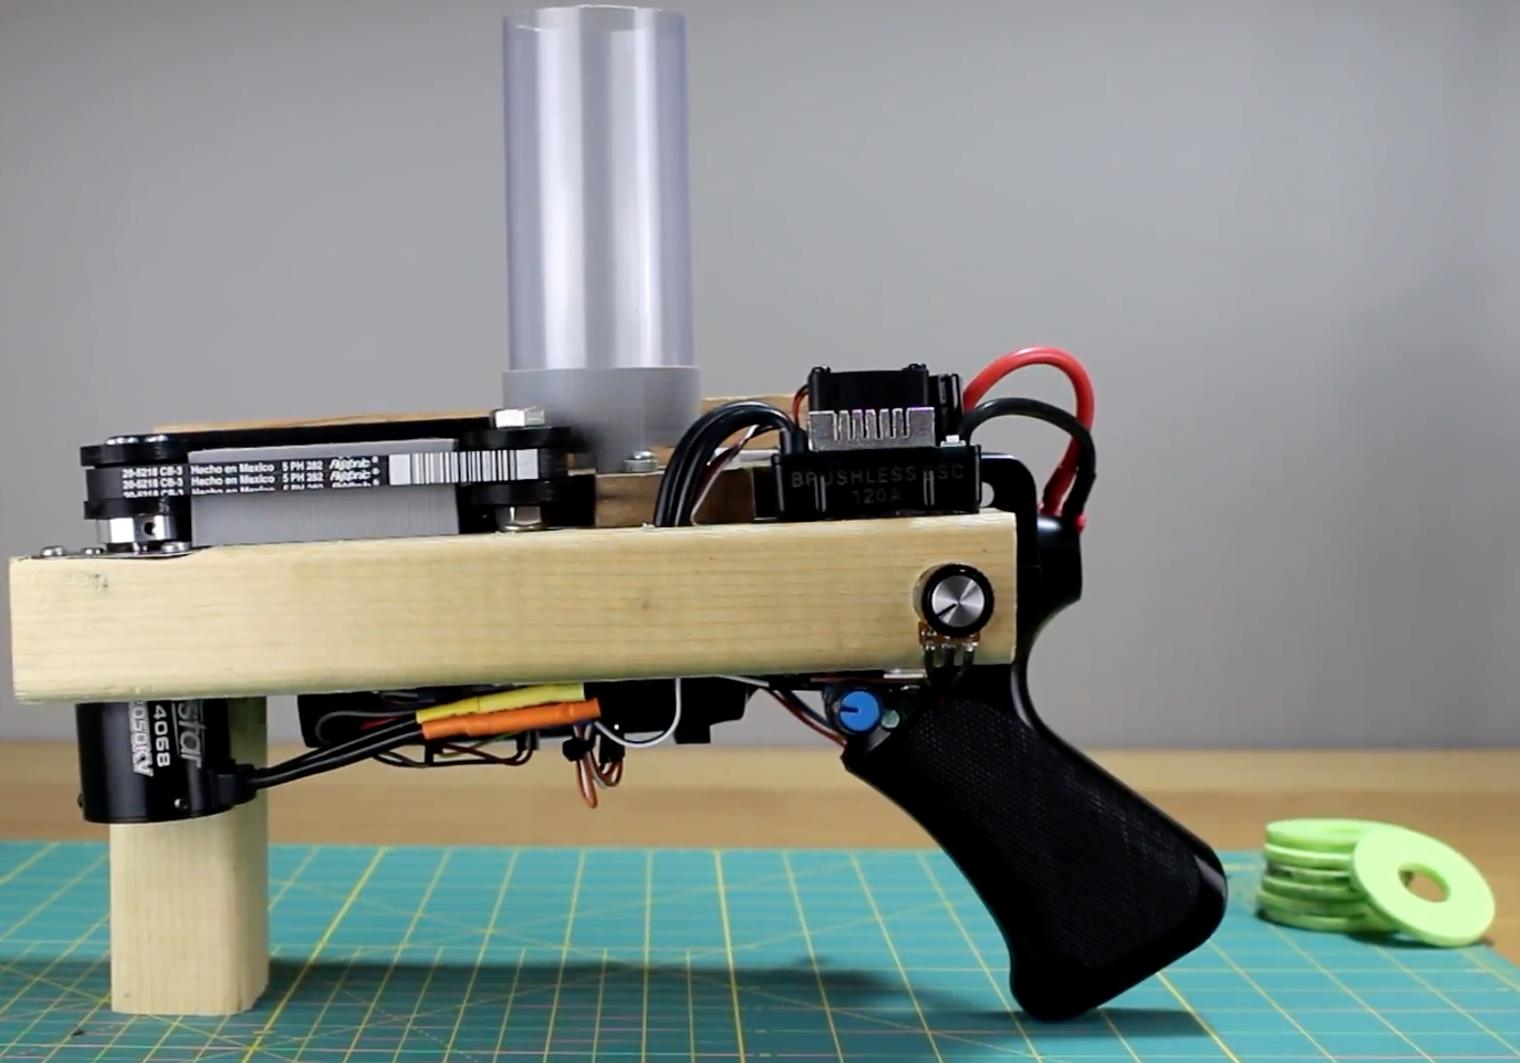
His homemade device uses a brushless motor controlled by an Arduino Nano and an ESC to pull a vacuum belt at high speeds. A clear plastic tube on top holds a stack of about 27 3D-printed discs. At the press of a button, they are then fed one by one onto the belt surface by another motor, which accelerates the disc to ejection velocity and out the “muzzle.” There’s also a potentiometer that allows him to adjust the fire rate.

Although it appears to work quite well, destroying items like an apple and eggs, austiwawa notes that this is only a prototype, and plans to make a fully 3D-printed version in the future. At that point, he’ll release the Arduino code and STL files, making it easy for others to duplicate!

Until then, check it out in action below!

Watch this maker cruise the beach on an electric luge

We’ve all seen clips of people careening down mountain roads on luges, but if landing on concrete or careening off a cliff doesn’t look like your cup of tea, perhaps something meant for the beach would be more suitable. Taking inspiration from these luges, as well as kite surfing rigs, and even Land Speeders from Star Wars, UK-based maker John Dingley came up with his Electric Beach Luge.

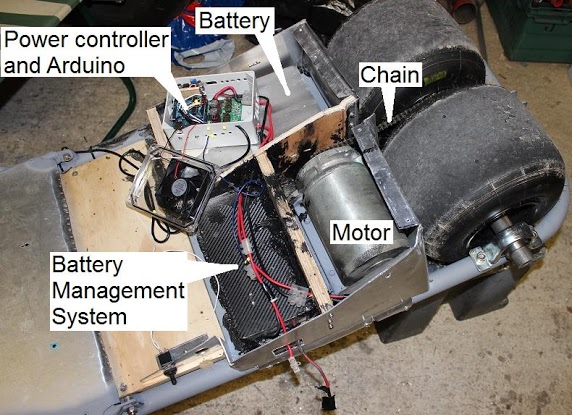
Foot pegs straddling a single go-kart tire in the front are used for steering the vehicle, while power is transferred to the sand by a pair of wheels in the back. A potentiometer is wired into an Arduino Uno for speed input, which uses this information to signal a 500W, 24V golf cart motor via a robot combat controller, capable of producing 160 amps continuously.

You can check out the project page for more info and see it in action in the videos below!
 

Check the time on this large and inexpensive “Titan Clock”

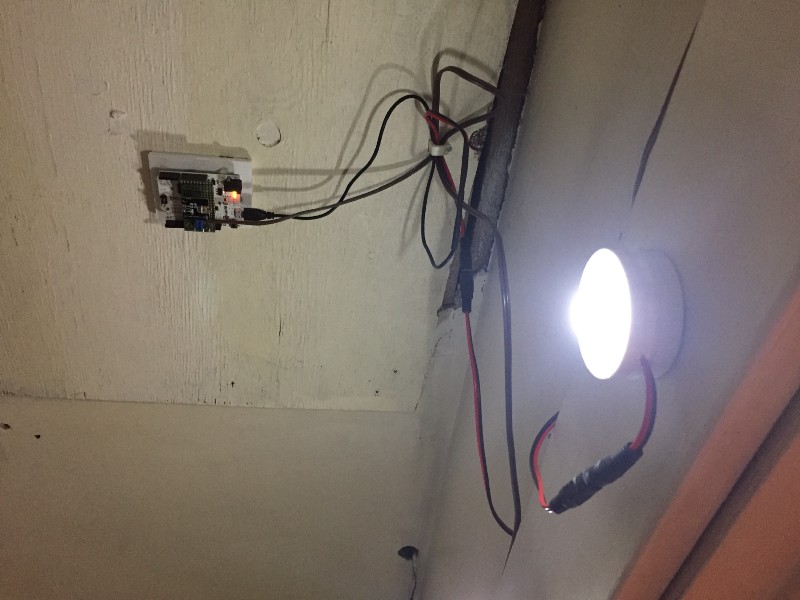
When you, perhaps after being late for an important event one too many times, decide to build a wall clock, there are many DIY options from which to choose. But none may be as massive or unique as the aptly named “Titan Clock.”

To justify this particular design, hacker “ProtheanSoft” lists several of its advantages, such as its large size, energy efficiency (runs on a smartphone charger), thinness (only 18mm thick with casing), and of course, affordability.

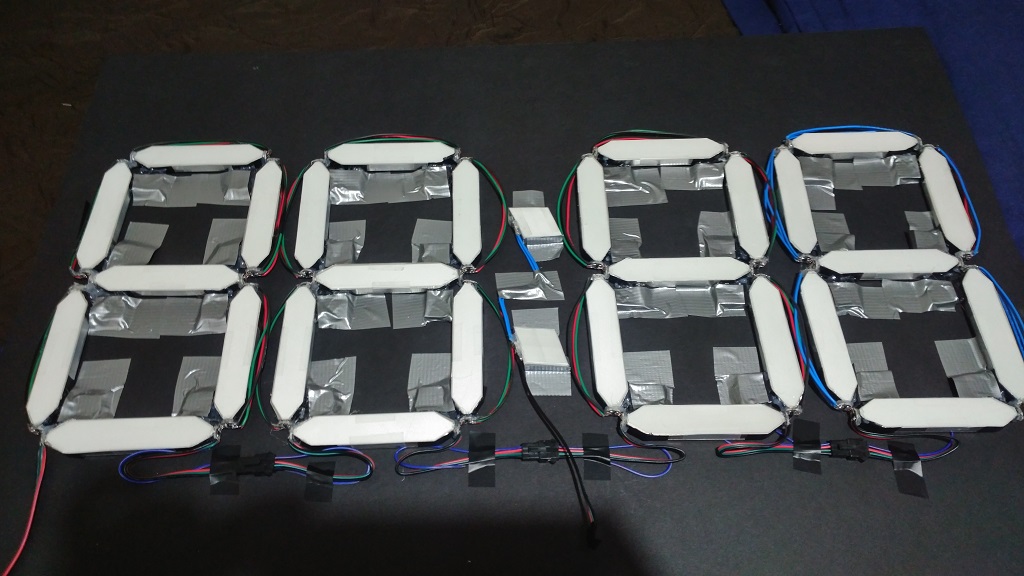
The Titan Clock—which can be assembled for less than $50—consists of RGB LEDs, inexpensive craft materials like foamcore board, acrylic and aluminum sheets, as well as recycled components including the diffuser from a broken LCD monitor or TV to generate a uniform glow for each segment. 

ProtheanSoft’s project uses an Arduino Nano for control, along with with a DS3231 RTC module for accurate timekeeping. In this version, the Arduino is programmed to display the time and change color every hour based on a predetermined table.

Interested in creating your own? You can find more details on the build here, as well its code and a wiring diagram on GitHub.

Motorgan is an electromagnetic organ

What do you get when you combine three small motors with a guitar pickup and a touch keypad? That would be the Motorgan by Moscow-based media artist Dmitry Morozov (aka ::vtol::). The result is a unique Arduino Mega-controlled instrument that looks and sounds like he somehow combined a V8 engine with a pipe organ.

The electromagnetic/electromechanical organ uses two differently sized PC cooling fans, as well as a gear motor to produce various sounds. A separate keypad is used for each motor, and each of the 24 keys can be tuned with a potentiometer, which reportedly allows one to “make any kind of music.”

The speed of each motor is controlled by voltage changes via touch keyboard with 24 keys. Keyboard is split into three parts (registers) for each motor, so it’s possible to play chords/polyphonic lines by taking one note from each register. Electromagnetic fields produced by motors are picked up with a single coil guitar pickup.

As you might suspect, it’s not exactly an easy instrument to play, but the results are certainly stunning, or perhaps you might even say “shocking.” Be sure to check out ::vtol::’s latest project in the video below!

Arduino Blog 22 Aug 20:22

Over-engineered, Arduino-powered closet lights

If you’re faced with a closet that doesn’t have any lights inside, you simply could go and find puck lights at most retail stores. But, if you’re Dillon Nichols, you buy a set of lights, and enhance them with a wired power supply and automatic Arduino control.

To accomplish this, Nichols decoded the infrared remote control signal to his puck lights using an Arduino Leonardo, then set up things up to sense the door’s opening via a physical switch and signal the lights accordingly. Now when he opens the closet, lights automatically shine down and fade out when it’s closed.

He also added a timer, so that they turn off after 10 minutes automatically if he forgets to shut the door. Looking for an over-engineered, non-permanent solution for yourself? You can check out his detailed write-up here and find the code for his build on GitHub.

The GuitarBot will strum you a song

While many Makers have musical skill, others attempt to compensate for their lack of it by producing automatic instruments that play themselves. One such attempt started in 2015 as a collaborative project between three University of Delaware professors as part of an initiative known as “Artgineering.” This was meant to “create a public spectacle… to demonstrate that engineering and art can work together harmoniously.”

Although many would consider engineering to be an art in itself, if you’d like to create your own robotic band, this Instructables write-up for the GuitarBot is a great place to start.

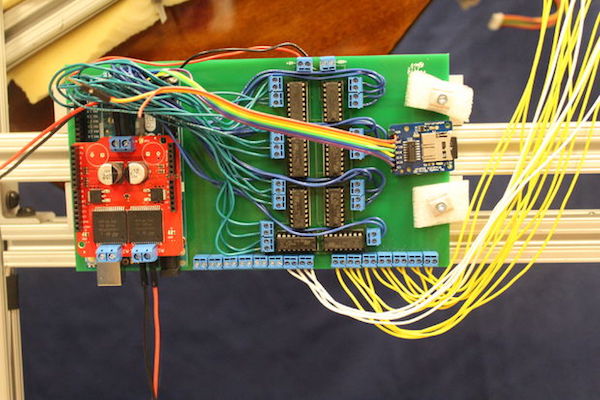
The guitar-playing robot is comprised of three major components: the brains, a strummer, and a chord mechanism. An Arduino Mega, a specially-ordered PCB and several shields are used for control, and a series of solenoids press down frets as needed. Finally, strumming is handled by a pick that is pulled by a DC motor and belt assembly, all of which is held up by an aluminum frame.

Levitate liquids and other tiny objects with this DIY device

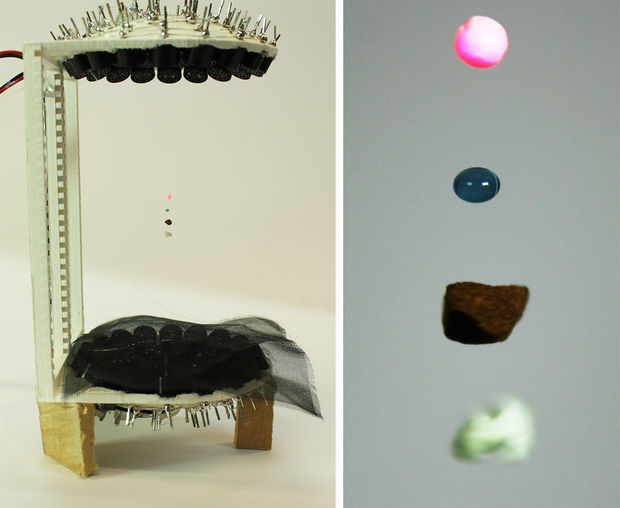
If you’ve ever wished you could levitate tiny drops of liquid, small solids, or insects in mid-air, new research has you covered. That’s because Asier Marzo, Adrian Barnes, and Bruce W. Drinkwater have developed a 3D-printed, Arduino Nano-controlled acoustic levitator.

Their device uses two arrays of 36 sonic transducers in a concave pattern, which face each other in order to suspend objects like Styrofoam, water, coffee and paper in between. Several items can even be trapped at the same time, and liquid is inserted into the “levitation zone” via a syringe.

The principle is similar to the vibration you feel when next to a large speaker, but in this case, the homemade levitator employs ultrasonic waves to push particles without causing any damage to humans.

Acoustic levitation has been explored in hundreds of studies for applications in pharmaceuticals, biology or biomaterials. It holds the promise of supporting innovative and ground-breaking processes. However, historically levitators have been restricted to a small number of research labs because they needed to be custom-made, carefully tuned and required high-voltage. Now, not only scientists but also students can build their own levitator at home or school to experiment and try new applications of acoustic levitation.

If you’d like to make your own, be sure to check out Marzo’s Instructables post or the team’s full paper on the experiment here.

Maker creates his own coilgun using an Arduino Nano

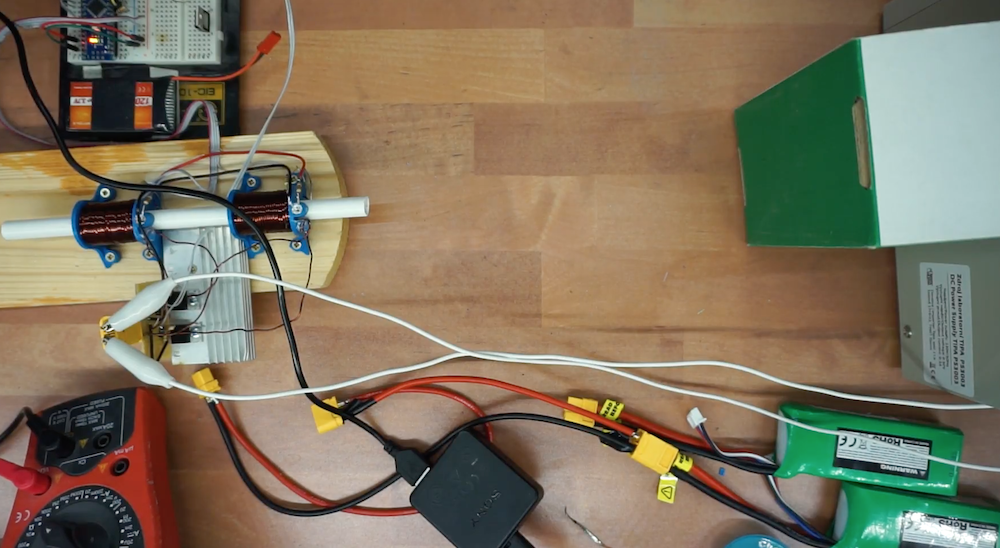
If you suppose that electromagnetically-propelled projectiles are strictly the purview of well-funded government research labs, think again! Using two sets of coils wrapped around custom 3D-printed base structures and an Arduino Nano for control, YouTuber “Gyro” created his own coilgun capable of propelling steel fast enough to dent a piece of wood.

When fired, a photodiode at the end of each electromagnet coil sends a signal to the Arduino. This, in turn, shuts off the coil, allowing it freely escape the barrel.

As noted in his Instructables write-up, the gun is constructed without large capacitors, which can be expensive and dangerous. Instead, two LiPo battery packs are combined to produce around 22 volts, though this and the number of coils used, could be increased to produce a more powerful device!