Posts with «featured» label

Monitor your sleep quality with Arduino
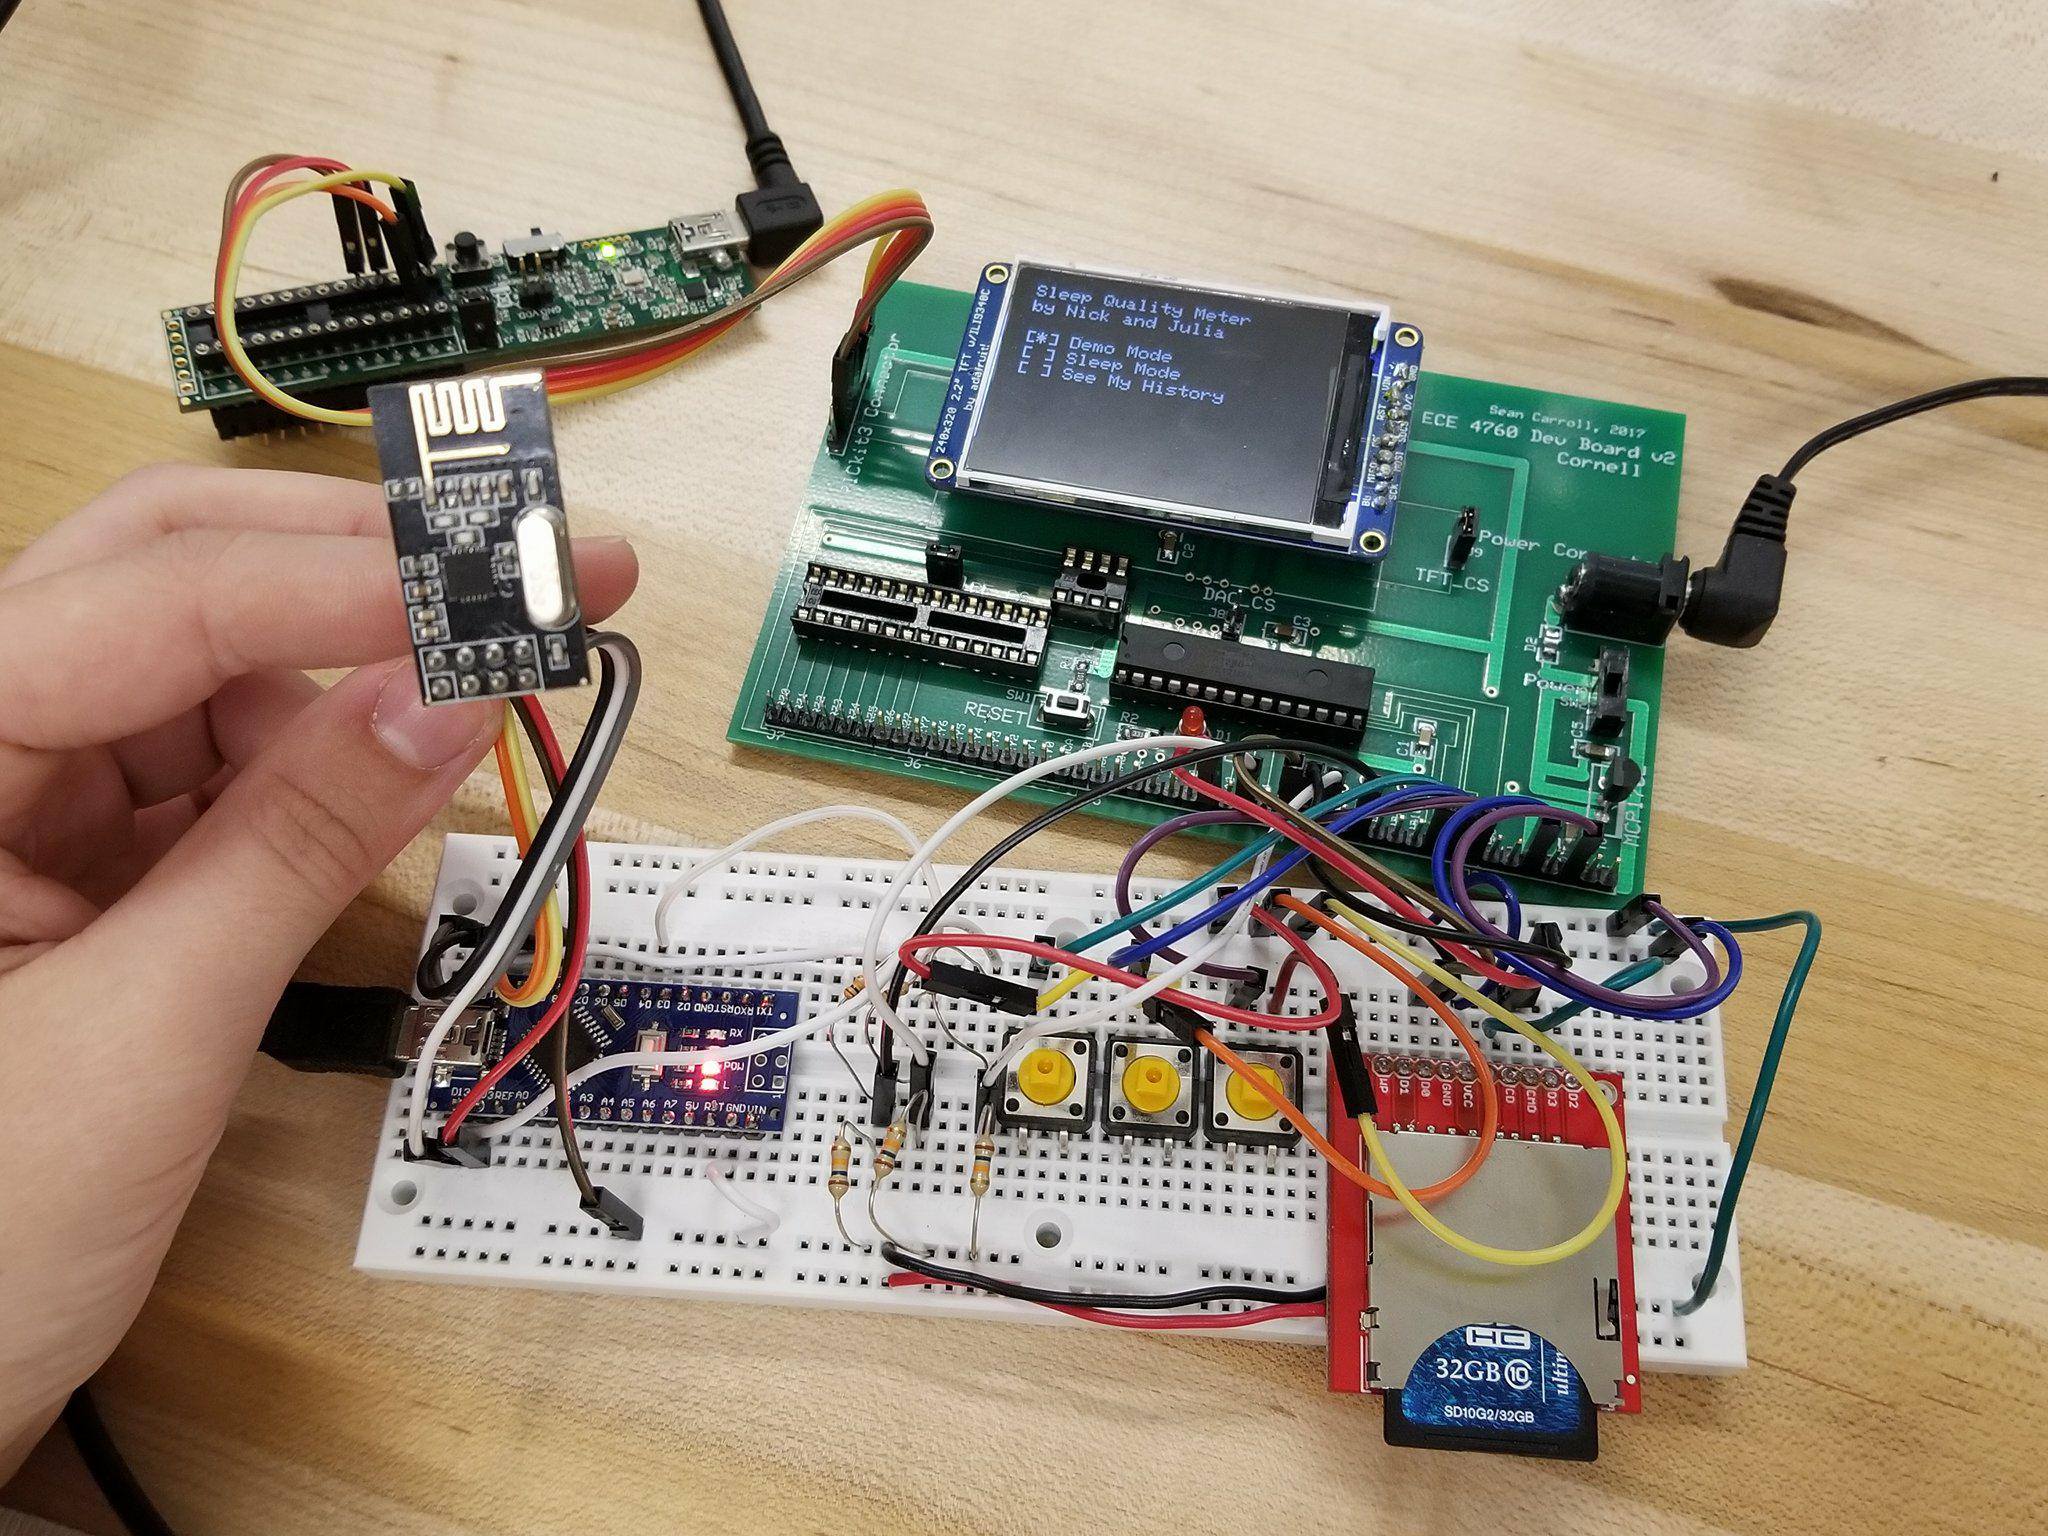
While it can be difficult to get enough sleep, at least you can try to make it as restful as possible when you are in bed. That’s the idea behind this project by Julia Currie and Nicholas Sarkis, who developed an Arduino Nano-based sleep monitor for their final ECE 4760 project at Cornell.

The bulk of the monitoring device takes the form of a glove which measures heart rate using an IR sensor, along with movement via an accelerometer. Breathing is recorded using a conductive band wrapped around the user’s chest, which changes resistance depending on how it is stretched.
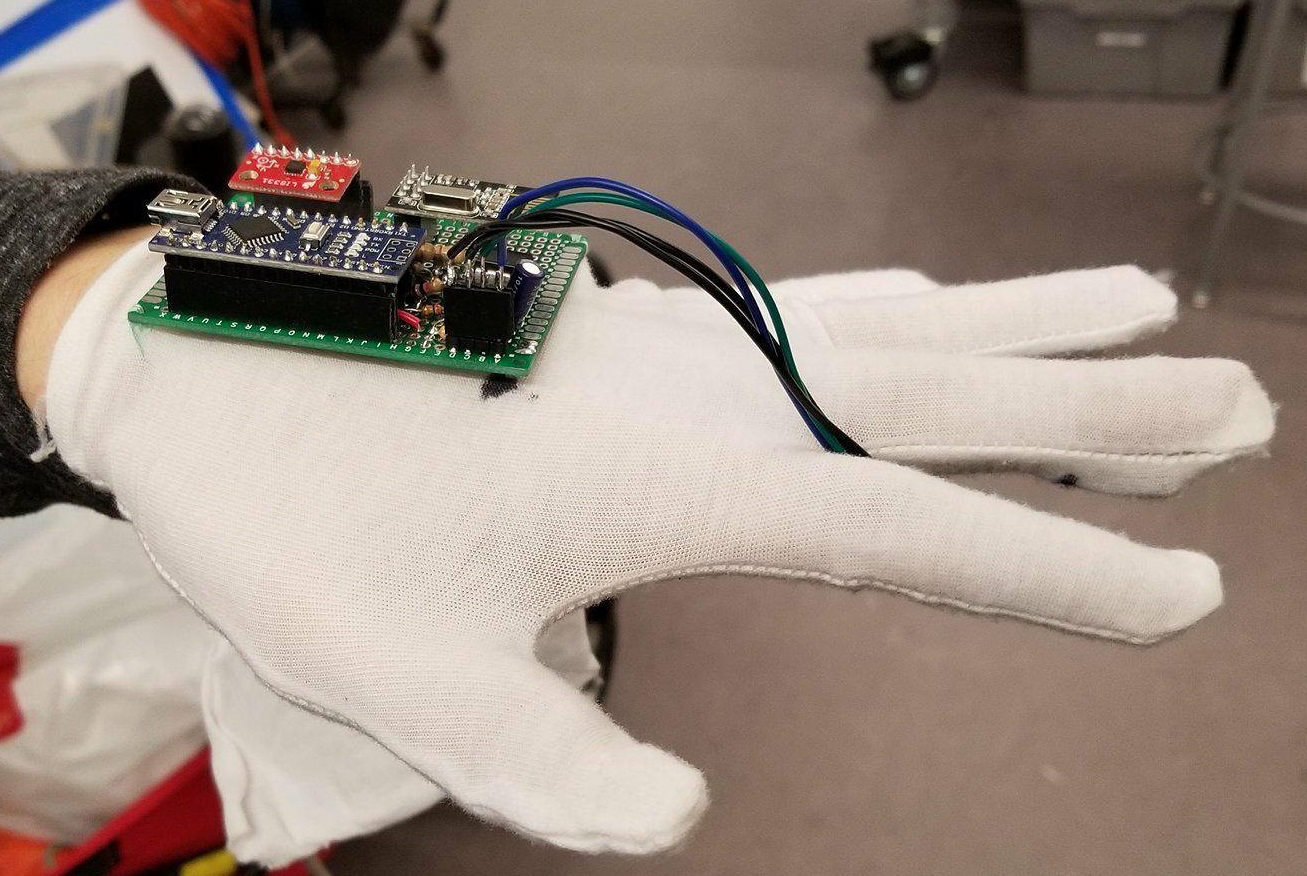
The Nano mounted to the glove collects this information, and transmits it wirelessly using an nRF24L01 chip to a PIC32 microprocessor on a base station. Data is then graphed nicely on a TFT display for further analysis.

You can read more about the project here and see the video below!
These students made their own Guitar Hero-like video game

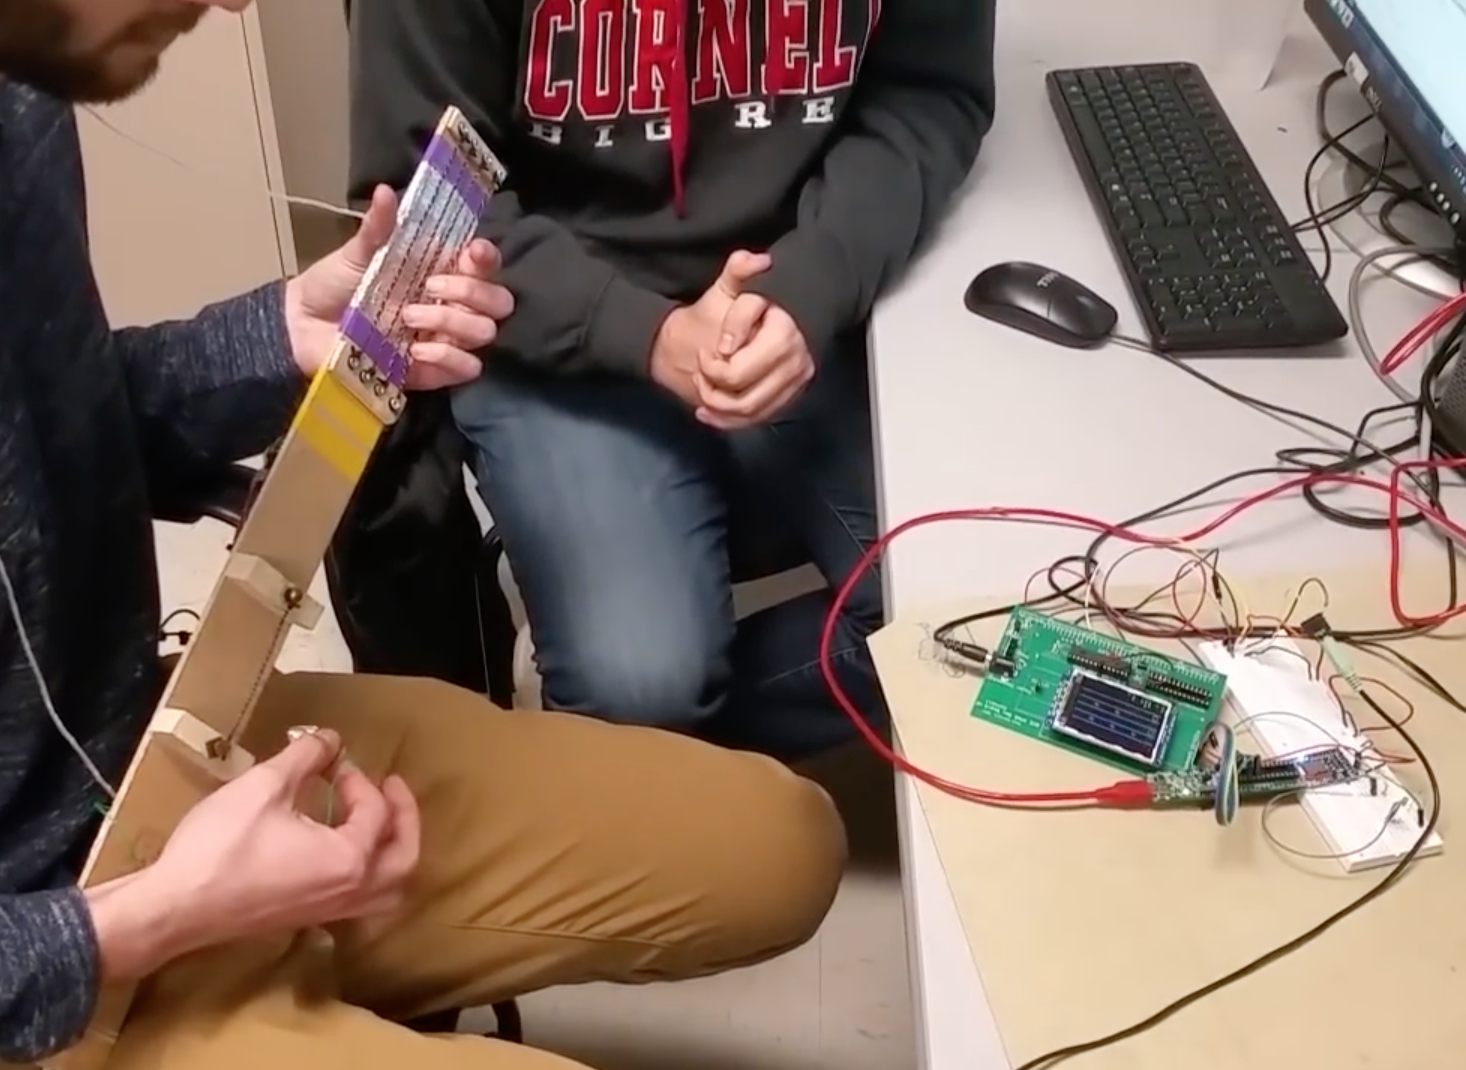
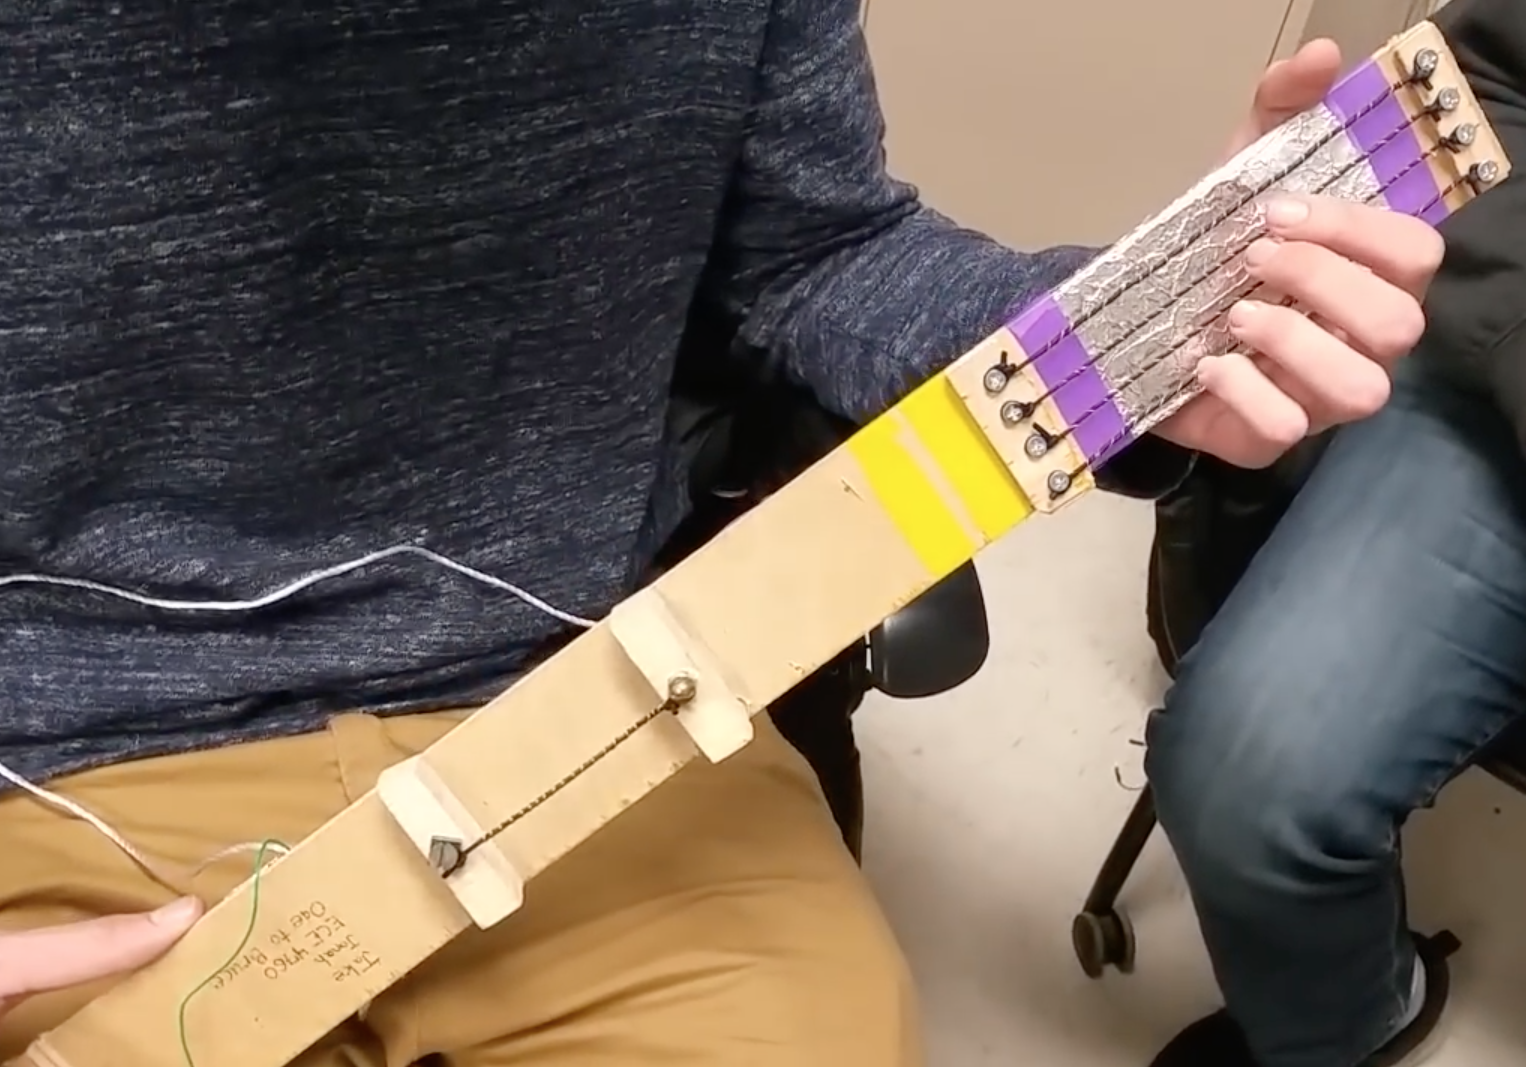
If you’d like to create your own simulated guitar from scratch, you’ll want to check out this project by Cornell ECE students Jake Podell and Jonah Wexler. It uses four conductive strings on the neck to sense which note is selected, along with a pick wired as input to tell when the string has been plucked.

An Arduino Uno takes these inputs and feeds them to a computer via USB serial. Information is then transmitted over Bluetooth to a PIC32 microcontroller, which displays a scrolling fretboard on a TFT screen.

The pseudo-musician must strum along to the song shown—Ode to Joy in this case—hearing a strumming sound for correct notes, or an annoying beep for errors.

Similar to the classic music games like Rock Band and Guitar Hero, we use a TFT to display notes that move across the screen towards a strum region, produce guitar plucks and undertones of a song, and keep track of the user’s score. The user plays notes on a wireless mock guitar built with carbon-impregnated elastic as strings and a conducting plectrum for the guitar pick. The guitar is connected to an Arduino Uno which communicates wirelessly via Bluetooth to the PIC32. The goal of this video game is to learn the basic finger movements of holding down strings and strumming at the correct time for novice guitar players. The project can easily be extended for more advanced finger movements on the strings and strum timing for those with more experience.

You can see more of the project in its write-up here and in the video below!

Turn a flatbed scanner into a PCB UV exposure device

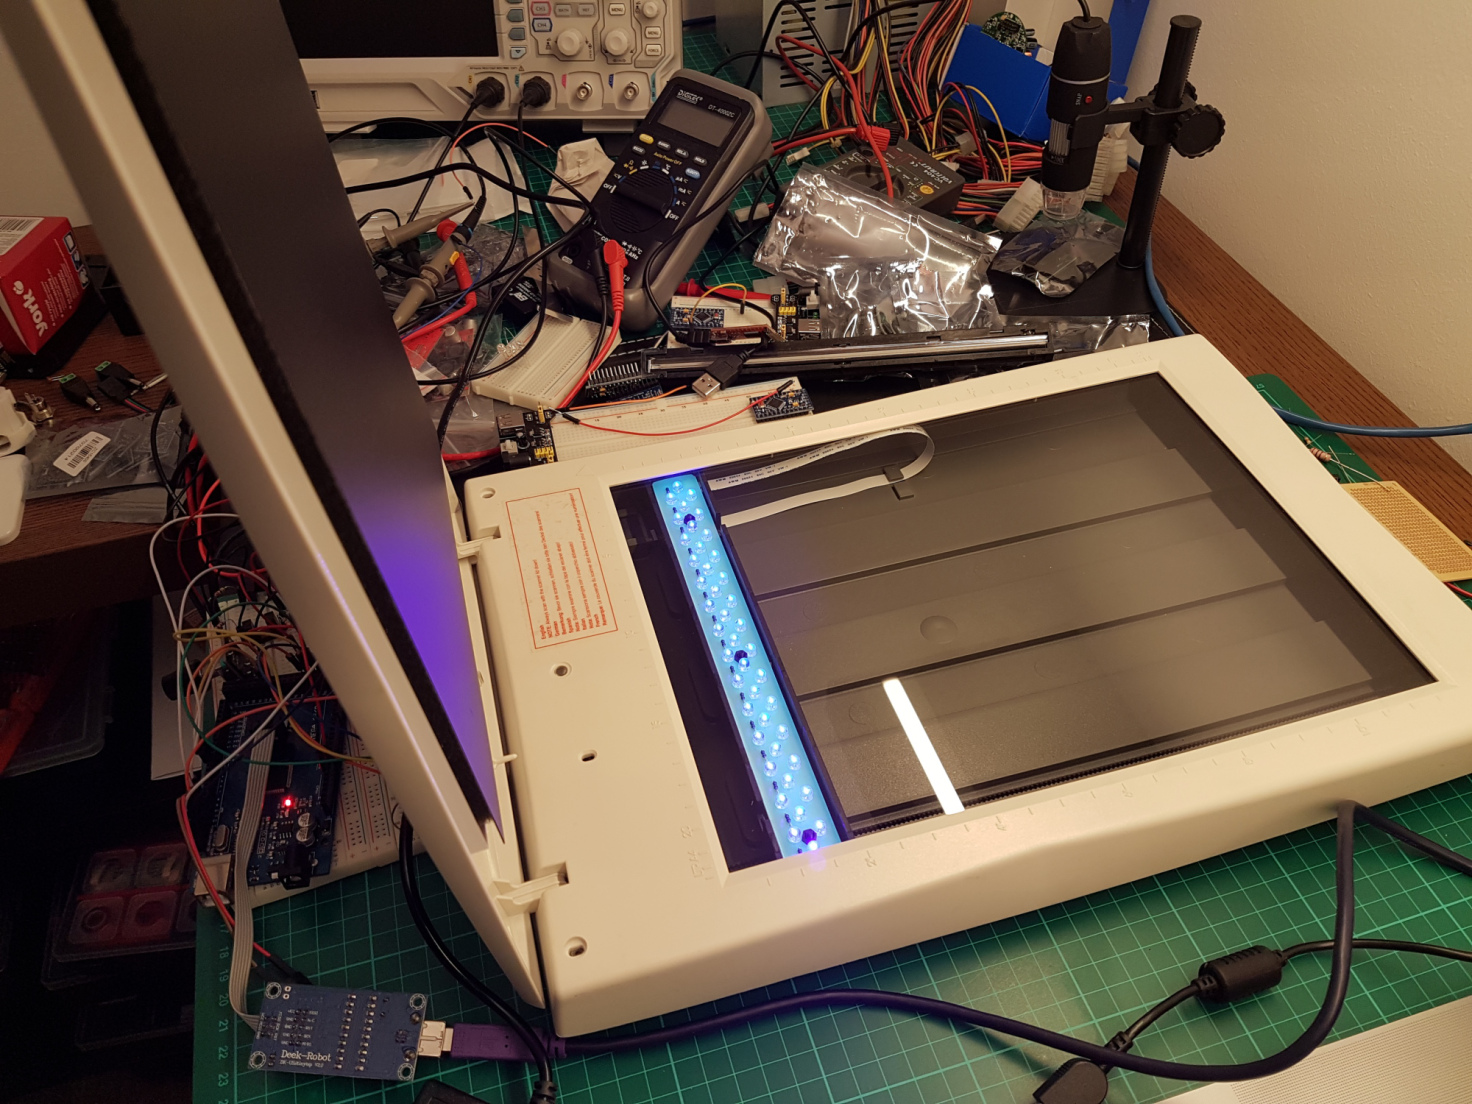
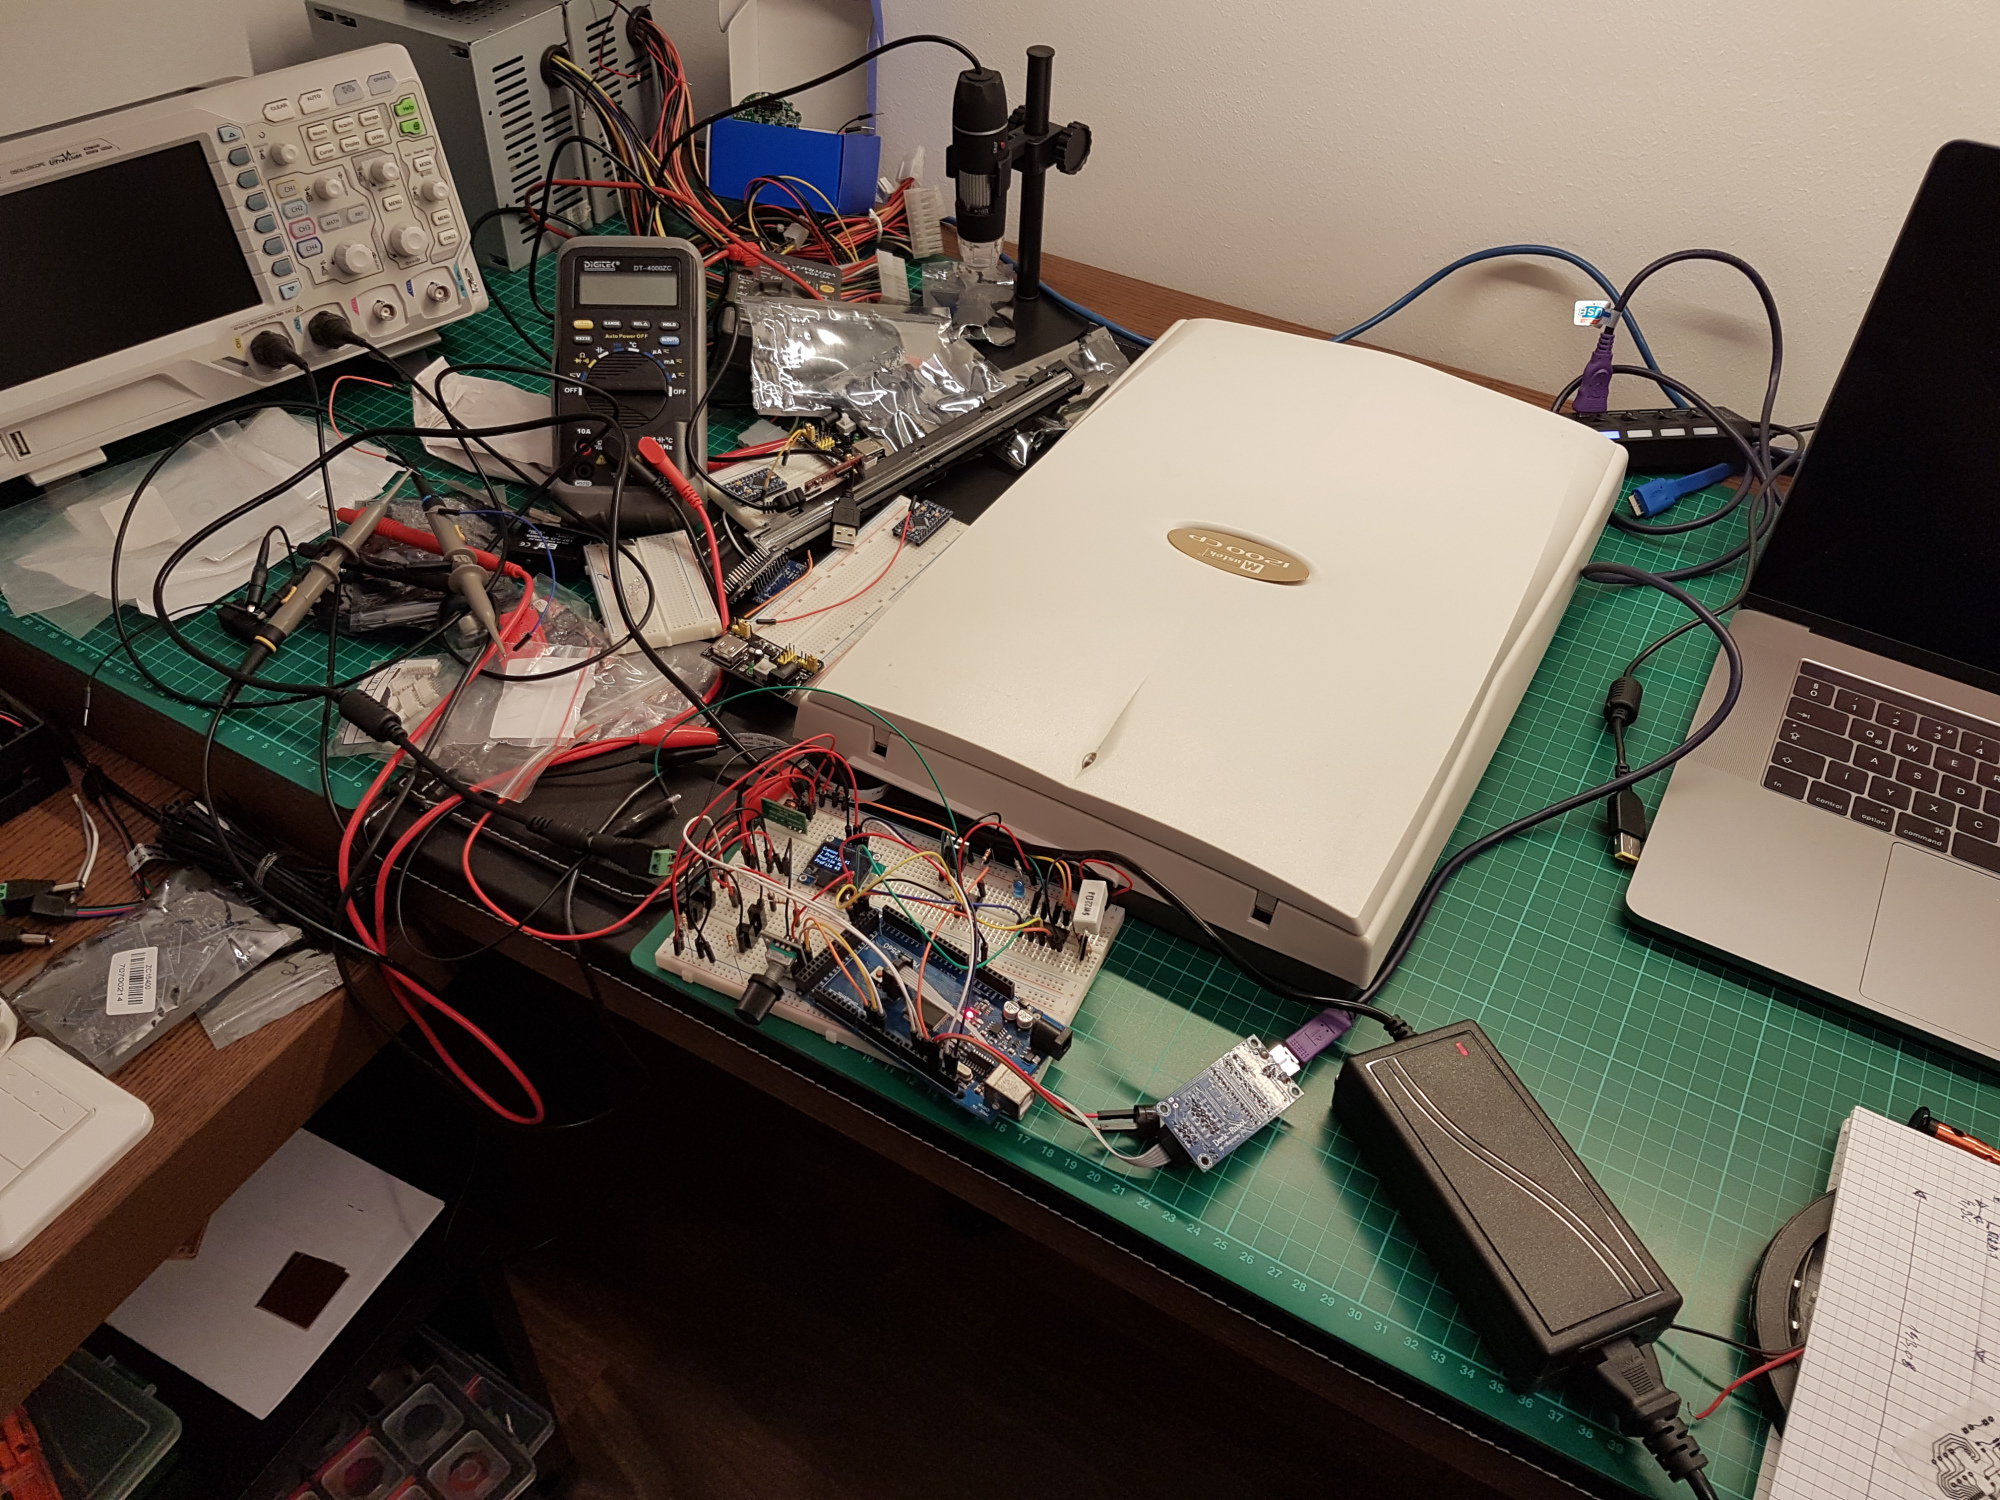
If you want to create your own custom PCBs, you could design it and wait for a fab house to send it back, dealing with any errors, or you could do it yourself. Hacker Andras Kabai decided to go for the second option, and made his own UV exposure tool to help him with the process using an old flatbed scanner as the base.

Rather than line the entire underside of the bed with LEDs, he cleverly repurposed the single-axis gantry that would normally hold the scanning unit to instead contain a row of LEDs to expose the PCB on top.

The project was prototyped with an Arduino Pro Mini, but was eventually supplanted by a Mega when the smaller board’s limits were reached.

Plenty of DIY PCB UV exposure tool building posts are available on the internet with total different approaches. I also designed my own, to fulfill my needs: it should be relative small and portable and the hacking/modding should be fun. ? Flat bed scanners were found as possibly good target. Compared to most of the other scanner mods, which use LED arrays or fluorescent tubes across the whole scanner bed area, my plan was to use the scanner carriage with only few LEDs and control its movement (and brightness) under the given PCB.

You can check out the device’s development in the videos below, which show off its interface and the gantry in motion.

Create a custom Secret Santa trivia box with Arduino

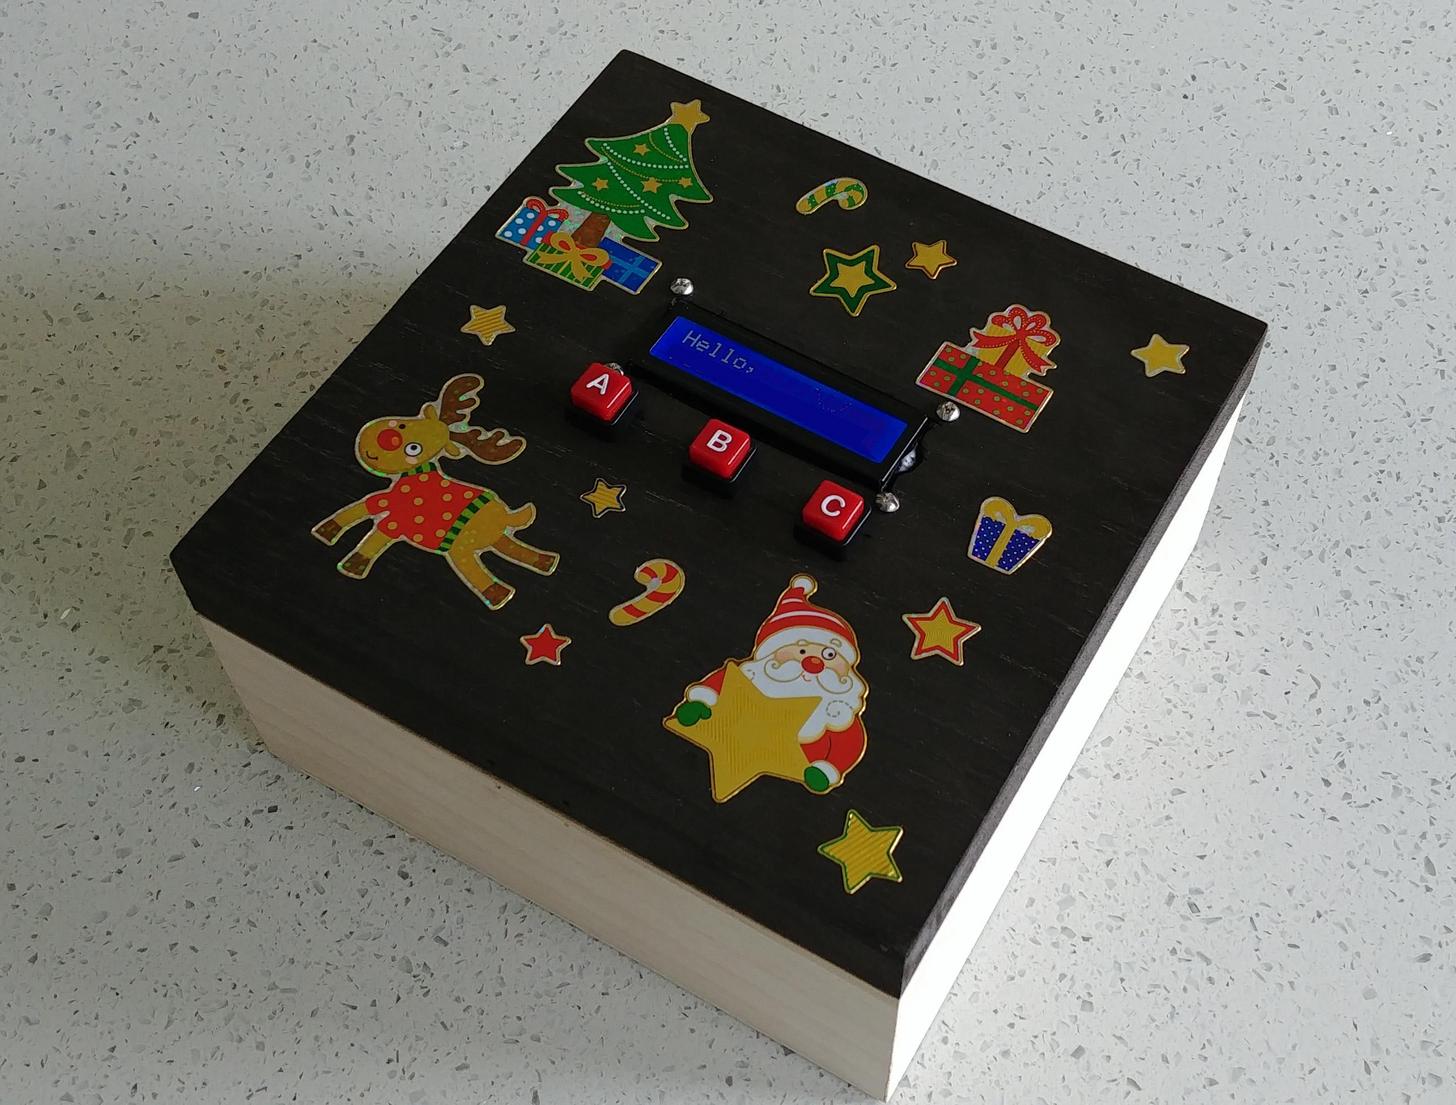
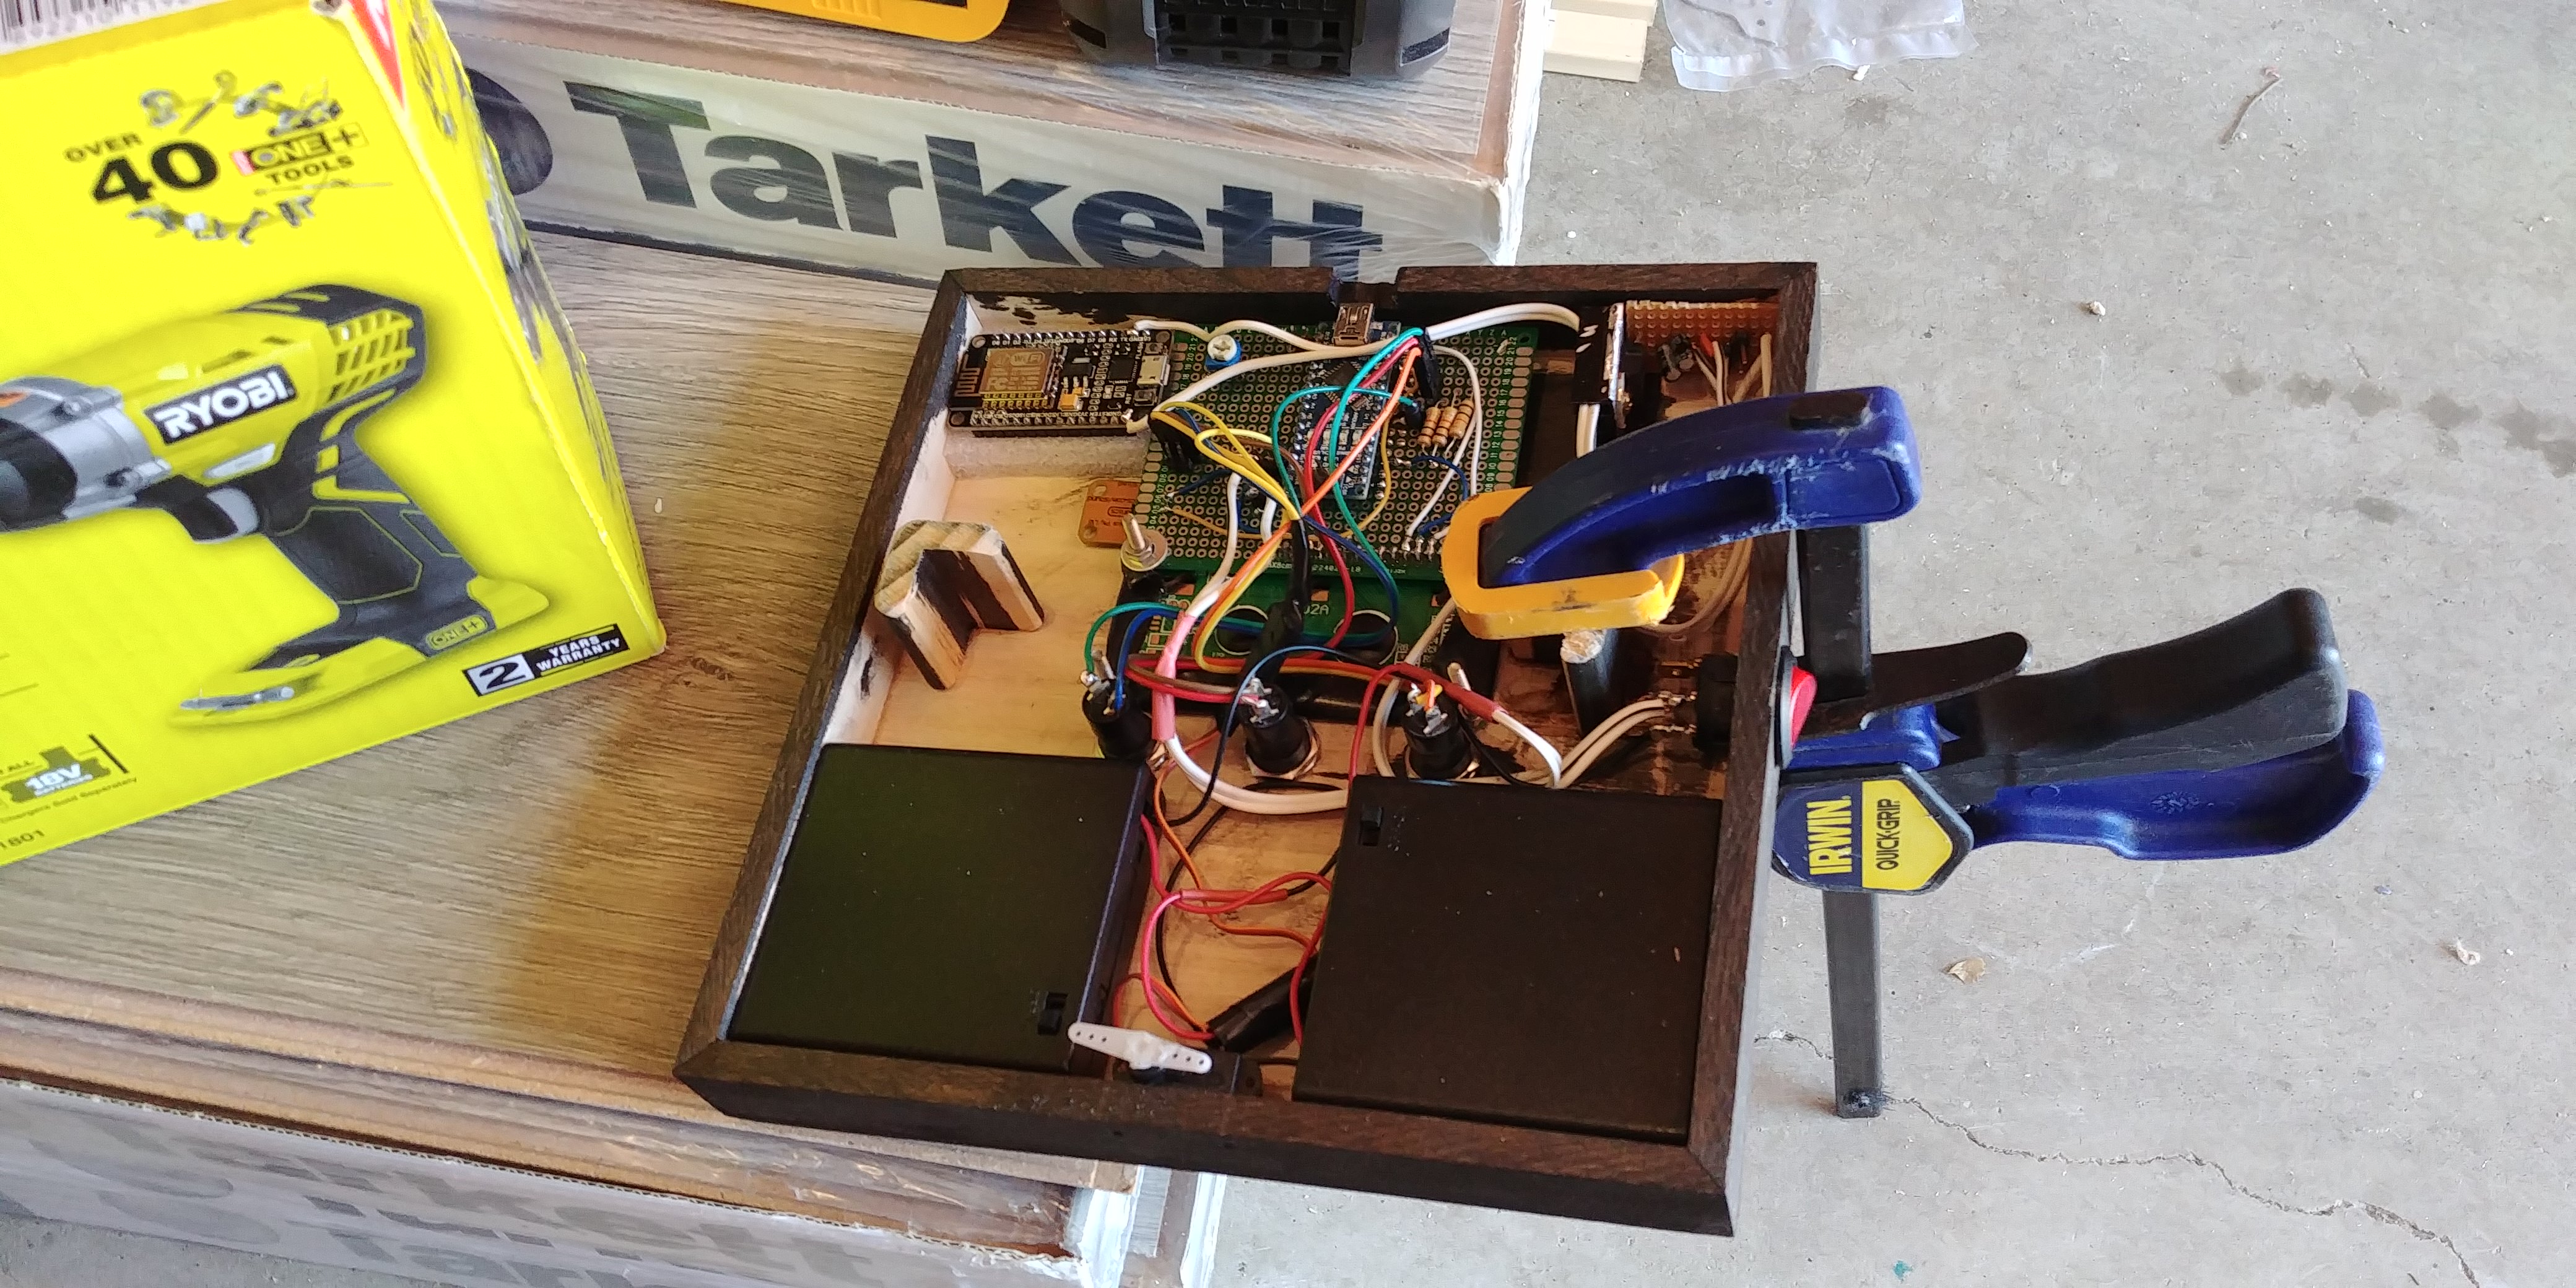
Participating in Reddit’s Secret Santa this year, hacker “Haxxa” decided to go all out, picking out not only several gifts for the recipient, but an Arduino-powered trivia box to house them in.

In use, an Arduino Nano onboard feeds queries to the gift recipient on an LCD display, allowing them to answer using one of three buttons. When 20 questions have been answered correctly, the box unlatches via a servo motor.

In addition to the physical items inside, the project also generates its own web page, revealing digital gifts to go along with the physical items!

To open the box, my giftee must complete the trivia game, there are 25 questions all based around my giftee’s interests, posts and hobbies. Once complete they will be rewarded with the gifts inside. I also included a wireless access point which activates upon completion of the game. Connecting to this access point reveals a website with more digital gifts including subscriptions, more games and challenges.

You can see it in action below and find its code over on GitHub.

Interact with the virtual world in a whole new way

As reported by the Creative Applications Network, “Tangibles Worlds explores the effects of tactile experience as a catalyst for full immersion in VR.”

The project by Stella Speziali takes the form of three separate boxes, along with an Oculus Rift headset. When a hand is placed in one of these boxes, the user is virtually transported to another dimension of sight and sound, controlled by IR distance sensors, flex sensors, capacitive wire, and several other devices interfaced with an Arduino Mega.

Each box contains an IR distance sensor, which detects when a hand is inserted and display the virtual world attributed to the box. This new virtual world surrounds the user. A sensor is placed on each wall within the boxes, this sensor recognizes the hand and activates an animation inside the virtual world. I tried to map the sensors in the virtual universe so that a little clue is given to the user and will lead him to trigger the animations.

The idea behind this installation is to go beyond “traditional” VR controllers for entirely new level of interaction. The video seen here gives an excellent preview of the strangeness of this type of interface, though using it with a headset and sensors would likely be an altogether different experience!

This control panel references your favorite sci-fi films

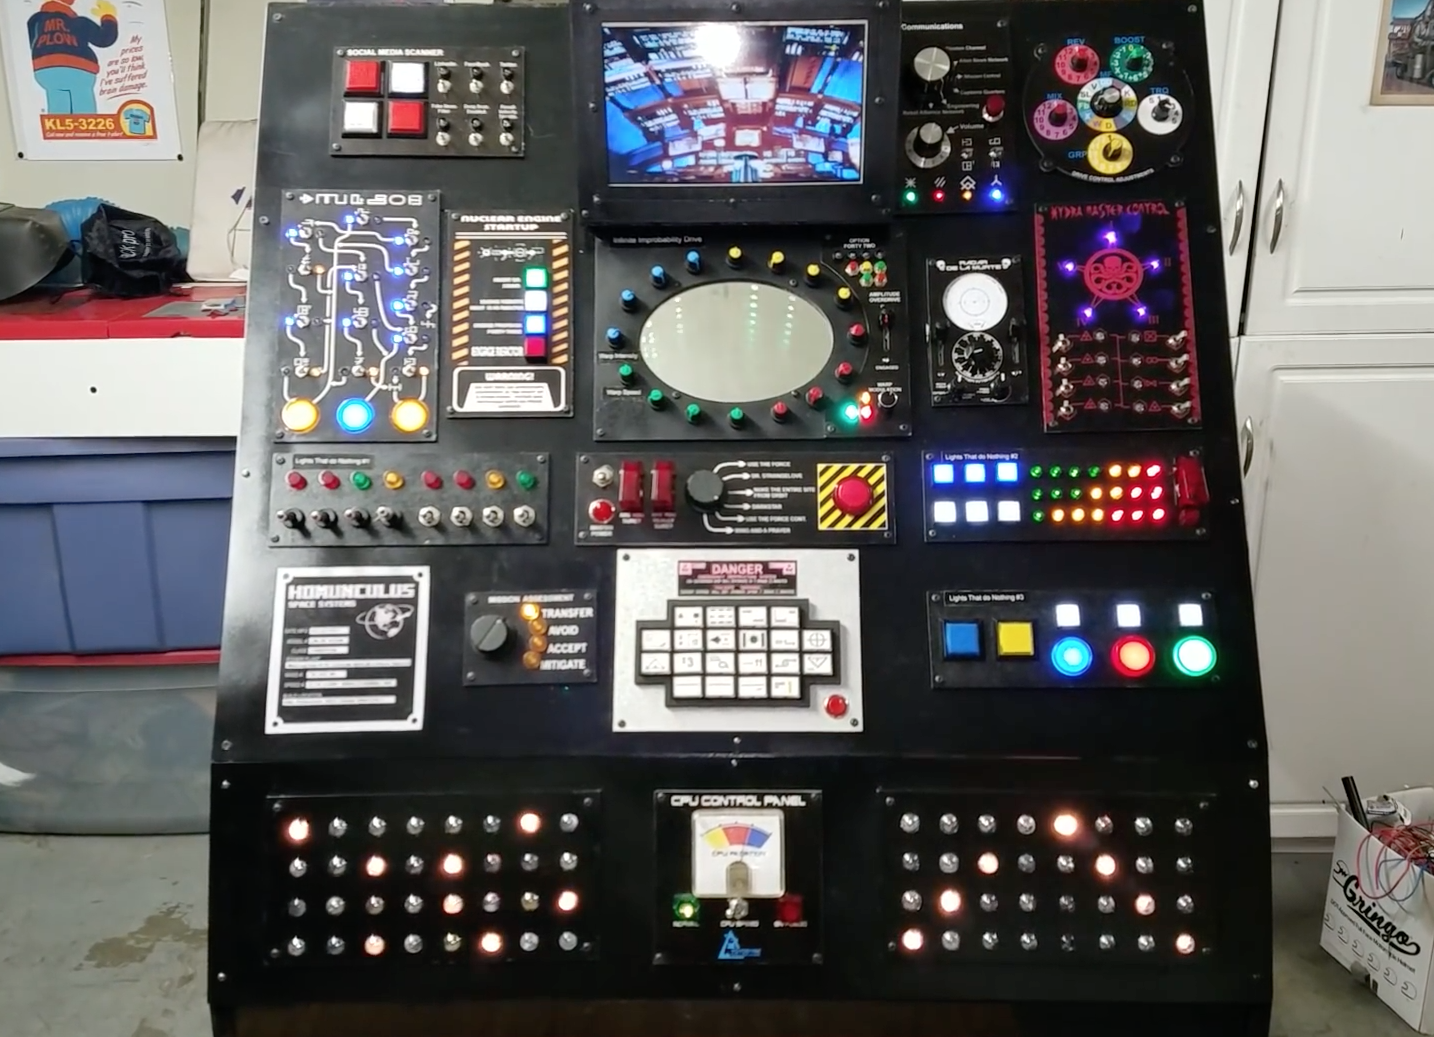
While you may question if some of the blinking lights and buttons in science fiction movies actually do anything, you’d still really like to hit those buttons just to see what happens, right? If that sounds like you, then something like this rocket ship panel from maker “r570sv” might be just the thing for your entertainment.

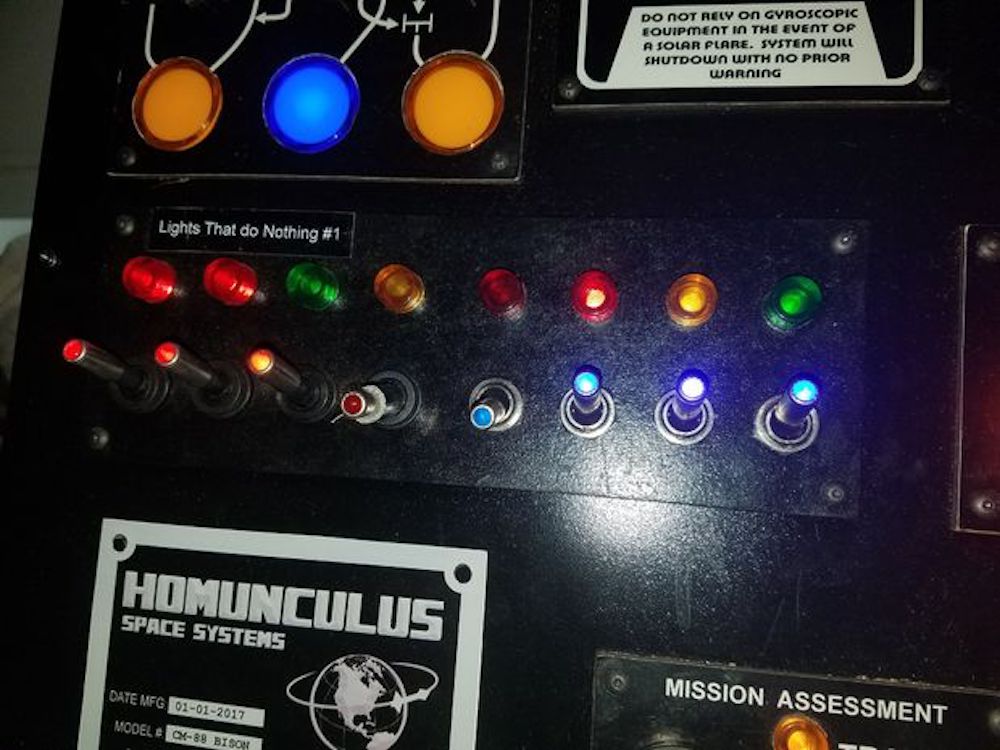
The build features three Arduino boards for control, and references a total of 13 works of sci-fi throughout the brightly lit-up panel. Highlights of the project include a controllable infinity mirror, and a Raspberry Pi-driven screen that displays different movie clips depending on what combination of buttons, switches, and knobs are selected. Still other buttons and lights don’t really do anything, following along perfectly from the theme.

You can see more of the panel on Instructables and in the video below!

Star Wars fan creates an Arduino-powered rebel pilot chest box

If you’d like a rebel fighter pilot suit, complete with the automated chest box, then look no further than this excellent build from “badjer1.”

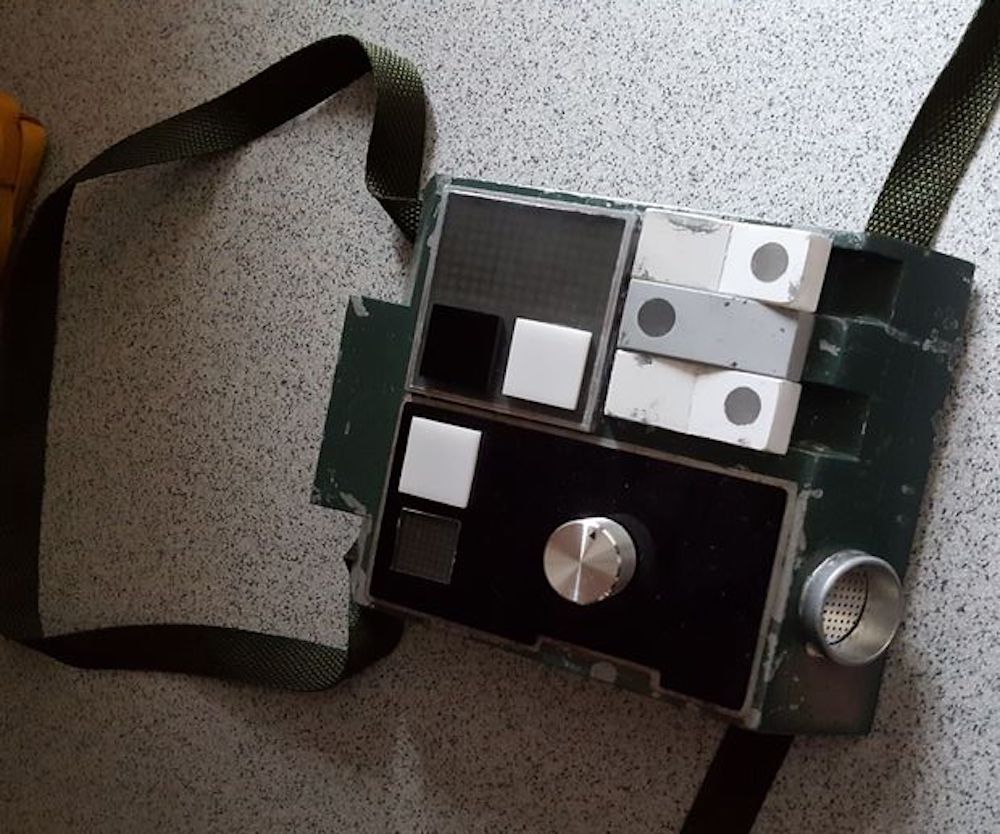
It features a chest box with the same dimensions seen in the movies that lights up randomly, and even allows bored pilots to play a game of Pong on its double-LED matrix display using a dial next to it.

The Arduino Uno-powered device can also scroll through marquee displays featuring X-Wings and TIE Fighters, and play the Imperial March as required.

You can see more about the project, including how the box and the rest of the uniform were weathered, in badjer1’s write-up here.

Automatic trash can optimized for battery life

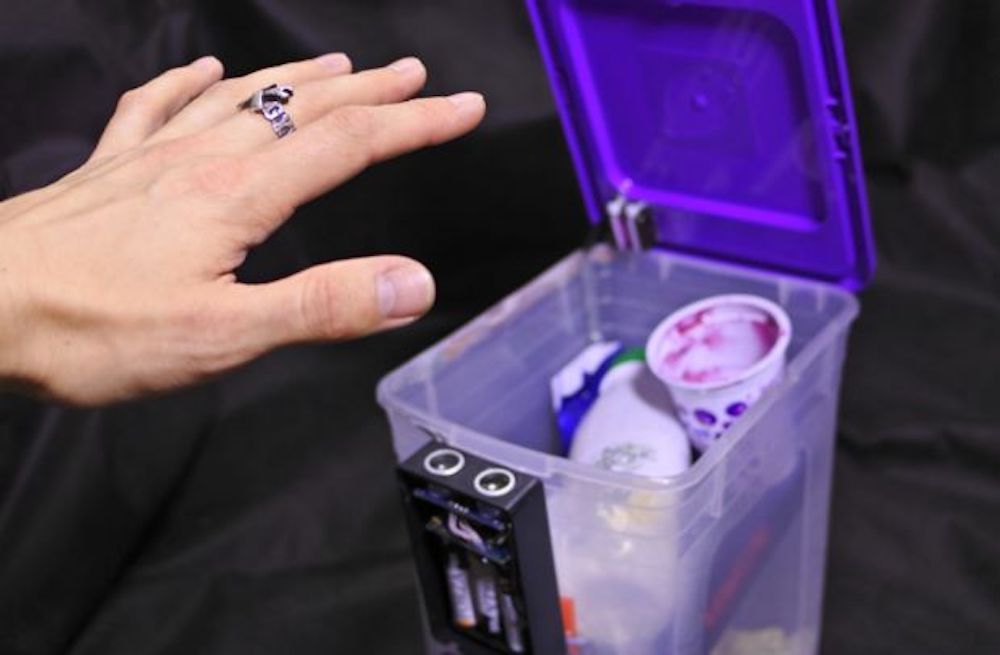
If you have a trash can with a lid, you’ve probably accepted the small inconvenience of opening it with your hand and foot. YouTube hacker MadGyver, however, came up with a different solution using an Arduino Nano and a micro servo to open the lid whenever someone places a hand near the unit’s ultrasonic sensor.

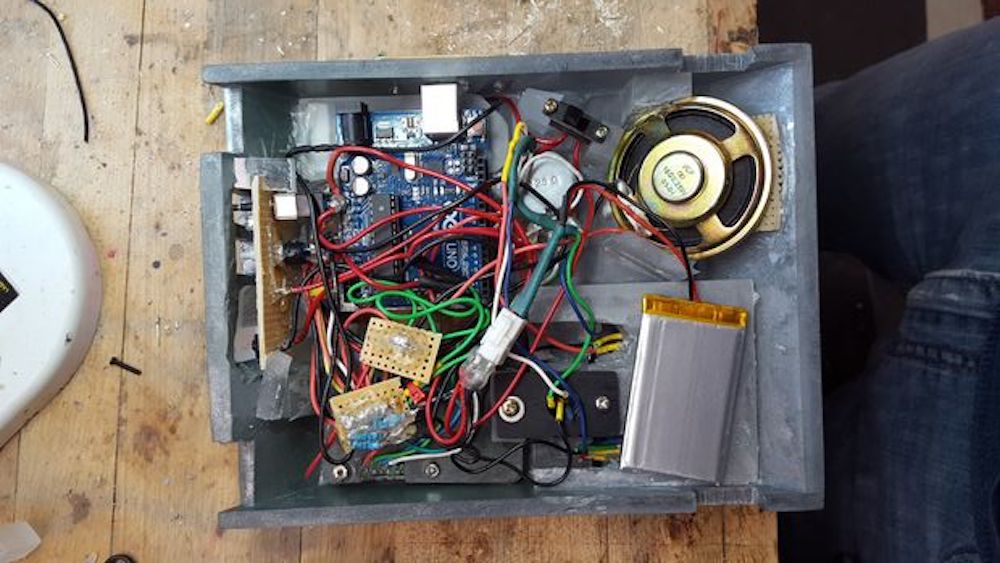
In order to run the device on batteries, MadGyver modified the Nano for efficiency, shedding the power LED, along with the voltage regulator. He also used a transistor to turn off power to the servo when in standby mode, and added a capacitor to accommodate for the power surge experienced when the servo starts moving.

After these mods, his trash can should theoretically function for over three years with the correct batteries! Check it out in the video below!

New search engine and Arduino reference!

The Arduino web team has working hard behind the scenes improving our legacy systems. Now, it’s time to work on something more interesting for the team and more useful for our community! From here on out, we will update you every month on the latest and greatest activities…

Today, we are announcing a pair of major features that are only a mere preview of what you can expect to see from an Arduino user’s point of view:

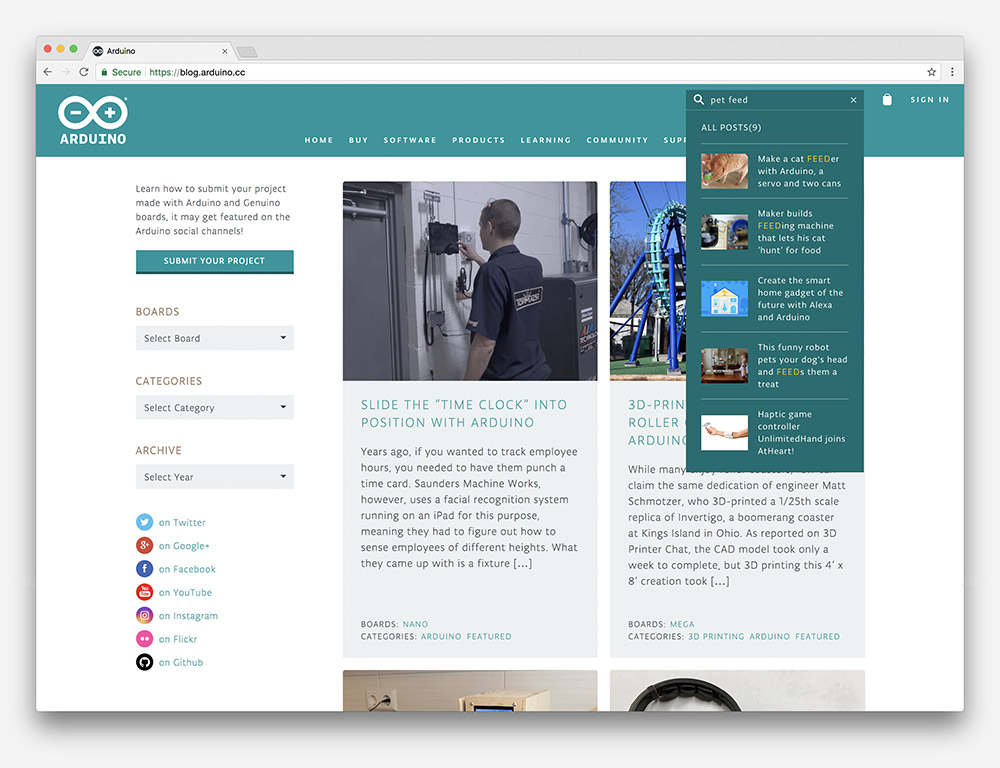
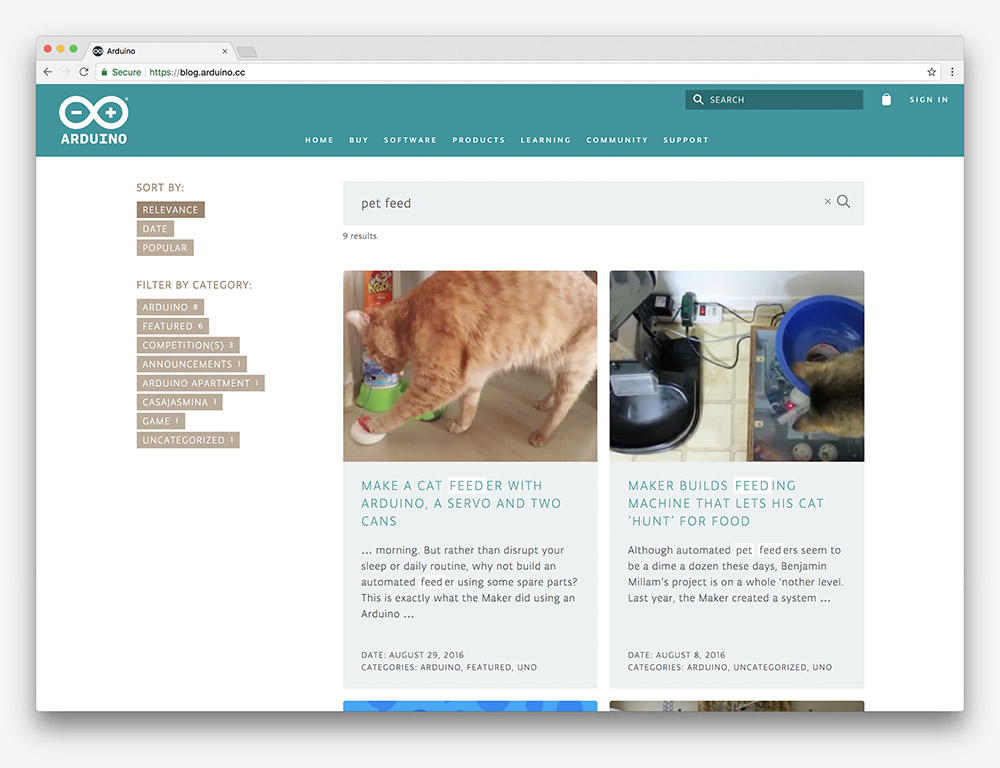
  • The blog has a new search engine that is much faster, more precise, and allows readers to filter results.
  • The Arduino reference is now quicker,  mobile-friendly, and completely open to contributions. You can check out our GitHub reference repo here.

Let’s look at how those two features work and how they are implemented. The search engine is powered by our provider Algolia, offering an impressively fast search engine and enhanced UX. Our goal is to integrate it with each of our websites and finally have a unified search for all Arduino-related content.

We are going to be testing the search engine for a bit on the blog and eventually roll it out to our websites.

Perhaps what we are most proud of, though, is the new reference engine:

  • Arduino users can directly contribute to the reference by creating a pull request here.
  • We are going to support multiple languages. In fact, some users have already helped us in creating French, German, Korean, Italian, Japanese, Portuguese, and Spanish versions.
  • As soon as a new pull request has been merged, the system deploys to our website automatically, and if someone modifies the English version of the reference, all other language repositories are going to be notified as well.

This is just the beginning with much more to come. Stay tuned!

Arduino Blog 14 Dec 16:28

Slide the “time clock” into position with Arduino

Years ago, if you wanted to track employee hours, you needed to have them punch a time card. Saunders Machine Works, however, uses a facial recognition system running on an iPad for this purpose, meaning they had to figure out how to sense employees of different heights. What they came up with is a fixture that automatically raises and lowers the tablet, using a stepper motor and linear rails.

The project employs a Lidar sensor on the bottom of the device to detect employee presence, and another above the iPad’s mounting hardware to sense when it’s at the correct height, moving until the top sensor is clear. Control is provided by a pair of Arduino Nanos.

Be sure to check it out in the video below!