Posts with «featured» label

Recreating the Apollo Guidance Computer Display and Keyboard with Arduino
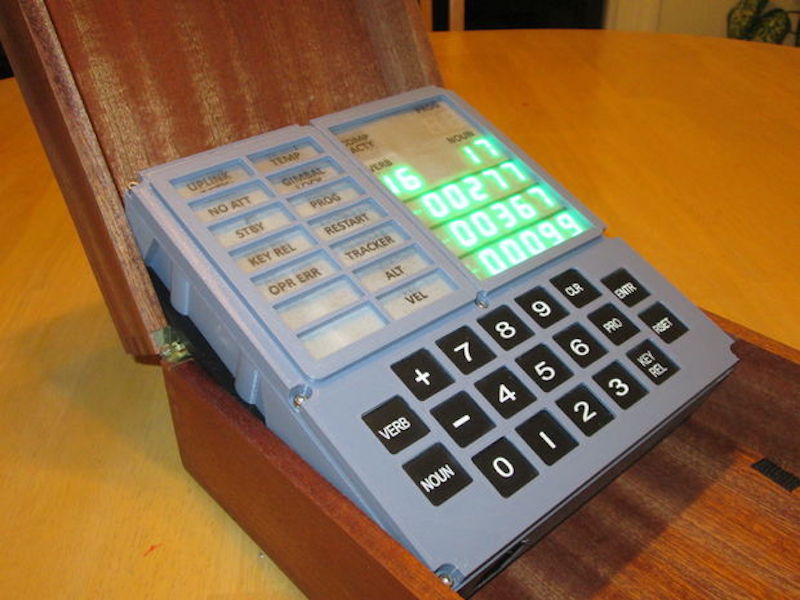
Nearly 50 years ago, mankind made the giant leap of being able to travel to the moon. To celebrate, ST-Geotronics has come of with a replica of the Apollo Guidance Computer Display/Keyboard, or AGC DSKY as it’s abbreviated.

The display was prototyped on a huge breadboard assembly, along with an Arduino Mega, then finished using a custom PCB and Arduino Nano.

3D-printed parts are used to form the housing, in addition to a variety of electronics. These include an actual GPS unit, along with a custom three-segment LED assemblies to display “+” and “-” as needed.

Be sure to check it out in the video seen here, showing off its interface, as well as an MP3 unit that plays back a 1962 JFK speech about going to the moon.

Build a block balancing game with Arduino and servos

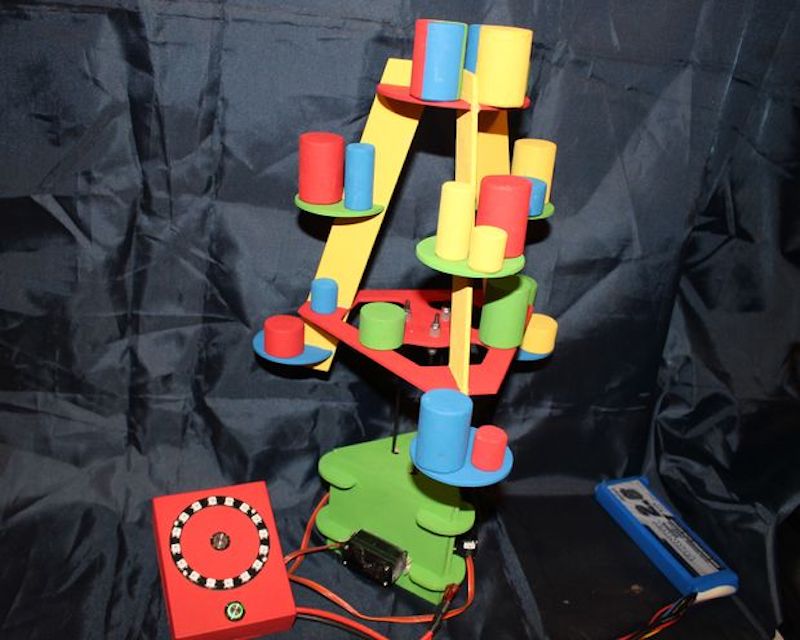
If you’re tired of classic tower building games like Jenga or stacking cards and would like a new challenge, “mr_fid” has come up with a game where you balance blocks on a tree assembly. The nicely crafted device then moves around to throw the blocks off using three servos and push rods.

Everything is controlled by an Arduino Nano that randomly selects the intensity of the movement and which color of block to be stacked, displayed on a circular arrangement of programmable LEDs.

Once a block has been added, a button in the middle of the LEDs is pushed and tree movement starts, potentially destabilizing the player’s work.

Nice Arduino project. Featuring an Arduino Nano controlling 3 servos to move the tree. Firstly the “Roll” button is pressed to give you a colour and amplitude once the correct bit has been placed on the tree the “Shake” button is pressed and the tree moves around. Any bits which fall off are given to the person whos go it was! the idea of the game is to get rid of all your bits first. If when you press the “Roll” button you don’t have the correct colour OR the strength is to high then if you wish you can miss your go.

You can check the game out in the first video below, or see the second video for information on how to avoid jittery servos in this type of setup.

Add colorful effects to your ’80s boombox with Arduino and LEDs

While ’80s-style boomboxes have their own unique character, per hacker “Dancorp’s” excellent mod, it’s clear that they could be improved dramatically with programmable LEDs.

This build uses a capacitive filtering arrangement to feed line out signals from the boombox into an Arduino Uno, which then controls three LED strips.

Two of these strips are arranged around the speaker cones, emitting beautiful LED effects to go along with the music playing, while the third can be used to light up the built-in VU meters.

A schematic along with Arduino code are available on Dancorp’s write-up. It looks like a fairly accessible project, especially given the extra space available in electronics from that era.

Rick and Morty fans will love this butter robot

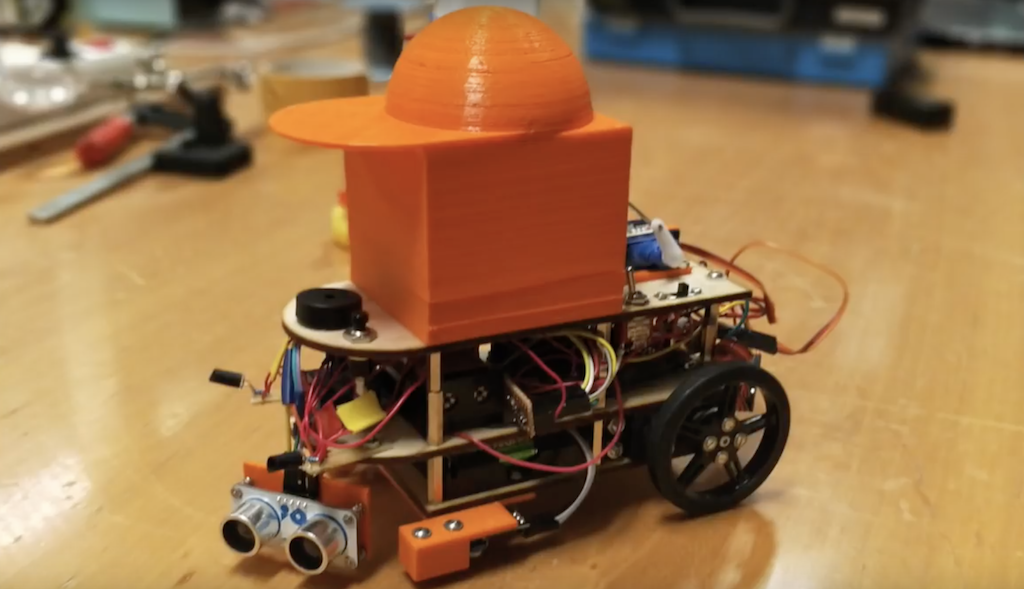
Up until the present day, if you need butter, you simply ask another human to “pass the butter,” leading to minor inconvenience and awkwardness. Engineering students in Brussels have come up with a novel solution: a robot that brings the butter to you!

The robot, inspired by Rick and Morty’s Butter Bot, is powered by an Arduino Uno and summoned to hungry humans via an infrared remote control.

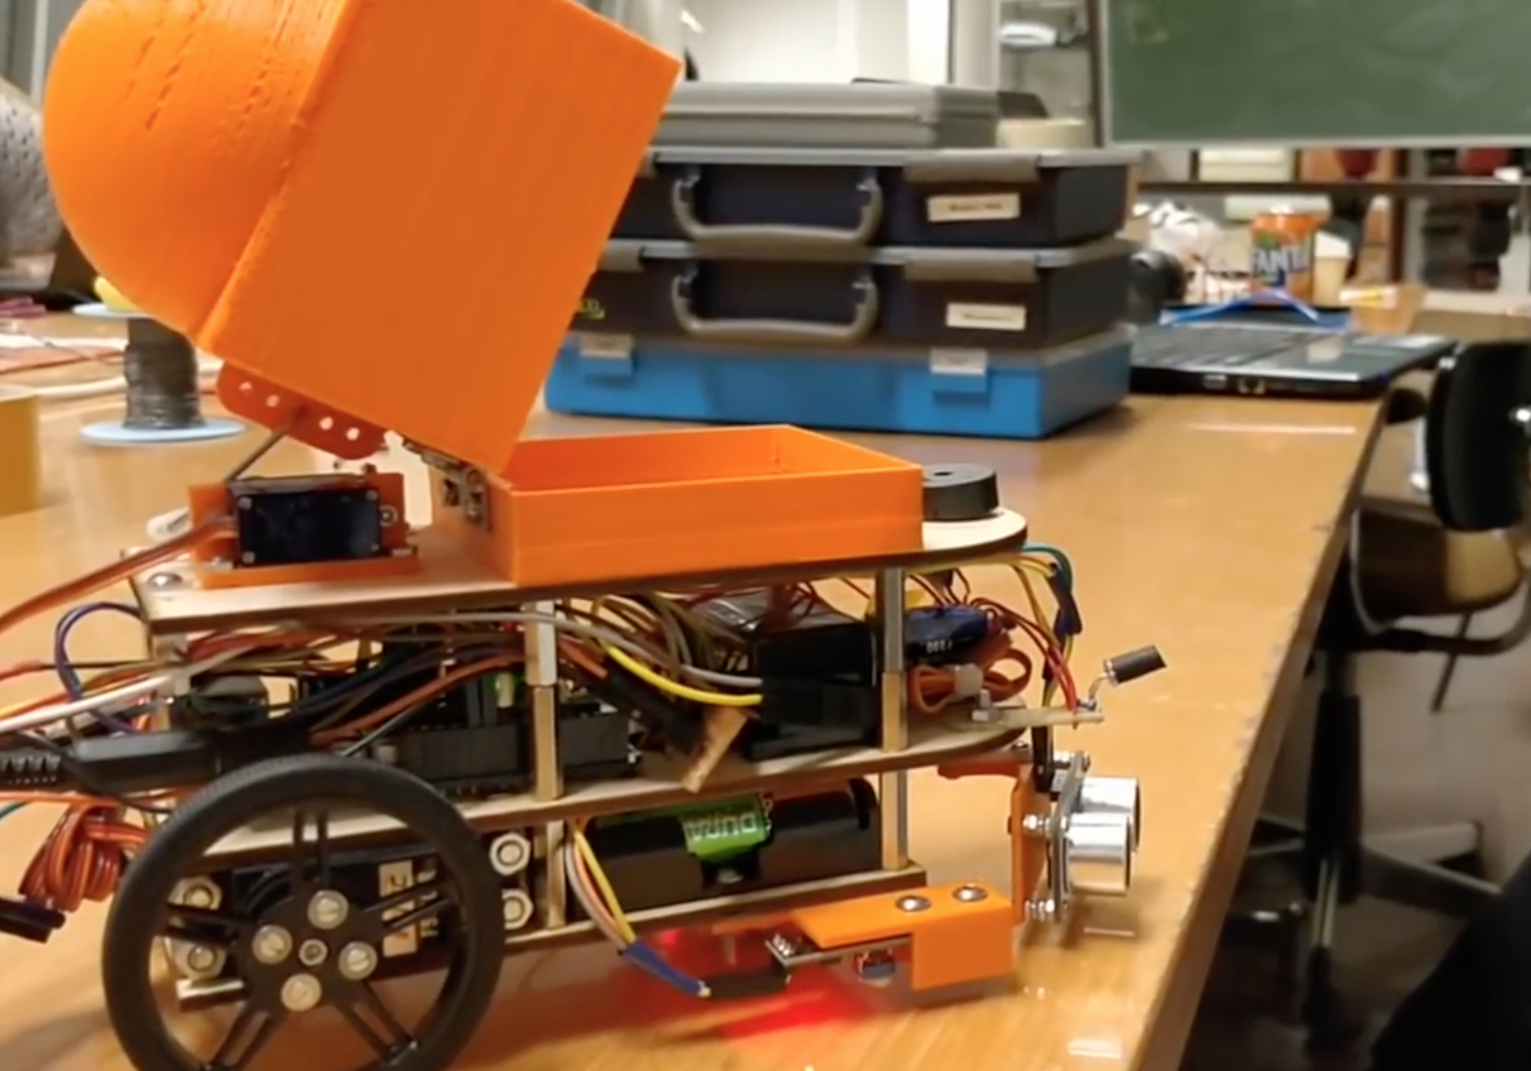
When the signal detected by onboard IR sensors, the robot moves over using continuous-rotation modded servos, then flips its cap-like lid to reveal the butter inside.

Want a Butbot of your own? You can find the build process and code in the student team’s write-up here.

Build a six-wheeled RC vehicle for any terrain

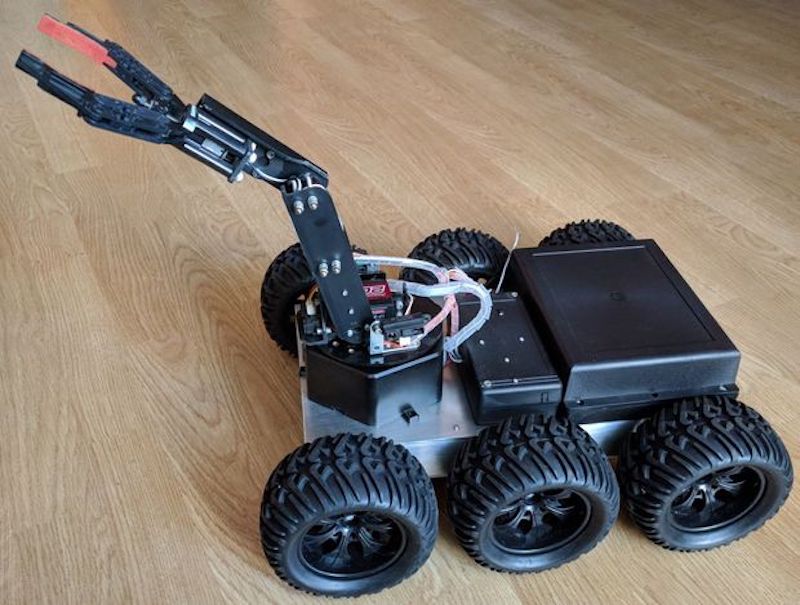
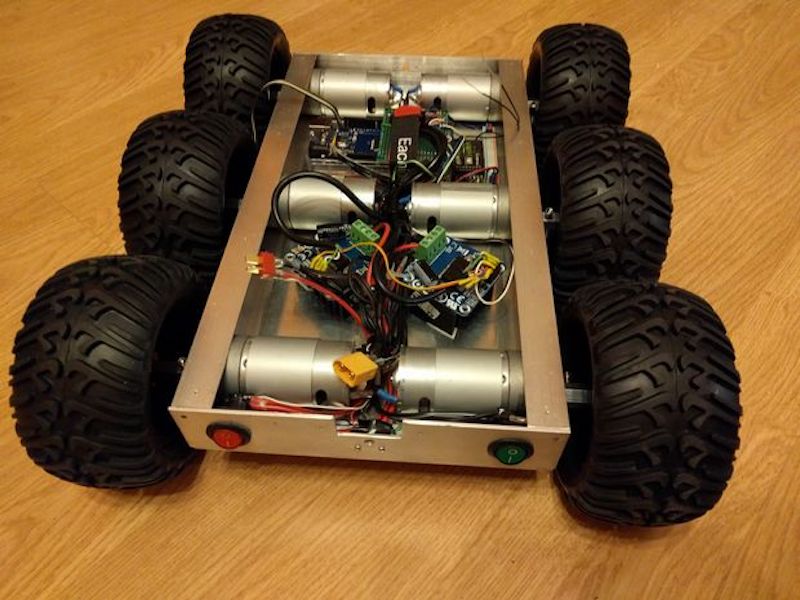
In order to create the ultimate off-road RC rig, “asrebro” designed his own six-wheeled vehicle, operated with the help of Arduino.

To give it decent range and reliability, the hacker turned to a stock transmitter and receiver, but routed the PWM signals onboard to a Mega. The Arduino uses a pair of H-bridge boards to drive all six motors/wheels for tank-like movement.

Since an Arduino is used, this opens up a wide range of manual and automatic control options, and could even be used to power robotic accessories like a gripper or gimbal with a camera.

I decided to build a bigger robot that will easily overcome various obstacles on its way and will be able to move with a load of at least a dozen kilos. I also assumed that the robot should be able to cope in difficult terrain such as sand, snow and rubble. To make it possible, I built a 6-wheel [aluminum and duralumin] chassis equipped with 6 motors of sufficient high power and suitable motor driver and power supply. I also wanted my robot to be controlled from a long distance (at least 200 meters) so I used a good quality 2.4GHz transmitter and receiver.

You can see it in action below, traversing through a forest near Warsaw, Poland.

RoboGlove assists users with gripping objects

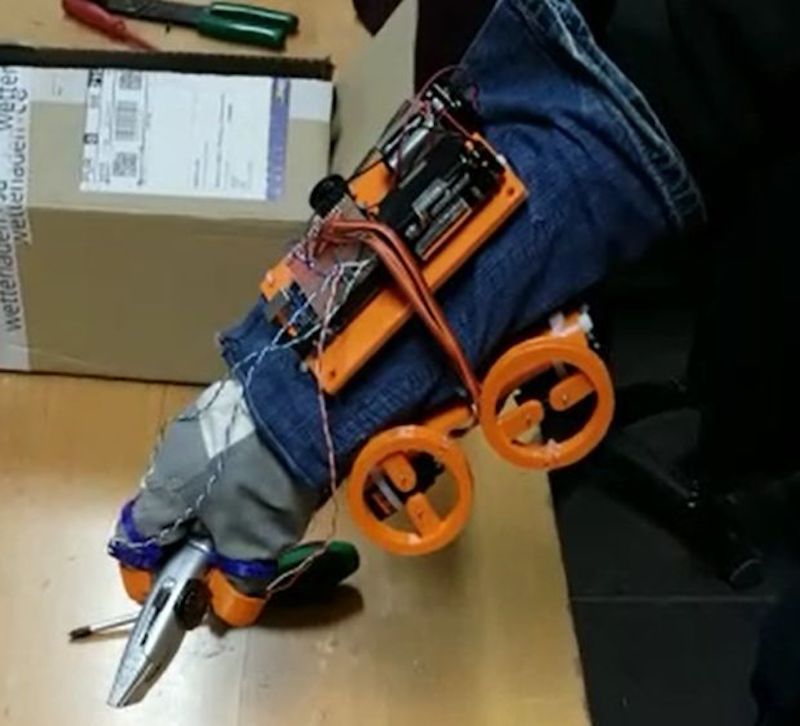
The RoboGlove project is a robotic glove by students at the Université Libre de Bruxelles that is designed to assist the wearer when continuously gripping objects.

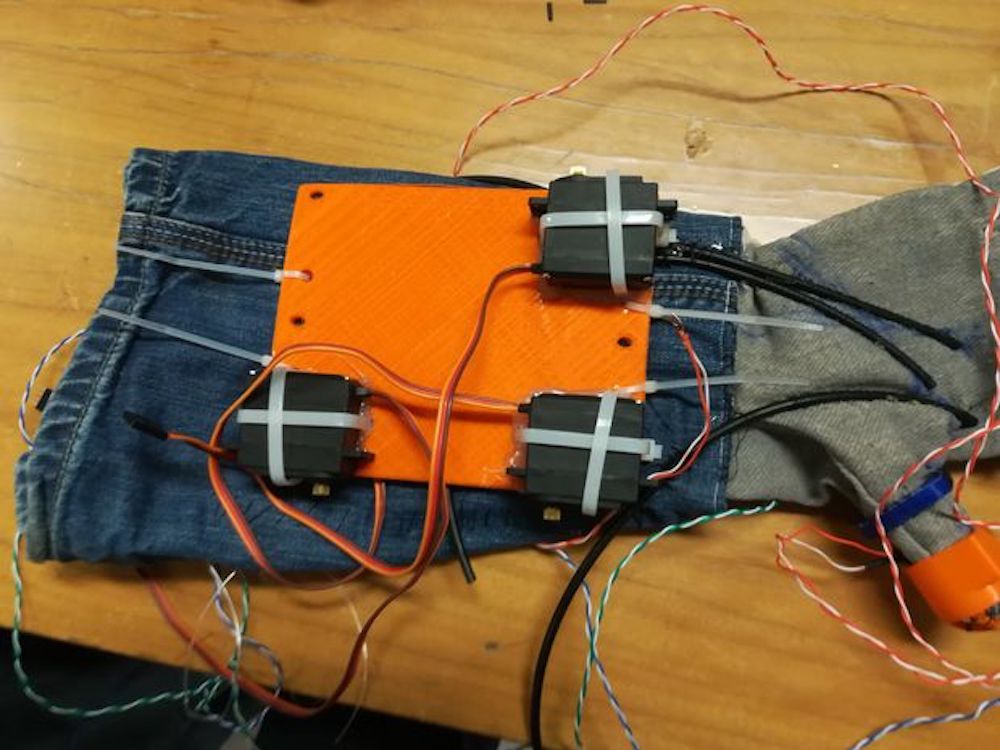
This is accomplished by a series of three servos that transmit force through cables for the index finger, middle finger, and thumb. Control is via an Arduino Uno, which takes input from pressure sensors in the three finger fixtures, helping the wearer keep gripping when force is initially exerted to close a fist.

The glove has a wire connection that links the fingers to some servo motors: a wire is attached to the extremity of the finger and to the servo, so when the servo turns, the wire is pulled and the finger is flexed. In this way, by controlling the grip done by the user through some pressure sensors in the extremity of the fingers, we are able to actuate the motors in a controlled way and help the gripping by bending the finger proportionally to the rotation of the motors and so to the rolling up of the wires. In this way we should be able either to allow weak people to grip objects or help even people in physiological conditions to grip objects and to keep it without any effort.

While still a prototype, it’s an interesting device that could be developed further into a very helpful augmentation. You can see it in action in the video below!

Playing chiptunes on an old reed organ with Arduino

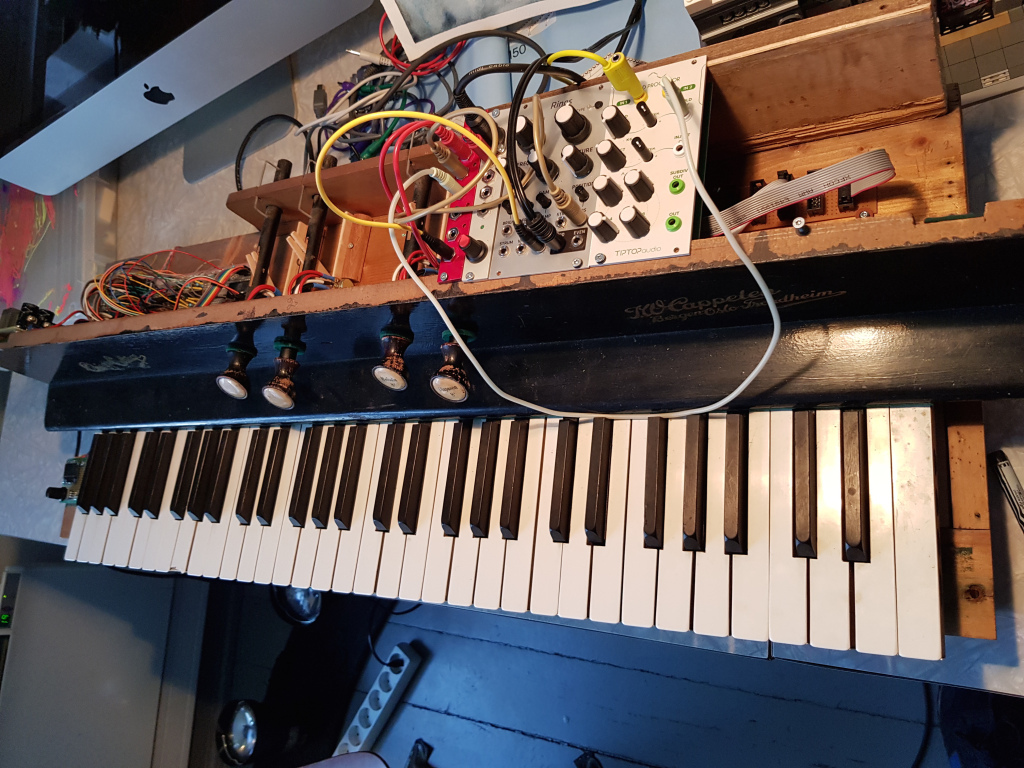
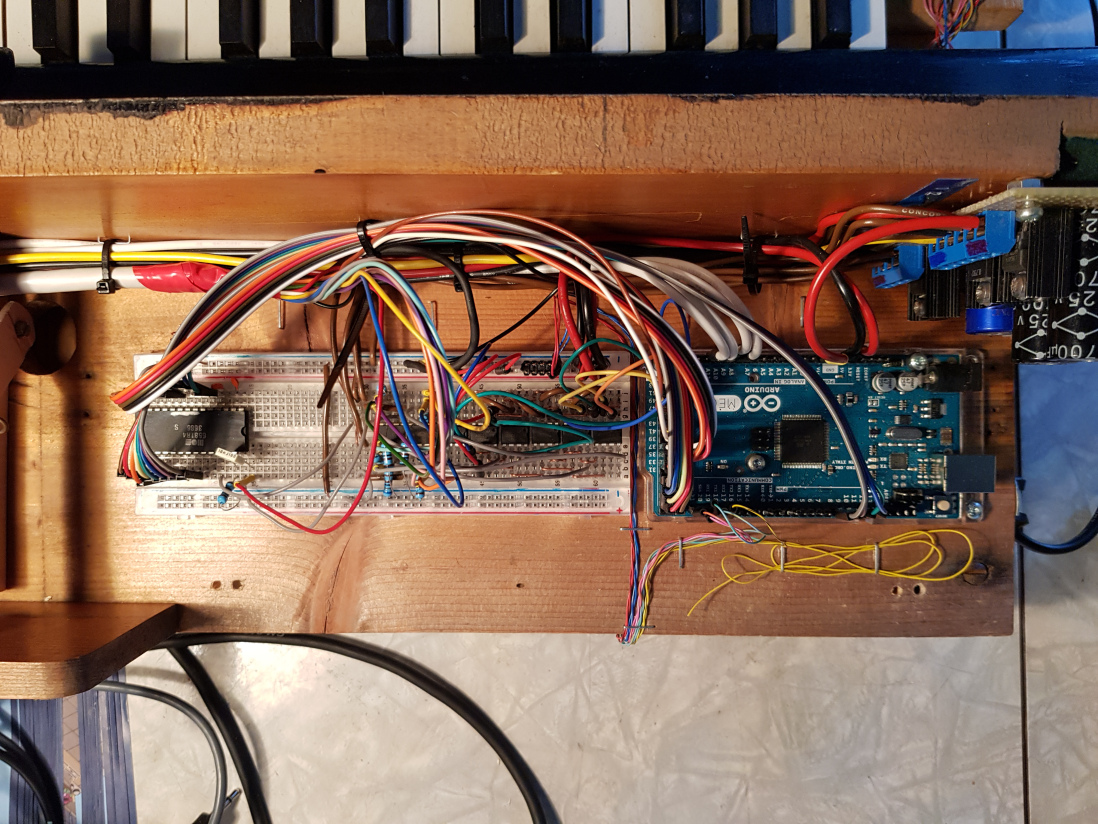
After finding an organ left outside to rot, hacker “tinkartank” decided to use it for his own purposes, adding push buttons under each key as inputs to an Arduino Mega.

He also reused the control rods with potentiometers as a secondary input method, and added a tiny OLED to display the system’s menu. With this unique interface setup, the Mega drives a MOS6581 SID chip—originally used to produce sound on the Commodore 64—for music generation, and can interface with Eurorack modules as needed.

Want to see more? Be sure check out the SID organ in action below, and read the entire project write-up here.

Arduino Blog 03 Jan 15:27

Control lights and sounds with the Arduino-powered LED Eclipse

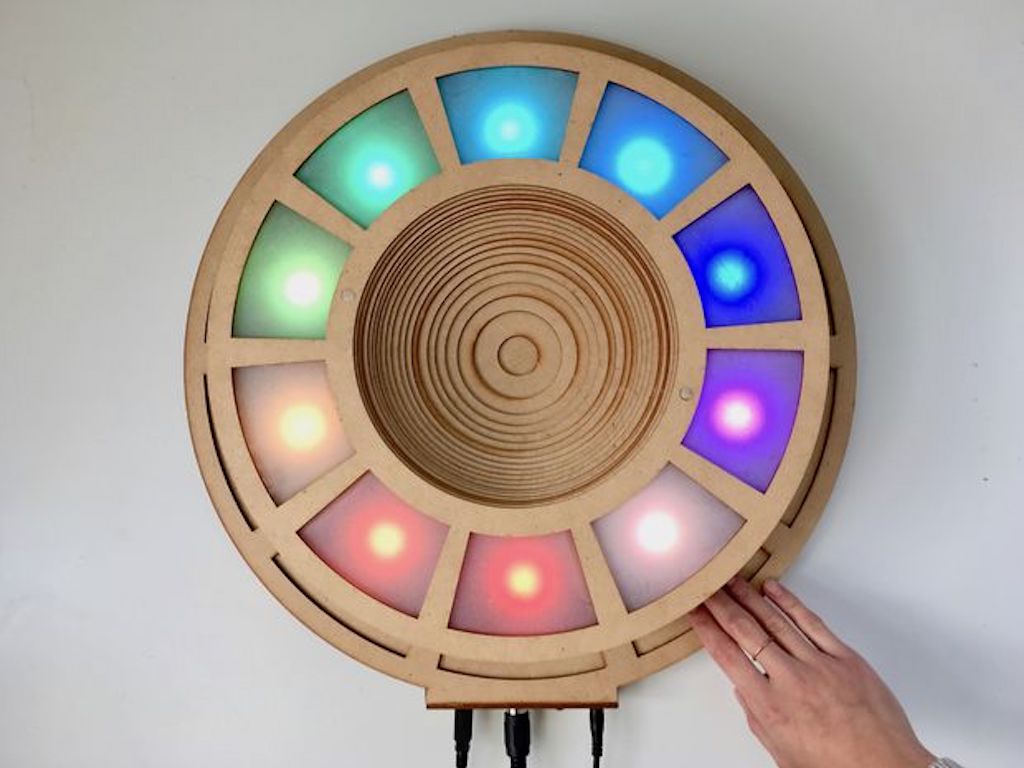
If you need a MIDI device that can be programmed as your own unique light and sound controller, then Jon Bumstead’s LED Eclipse may be just what you’re looking for.

The circular device, roughly the diameter of a large plate, is constructed out of 30 layers of MDF, and boasts 10 capacitive sensors made with copper strips, as well as 10 corresponding programmable LEDs.

An Arduino Uno powers the assembly, which can be seen being played like a multi-player electronic piano towards the end of the video below. It can also be used as a Simon-style game, and even a light display—though you could program it for any other application you desire!

Designing an Arduino-powered Braille generator


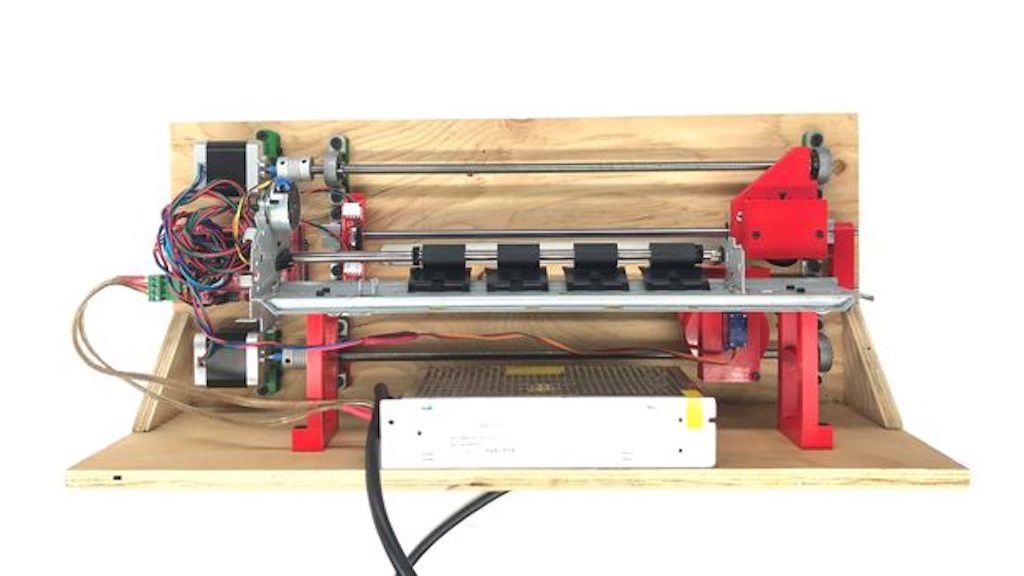
Did you know that embossing machines needed to generate Braille characters can cost thousands of dollars? After finding this out, hacker Carlos Campos decided to design and build his own using 3D-printed parts, along with an Arduino Mega and a RAMPS board for control.

Instead of punching each dot, the device pushes a pin out onto the paper, then rolls the dot onto it from the other side, leading to a much quieter operation than normal machines.

Check out the clips below to see the pin actuator by itself and the embosser in action. More details and videos can also be found on Facebook. The project is still in the experimental stages, so collaborators are invited to help turn it into an even more useful implement.

Ultrasonically levitate particles and liquid

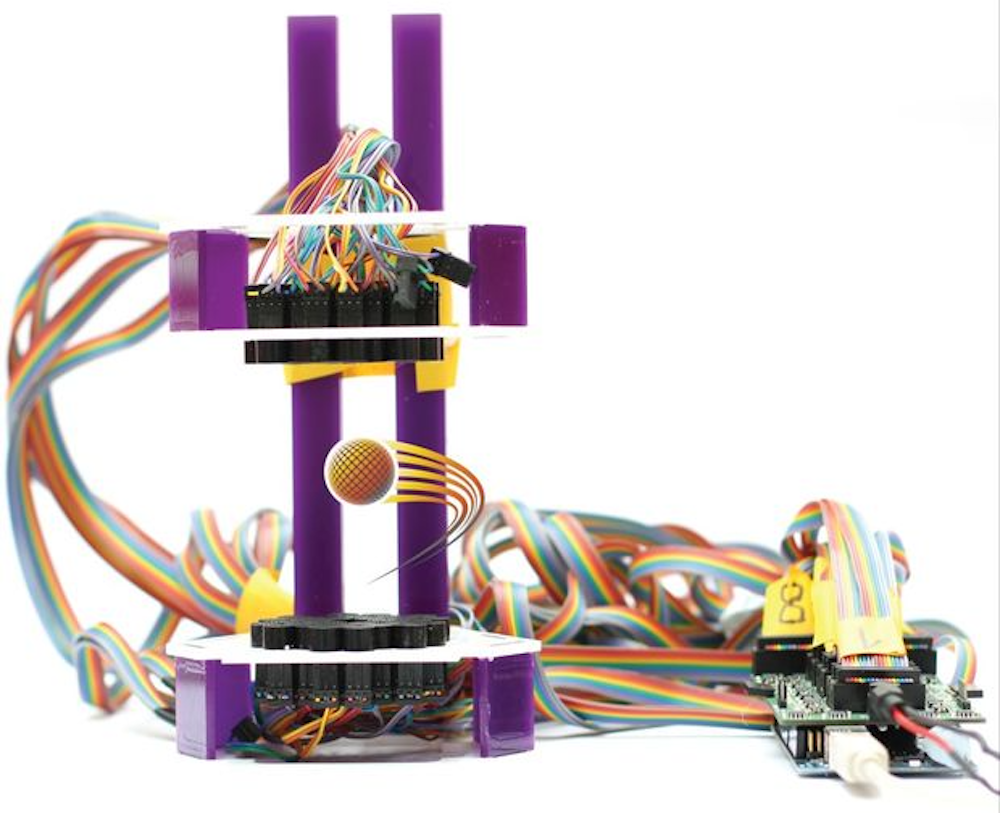
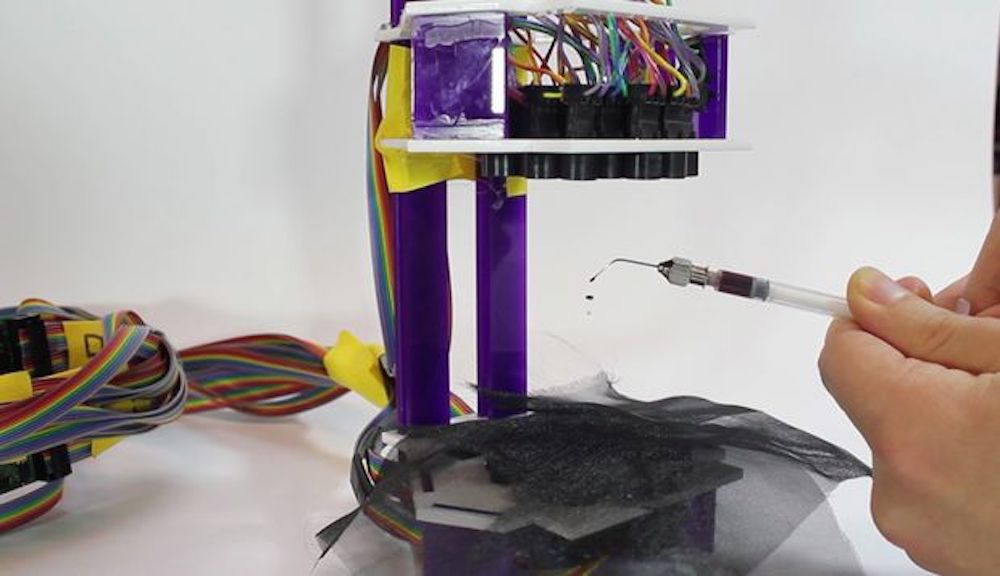
If you thought the power of levitation was only available to magicians (and perhaps magnets) then check out this amazing project from Asier Marzo. It uses an Arduino Mega to control an 8×8 array of ultrasonic transducers, which when carefully coordinated using a simulation program, not only can suspend a particle but cause it to move around the grid of transducers.

You can find a summary of this kind of device’s capabilities in Marzo’s write-up, including haptic feedback, use as a directional speaker, and even levitating liquids in a standing wave setup.

We present Ultraino, a modular, inexpensive, and open platform that provides hardware, software and example applications specifically aimed at controlling the transmission of narrowband airborne ultrasound. The software can be used to define array geometries, simulate the acoustic field in real time and control the connected driver boards. The driver board design is based on an Arduino Mega and can control 64 channels with a square wave of up to 17 Vpp and ?/5 phase resolution. Multiple boards can be chained together to increase the number of channels. 40 kHz arrays with flat and spherical geometries are demonstrated for parametric audio generation, acoustic levitation and haptic feedback.

You can also skip to 8:30 in the video below to see it manipulating a particle, or to 9:30 where several individual drops of alcohol and food coloring are able to float in mid-air.