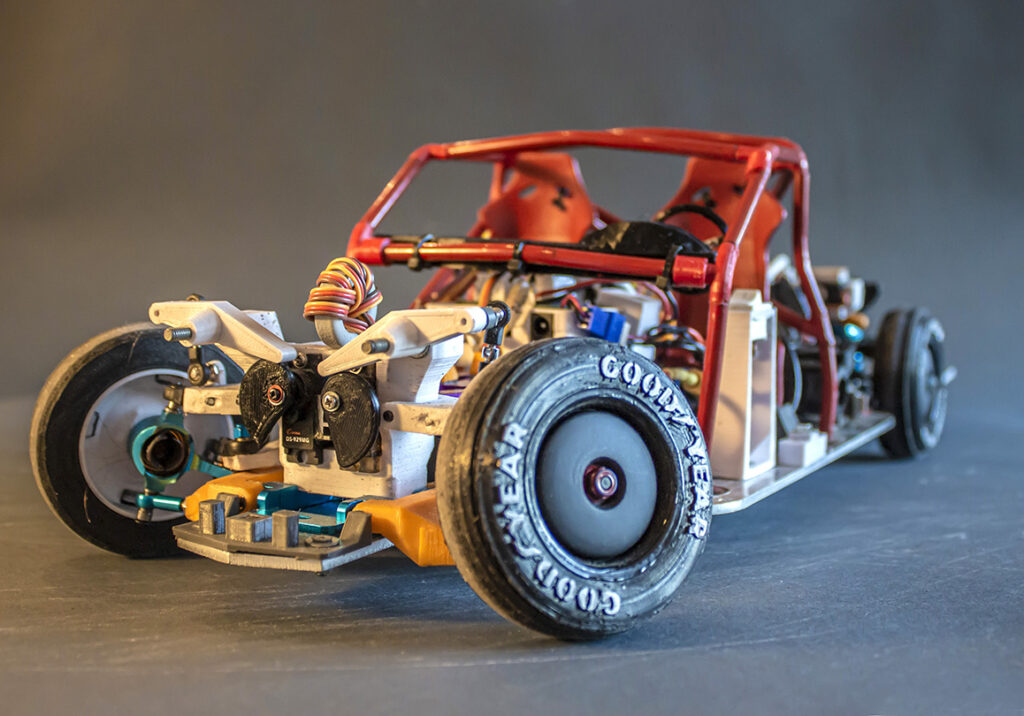
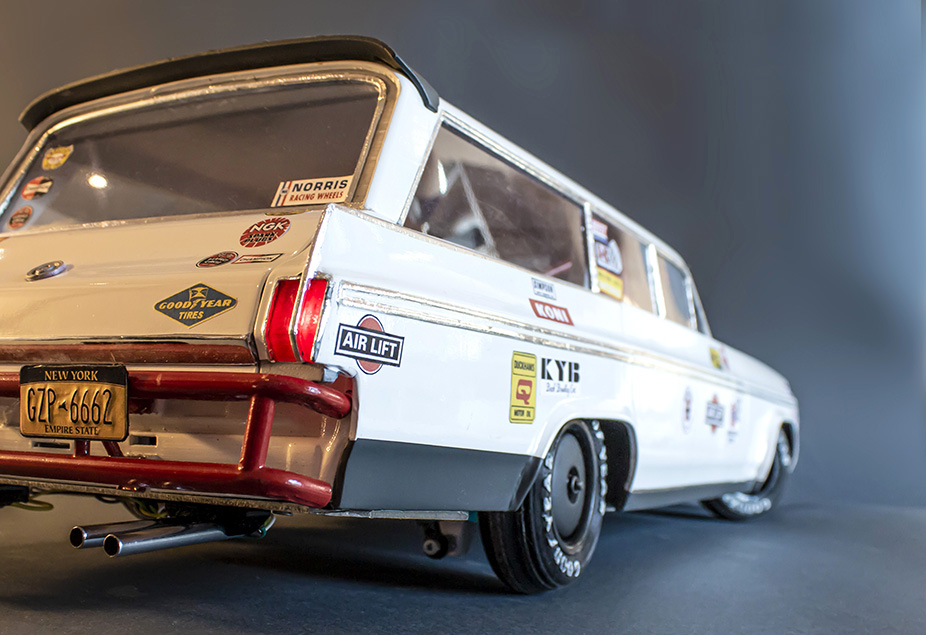
Model cars can be fun to use and look at, but when driving one it’s difficult to get the same sort of movement in the suspension as a full-sized vehicle. To enhance his 65cm long 8.5:1 Oldsmobile Dynamic 88, creator Dimitar Tilev turned to an active suspension system controlled by four micro servo motors.
When maneuvering the little beast, an Arduino board along with an MPU-6050 IMU allow it to raise and lower each wheel individually based on the forces it experiences, giving an amazing approximation of an actual car’s behavior.
The build also features a sound effects system to simulate engine noises and exhaust pops, and an attention to detail in the styling that sets it apart as something really special.
We’re kicking off this year’s CES with some big news.
Millions of users and thousands of companies across the world already use Arduino as an innovation platform, which is why we have drawn on this experience to enable enterprises to quickly and securely connect remote sensors to business logic within one simple IoT application development platform: a new solution for professionals in traditional sectors aspiring for digital transformation through IoT.
Combining a low-code application development platform with modular hardware makes tangible results possible in just one day. This means companies can build, measure, and iterate without expensive consultants or lengthy integration projects.
Built on ARM Pelion technology, the latest generation of Arduino solutions brings users simplicity of integration and a scalable, secure, professionally supported service.
“By combining the power and flexibility of our production ready IoT hardware with our secure, scalable and easy to integrate cloud services we are putting in the hands of our customers something really disruptive,” commented Arduino CEO Fabio Violante. “Among the millions of Arduino customers, we’ve even seen numerous businesses transform from traditional ‘one off’ selling to subscription-based service models, creating new IoT-based revenue streams with Arduino as the enabler. The availability of a huge community of developers with Arduino skills is also an important plus and gives them the confidence to invest in our technology”.
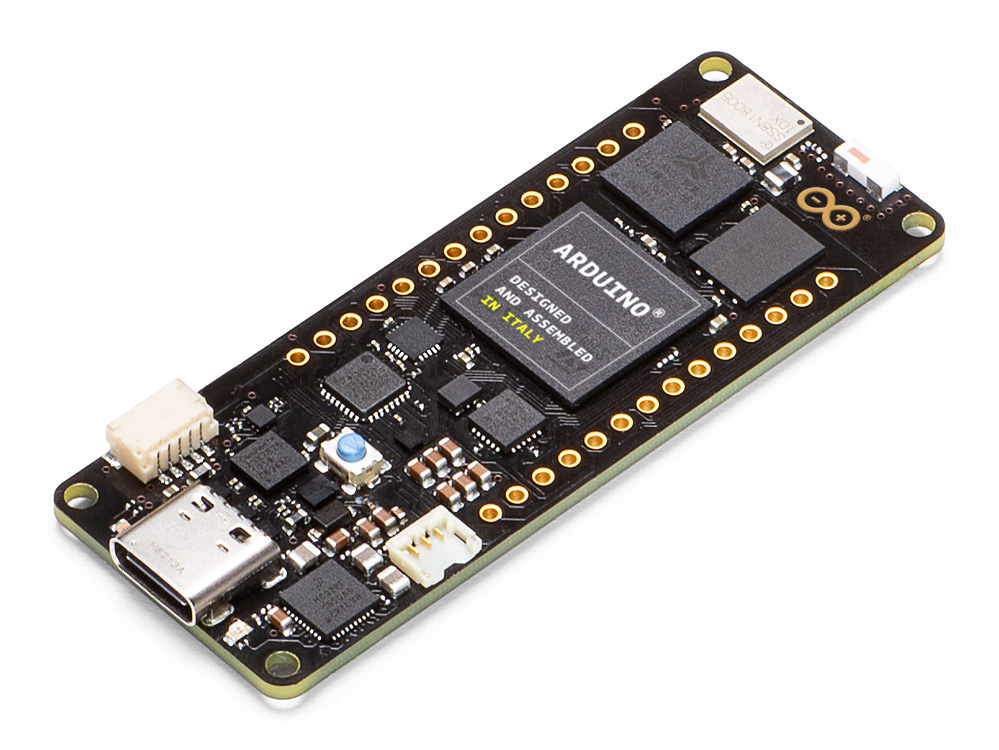
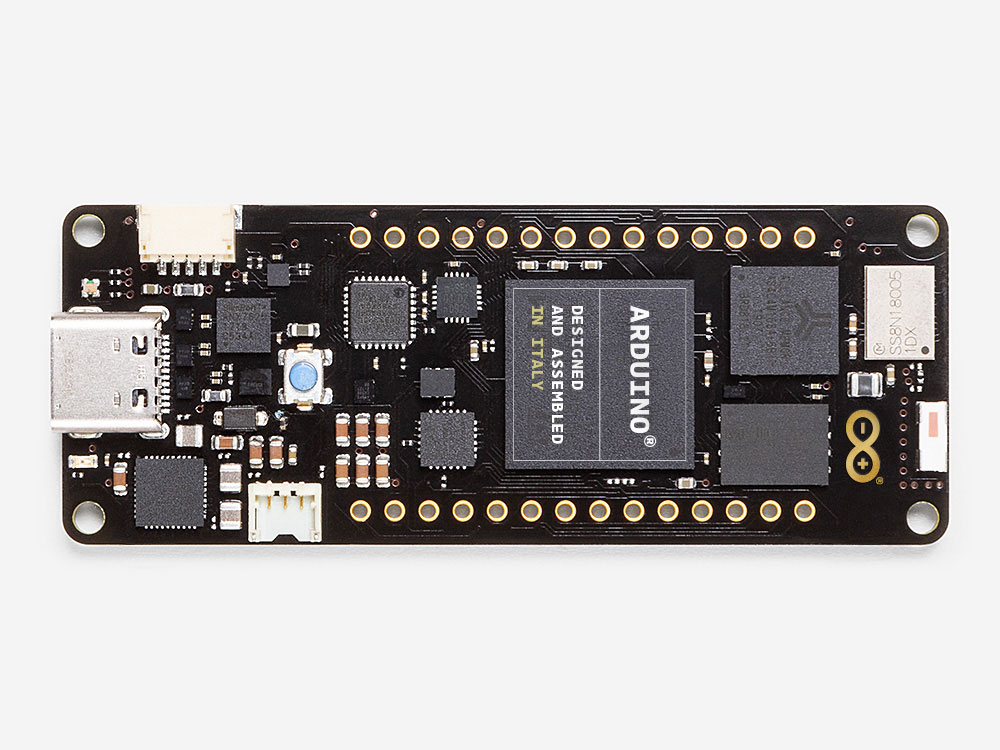
But that’s not all. At CES 2020, we are also excited to announce the powerful, low-power new Arduino Portenta family. Designed for demanding industrial applications, AI edge processing and robotics, it features a new standard for open high-density interconnect to support advanced peripherals. The first member of the family is the Arduino Portenta H7 module – a dual-core Arm Cortex-M7 and Cortex-M4 running at 480MHz and 240MHz, respectively, with industrial temperature-range (-40 to 85°C) components. The Portenta H7 is capable of running Arduino code, Python and JavaScript, making it accessible to an even broader audience of developers.
The new Arduino Portenta H7 is now available for pre-order on the Arduino online store, with an estimated delivery date of late February 2020.
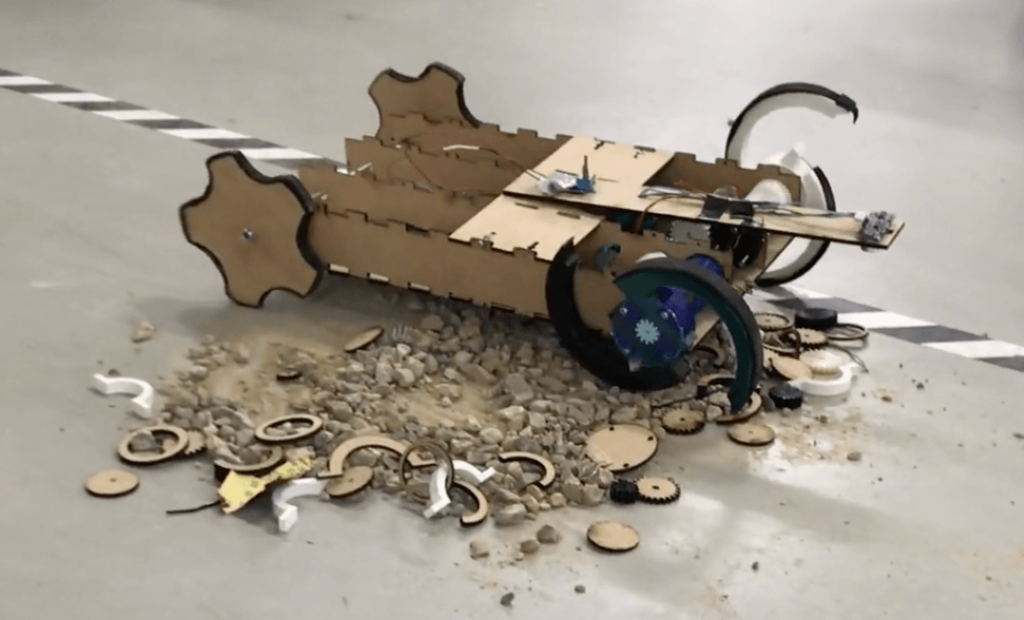
If your robotic vehicle will only work on smooth surfaces, the choice of a wheel is obvious. For more rugged bots, the same applies with knobby wheels. For those that need to operate in both environments, however, the Adaptive Field Robot presents a new solution in the form of wheels that actually change dynamically depending on the terrain.
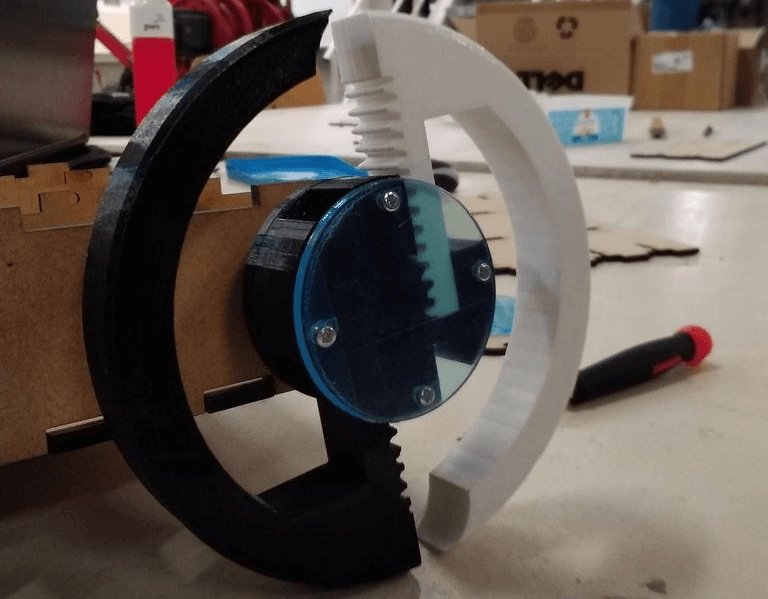
This Arduino-powered robot is able to transform its two driving wheels from a nearly circular shape into a claw-like arrangement using secondary motors that rotate along with the wheel assembly.
When the bot detects a difference in terrain via an ultrasonic sensor, the motors springs into action, activating a rack-and-pinion system that expands the two halves of the wheel into “claw mode.”
Be sure to check out this innovative robot in the video below, including some trial-and-error during the development process.
If you need another idea for how to creatively diffuse LED lighting, then look no further than the “Light Me Up!” project by Hyewon Shin, Eunjeong Ko, and Junsung Yi.
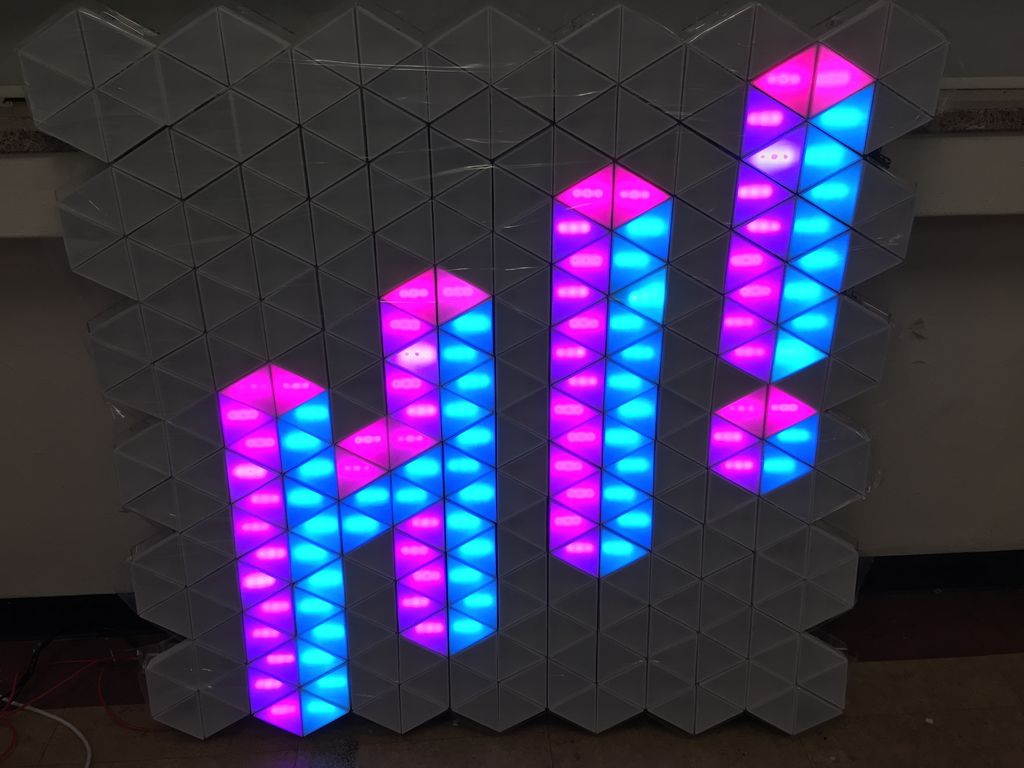
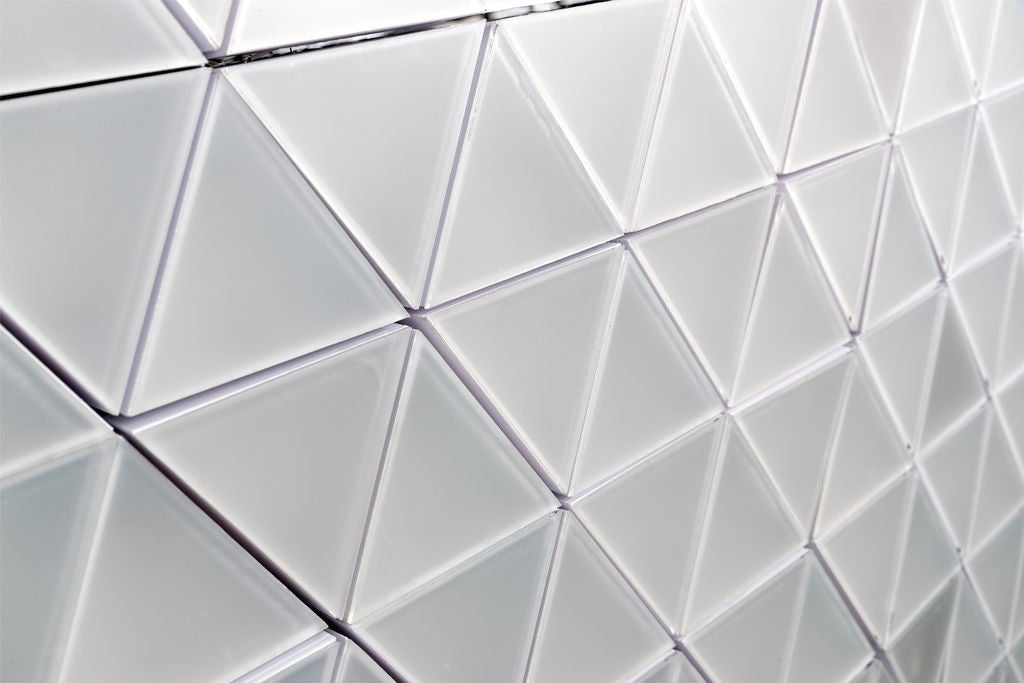
Their setup uses 312 3D-printed and laser-cut light triangles, each of which contains a trio of RGB LEDs. Users select the desired light by pressing the triangles themselves, via buttons concealed beneath the main assembly. Several Arduino boards are used to control the massive structure.
With such an involved triangular display, a number of interesting 3D-like shapes and even words can be created by users. Alternatively, smaller triangle arrangements can also be constructed using the same build concepts.
This project has several triangles that form a hexagonal shape. So you can create stereoscopic patterns according to how you design light! Just press each piece and various colors will be gradated, and when the color you want comes out, just hit the hand you pressed and it will continue to shine beautifully with the color you wanted!
Check out its triangular luminescence in the videos below!
When you need to test a single servo, it’s a fairly straightforward task. Just hook it up to an Arduino to generate the proper PWM signal, along with an appropriate power supply, and you’re in business. If, however, you need to test a bunch of them at the same time, things get a bit more complicated.
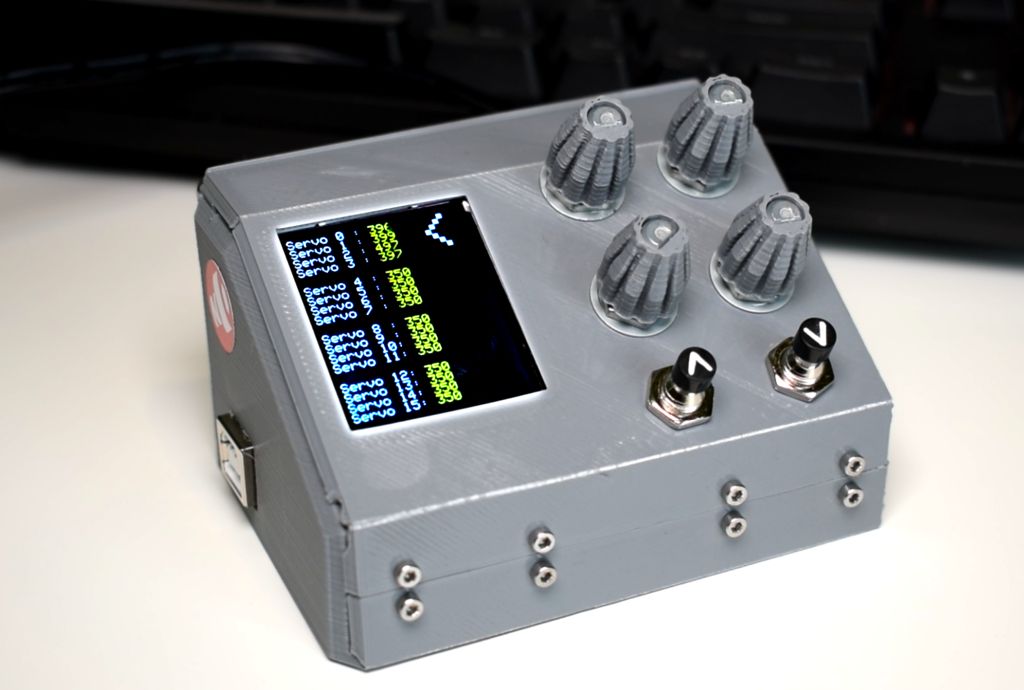
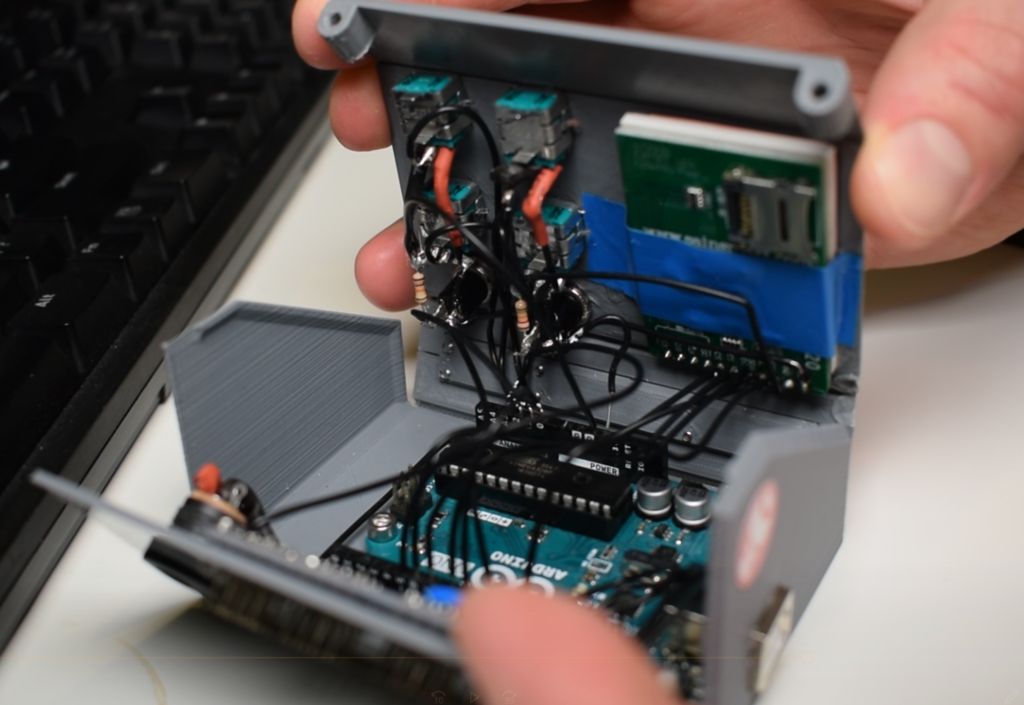
To solve this challenge for another project he’s working on, Will Cogley built a 3D-printed tester capable of experimenting with 16 servos at the same time.
The device runs on an Uno, and uses four potentiometers and two buttons for controlling the motors in sets of four. Settings from all 16 outputs are displayed on a 1.8” TFT screen and an Adafruit 16-channel driver is implemented to interface with the servos directly.
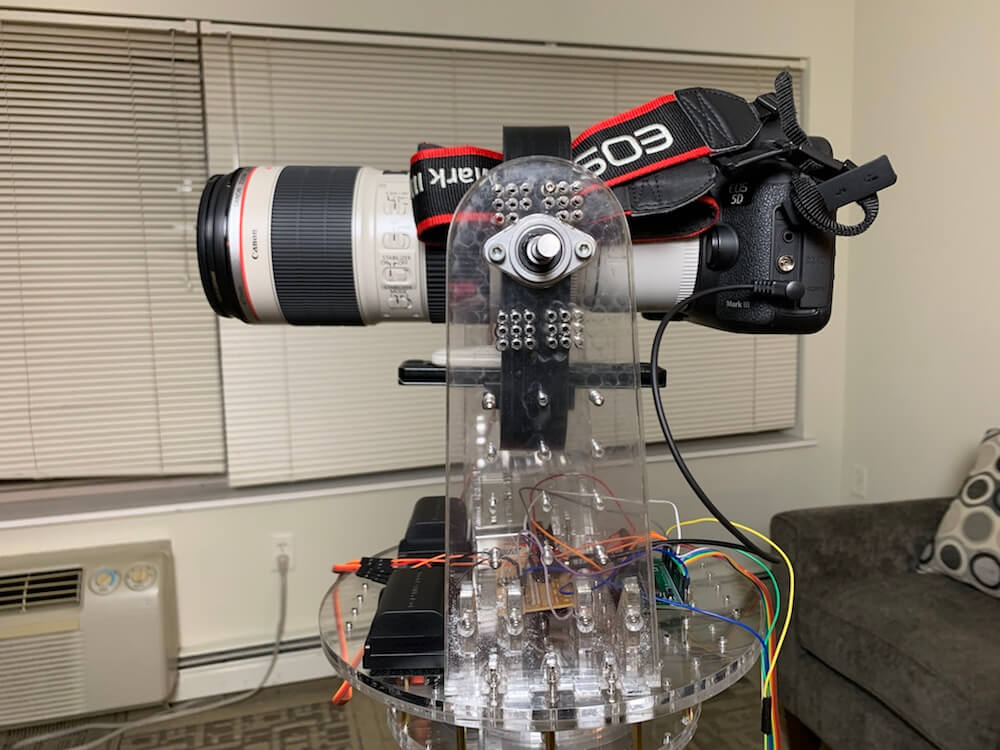
Holding your phone up to take an occasional picture is no big deal, but for professional photographers who often need to manipulate heavier gear for hours on end, this can actually be quite tiring. With this in mind, Cornell University students Kunpeng Huang, Xinyi Yang, and Siqi Qian designed a two-axis gesture-controlled camera platform for their ECE 4760 final project.
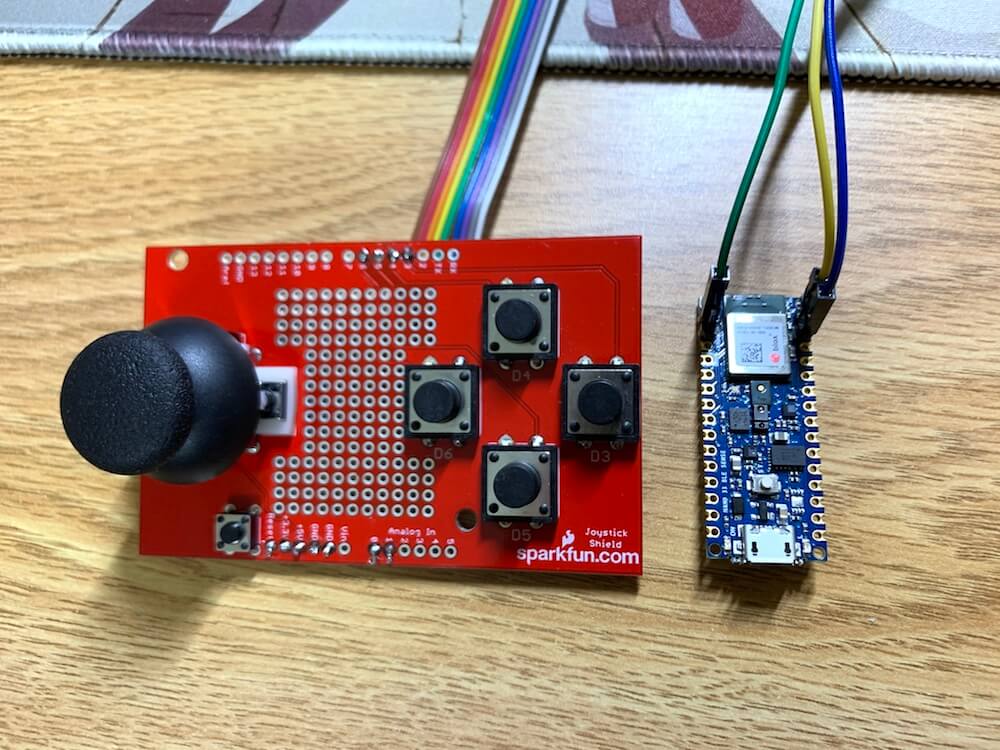
Their device mounts a 3.6kg (~8lb) DSLR camera in an acrylic turret, allowing it to look up and down (pitch) as well as left and right (yaw) under the control of two servo motors. The platform is powered by a PIC32 microcontroller, while human operation is performed via a gamepad-style SparkFun Joystick Shield or through an Arduino Nano 33 BLE Sense.
When in Nano mode, the setup leverages its IMU to move the camera along with the user’s hand gestures, and its built-in light and proximity sensing abilities activate the camera itself.
Our 2-DOF gesture-controlled platform can point the camera in any direction within a hemi-sphere based on spherical coordinates. It is capable of rotating continuously in horizontal direction and traversing close to 180 degrees in vertical direction. It is able to support a relatively large camera system (more than 3kg in total weight and 40cm in length), orient the camera accurately (error less than 3 degree), and respond quickly to user input (transverse 180 degrees in less than 3 seconds). In addition to orienting the camera, the system also has simple control functionality, such as allowing the user to auto-focus and take photos remotely, which is achieved through DSLR’s peripheral connections.
At a high level, our design supports three user input modes — the first one uses a joystick while the other two use an inertial measurement unit (IMU). In the first mode, the x- and y-axis of a joystick is mapped to the velocities in the yaw and pitch directions of the camera. In the second mode, the roll and pitch angles of the user’s hand are mapped to the velocities of the camera in the yaw and pitch directions, while the third mode mapped the angles to the angular position of the camera.
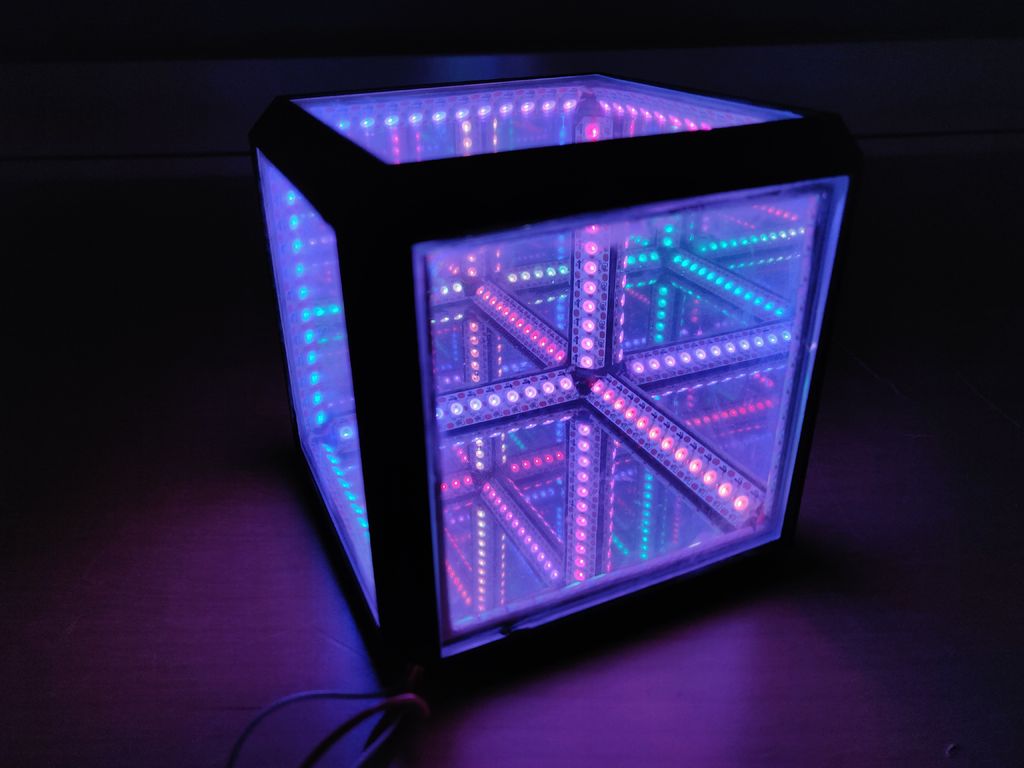
Infinity cubes use six mirrors arranged in such a way that they bounce light inside back and forth, making them appear to stretch on to infinity. While not the first to make such a device, Thomas Jensma created the frame for his as a single 3D-printed piece.
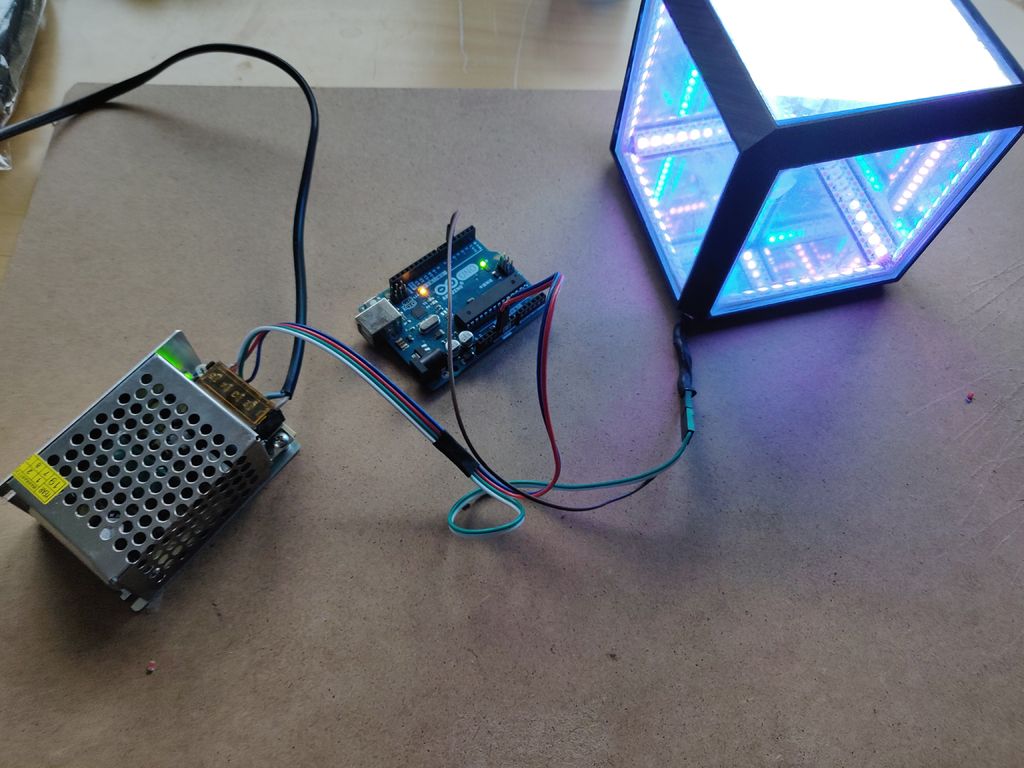
This method meant that the plexiglass mirrors surrounding the build are automatically quite flat, allowing the 144 LEDs inside to reflect beautifully with no adjustment. An external Arduino board controls the lights, producing an infinite number of patterns. A 5V supply is also used in order to power the assembly.
Instructions for the project can be found here, and with this simplified design, Jensma was able to construct his in a day for just $25 in parts.
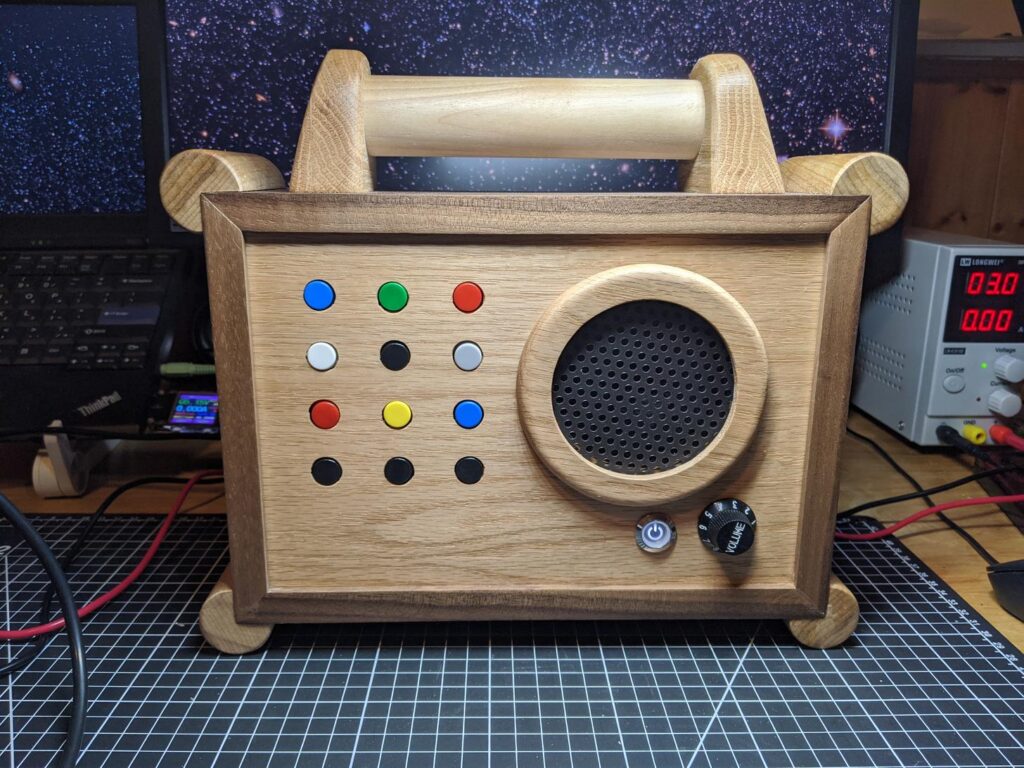
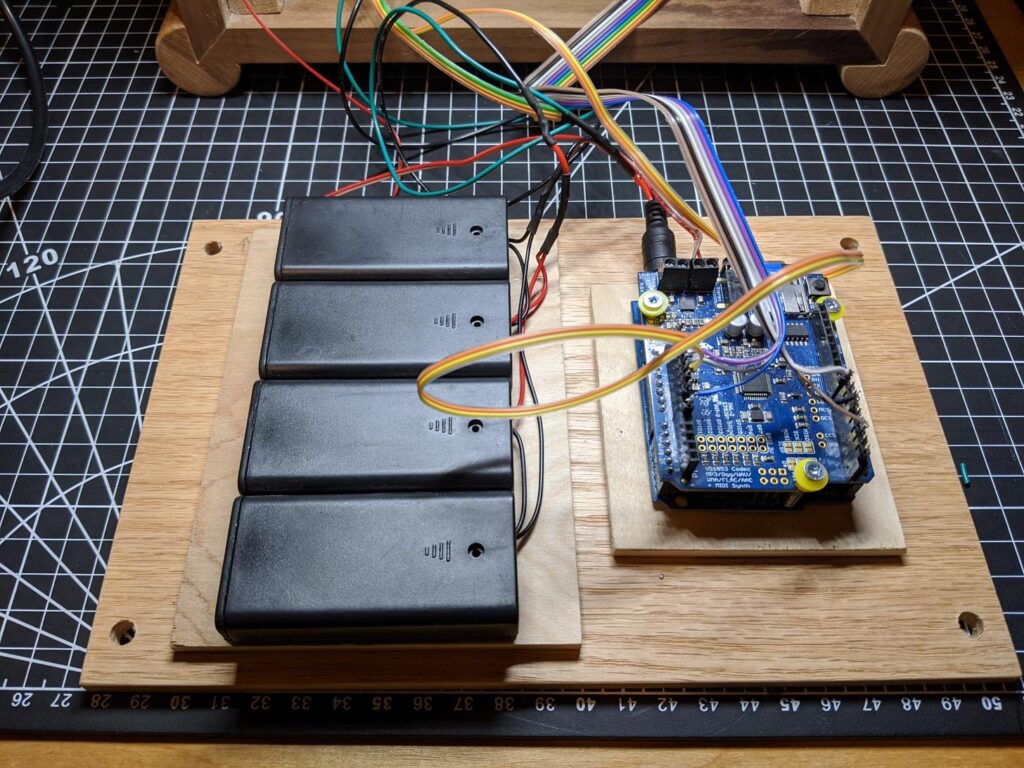
If your young child wants to listen to music, what better way than a beautiful wooden MP3 “radio,” with an array of buttons that select the album? After being inspired by a similar commercial product, Redditor “DerThes” decided to make such a device for a fraction of the cost using an Arduino Uno for control, along with a Music Maker Shield to play tunes off an SD card.
The toddler can select songs from a grid of 16 input buttons, which are sent to the Uno via a pair of shift registers. There’s also a “parent’s mode” with the ability to choose from up to 99 albums, and a volume knob for… adjusting the volume.
Finally, the unt features a beautiful enclosure made out of oak and black walnut, with corners softened by dowels to reduce collateral damage “after the player has gone airborne.” More details can be seen on Imgur here and on GitHub.
This is an easy to use MP3 player for small children. I made this for my 2 year old for Christmas. Each of the top 9 buttons will play an album. The black buttons on the bottom are prev – play/pause – next. The player also supports an alternative playback mode that can be activated using a special key combination. That combination will turn the buttons into a 10 digit input matrix allowing playback of up to 99 albums. That way the player can be used by parents as well.
When I first saw the Hoerbert at a friends place I wanted it for my child. After I heard of the $400 price tag I knew that I needed to spend 50 hrs and $100 to build my own.
You can now securely connect your TV set to Alexa using Arduino IoT Cloud and a few lines of code.
Here are some of the features which will be available to you:
Power on/off
Switch channel
Volume up/down/mute
Switch input sources
The easiest way to operate any kind of television is to act as if we were its very own clicker. In order to do so, we’ll show you how to capture the commands from the remote and play them back via Arduino (the TV will never know what hit it).
We’ll then create an Arduino IoT Cloud Thing with a TV property, and adapt the generated code to our needs. Finally, we’ll configure Alexa to access and control our TV.
Share your creativity with us! Our community means a lot to us, so we would love to see what you create. Make sure you document and post your amazing projects on the Arduino Project Hub and use the #ArduinoAlexa hashtag to make it discoverable by everyone!
Have fun playing with Alexa and IoT Cloud. If you have questions and/or build this project, let us know in the comments below.