Posts with «featured» label

Pour Reception turns water into radio controls
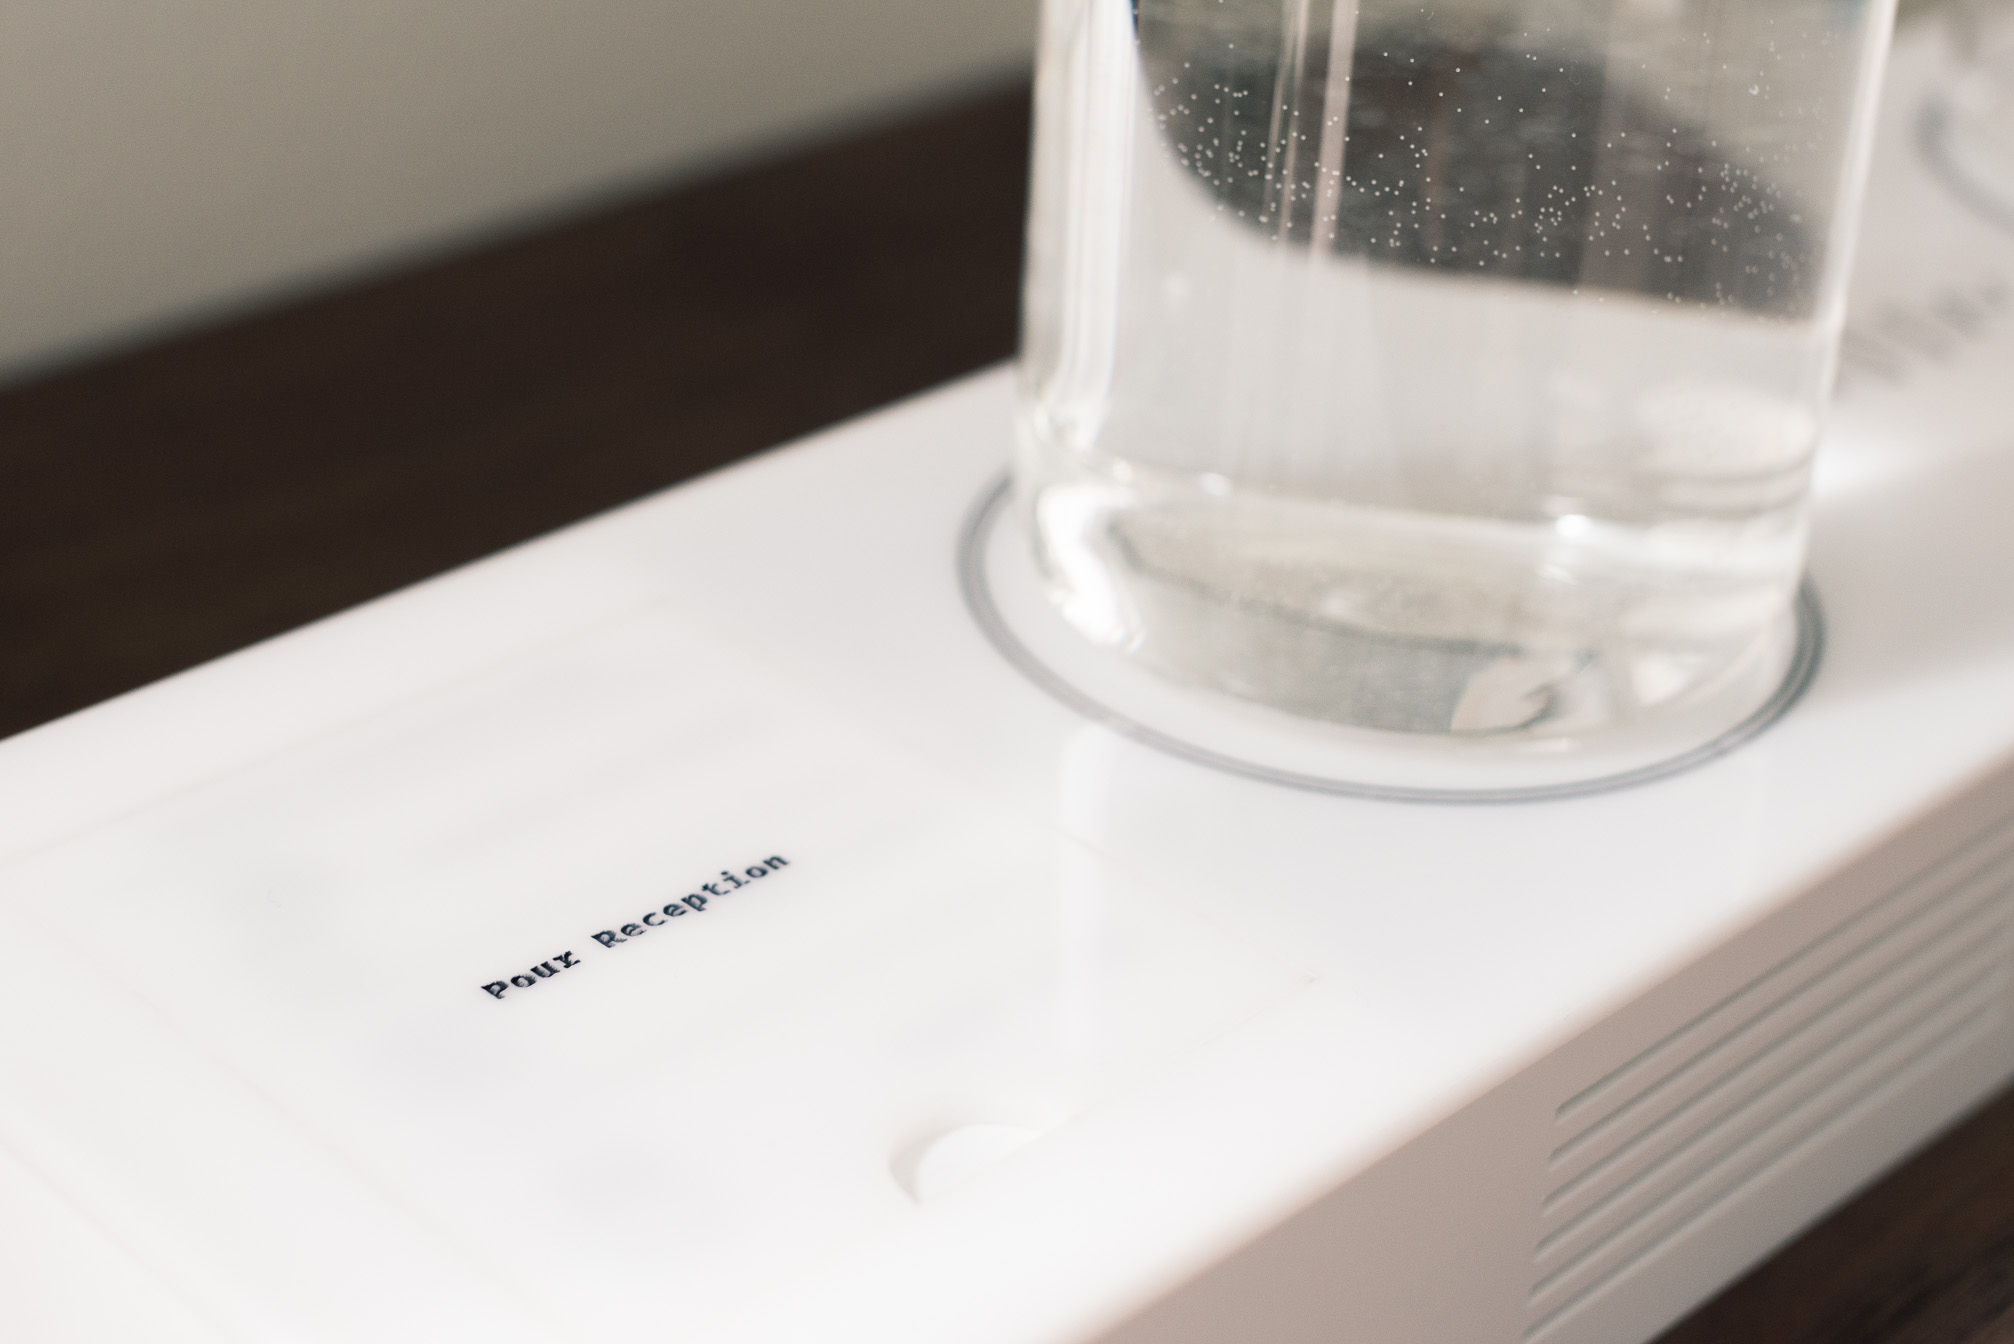
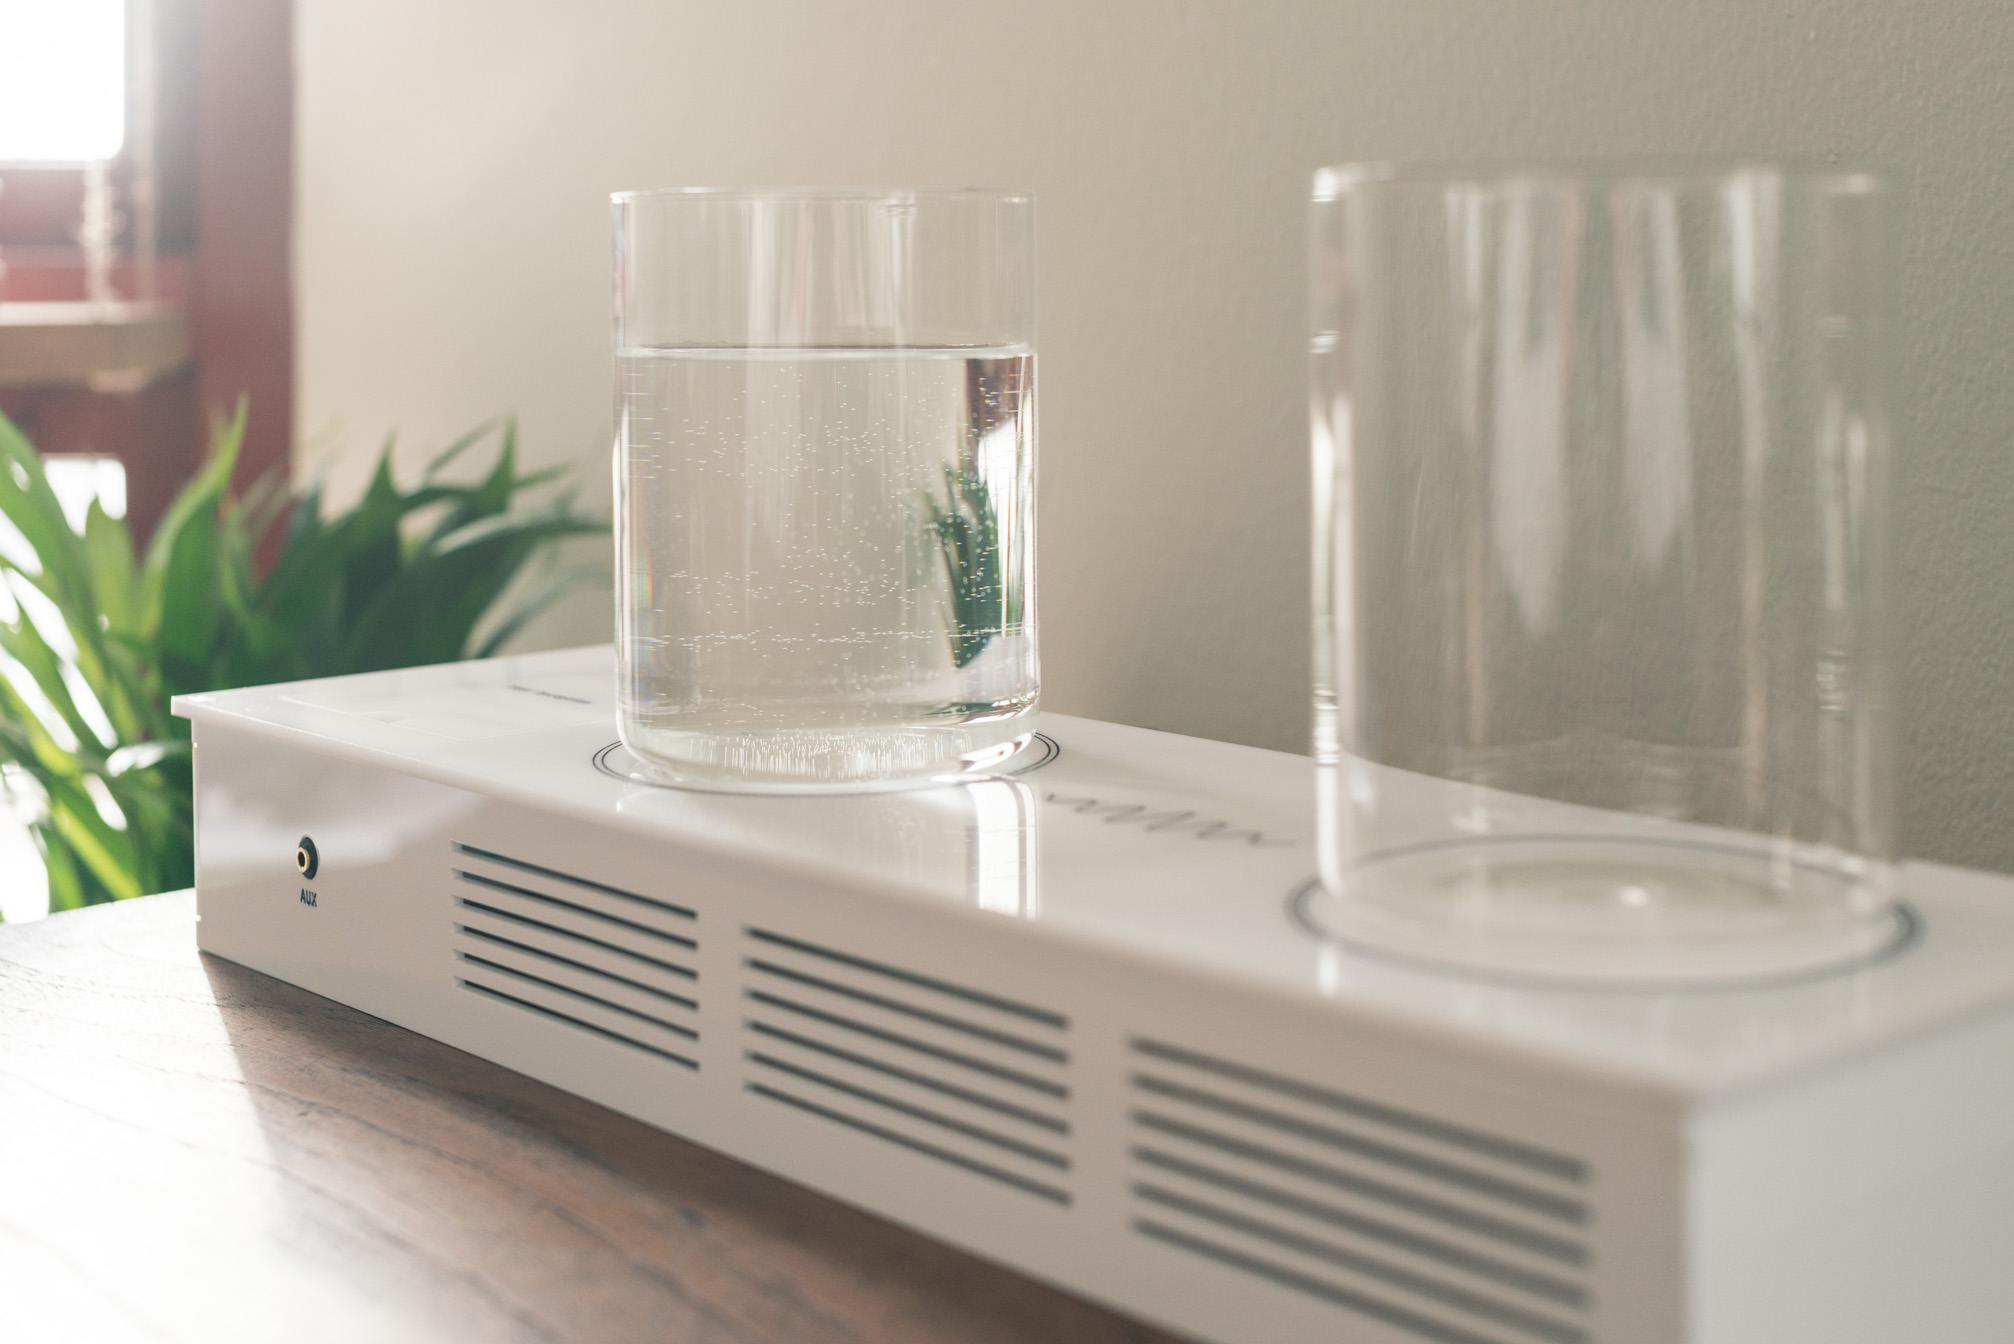
Using a capacitive sensing arrangement, artists Tore Knudsen, Simone Okholm Hansen, and Victor Permild have come up with a way to interact with music with two glasses of water.

One pours water into a glass to turn the radio on. Channels can then be changed by transferring water from one glass into the other, and fine-tuned by touching the outside of container. Volume can even be adjusted by poking a finger into the water itself.
An Arduino Leonardo is used to pick up capacitive signals, and data is then sent a computer where a program called Wekinator decodes user interactions.

Pour Reception is a playful radio that strives to challenge our cultural understanding of what an interface is and can be. By using capacitive sensing and machine learning, two glasses of water are turned into a digital material for the user to explore and appropriate.

The design materials that we have available when designing digital artifacts expands along with the technological development, and with the computational machinery it is possible to augment our physical world in ways that challenges our perceptions of the objects we interact with. In this project, we aim to change the users perception of what a glass is – both cultural and technical.

You can see it in action below, and read more about project in its write-up here.
Scribble is an Arduino-controlled haptic drawing robot

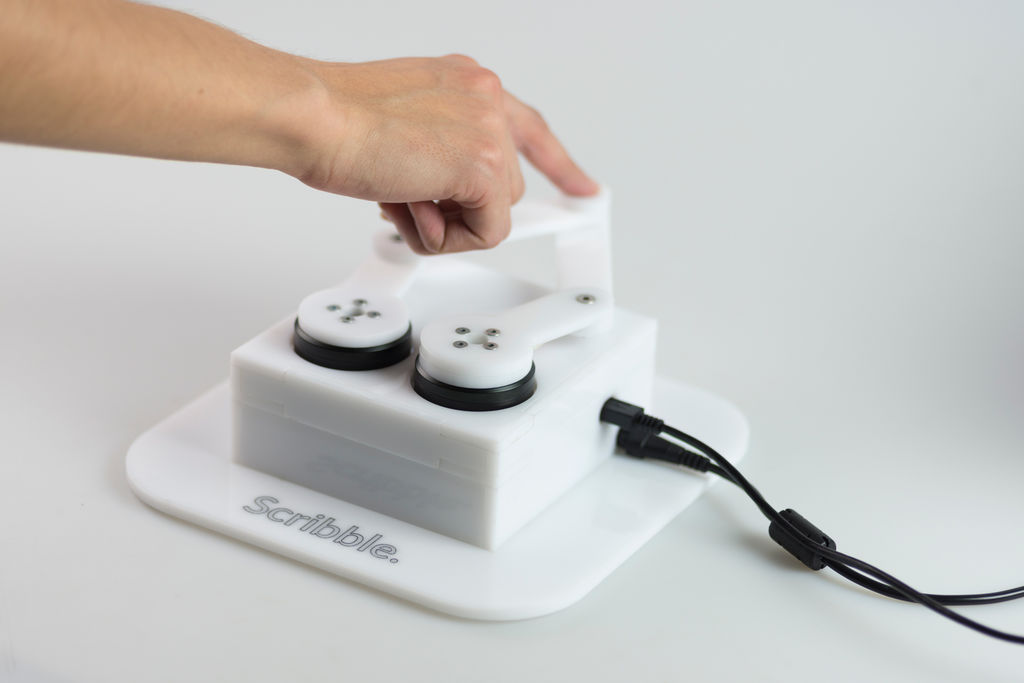
As part of his master’s studies at Eindhoven University, Felix Ros created a haptic drawing interface that uses a five-bar linkage system to not only take input from one’s finger, but also act as a feedback device via a pair of rotary outputs.

“Scribble” uses an Arduino Due to communicate with a computer, running software written in OpenFrameworks.

For over a century we have been driving cars, enabling us to roam our surroundings with little effort. Now with the introduction of automated driving, machines will become our chauffeurs. But how about getting us around a road construction, or finding a friend in a crowded area? Or what if you just want to explore and find new places, will these cars be able to handle such situations and how can you show your intentions?

Currently there is no middle ground between the car taking the wheel or its driver, this is where Scribble comes in: a haptic interface that lets you draw your way through traffic. You draw a path and the car will follow, not letting you drive but pilot the car. Scribble lets you help your car when in need, and wander your surroundings once again.

You can learn more about Ros’ design in his write-up here, including the code needed to calculate and output forward kinematics to set the X/Y position, and inverse kinematics to sense user input.

Be sure to check it out in the video below piloting a virtual car through traffic with ease!

Automated IC testing with Arduino Mega

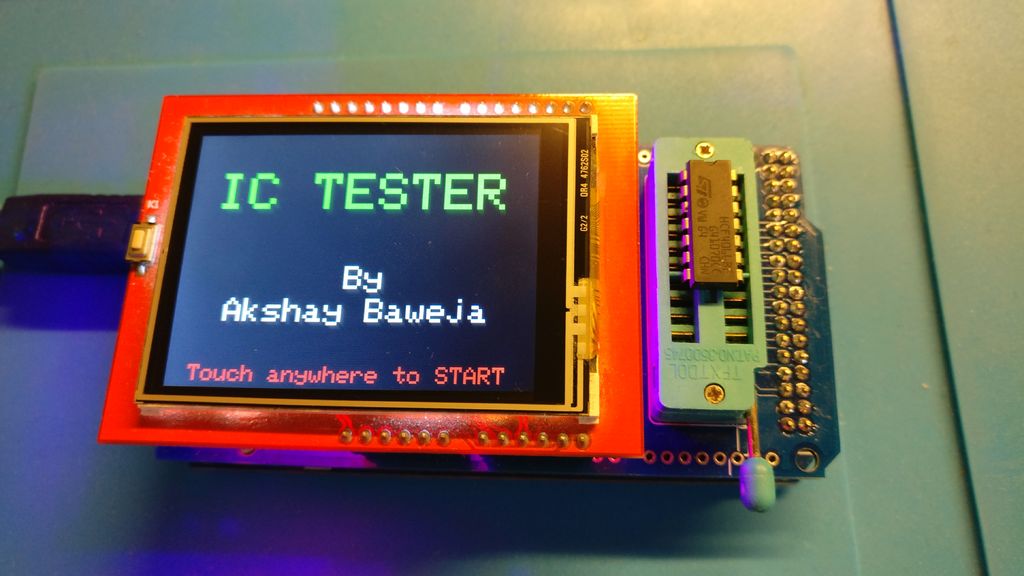
Arduino boards by themselves are, of course, great for making a wide array of projects. Sometimes, however, you’ll need to add other integrated circuits (ICs) for extra functionality. If you want to be absolutely sure that the IC you’re using in your project is working correctly, this tester by Akshay Baweja will input the signals to the device, and analyze the outputs that it produces on a 2.4” touchscreen.

While this type of equipment would normally be quite expensive, Baweja’s Arduino Mega-powered gadget can be built for around $25.

I designed a shield for all components to fit-in and chose the Arduino Mega as my microcontroller board since both the ZIF Socket and LCD can be put side by side giving the build a compact and portable look and feel.

Be sure to check it out being demonstrated below, and if you want to create your own, code can be found on GitHub.

Kid’s kitchen beeps with the help of an Arduino

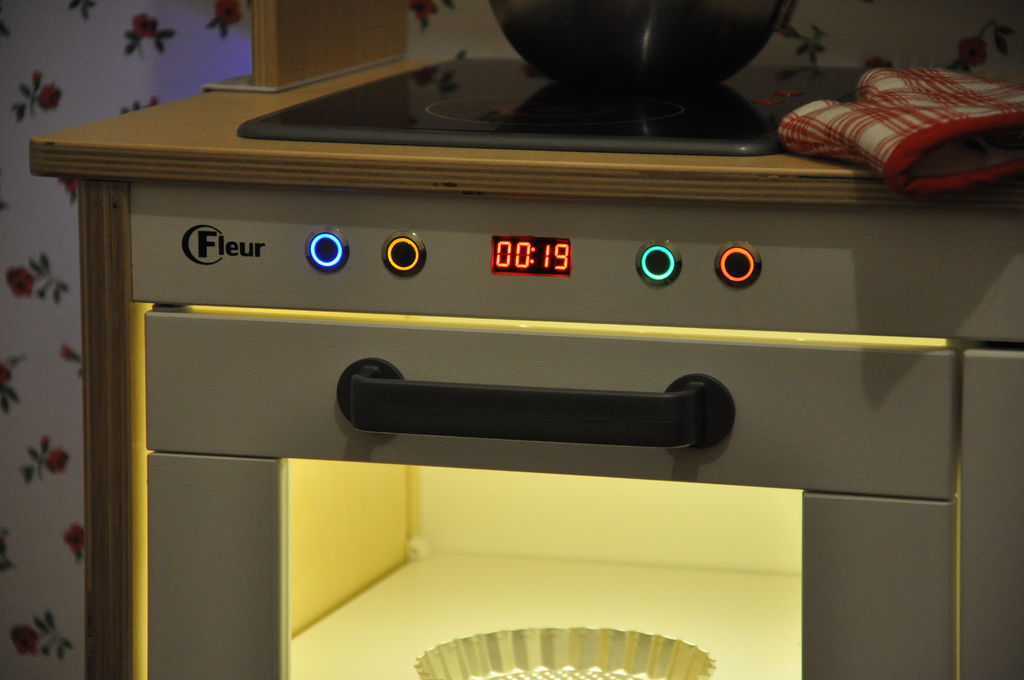
While Roald Hendriks is quite pleased with the build quality of the IKEA DUKTIG play kitchen, it does lack one thing—the ability to say “beep.”

This feature was requested by his daughter, who for her third birthday wanted “a kitchen that says beep, just like mommie’s.” Not wanting to disappoint, he dutifully installed an Arduino, along with a real-time clock module, buttons, and a speaker to allow her to set the cooking time, and have it count down just like the adult equivalent.

The mods are extremely well done, and the buttons and time display on the front look like they were meant to be there. Hendriks even installed lighting inside the oven so she can see what she’s baking!

Check it out in the video below!

Arduino Blog 31 Jan 19:56

Rotary encoders and Arduino combine for awesome universal remote

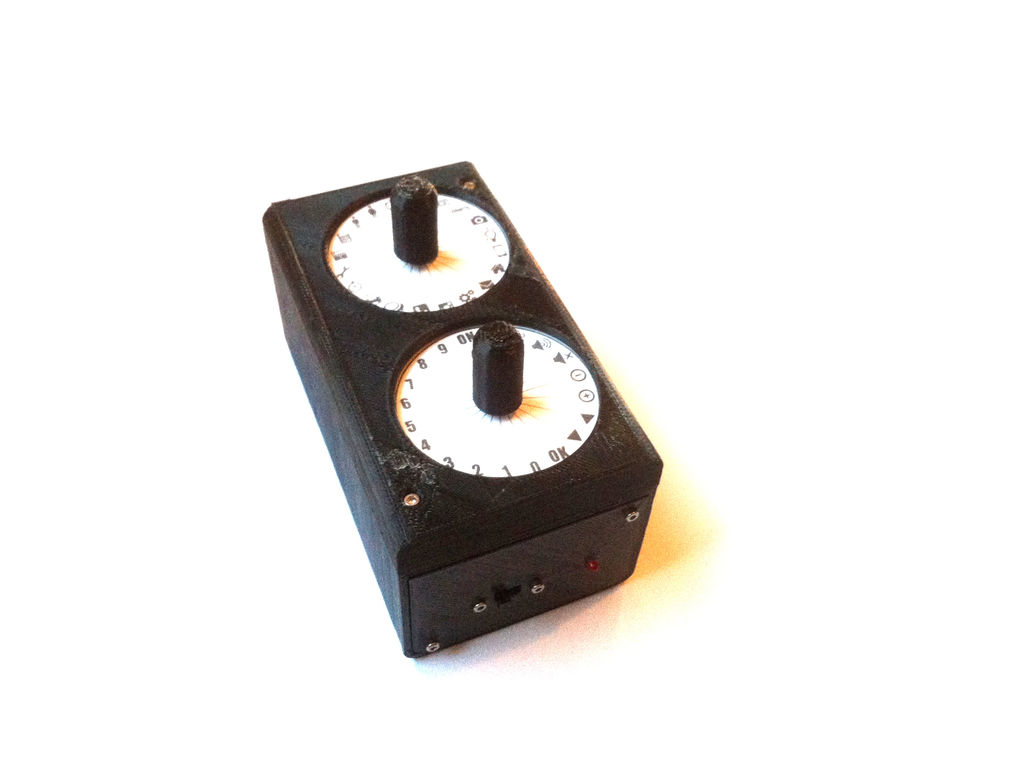
In his latest hack, “Matlek” has come up with an entirely new take on the universal remote, using a pair of rotary encoders instead of an array of buttons to output up to 400 individual signals.

One 20-step encoder in his remote selects the device to be controlled, while the other picks the function, like changing the volume or channel.

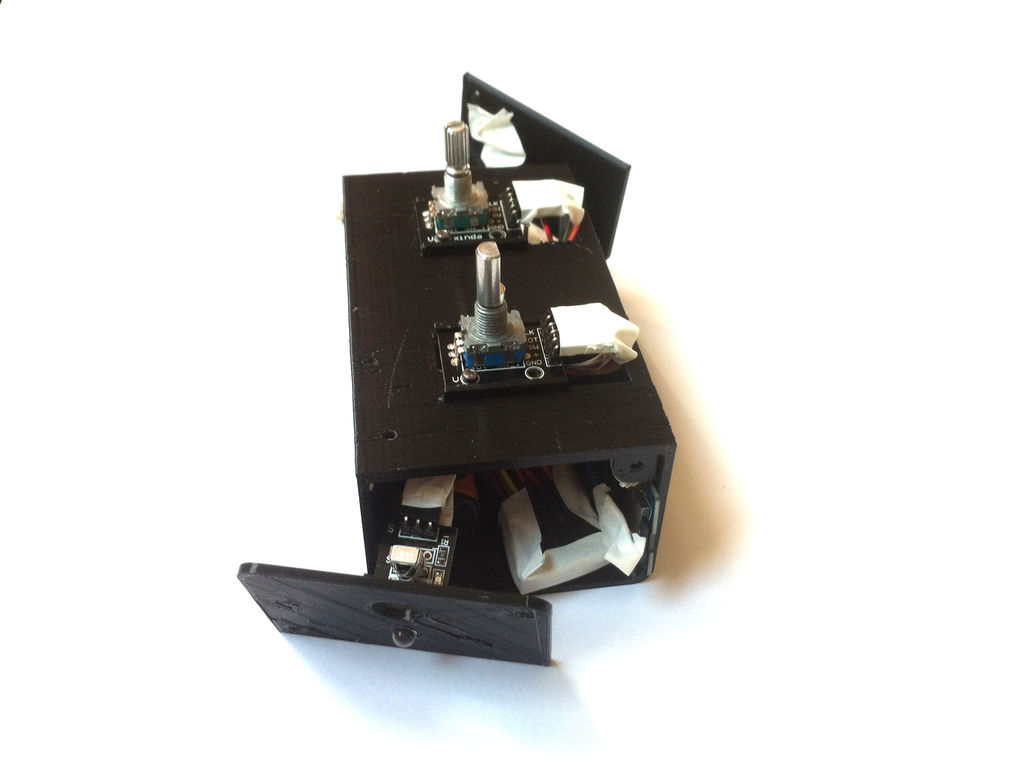
Pressing down on a built-in button on the action selection encoder executes a command, while if it’s held down for long enough, it can be programmed via an IR receiver. An Arduino is used to control the gadget because of its small size, and the project expands on several helpful concepts like SD card usage and IR signaling.

Of course, the remote has an IR receiver to “absorb” the IR signals of the remotes you want to “clone”, and an IR LED to send them. These protocols are saved on a microSD card, therefore you can switch OFF the remote (and the Arduino board), it keeps the information concerning the signals on the microSD card. There are also 2 rotary encoders with 20 positions each, and that is how you can have 400 buttons. Each rotary encoder is also a pushbutton. There is a LED to inform whether the universal remote is receiving or sending IR signals. This device works on a Lithium Ion battery (18650 cell), so it is portable. And finally, there is a switch, so you can switch it ON and OFF.

Want to create one of your own? You can find out Matlek’s entire tutorial here.

Automatic guitar strumming with Arduino Uno and chopsticks

If you like to make music, but don’t consider yourself particularly talented, YouTuber Make It And Fake It has come up with an innovative solution.

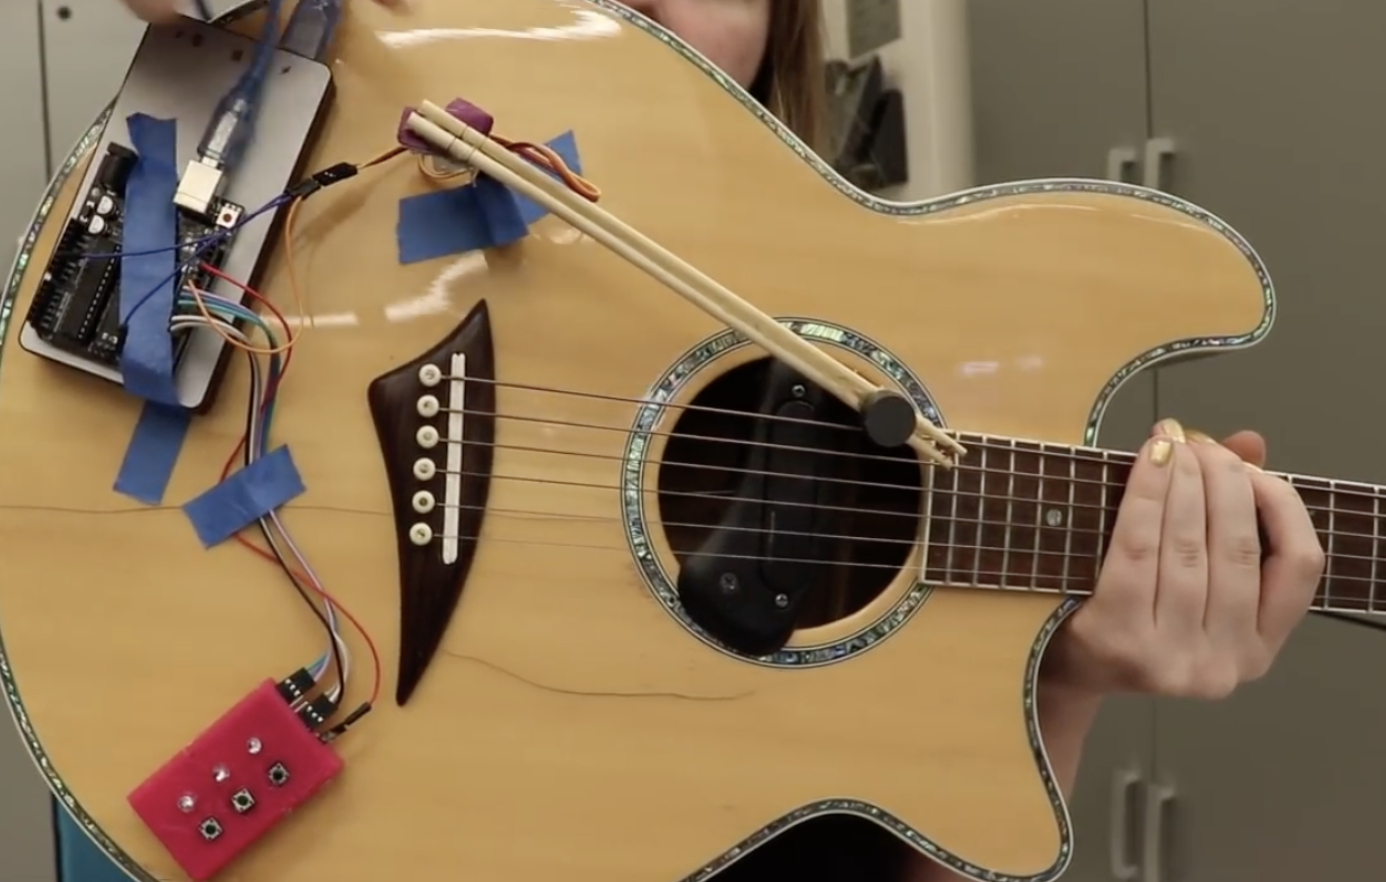
Her device uses an Arduino Uno, along with a hobby servo motor to move a pair of chopsticks that holds the pick. This means that the guitar can literally strum itself, and thanks to a small control box, she can even select from one of three rhythm patterns.

If you’re wondering what this could be used for, the answer comes at 1:40 in the demonstration video, where Make It And Fake It is shown drinking tea, playing another instrument, and even texting her mom while still producing music from the guitar. Code for the build can be found on GitHub.

Add an Arduino-based tachometer to your CNC router

In order to get a good cut with a CNC router, the cutting tool speed needs to be properly set. Since his CNC didn’t come with RPM feedback, Troy Barbour came up with his own solution using an Arduino Nano along with an IR emitter/sensor pair.

The spindle was set up with a single reflective surface, enabling it to sense one pulse per revolution that is sent to the Arduino at up to up to 30,000 RPM. To ensure accurate measurement, the device was programmed using an interrupt, meaning that if another process is running, it will temporarily drop what it’s doing and count the incoming pulse.

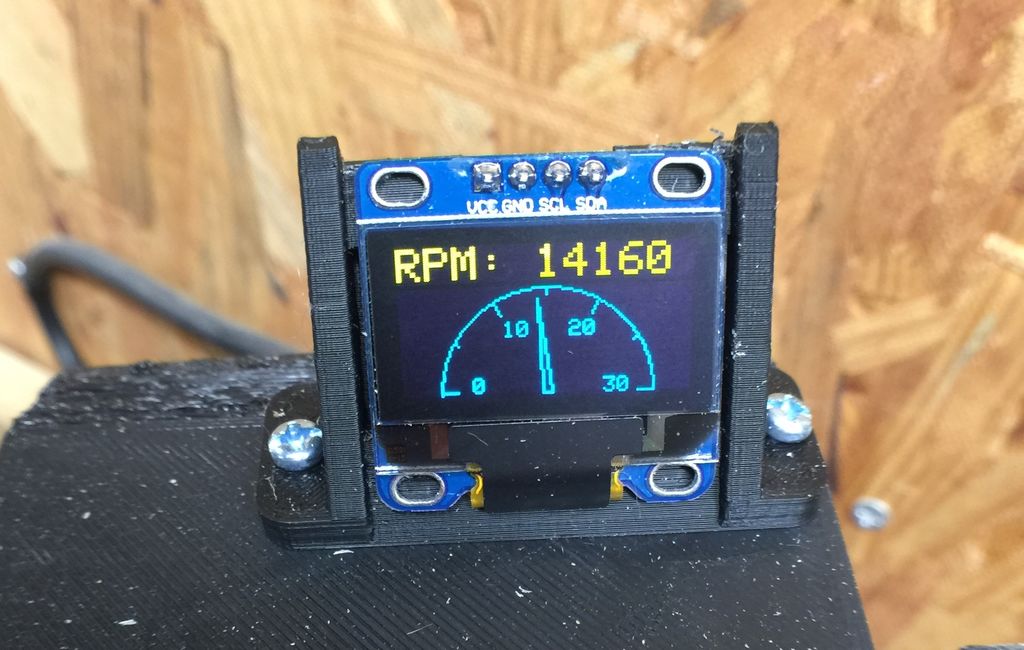
RPM is displayed on a tiny OLED screen, which shows both an RPM number as well as a dial indicator for quick reference.

Build an optical RPM indicator for your CNC router with an Arduino Nano, an IR LED/IR photodiode sensor and an OLED display for less than $30. I was inspired by eletro18’s Measure RPM – Optical Tachometer Instructable and wanted to add a tachometer to my CNC router. I simplified the sensor circuit, designed a custom 3D-printed bracket for my Sienci CNC router. Then I wrote an Arduino sketch to display both a digital and analog dial on an OLED display.

You can see it in action below, and find build instructions and code on Barbour’s write-up.

Dotter is an Arduino-powered dot matrix printer

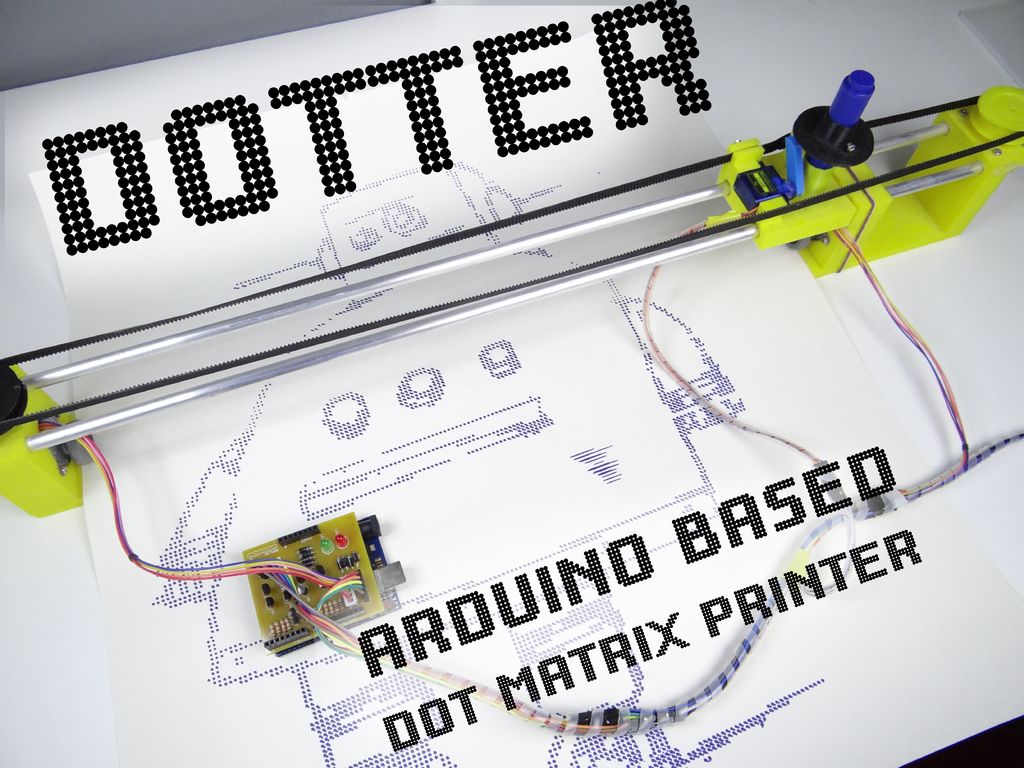
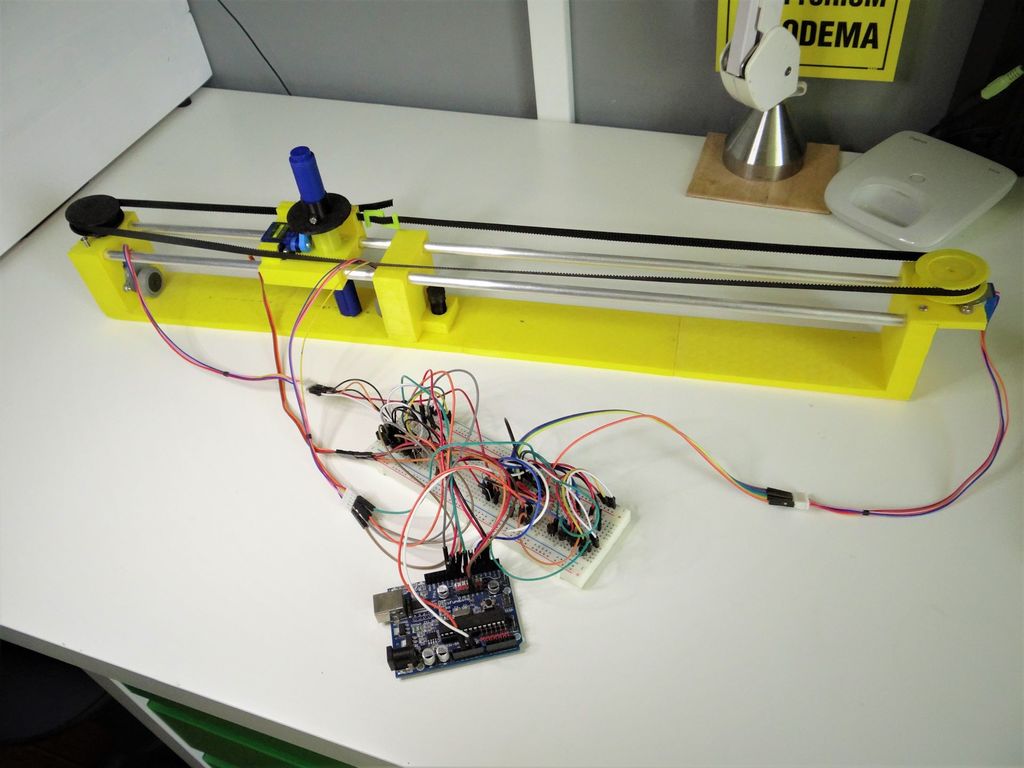
While largely supplanted by more modern forms of printing, dot matrix printers still have their fans. Few, however, are more dedicated than Nikodem Bartnik, who constructed his own model that pulls paper up to 55cm wide and as long as he needs under a gantry that stamps each pixel with a marker.

The device is controlled via an Arduino Uno, which takes input from a Processing sketch running on a computer to obtain the image to be printed.

It uses a pair of stepper motors to advance the paper, as well as a third to position the marker to be stamped. A servo motor pushes the marker down as needed, producing a print that, as seen at 5:15 in the video below, is accurate and stylishly pixellated.

Fall asleep with the help of LEDs and an Arduino

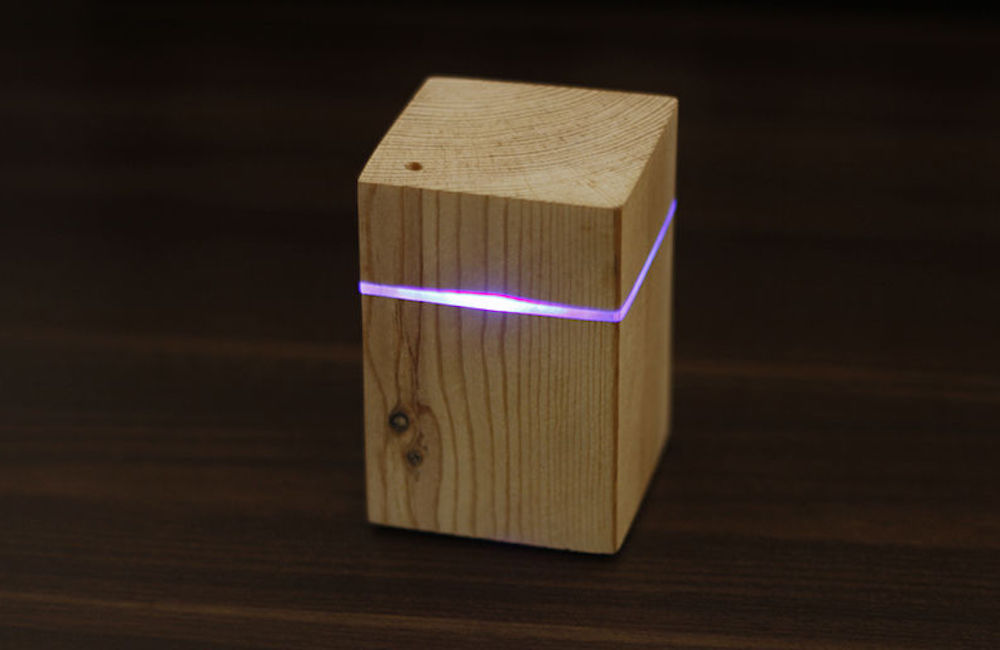
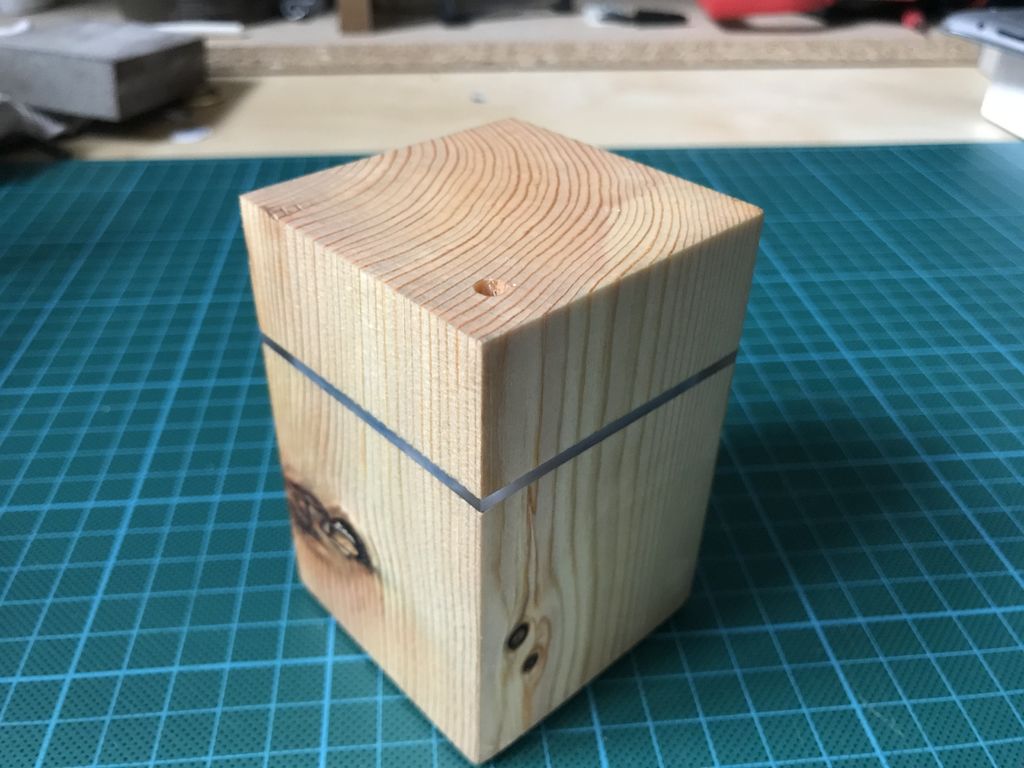
While some fall asleep nearly immediately with no assistance, others need the drone of a fan or a dedicated noisemaker to help them relax. The Fall Asleep Device, also known as “FADing,” by Youz takes a different approach. FADing shines an LED onto the ceiling out via a piece of acrylic, so that you can use it whether you like to sleep on your back or side.

An Arduino Nano controls the nicely-shaped wooden unit, and causes light to fade in and out at a pace that decreases from 11 to 6 pulses per minute, prompting you to regulate and relax your breathing accordingly.

After being started by a button below, FADing is kept on by a relay until it finishes, meaning it uses no power in standby. You can check it out in the video below, and find build instructions and code in Youz’s write-up.

Create a custom Kerbal Space Program cockpit with Arduino

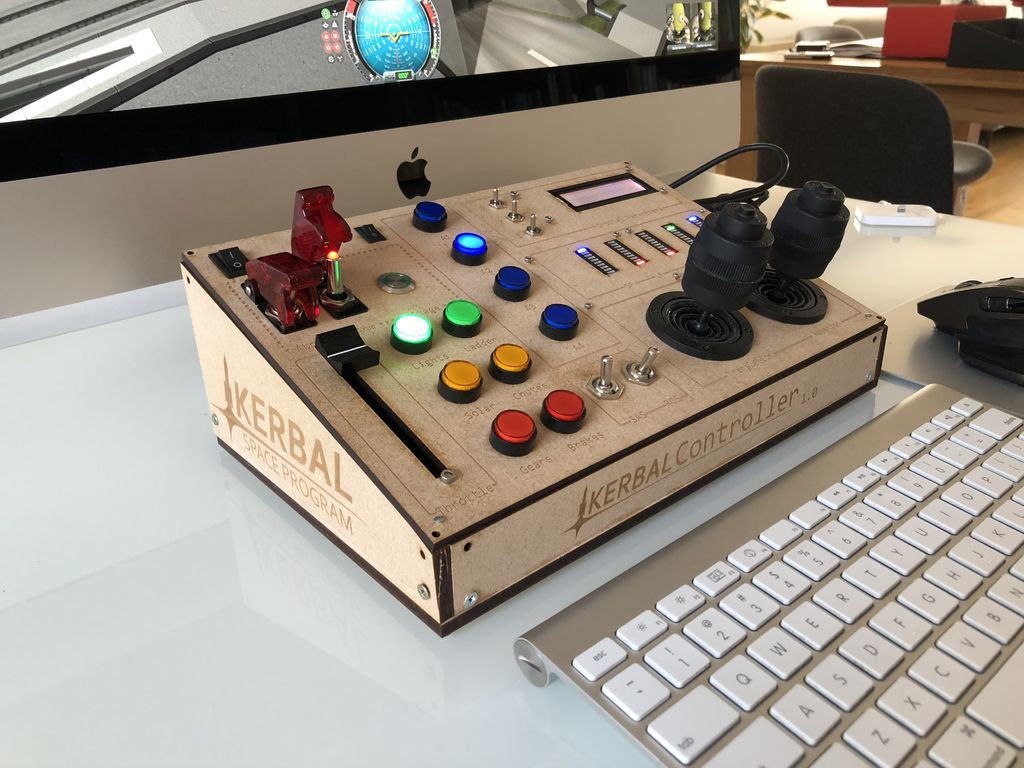
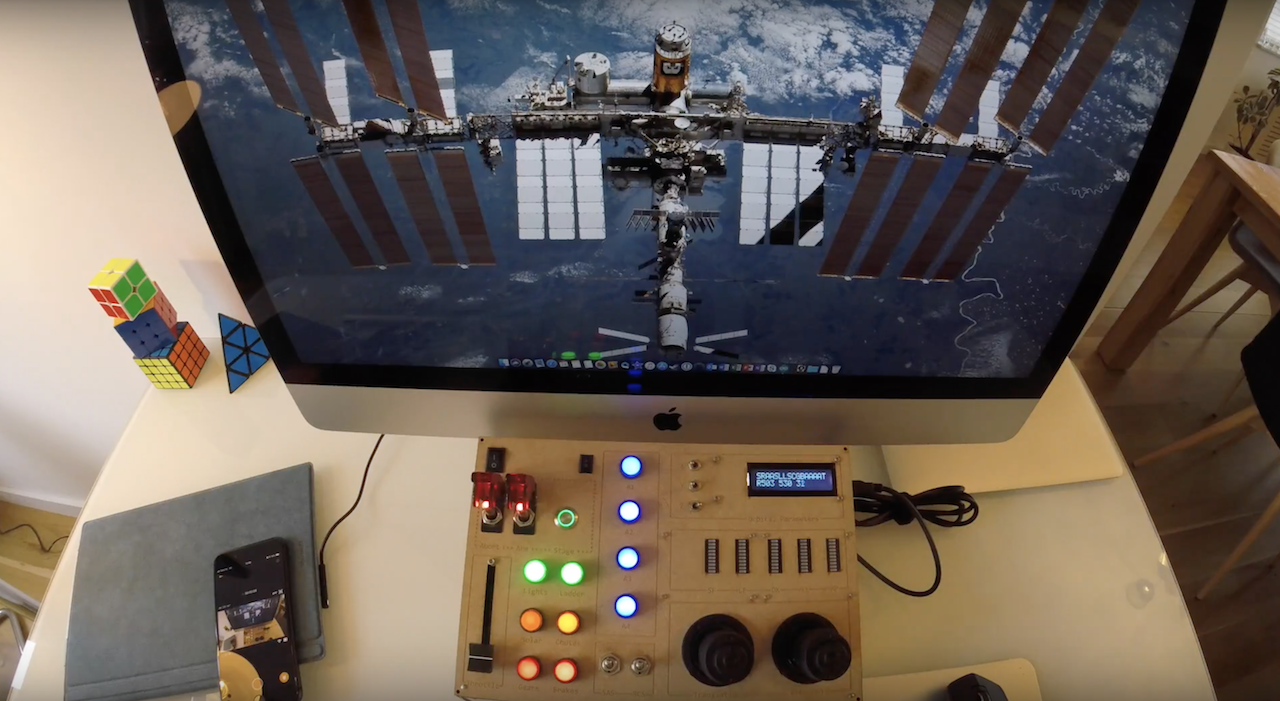
When you play a video game, the controls are normally a compromise between what you have available (a keyboard/mouse) and the actions you’re trying to convey. This, however, wasn’t good enough for Kerbal Space Program enthusiast Hugopeeters, who instead of accepting this limited input method, designed a new control panel using an Arduino Uno as its heart.

Notable features of his build include dual joysticks, a throttle slider, a multi-purpose LCD display, LED bars for fuel gauges, and a beautifully laser-cut enclosure.

Want to construct your own? Find more details on the project in Hugopeeters’ write-up, as well as the Arduino code he used and the KSP plugin necessary to interact with his new hardware.