Posts with «featured» label

Let an Arduino notify you when the coffee is ready
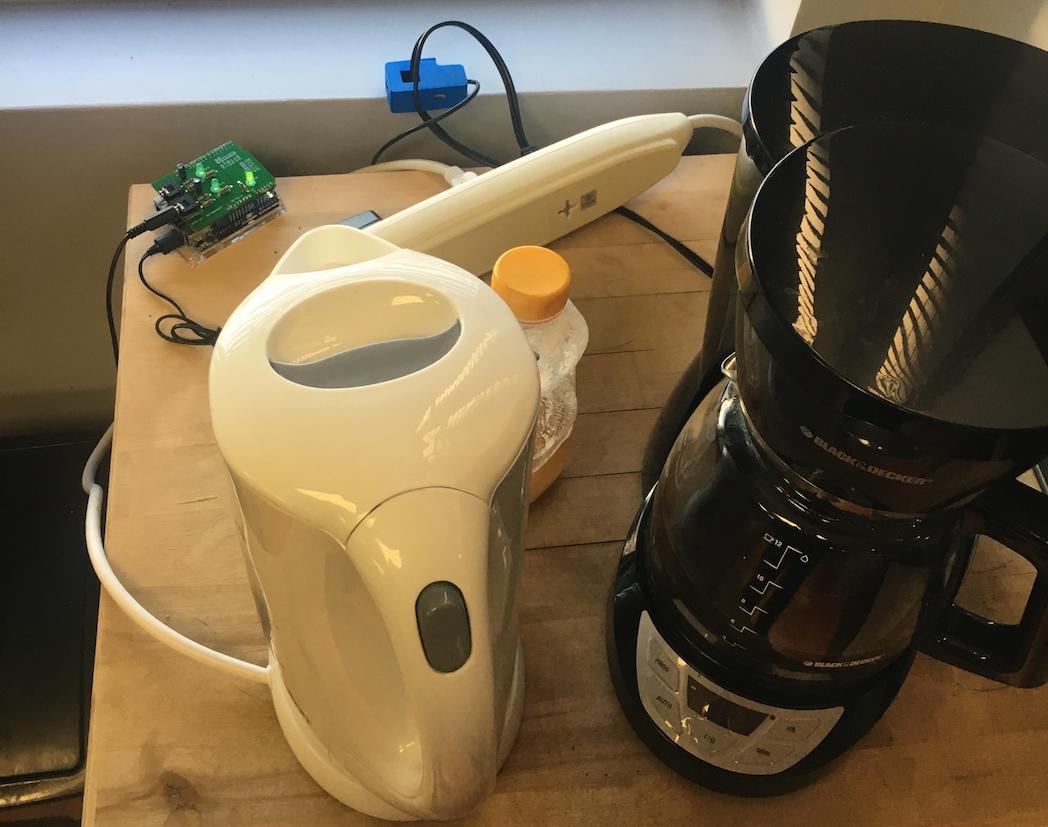
Hacker “wesgood,” apparently not satisfied with randomly checking the office coffee pot to see if a fresh brew was available, decided to make his own notification system.

His device uses a current sensor to monitor power usage of the coffee pot, and after some observation, he was able to pick out its brewing pattern—7A at 10 minutes, then quick cycling to keep the pot warm.
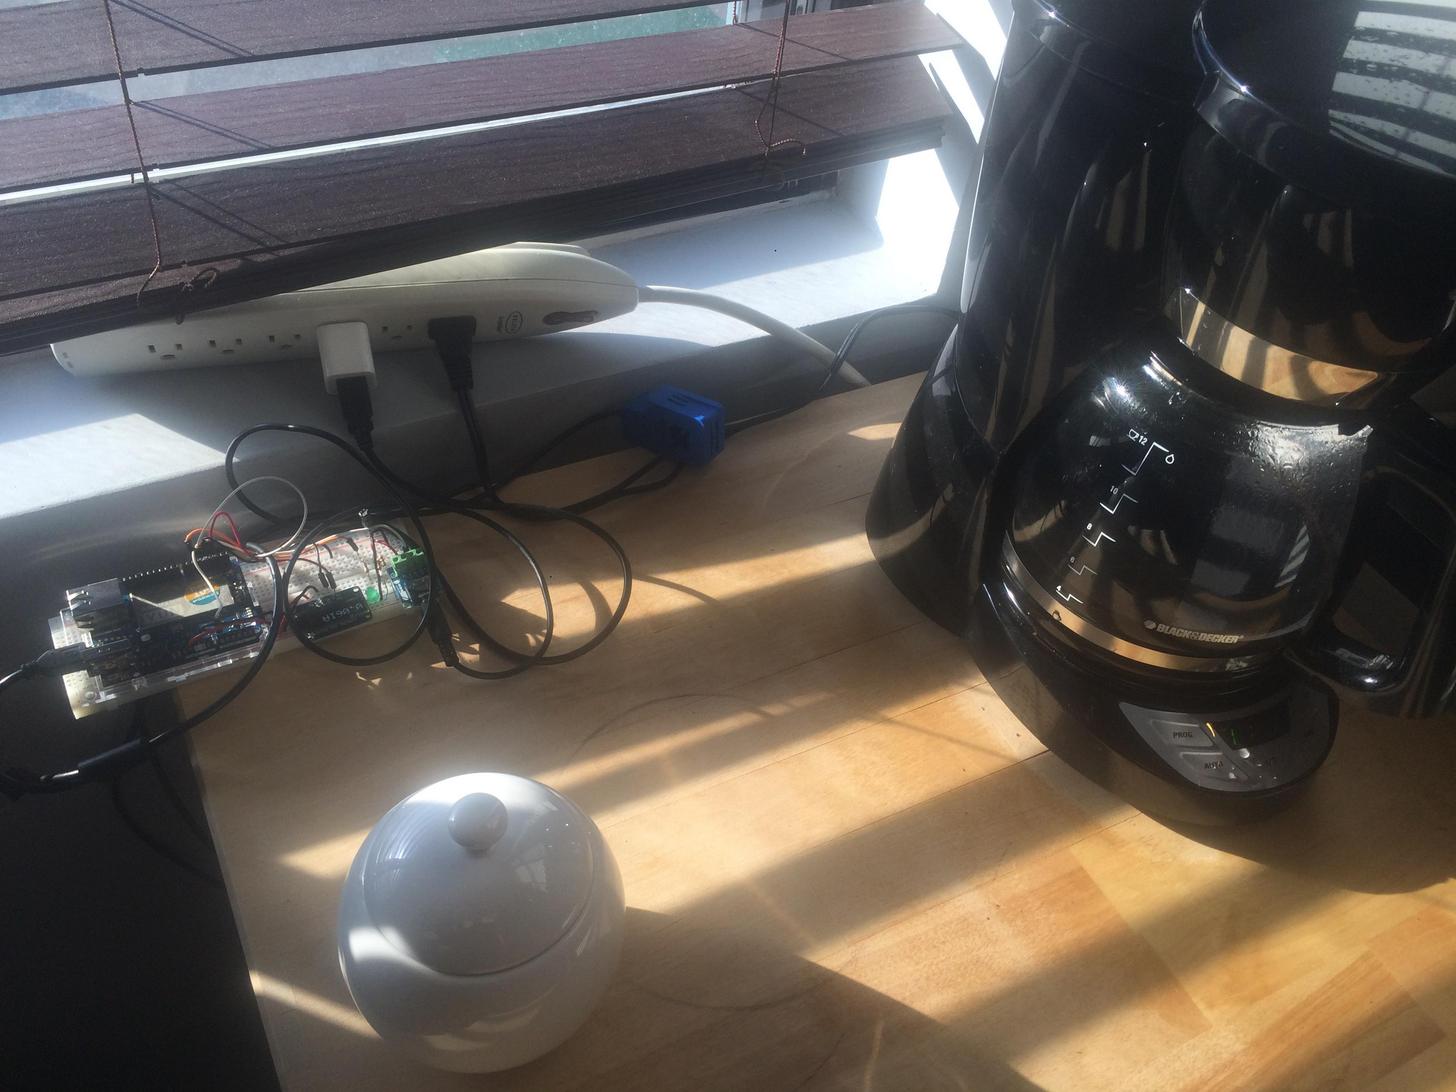
The system features an Arduino Yún for brew tracking and sends an alert via his office communication tool to let everyone know that a fresh pot is ready. As with many projects, the first iteration started life on a breadboard, but now exists on a manufactured PCB as a shield. It even has a second channel that is slated for use with the office kettle.

Once the Arduino side of the Yún detects the brew cycle is complete, it triggers a shell script under Linux that sends a notification to our office communication tool Hipchat. It also records the data about date and cycle stage so that Hipchat can query the database (on a webserver) and request things like what stage the brew cycle is on and when it brewed last.

You can find additional build details on Imgur.

Strange vocal interactions with ‘you, me and all these machines’

Moscow-based artist ::vtol:: is back again with an interesting interactive exhibit entitled “you, me and all these machines.” His latest work, a collaboration with Lovozero, allows two participants to produce otherworldly vocals together.

One participant wears the device, which points a directional microphone under the control of the other participant at her mouth using a servo motor. An array of LEDs signal the vocalist in a manner agreed upon before the performance.

The head-mounted system is controlled by an Arduino Uno, and is meant to display the subtle interaction between two participating artists, as they must work together to produce the desired output.

“You, me and all these machines” is a performance for voice and electronic devices. The vocalist puts on his or her head a specially designed wearable interface tool to interact with the voice and display a visual score. Technically, the device consists of several elements: a narrowly directional microphone driven by a motor; an LED strip that shows the vocalist score; remote control with a joystick used by the second participant to control the interface.

Shifting the microphone against the mouth makes it possible to achieve interesting sound effects, and makes it easier to manipulate the vocalist’s voice. The LED line consisting of 10 diodes is a very primitive, but effective and convenient way of interacting with the vocalist, and the way of interpreting the values is predetermined before each performance. During the performance, a sound canvas is formed, thereby changing the dynamics, consisting of a set of looped fragments created within voice and interface processing elements, without using other methods to generate sounds.

Check out “you, me and all these machines” in the video below!

Designing an Arduino-powered split-flap display

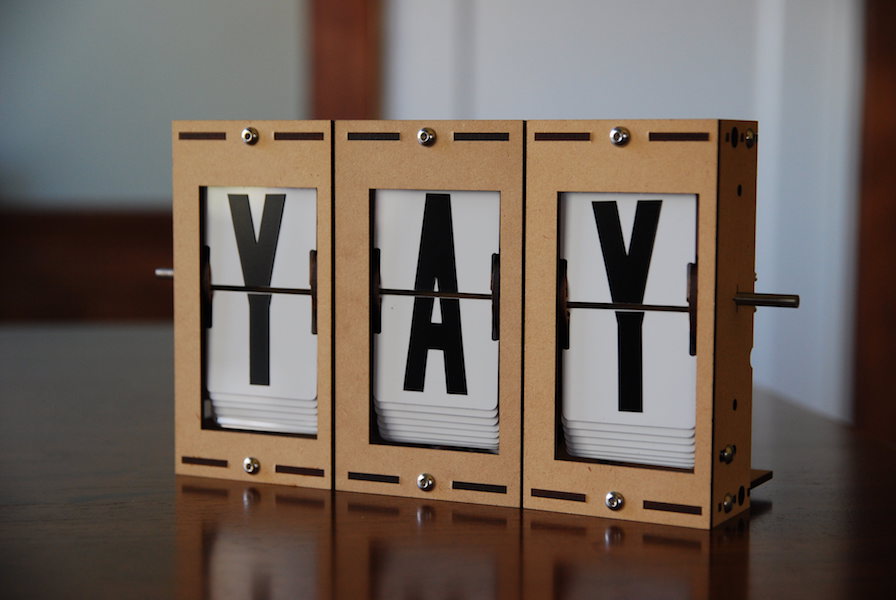
If you’d like a split-flap display with numbers and letters, options tend to be quite expensive. This though was no problem for hacker “scottbez1” who reports that after “only” two-plus years of work, he has produced a split-flap assembly that plugs into an Arduino Uno as a sort of external shield.

The device employs inexpensive stepper motors to click through letters, numbers, and even some punctuation, using cutout PVC ID display stock to show the characters. Cleverly, the PCB he designed for it can function as a motor driver or be split in two to function as a sensor board.

I’ve always loved these electro-mechanical displays, but you can’t buy them for a reasonable price, so I figured I’d try making them myself (plus it’s more fun that way!). Ultimately I wanted to design a split-flap display that can be built at home in small/single quantities and can be customized and put together by an intermediate hobbyist for not too much money.

The design I settled on uses PVC ID badge cards for the flaps, store-bought vinyl stickers for the letters, and is driven by a cheap 28BYJ-48 stepper motor. The enclosure and moving parts are all made from laser-cut MDF, which can be easily ordered online. To control them, I designed a driver board that can be hand-soldered and plugs into an Arduino like a shield.

The entire build story can be found here and more details including Arduino code are available on GitHub. If you’d just like to see and hear it flapping away, check out the video below!

Lunar landing conspiracy put to rest(?) with LIDAR

On July 20th, 1969 man first set foot on the moon with the Apollo 11 mission, or so they say. If it was faked, or so the theory goes, one would think that there were a few details that don’t quite add up. One such theory is that the hatch on the lunar module isn’t actually large enough to allow a fully-suited up astronaut to enter and exit the module.

Rather than make assumptions, astrophotographer and hacker “AstronomyLive” took matters into his own hands and used a homemade LIDAR unit to measure the hatch of Lunar Module #9 at the Kennedy Space Center, as well as an Apollo spacesuit.

The Arduino-powered device aims the laser, and transmits this information to a tablet that also provides a convenient user interface. This data was then arranged as a point cloud, proving that… You can take a guess, or watch the video below to see his conclusion!

I used the Garmin LIDAR-Lite V3 along with a couple of metal geared servo motors to build a simple pan/tilt scanner, which pairs via Bluetooth to an Android app I built using MIT App Inventor 2 to control and receive data from the Arduino. It’s simple but effective. Although every tutorial I read suggested I couldn’t safely pull the voltage off the board for the motors, but I found that the vin pin gave me no problems, as long as I used a 5V 1.5A linear voltage regulator between the pin and the motors. I supplied 9V using AA batteries to the power jack on the Arduino. In the future I may upgrade the scanner by adding a small camera to grab RGB data for each point as it samples, and ideally I would change the whole thing to use a stepper motor for continuous spinning and scanning to generate a denser cloud.

Levitate water drops with RGB LEDs and Arduino

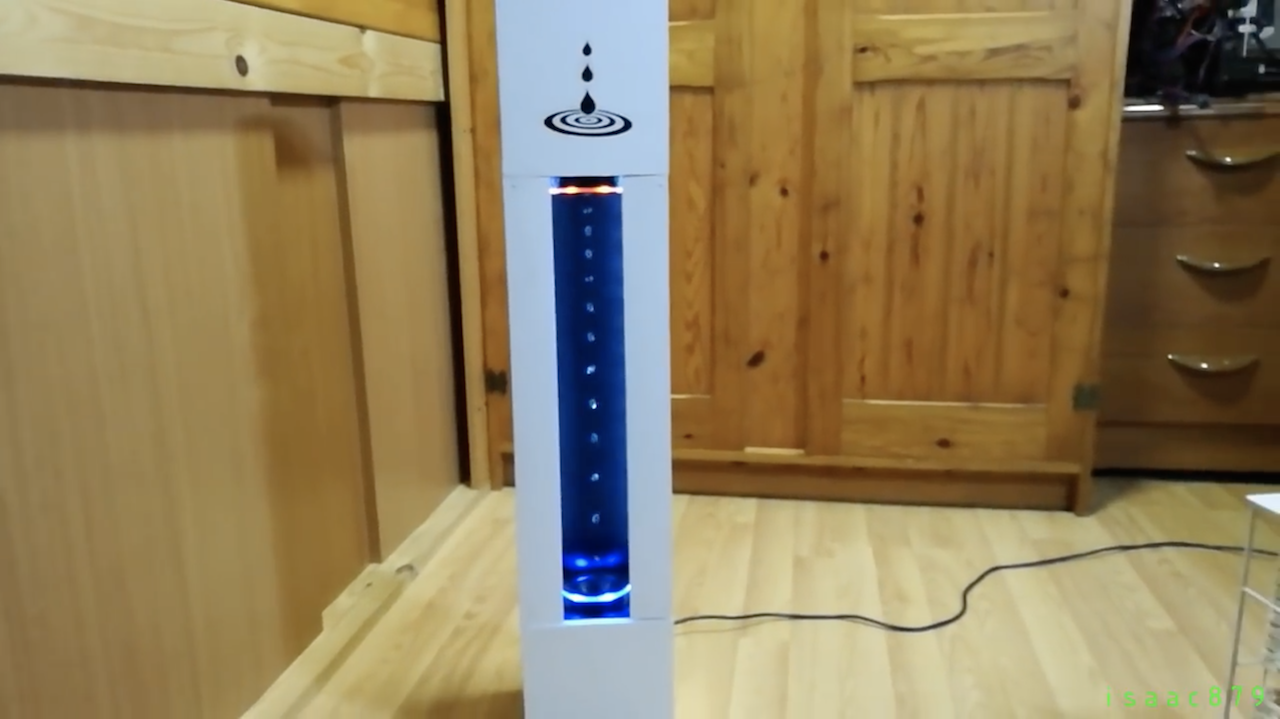
Water normally falls from the sky to the ground, the time fountain from hacker isaac879 appears to work much differently. As shown in the video below, water droplets somehow levitate from a circular orange apparatus to a blue one on top.

The trick here is that the water isn’t actually falling up, but appears that way by carefully controlling the flashing of RGB lights using an Arduino Uno. If the lights flash at the same rate as the water drops, they appear to stand still, while if the light is flashed more slowly, they appear to rise.

This is the prototype RGB LED Time Fountain I designed and built. It uses RGB LED strip lights to strobe a stream of water drops to make them appear as if they are levitating. By strobing the different colors out of phase with each other some incredible effects can be created.

An Arduino Uno controls the timing of the RGB strobe and the PWM of the pump. Bluetooth communication was achieved using an HC-05 Bluetooth module and the “Arduino bluetooth controller” app by “Giumig Apps.”

Be sure to check out the video to see it in action, especially the bit around 3:40 where drops appear to rise out of a cup while it’s getting filled with water.

Play Striker Air Hockey on a capacitive touch surface

After discovering capacitive touch interactions with a Makey Makey device and an Arduino Leonardo, Jason Eldred realized it could also be used to control the Unity game engine. After a night of hacking, he had a basic interface that could change the scale of a virtual circle. From there, he teamed up with Alex L. Bennett to produce an art installation called Bee that invited users to interact with it by physically touching a panel to change graphics on the panel itself and a screen in front of them.

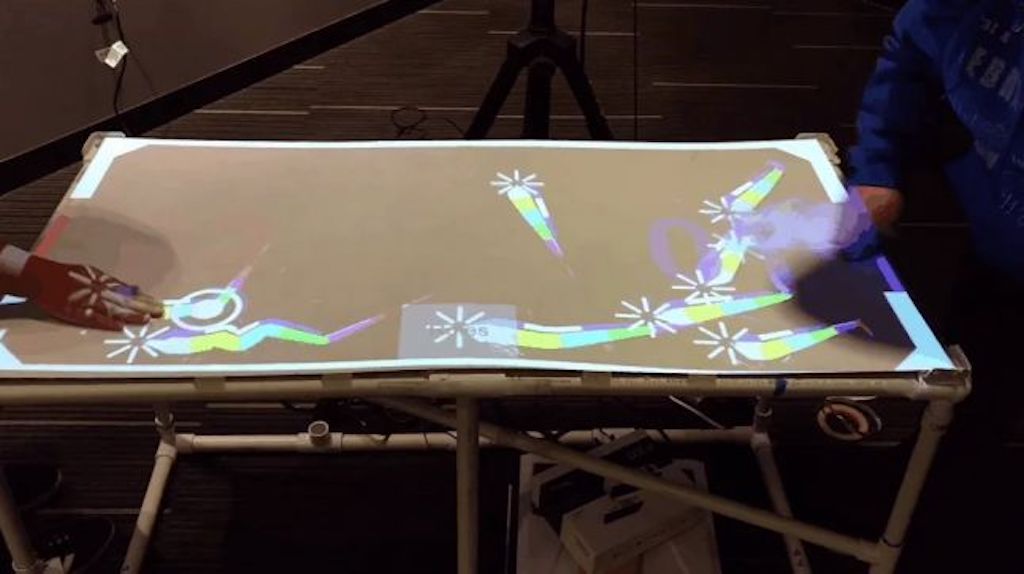
While not meant as a game per se, after more experimentation including work by Gabe Miller and Dustin Williams, this interactive display method was finally turned into a virtual air hockey table via a giant crisscrossing grid of copper tape and wires.

In the game, two players push a virtual puck projected onto a horizontal surface for colorful AR interactions at a very low cost. You can see it in action below, and read more about the project on DigiPen’s website and in Gamasutra’s recent article.

Water speakers enhanced with an Arduino Mega

Maker “cool austin” is a fan of water speakers, which pulse jets of water inside plastic enclosures to the beat of your music, but thought they could be improved.

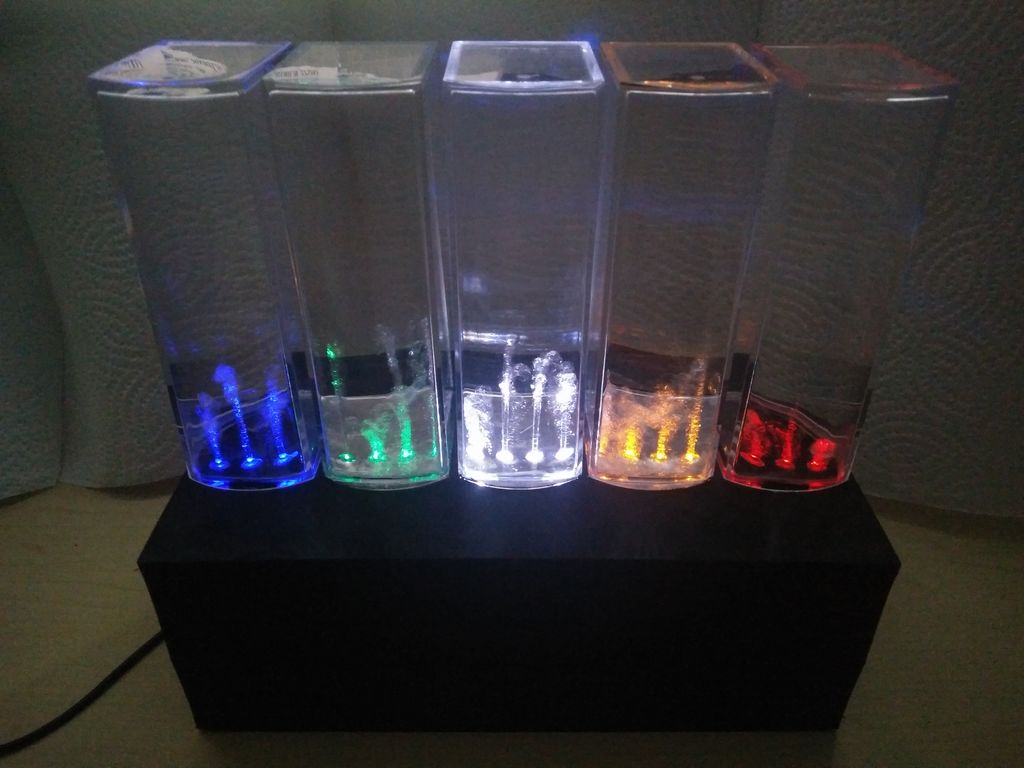
What he came up with is a multi-tower setup that not only dances with light and water to the beat of the music playing, but splits up the pulses into frequencies a la a VU meter.

The project uses an Arduino Mega—chosen because it has sufficient PWM outputs to control the water and lights in five of these enclosures via MOSFETs—to output signals to the water units for an excellent audio-visual display.

Water speakers from the store are great to watch, but I felt they could do more. So many years ago I had modified a set to show the frequency of music playing. At the time I used the Color Organ Triple Deluxe II, combined with a set of photocells potentiometers and transistors I was able to get a set of 3 speakers to function.

I then a few years ago had heard about the IC MSGEQ7 which has the ability to separate audio into 7 data values for an Arduino to read. I utilize an Arduino mega 2560 in this project because it has the required number of PWM pins to drive five water towers.

You can find more details on the water speaker equalizer here, and see it in action below!

Video game head tracking with Wii Remote camera

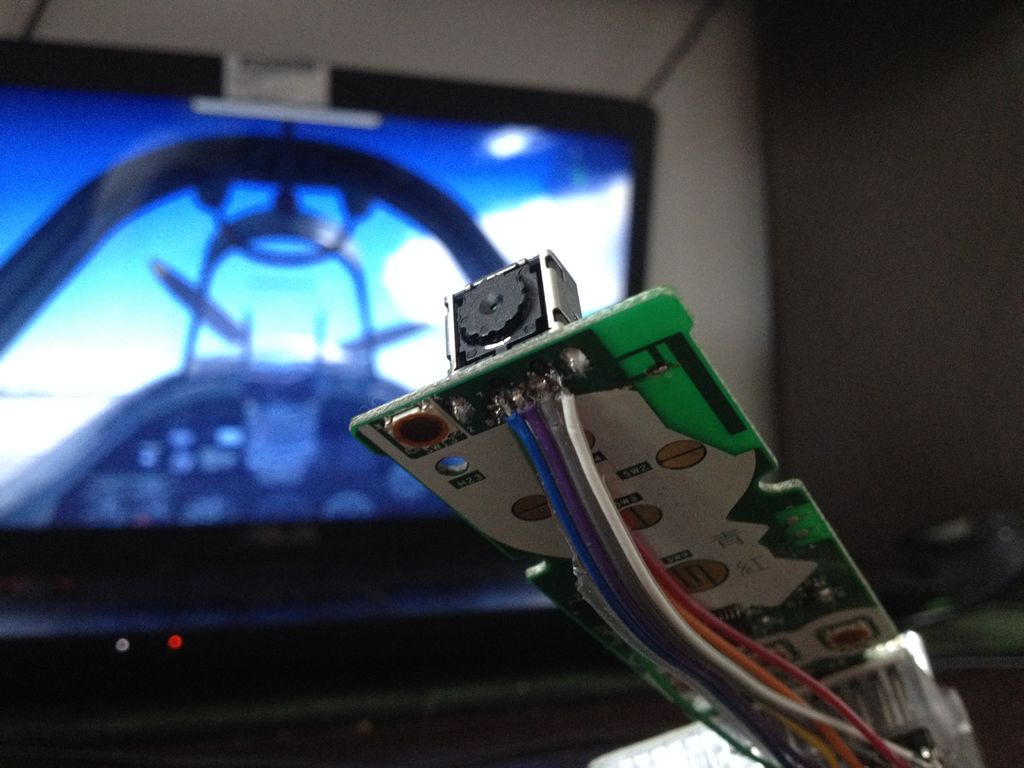
While the Nintendo Wii has been on the market for well over 10 years, its controllers continue to provide a variety of tools for hacking. One component you may want to consider for your next hack is the camera from the Wii Remote, which senses the position of nearby infrared light spots and outputs them as X/Y coordinates via I²C.

While that may instantly set off multiple use ideas, if you need inspiration, be sure to check out this setup by Jack Carter. He mounted one of these cameras to the top of a computer screen, and uses it to track an IR LED mounted to the top of his headset.

From there, an Arduino Uno translates this information as joystick inputs to the computer, which is then configured to control an in-game camera as seen in the video here.

YouTuber creates an organ out of 44 Furbies

If you think Furbies have become extinct, think again, as musical hacker “Look Mum No Computer” has decided to revive a number of them to create his own Furby Organ.

To make this horrifying yet awesome instrument, he placed 44—yes, 44—of these strange creatures on top of an organ frame with a keyboard and several dials, along with a switch labeled ominously as “collective awakening.”

Each individual Furby is controlled by two Arduino Nano boards, and as you might imagine, the whole project took a massive amount of work to wire things together. You can see the incredible results in the first video below, while the second gives a bit more background on the device’s origin.

Arduino Blog 12 Feb 21:01

Recreate Optimus Prime’s blaster with Arduino

YouTuber Bob Clagett has dreamed of creating his own life-sized Optimus Prime ion blaster for years, and now after hours of 3D printing and finishing, he finally has something worthy of that universe.

While he opted to construct it in a 1:2 scale, it’s still an impressive physical build, looking comically large, but not entirely unwieldy as a full-sized 8-foot blaster would have been.

Inside, sound and lighting effects are controlled by an Arduino, which plays clips from the show and flashes in different patterns via an Adafruit sound board and RGB LED strip.

I wanted the blaster to play sounds and have lights come out of the barrel so I rigged up an Arduino Nano with an Adafruit sound board and amp that would cycle blaster sounds and lights when a button was pressed. And because there’s always more than meets the eye, I had a separate button that played just Transformers sound clips. To defuse the LED strip when the lights fired, I printed a semi-translucent disc that would stand-off from the sides so that sound could still escape, but the light would be diffused. I decided to mount all of the audio components in the barrel so that the cannon could be taken apart to charge the battery back.

You can see the entire process in the video below, or check out his post for a summary.