Posts with «featured» label

Access doors with a color card locking system!
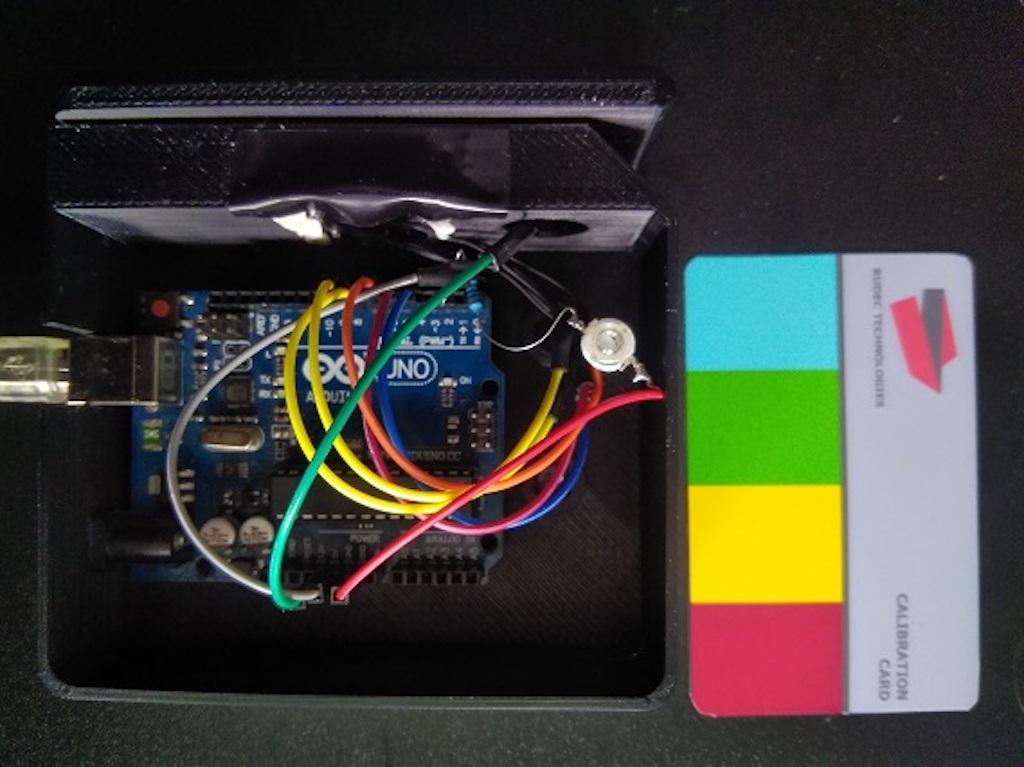
When you swipe a card through a reader, you expect it to read a magnetic stripe on one end. In other circumstances cards might contain an RFID chip, but what if the card only had a pattern of colors on it?

That’s the idea behind the Color Lock system by Rudec Technologies. The cards have a pattern of four colors printed on one side, which are read by an array of LEDs and a TCS230 color sensor when pulled through a slot. An Arduino Uno then takes this information and lights up an LED if the correct sequence is recognized.

This is a door locking system that uses a card with a preset color sequence printed on it to unlock the door. The system is still in the prototyping stage, i’m waiting for the actual lock part to arrive in mail to continue developing this. The idea behind this system is to avoid using RFID authentication, as it can be ‘stolen’ without contact, and this system offers a simple physical object that you use to authenticate yourself – think of it as an updated physical key. The system can offer much more than the conventional keys: if you lose your key, you simply print a new one, you can use a number of different keys for the same lock (or just one if you choose), the system logs all entries with timestamps (useful for tracking access), you can use your regular printer to print new keys, you can unlock it via Wi-Fi when paired with your phone or another device, the system can be used to authenticate in various situations (doors, cabinets, computers, entry points etc.

It’s an interesting concept that could be taken in a variety of directions depending on security needs. A clip of the prototype can be seen below!
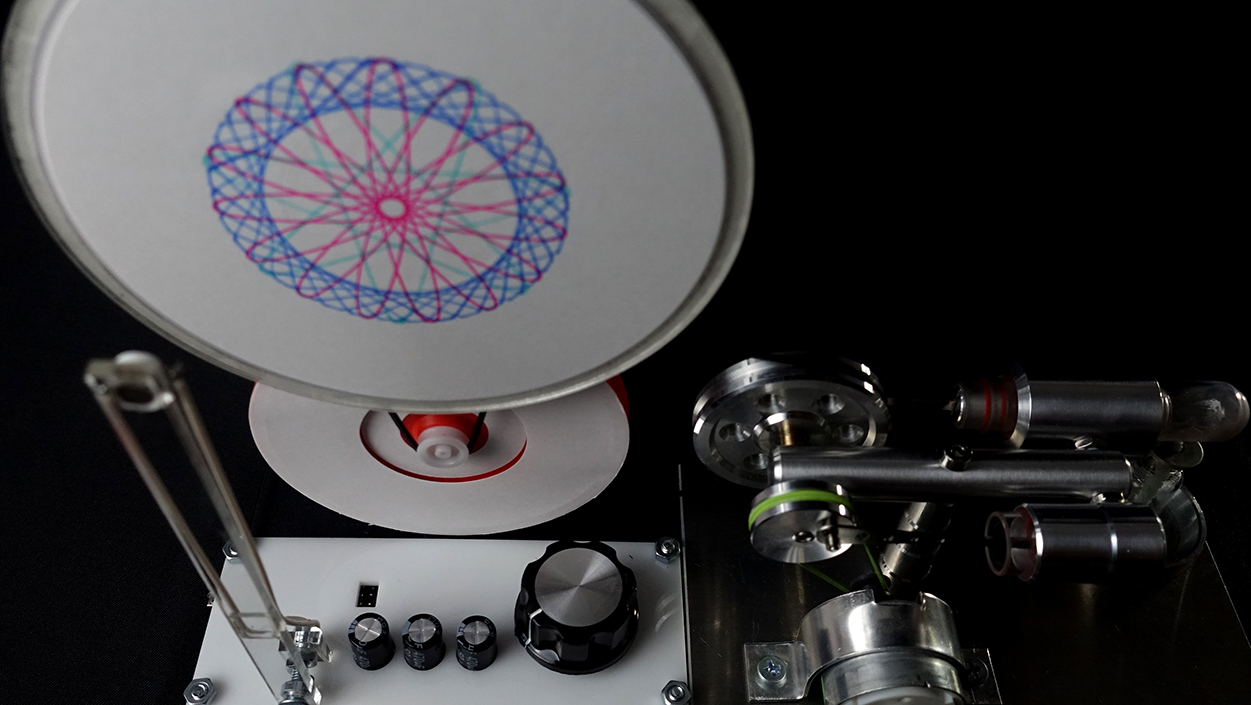
Spirotrope combines a Stirling engine, a Spirograph, and an Arduino

Witaya Junma decided to combine creations from three different time periods: a Spirograph (1965), Stirling engine (1816), and an Arduino board developed in the 2000s to form a unique art piece.

What he came up with is the Spirotrope, which invites users to draw a pattern using a Spirograph, then place it in a special holder that spins it with a Stirling engine. This engine also provides electrical power for the Arduino, allowing it to blink a light on the moving pattern at various rates.

These flashes make the drawings appear to rotate at different speeds, and several patterns can even appear to move independently, forming a unique layered effect.

Hardware used includes a Stirling engine, Arduino, Spirograph, motor 12 DC, LED 3V, B10K, Capacitor 470uf 16v, diode 1N4001, TIP 31 and round belts. Software: Arduino

Stirling engine is a heat engine that operates by expansion of hot air, which is created by an alcohol burner in this work. The engine does two jobs: it turns the wheel by giving power to the belt and generate AC currents by spinning the generators. The currents are then converted to DC by a 1N4001 diode and fed into a set of capacitors, which stabilize the currents before powering up the Arduino board. The board controls the frequency of LEDs, which can be controlled by turning the B10K potentiometer.

The blinking LED creates the illusion of moving patterns from a rapid succession of static images.

Be sure to check it out in the video below. More project details are available in his write-up and on Creative Applications.

Pong embedded in a vintage Sony Watchman with Arduino

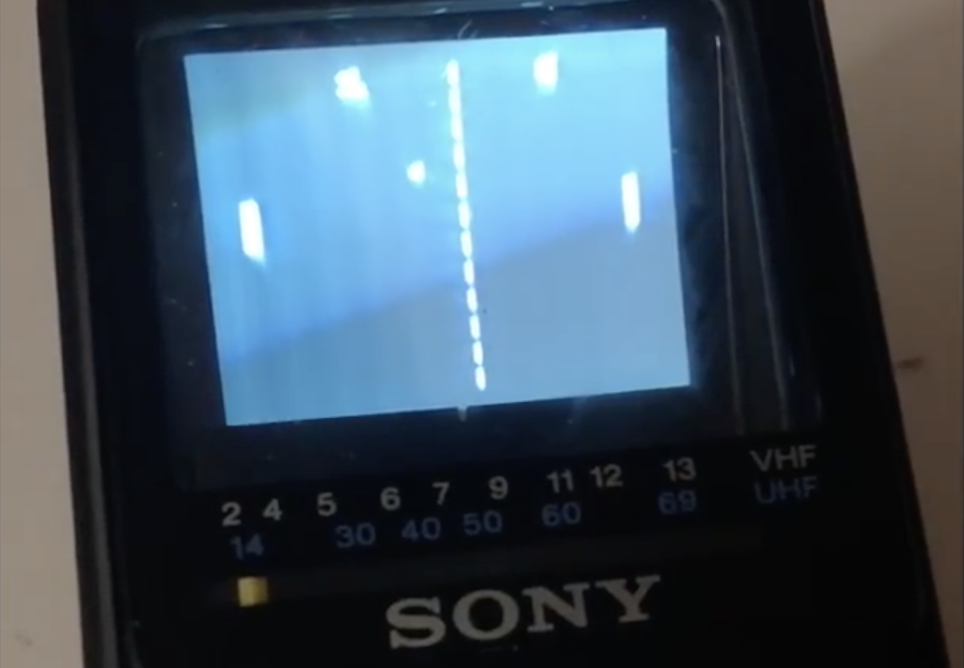
There’s perhaps no other game more classic than Pong, and likely none that require fewer control inputs, making it perfect for “porting” to a Sony Watchman. While an amazing piece of tech when introduced in the early ’80s, the current lack of analog TV signals means they only receive static.

As seen here, hacker “sideburn” decided to do something about it, and removed the tuner and decoder chip, making space for an Arduino Nano in the device’s housing. To complete the build, he hooked up the Arduino outputs to TV inputs, along with the tuner as a paddle controller and built-in switch as a start/pause button, and was able to seal the unit up again.

The result is a retro gaming system that looks completely stock, playing Pong as if it was there the whole time. Be sure to check out the video to see it in action!

Automate a rubber strip door with Arduino

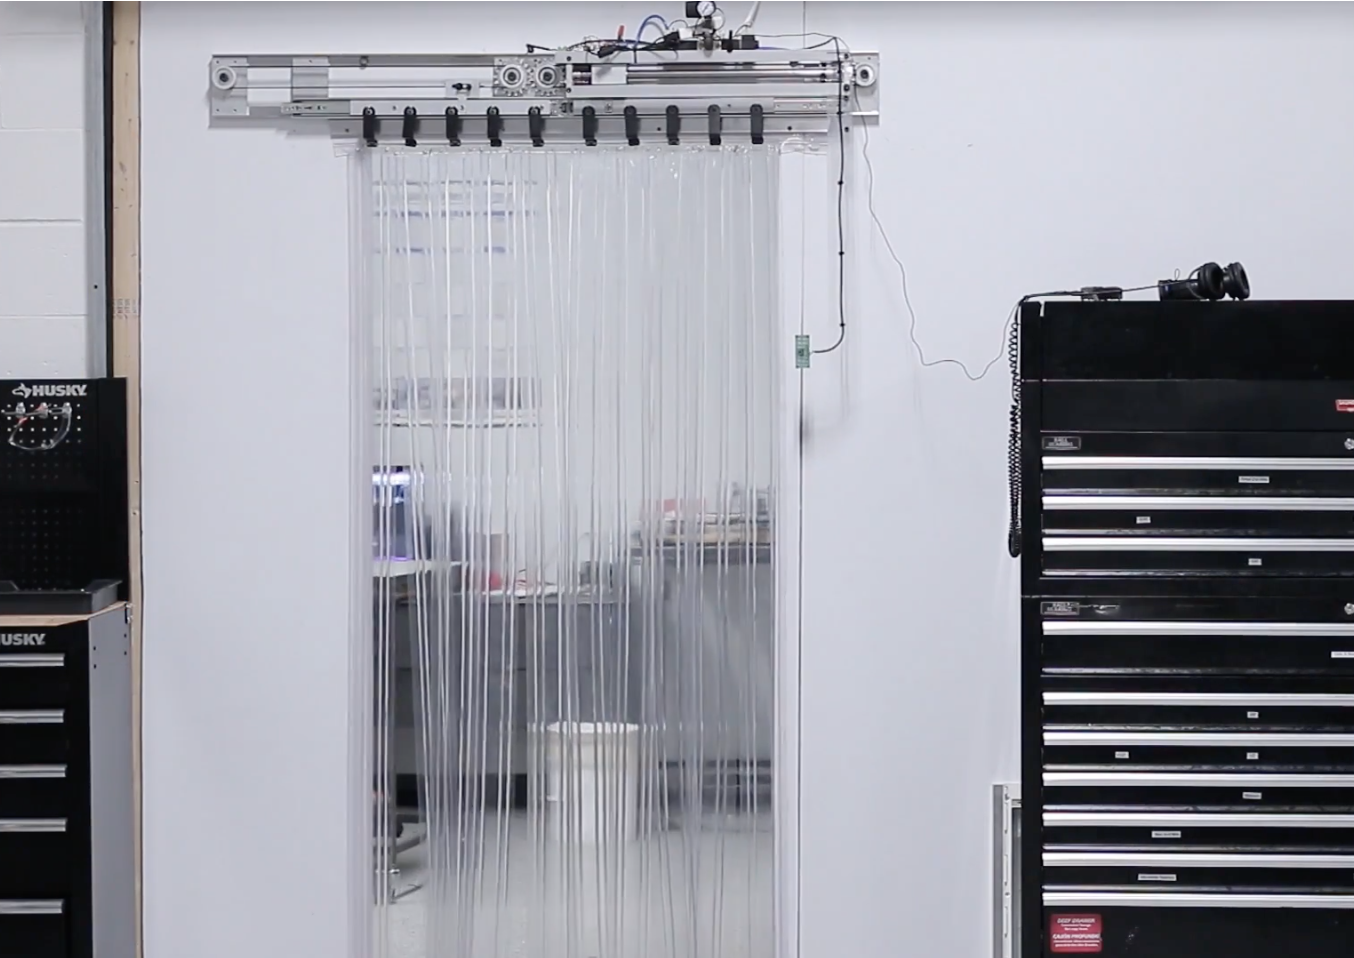
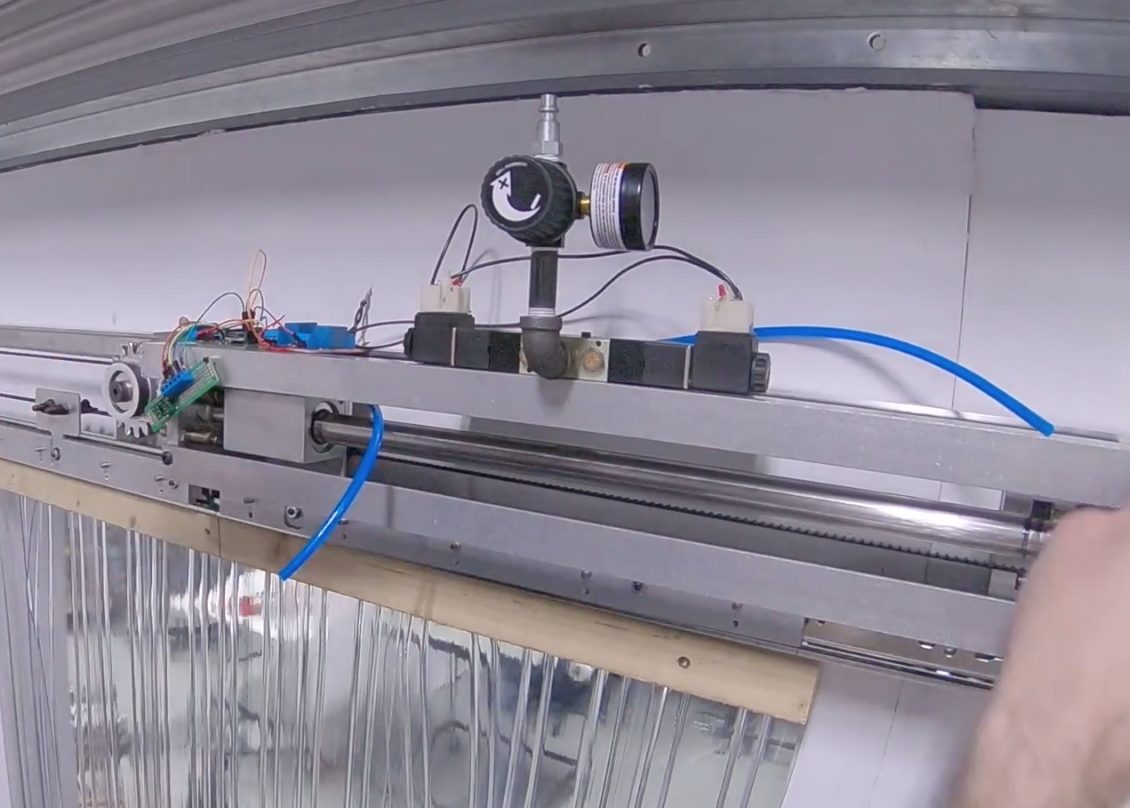
In order to separate their office and shop areas, NYC CNC installed a rubber strip assembly that had to be pushed out of the way every time someone wanted to walk through. Although functional, it was also quite annoying, so they installed a system that uses a pneumatic cylinder to automatically move the rubber strips out of the way.

The device uses an Arduino Nano for control and VL53L0X  time-of-flight sensors for presence detection. In addition, it features a clever gear and belt assembly to mirror one side of the door with the other.

You can find more details of the build in the video below and check out the project’s components, Fusion 360 design files, and Arduino code here.

CTC 101: Giro d’Italia + CTC Faire in Barcelona

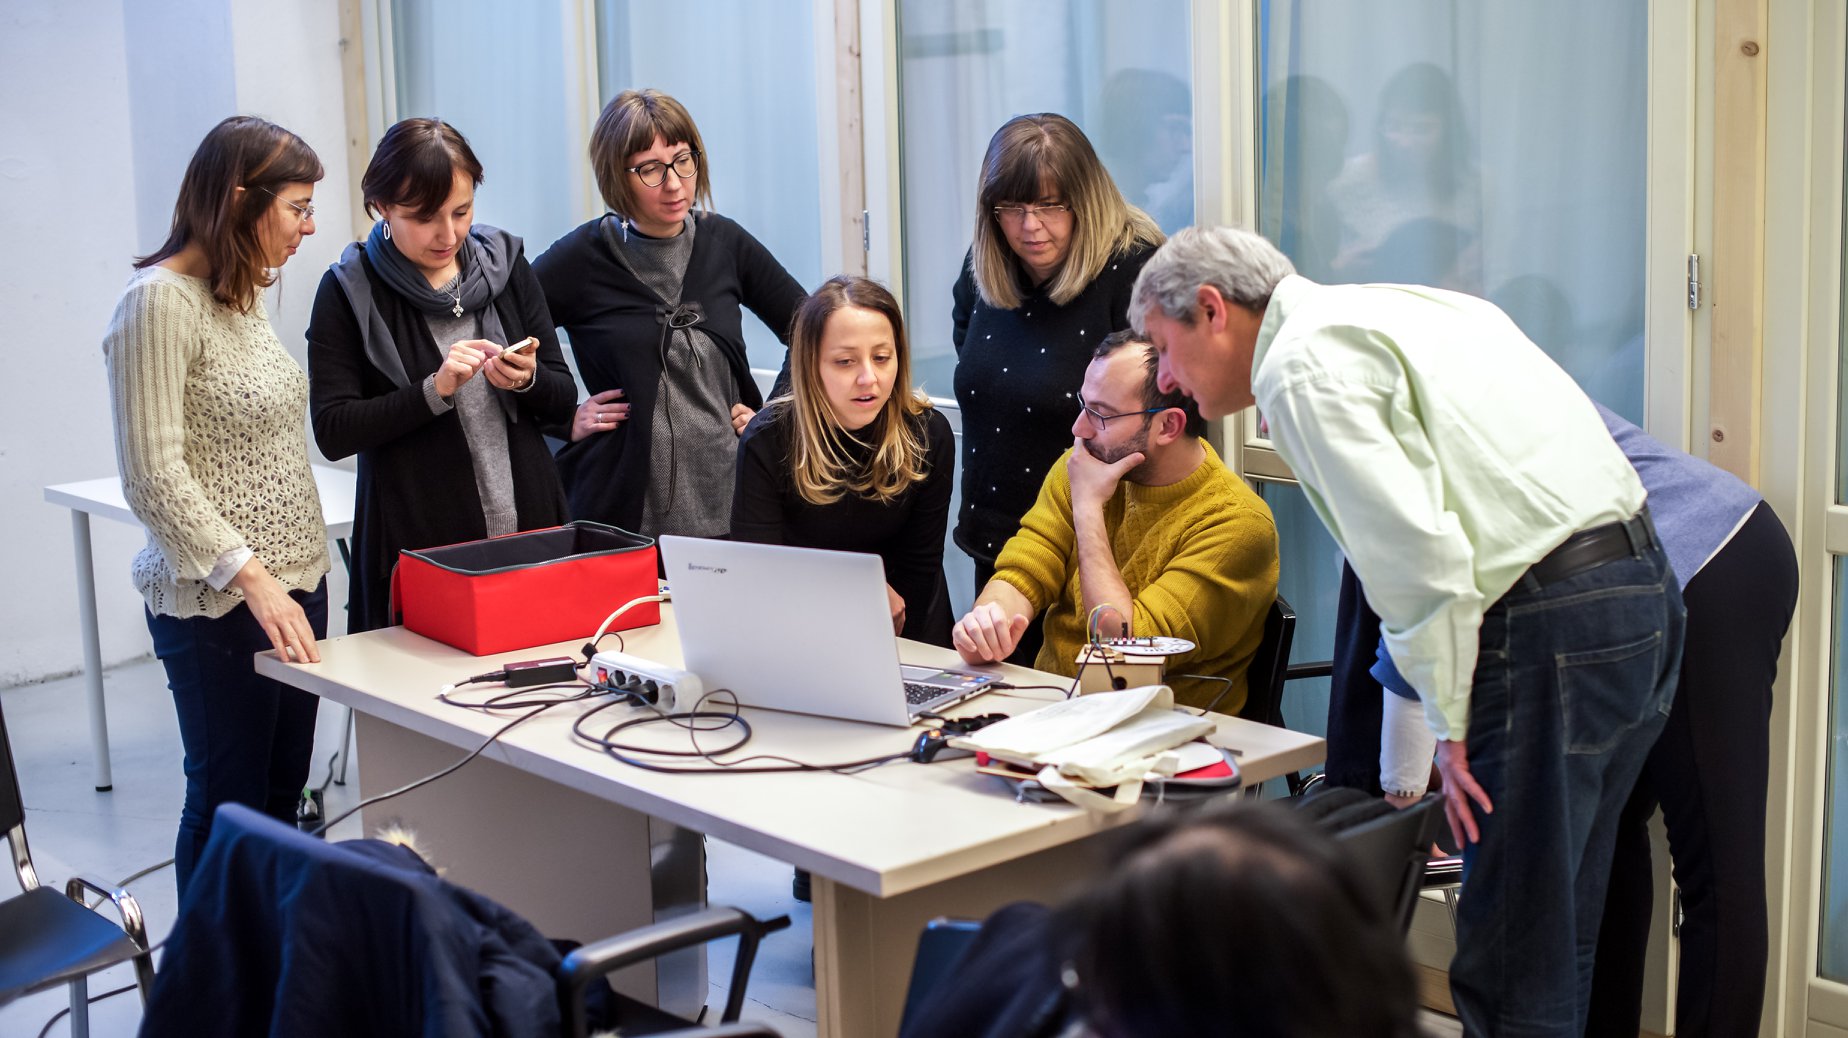
The last couple of weeks have kept the Arduino Education team extremely busy. While some of us were presenting CTC 101 to teachers all across Italy, others were in Barcelona for the CTC 101 Faire with more than 4,000 upper secondary students showcasing the projects they created as a result of the CTC 101 2017-18 academic year.

The one thing that really amazes us at Arduino EDU is how the CTC program has scaled since its inception five years ago. Back then, we prototyped our first full-year academic program and conducted a test with 25 schools. Our first faire garnered 400 participants, about 10% the size of one of our latest events. The earliest edition of CTC ran on Arduino Uno, consisted of 20 projects, was made in black and white, and included a mascot that we commissioned to the well-known Mexican artist “Grand Chamaco.” From that experiment on, almost 18,000 students have gone through the program. CTC has been implemented by 800 schools, mainly in Spain, Sweden, Ecuador, and Mexico, while more than 1,600 teachers have had the opportunity to learn under the guidance of the Arduino EDU team both on and offline.

In 2018, CTC 101 will expand to several countries including Italy, where my partner and Arduino co-founder Massimo Banzi together with Valentina Chinnici (Arduino EDU Product Marketing) led the EDU team through a custom-made “Giro d’Italia” visiting Turin, Bologna, Roma, Bari, and Naples to hold special events and workshops to Italian high school teachers, together with CampuStore, one of our Italian partners.

In the words of Massimo, “The Arduino Education tour was created to confirm and strengthen Arduino’s efforts and attention towards Italian school. The hundreds of teachers who signed in to all the dates are a great encouragement for Arduino to continue the path towards research, innovation, and dissemination of the values of open source.”

Not only did Massimo present CTC 101 to 400 teachers in person, he also hosted a webinar for over 900 educators. In case you missed it, we have posted the webinar video to the Arduino YouTube channel. (Please note that it is in Italian.)

While Massimo was touring Italy, I travelled to Barcelona with Nerea Iriepa, CTC’s project manager, to participate in the 2018’s edition of the CTC Catalunya Faire at the renowned CosmoCaixa science museum.

The EduCaixa Foundation has been sponsoring this project for the last four years in the regions of Catalunya, Andalucía, and Valencia, with a great degree of satisfaction from both teachers and students alike. In particular, a total of 200 schools in Catalunya (one-third of all of the public schools in the region) have been sponsored by EduCaixa, providing access to the program that has helped teachers enter the world of STEAM via Arduino Education.

This year’s faire brought together nearly 500 projects from 100 schools. It is worth mentioning how much effort all of the participants put in building their projects. It has been a tremendous journey for students and teachers that kicked off in September 2017 and culminated at this exhibition.

We are truly grateful for CESIRE (big hugs to Rossana and Jordi for their work), the regional ministry of education, as well as Ultralab, our local partner, in organizing this faire.

Connect Pour!

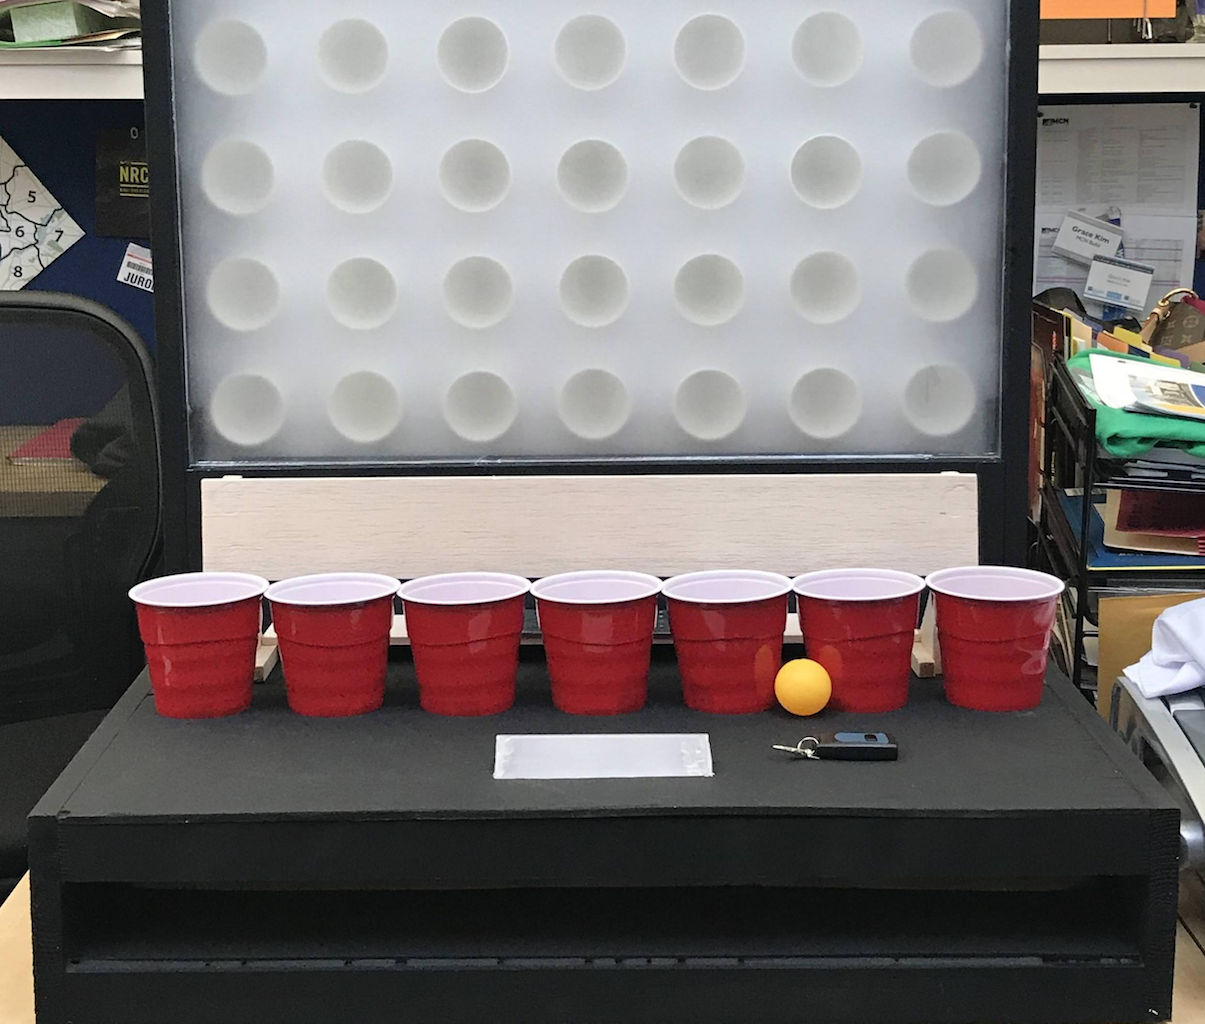
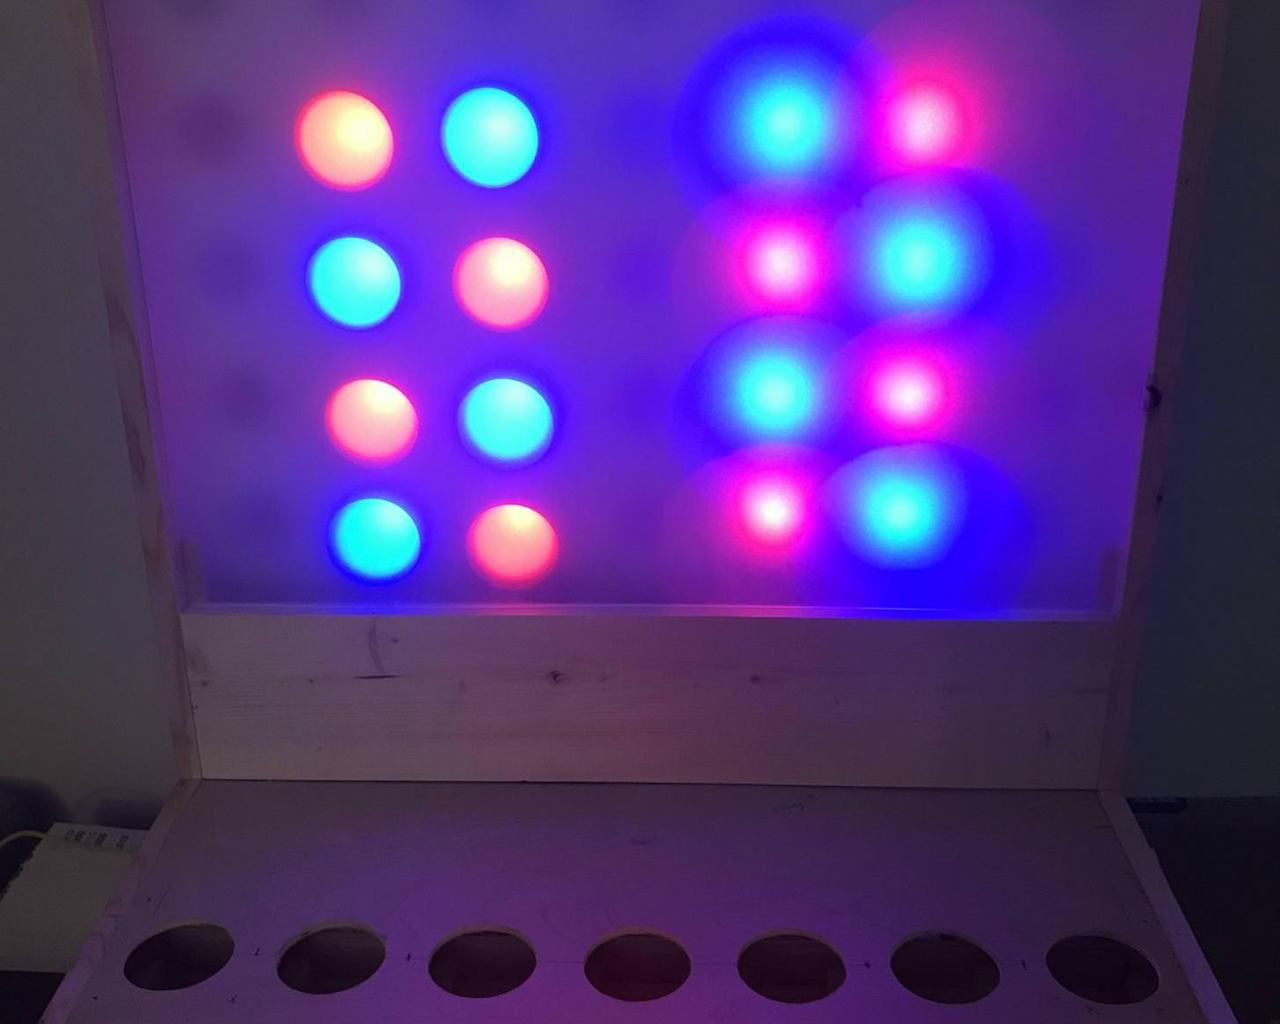
What do you get when you combine Connect Four with beer pong? Connect Pour, of course! After inspiration from a much larger basketball version, this hacker decided to make a device that allows you to throw ping pong balls into Solo cup targets. When one is hit, a vertical board stacks a light to represent a stacked checker above the cup in question.

An Arduino Uno powers the device, and lighting is provided by an RGB LED strip. Scores are tracked using an IR break beam sensor, and a button or RF remote can alternate player turns if you don’t hit anything.

I wrote the code of the game myself  and works basically as follows:

— the Arduino checks infrared beam break sensors under the plastic cups and a “pass button”

— if the state of the sensors/button changes from no beams being broken or buttons being pushed to a beam being broke or  a button being pushed

— the Arduino updates the game state updates the LEDs including the bar in the front (which indicates which player’s turn it is)

— repeat

The game looks like a lot of fun, though you may need some extra cups, as those on the machine no longer have bottoms! You can find more details on the build here.

A DIY hardware watchdog for your mining rig

Vadim Panov wanted a way to automatically restart a PC that was simple and cheap to make.

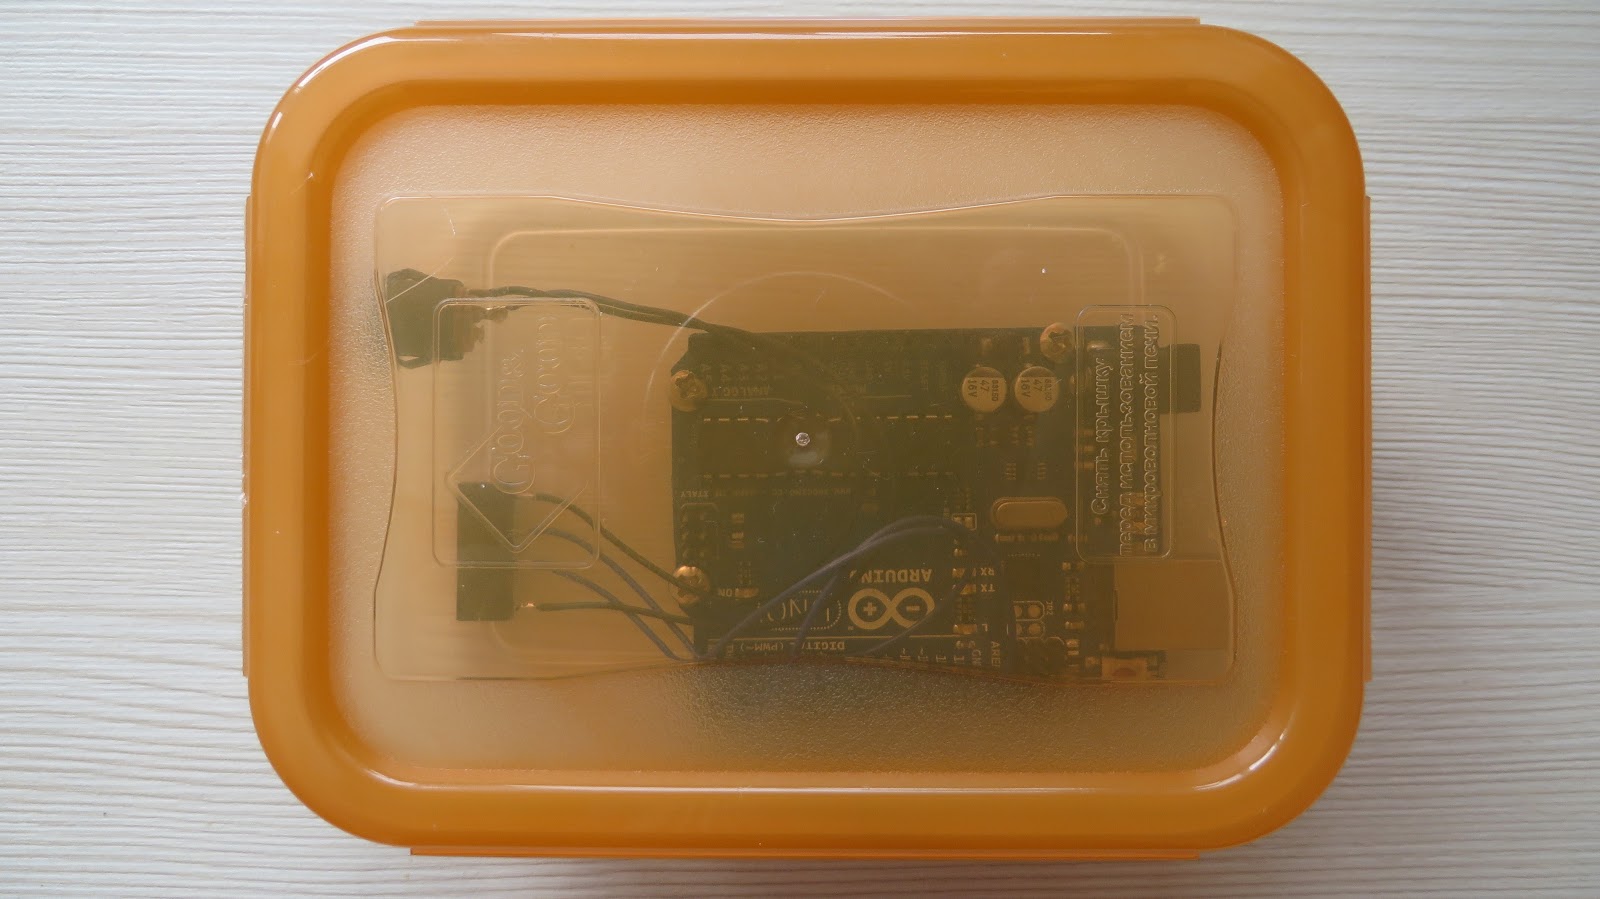
For this task, he turned to an Uno due to its wide availability; however, any Arduino board with at least one digital I/O pin and a USB-enabled serial port will work.

The device sends a “hello” string to the PC, to which it expects a “HELLO” back from the PC—running its own corresponding Java program—within 10 seconds. If it doesn’t receive this string, it assumes that the computer is frozen, and uses a reed relay to trigger the motherboard reset pin.

Panov’s idea could be used to monitor and reset cryptocurrency rigs, but could be adapted to other PC setups as needed.

Here’s how it works: the PC-side program tries to connect to every single serial port in your system within a period of 30 seconds (including the ports that appear during this process). To each port it’ll send the handshake string “hello” and monitor the input, expecting to receive uppercase “HELLO” back. When the handshake is finished, it’ll send ping strings once each five seconds.

The watchdog program on Arduino scans the input for “ping” strings. If no such string has been received within 10 second period, the watchdog will forcibly restart your PC.

Therefore, this scenario where you manually run it will be “one-off”, i.e. once the PC has been restarted, the watchdog will be stuck in the pre-handshake state. To make it work all the time, add the Java program to the startup list of your operating system of choice.

You can read more here and check it out in action below!

Test your aim in this carnival-style IR target game

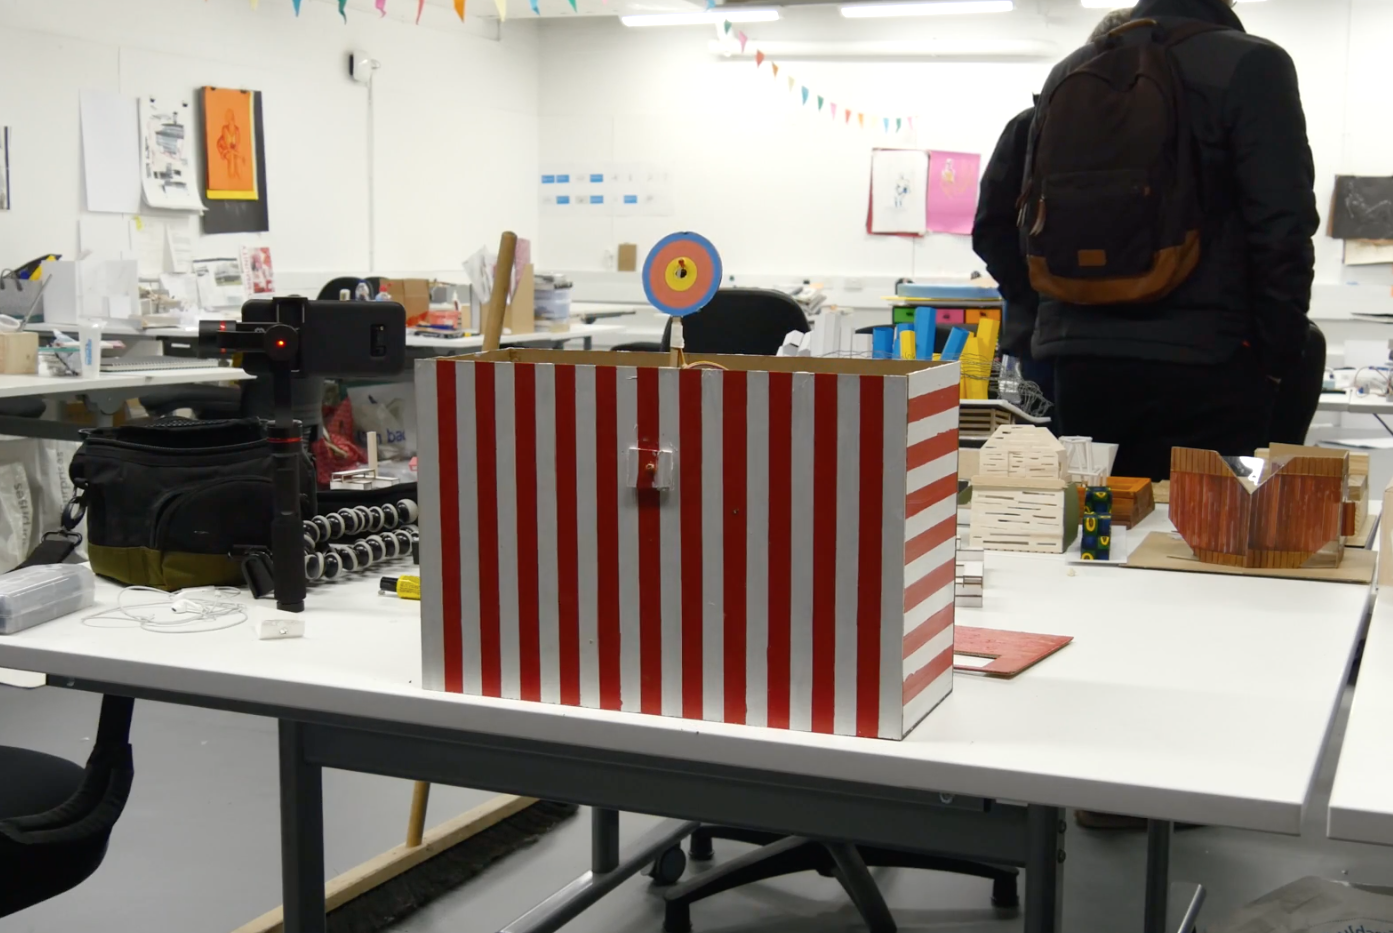
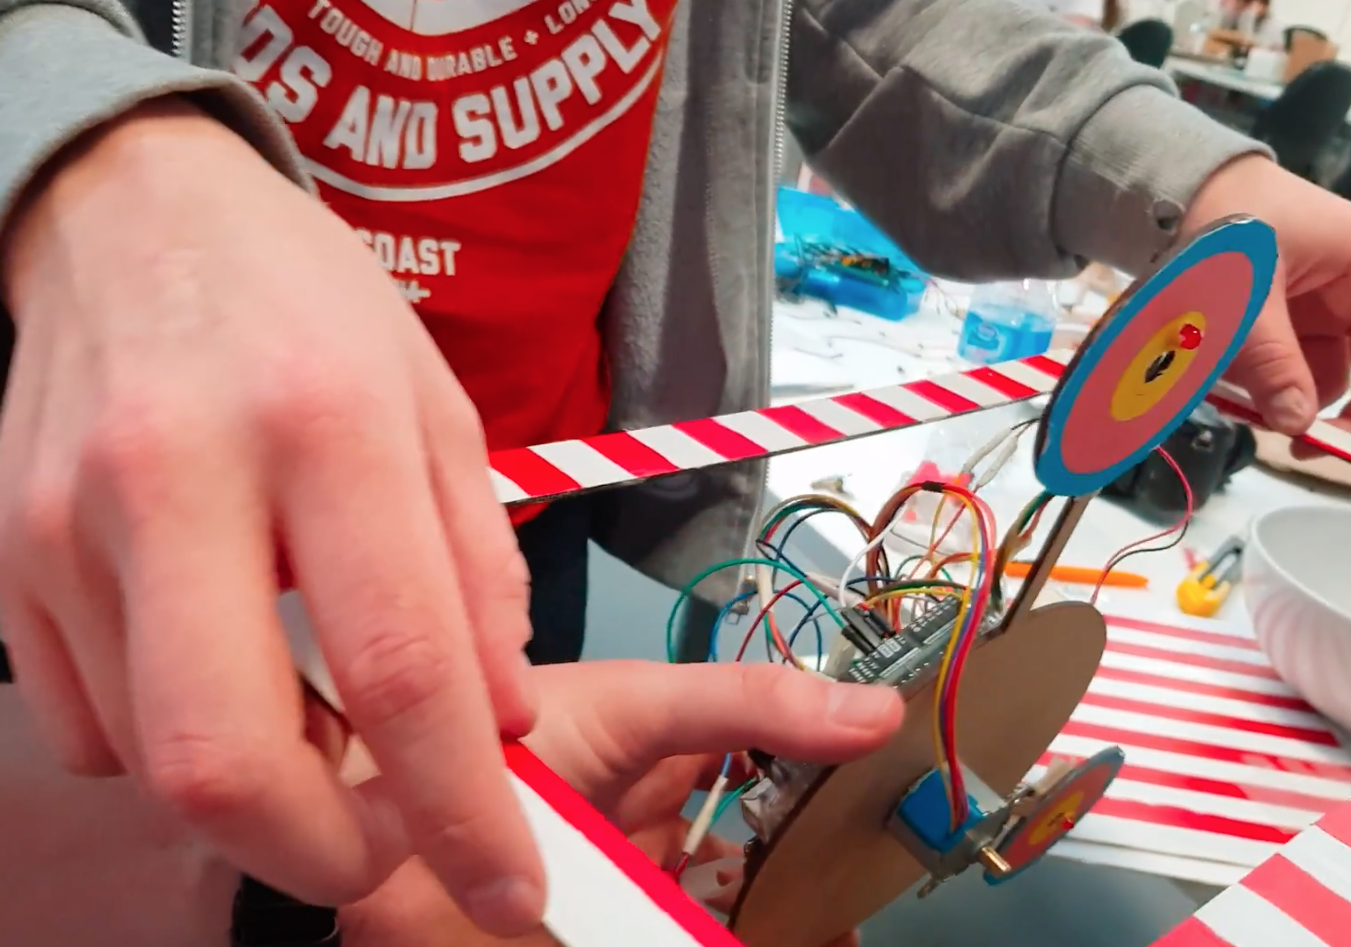
For a class assignment, Matt Robb along with teammates Kara and Andrew needed to make a project using an Arduino and various other components. What they came up with was a carnival-style game that uses a stepper motor to rotate three targets containing IR sensors out of a nicely-painted cardboard box.

An Arduino Uno provides control for the game. When hit with a signal from an IR remote, an LED on the target goes out, a buzzer beeps, and it momentarily stops spinning.

It looks like it was a lot of fun to build and play, so be sure to check it out in the video seen here!

Measure RPM with an IR sensor and Arduino

When dealing with robotics and other electronics projects, it can be important to know how many revolutions a motor is making. From here, you can infer the distance that your device has traveled, or any number of other important variables.

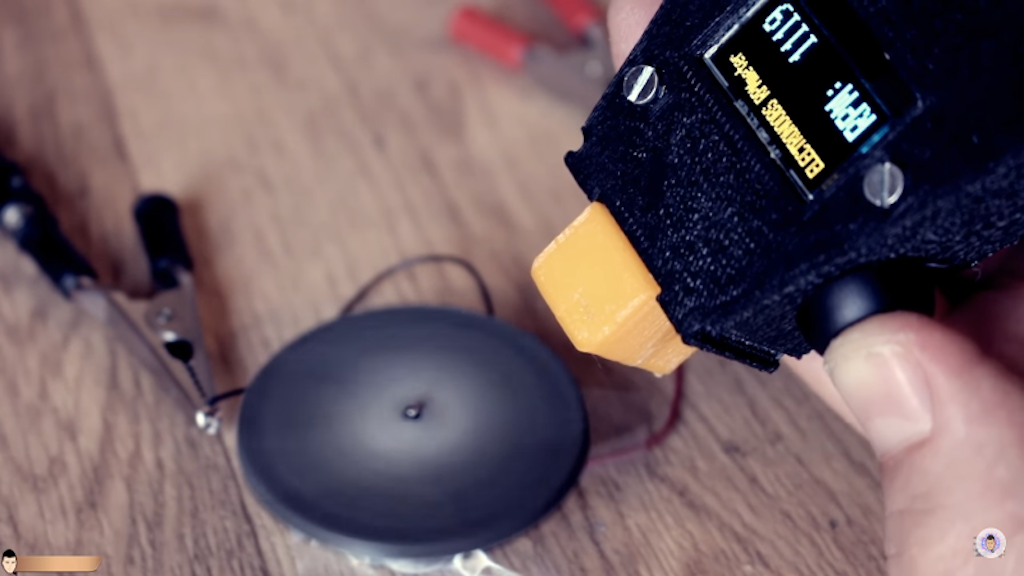
If you’d like to get started with this type of sensing, this electronoobs tutorial will show you how to get things hooked up using an Arduino and a computer, along with an oscilloscope to verify measurements up to 10,000 RPM.

In his setup, an IR emitter/receiver bounces light off a spinning object. When light reflects back, it opens the circuit, causing the output to be grounded via a pulldown resistor, telling you that a revolution has been made. The 3D-printed device also features an OLED screen.

To emit infrared light we need a IR LED and to detect it a IR sensible transistor. Usually you could find those as a one unique module. To amplify the signal I’ve used the LM324 amplifier. You will also need a 100 ohm resistor and a 4.7k ohm one. To supply the system we will need a basic 9V battery and connector, an Arduino Nano, and an OLED screen. The case is 3D printed…

You can find more details on the build process here, as well as a demo of the tachometer below!

Arduino Blog 27 Feb 20:09

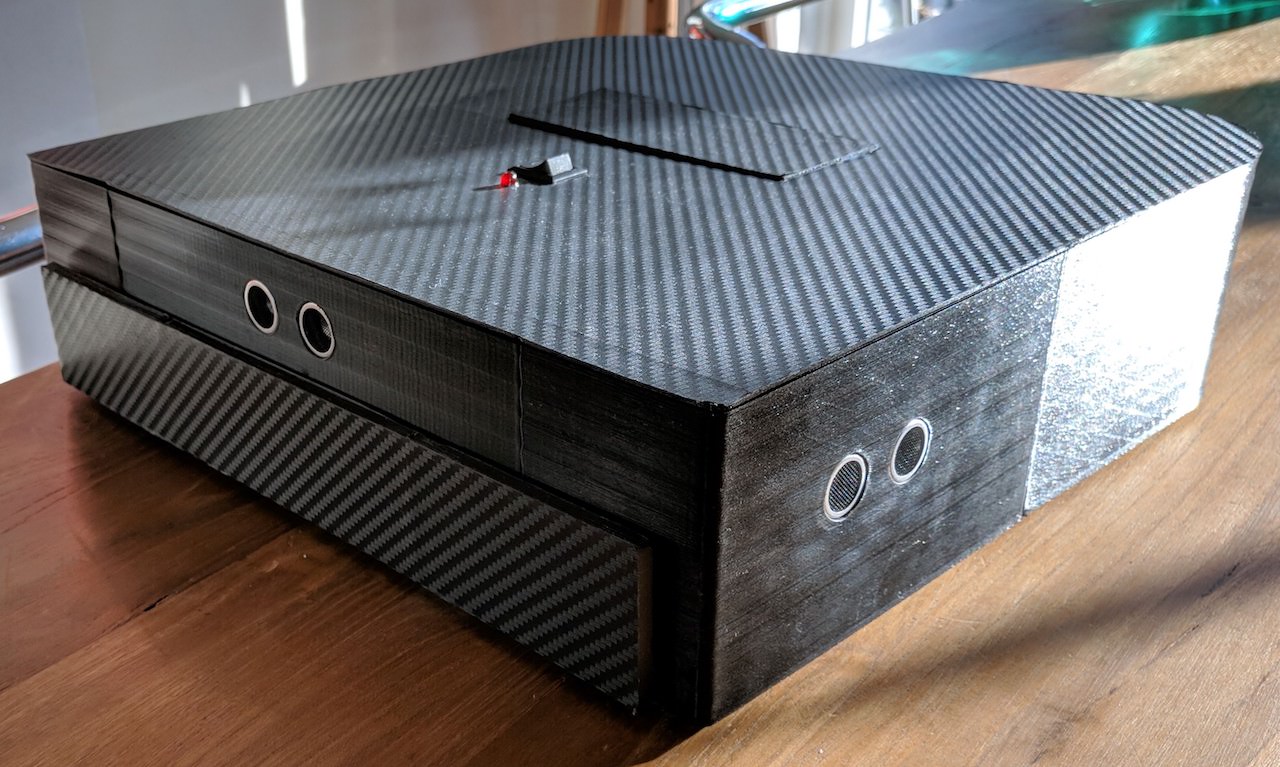
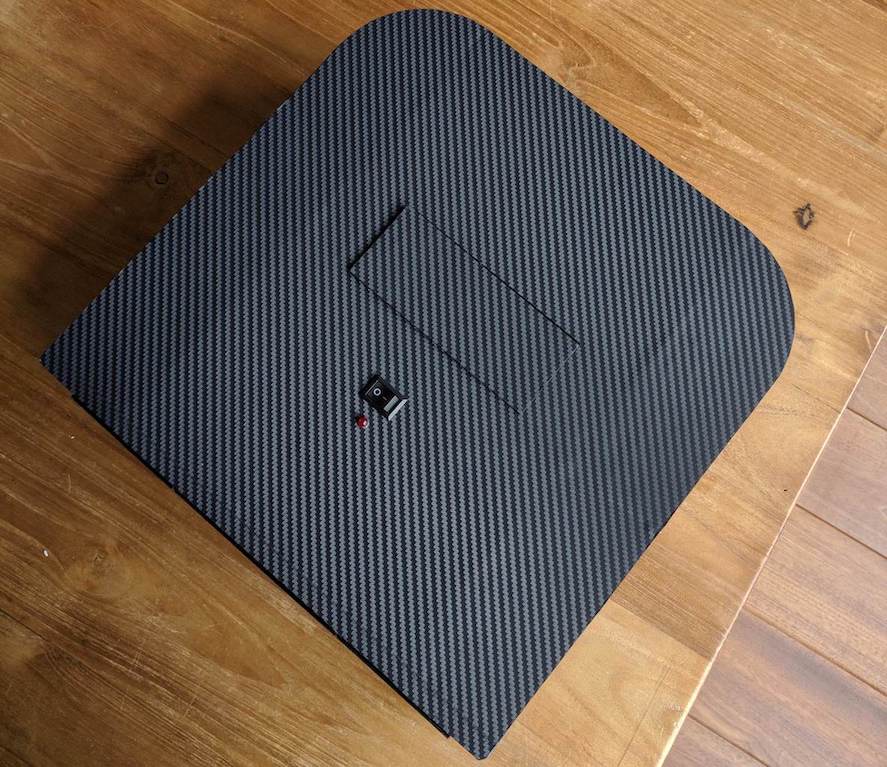
Make your own 3D-printed robotic vacuum with Arduino

Tired of cleaning your house? A robotic vacuum may be the logical solution, but if you’re “theking3737” something off-the-shelf just isn’t quite cool enough. Created as part of a school project, he was responsible for the hardware design, while a fellow classmate took care of the programming.

The DIY device uses an array of what appear to be ultrasonic sensors for navigation, and an Arduino Mega as the brains. It also features an HC-05 Bluetooth module that enables it to be controlled via an Android phone or smartwatch. All the electronics are housed inside a 3D-printed closure.

Impressively, the team had “never done anything like this before,” and the results look great—encouragement for anyone hesitant to start on a project because of inexperience!