Posts with «featured» label

Teenager automates his family’s holiday lights with an Arduino Mega

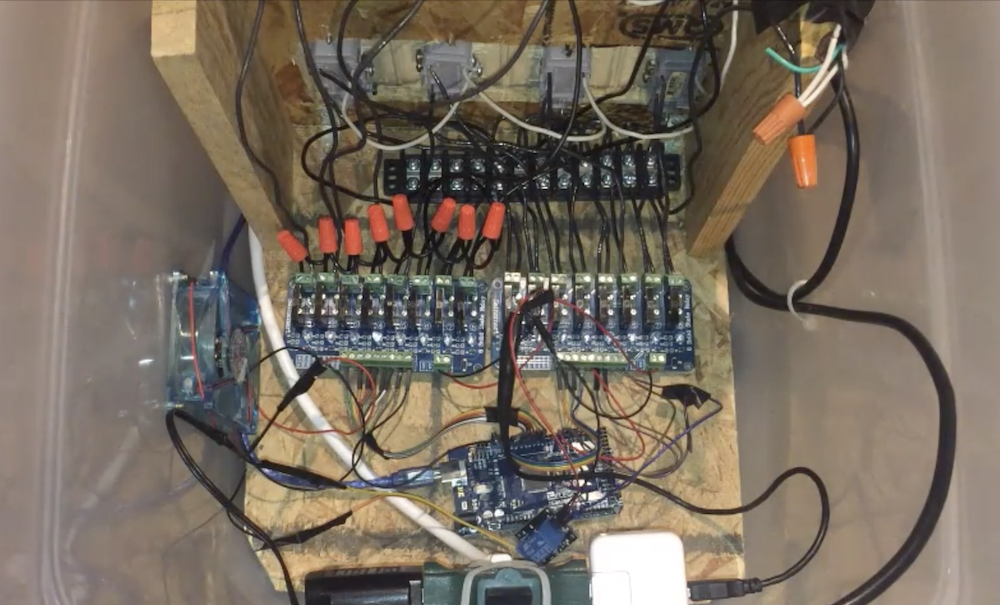
As first reported by the Des Moines Register, this year 14-year-old Josiah Davenport decided to animate 3,500 Christmas lights on his family’s home with the help of an Arduino Mega. The lighting pattern is synchronized with the Trans-Siberian Orchestra’s “Wizards in Winter,” which passersby can listen to by tuning in to 89.5 FM on their car radios. 

This ambitious installation was started back in July, and took around 100 hours of research, programming, and assembly. How the lights look at night can be seen in the first video below, while the second and third outline how everything was assembled.

Davenport notes that it’s been a fun endeavor, but is happy to see it come together, hoping that it brings a smile to people’s faces this holiday season! You can read more about the project in his local newspaper’s article here.

A useful Christmas tree water level indicator

It’s that time of year again, when many the world over chop down a tree, then insert it into some sort of water dish to keep it green for a month or longer. This normally works out well, but means that someone has to keep it hydrated, climbing under sharp branches to intermittently check the water level.

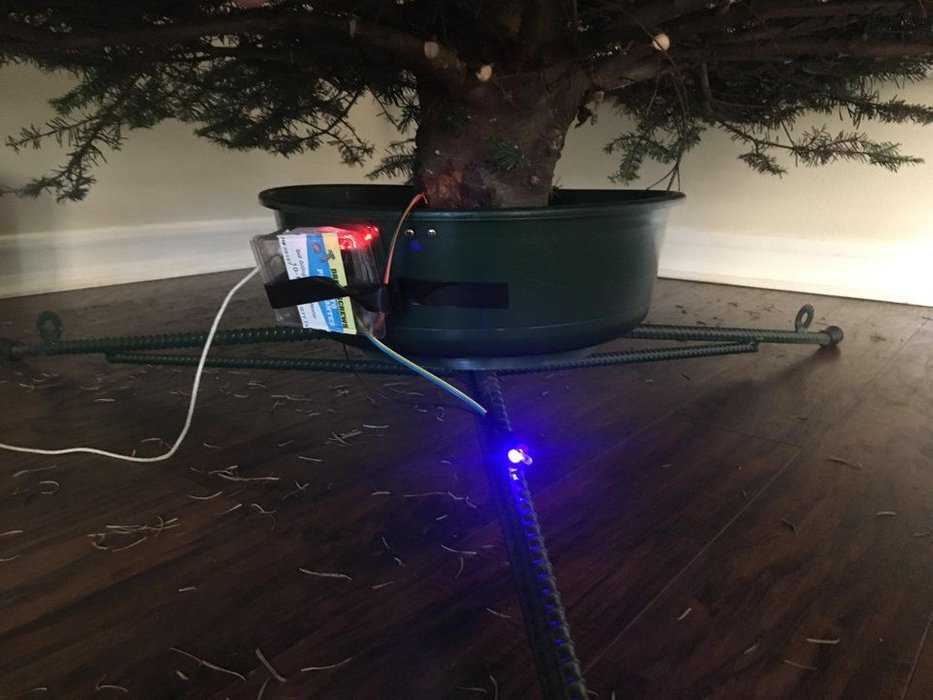
As originally seen on Reddit, this is a perfect job for Arduino, and with some very simple wiring, maker “Boskovitch” created a clever setup that shows water levels with three blue, yellow, and red LEDs. A depth sensor in inserted into the water, which feeds analog readings to an Arduino Nano that is used for control.

Threw this together last night for my dad. He’s very anal about keeping his tree healthy, and he gets on his stomach and sticks his hand in the base to check the water level a couple of times a day. So I threw this together so he doesn’t have to crawl under the tree anymore. After the semester is over I might add an automatic watering system with a solenoid valve and gravity feed.

Want to recreate this setup for your own Christmas conifer? Check out Boskovitch’s write-up here.

Simple PID control intro device

You may have come across the term “PID control,” and while this proportional-integral-derivative control method does a great job of smoothing out oscillations, where does one get started? 

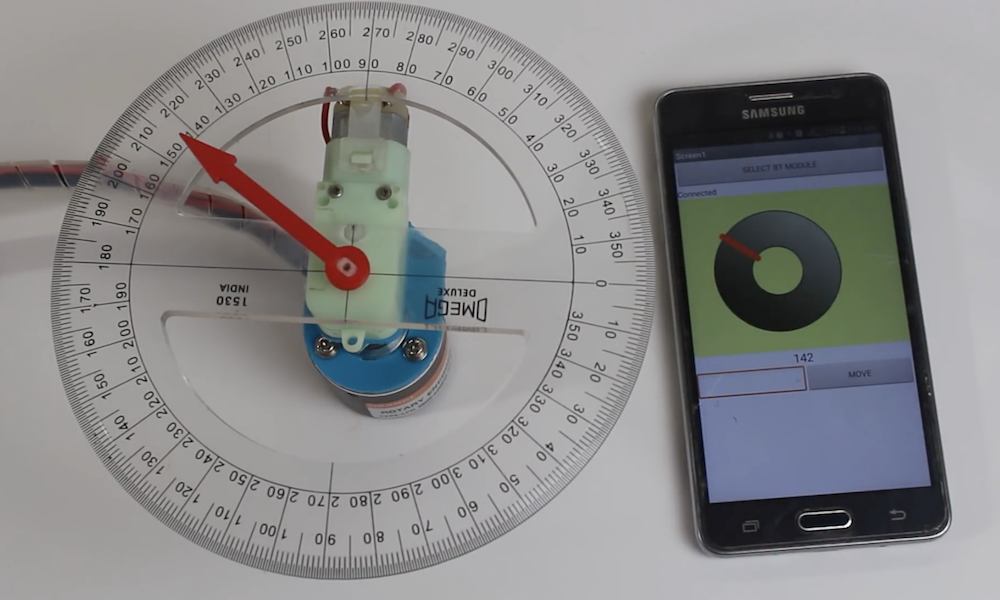
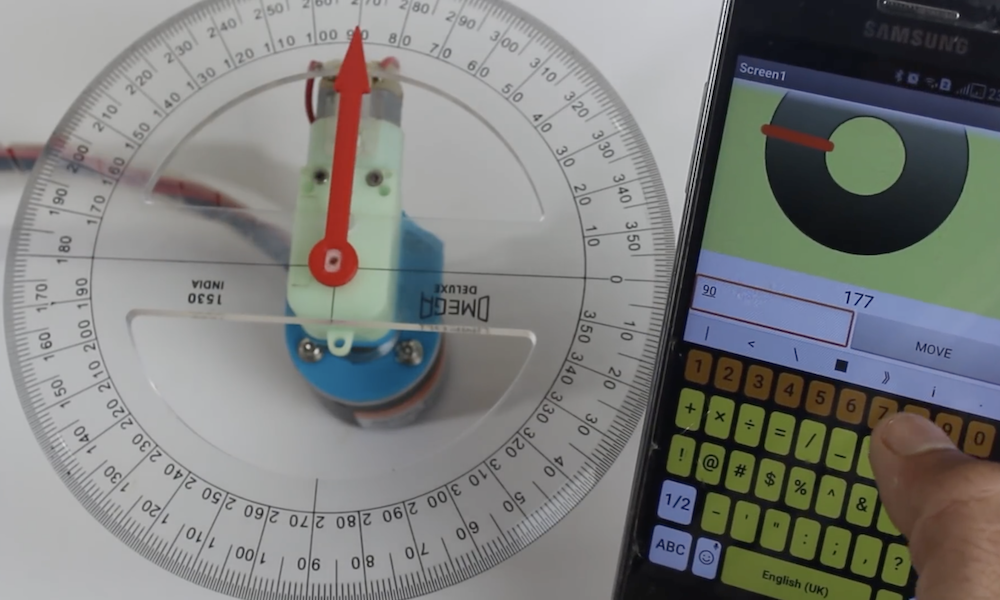
One solution would be Mr Innovative’s demo device, showcased in the video below. In it, a DC gear motor is able to smoothly rotate an arrow overlaid on a protractor by a certain number of degrees.

Input is via a Bluetooth smartphone interface, and an encoder is used for feedback to the commanding Arduino Uno. Everything is fastened together by 3D-printed parts, and if you’d like to try your own PID experiment, code and print files are linked in the video description.

Keyboard dampener prototype aims to reduce typing injuries

While we don’t normally think of typing on a computer as a dangerous job, the U.S. Department of Labor reports that workers spend 25,000 hours away from work due to repetitive strain injuries, such as using a computer. Part of this could be due to the fact that the average computer user applies two to seven times the necessary force needed to activate a keyboard’s keys, slamming them down, then experiencing a sudden stop.

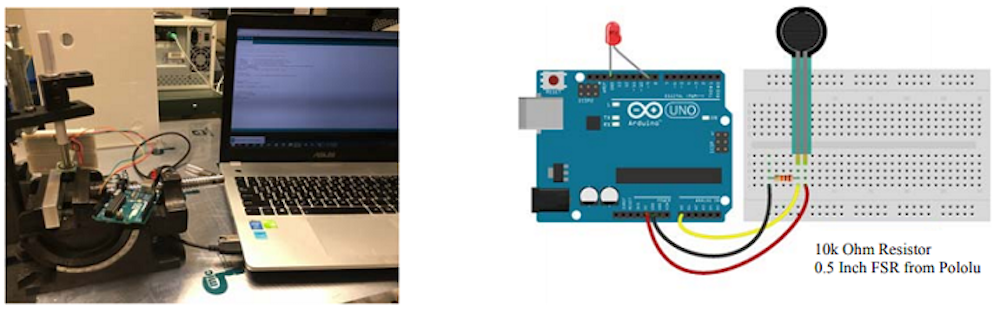
In order to help cushion these small blows, researchers Alec Peery and Dušan Sorma at Ohio University have been exploring a mechanical keyboard concept with a 3D-printed dampener built in. Testing has been undertaken using the popular Cherry MX switches, with typing simulated by dropping a 150 gram cylinder from 125mm, then measured using an Arduino Uno and force sensing resistor.

This paper is a demonstration of how 3D printing can be used to create a composite (plastic and rubber) keyboard switch that is ergonomically superior to a traditional injection moulded plastic switch. The prototype switch developed in this project aims to reduce impact forces from keyboard use exerted on user’s fingers by “cushioning” the act of bottoming out the switch during a key press. This concept is significant to industry because it aims to reduce overuse injuries caused from work on computer, a portion of the $20 Billion a year owed in worker compensation in the United States. A commercial Cherry MX keyboard switch has been modified through CAD modelling and 3D printing to incorporate damping regions in the lower half of the switch housing. The switch housings were simultaneously 3D printed with plastic and rubber and their force damping properties were tested with an Arduino UNO microcontroller and force sensing resistor resting on the key tops.

The full research paper is available here.

Bit clicks away to illustrate complex interrelationships

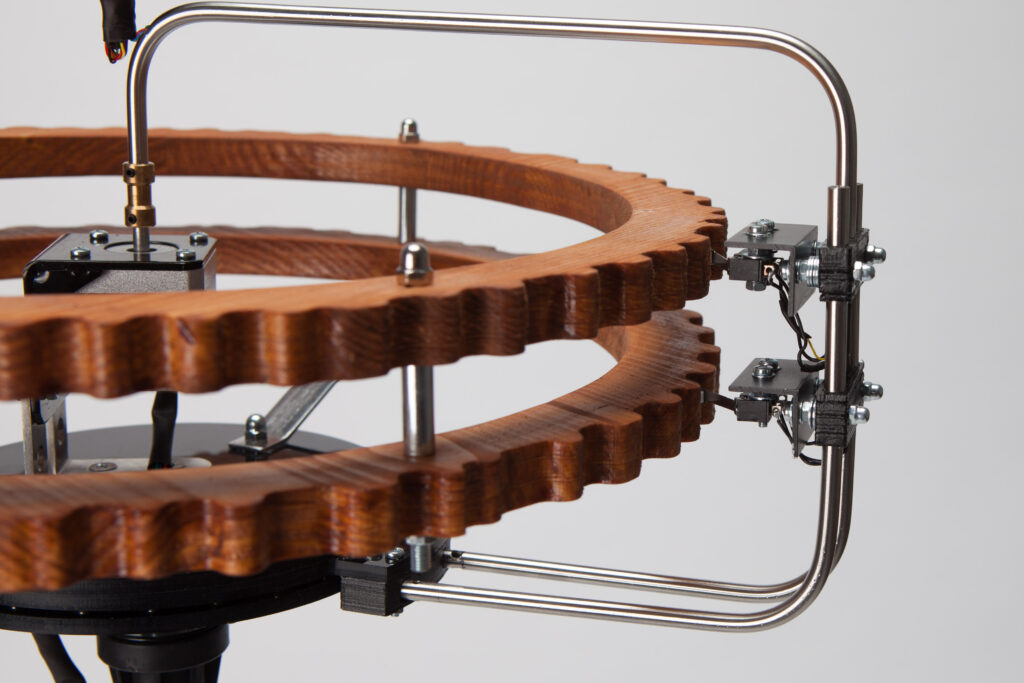
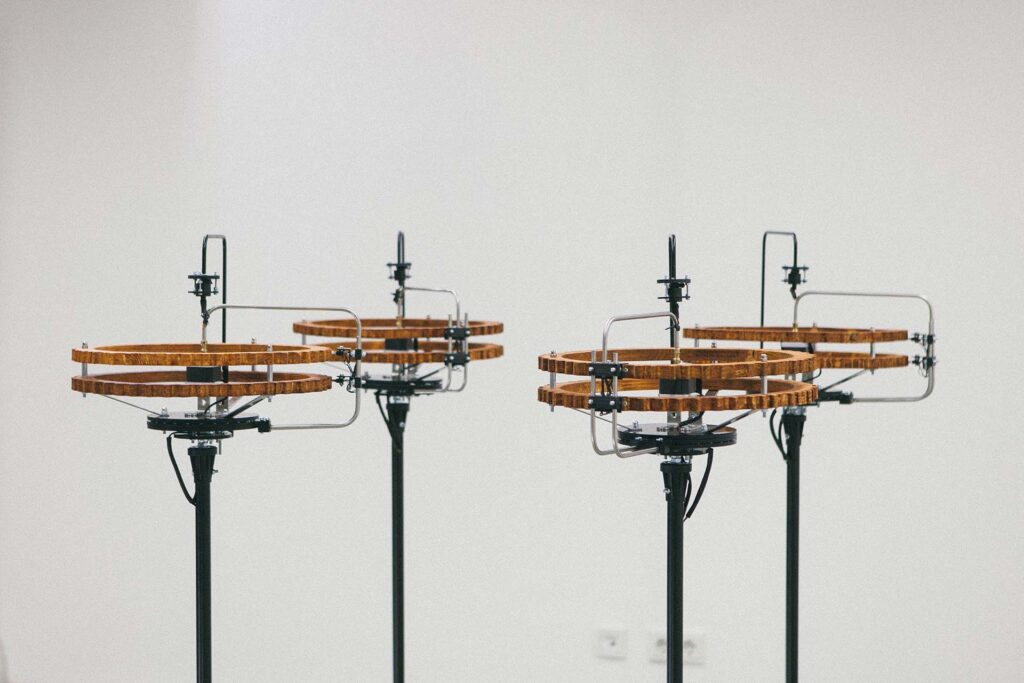
Aseen here, Bit by Jonghong Park at the University of the Arts Bremen is a beautiful visualization of how everything is linked together using the Markov chain principle. This installation uses an Arduino Mega for control, rotating arms that hold a pair of microswitches around coaxial gear-shaped cylinders.

In the sequence, one arm turns, then lobes on these “gears” that represent a two-bit number push the microswiches. This number is used to choose the following stepper to be turned in the sequence. The next selected arm then rotates in the same manner. This predictable cycle continues on and on clicking in a way that’s related, but not without careful observation.

The installation ‘bit’ represents a natural random process based on the principle of a Markov chain. Each machine consists of “information” engraved on the read head and an “event” caused by the operation of the motor. Machines are linked together based on a Markov chain algorithm to influence events, and eventually we can predict which of the four machines will move in the next turn. The movements of these four machines are shown as a random process, but in fact they are sequence of events. Like an invisible chain, all things and events in our world are connected.

Each of the four machines has its own state, which have been named ( 0,0 / 0,1 / 1,0 / 1,1 ), respectively. Each machine is equipped with a wooden read head with binary information on the surface and a microswitch to read the current state of the read head. The microswitch is connected to the stepper motors located in the center of the machine. A machine whose state is called moves the stepper motors by 1/240 of a degree. The microswitch turns on / off (1/0) along the surface of the read head each time the motor moves and calls the next machine corresponding to the state (2-Bit) of the current position of the read head. At this time, the machine corresponding to the measured state goes through the same process and calls another machine or itself.

These four machines symbolize another system separate from ours. We observe machines separate from the world as if we were watching computer simulations. The binary digits recorded in the read head are the smallest units of unspecified information possible, called bits. The bit, as the smallest particle that can make up the world and not simply as a digital recording unit, symbolizes the basis of this world. The things that we call noise, the information that we think of as meaningless, the information from which we cannot find the pattern, and the information that we cannot decode are called “chance”. When this information can be observed from outside our own world, we have proven through the Markov chain that all events are linked together.

The interplay concept is certainly interesting, and it’s pleasing to watch in the video below from a purely aesthetics point of view as well.

Suspend particles in midair with this acoustic levitation setup

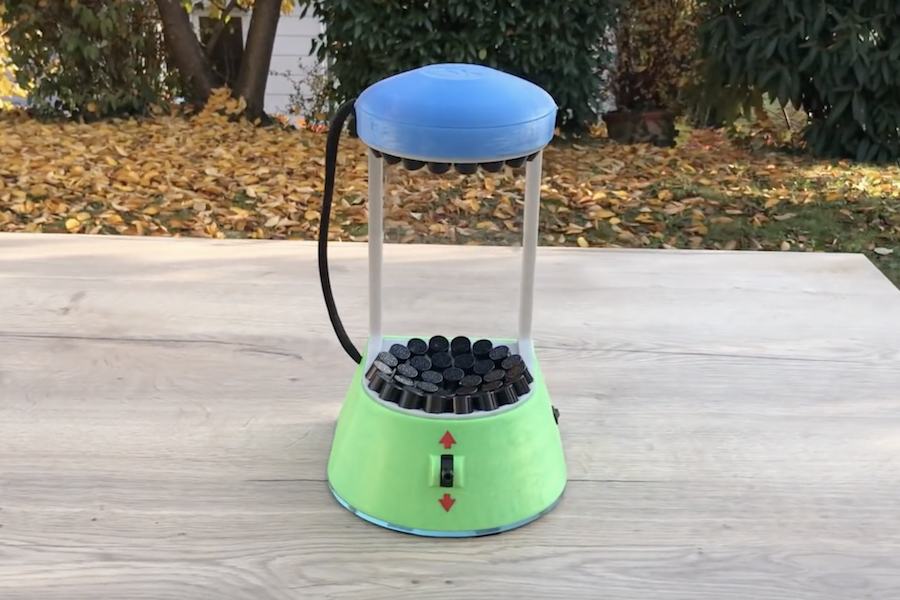
Of course Styrofoam floats on water, but have you ever seen it float in midair? That’s exactly what Julius Kramer’s 3D-printed acoustic levitator does, using an array of 72 40 kHz speakers to form standing waves of low and high pressure. When turned on, he’s able to simply insert a small foam particle which hovers like magic.

If this seems familiar, his Arduino Nano-powered device is based on work by Asier Marzo, Adrian Barnes, and Bruce W. Drinkwater. What’s interesting about Kramer’s build is that he does a great job illustrating how it works, starting at around 3:00 with an oscilloscope, and continuing on with diagrams, and even a visualization of the waves using steam. He also shows off a miniature version at around 6:00, which while less capable, could make this type of project approachable for those that don’t feel like soldering 72 speakers together!

Designing an omni wheel robot platform with Arduino

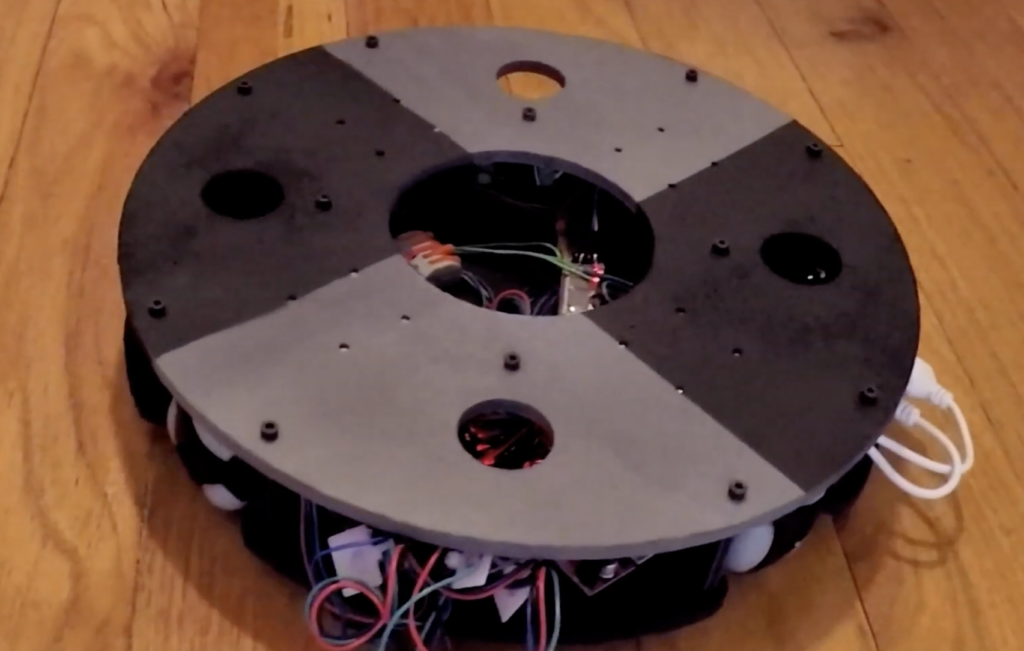
Omni wheels are devices that look like wheels with extra rollers positioned along their circumference. This allows robots to move forwards and backwards, as well as slide and spin depending on how the wheels are powered. Maker Jeremy S. Cook decided to create his own version, and after some consideration and careful design work, constructed a cylindrical frame out of MDF and PLA.

The Roomba-like unit features an Arduino Nano, which controls four NEMA 17 stepper motors via Easy Driver boards, while a Bluetooth module enables smartphone operation. Once a few intermittent motion issues are worked out, the stepper motors should provide precise positioning for further robotics experimentation.

Code for the build can be found here.

Hack a cheap remote light switch with an Arduino Leonardo

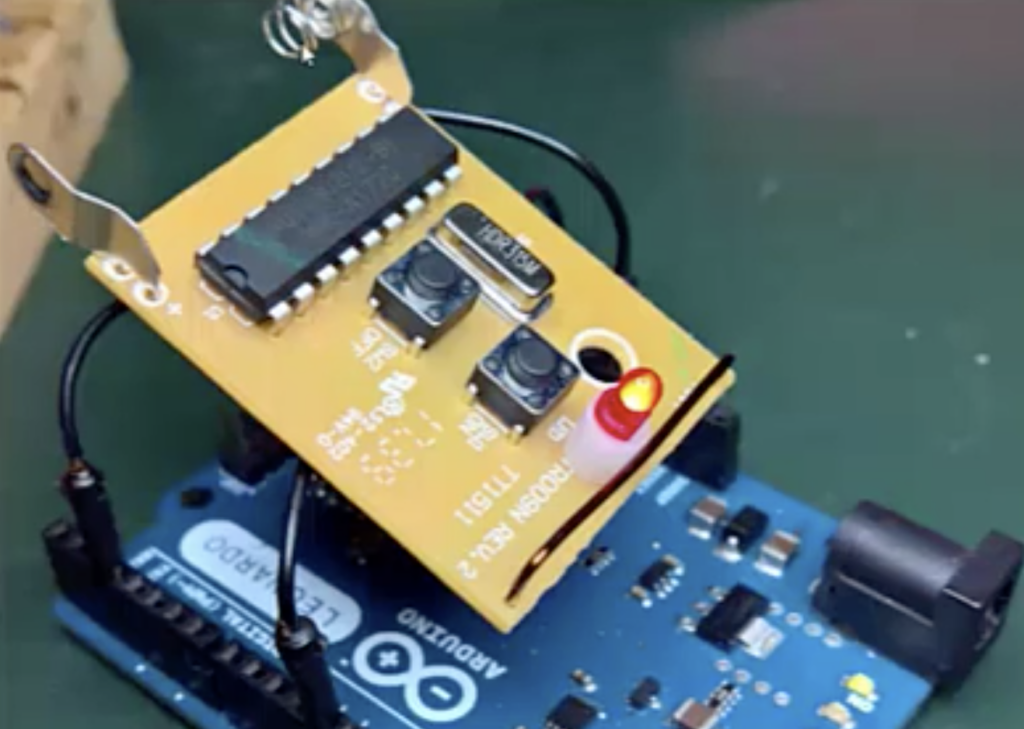
Chris Lovett used a cheap wireless remote to control his Christmas lights; however, when the fob’s A53G 12V battery died, he decided to go a different direction. Rather that just replace the battery, he hooked up an Arduino Leonardo for full lighting automation.

For this hack, he bypassed the onboard IC and instead sent a simulated signal produced by the Leonardo through the wireless transmitter. The appropriate signals were decoded by a logic analyzer, then sent using one output pin to power the transmitter and a second to output the correct pulses. Full automation was accomplished via a Python Script running on a computer to activate the Leonardo at sunset and sunrise. 

Arduino code can be found here, along with the Python script, if you’d like to try something similar.

Stream weather conditions to the cloud!

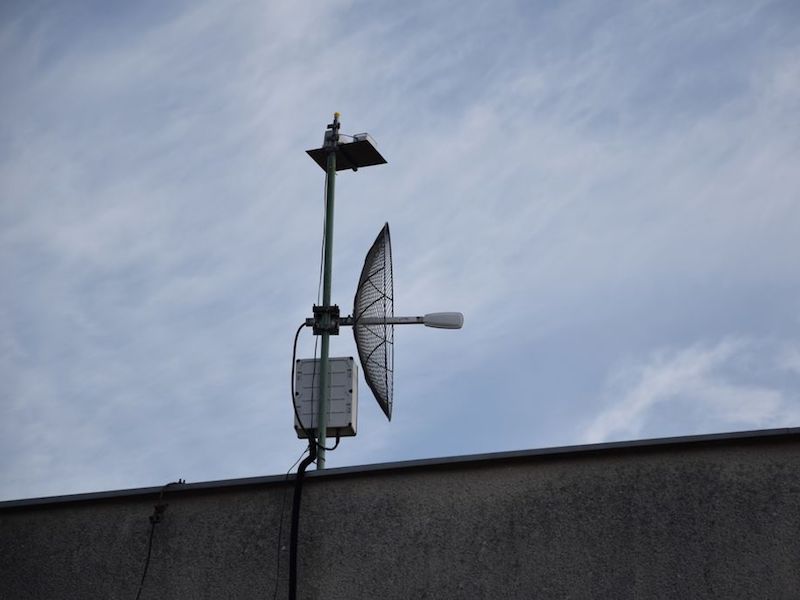
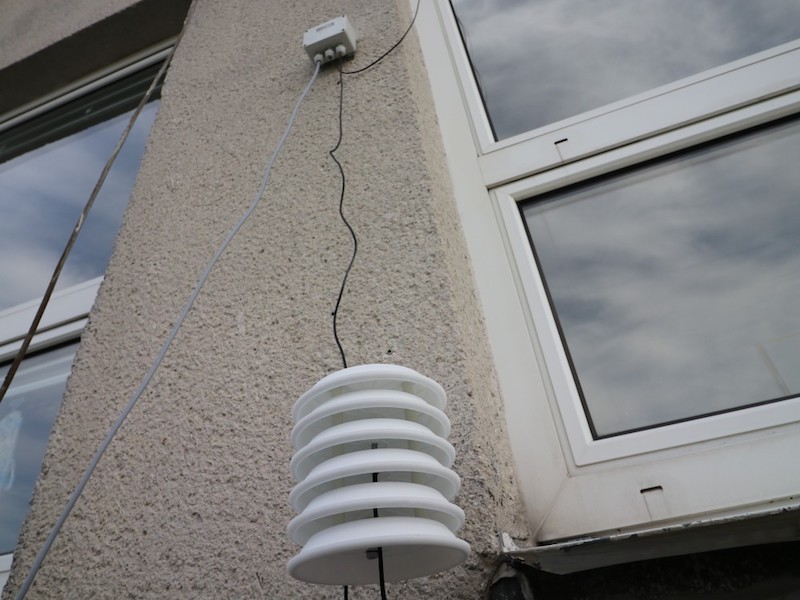
Weather reports on the news, your computer, or smartphone are very good—something that people 100 years ago could only dream of—but what if you want to know the exact weather in a fixed location from anywhere in the world? One solution would be Jakub Nagy’s excellent cloud-connected station.

It uses an Arduino Uno to collect data from temperature, humidity, pressure, and UV index sensors, along with a Nano to read a rain gauge. The data, with images from a webcam, are passed along to a service called Weathercloud, where this report out of the Slovak Republic can be viewed remotely. 

If you’d like to assemble a similar device to measure conditions in your area, instructions are available in his write-up, including a parts list that will run around $130.

Rotary phone transformed into home automation device

While once an essential communication tool, rotary phones in the wild are quite a rarity today. Still, they do hold a certain charm, and hacker Kristiaan N. decided to turn one of these units into a clever home automation interface.

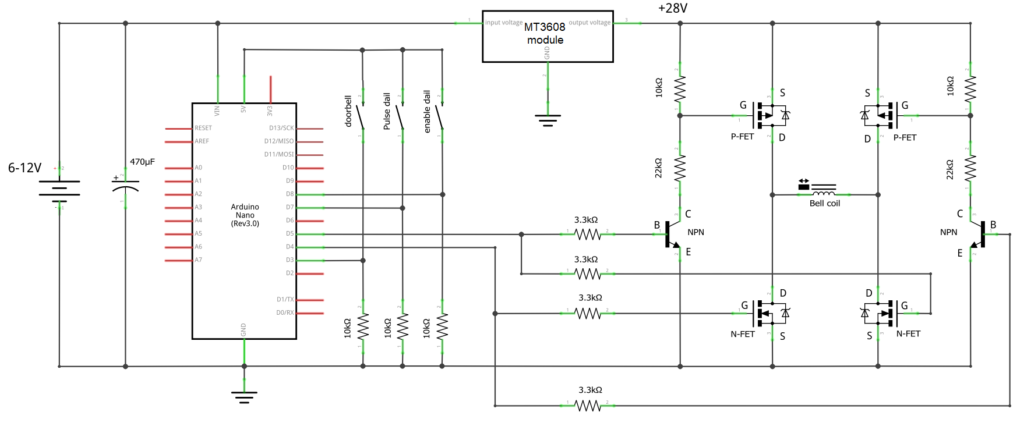
The original idea was to use the phone as a doorbell. Like many projects, this simple job turned into something much more involved, with an Arduino Nano and a bevy of complimentary electronics being installed in the housing. This allows it to respond to doorbell presses as intended, and it’s now also able to ring in different patterns via wireless input from a smartphone. 

Most impressively, the modified phone can signal up to 10 devices using the rotary input, using the MySensors Arduino library and a Domoticz setup. The system’s capabilities are demonstrated in the video below, switching lights, and showing off its multi-ring capability.

The current version features the following functions:

  • Doorbell function with simple button
  • MySensors integration with NRF24 radio
  • Wirelessly activate 5 different ringtones
  • Alarm signal
  • Working dial with 10 virtual switches

The idea is basically that it will ring just like a old phone when somebody presses the doorbell button. If you don’t want any wires for that, you can just sent a command from any button attached to your Domoticz controller. You can also set your Domoticz controller to ring different ringtones for any events like a door that has open, or a set timer that has passed.

The dial also acts like 10 virtual switches. Your Domitcz controller will see these as 10 different switches that will be turned on and immediately be turned off again. You can use this to trigger events like turning a light on, or set the heating to a different setpoint.

The wireless function is done by the incredible MySensors library. In my opinion its one of the best platforms for home build sensors and actors. Its cheap to build, very reliable, and the possibilities are endless. You will need a MySensors gateway attached to your Domiticz controller. I’m using the USB version. Building one is very easy and doesn’t require knowledge of MySensors, Arduino, or electronics. If you just want the doorbell, don’t worry about all the other functions. Just leave out the radio and the connections to the dial. The Arduino code will work fine without.