Posts with «featured» label

A multi-matrix scrolling text display for absolute beginners
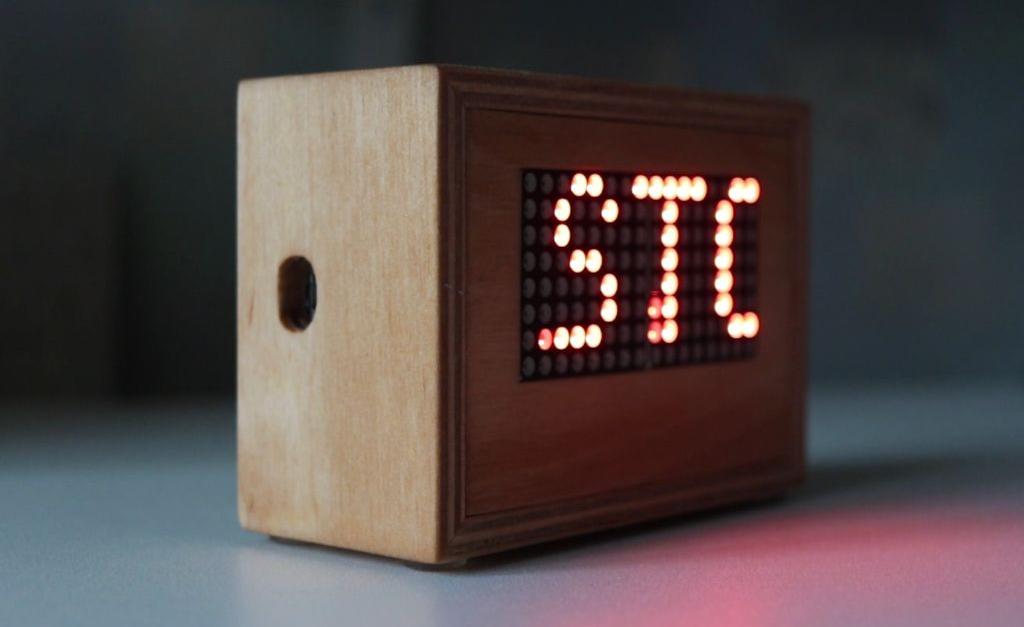
For this build, YouTuber DIY Perspective goes through the process of constructing a scrolling text display with two 8×8 matrices. 

His instructions, along with an excellent video, go through the process from the very basics, including things that many would take for granted, like installing the Arduino IDE. For this reason, it could be a great introduction for those that are new to the maker electronics scene.
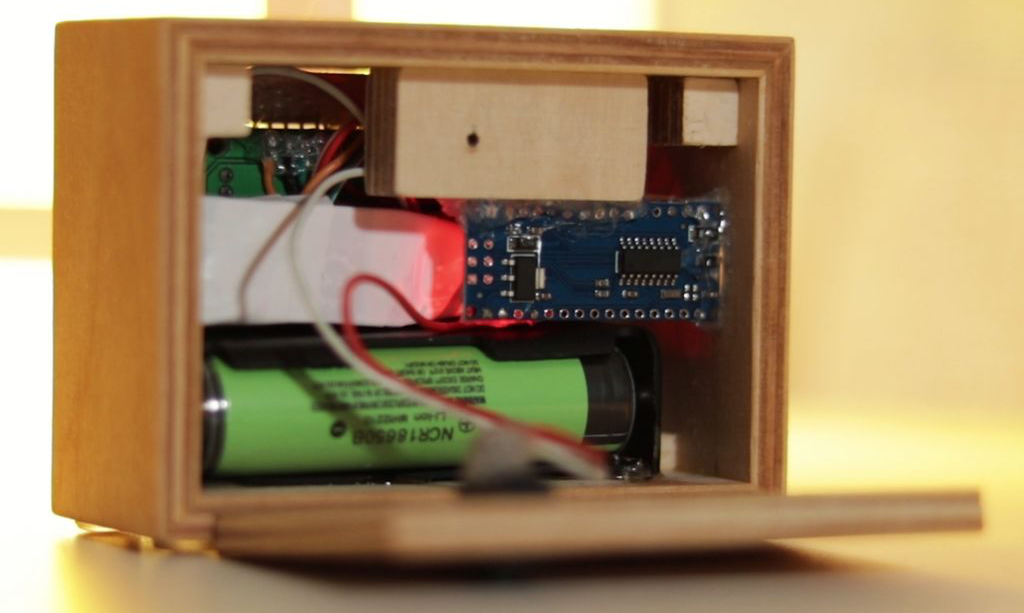
The device is controlled via an Arduino Nano and can be powered by an 18650 battery or wall charger. While relatively simple electronics-wise, what really sets this project apart is the beautifully finished wooden enclosure. It’s held together with glue, and nicely sealed with a single screw!

An Arduino-based rocket motor thrust test stand

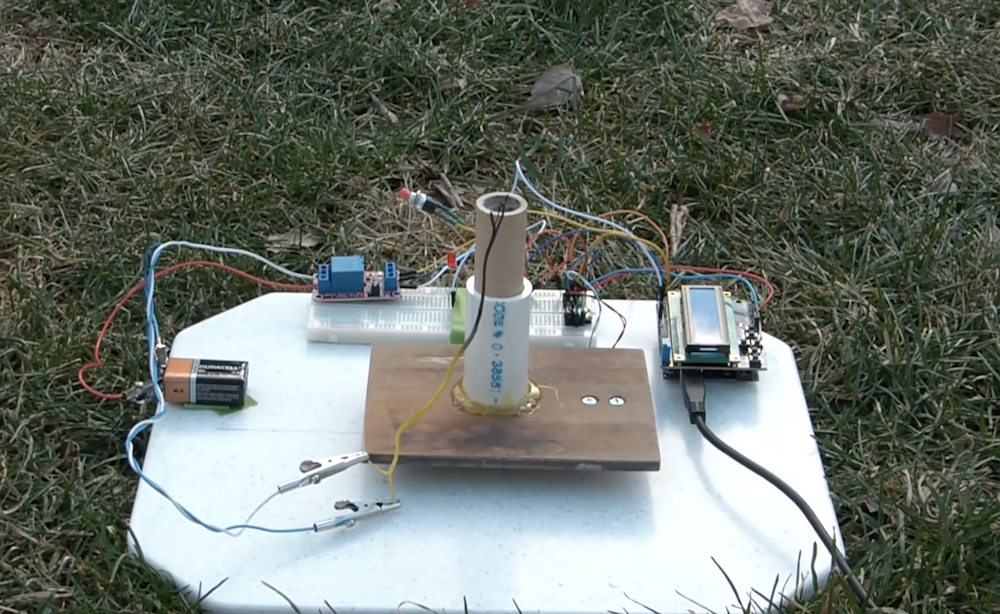
If you enjoy model rocketry, you may wonder just what the thrust curve of the motors you’re using looks like. In order to answer that question, YouTuber ElementalMaker decided to construct his own test stand using an Arduino Uno coupled to a 10Kg load cell with an HX711 amplifier board. The test procedure is started with a little red button, and after warning LED blinks away for 10 seconds, it activates a relay and fires the motor under into the stand.

The experimental setup seen in the video yields successful thrust curves for both a ½ inch and ¾ inch motor. As you might expect, the ¾ produces more thrust than its smaller cousin, though at 2,683 grams versus the ½ inch motor’s 658, it’s an impressive difference indeed. 

The heart of the stand is a common load cell (the sort of thing you’d find in a digital scale) coupled with a HX711 amplifier board mounted between two plates, with a small section of vertical PVC pipe attached to the topmost plate to serve as a motor mount. This configuration is capable of measuring up to 10 kilograms with an 80Hz sample rate, which is critically important at this type of rocket motors only burn for a few seconds to begin with. The sensor produces hundreds of data points during the short duration of the build, which is perfect for graphing the motor’s thrust curve over time.

Given such a small window in which to make measurements, [ElementalMaker] didn’t want to leave anything to chance. So rather than manually igniting the motor and triggering the data collection, the stand’s onboard Arduino does both automatically. Pressing the red button on the stand starts a countdown procedure complete with flashing LED, after which a relay is used to energize a nichrome wire “electronic match” stuck inside the motor.

The project is based on a paper archived here if you’d like to examine the design.

Build a single-pixel scanning camera with an RGB sensor

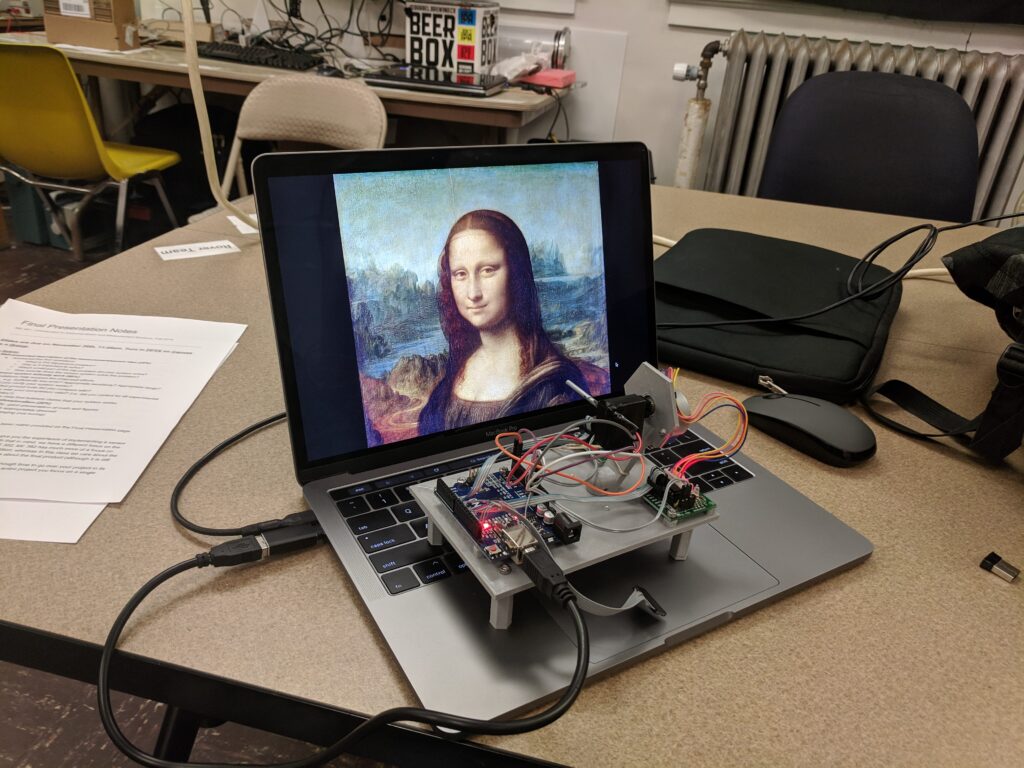
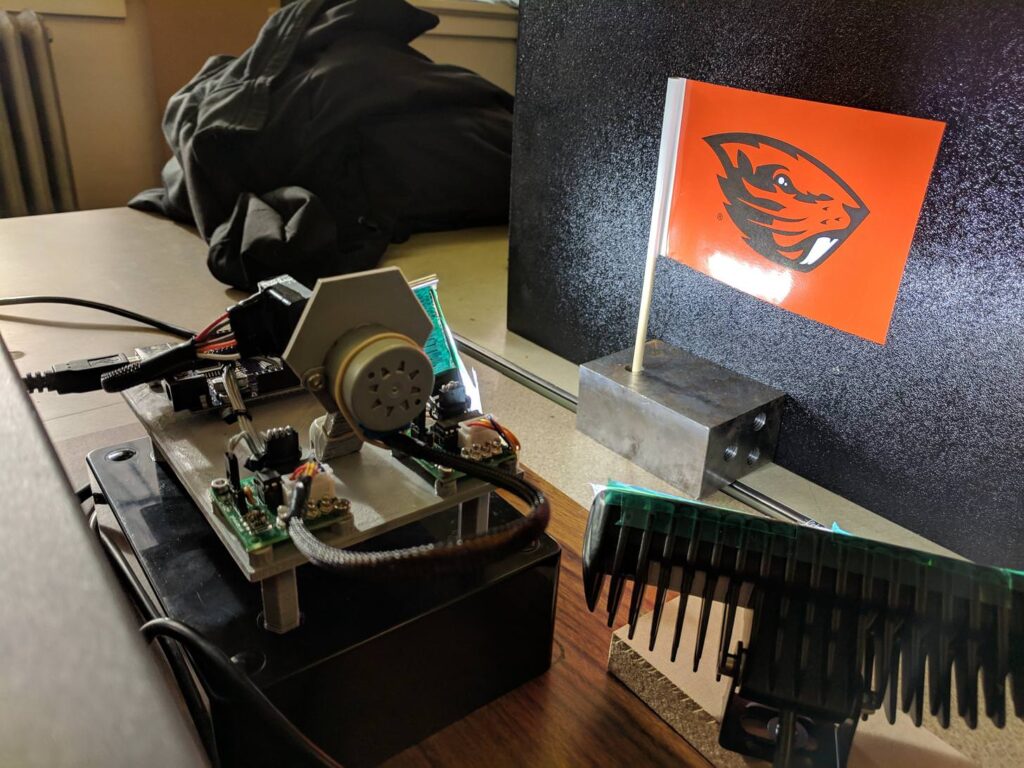
Sensors like the TCS34725 from Adafruit can detect a single color. It stands to reason then, that if you were to aim this sensor at a multitude of points and record the resulting data, you could have a one-pixel camera. As seen here, Tucker Shannon decided to take this concept and run with it, constructing his own with an Arduino Uno and a pair of stepper motors.

The device looks like something akin to some sort of auto-turret, and directs the sensor in a square spiral for image acquisition. The resulting pictures are certainly low-res, but good enough to pick out recognizable forms with a little imagination. 

The color sensor tells the Arduino what color it “sees” at any given time. By pointing it at every single point within a field of view, I can record these colors and use them later to reconstruct an image.

Using two stepper motors, the camera points the sensor at every “pixel” within the photo and records what it sees. It uses these values to “paint” a picture of whats in front of it!

Components include: 1x Arduino Uno, 1x Adafruit RGB Color Sensor TCS34725, x2 BYJ-48 Stepper motor with drivers, x1 3mm OD aluminum tube, x20 M3x6mm fasteners. Alternatively a photoresistor can be used in place of the RGB sensor for black and white photos!

Code for the project can be found on GitHub, and print files are on Thingiverse if you’d like to build your own!

Drone morphs into the perfect shape in mid-air

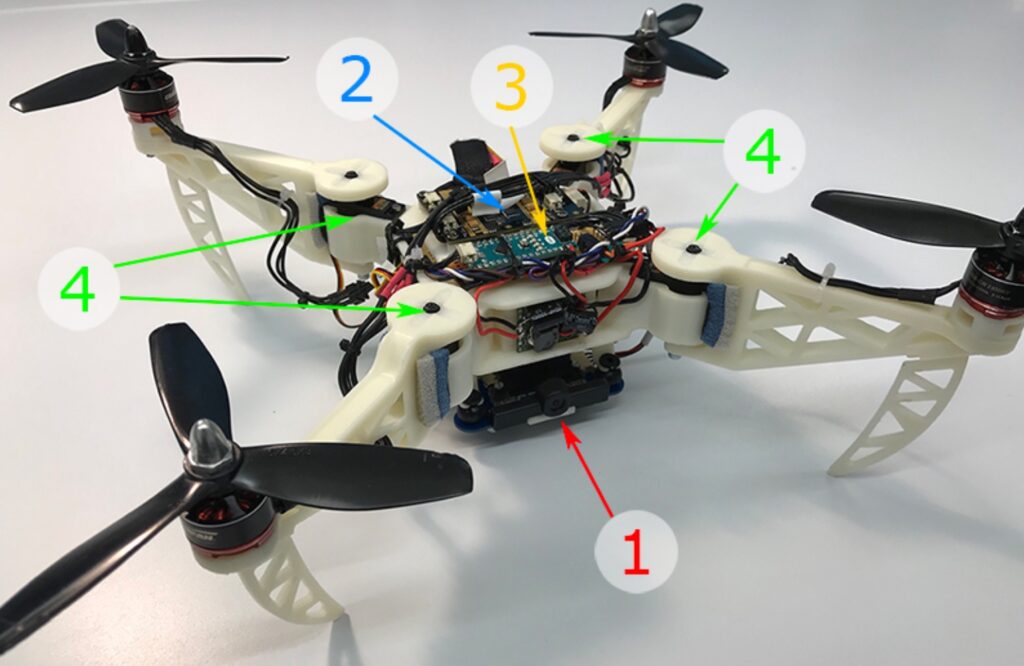
Drones come in many shapes and sizes, but for the most part their motor pods are fixed during flight. Inspired by the way birds can fold their wings, researchers from the University of Zurich and EPFL have come up with a quadcopter capable of changing motor orientation dynamically in mid-air. This allows the nominally X-shaped drone to fold itself into tight spaces, and even configure itself for optimal handling.

Flight control is handled by an advanced Snapdragon quad-core computer, while the servos that actuate the motor arms are controlled using an Arduino Nano. 

An interview about the project is available on IEEE Spectrum, while the Foldable Drone’s research paper, along with several more videos, can be found here.

Keep track your weekly tasks with Arduino and arcade buttons

All of us have daily tasks we need to perform, but what if you often forget whether you’ve done something, or simply need to give your child a little extra motivation? One great way would be Simon Prickett’s Arduino Task Tracker, inspired by Simone Giertz’s Every Day Calendar. 

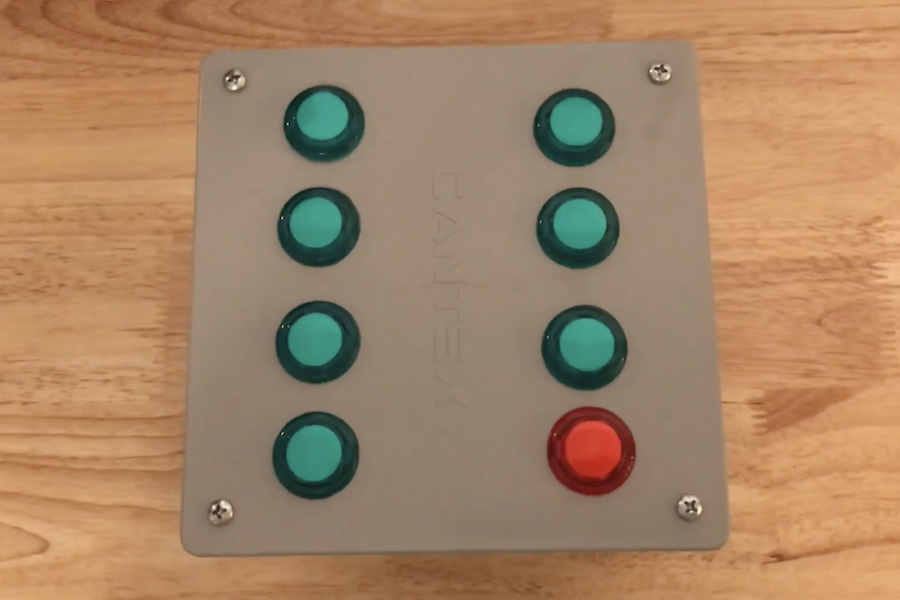
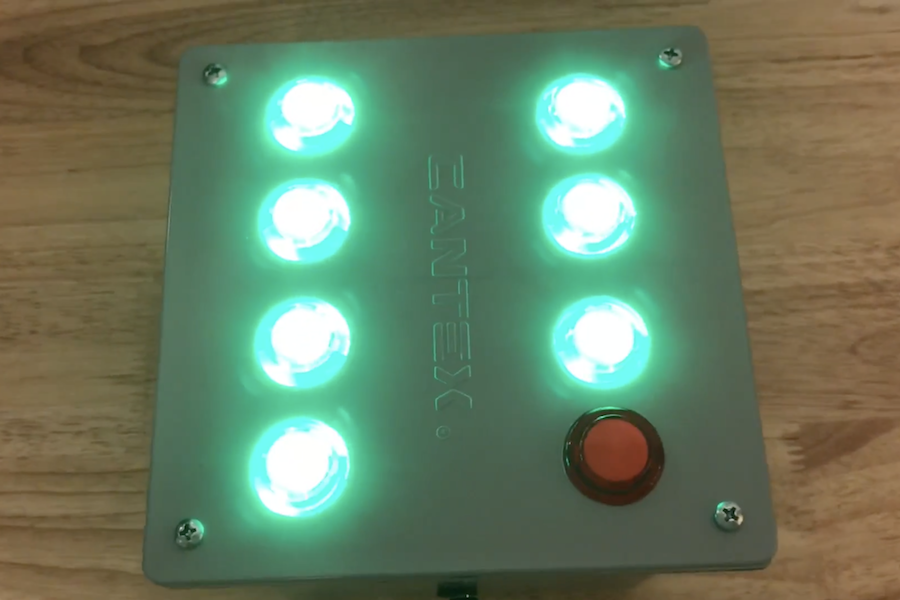
Prickett’s clean-looking device is built into an electrical junction box, which holds the guts, including an Arduino Uno inside. It also exposes eight arcade-style LED buttons on top.

After you, or in this case Prickett’s son, complete a chore, press one of the seven green buttons. Once they are all lit, the Arduino Task Tracker produces a “victory roll” sequence. The eighth red button is then used to start the week over again. 

Sound like something you’d like to recreate? Code and more info for the project can be found GitHub.

Arduino Mega is the brains of this ant-like hexapod

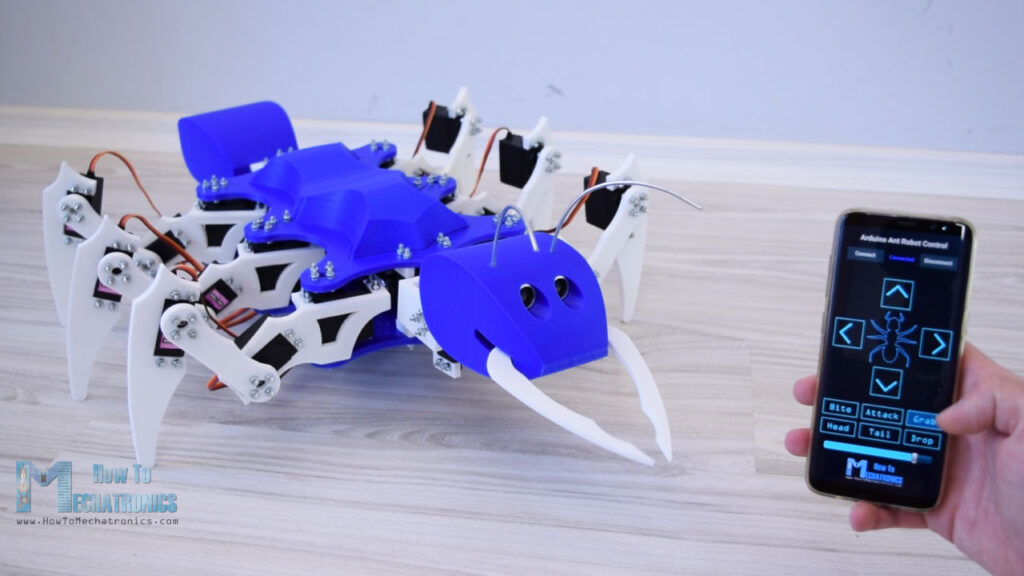
Six-legged robots are nothing new, but if you’d like inspiration for your own, it would be hard to beat this 22 servo-driven, 3D-printed hexapod from Dejan at How To Mechatronics. 

The ant-inspired device features three metal geared servos per leg, as well as a pair to move the heat, another for the tail, and a micro servo to activate the mandibles.

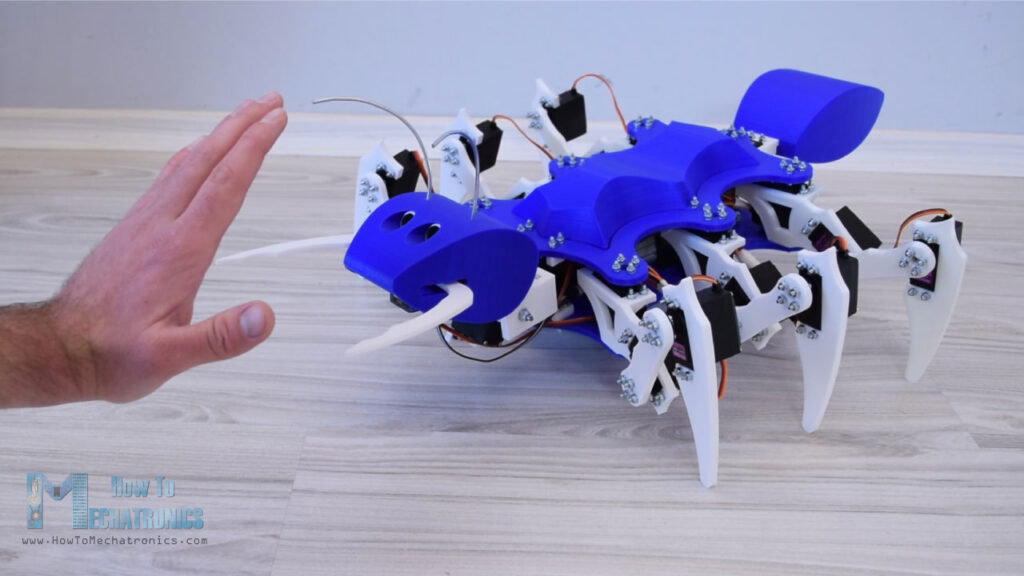
To control this large number of servos, Dejan turned to the Arduino Mega, along with a custom Android app and Bluetooth link for the user interface. While most movements are activated by the user, it does have a single ultrasonic sensor buried in its head as “eyes.” This allows it to lean backwards when approached by an unknown object or hand, then strike with its mandibles if the aggressor continues its advance. 

As the name suggests, the hexapod has six legs but in addition to that, it also has a tail or abdomen, a head, antennas, mandibles and even functional eyes. All of this, makes the hexapod look like an ant, so therefore we can also call it an Arduino Ant Robot.

For controlling the robot I made a custom-built Android application. The app has four buttons through which we can command the robot to move forward or backwards, as well as turn left or right. Along with these main functions, the robot can also move its head and tail, as well as it can bite, grab and drop things and even attack.

You can see it in action and being assembled in the video below, and build files are available here.

Musical lighting pattern changes based on automatic analysis

LED strips reacting to sound is nothing new; however, Paul Shulman’s setup does things a bit differently. Instead of responding to the tune’s overall volume, one musical frequency is analyzed and averaged; if the intensity changes sufficiently on that particular frequency, the corresponding lighting effect is also changed. This avoids the problem of analyzing a music source that doesn’t necessarily change with the final output volume.

A SparkFun Spectrum Shield is used for frequency separation. An Arduino handles signal analysis, which sends a change effect command to the lighting controller when needed. There’s also a wireless remote available to adjust the lighting manually. 

This system was designed with the goal of having color-chasing LED effects that automatically sync with a hard music line. The color-chasing effects observed in the video are actually not synchronized to the music, but the changing of effects is. The system works well across many genres of music. This system is unique in that music volume does not matter. Many commercial implementations control lighting effects based off of overall volume intensity. This is problematic, as many people do not control final music volume with the source of the music (i.e. leaving your PC volume constant and controlling speaker volume instead.

An additional feature of this system is that it contains a wireless remote and the ability to control the lights independent of the music. This allows for rapid light patterns at parties, and soothing ambient lighting at all other times.

Code for the project is available in Shulman’s write-up, and the results can be seen in the demo video below. 

There’s no need to buy an electric screwdriver, just 3D print your own!

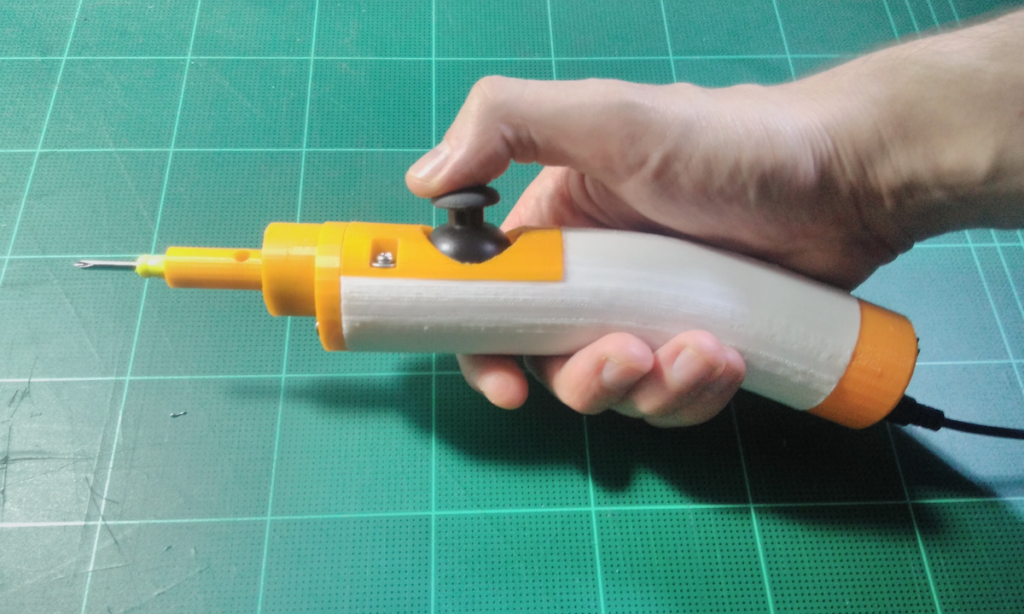
What do you do when you need to attach 400-500 screws for an upcoming project? If you’re “Progress Thailand” you simply create one yourself using a 9g micro servo modded for continuous rotation, an Arduino Nano, and some 3D printing!

The build uses a small thumb joystick for proportional control, and can accommodate a small hand driver in addition to a bit by itself. Impressively, a functional prototype of the tool was produced in a single day, with the final(?) version appearing a couple of days later. 

Hand and power tools are cheap, reliable, and easily accessible. But their production is still done in large centralized factories. 3D printing technology and cheap, open source electronics continue to improve bringing the decentralization of manufacturing one step closer.

We are experimenting with different designs to see how close current 3D printing technology can bring us to production-quality tools you can buy in the store. We’re also experimenting to see what modifications we can make to store-bought tools to enhance and customize their use.

While they note that the project isn’t meant to replace commercial screwdrivers at this point, it looks like a fun project with all the needed files available here to modify and improve things to your specifications!

This one-button device can do many things

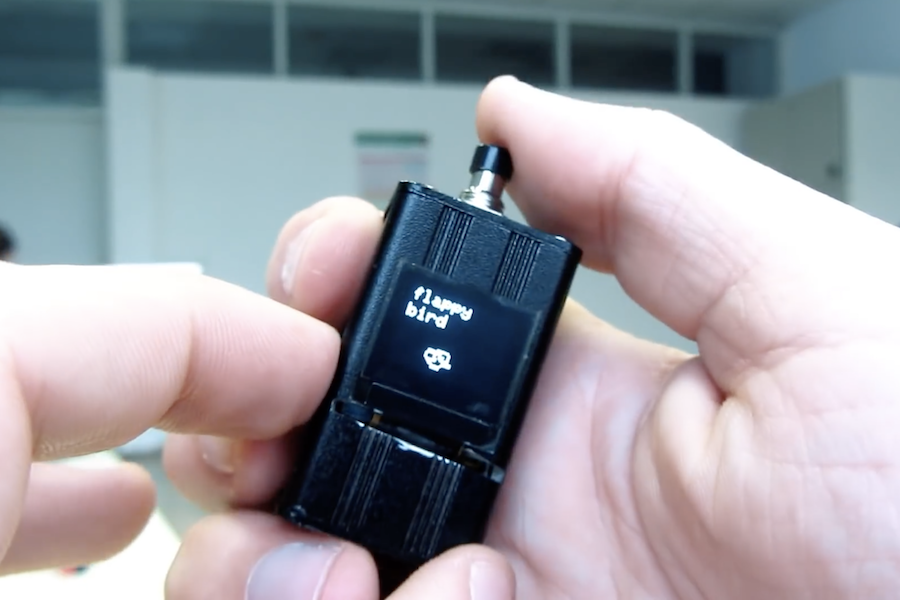
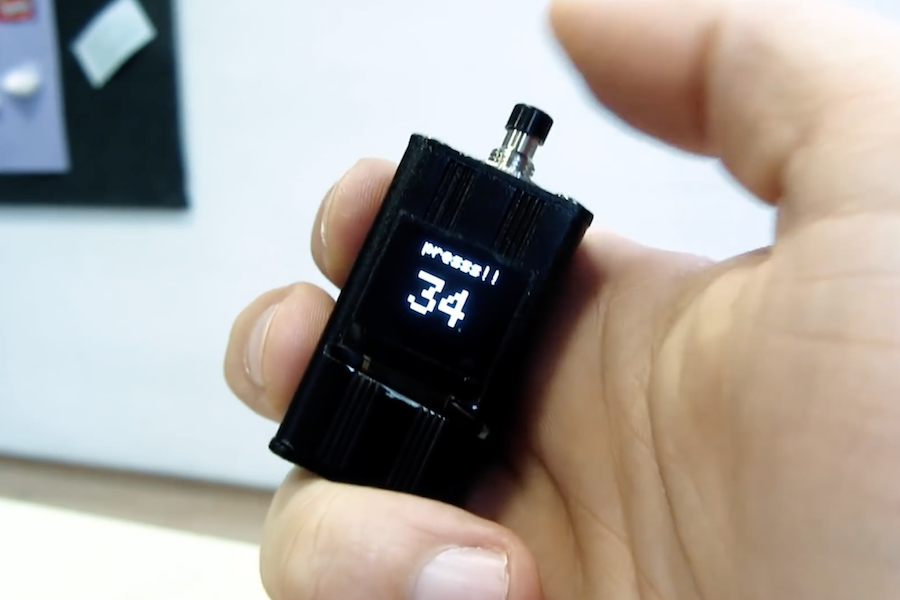
Bigger isn’t always better, as illustrated nicely by this device from YouTuber “Volos Projects.” It’s not only physically quite small, squeezing an Arduino into a 40x25x25mm aluminum enclosure, but uses an interface consisting of a single button (plus a power switch). Data output is handled via a similarly tiny 64×48 pixel OLED display.

Regardless of its minuscule size and binary input method, it can still be utilized for a variety of functions, including as a stopwatch or counter, or even to play Flappy Bird. 

Demonstration and build footage can be seen in the clip below, while a parts list, code, and electrical diagram can be found in the video’s description.

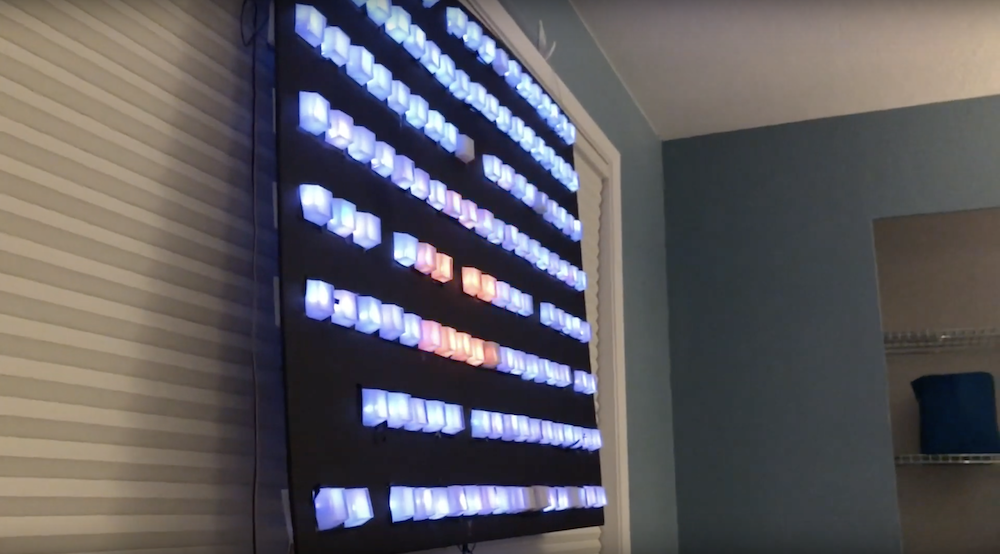
Mood-controlled RGB light wall

In the build shown below, Evan McMahon dares to ask the question, “Have you ever been disappointed by a mood ring?” While that might seem a bit random, the answer is a likely “yes” if you’ve ever worn one with the expectation of any sort of accuracy. Fortunately, he didn’t just pose the question, but also came up with a clever solution, using an array of lights under Arduino control.

For the setup, McMahon uses the camera on his iPhone to take video of his smiling or frowning mug, then analyzes it with the help of Unity running on a computer to translate this into his apparent state of mind.

This info is then sent to an Arduino Uno, which puts the programmable LED lights into dance mode if he’s happy, and makes them shine blue if he’s a bit blue himself!

Arduino Blog 05 Dec 14:44