Posts with «featured» label

Arduino SIM, the new cellular connectivity service for the Arduino IoT Cloud

Arduino SIM: 10MB Free Data for Up to 90 Days!

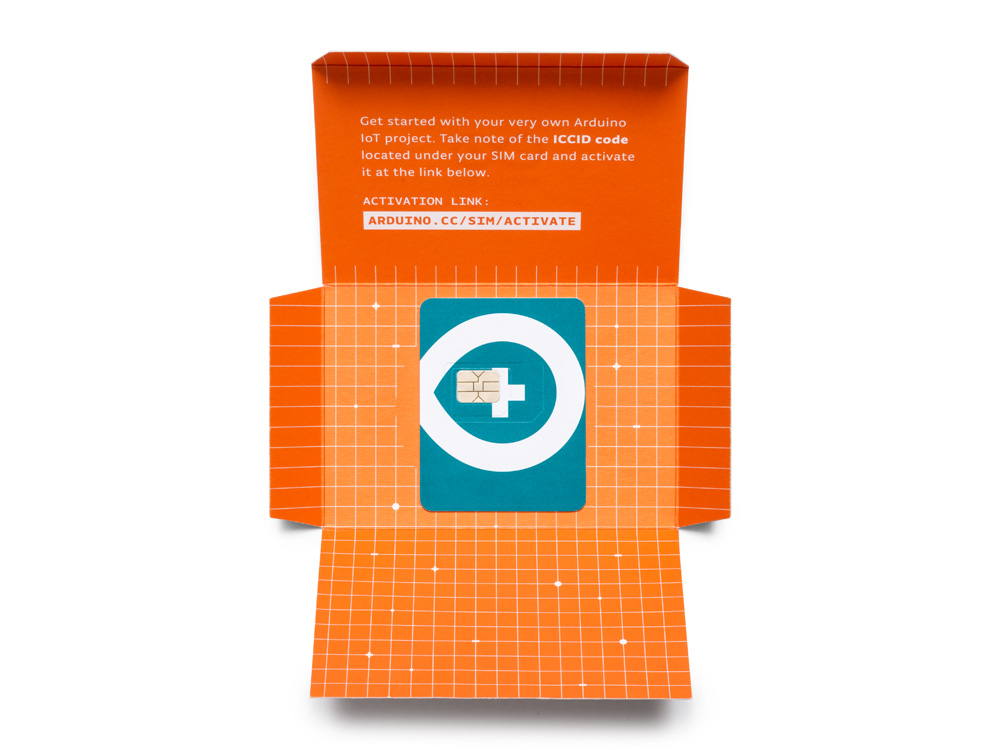
The new Arduino SIM offers the simplest path to cellular IoT device development in an environment familiar to millions. The cellular service, provided by Arm Pelion Connectivity Management, has a global roaming profile; meaning a single Arduino SIM can be used in over 100 countries worldwide with one simple data plan.

The Plan

  • Arduino SIM comes with 10 MB of data free for the first days 90 days,
  • One simple subscription at 5 MB for $1.50 USD per month*.
  • Global roaming profile – enjoy the same amount of data traffic for the same price wherever you are operating the device around the world.
  • Cellular connectivity to the Arduino IoT Cloud – monitor and control your devices anytime, anywhere.
  • Ideal for connected devices on the go or in areas without reliable WiFi.

*The monthly Arduino SIM plan is currently only available to U.S. residents

By partnering with Arm Pelion Connectivity Management, the cellular service has a solid foundation for users needing to scale form a single to large numbers of devices in the future.

At launch, the Arduino SIM will allow users to send data into the Arduino IoT Cloud, while later in the year they will also be able to use the Arduino SIM to connect to the Internet via a combination of webhooks and APIs.

Arduino SIM is initially rolling out with support for the Arduino MKR GSM 1400 (3G with 2G fallback) – a 32-bit Arduino board supporting TLS and X.509 certificate-based authentication through an on-board secure element and crypto-accelerator. Arduino IoT Cloud makes it possible for anyone to connect to these boards securely without any coding required, but they are still programmable using open-source libraries and the traditional Arduino IDE.  
Now available to pre-order from the Arduino U.S. Store!

Geometric Nixie tube clock and environmental display

Creators keep coming up with new clock designs, and while you might think that every new possibility has been exhausted, Christine Thompson has proved this assumption wrong once again with her “VFD Trilateral Clock.“

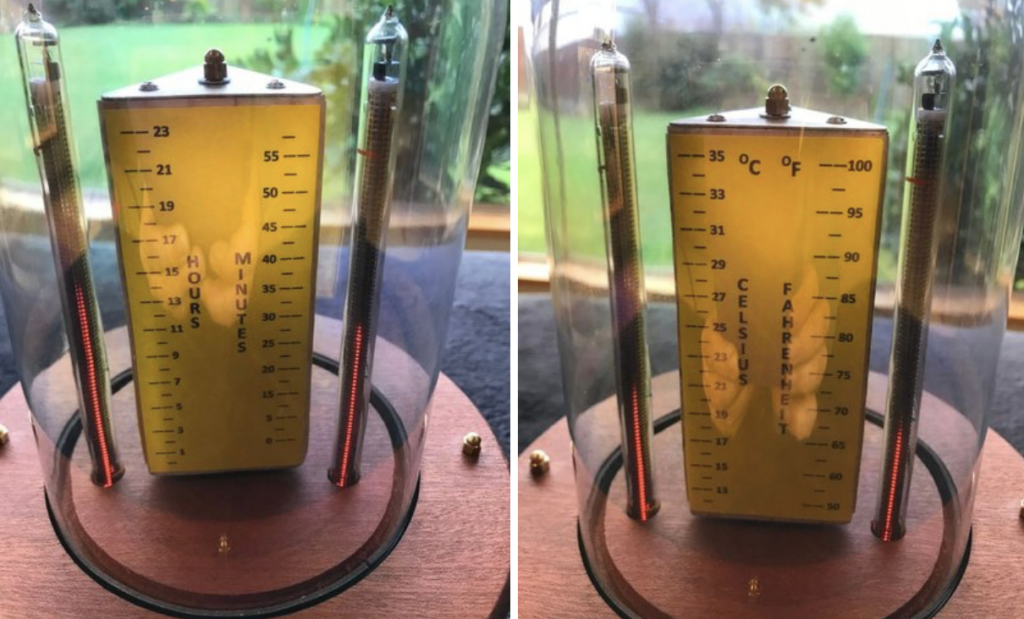
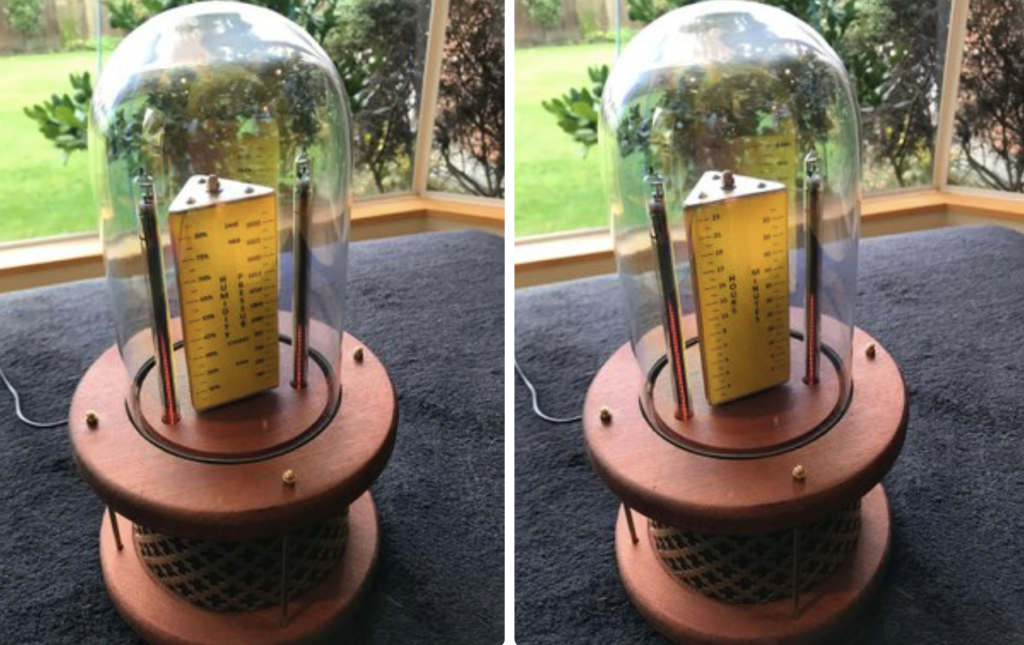
This Arduino Uno-powered device employs a stepper motor to rotate a triangular prism shape with scales for hours and minutes on one side, temperature in Celsius and Fahrenheit on the other, and humidity and pressure on the third surface.

The geometric scale travels in 120-degree steps, causing each face to line up with a pair of IN-13 Nixie tubes on either side. These linear tubes are then used to indicate time and environmental conditions in a beautiful bell jar display, as seen at around 3:30 in the video below.

While waiting for the delivery of parts for another project I decided to push ahead with this project. At its heart is two IN-13M Nixie tubes. These tubes are designed to provide a linear scale between maximum and minimum points using an illuminated column. The project uses two of these IN-13M, three wire Nixie tubes to show, time (Hours and Minutes), temperature (Celsius and Fahrenheit), Humidity (percentage), and Pressure (millibars).

At this point I would like to thank Dr. Scott M. Baker for his great web site, which provided me with all the information I needed to get these Nixie tubes to work. In particular the Current Regulator as displayed and detailed on his web site.

The project uses a BME280 sensor to determine the temperature, pressure and humidity and RTC clock to monitor time. As the system needs to display six different values it was necessary to construct a rotating central display which showed these values against six scales. In order to achieve this an equilateral triangle of wood was fashioned, each side showing two sets of values. A stepper motor was mounted under the top platform and this motor rotates through 120 degrees in time for the next set of values to be displayed on the two Nixie tubes.

What’s new at Maker Faire Bay Area 2019

It wouldn’t be a Maker Faire Bay Area without some exciting announcements!

A New Nano Family

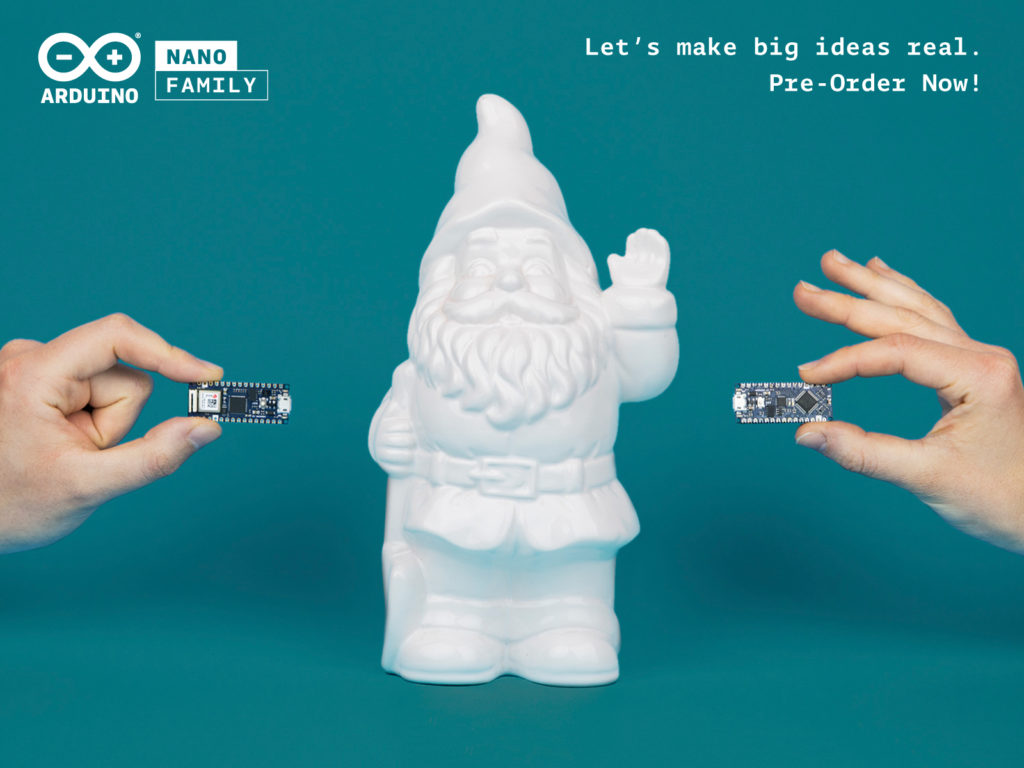
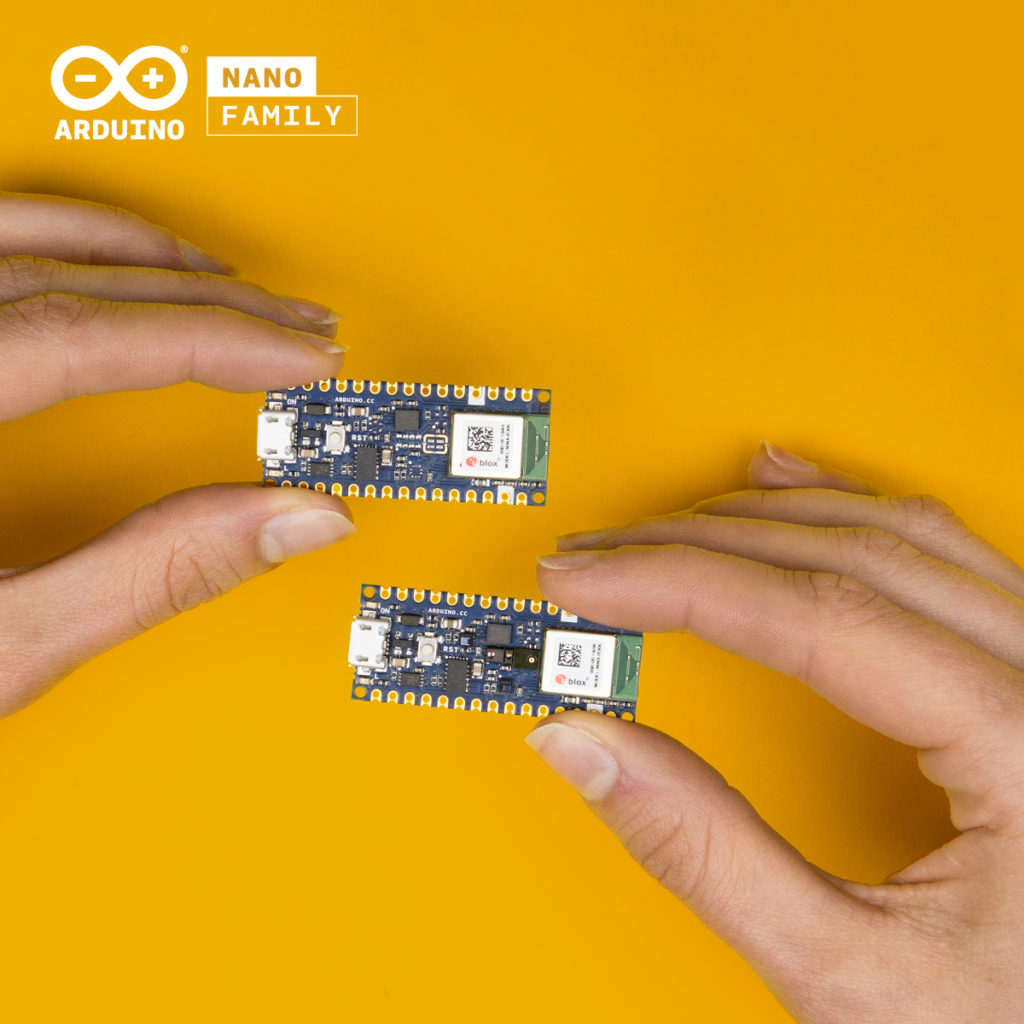
Designed with makers in mind, the new Nano represents a small, powerful and affordable solution for everyday projects. Retaining Arduino’s quality and reliability, they make it easier than ever to turn your project ideas into reality. They are compatible with classic Arduino boards, have low energy consumption, and are equipped with more powerful processors.

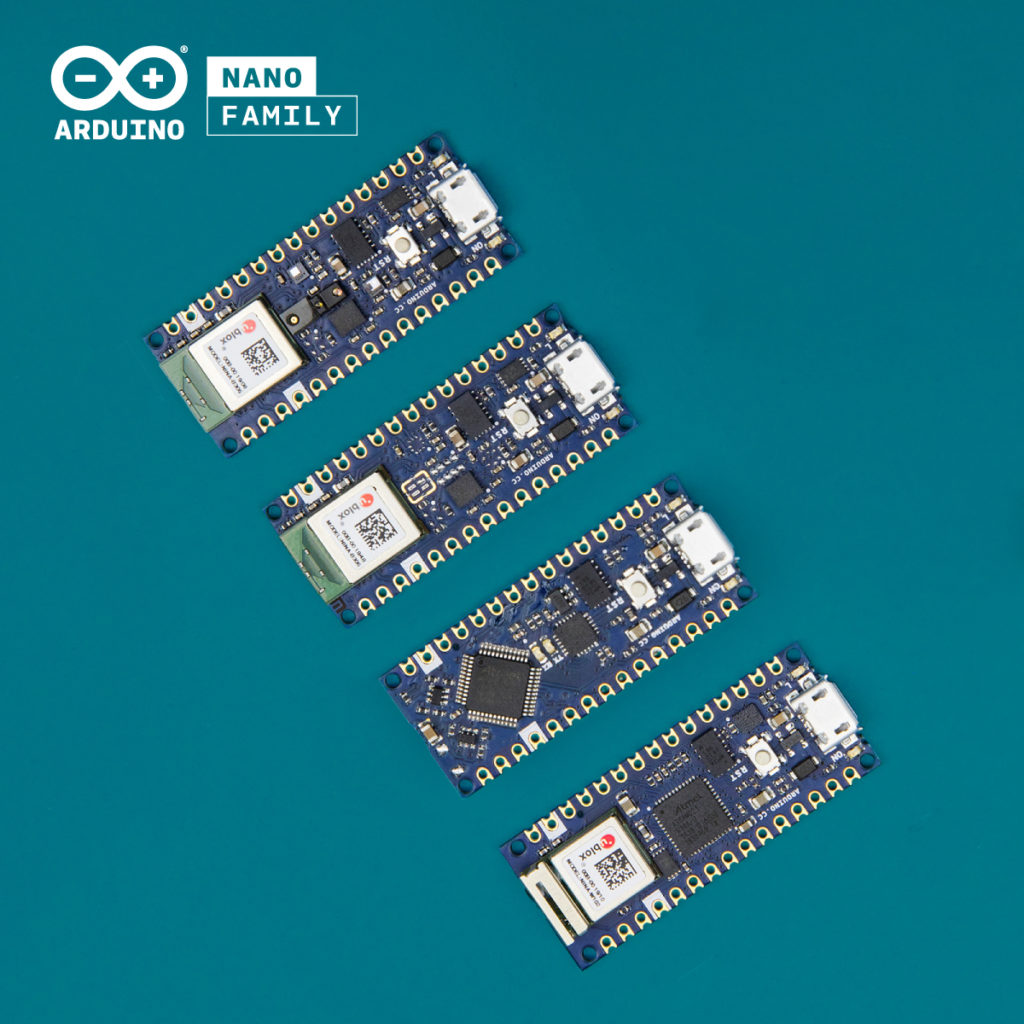
The family is comprised of four different boards:

Arduino Nano Every – perfect for everyday projects. (Pre-order here with headers or here without headers)

Arduino Nano 33 IoT – small, secure, and Internet-connected. (Pre-order here with headers or here without headers)

Arduino Nano 33 BLE – small, low-power, and Bluetooth-connected. (Pre-order here with headers or here without headers)

Arduino Nano BLE Sense – small, low-power, and Bluetooth-connected with a wide range of on-board sensors. (Pre-order here with headers or here without headers)

“The new Nanos are for those millions of makers who love using the Arduino IDE for its simplicity and open source aspect, but just want a great value, small and powerful board they can trust for their compact projects,” commented Massimo Banzi. “With prices from as low as $9.90 for the Nano Every, this family fills that gap in the Arduino range, providing makers with the Arduino quality they deserve for those everyday projects.”

Arduino SIM

Connect the Arduino IoT Cloud to the world around you! 10MB free data for up to 90 days (5MB per month for $1.50 USD thereafter).

Arduino SIM is the new cellular connectivity service for the Arduino IoT Cloud. The SIM aims to offer the simplest path to cellular IoT device development in an environment familiar to millions. The cellular service, provided by Arm Pelion Connectivity Management, has a global roaming profile meaning a single Arduino SIM can be used in over 100 countries worldwide with one simple data plan. Compatible with the MKR GSM 1400 board, it is ideal for connected devices on the go. Arduino SIM is currently only available in the US — more information can be found here.

If you’re coming along to the faire, remember to bring along your MKR GSM 1400 board and we’ll give you a free SIM to try out!

Arduino Certification Program: Arduino Fundamentals

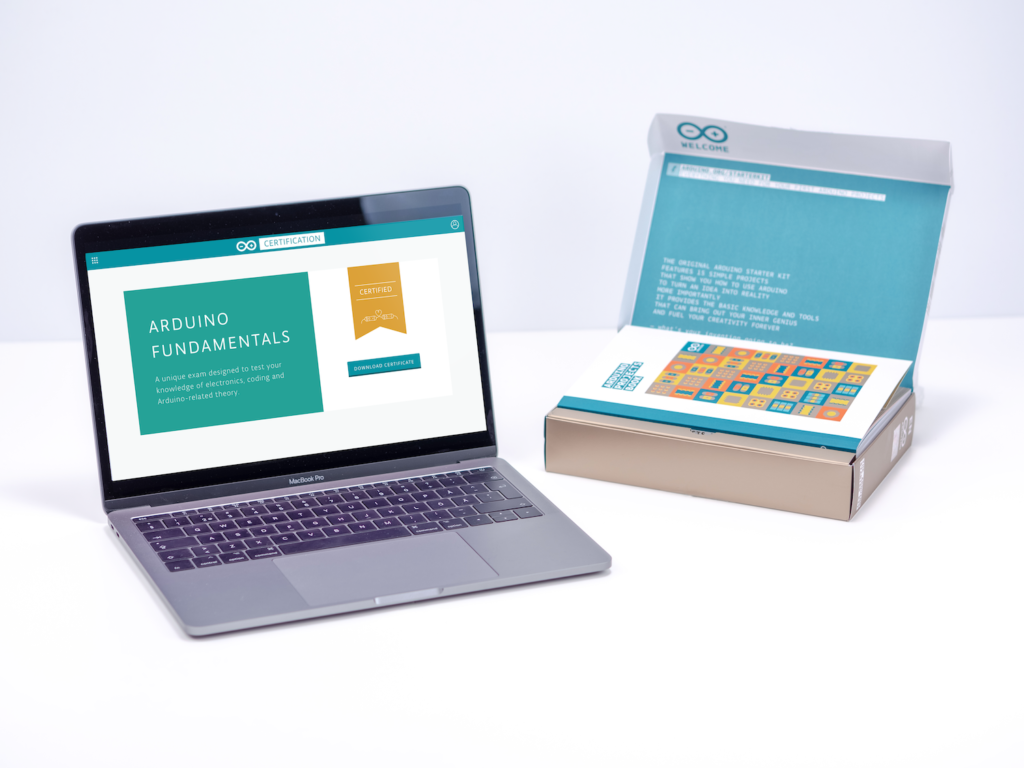
The Arduino Certification Program (ACP) is an Arduino initiative to officially certify Arduino users at different levels and confirm their expertise in key areas. Arduino Fundamentals, representing the first level of the ACP, is now available in the U.S. — access to the exam can be purchased either in combination with the Arduino Starter Kit or as a standalone exam.  

But Wait, There’s More!

If you’ll be in San Mateo, don’t miss Massimo Banzi’s ‘State of Arduino’ talk on Saturday at 2pm PT on the Center Stage, where he will reveal more news and updates!

Arduino IoT Cloud: April’s New Features

In this short article, we are going to provide an overview of all the new and exciting features the team has been working on.

Multi-Value Property Types: The first two types implemented are Location and Color. With Color, you can pick a color from the palette (clicking on it) or just show one in a small window. With Location, you can see a pin on a map and move it; furthermore, you can drag the box and make it bigger

The number of property types is huge, allowing you to pick the one that best suits your needs. All the possible values are taken from the SenML standard.

Shadow Thing: If a device happens to disconnect from the Cloud, as soon as it reconnects, the board will get back its previous property values. For example, if a property controls the status of a lamp, and the lamp property is set to on, the light will be kept on when the device comes back online.

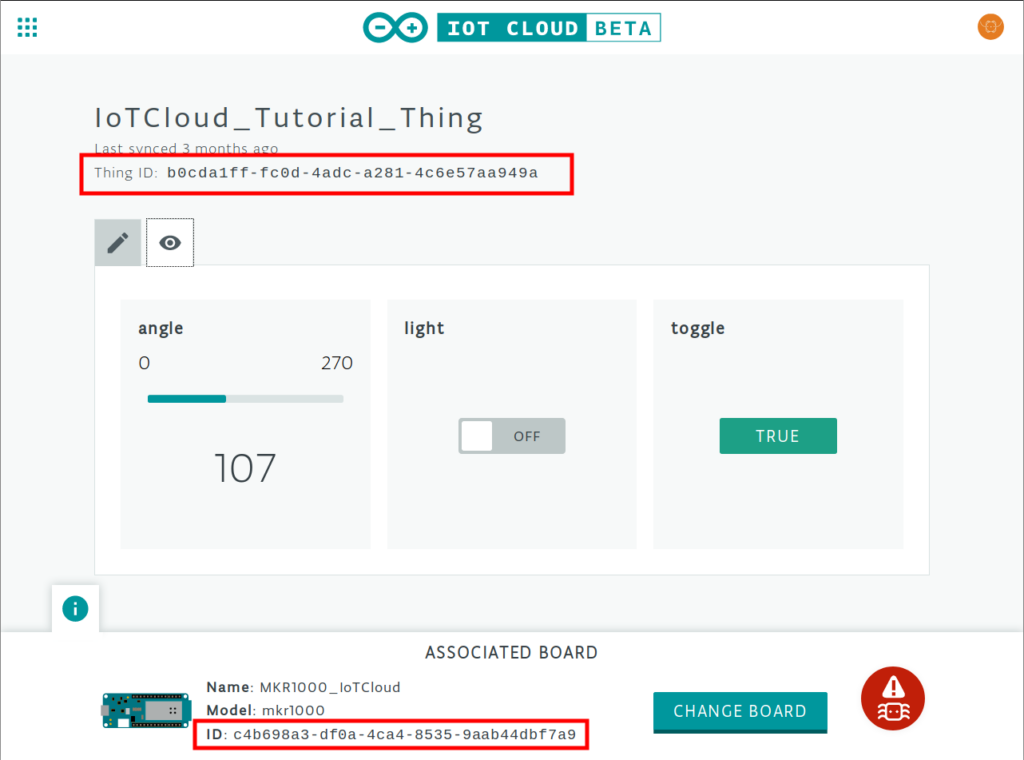
Simply Discover Your Thing ID and Device ID: The panel showing information about its associated board is opened by default, making it easier to read details about the board you are using.

Getting Started Procedure: The procedure is now faster and more reliable, thanks to bug-fixing and a new connection template used in the Cloud_blink sketch.

Join us at Maker Faire Bay Area 2019!

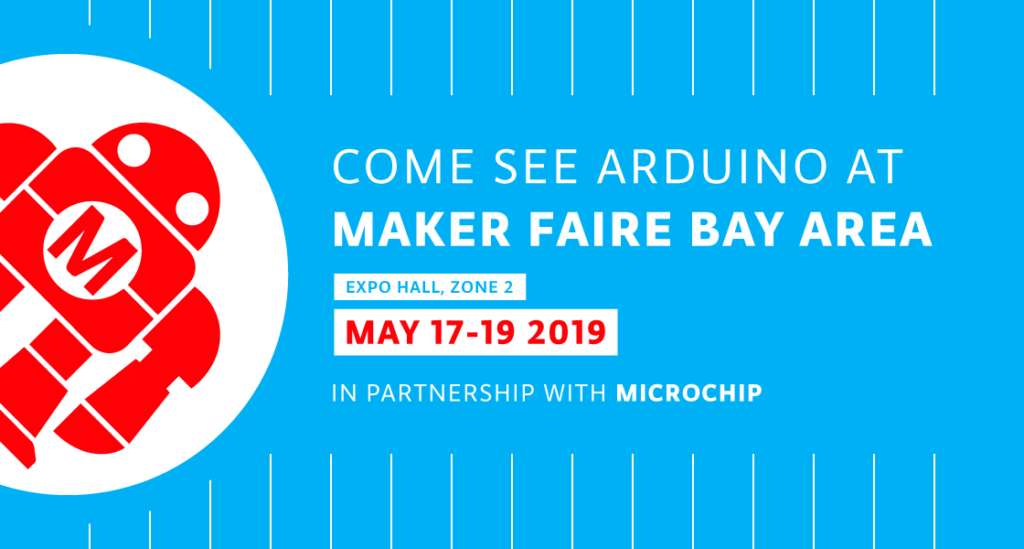
We are just few hours away from Maker Faire Bay Area 2019, where we will be partnering with Microchip in the Expo Hall (Zone 2).

Those heading to San Mateo over the weekend will want to swing by our booth to meet the Arduino team, check out some demos, and explore all our latest hardware. Plus, we’ve got plenty of exciting news in store!

  • Bring your MKR GSM 1400 for an exCELLent surprise. It’s that SIMple! We’ll be running a giveaway for every attendee that shows up to our booth with their board.
  • Magic IoT Sphere: Something small but special is coming! Lift it, question it, shake it — then be amazed. Shake it again and you’re in for a nice Arduino treat. Are you ready to discover the little yet powerful secret behind this magic?

Moreover, you’ll have the opportunity to learn more about Arduino Education‘s recent developments, including CTC Go! and the Science Kit Physics Lab.

Finally, a Maker Faire Bay Area tradition, Massimo will once again take Center Stage (Zone 6) and deliver his “The State of Arduino” talk on Saturday at 2pm PT.

We can’t wait to see you all this weekend! For more information on the program and venue, be sure to visit the Maker Faire Bay Area website. 

Program smart devices with a ‘magic wand’

Consider how interactive devices have come to dominate our lives. Once the purview of a select few in large laboratories, powerful gadgets—supercomputers even—are carried with us everywhere we go in the form of smartphones. And as everything around us becomes increasingly more connected, those that have no interest in the technical aspects of computing will still need to know how to configure the networked things throughout their homes.

As an experiment in interactive design, Austrian researchers Florian Güldenpfennig, Daniel Dudo, and Peter Purgathofer have come up with a ‘Magic Paradigm’ for programming.

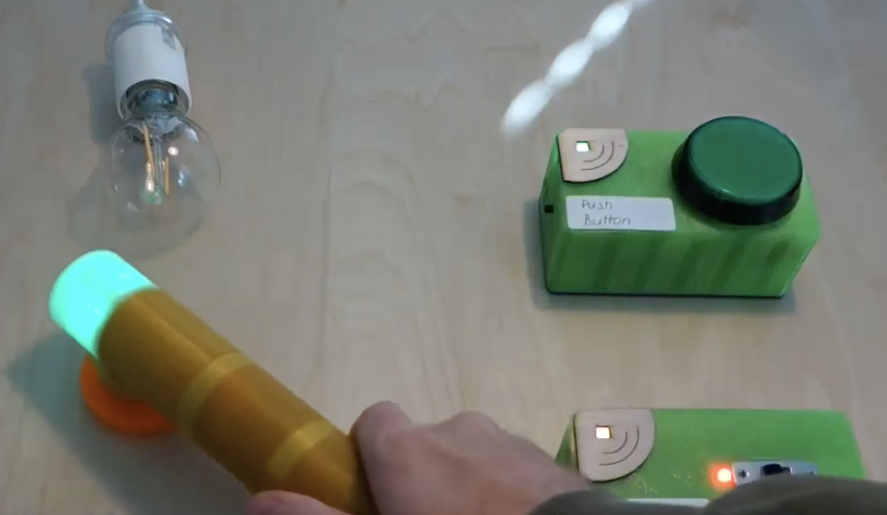
Their project uses a wand with a built-in RFID reader, allowing it to sense which RFID tagged object it’s pointing to and register various sequences. This enables devices to be customized as needed, many of which contain an Arduino Nano as ‘active’ units and an nRF24L01+ module for communication. A central desktop/Arduino setup is also implemented to coordinate system elements.

We are surrounded by an increasing number of smart and networked devices. Today much of this technology is enjoyed by gadget enthusiasts and early adaptors, but in the foreseeable future many people will become dependent on smart devices and Internet of Things (IoT) applications, desired or not. To support people with various levels of computer skills in mastering smart appliances as found, e.g., in smart homes, we propose the ‘magic paradigm’ for programming networked devices. Our work can be regarded as a playful ‘experiment’ towards democratizing IoT technology. It explores how we can program interactive behavior by simple pointing gestures using a tangible ‘magic wand’. While the ‘magic paradigm’ removes barriers in programming by waiving conventional coding, it simultaneously raises questions about complexity: what kind of tasks can be addressed by this kind of ‘tangible programming’, and can people handle it as tasks become complex? We report the design rationale of a prototypical instantiation of the ‘magic paradigm’ including preliminary findings of a first user trial.

This compass reads the correct heading even when tilted

Consider an analog or even digital compass. While you can reasonably expect either to point towards magnetic north when held flat, when you add tilt and/or roll to the equation, things get a bit wonky. That is unless you’re maker “lingib,” who was able to construct a magical compass using an Arduino Uno and an MPU-9250 IMU unit, with an accelerometer/gyro in the same package.

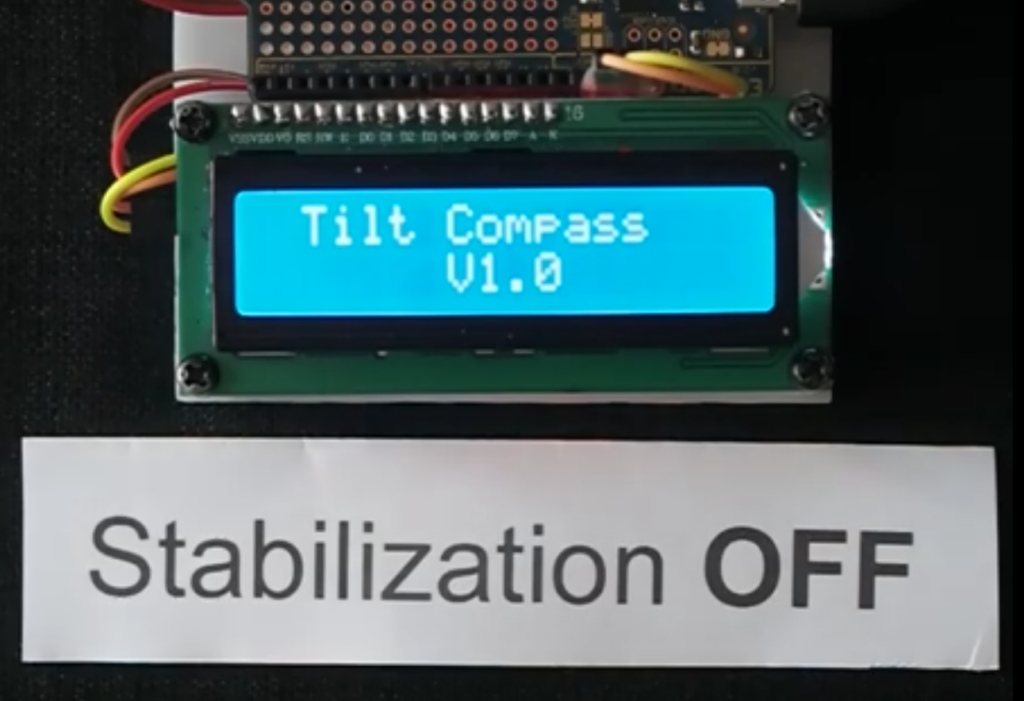
As seen in the video below, when the compass unit is set at an angle, the heading output varies significantly—as much as 100 degrees according to the project write-up. When stabilization is turned on, however, the gyro/accelerometer is used to compensate for magnetometer heading variations—reducing output errors to just a few degrees.

This Instructable explains how to make a tilt compensated compass using an Arduino Uno R3, an LCD display, and an IvenSense MPU-9250 multi-chip-module that contains an MPU-6050 accelerometer / gyro and an AK8963 magnetometer within the same package.

The LCD simultaneously displays the heading, (P)itch, and (R)oll.

The heading accuracy is within 2 degrees depending on how well the compass has been calibrated.

Without tilt compensation the compass headings vary significantly … sometimes by as much as 100 degrees.

When stabilised, the tilted compass headings only vary by one or two degrees … the improvement is amazing.

The tilt stabilization may be disabled by placing a jumper wire between Arduino pins A0 and GND.

Arduino Blog 15 May 14:12

Modular CNC machine made with Arduino

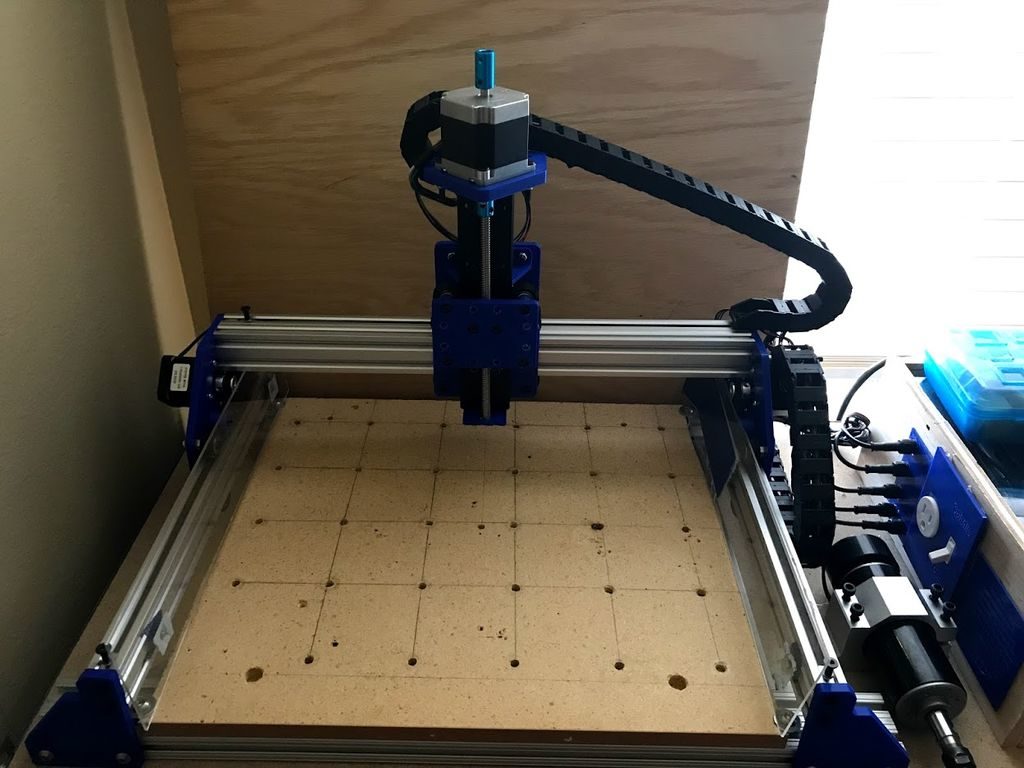
Arduino boards running GRBL software have long been used for CNC machine control, but usually you need to choose between having a router or laser cutter. This project, however, is specifically designed to accommodate both with a modular carriage system.

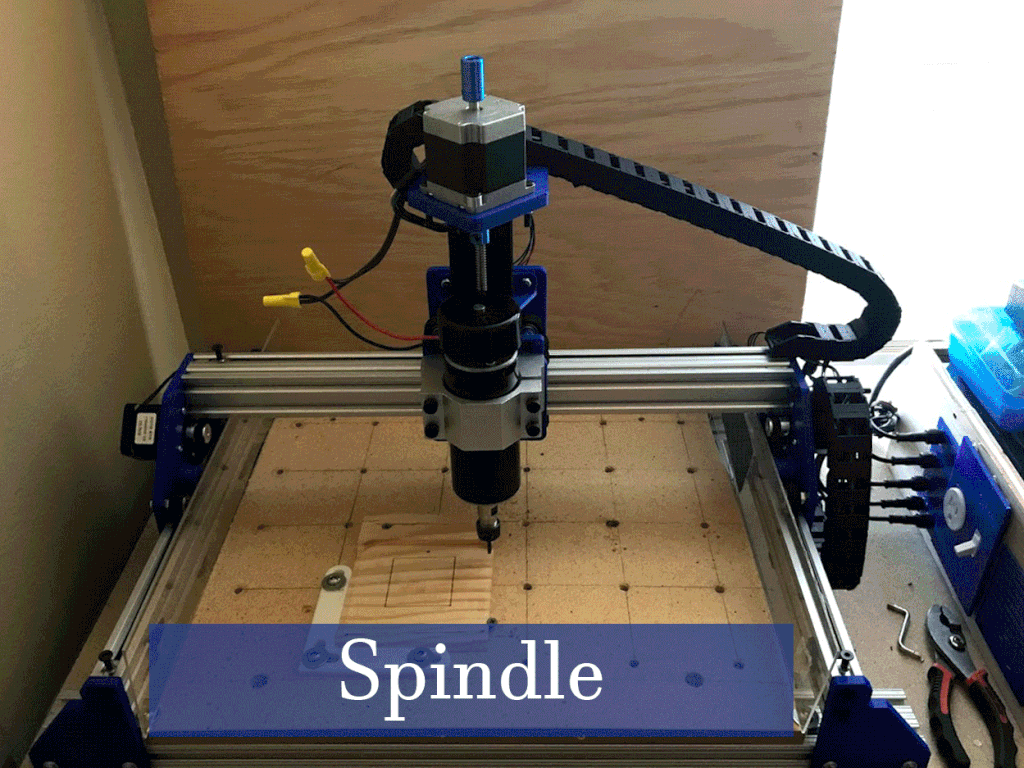
Build-wise, it’s a fairly standard XYZ gantry CNC — with a frame made out of V-slot aluminum extrusions from OpenBuilds cut to length by a circular saw. The X and Y axes are controlled via NEMA 17 stepper motor and belt drive assemblies, while height adjustment is accomplished with a NEMA 23 motor and screw drive.

The electronics are all hidden away in a separate enclosure, including the Arduino Uno/CNC shield that serves as the brains of the operation and a cooling fan to keep the temperature inside in check. 

If you’ve been considering doing this type of build, this looks like a great place to start, and you can see a demos of it in laser and spindle modes in the videos below.

Current limiting Hacky Racer throttle

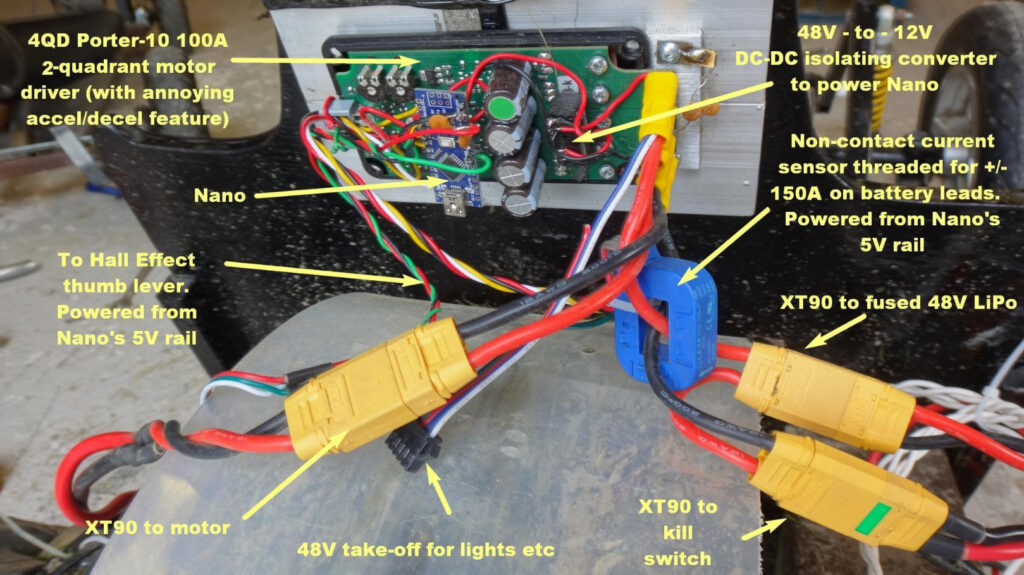
Hacky Racers, an electric vehicle racing series that’s part of the Power Racing Series, encourages drivers to put together their own hacky vehicle. While it looks like a lot of fun, in order to keep things relatively safe, current powering the car is regulated by an inline fuse from the battery, effectively limiting the top power output to the motor—thus keeping speed in check.

This means that while drivers need some control over how fast their motor is running, traditional PWM control where as much power is thrown to the motor as needed to keep it at a certain speed doesn’t really work. Instead, you need a system that controls how much current is provided. It’s a subtle problem, solved here with the addition of an Arduino Nano, which regulates output based on feedback from a current clamp sensor. While it won’t let a racer exceed the current limit, it does allow for maximum output when needed without tripping the fuse!

Those wishing to learn more can read the full write-up here and check out Hackaday’s recent article.

Arduino Blog 15 May 13:57

Washing machine becomes ‘universal’ rotary tool

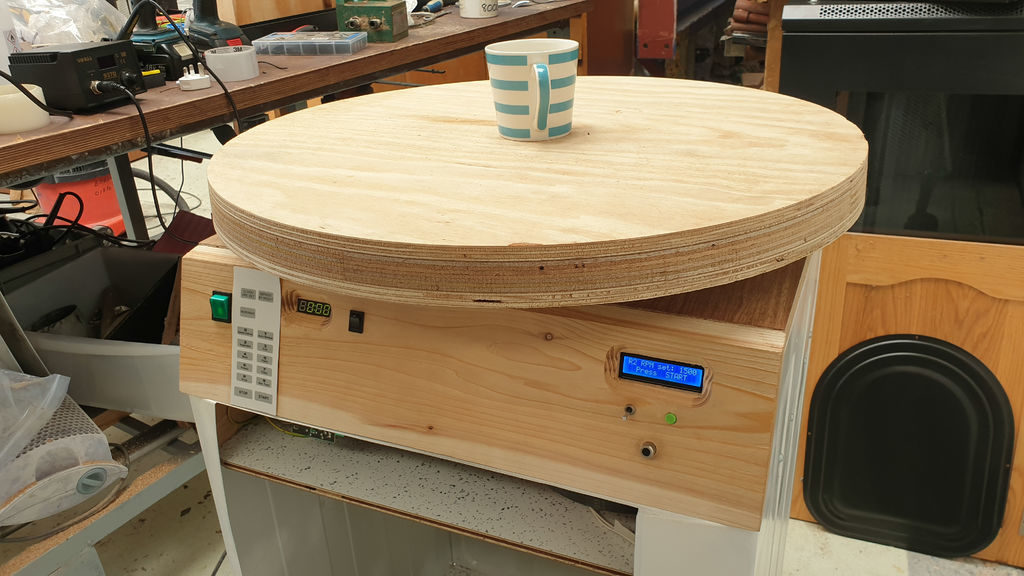
If you have a broken washing machine, you may want to think twice before disposing of it. As Stephen John Saville shows in this multi-use rotary table project, they can provide a wealth of parts, from the actual physical structure/table of the build, to a motor that’s able to run via AC or DC, and various other mechanical components. There’s even an electronic timer salvaged from an old microwave.

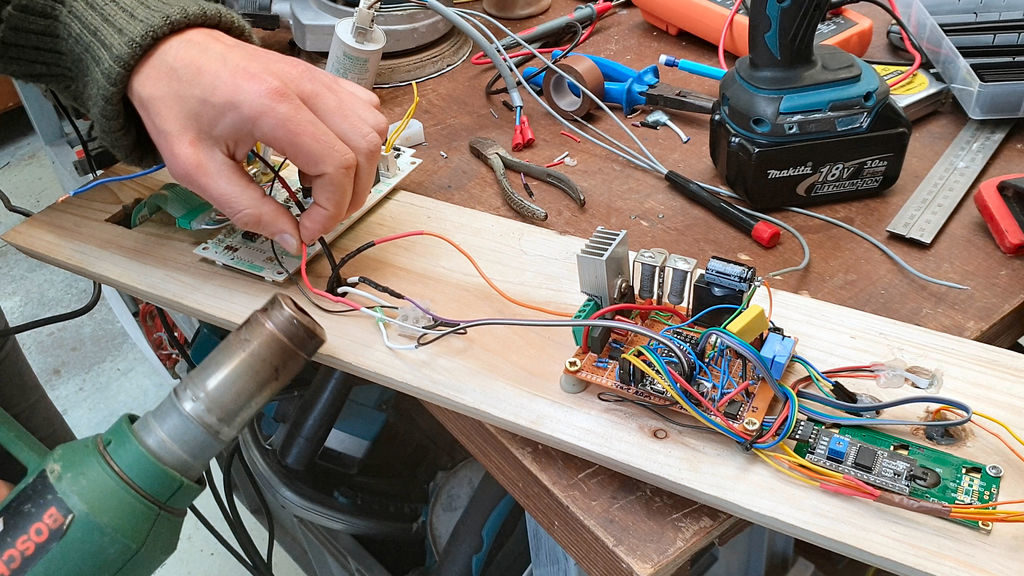
To keep the turntable running at the desired speed, he used an Arduino Nano connected to a triad circuit, along with an LM393 chip and optocoupler to implement closed-loop control. User feedback is shown on a 16×2 LCD screen, updated every two seconds to avoid interfering with speed control functions. 

More info on this clever hack can be found in its well-detailed write-up, and be sure to check out the very entertaining video of what’s involved in such a repurposing feat below! 

Arduino Blog 14 May 14:17