Posts with «featured» label

Augmented office chair provides hands-free drone control
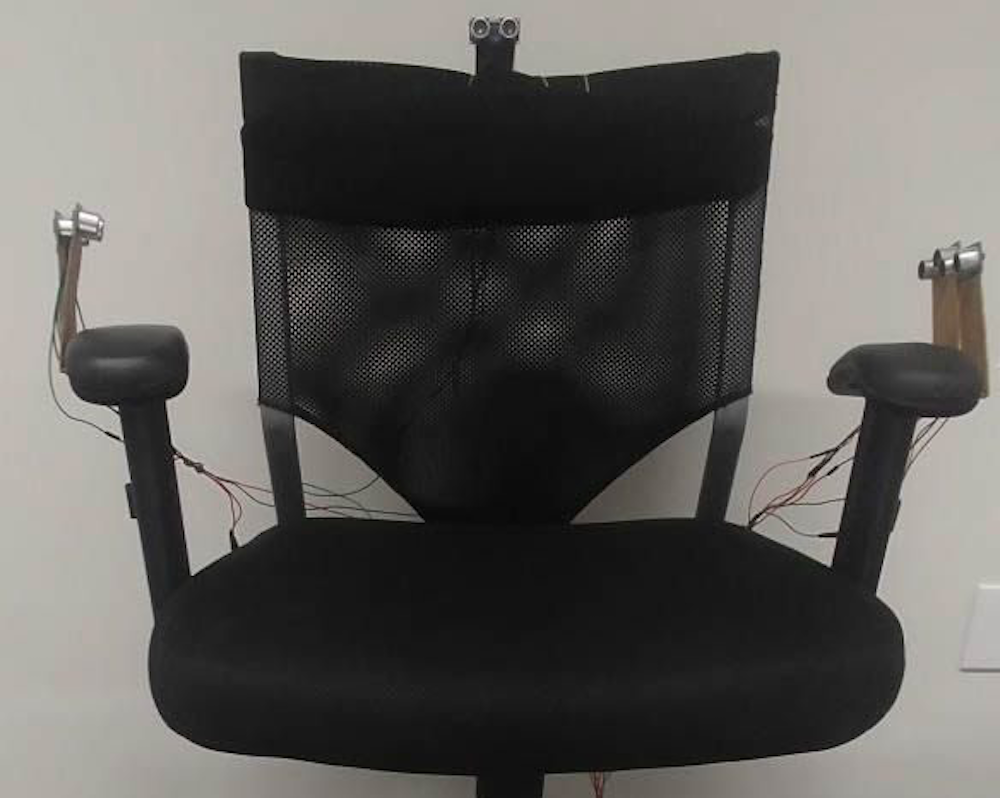
Multi-rotor drones are normally controlled using handheld devices, but what if you wanted to instead operate them with your whole body? Flight Chair, developed by researchers at Simon Fraser University in Canada, allows you to do just that, and is envisioned for use with emergency personnel observing a scene.

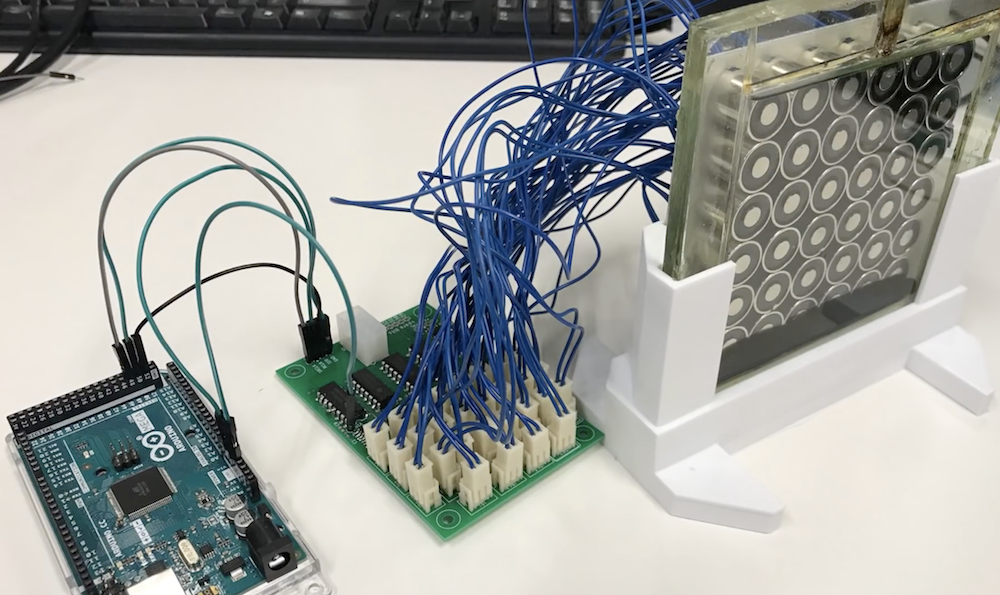
The chair is augmented with ultrasonic sensors to detect when a user leans forward, backward, left, and right, commanding the drone to do the same, while a gyroscopic sensor detects when the chair is swiveled to adjust its heading. 
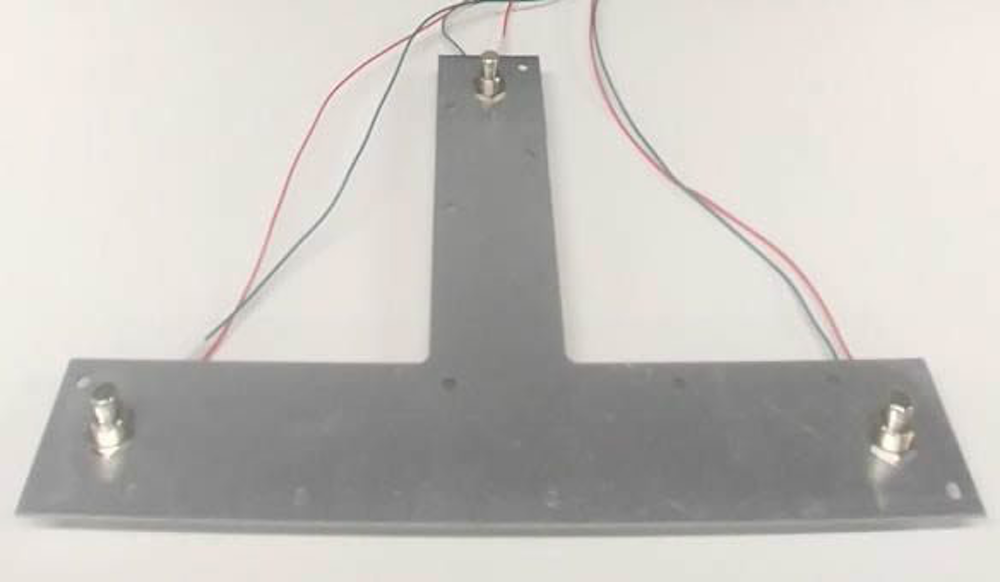
Altitude adjustment is handled by a T-shaped foot panel, leaving one’s hands free to do other tasks. Sensor values are collected by an Arduino Mega, which passes this to a drone server over a USB connection.

In future, emergency services will increasingly use technology to assist emergency service dispatchers and call taker with information during an emergency situation. One example could be the use of drones for surveying an emergency situation and providing contextual knowledge to emergency service call takers and first responders. The challenge is that drones can be difficult for users to maneuver in order to see specific items. In this paper, we explore the idea of a drone being controlled by an emergency call taker using embodied interaction on a tangible chair. The interactive chair, called Flight Chair, allows call takers to perform hands-free control of a drone through body movements on the chair. These include tilting and turning of one’s body.

More details on the team’s prototype design be found in their research paper here. 
RC wheelbarrow racing with James Bruton, Ivan Miranda, and Tom Stanton

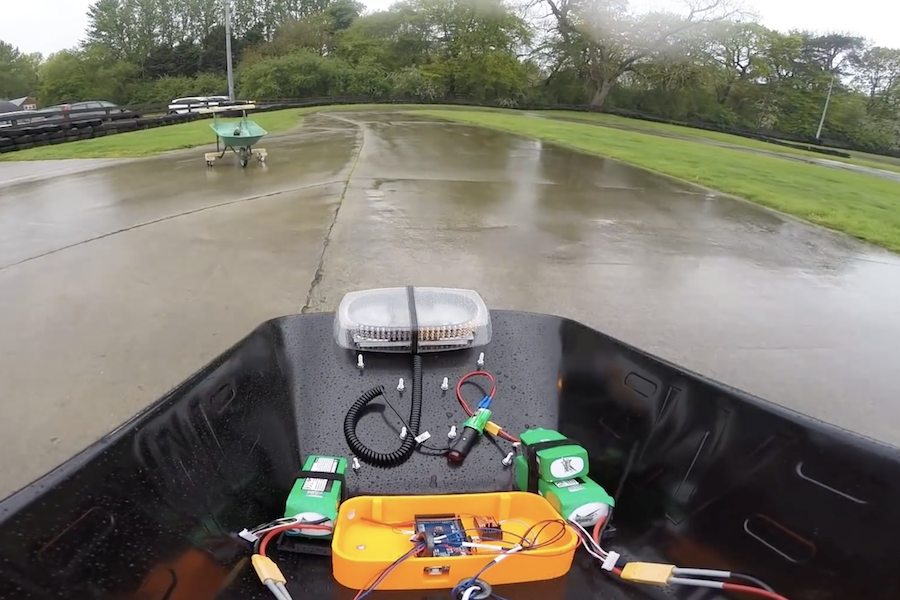
We’ve seen Arduino boards used in a wide variety of situations, but this may be the first time one has been implemented to control an RC wheelbarrow. 

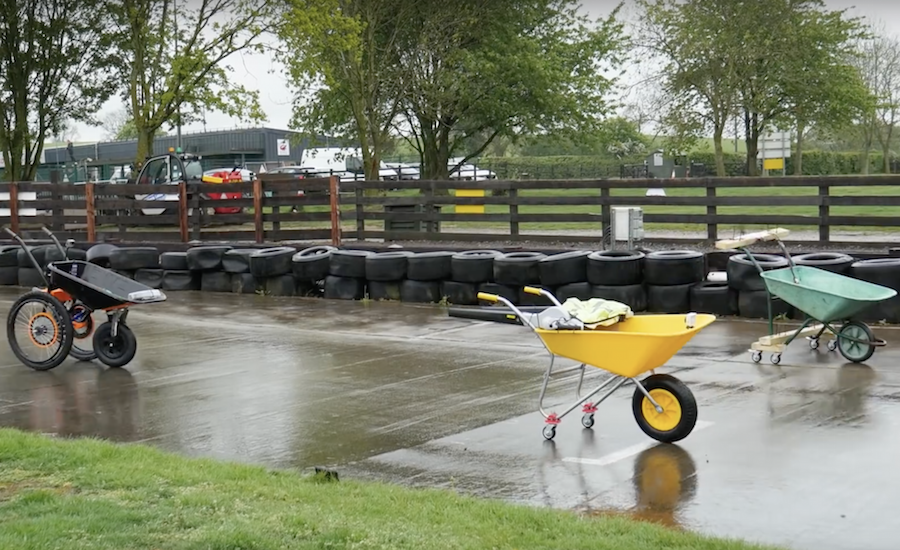
In the video below, YouTubers James Bruton, Tom Stanton, and Ivan Miranda have taken on a ‘barrow racing challenge,’ where each competitor must modify a wheelbarrow for remote racing purposes.

Miranda and Stanton went with air-powered designs, while Bruton instead chose differential steering, adding a pair of wheelchair wheels to the main wheel that he modified to swivel on a caster. Bruton’s user interface is provided by a generic RC transmitter, and an Arduino Mega translates these signals into the proper left/right wheel speeds. 

‘Race’ results are quite entertaining, and include a variety of wheelies, crashes, and even some improvisation to deal with the day’s rainy conditions!


Star Wars-themed Mastermind with an Arduino Mega

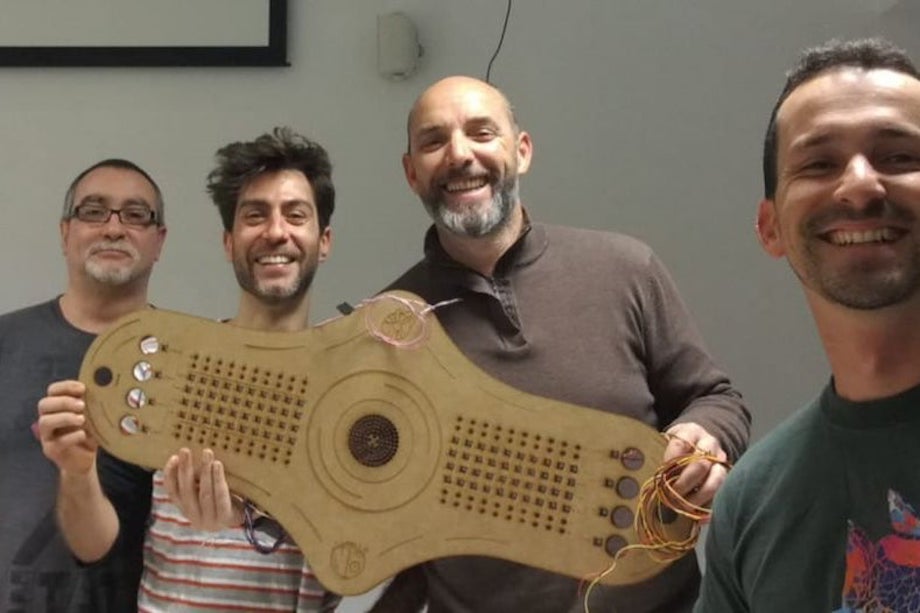
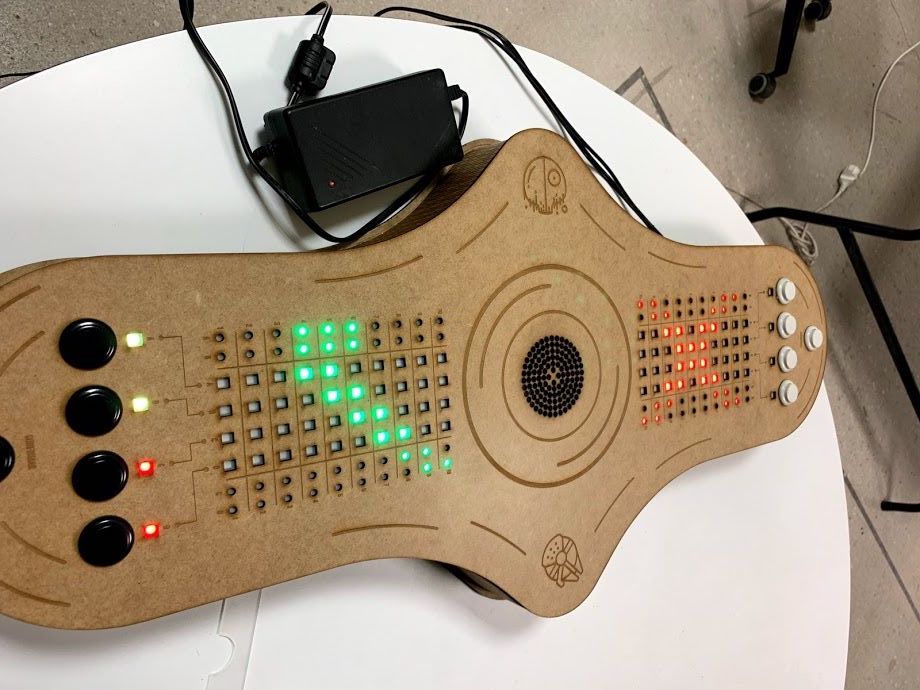
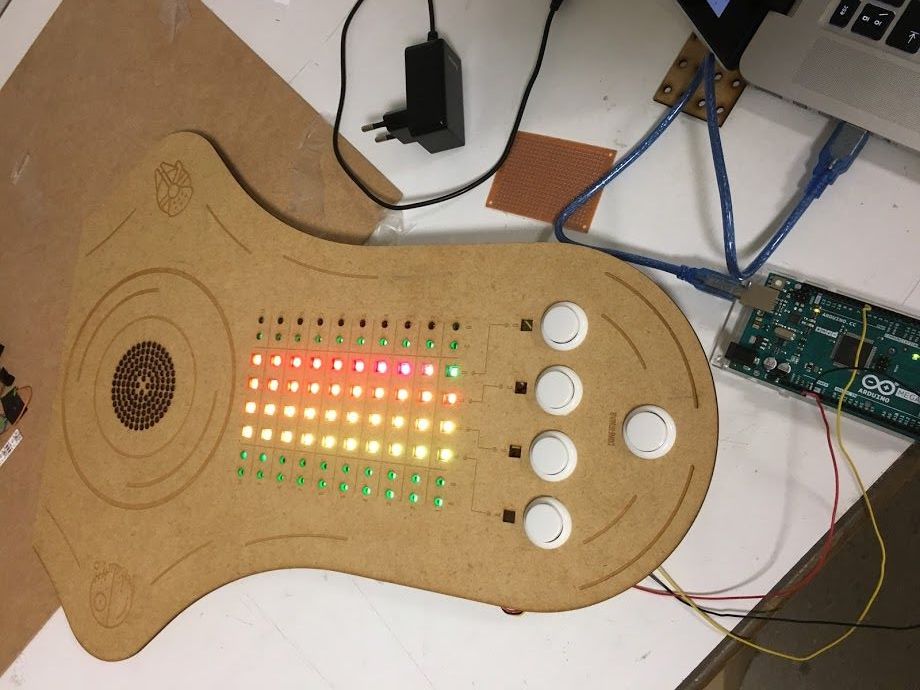
Mastermind is a game where one player attempts to guess a secret combination of colored pegs. It normally requires a second player to act as the judge, giving hints in the form of secondary pegs as to whether the other participant is on the right track. Maker “luisdel” decided to put a new spin on things using an Arduino Mega to display RGB LEDs on a Star Wars-themed play field. This automation allows players to directly compete, rather than taking turns.

In action, each player uses a series of buttons to enter light codes, with 10 tries at guessing the correct combination. No human judge is needed, so it’s a race to see who can unlock this critical sequence first and save—or further subjugate—the galaxy!

These are adverse times for rebellion. Although the Death Star has been destroyed, the Imperial troops are using free hardware and Arduino as a secret weapon.

That is the advantage of free technologies, any person (either good or bad) can use them.

In a hidden base located on the planet Anoat, they are building a 3D printer capable of replicating Imperial Destroyer.

The only solution to defeat the Empire is that a group of rebels commanded by Luke Skycuartielles and Obi-Wan Banzi, defeat the imperial troops and get the key that will give access to the plans to destroy the secret weapon.

This key consists of 4 colors and you have 10 attempts to get it deciphered. There are only four rules:

1. The colors can be repeated

2. A white light indicates that you have hit the right color and position

3. A violet light indicates that you have hit the color but not the position

4. If there is no light you have not guessed the color or the position.

You must hurry since at the other extreme, the evil Darth Ballmer will try to get the key before you. In that case, you will not be able to find out what it is and you will not have access to the plans of the secret weapon. Your mission will have failed.

Little Padawan, may the force accompany you to decipher the key and thus be able to save the galaxy.

Arduino Blog 28 May 14:08

Fetch is a mesmerizing ferrofluid display!

You’ve seen LED matrices, E Ink, CRTs, and likely a variety of other display methods, but chances are you’ve never seen anything like the ferrofluid matrix display by ‘Applied Procrastination.’ 

This student team from the University of Oslo has created a 252-pixel ferrofluid panel, dubbed “Fetch,” manipulating the inky black substance suspended in a saltwater brine with an array of electromagnets.

The video below, however, shows only an early 6×6 prototype powered by an Arduino and motor driver. While certainly not as impressive as the yet-to-be-revealed final result, watching the fluid move via this small matrix and even under ‘manual’ magnet control is still incredible. 

More details on the build—and of course, the large display—is forthcoming, so you may want to subscribe to or bookmark their channel to see what comes next!

Getting to know the new Arduino Nano 33 IoT

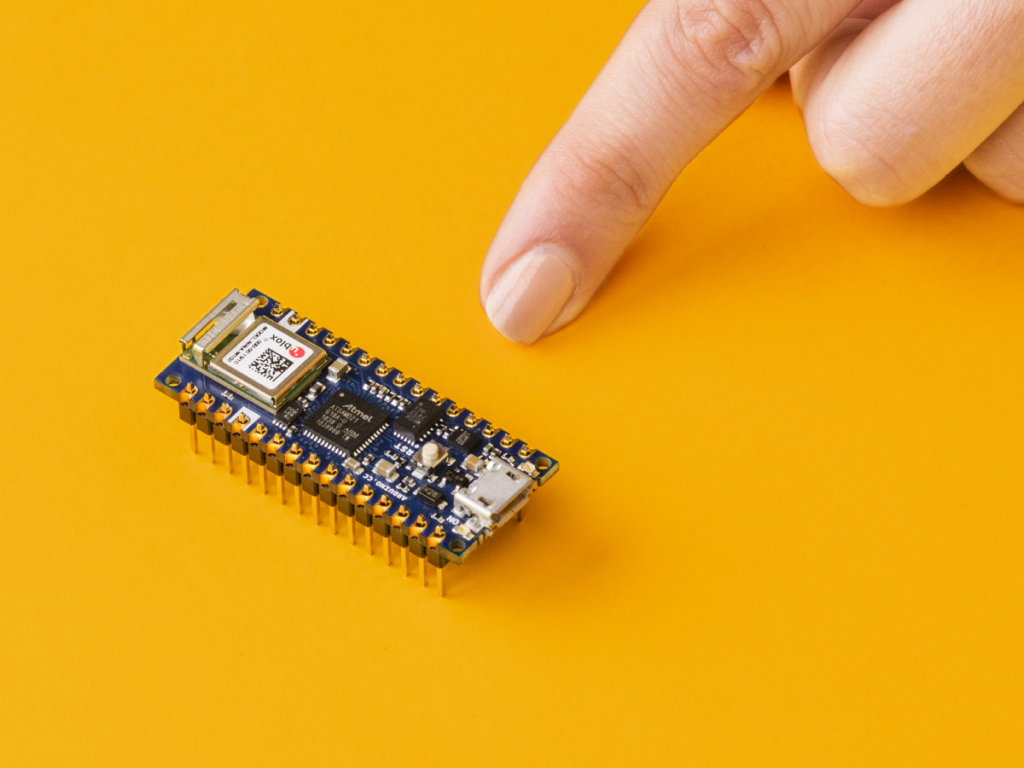
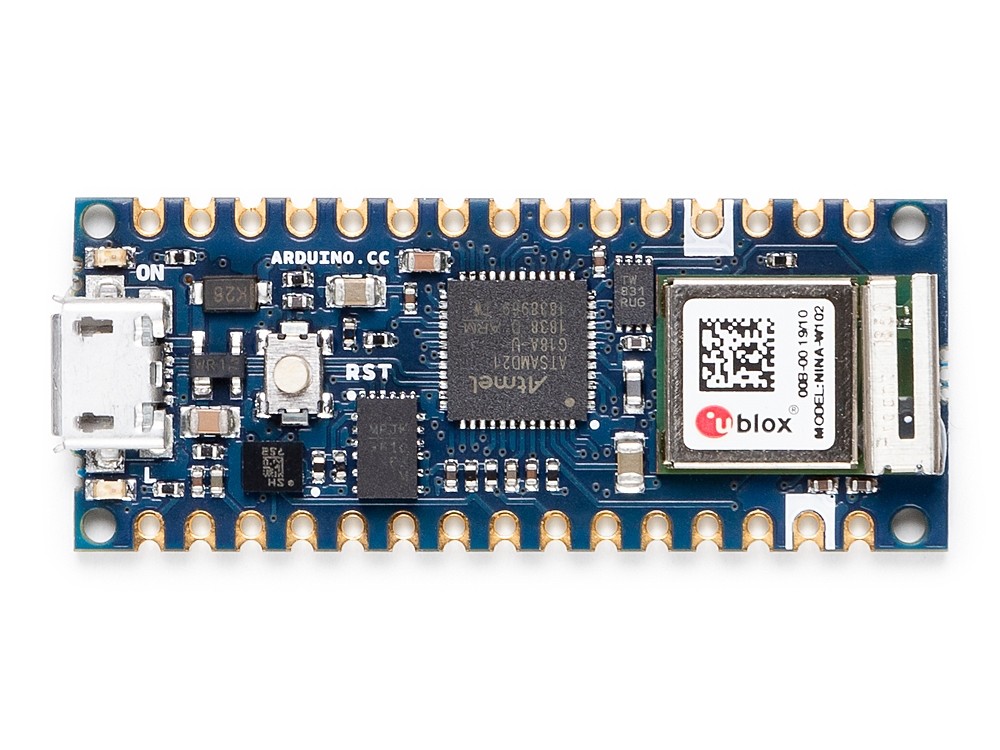
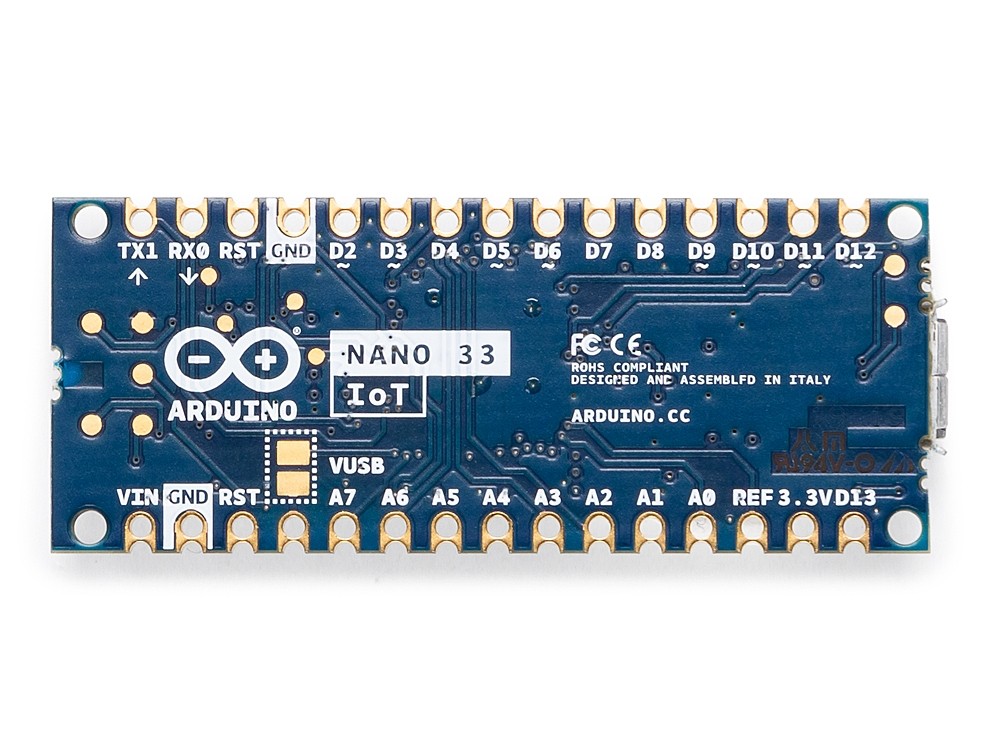
The Nano form factor has been a crowd-pleaser amongst makers for years due to its small footprint and ease of integration into any project. As announced at Maker Faire Bay Area, the Nano 33 IoT is part of the new 3.3V variant of the family, adding a pre-certified ESP32-based WiFi and Bluetooth module that brings sophisticated connectivity to its tiny package. The inclusion of an ECC608A crypto chip provides the security that Arduino users are now used to as opposed to other competing solutions that lack a secure key storage.

Today, we sat down with Dario Pennisi, Arduino hardware and firmware development manager, to learn more about the Nano IoT 33.

What are three key features of this board? How will they impact the experience of our users?

1. Secure WiFi and Bluetooth connectivity with a 6-axis IMU.

2. Pre-certified module with external processor ensures maintaining RF compliance when writing application code versus ESP32 modules where modifying code impacts certification.

3. On-board DC-DC power supply enables the board to be powered up to 21V maintaining high efficiency and offering a lot of current to external devices without overheating. This is a big improvement over other products on the market that have LDO and heat up quite a bit when powered at high voltages.


What are a few applications and why is this board a great option for them?  

1. Add WiFi and Bluetooth connectivity with strong security to all the existing Arduino Nano applications.

2. On-board IMU can be used to wirelessly monitor vibration, orientation, and rotational speed of small objects thanks to its lightweight and compact form factor.

3. Run directly from high voltages from lead or multi-cell Lithium-ion batteries providing 3.3V power supply to peripherals at significant output current.

Which Arduino board is the most similar to the Nano 33?

The Nano 33 IoT is essentially a MKR WiFi 1010, but sacrifices a battery charger and shield compatibility in favor of a miniaturized footprint and lower cost. The Nano 33 IoT is built around the ESP32, which is primarily aimed at WiFi but supports Bluetooth as well, although with higher power consumption than the Nano 33 BLE.

Little Flash bumps around on supercapacitor power

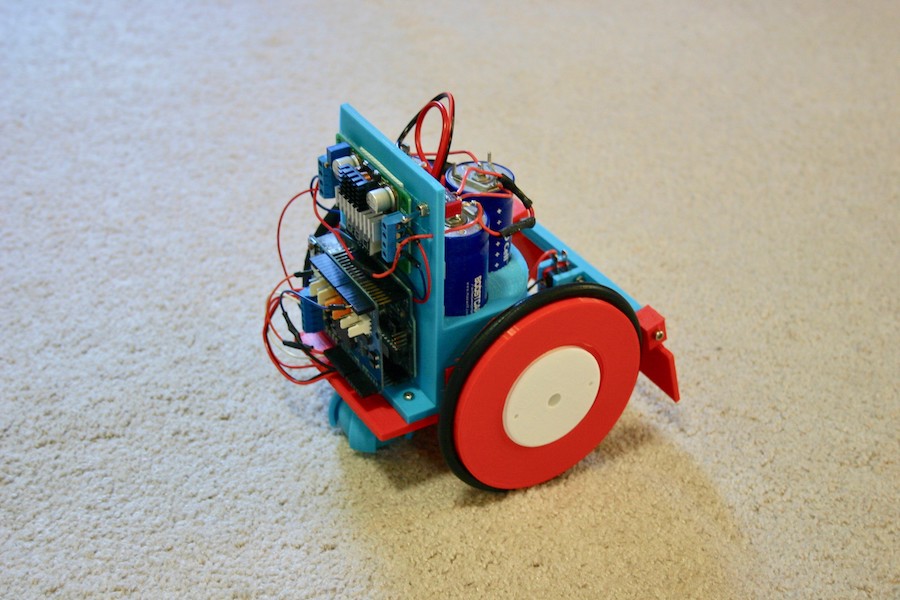
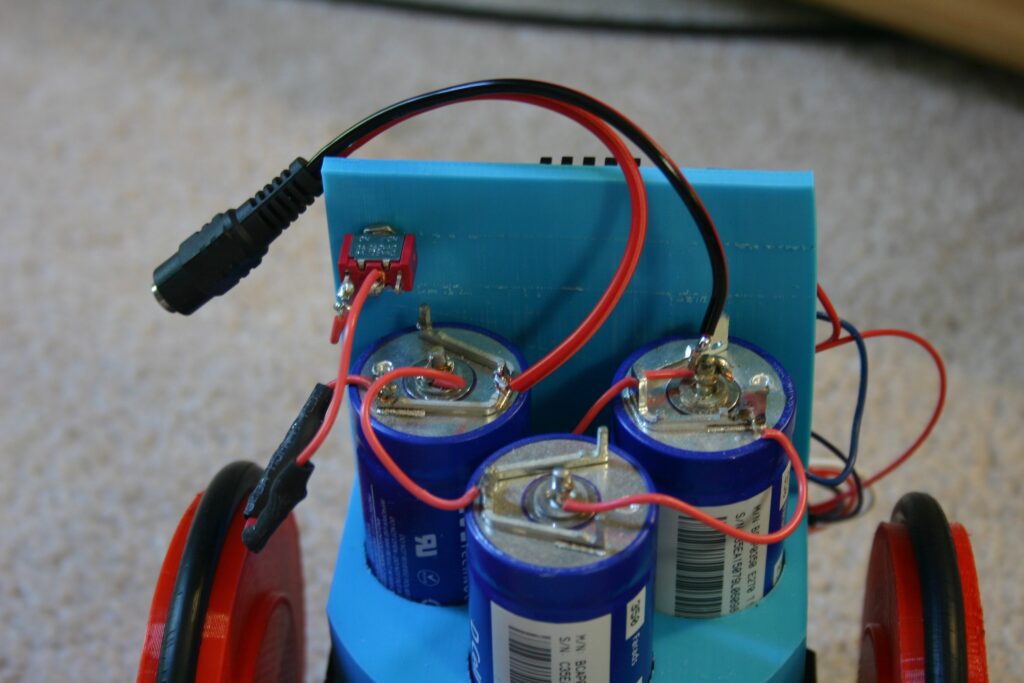
Supercapacitors are intriguing power sources, and while they don’t hold as much total energy as a battery, they can store and release charges in an instant. To take advantage of this interesting properly, Mike Rigsby created the ‘Little Flash‘ rover.

This device uses a pair of continuous rotation-modded servos to move about for roughly 20 minutes. It’s controlled by an Arduino Uno, and employs over-current detection as well as a bump switch to keep it from getting stuck. 

The coolest feature, however, is that it’s powered by a bank of three 350 farad supercaps in series. The capacitor setup allows it to charge in seconds, though with a current flow of nearly 50 amps, charging experimentation wisely took place with Rigsby some distance away!

Electric typewriter turned CNC plotter

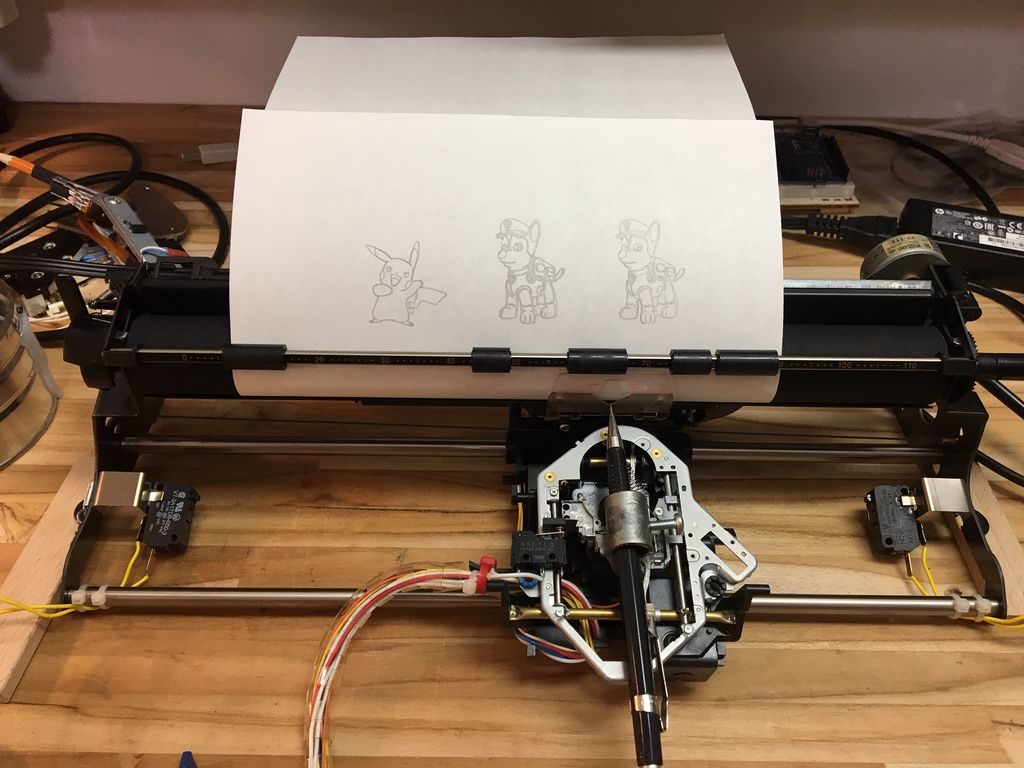
A few months ago, maker Fabian Mazza created a CD ROM plotter for his daughters. While the three-year-old loves it, the eight-year-old thought it was too small. Rather than giving up—or building a CNC machine from scratch—he cleverly constructed a new plotter out of a Smith Corona electric typewriter.

Since this device is designed to control the X and Y positions of a writing implement using steppers, it gave him everything he needed for CNC use via an Arduino Uno and GRBL shield.

For better resolution, he added gear reduction to the carriage stepper salvaged from an old scanner. Z-axis movement is done using parts from a DVD-ROM to control whether the pen lowered onto the paper or retracted.


Tom Stanton’s trebuchet altitude measurement “golf ball”

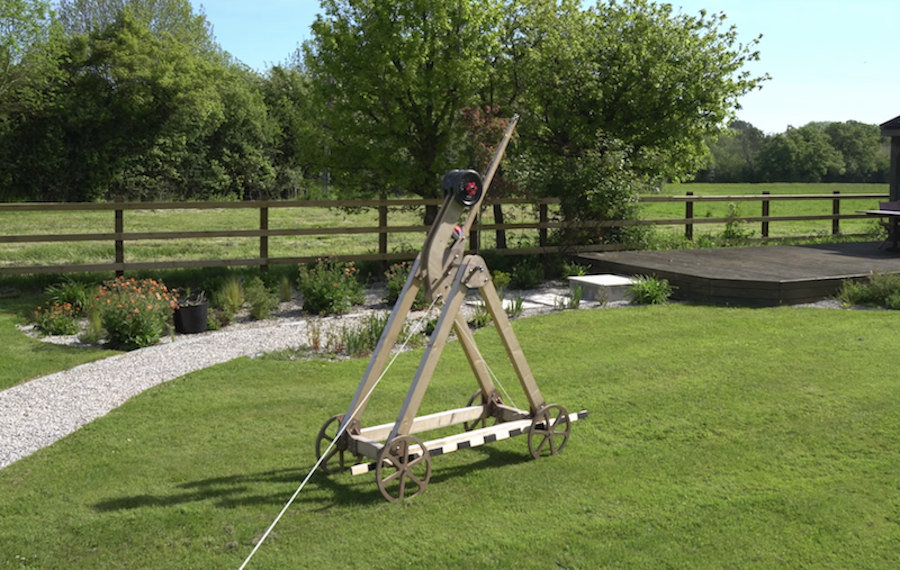
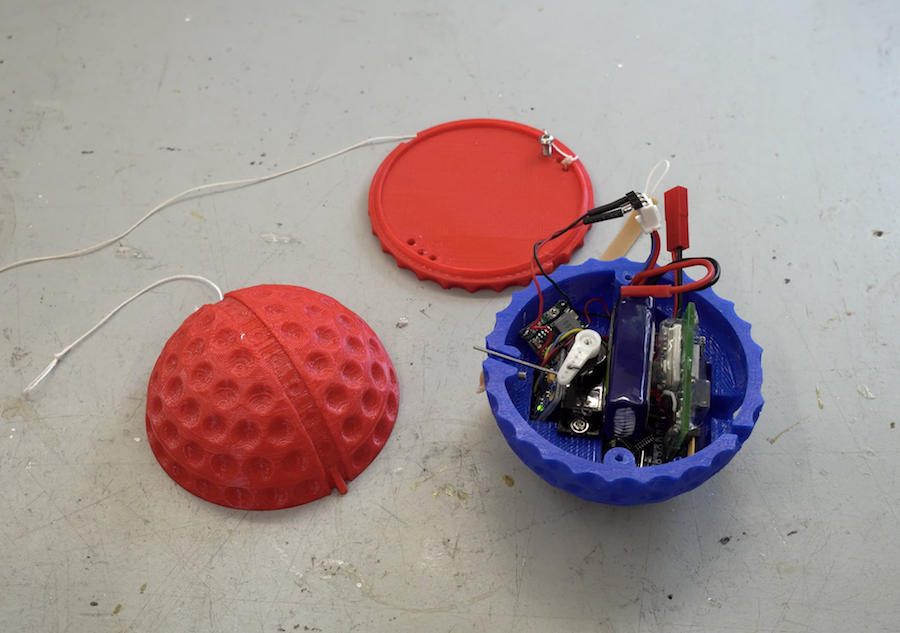
YouTuber Tom Stanton built a trebuchet about a year ago. Now, in order to figure out just how high it can toss something, he designed a custom altitude tracking device in the form of an oversize golf ball. 

An Arduino Nano is squeezed inside this sphere, along with a battery, an altimeter, an accelerometer, and even a small servo. The altimeter is used for primary height measurement, while the accelerometer detects launches. A servo then deploys a parachute four seconds later to keep the electronics safe.

As it turns out, the trebuchet is able to fling the ball in the air 60 meters. While impressive, per Stanton’s discussion, it may not be as efficient as you might suspect! Be sure to check out the project in the video below! 

The first-ever Arduino certification is now available

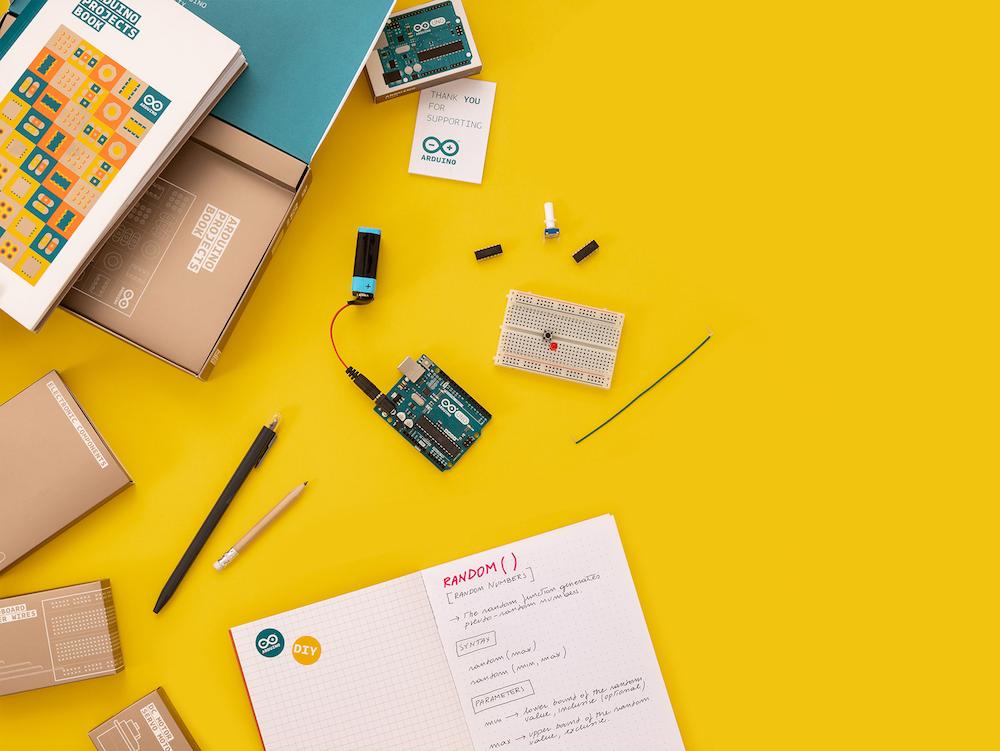
The Arduino Certification Program (ACP) is an Arduino initiative to officially certify users at different levels and confirm their expertise in key areas. Certifications are offered at three tiers — enthusiasts, educators and professionals — which have been identified as the largest Arduino user groups through extensive feedback from the community.

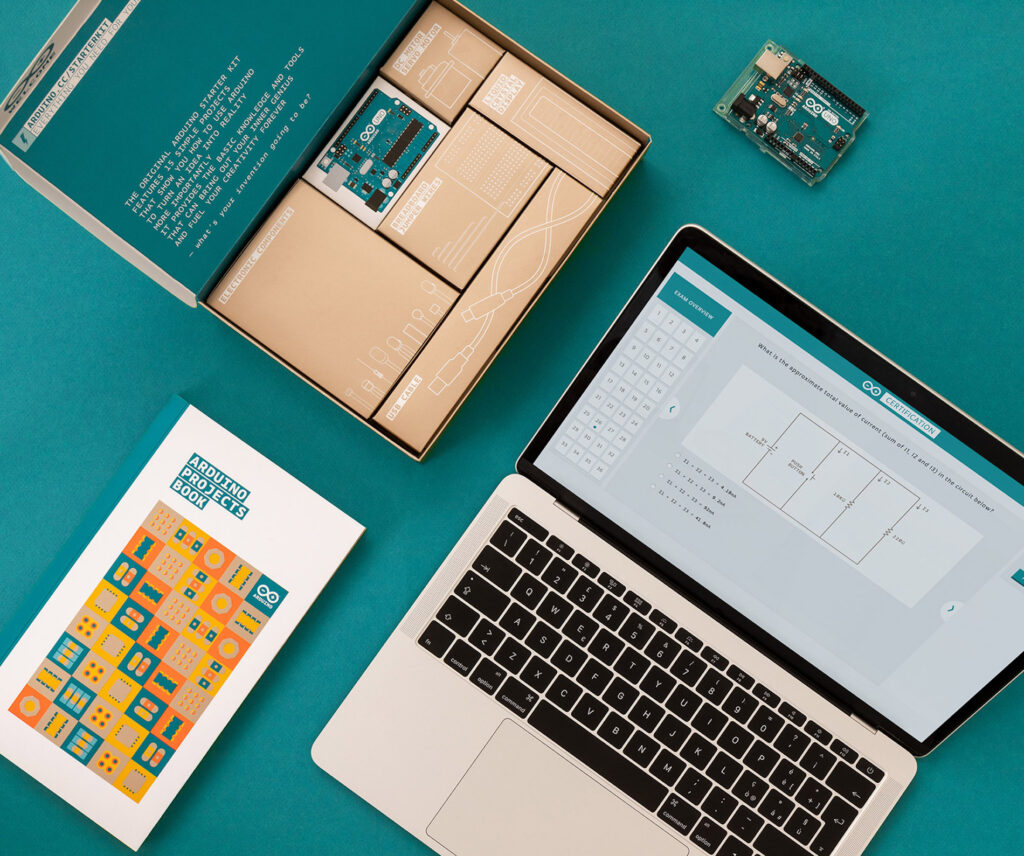
And today, we are excited to announce the availability of the initial Arduino certification: Arduino Fundamentals, which is the first release of the ACP. Access to the exam leading to the certification can be purchased either in combination with the Arduino Starter Kit or as a standalone exam.

The Arduino Certification: Fundamentals Exam is a structured way to enhance and validate your Arduino skills, and receive official recognition as you progress. Anyone interested in engaging with Arduino through a process that involves study, practice, and project building is encouraged to pursue this official certificate.

Developed in consultation with leading technology curriculum, interaction design, and electronic engineering professionals, the Arduino Certification: Fundamentals Exam assesses skills based on exercises comprised of practical tasks from the Arduino Starter Kit.

The official assessment covers three main subjects: theory and introduction to Arduino, electronics, and coding. During the exam, you will be asked to answer 36 questions of varied format and difficulty in 75 minutes.

Questions will test your knowledge on the following topics:

  • Electricity
  • Reading circuits and schematics
  • Arduino IDE
  • Arduino boards
  • Frequency and duty cycle
  • Electronic components
  • Programming syntax and semantics
  • Programming logic

The certification is currently only available in the US, but will be opened in more countries during 2019. If you’d like to learn more about Arduino Fundamentals, download the user guide. Additional information can also be found here.

Single-sensor selfies with the Flying Pixel Portrait Camera

While most cameras use an array of sensors to quickly capture an image, Niklas Roy presents a different take on things with his Flying Pixel Portrait Camera.

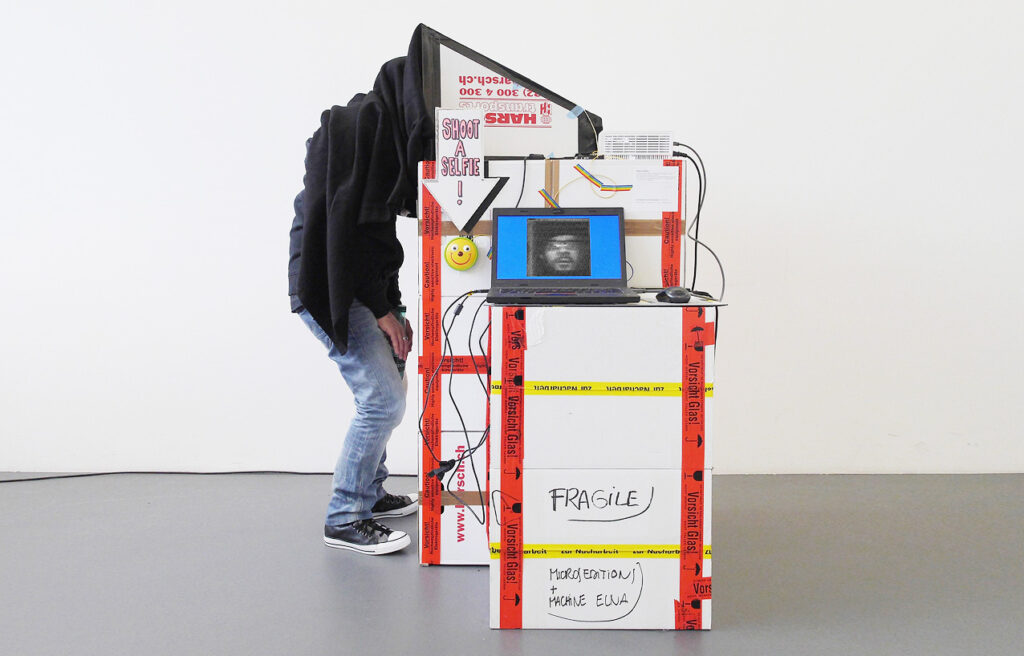
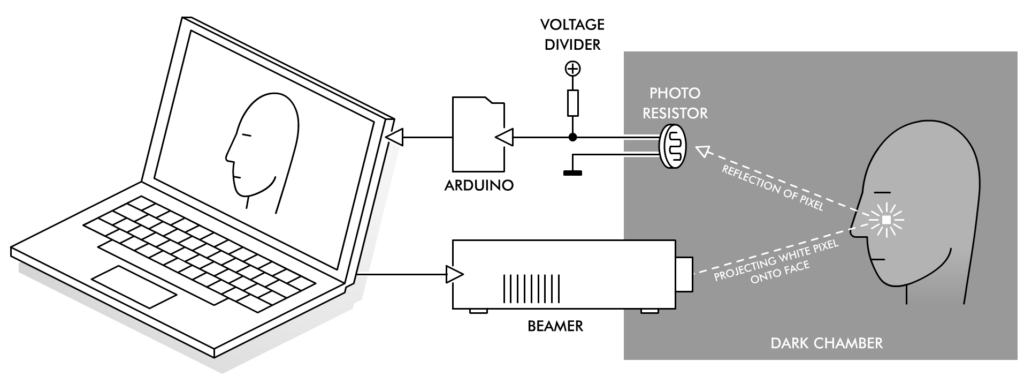
This installation invites participants to place their head under a shroud for nearly a minute and a half, while a computer-controlled projector scans one’s face pixel by pixel. Reflected light levels are recorded with a single light-dependent resistor (LDR) via an Arduino flashed with Firmata, allowing it to interface with the Processing sketch that runs the device without any extra software.

The results are 50×50 black and white photos. It’s also possible to produce color images, which means triple the wait time—and a bit more noise.

The Flying Pixel Portrait Camera uses a video beamer, a single photo resistor, an Arduino and a PC for taking photos of people’s faces. The beamer ‘scans’ the image by projecting a small white square onto a person’s face inside an otherwise completely dark chamber. While the projected square slowly moves over the entire face, the photo resistor captures the reflected luminosities. This generates a proportional analog electric signal which is digitized by an Arduino and transmitted to the PC. As the PC also controls the position of the projected square, it can now construct an image based on the different brightness values that it receives, one pixel at a time.