If your kids aren’t thrilled about doing chores, you could resort to a whiteboard, or simply create your own RFID tracking system like maker “alastair-a.”
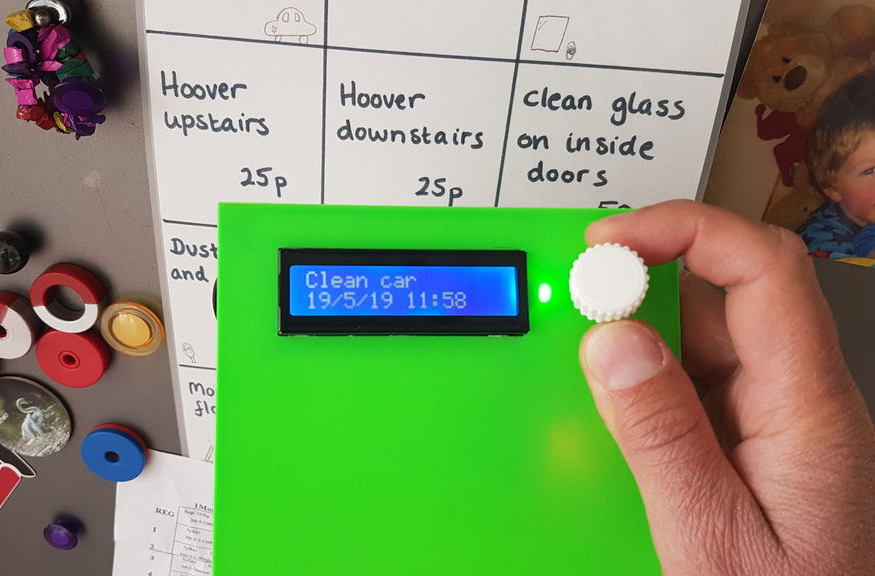
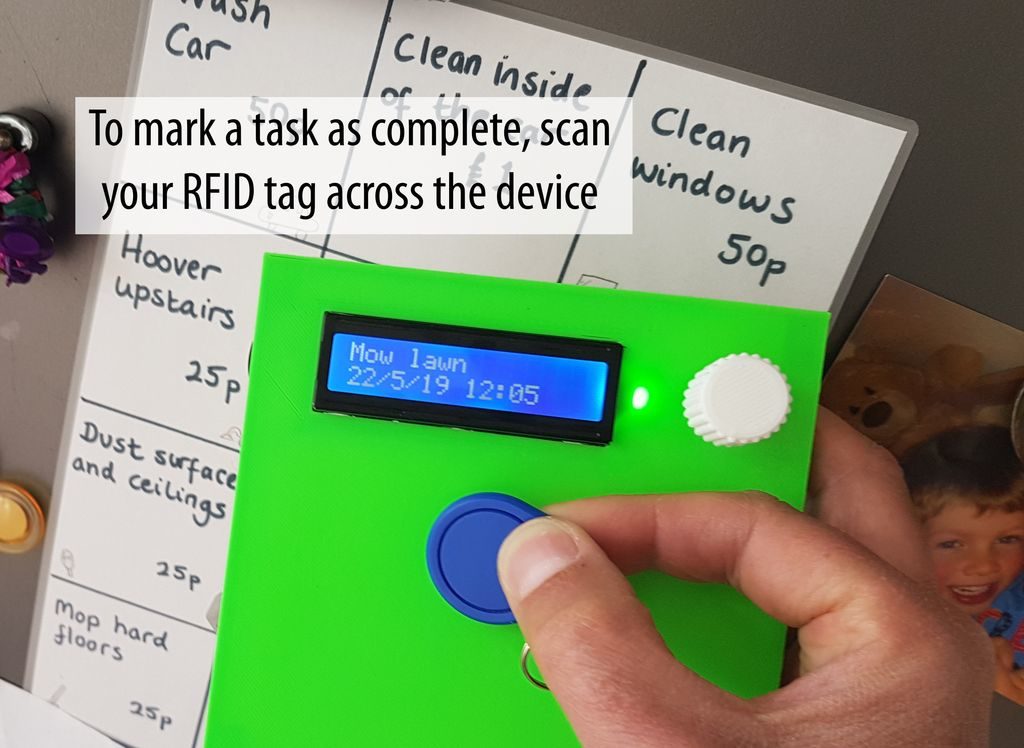
His project uses an Arduino Nano, along with an RFID reader and RTC module to track when a job has been completed. The chore is selected using a rotary encoder and displayed on a 16×2 LCD screen. When it’s done, the child who completed it can then scan in with their RFID fob to claim it as his or her own.
While there was initially some cash payment in mind for each task that’s accomplished, the novelty factor of using the system is reportedly so interesting that alastair’s children have entirely forgotten about it. Whether it works this well or not in all cases is an open question, but Arduino code and build info is available here if you’d like to make your own!
If you want to keep your Arduino project or other circuit boards safe from exposure, an electrical box is the traditional choice. But what if you want to apply protection directly to the board?
In the video below, “TheRainHarvester” shows us a novel and inexpensive method for hardening a Nano from short circuits and other minor exposure by simply melting plastic on the top.
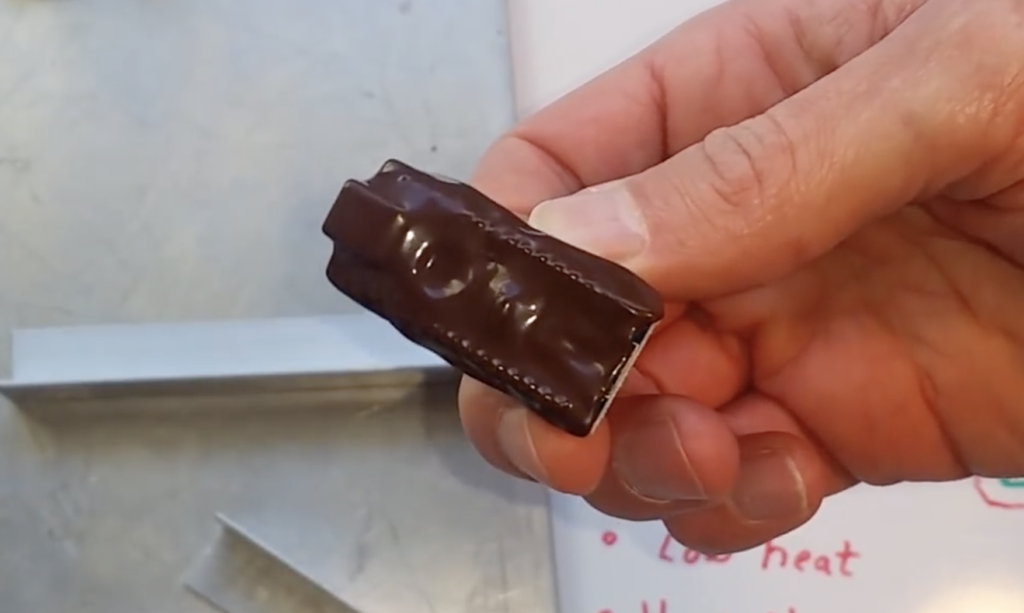
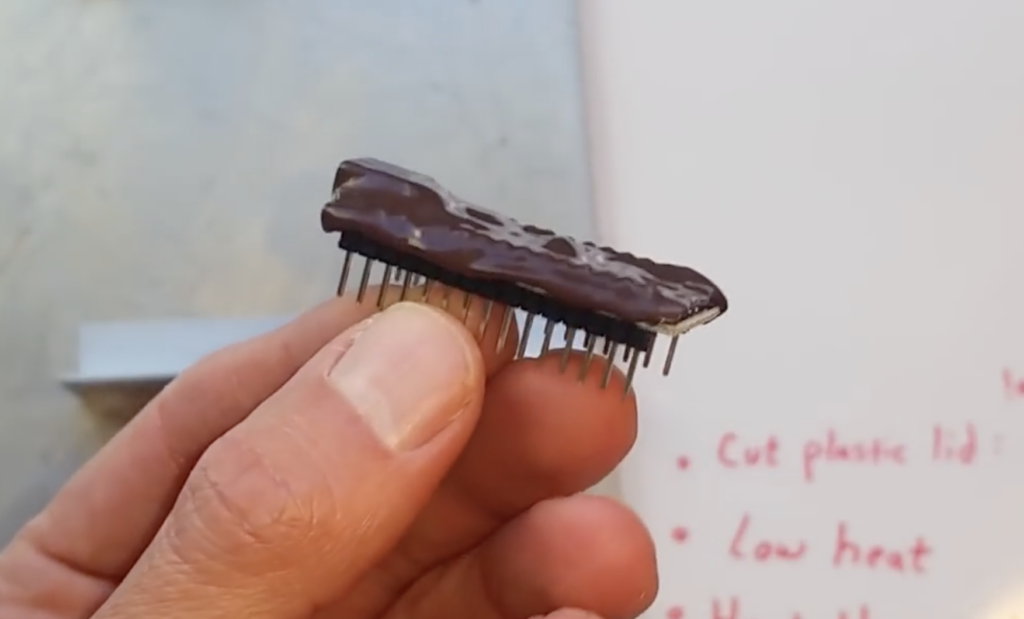
The Nano’s new armor is sourced from a lid that you might find on a coffee or oatmeal container, and after cutting it to size, a “plasti-shell” is fused to the board with a heat gun. The procedure couldn’t be simpler, and appears to provide a good amount of protection for the little board!
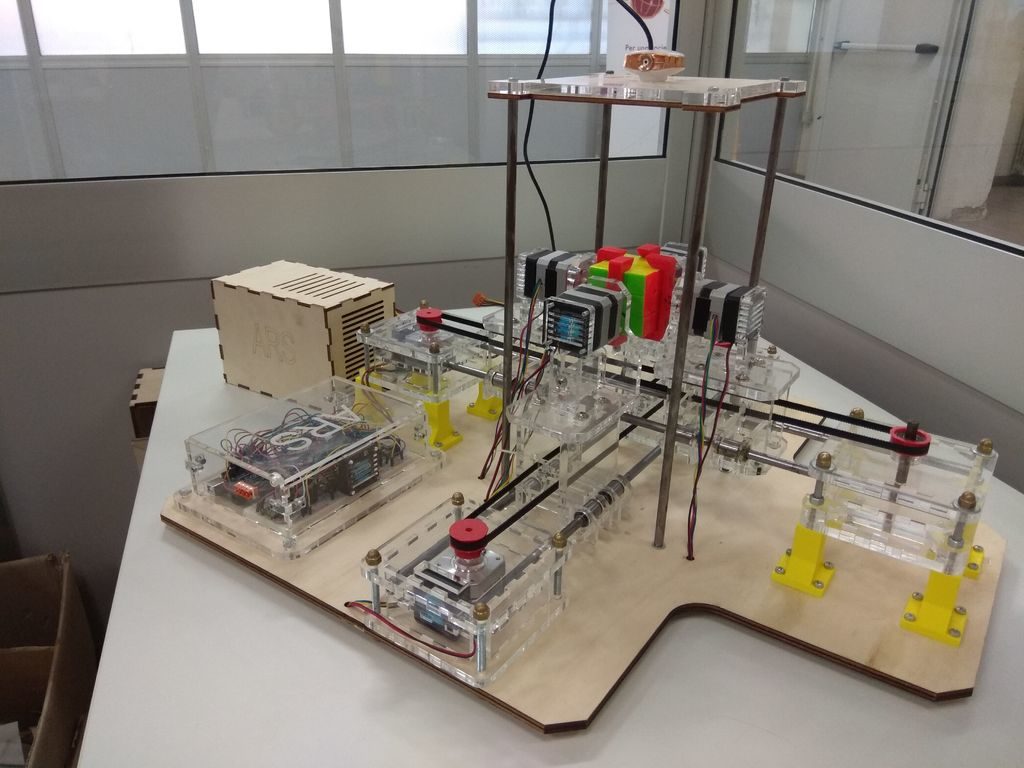
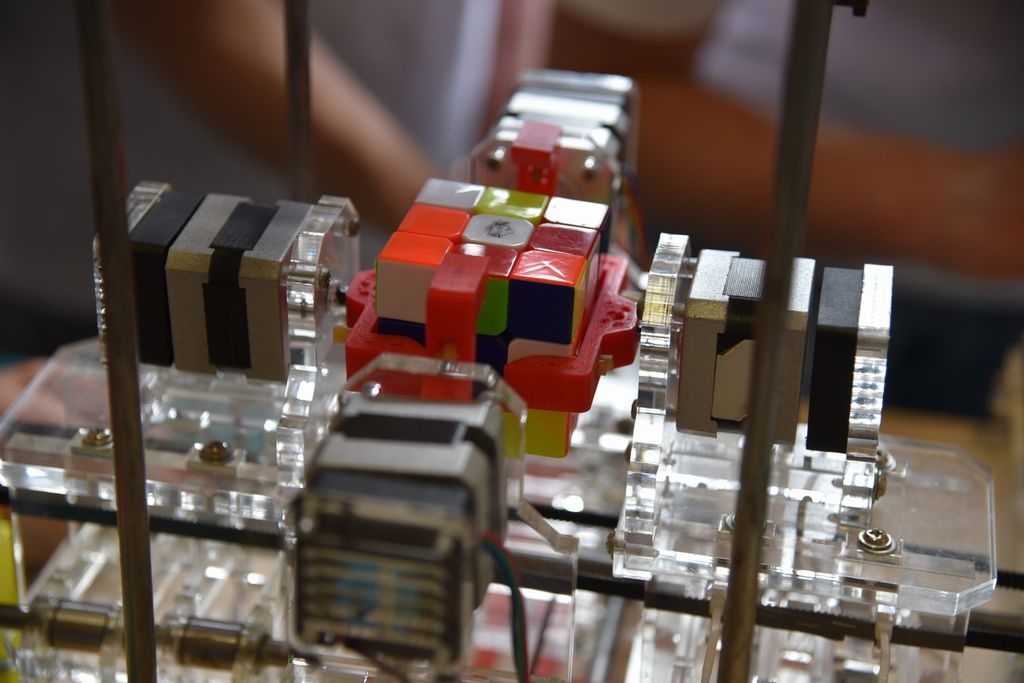
Since its invention in 1974, Rubik’s cubes have been entertaining and frustrating those that choose to take on the challenge of aligning their shapes. More recently, however, people have been building algorithms and machinery to do it for them, including Mario Milanesio’s Arduino Rubik Solver, or ARS.
ARS, which was constructed with the help of Milanseio’s students, is comprised of several 3D-printed and laser-cut parts. The device utilizes a series of four stepper motors to rotate the cube, along with two more to pull the grippers back when needed.
Solving is assisted by the ARS Studio software package, which lets users program in the existing color sequence. It then sends movement commands to an Arduino Uno over serial, which controls the motors via six A4988 Pololu drivers to complete the puzzle.
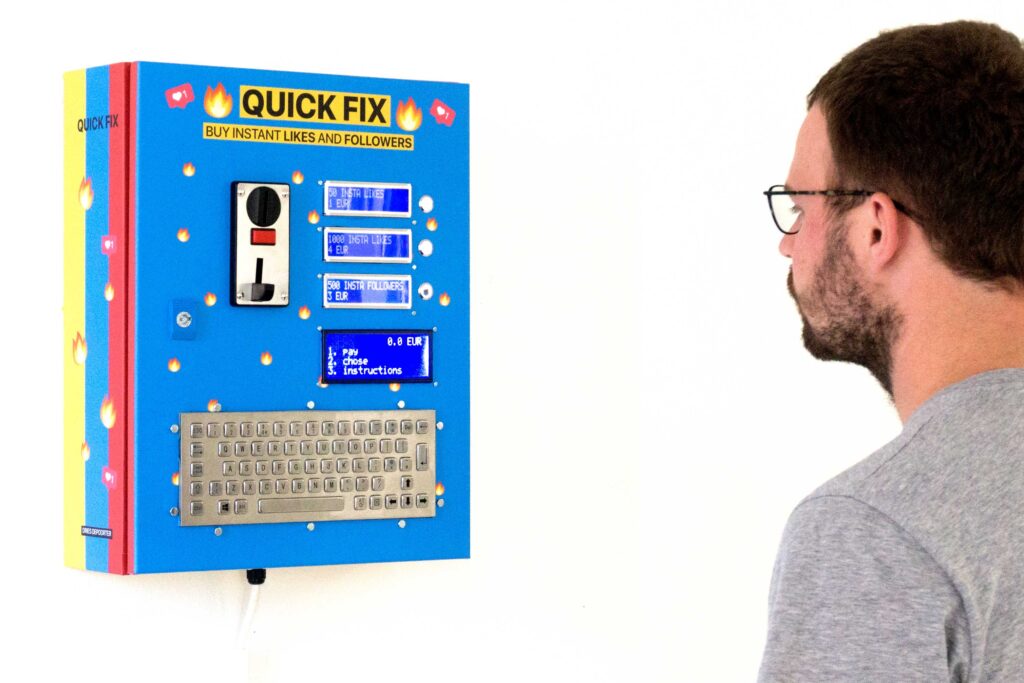
Do you want to grow your popularity on social media? Sure, there are those online services that could give your audience a boost, but if you’d prefer something a bit more tangible, then the “Quick Fix” vending machine is just the thing for you—and it even accepts actual currency.
After you deposit the appropriate amount of coins and enter your social media account name, you’re then bombarded with an army of new followers or likes. As you might suspect, these interactions are via faux accounts.
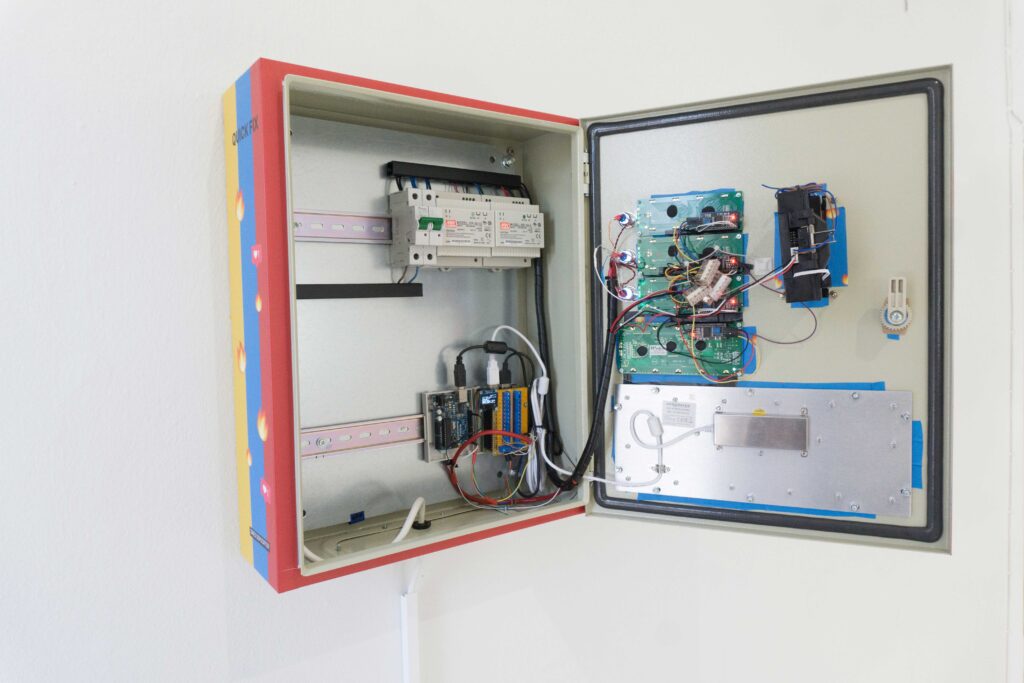
Fake or not, it’s a brilliant art installation constructed by Dries Depoorter as a commission for the 2019 Pixelache Festival. The build features an industrial-style enclosure and hardened keyboard, along with an Arduino, a Raspberry Pi 3B+, and a few I2C LCD screens.
As the video below puts it, “Influencers will love it.”
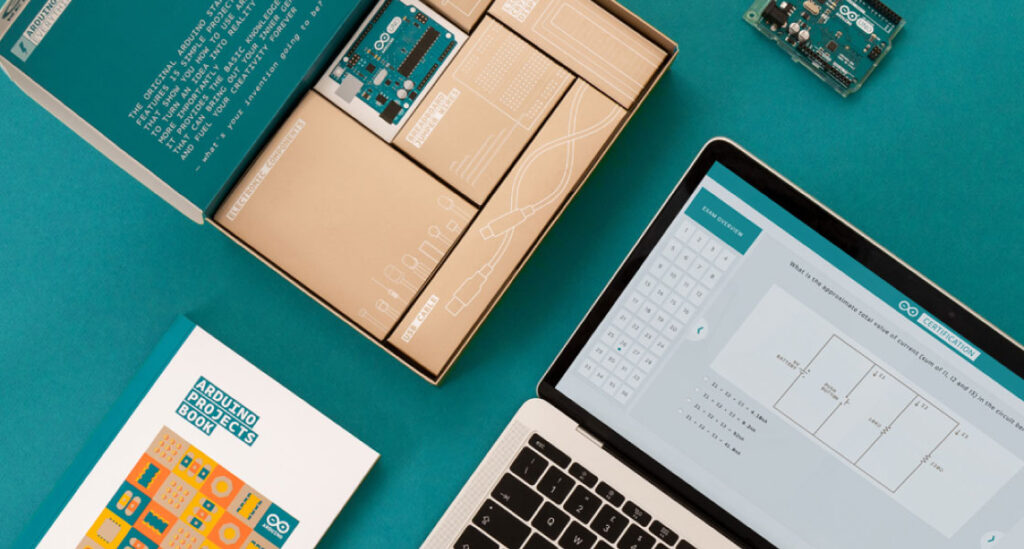
The first-ever Arduino certification is now available in Asia, Australia/NZ, the Middle East and Africa, and the Americas (excluding Brazil).
The Arduino Certification: Fundamentals is a structured way to enhance and validate your Arduino skills, and receive official recognition as you progress. Anyone interested in engaging with Arduino through a process that involves study, practice, and project building is encouraged to pursue this official certificate.
Those wishing to learn more can do so here as well as try out our free demo to get a feel for the types of questions on the exam.
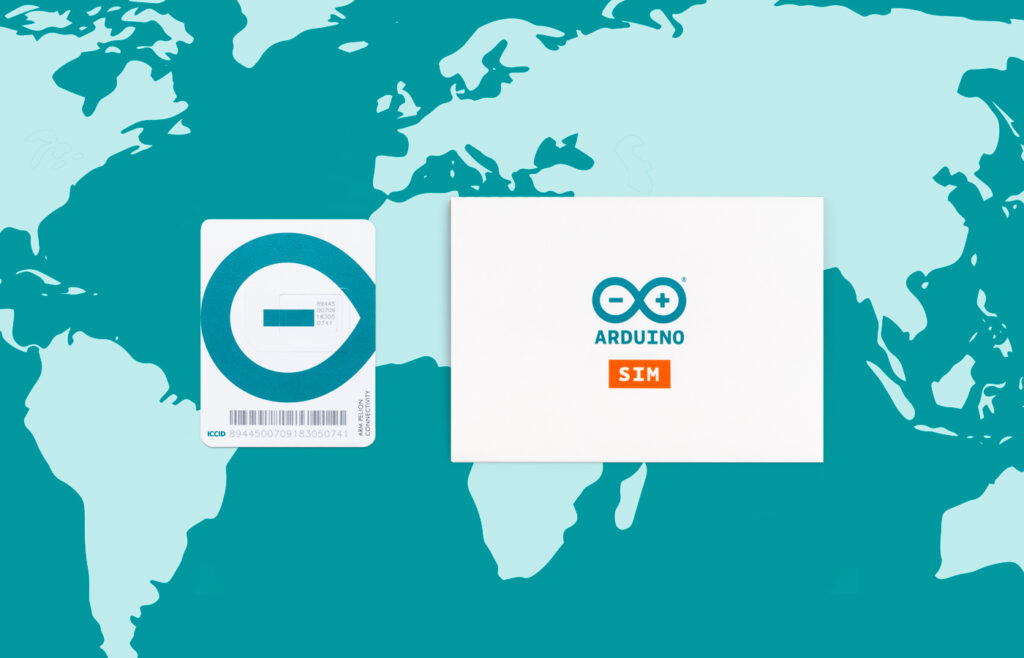
Hot on the heels of announcing the launch of the Arduino SIMin the US, we’re very pleased to further roll out availability of the data plan to Asia, Australia/NZ, Middle East and Africa, and the Americas (excluding Brazil).
With 10MB free data for up to 90 days and a global roaming profile, the new Arduino SIM offers the simplest path to cellular IoT device development.
The Plan:
Arduino SIMcomes with 10 MB of data free for the first days 90 days.
One simple subscription at 5 MB for $1.50 USD per month*.
Global roaming profile – enjoy the same amount of data traffic for the same price wherever you are operating the device around the world.
Cellular connectivity to the Arduino IoT Cloud – monitor and control your devices anytime, anywhere.
Ideal for connected devices on the go or in areas without reliable WiFi.
Scalable to large numbers of devices in the future with Arm Pelion Connectivity Management.
*Available worldwide except for the European Union and Brazil
Currently, the Arduino SIM will allow users to send data into the Arduino IoT Cloud, while later in the year they will also be able to use the Arduino SIM to connect to the Internet via a combination of webhooks and APIs.
Arduino SIM will initially be compatible with the MKR GSM 1400 (3G with 2G fallback) — an Arm Cortex-M0+ board supporting TLS and X.509 certificate-based authentication through an on-board secure element and crypto accelerator. The Arduino IoT Cloud makes it possible for anyone to connect to these boards securely without any coding required, but they are still programmable using open-source libraries and the traditional Arduino IDE.
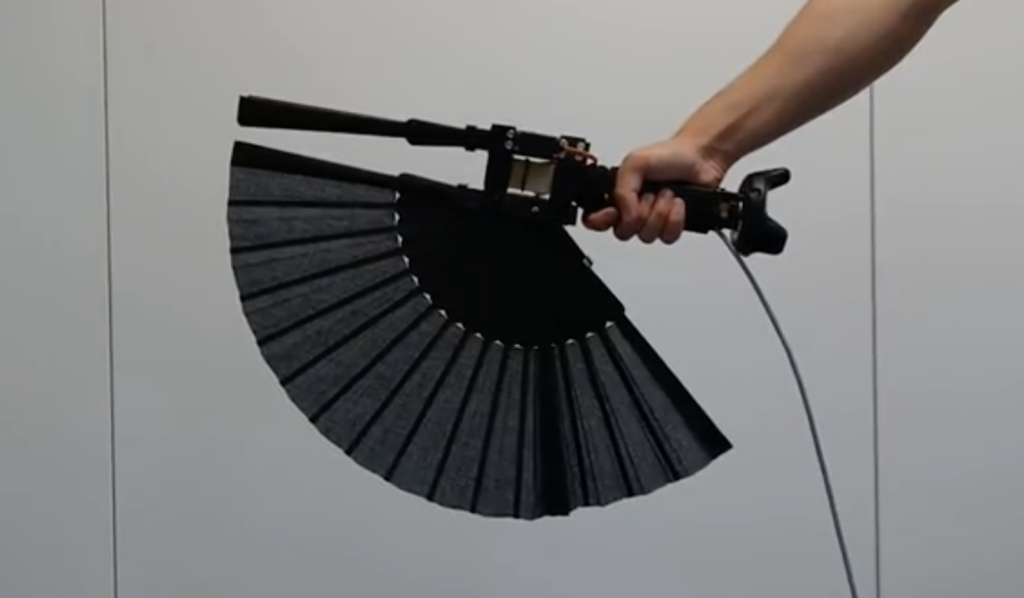
As seen here, “Standard controllers for virtual reality (VR) lack sophisticated means to convey realistic, kinesthetic impression on size, resistance or inertia.” To overcome these limitations, André Zenner and Antonio Krüger at the German Research Center for Artificial Intelligence (DFKI) have come up with Drag:on—a haptic feedback device that changes air resistance and weight distribution using a commercially-available hand fan.
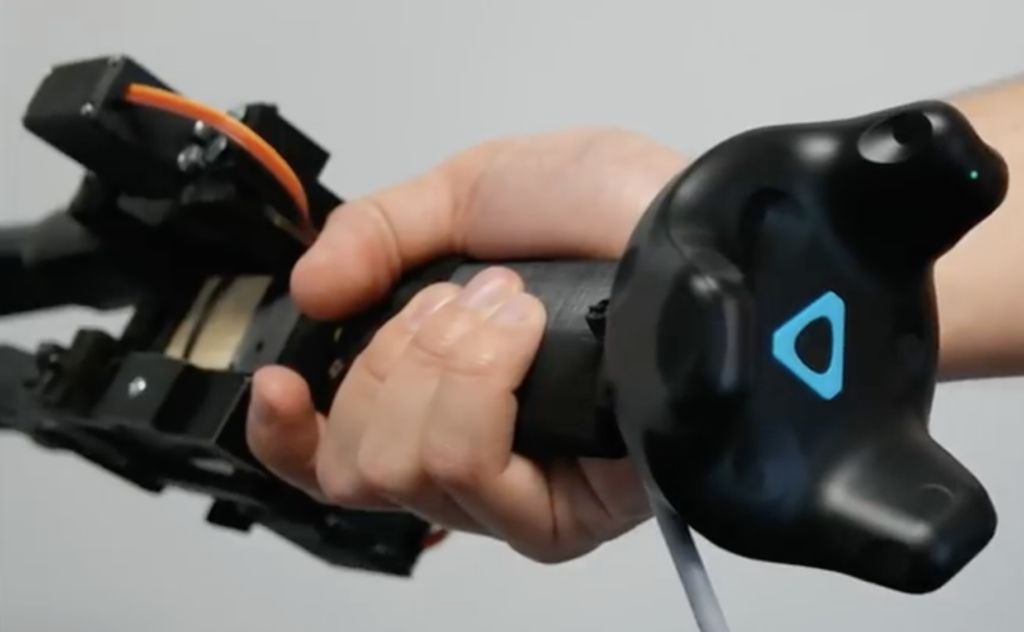
Drag:on uses a pair of MG996R servos to actuate the fan, shifting its weight and air resistance as needed to simulate a virtual environment. The assembly is attached to an HTC Vive tracker, and an Arduino Nano provides control and computer interface via a USB serial link.
Drag:on leverages the airflow occurring at the controller during interaction. By dynamically adjusting its surface area, the controller changes the drag and rotational inertia felt by the user. In a user study, we found that Drag:on can provide distinguishable levels of haptic feedback. Our prototype increases the haptic realism in VR compared to standard controllers and when rotated or swung improves the perception of virtual resistance. By this, Drag:on provides haptic feedback suitable for rendering different virtual mechanical resistances, virtual gas streams, and virtual objects differing in scale, material and fill state
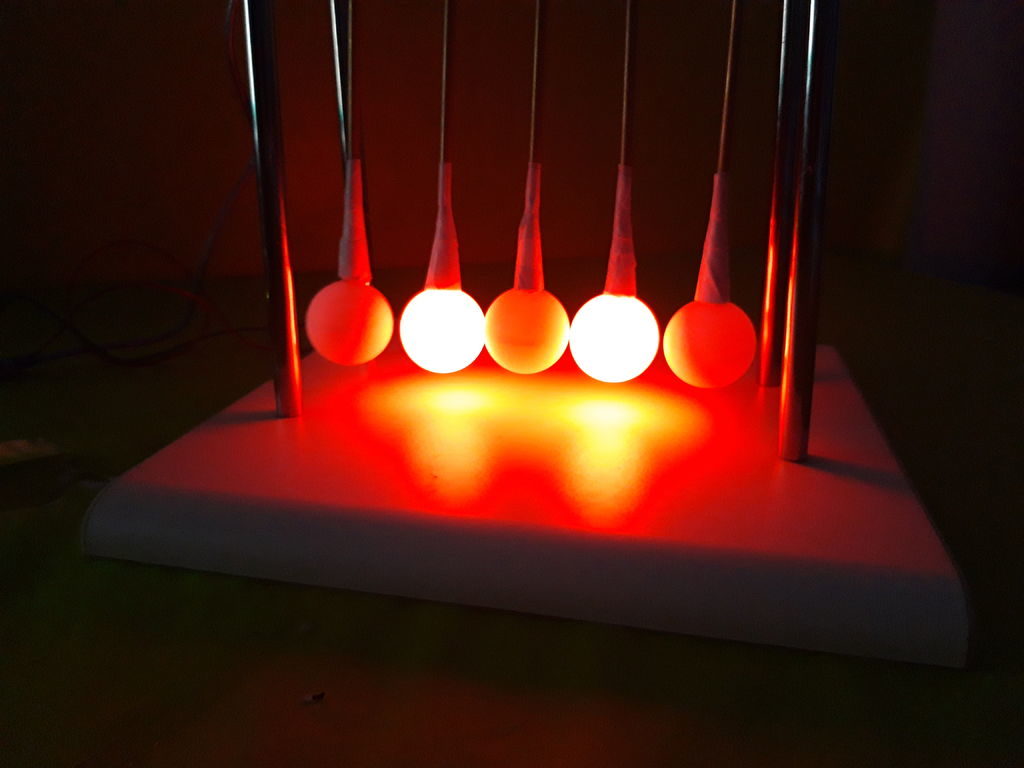
Newton’s cradles consist of a series of suspended spherical masses, and are normally started by pulling one ball back. The outer balls then click back and forth for an interesting distraction.
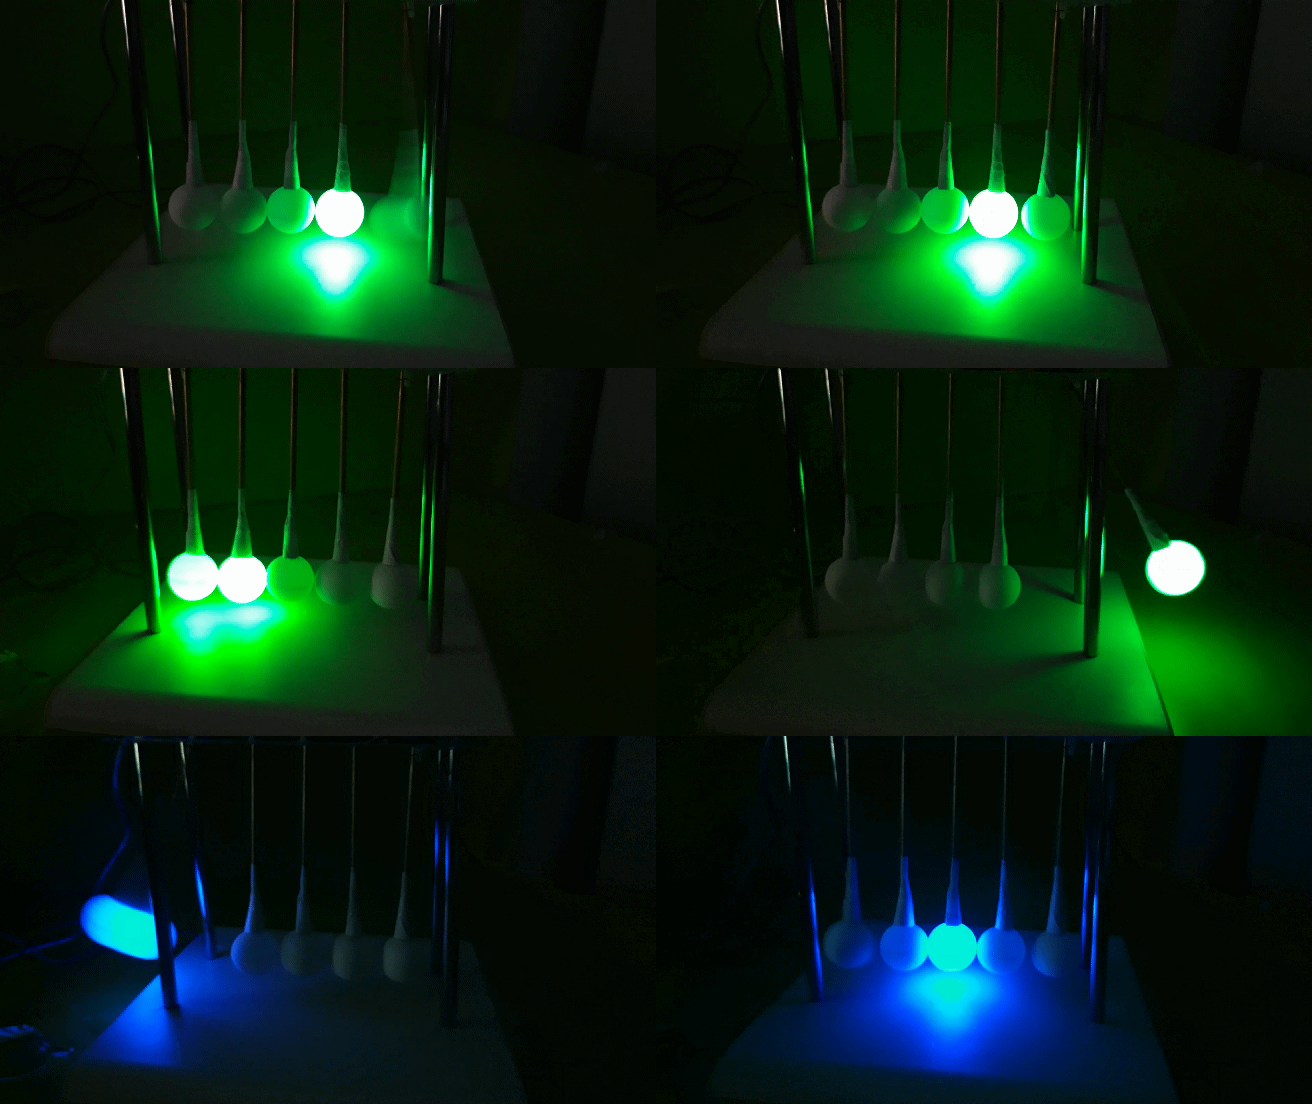
To make things even more interesting, “TecnoProfesor” made his own version using ping pong balls and RGB LEDs. As the outer balls sway, they light up in sequence, along with the inner three balls that stay largely in one place.
Power here isn’t provided by kinetic energy, but everything moves via a pair of servo motors. An Arduino Mega is used to control the light/motion simulator, while a button and potentiometer allow the user to change between two modes and variable swing frequency.
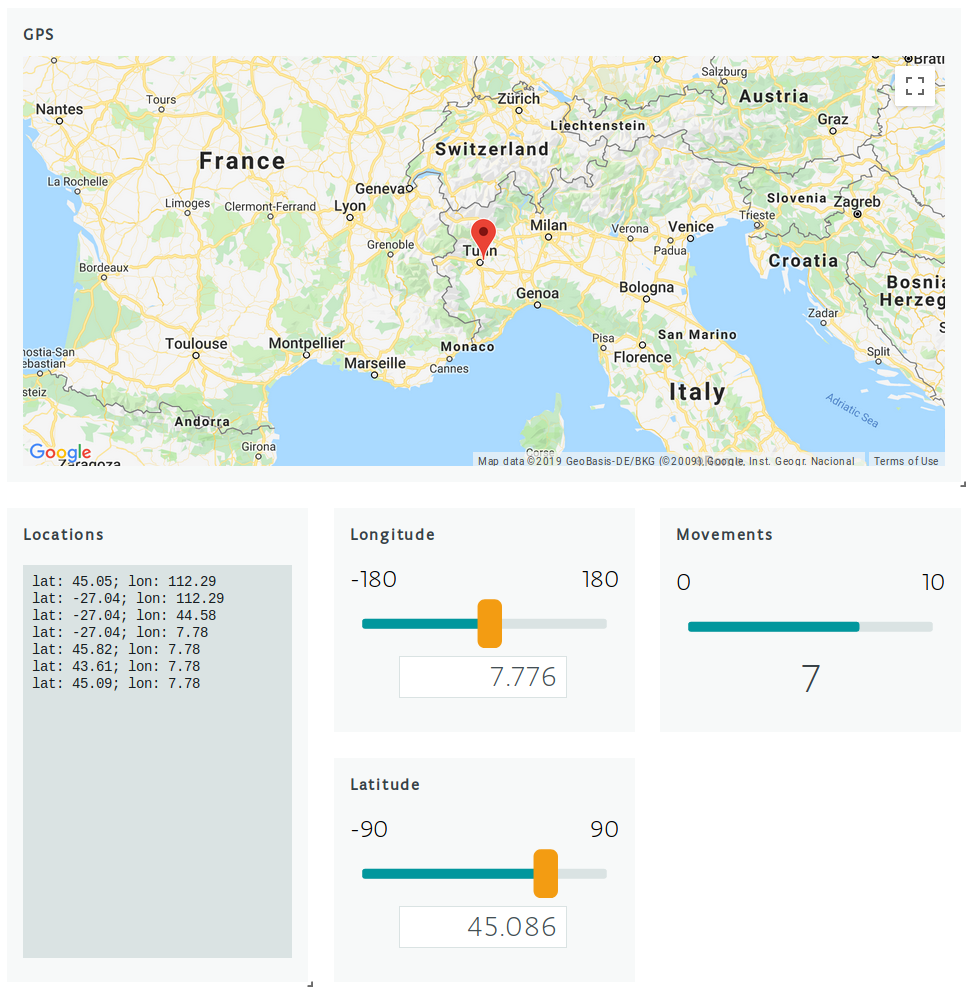
In this short article we are going to have a look at a new exciting feature: theDynamic Dashboard of Arduino IoT Cloud.
Among other things with Arduino IoT Cloud you can create a dashboard to monitor data and interact with your project.
If you want to know more about properties and widgets you can go here
Now it’s possible to arrange the widgets as you like. You can also increase their size and move them around following your needs.
In order to resize them simply drag the small resize handle in the right bottom corner of each widget. This way they become dynamic and the widgets below will adjust and rearrange accordingly.
How to resize properties boxes
For now, Location and String are the only resizable widgets.
If you want to move the properties around just click and drag the title area.
How to move properties boxes
Below you can see the callbacks used in this easy example
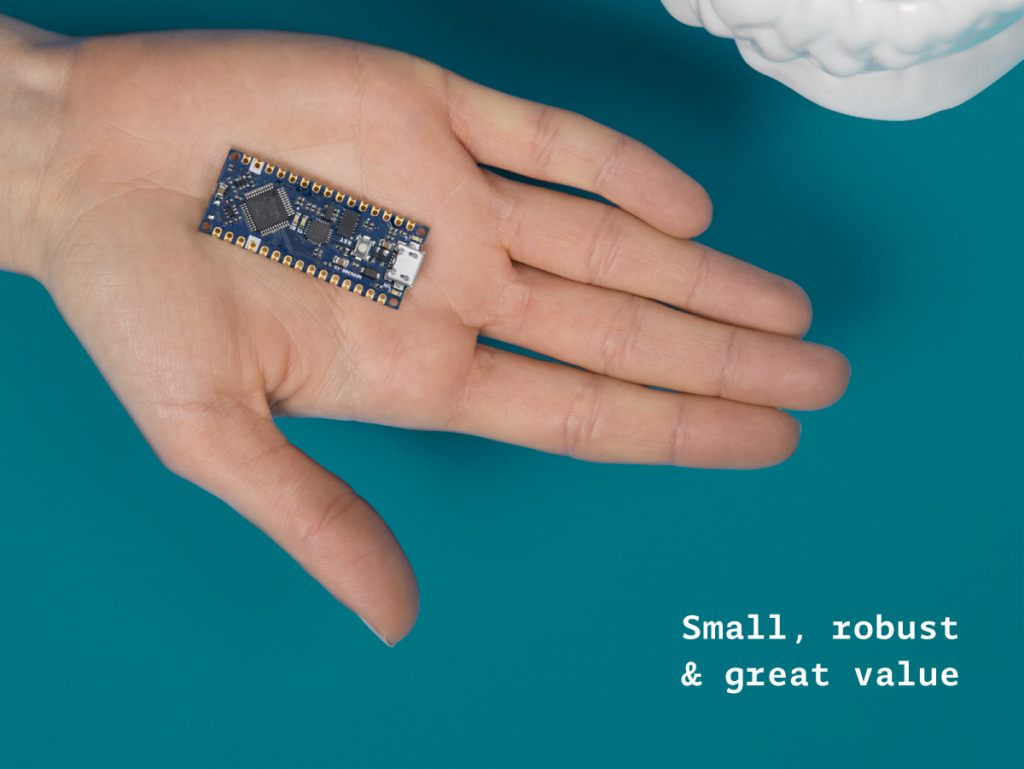
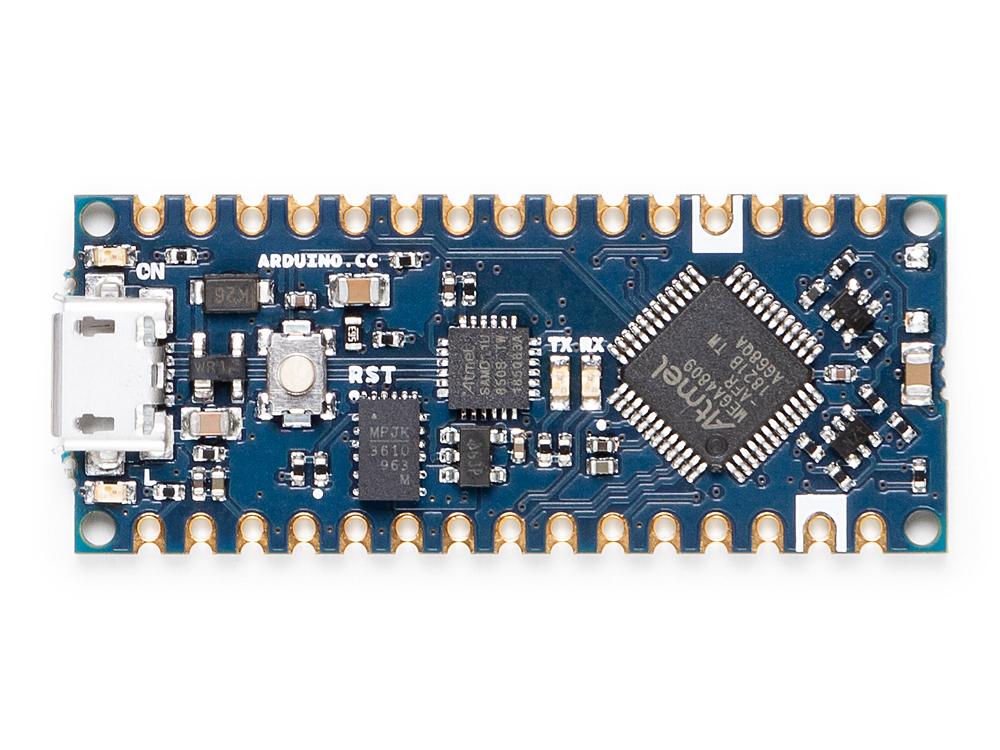
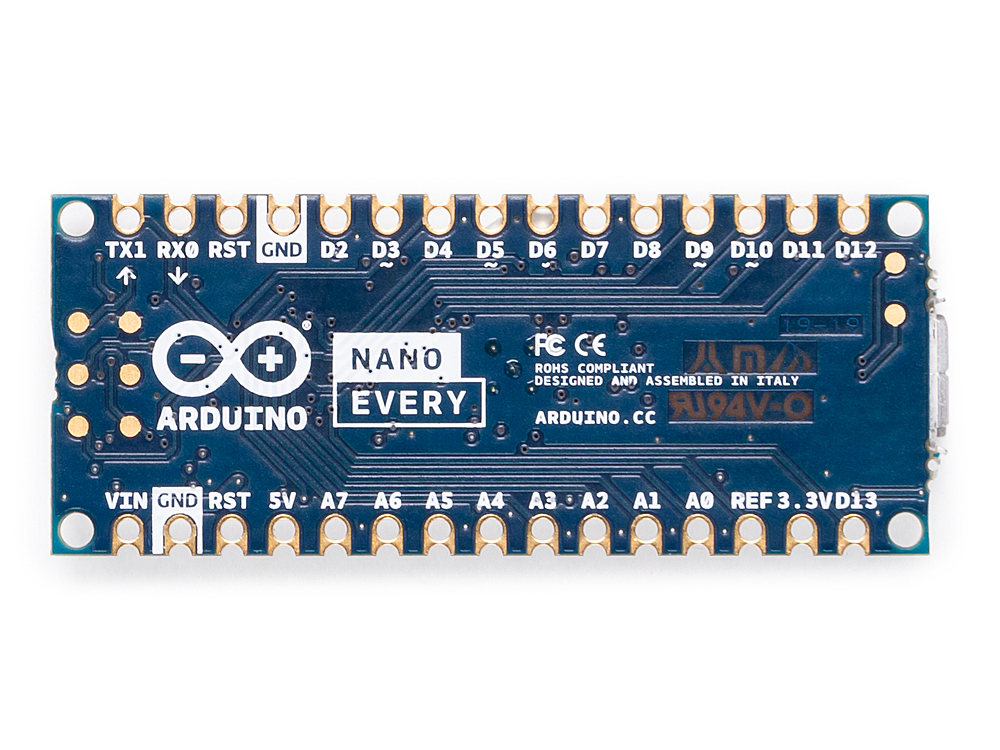
The original Arduino Nano occupies a special place in many makers’ hearts. The tiny footprint (48*18 mm), reliability and tons of examples makes the Nano perfect for wearables, drones — in fact any project made to last.
The Nano is back! The new entry-level Arduino Nano Every manages to pack in even more features at an even lower price – just $9.90 / €8.00 without headers — and is backwards compatible with the original. Dario Pennisi led the development of the Arduino Nano Every. We sat down with him to learn more.
Why did you decide to create the Arduino Nano Every?
Searching for “Arduino Nano project” yields millions of results. But you also find people complaining about boards not working. Of course these boards are usually clones (not genuine Arduino boards)! Clones can be cheaper but reliability issues can mean you need to pay for more, or are frustrated trying to get them to work.
This is why we made the Arduino Nano Every. It’s reliable, affordable and more powerful. We’ve used a quality USB chip so people won’t have connection or driver issues. The newer ATmega4809 microcontroller fixes limitations of older ATmega328p based boards – you can add a second hardware serial port! As well as more peripherals and memory, the Configurable Custom Logic (CCL) is a great way to get beginners more interested in hardware. Finally, the separate processor handling the USB interface makes it possible to implement USB classes such as Human Interface Device (HID) instead of just the classic CDC/UART.
We see the Arduino Nano Every at the heart of wearable projects; in experiments, in prototypes or in a full cosplay setup! Sensors and motors can be connected without too much fuss which means it’s great for robotics, drones and 3D printing too. Not only is it a great choice for makers – in buying a genuine Arduino they will be supporting us in continuing to contribute to open source for the whole community to benefit from.
Can you tell us the three key features of Nano Every?
New processor with more memory and new peripherals, still 5V capable. The added memory will unleash creativity and open to more complex applications and the new peripheral set, which includes a second serial port, will finally allow communicating at the same time with a PC and with peripherals such as a wireless interface or a GPS.
The new power supply architecture based on a high efficiency DC-DC converter allows powering the board at up to 21V and to drive output peripherals with up to 950mA without overheating
Castellated contacts and flush bottom side allow soldering the Nano Every directly on a board as a traditional SMT component, opening the possibility to reduce final product size and helping the use in volume applications
So the processor is the same as the Uno WiFi R2 and it has more Flash and more RAM. The sketches made for the Nano are going to run on the Every as they are? Is it truly a replacement with zero modification in any Nano based project? Please elaborate.
Actually the ATmega4809 we use on Uno WiFi R2 and Nano Every is not directly compatible with ATmega328p, however we’ve implemented a compatibility layer which translates low level register writes without any overhead so the result is that most libraries and sketches, even those accessing directly GPIO registers, will work out of the box
Why you decided to offer the board with no headers supplied or soldered in the basic package?
Not only are new Nano boards are offered without headers, they all are totally flat on the bottom side and offer castellated pads on the sides, so you can actually solder them on your PCB as a standard SMT component using a normal pick & place machine.
The price is really aggressive, did you compromise on Arduino quality standards to achieve this?
We’ll never give up on Arduino quality standards and we’re still manufacturing in Italy making sure that our ethical values are strictly followed. The lower price point on these products has been achieved thanks to a careful optimization on purchasing prices and by trimming our margins as we believe that it’s important to give makers the quality they deserve at competitive prices.
The Arduino Nano Every is now available for pre-order on the Arduino online store with headers or without headers mounted (estimated shipping date: mid-June 2019).