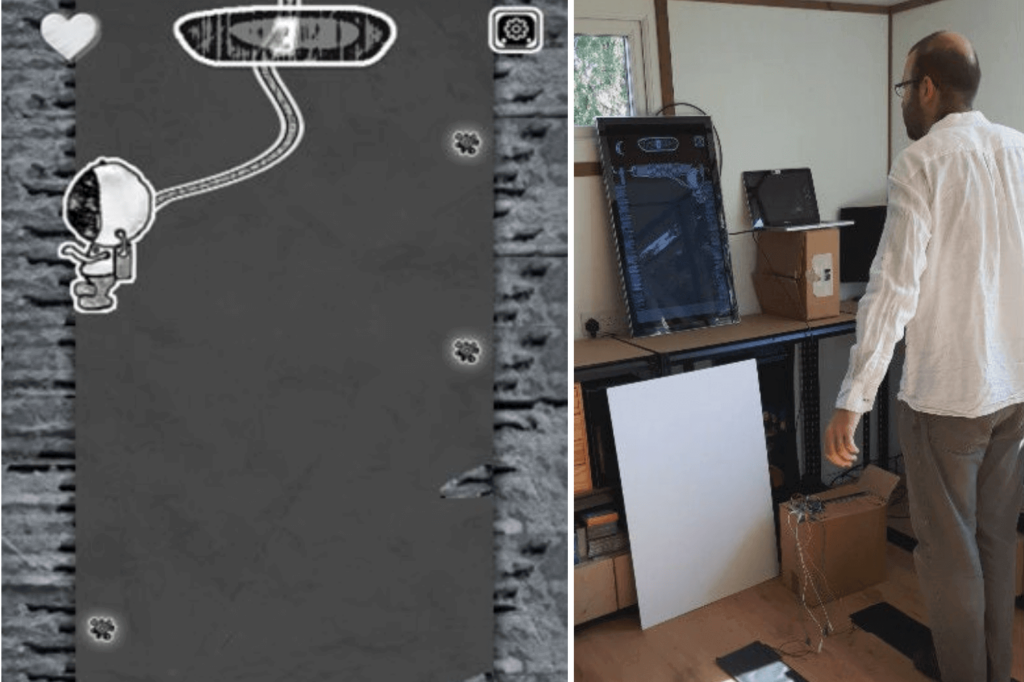
Steven Goodwin wrote a JavaScript game called Space Bounce where a character in a space suit has to jump from one side of a mine shaft to another, collecting roughly star-shaped objects, while avoiding spikes. It’s a simple yet rather entertaining game, and since there’s really only one type of interaction (jumping) he decided to make things a bit more interesting by adding a physical controller.
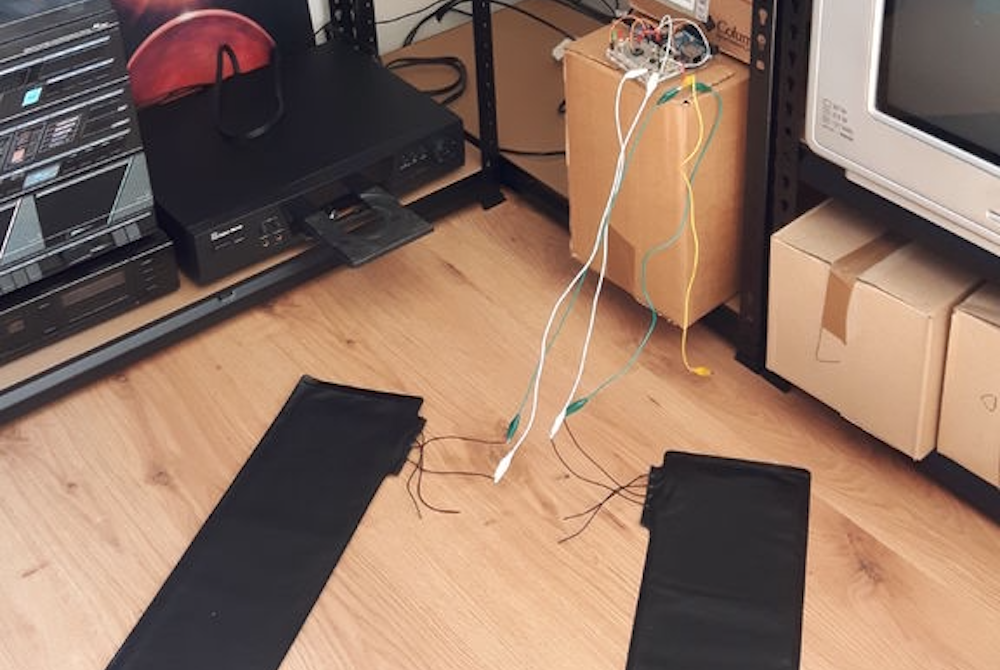
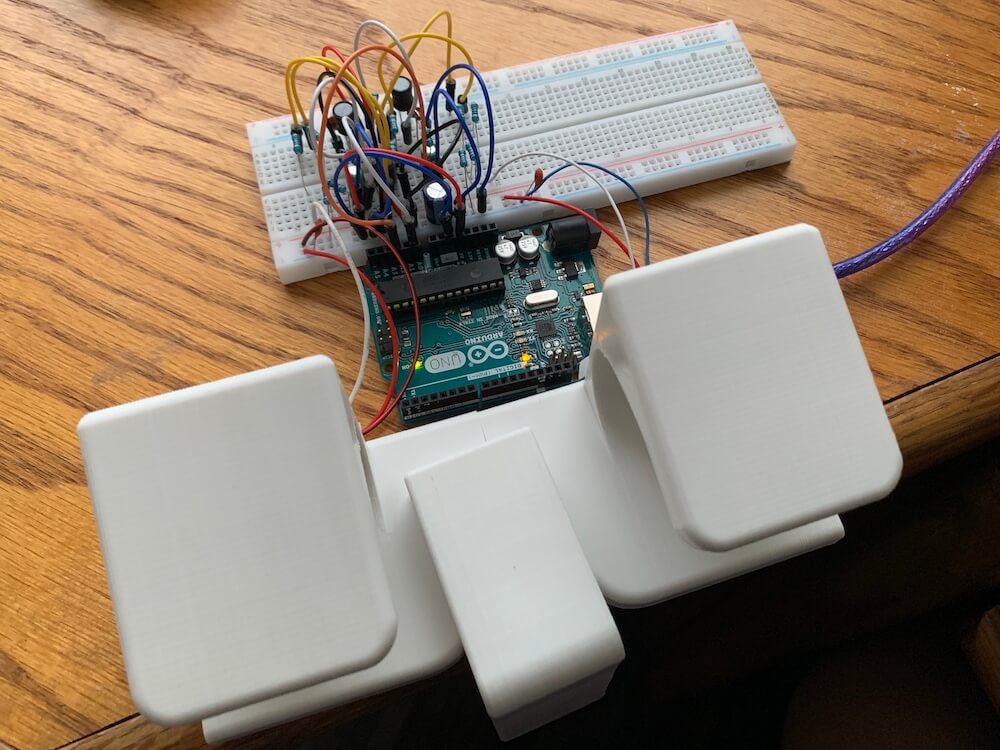
His custom device employs a pair of pressure mats on the ground to sense a player standing on one or the other, and when one’s feet leave the mat, the on-screen player jumps to the opposite wall. Players must then recover and balance on the other mat, and jump back when needed.
An Arduino senses this interaction using the standard Firmata firmware, whilee a PC running the Johnny Five library and a Node server passes commands on to the game itself via WebSockets.
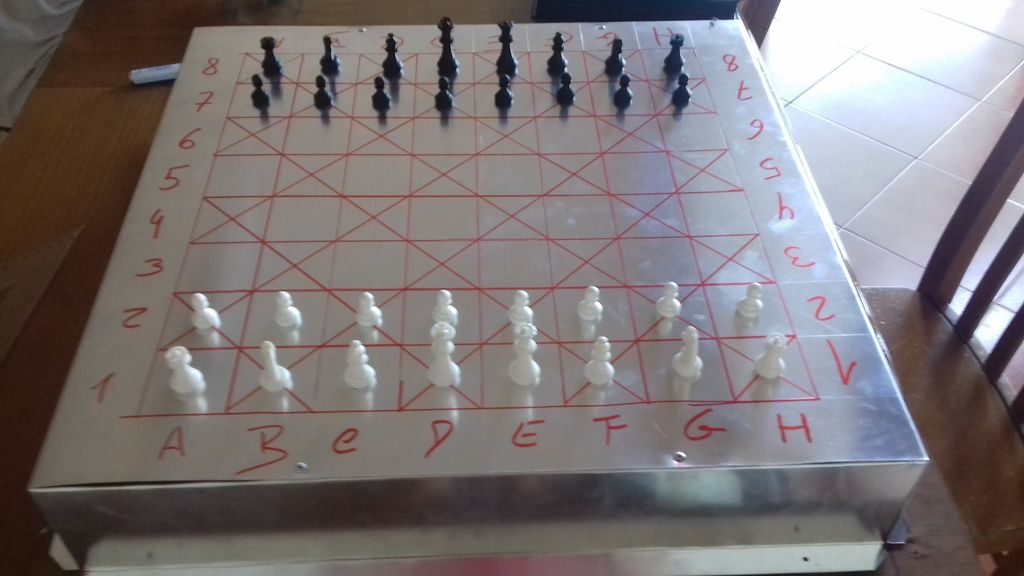
Consider the game of chess. It’s a game that flexes one’s “mental muscles” rather than relying on brute strength, but if you don’t have the ability to actually move the pieces, things get a bit more challenging. If you’re playing against another human opponent, he or she could move for you based on what you say, but with this chess machine by ‘diyguypt,’ the board does the job for you!
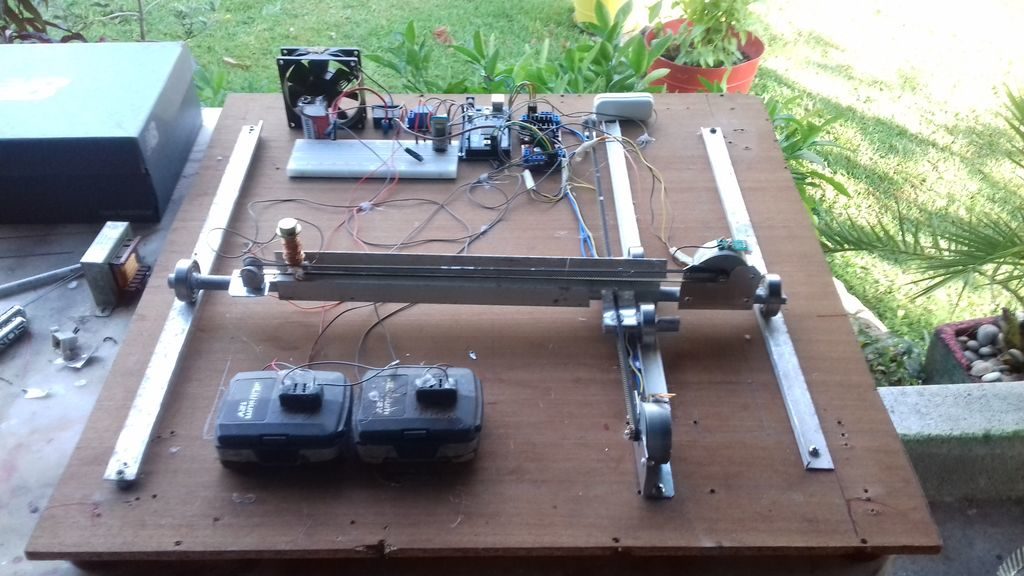
The system uses an Android-based Arduino Voice Control app to take in commands, and passes this information along to the Arduino Mega concealed under the board via an HC-05 Bluetooth module. It then controls a pair of stepper motors to move an electromagnet into place, which pull the pieces across the grid as if by magic!
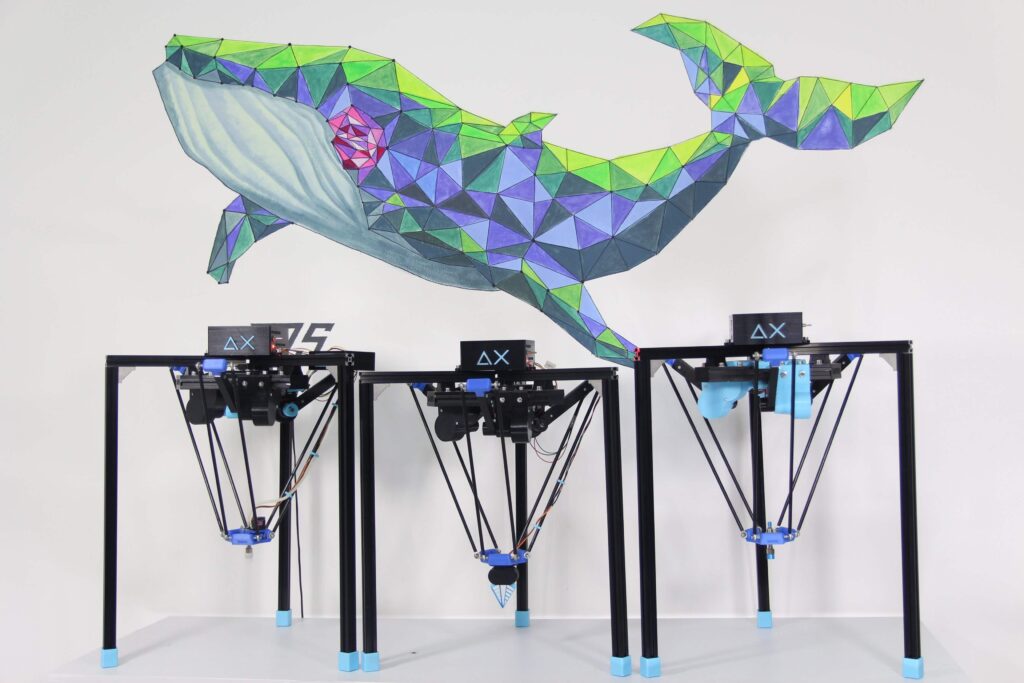
If you’ve ever seen a delta 3D printer work, you’ve certainly been amazed at the careful coordination of three motors to accurate position a carriage. While impressive in this role, delta robots can be used for much more, from laser engraving, to pick-and-place operations, to automated phone testing, or even playing the piano.
To make these systems a bit more accessible, Doan Hong Trung has developed an open source delta robot — dubbed Delta X — based on an Arduino Mega and a RAMPS 1.4 board that can do all of these jobs and more.
Details on the modular kit are available here, along with many more clips of it in action. It’s slated to debut on Kickstarter soon, and you can sign up on deltaxrobot.com to be notified when it launches. Design files for the build will be released when successfully funded.
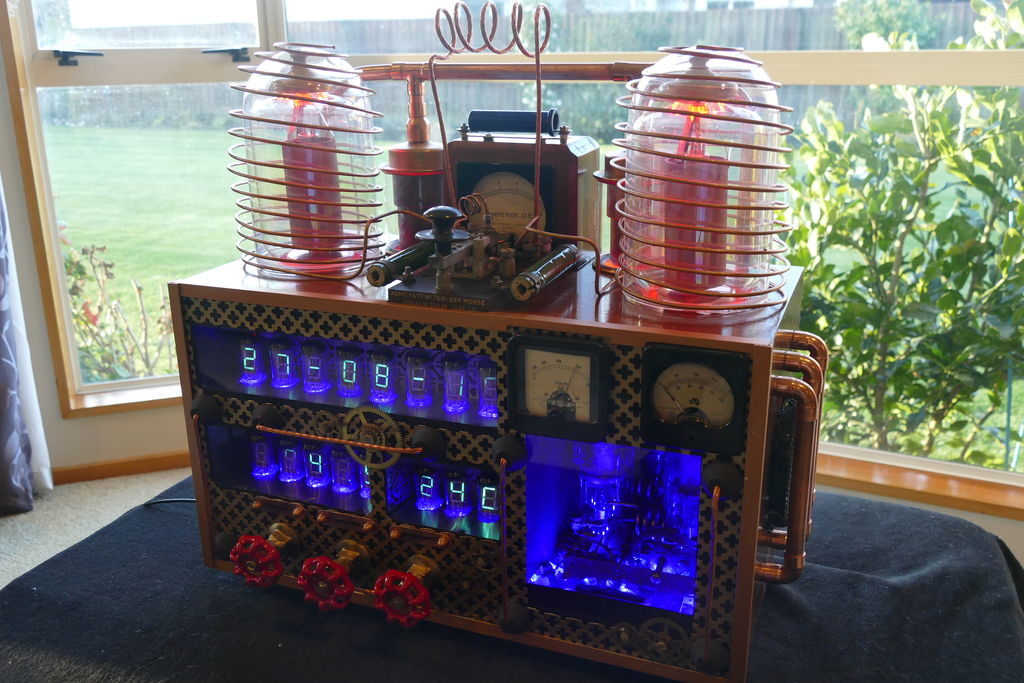
If you want to create your own steampunk/mad scientist entertainment center, it would be hard to top this radio/clock setup by Christine Thompson.
Her device displays the time and date on eight VFD tubes, arranged on top of another eight that show the radio frequency and volume, along with the ambient temperature and pressure read by a BMP280 sensor.
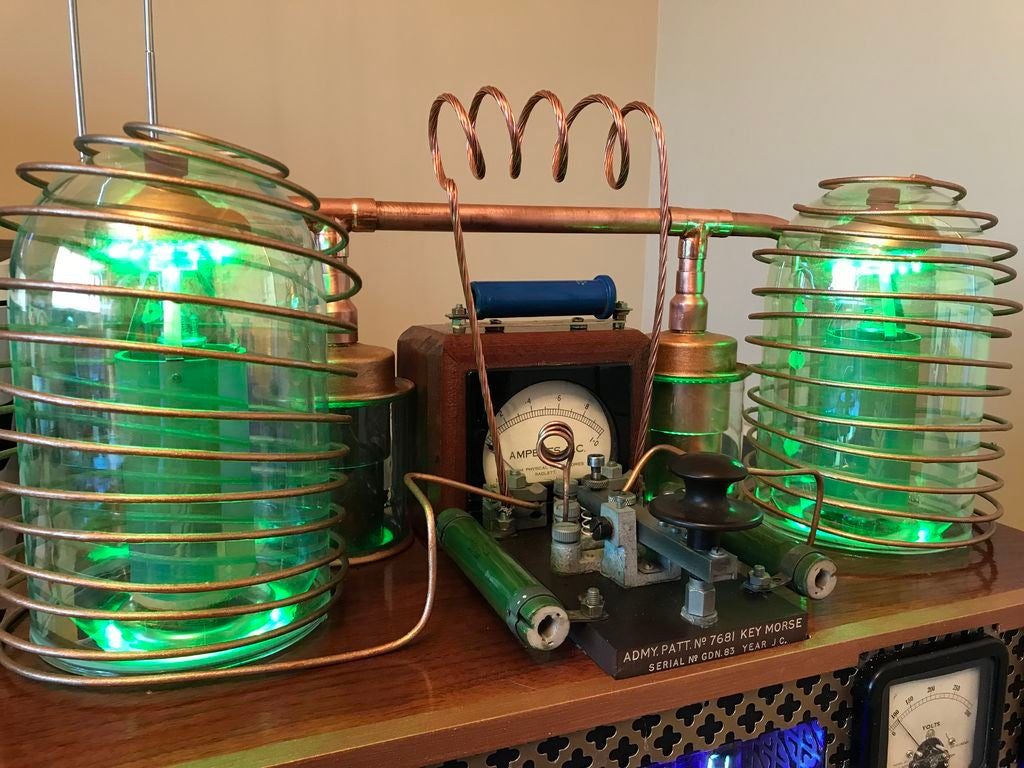
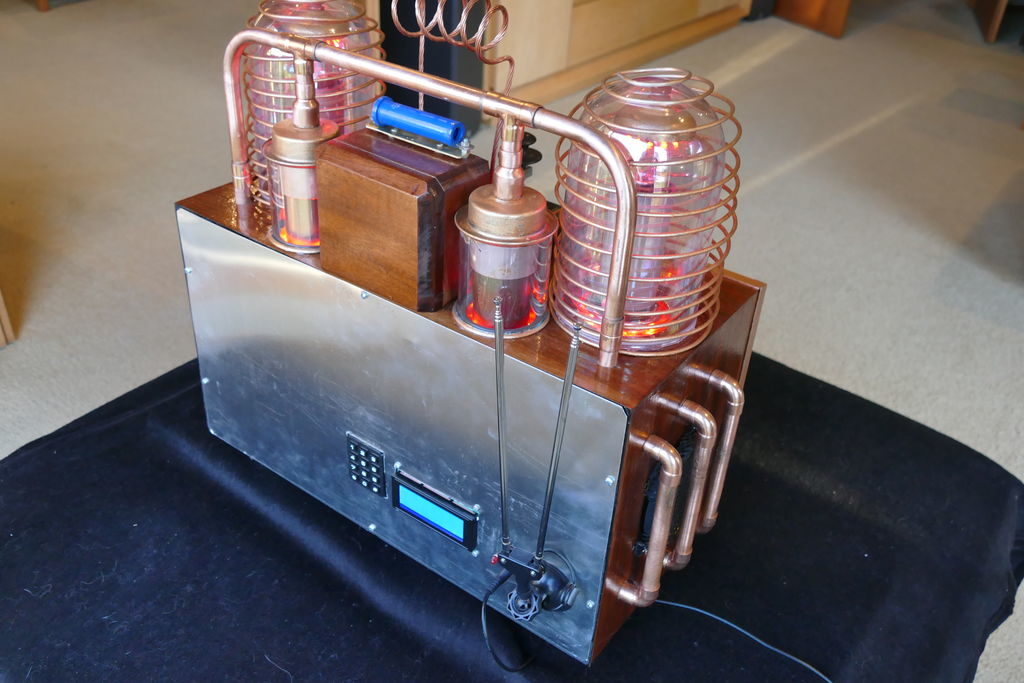
A wide variety of lighting effects, motor-driven clockwork, coils, and even an automated Morse key cement its steampunk theme, and it’s nicely housed in a restored radio cabinet.
The project is controlled by a pair of Arduino Mega boards linked together via I2C, and Thompson’s write-up has all sorts of tidbits for potential retro-display builders.
This project is without doubt the most complex I have undertaken, with sixteen IV-11 VFD tubes, two Arduino Mega cards, ten LED Neon light circuits, a servo, an electromagnet, two MAX6921AWI IC Chips, five DC power supplies, a HV power supply, two DC Volt meters, a DC Amp meter, FM stereo radio, 3W power amplifier, LCD screen, and keyboard. Apart from the above parts list, two software programs had to developed from scratch and finally the construction of the entire radio required about 200 hours of work.
I decided to include this project onto the Instructables site not expecting members to reproduce this project in its entirety but rather to cherry pick the elements that where of interest to them. Two areas of particular interest to the site members may be the control of the 16 IV-11 VDF tubes using two MAX6921AWI chips and its associated wiring, and the communications between two Mega 2650 cards.
The various components included into this project have been sourced locally, except the IV-11 tubes, and the MAX6921AWI chips both obtained on EBay. I wanted to bring back to life various items that would otherwise languish in boxes for years. All of the HF valves where sourced with the understanding that all where failed units.
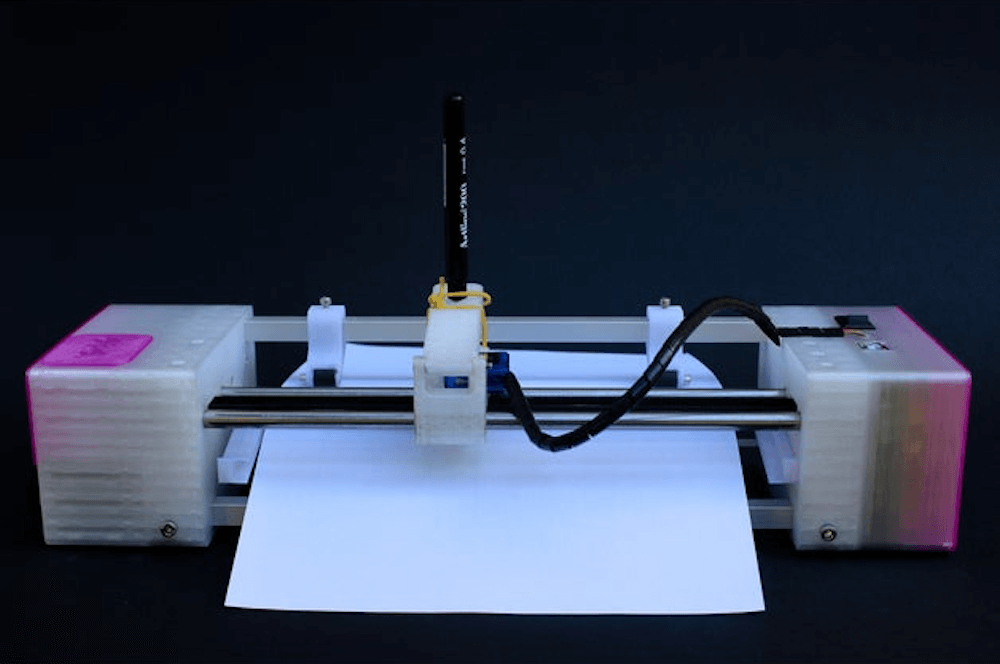
While computer printers are readily available, if you’d like a plotting device that drags a pen, marker, or whatever you need across paper to create images, your options are more limited. To fill this gap, studioprogettiperduti has come up with the d.i.d, or Deep Ink Diver.
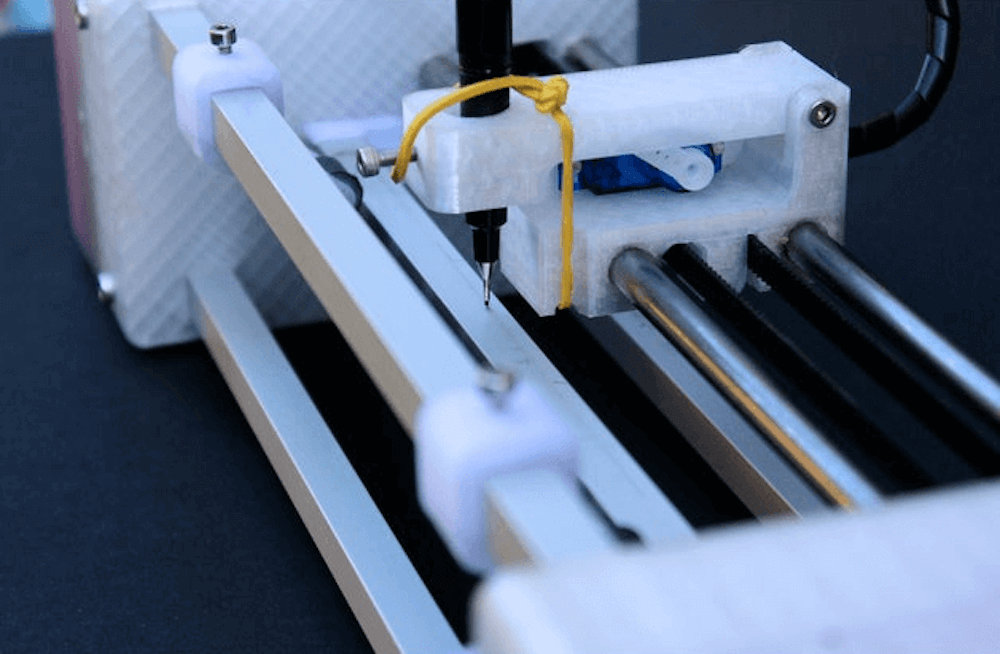
This scalable pen plotter uses a frame made out of 3D-printed parts, as well as aluminum extrusion, which could be lengthened to support the size of paper that you need. A timing belt pulls the writing carriage back and forth, while a roller advances the paper.
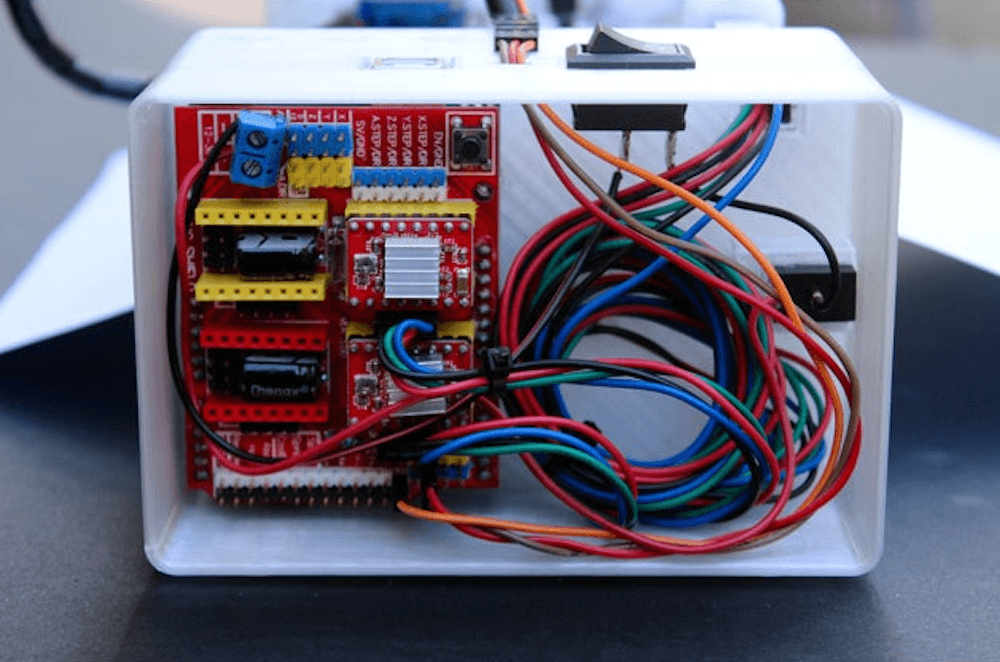
Control is handled by an Arduino Uno and a CNC shield, with a version of grbl that accommodates a servo used to lift the pen.
The materials and electronics used for the plotter are all standard and easy to source. The main frame is made of aluminum extrusion and 3D-printed connections. The motors are all standard NEMA 17 stepper motors and a single SG-90 servo motor. Everything is driven by a cheap Arduino Uno control board that handles the transition from g-code to movement. Furthermore, the software used to create G-code, Inkscape, is open source as well.
When you need a distraction, or perhaps even now, you may turn to tapping on your desk. While a good way to keep your hands active, or pass a few uninteresting seconds, if you want to get serious with your finger drumming, then the “Arduino USB Drum” by creator colonelwatch may be just the thing.
The 3D-printable device hooks onto the edge of the table, and reads taps on its pads with a pair of strain gauges. Signals are amplified and passed along to an Arduino Uno—including tap intensity—which sends MIDI data to a computer via serial.
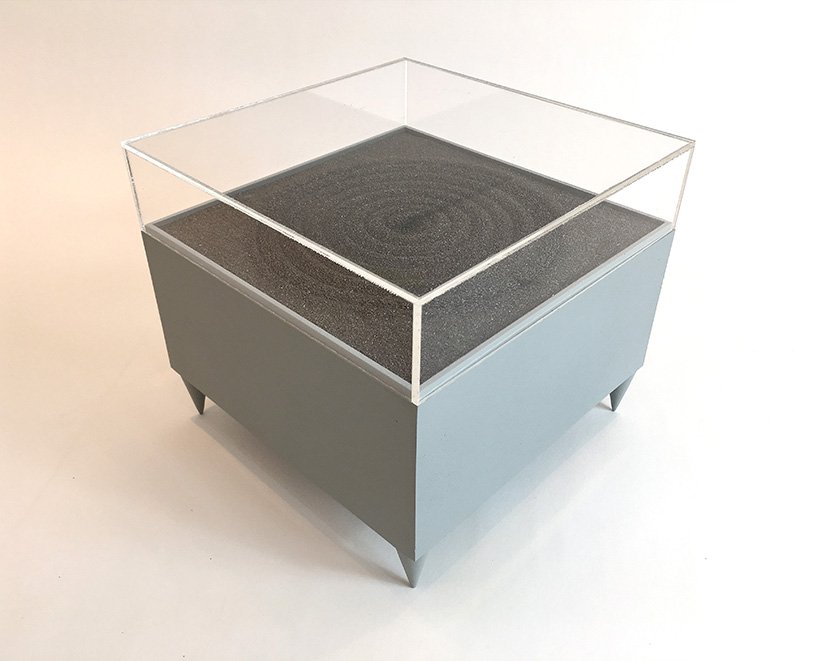
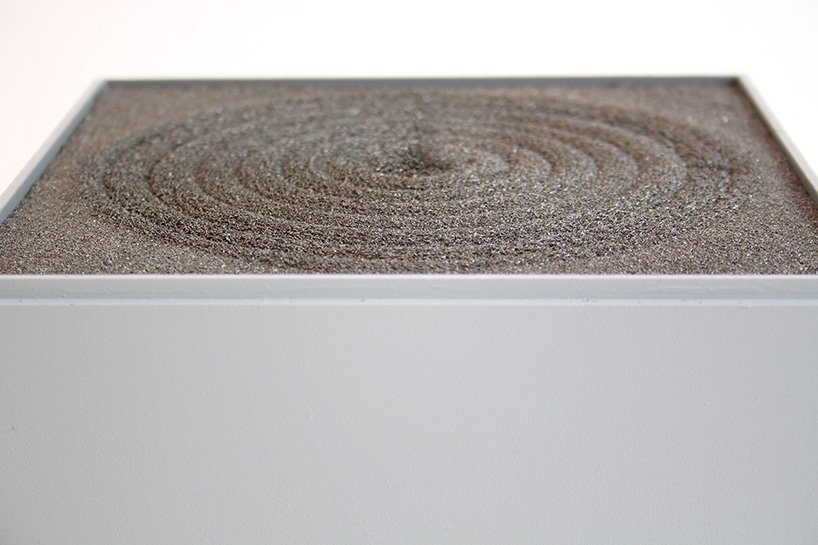
Artist Jo Fairfax has created automated drawing machines inspired by carefully manicured Japanese rock gardens, AKA zen gardens. The mesmerizing artwork uses magnets and motors that move underneath a bed of iron filings, generating soothing shapes as viewers come near via motion sensor.
An Arduino Uno is utilized for the device, or rather devices, and you can see a square “magnet garden” in the first video below, automatically producing a circular pattern. A (non-square) rectangular garden sketches a sort of snake/wave pattern in the second clip.
The build is reminiscent of sand drawing machines that rotate a metal marble through magnetic force, but does away with a visible source of movement as the filings react directly to the magnetic field as it’s applied.
An Arduino Uno is programmed to set off a mechanism with integrated magnets below the platform of iron filings. each time a viewer approaches the machine, it starts to ‘draw’ and agitate the black particles, moving them around the platforms. Slowly the drawings become three dimensional and the sense of the magnets’ tracing becomes visible.
The charged iron filings create varying geometric clusters that shape the zen gardens. The drawing machines reveal the forces acting on them, imitating grass and sand that react to the natural force of the wind. the gesture of the viewer’s movement that activates the machine coupled with the magnetic power makes the artwork become a dialogue of forces… elegant and subtle, just like a zen garden.
This post is from Sandeep Mistry, Senior Software Engineer at Arduino.
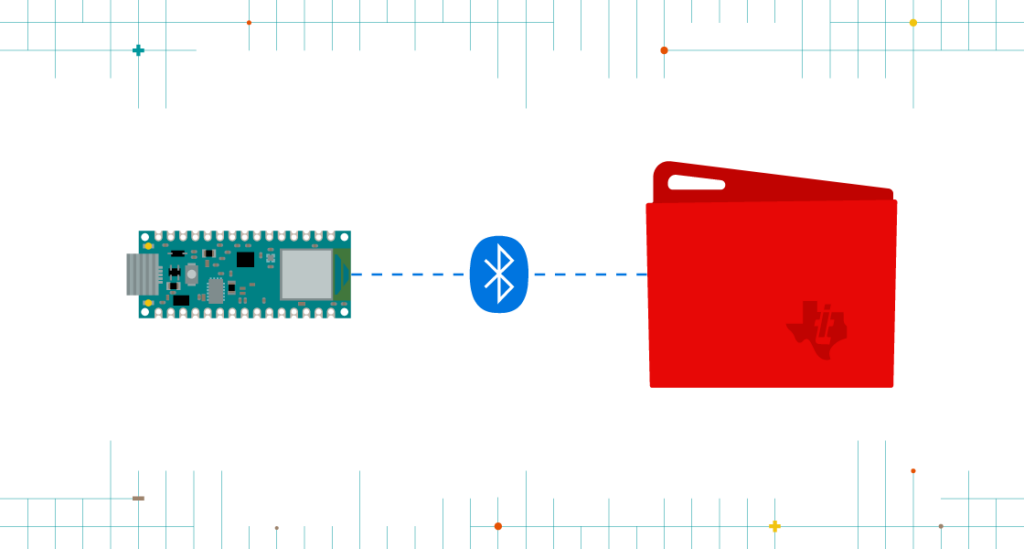
Today, we are pleased to announce BLE (Bluetooth Low Energy) central support in v1.1.0 of the ArduinoBLE library. This major feature addition allows your Arduino board to scan for and connect to BLE peripheral devices. With one simple library, you can now use BLE to directly connect your Arduino board to:
A smartphone, tablet, laptop or PC
BLE peripherals (e.g. TI SensorTag) – NEW!
Another Arduino board – NEW!
The ArduinoBLE library and new BLE central feature are supported on the following Arduino boards:
Prior to this release, Arduino only officially supported BLE peripheral functionality on these boards. A BLE peripheral is typically used to expose some sensor data or actuators to another device BLE central capable device such as a smartphone or PC. With the new BLE central functionality, you’ll be able to wirelessly connect two boards together for communication or connect to a third party BLE peripheral, such as a TI SensorTag.
We think that the ArduinoBLE library is much easier to use than anything else out there and are excited to see what you build with this new capability!
The development journey
Back in 2015, the Arduino 101 was released, based on the Curie module developed by Intel. It was the first official Arduino board with on-board BLE support. The CurieBLE library initially only supported BLE peripheral mode.
After launch, the Arduino and Intel teams worked together to design an Arduino friendly BLE API that supported both BLE Peripheral and Central functionality. This was released later in 2016 in the v2.0 of the Arduino core for Arduino 101.
The BLE features of the 101 were also incorporated into the CTC 101 kit in many classrooms around the world. Students used smartphones or tablets for exercises in the kit to interact with project based lessons running on the board. Unfortunately, Intel decided to stop producing the Curie module in 2017, bringing the Arduino 101 board to end of life.
Last year, at Maker Faire Bay Area 2018, Arduino launched two new boards: the MKR WiFi 1010 and Uno WiFi Rev.2. Both boards use the u-blox NINA-W102 as a 2.4 GHz wireless module. Initially both boards only supported WiFi using the WiFiNINA library. However, the ESP32 chip inside the u-blox NINA-W102 supports Bluetooth classic and BLE as well.
Later in 2018, the Arduino core team was tasked with adding BLE support to the MKR WiFi 1010 board so that it could be used with the upcoming Arduino Science Kit Physics Lab product. The Science Kit Physics Lab product is another educational kit, targeted for students in the classroom. We had several choices to move forward, including:
Bridging the ESP-IDF’s BLE API’s via RPC to the main MCU that sketches run on
Basing things on the industry standard Bluetooth HCI protocol and investing in a Bluetooth HCI host stack as an Arduino library
The first option above was expected to take an equal amount of time to the second, but also would make the BLE library exposed to users highly dependent on the underlying firmware running on the ESP32. It was also not as portable to other chip sets in the future. Thus, ArduinoBLE was created. The NINA firmware only needed small change to bridge its virtual Bluetooth HCI controller to the UART pins of the module.
Earlier this year, we released the Arduino Nano 33 IoT and Arduino Nano 33 BLE boards. Since the Arduino Nano 33 IoT uses the same chipset as the MKR WiFi 1010, things worked out of the box. For the Nano 33 BLE, which is based on the Nordic nRF52840 chip, a new Arduino core was developed for this board based on mbed OS (see this blog post for more info). mbed OS includes a radio stack called Cordio, which provides both a Bluetooth HCI link controller and HCI host. Creating a single C++ class that interfaced with Cordio’s Bluetooth HCI link layer allowed us to re-use 95%+ of ArduinoBLE on this board.
After the Nano 33 BLE started shipping, there was even more demand for BLE central support. So, development for feature was scheduled and is now available. It combines the API designed for the Arduino 101 in CurieBLE ported on top of ArduinoBLE’s Bluetooth HCI host stack.
Many thanks to Tom Igoe, one of the co-founders of Arduino, for providing feedback on the official Arduino BLE libraries throughout the years.
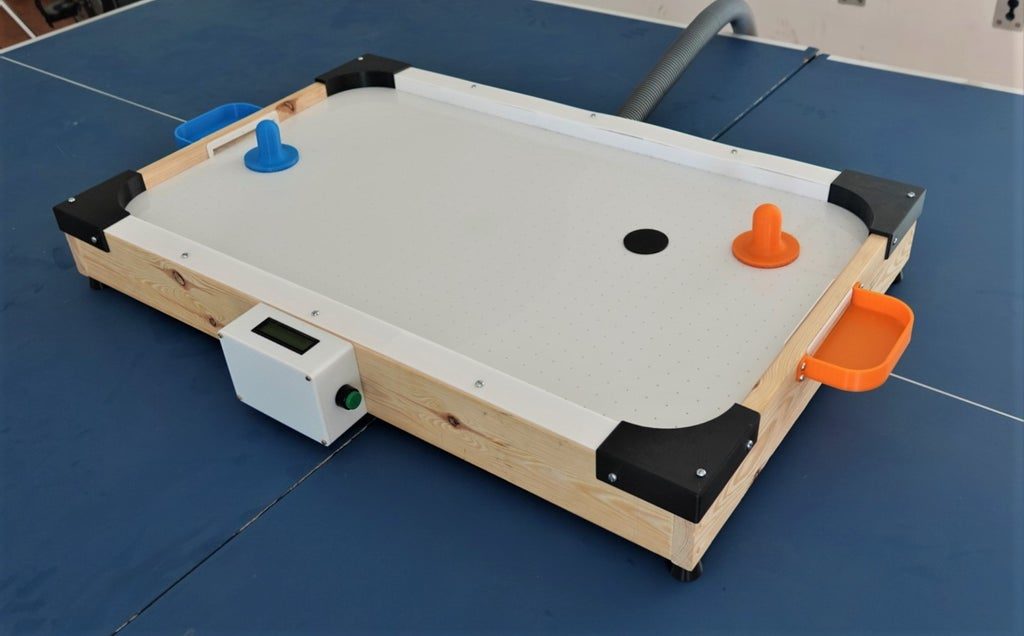
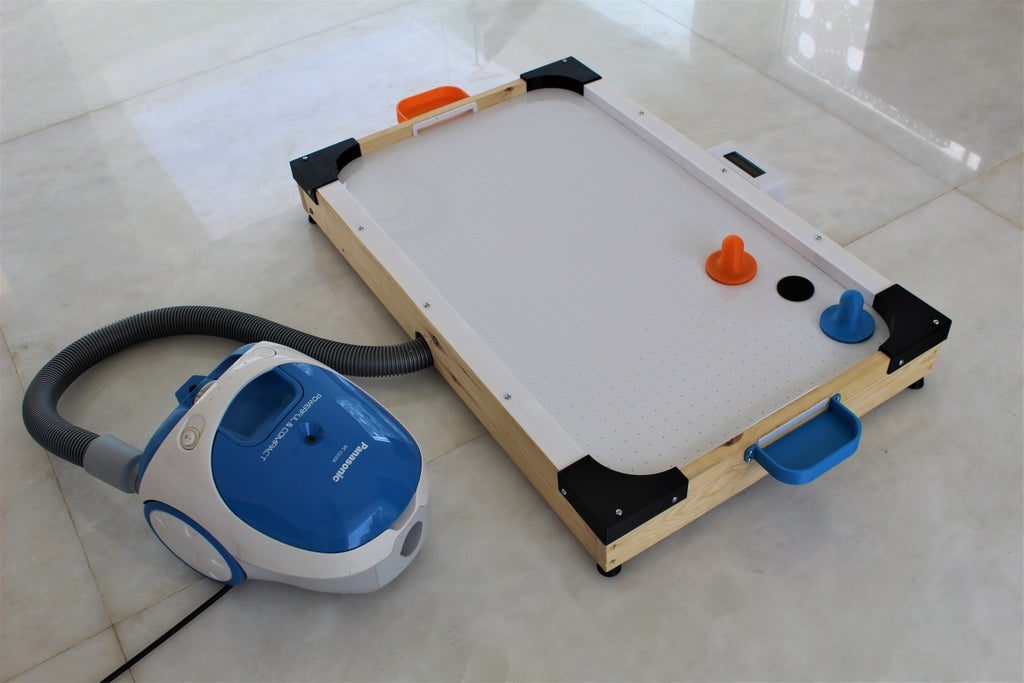
Cleverly, the scaled-down game table uses a household vacuum cleaner blower attachment to provide air pressure, sending little jets of air through a grid of laser-cut holes on the acrylic playing surface.
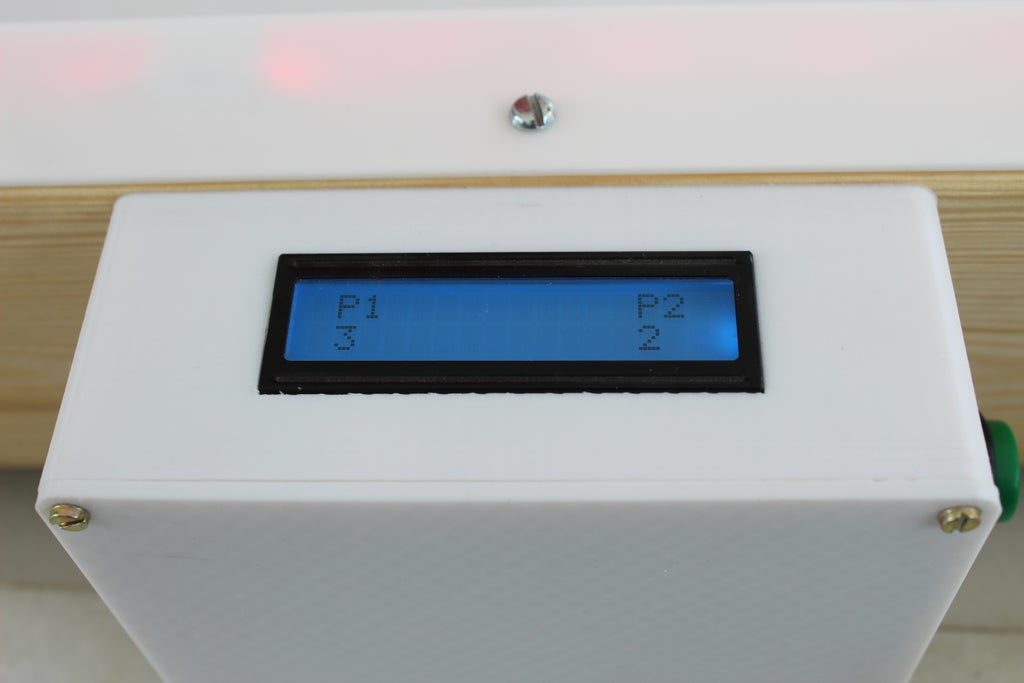
LED lights embedded in the sides add a bit more excitement to the build, and points are tallied with an Arduino Uno-based LCD score display. A pair of buttons are used to register a points for either player, hopefully eliminating arguments over who is ahead as the game progresses!
A few weeks ago, we announced that Arduino now works with TinyGo, the popular compiler that brings the Go programming language to microcontrollers. We had the opportunity to sit down with Ron Evans, Technologist for Hire, and learn more about the Arduino and TinyGo integration.
Some of our audience knows about Go (we ourselves use it to develop many of our tools). In a few words: what is TinyGo and how does it stand compared to Go itself?
TinyGo is a Go compiler for small places like microcontrollers. TinyGo is written in Go like the standard Go compiler, but TinyGo then uses the LLVM toolchain to compile Go programs to a fraction of their normal size. TinyGo also employs a different runtime implementation in order to target constrained environments.
Why choosing TinyGo over other languages?
If software is eating the world, then Go is eating the world of software. The popularity of Go is still rapidly expanding, and TinyGo helps bring the new “enterprise standard” language down to the smallest of processors. Also as a compiled language, TinyGo can offer substantially better performance and size efficiency than that of interpreted languages like JavaScript and Python.
How does TinyGo compare to embedded python and JavaScript implementations?
One good reason to use Go is the clear and maintainable code that Go insists that you create. Generally speaking, the normal Go tooling that is included with the language itself is what you use when writing TinyGo code. For example, the standard built-in code formatting. TinyGo includes implementations of the Go “net” package targeting the Arduino Nano33 IoT, so you can more easily reuse existing Go code for TCP/UDP or higher level protocols such as MQTT. This really makes it a lot easier to build commercial or industrial IoT solutions.
Another reason to use TinyGo is the ability to utilize Go’s concurrency. TinyGo implements “goroutines” which can greatly simplify your code to take the greatest performance advantage offered by modern 32-bit microcontrollers.
With security in IoT being one of today’s hottest topics, which tools does TinyGo offer that enable the development of secure projects?
There are a number of things that can make development, deployment, and operations using TinyGo good for edge computing applications that require greater security. Since the code is compiled to binary, it is possible to use code signing and other well known approaches for secure computing.
Another is that any device data must be encrypted while in transit from from the device to any cloud storage or analytics. TinyGo on the Arduino Nano33 IoT can use standard APIs for SSL communication to cloud services, such as using the Eclipse Foundation’s Paho MQTT client for Go. This makes it a lot easier for developers to do the right thing the first time when creating applications.
How can TinyGo improve the Arduino ecosystem? How will our existing audience benefit from using it? Will they be able to use the Arduino libraries already existing?
There is a very active community in the Arduino world, with lots of existing useful libraries. We are planning much deeper integration for TinyGo powered by Arduino, more on this in the near future…
Many people love TinyGo because it’s simple yet powerful. Do you see any similarity with the Arduino mission of ‘making technology simple for everybody?'”
Arduino has really pioneered the open hardware movement, and defining clear APIs to devices has been a huge contribution. TinyGo very much tries to embody this same spirit, while at the same time provide an idiomatic Go language programming experience. Combine the sensibilities that have made TinyGo so popular and that are fueling our continuing growth, alongside the amazing capabilities powered by Arduino, and there are no limits to what we can do!