Posts with «featured» label

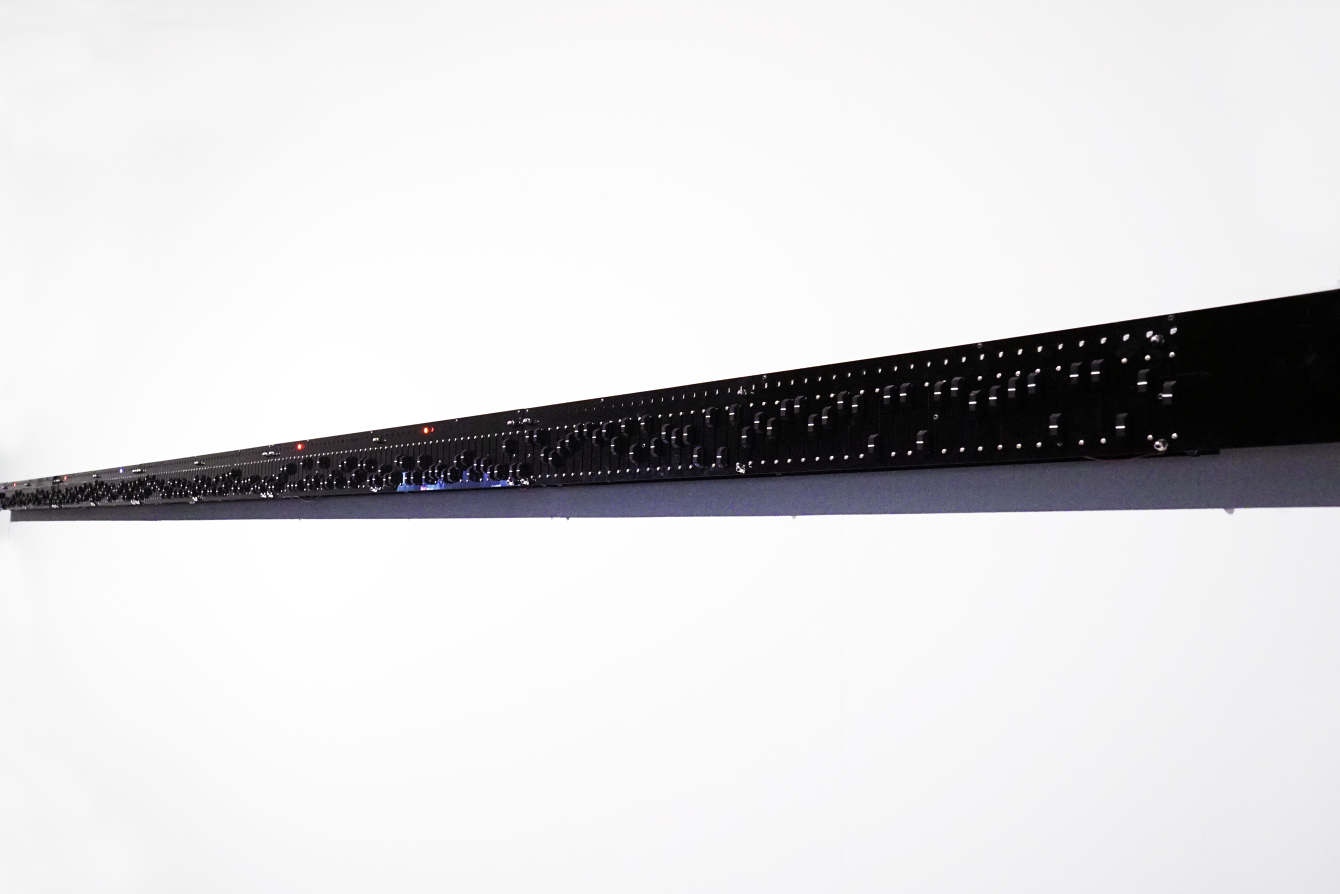
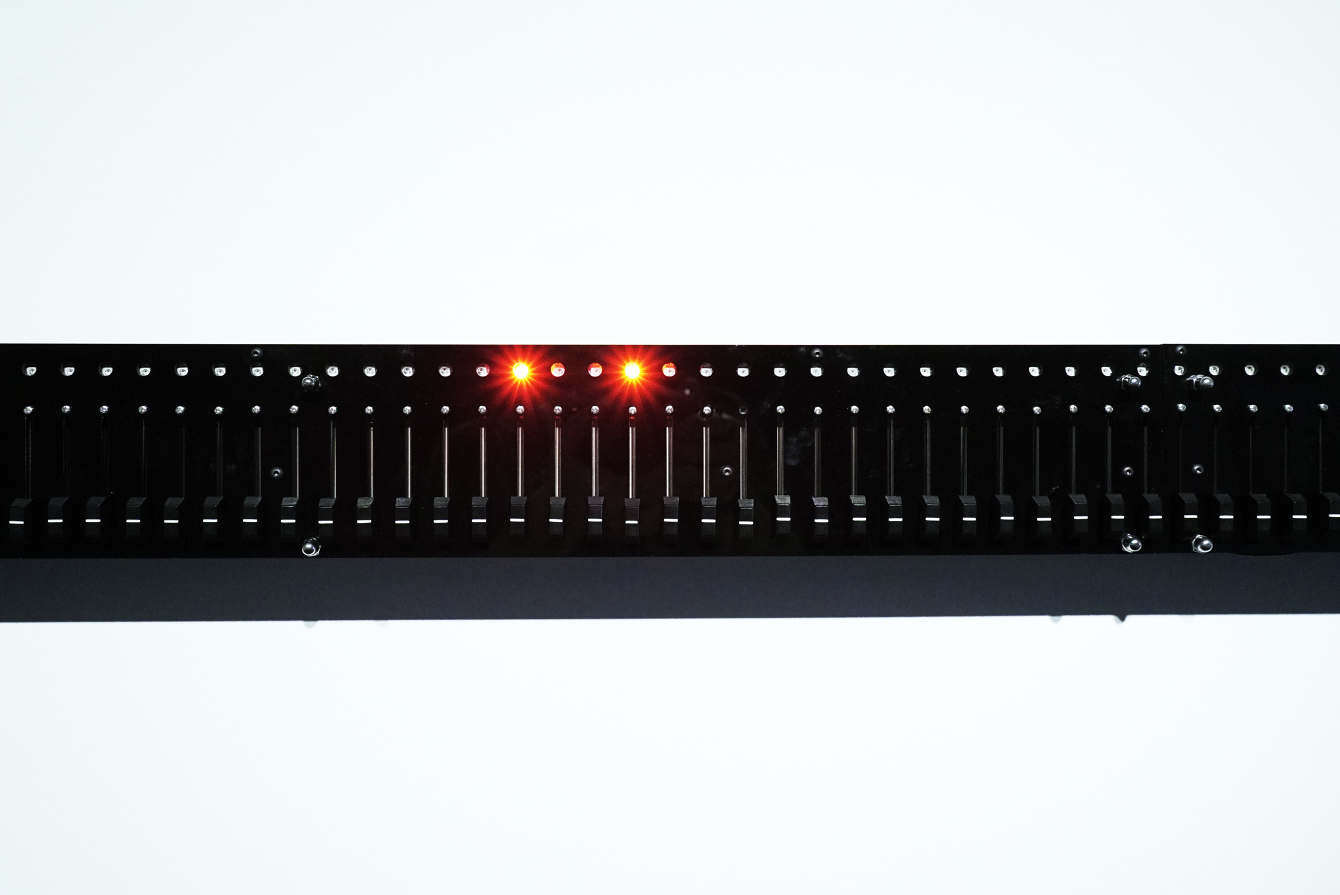
Ivy is a massive 240-step sequencer

Most musical sequencers use an array of buttons to control sounds played in 16 or perhaps 32 steps. As seen here, Moscow-based artist Dmitry Morozov (aka ::vtol::) created an installation called “Ivy” wth not 16, but 240!

The sequencer is based on an Arduino Mega along with 74HC40967 multiplexers to handle input from the 240 sliders arranged as controls for each step.  There’s also a bunch of WS2811 LEDs, which are driven by a Teensy board.

Ivy stretches five meters in length, and several “voices” represented by dots on the 1-dimensional light array travel both right and left at different speeds simultaneously. This allows it to be programmed in ways that wouldn’t be possible with traditionally-operated musical devices.

The project is created specially for Open Codes exhibition in ZKM center, dedicated to codes and programming in art. On one side, Ivy is a representation of an archaic method of electronic music programming for analog synthesizers. On the other side – gigantic scale and obsessive multiplication of simple primitive elements turns this project into an art installation, that is referring to the topic of graphic and physical organization of parameters in electronic music.

You can read more about ::vtol::’s latest sound installation here, and see it in action below!

Arduino Blog 24 Oct 19:27

Building an ALS communication device with Arduino

The father of hacker Ricardo Andere de Mello’s good friend has ALS. His symptoms have become worse recently, causing the loss of much of his motor control. To help with the situation, de Mello decided to build a device that would enable him to communicate with his family.

What he came up with was a finger-mounted accelerometer that senses movement, and feeds data to a computer using an Arduino Uno, updated for HMI use. The computer then allows the ALS patient to speak via the same ACAT software used by Steven Hawking.

The result is a system that is very affordable, and that can hopefully help a lot of people with this and other debilitating conditions. For more information, be sure to check out the project’s write-up and watch its demo videos below.

Students invent a low-cost electric wheelchair kit with Arduino

While electric wheelchairs are a vital tool for those with restricted mobility, they typically cost around $2,500, an amount that’s not the most affordable. To address this problem, a group of students from Aviv High School in Israel have come up with a low-cost, 3D-printed motor conversion kit that connects to a standard push-chair without any permanent modification or damage.

The system uses a pair of motors to steer like a tank, and features a joystick and Arduino Uno for control. Another interesting feature is shown later in the video below, when it’s folded up for storage with the motor kit still attached.

You can check out the team’s website for more details this incredible project, as well as All3DP’s recent article here.

The Weather Followers randomizes your digital experience

As our lives become more and more automated, we tend to rely on computers and unseen algorithms to “protect” us from unapproved experiences. In order to illustrate this concept, and hopefully introduce serendipitous events to our digital lives, David Columbini has come up with an installation that feeds information to users via a web app, available only when it’s on display.

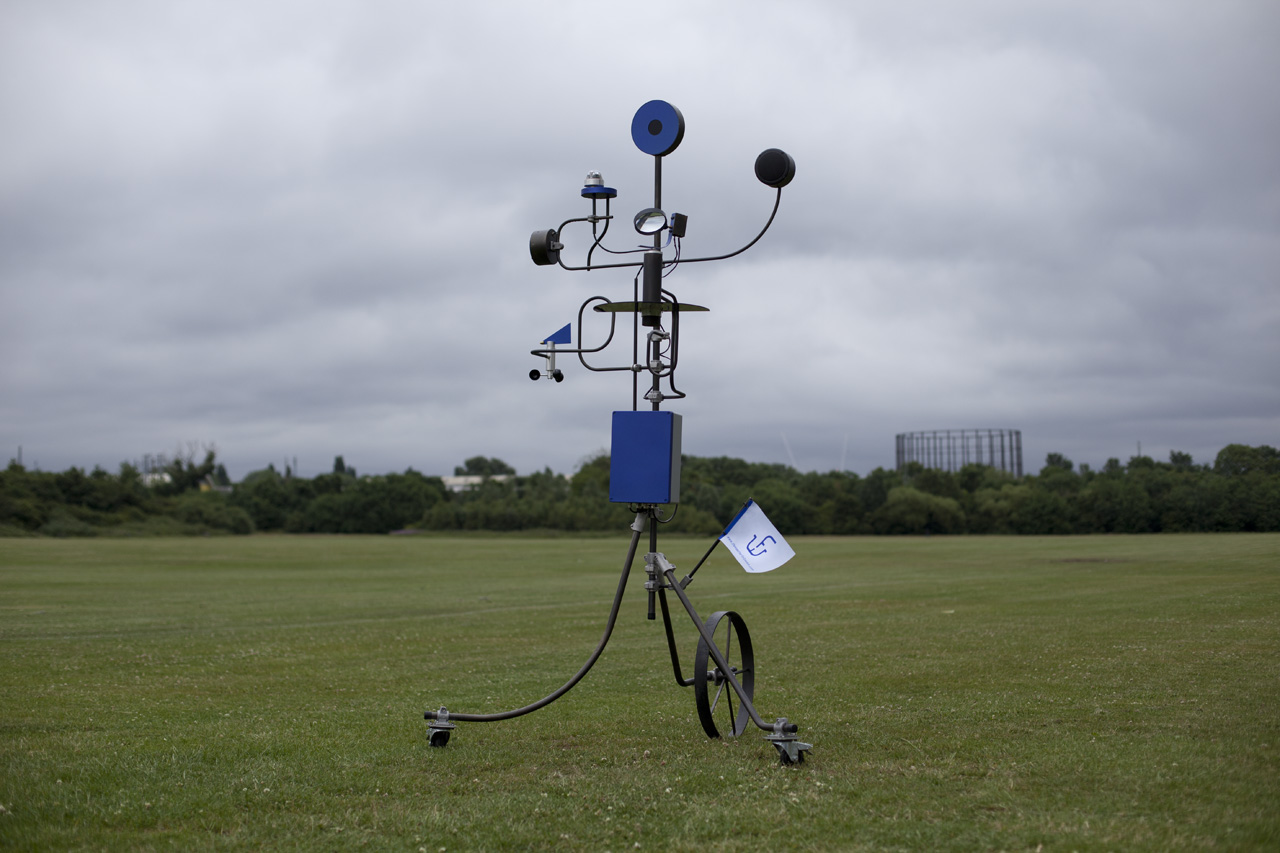
Instead of implementing a carefully designed algorithm, what users experience is based on constantly evolving local weather data sensed by a physical machine equipped with an Arduino Mega, a Raspberry Pi, various sensors, and some other components.

“The Weather Followers” is comprised of four different instruments: a wind-driven messaging app, a pollution-distorted selfie tool, a music player based on the rhythm of rain, and even a device that erases your feed depending on the sun’s intensity!

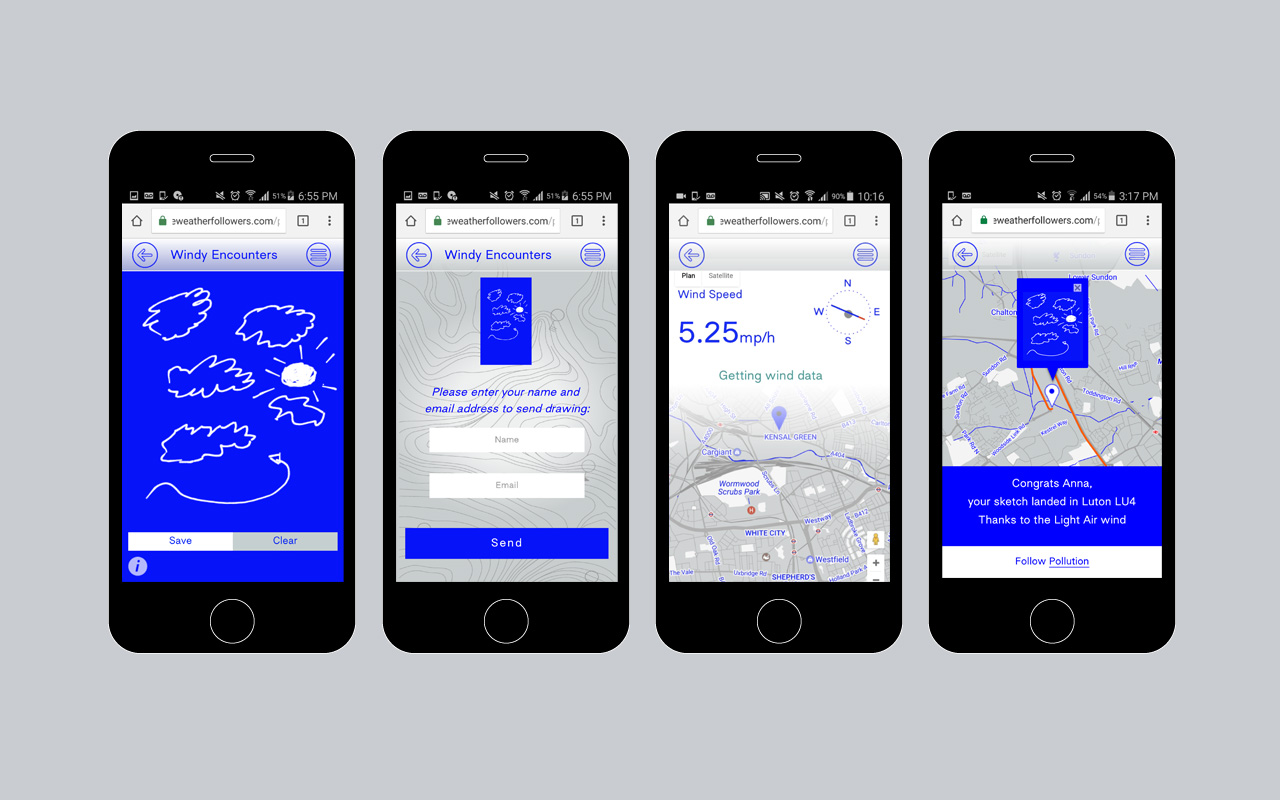
The installation is comprised of two elements, the four weather instruments and the webapp. Users are invited to connect to the weather machine through the webapp and choosing between one of the four weather instruments: Windy encounters (when your digital social life follows the wind), Polluted Selfie (when your digital individual life follows the pollution), Drizzly Rhythms (when your digital audio life follows the rain) and finally Sun(e)rase (when your digital overwhelming life follows the sun).

More details on the project can be found here. If you want to see another weather/digital world combination by Columbini, be sure to check out this balloon messaging system!

Integrating a Nintendo Power Glove with today’s VR technology

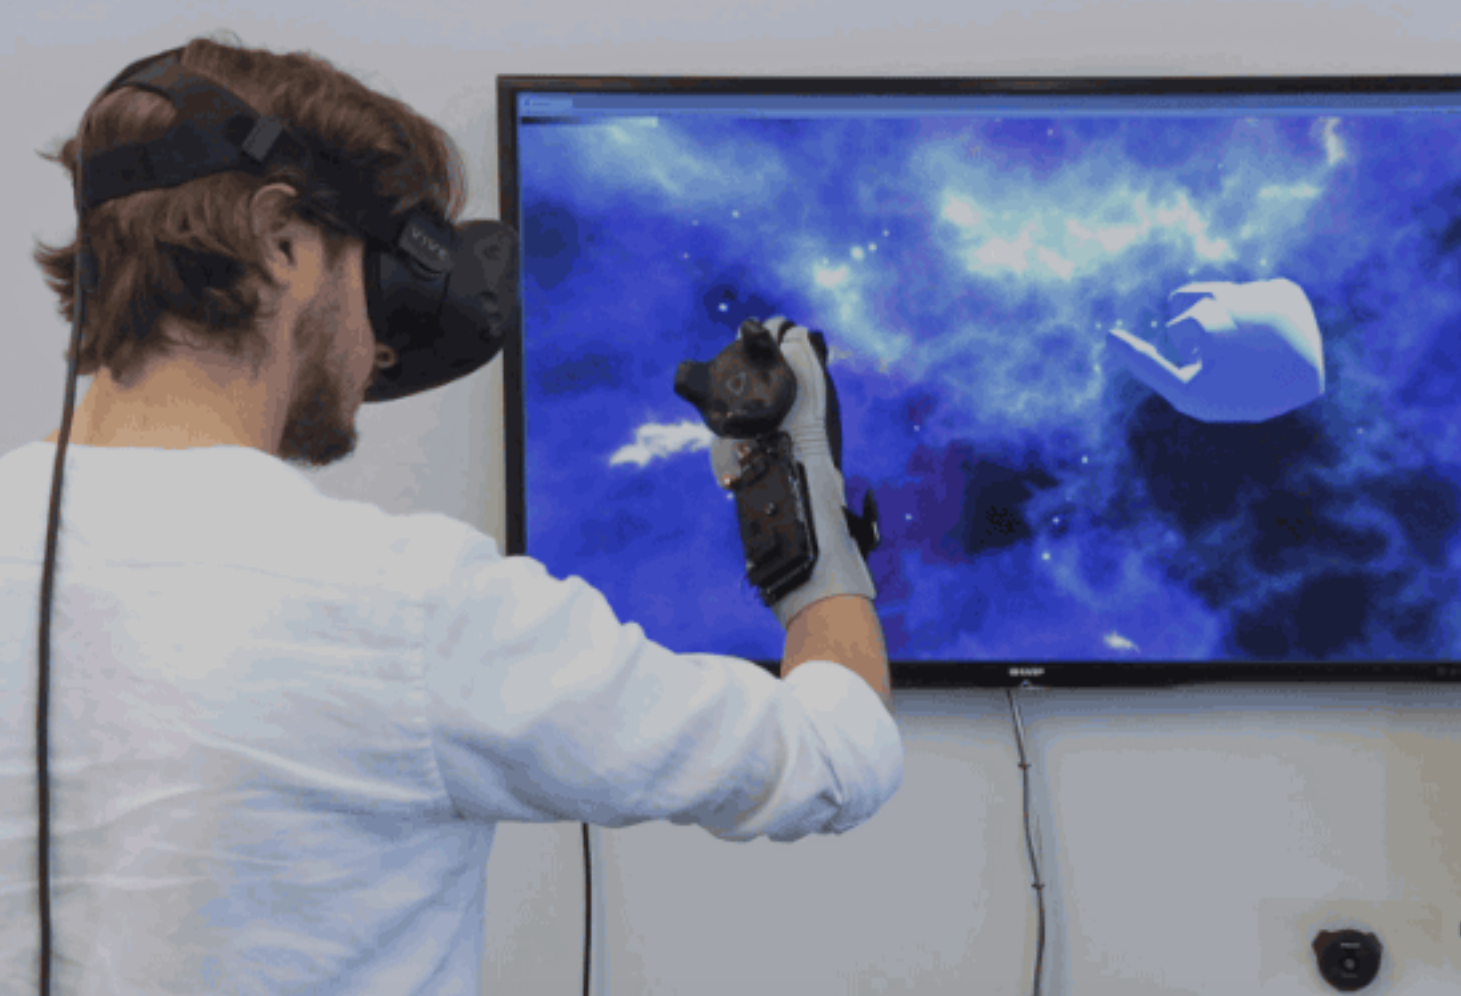
When the Power Glove was released in the early 1990s, the idea that you could control games with hand motions was incredible, but like the Virtual Boy that followed years later, the hardware of the day just couldn’t keep up. Today, hardware has finally gotten to the point where this type of interface could be very useful, so Teague Labs decided to integrate a Power Glove with an HTC Vive VR headset.

While still under development, the glove’s finger sensors have shown great promise for interactions with virtual touchscreen devices, and they’ve even come up with a game where you have to counter rocks, paper, and scissors with the correct gesture.

Making this all possible is the Arduino Due, which supports the library for communicating with the Vive tracker.

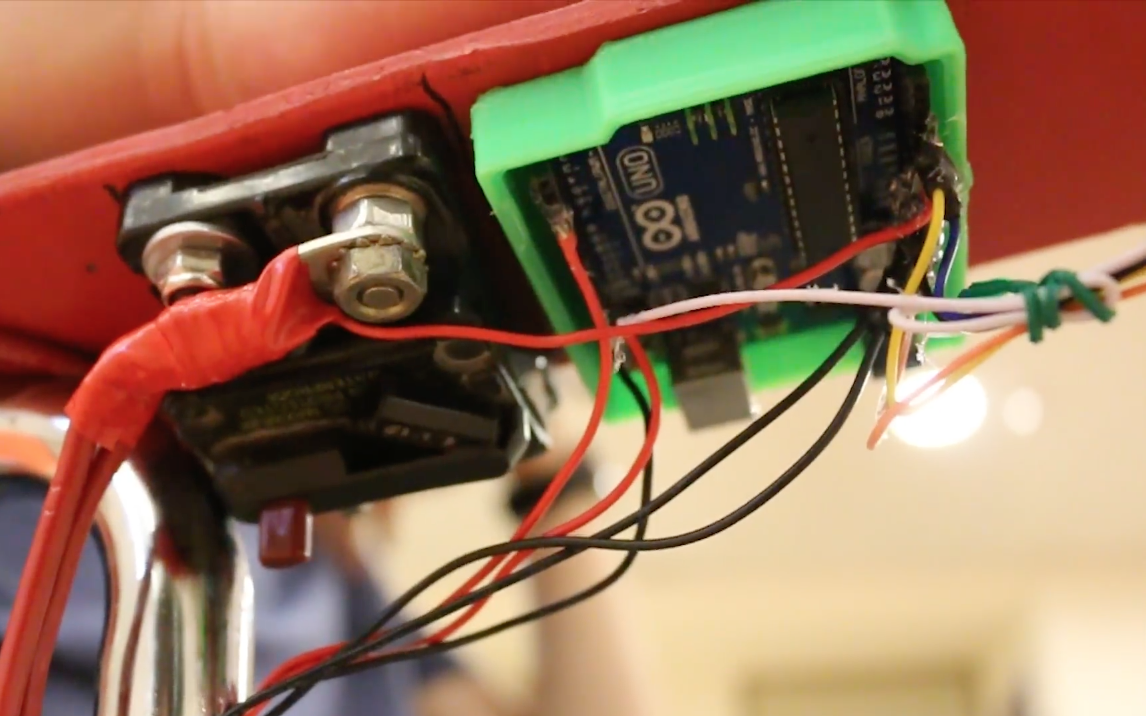
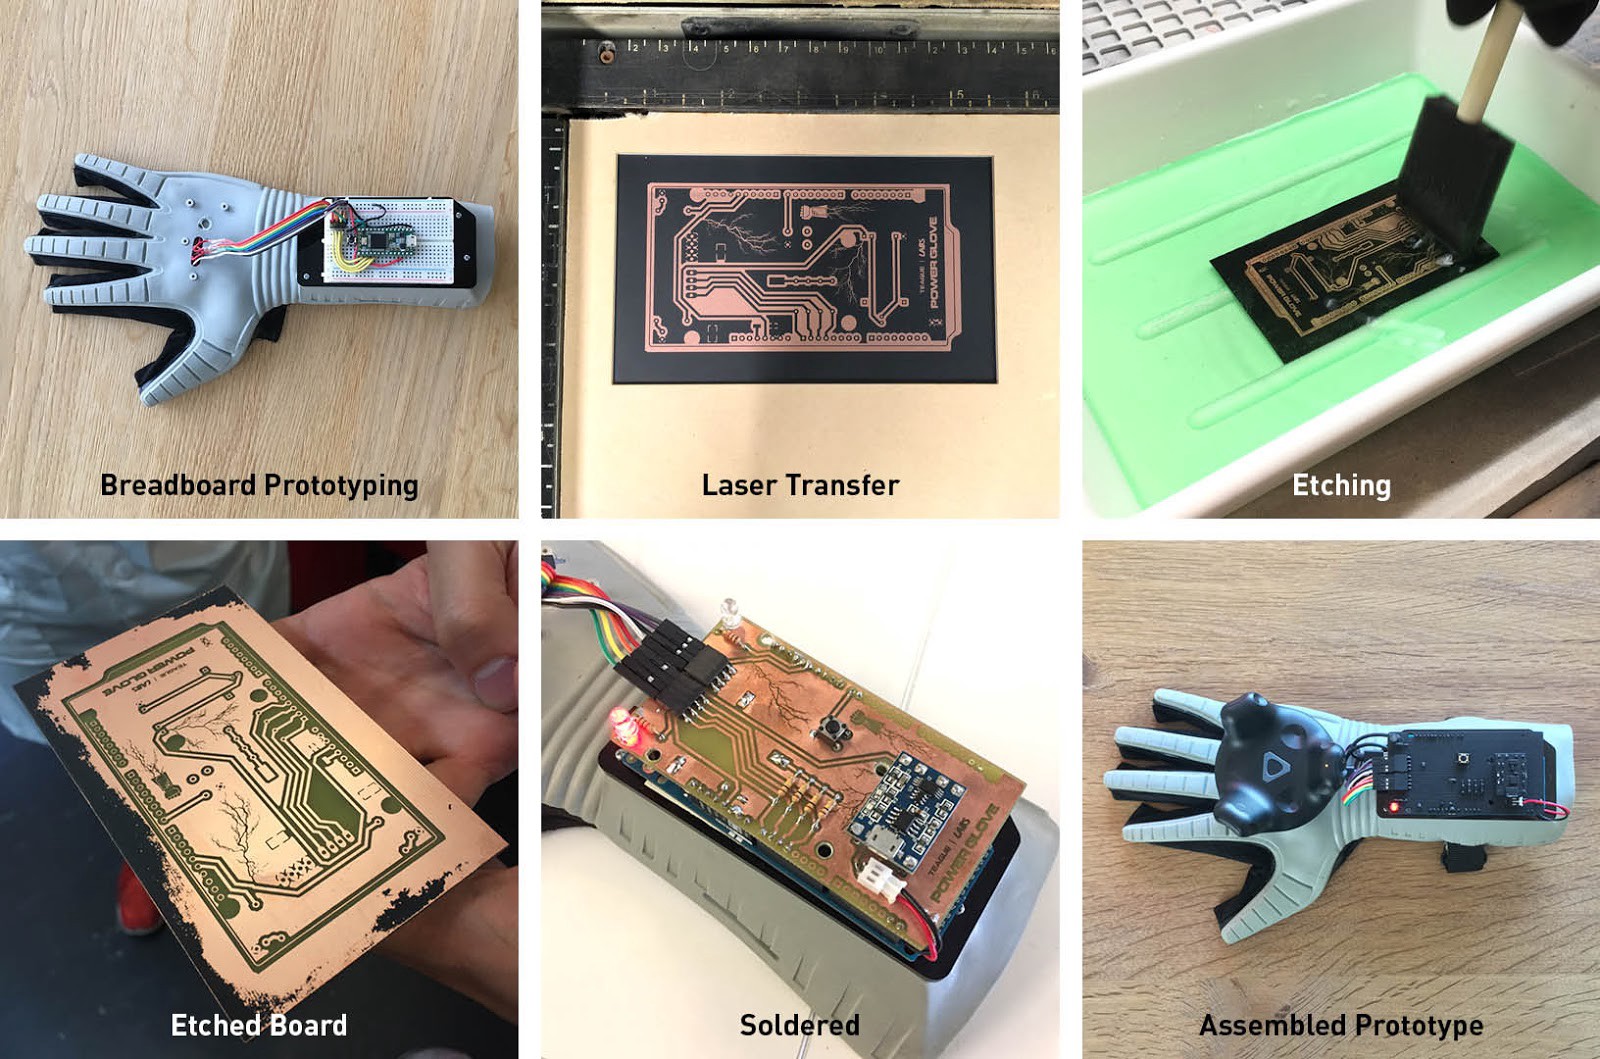
We took a Power Glove apart, 3D scanned the interfacing plastic parts and built modified parts that hold the Vive Tracker and an Arduino Due on the glove. After some prototyping on a breadboard, we designed a shield for the Due and etched it using the laser-cutter transfer technique. We then soldered all components and spray-painted the whole shield to protect the bare copper. After mounting the tracker and tweaking the code by matzmann666, we had the glove work.

If you’d like to see the details of what has been accomplished so far, check out the Teague Labs team’s design files and code on GitHub.

Make an Arduino-controlled boost gauge for your racing sim dash

If you’re really serious about car racing games, at some point you may want to upgrade your instruments from being on-screen to physically residing in your living room.

While this would appear to be an arduous task, displaying your in-game boost level on a physical gauge is actually as easy as connecting a few wires to an Arduino Nano, then using SimHub to tie everything together.

As seen in the video below around 2:45, it looks like a lot of fun! While a boost gauge by itself might not be as immersive costly sit-inside racing sims, one could see where this type of hack could lead to ever more impressive DIY accessories.

Arduino Blog 18 Oct 18:35

Antique organ speaks clues at an escape room

When tasked with converting an antique pump organ—sort of a miniature version of a full-sized pipe organ—into part of an escape room puzzle, hacker Alec Smecher decided to turn it into a vocal MIDI device.

To accomplish this, he embedded switches in each of the keys, then wired them into an Arduino Leonardo embedded in the 100-year-old organ to act as input to a desktop computer. Information is translated into browser commands using the Web MIDI API, which controls the Pink Trombone application in order to imitate a human vocal tract.

A common stop on an organ is called “Vox Humana”, or “Human Voice” in Latin. This is supposed to somehow sound like a choir or soloist, generally by adding a tremolo effect. It’s not effective — all pump organ stops sound like pump organ stops. I wanted to modify this stop so that engaging it would sound like a human voice — and not at all like a musical instrument.

The results–shown in the first video below–sound almost but not quite human, certainly adding to the tension and mystery of the escape room. Be sure to read more about Smecher’s project here.

Arduino Blog 17 Oct 20:25

A Playmobil Wedding Band

Two of Boris Werner’s friends, both musicians, were getting married, so for a unique gift he decided on a miniature stage setup with a Playmobil bride and groom as the guitarists. After some research and ordering quite a few parts, he was able to construct an impressive festival-like stage, complete with guitars, lights, and some tunes.

In order to bring this diorama to life, he used an Arduino Uno board to play WAV files from a micro SD card, along with NeoPixel rings in the background, and MOSFET-driven LEDs for lighting.

The stage even features a tiny disco ball that spins via a stepper motor, propelling the tiny bride, groom, and their young son as the drummer into the limelight.

You can check it out in the video below, and see Werner’s series of posts on the construction here.

Arduino Blog 16 Oct 19:17

Be among the first to try the Arduino IDE 1.9 Beta

Today we’re very excited (and a bit nervous) to announce the new development cycle of the Arduino IDE.

As you may have noticed, we’ve been continuously removing functionality from the Java package, and migrating them to a collection of external tools. We began this project by moving the build logic to arduino-builder, which now also powers the Arduino Create infrastructure.

We think that this split will keep the tools manageable, while giving a chance for third parties to integrate them into their products without the burden of a full-blown IDE.

Moreover, we are introducing another couple of tools:

One is arduino-cli, which we’ll uncover in the next few weeks as soon it comes out of pre-pre-alpha stage.

The other is arduino-preprocessor, which supersedes ctags in the sketch preprocessing phase. Moving to a different tool has been a necessary step for many reasons, the most important being the ctags’ limited parsing of complex C++ sketches.

arduino-preprocessor is based on libclang, statically compiled for zero dependencies execution; it uses clang’s superpowers to extract the prototypes we need, directly from the AST. As a (really nice) side effect, this engine can even be used for context-aware completion, probably the most required feature from the beginning of Arduino.

Since we’re unveiling such a big feature, it will surely impact the overall performance. To avoid keeping it out-of-tree for too long, we decided to open the beta branch.

This branch will be a playground for new ideas and implementations, including more collaborators with push powers. The branch has just been populated with all the IDE-related pull requests scheduled for the next release.

The beta branch is quite peculiar as well, because precompiled binaries generated from this branch will be available directly from the arduino.cc download page. We noticed that nightly (or hourly) builds are insufficient to spot a whole class of bugs, which may harm non-developers, users with non-latin charsets, and so on.

Being marked as experimental, the beta branch will not be ready for large-scale deployment (although it will probably be okay for everyday use); thus, we won’t provide a Windows exe or a signed OSX app. However, we hope that many people will test it and report bugs and impressions, so we can merge it safely into master in the near future.

A short curated list of the beta branch’s improvements over the latest 1.8.x IDE:

  • Initial support for autocompletion (activate it using CTRL+space)
    • Attention: Launching for the first time is quite slow and will freeze the UI. Don’t worry, simply wait for it to unstick.
  • Initial work on daemonized builder (using file watchers, will be able to spot if compilation can be avoided, partially or totally).
  • AVR core has been moved to its own repo.
  • Tabs are scrollable. 🙂
  • The serial monitor is html-aware and clickable (if steady).
  • Initial work on Library dependencies UI.
  • Initial work on Hi-DPI support on Linux.
  • Find/replace window is always on top of its own editor window.
  • Library/Board manager show buttons on mouseover.

An Arduino Mouse Wiggler!

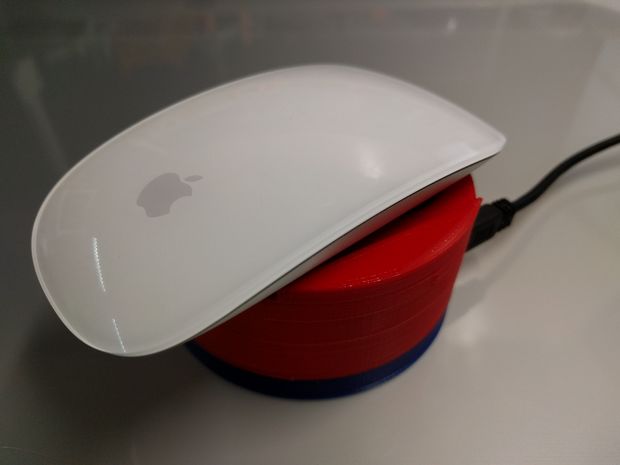
If, for whatever reason, you need your computer to stay awake without changing its settings, that’s easy—just remember to shake your mouse back and forth intermittently! If remembering to do that over and over seems like too much work, then here’s a simple solution: a device setup to optically wiggle your mouse using an Arduino Nano and a micro RC servo.

The 3D-printed unit sits underneath a mouse and rotates a printed grid left and right in order to trick it into thinking that you’re moving the mouse, and thus keeping the computer awake.

Place your mouse on top of the Mouse Wiggler and make sure the optical sensor on top of the wheel. Power the device up use a USB power adapter and you’re good to go.

There’s no software to install, which makes it easy to enable and disable as needed! You can find more details on the build on its Instructables page.