Posts with «featured» label

COME AND VISIT ARDUINO AT MAKER FAIRE ROME THIS WEEKEND!
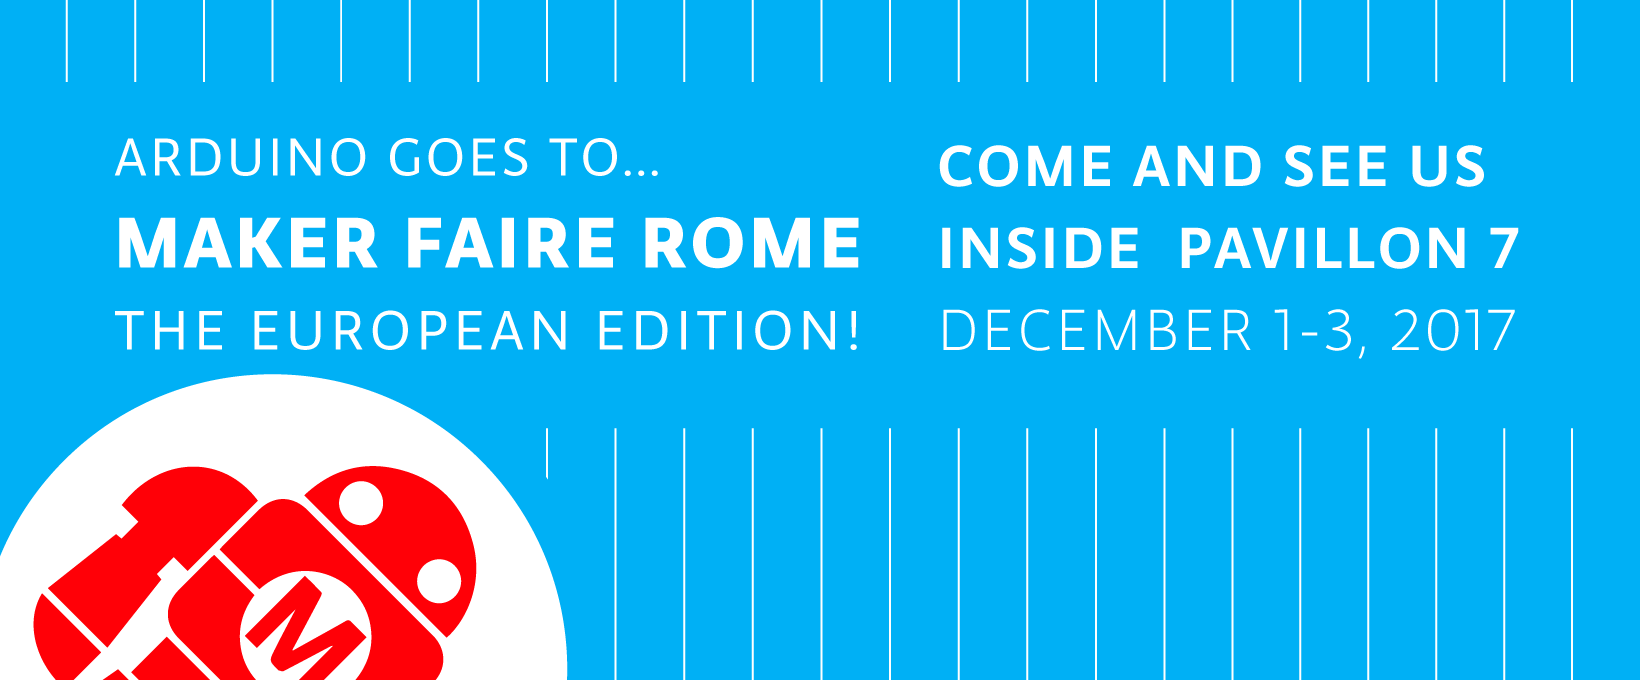
 

Starting tomorrow, Friday, Dec. 1st, the Arduino team will be exhibiting at 5th annual Maker Faire Rome – The European Edition. Those heading to Rome over this weekend (December 1st -3rd) are invited to swing by our booth at Pavilion 7 (Interaction) and join us for some inspiring talks. This year Arduino is also operating the official Maker Shop with lots of products and ideas that can help you find original gifts for Christmas.

The booth

We’ve been preparing a series of demos for adults and kids at the booth to showcase the new Arduino Education products and programs and the latest developments of the MKR family boards and IoT solutions. Moreover, you’ll have the opportunity to learn more about the AUG (Arduino User Group) Program, to meet the winner of the Arduino MKR FOX 1200 Contest, and to play with an interactive installation by Supsi university!

The store

At Pavillon 7, close to Arduino Booth there will be a Maker Shop by Arduino selling most of the Arduino products (including the latest Arduino MKR WAN 1300 (Lora) and Arduino MKR GSM 1400 recently announced!). You’ll find also some other interesting kits and Christmas gift ideas for kids, makers and developers, plus a selection of Arduino goodies.

Talks

The Arduino team will join the Maker Faire Rome’s program with some unmissable talks and presentations about Arduino innovations, new products and partnership programs with the following schedule:

We look forward to seeing you all at Pavilion 7 (check out the Makerfaire MAP in PDF
Create the smart home gadget of the future with Alexa and Arduino

We’re excited to announce a new challenge with Amazon Alexa and Hackster.io, which invites the Arduino community to design the smart home gadgets of the future.

Makers have already come up with exciting ways to integrate Alexa and Arduino into their projects, from talking teddy bears and singing animatronic fish, to voice-controlled blinds and holiday decorations, to robotic coffee machines and drink mixers. And now, we want to see what next-generation devices you can come up with next. Personalized lighting? Room temperature automation? Security and doorbell systems? Pet toys and feeders?

Contest winners will be awarded with prizes that can help take their ideas from prototype to product through Dragon Innovation’s certification process, Kickstarter coaching sessions, cash, and more.

The Best Overall Alexa Smart Home Skill & Gadget winner will receive a prize package valued at $29,000:

  • $14,000 cash
  • Kickstarter Package: Promotional video and marketing fund
  • Dragon Innovation Certification
  • A 60-minute Kickstarter coaching session (to take your project to product)

Want to learn more about the Alexa and Arduino Smart Home Challenge? You can find a full list of rules and prizes here.

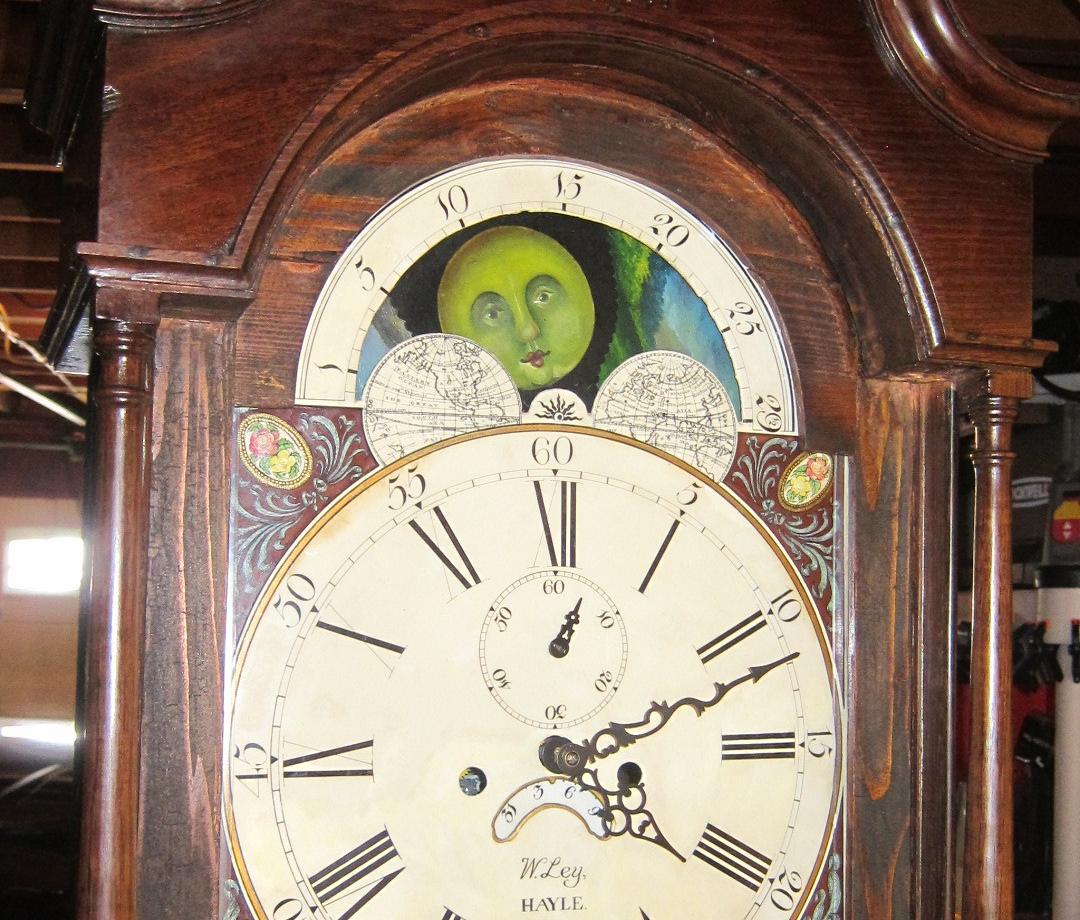
Antique grandfather clock retrofitted with Arduino control

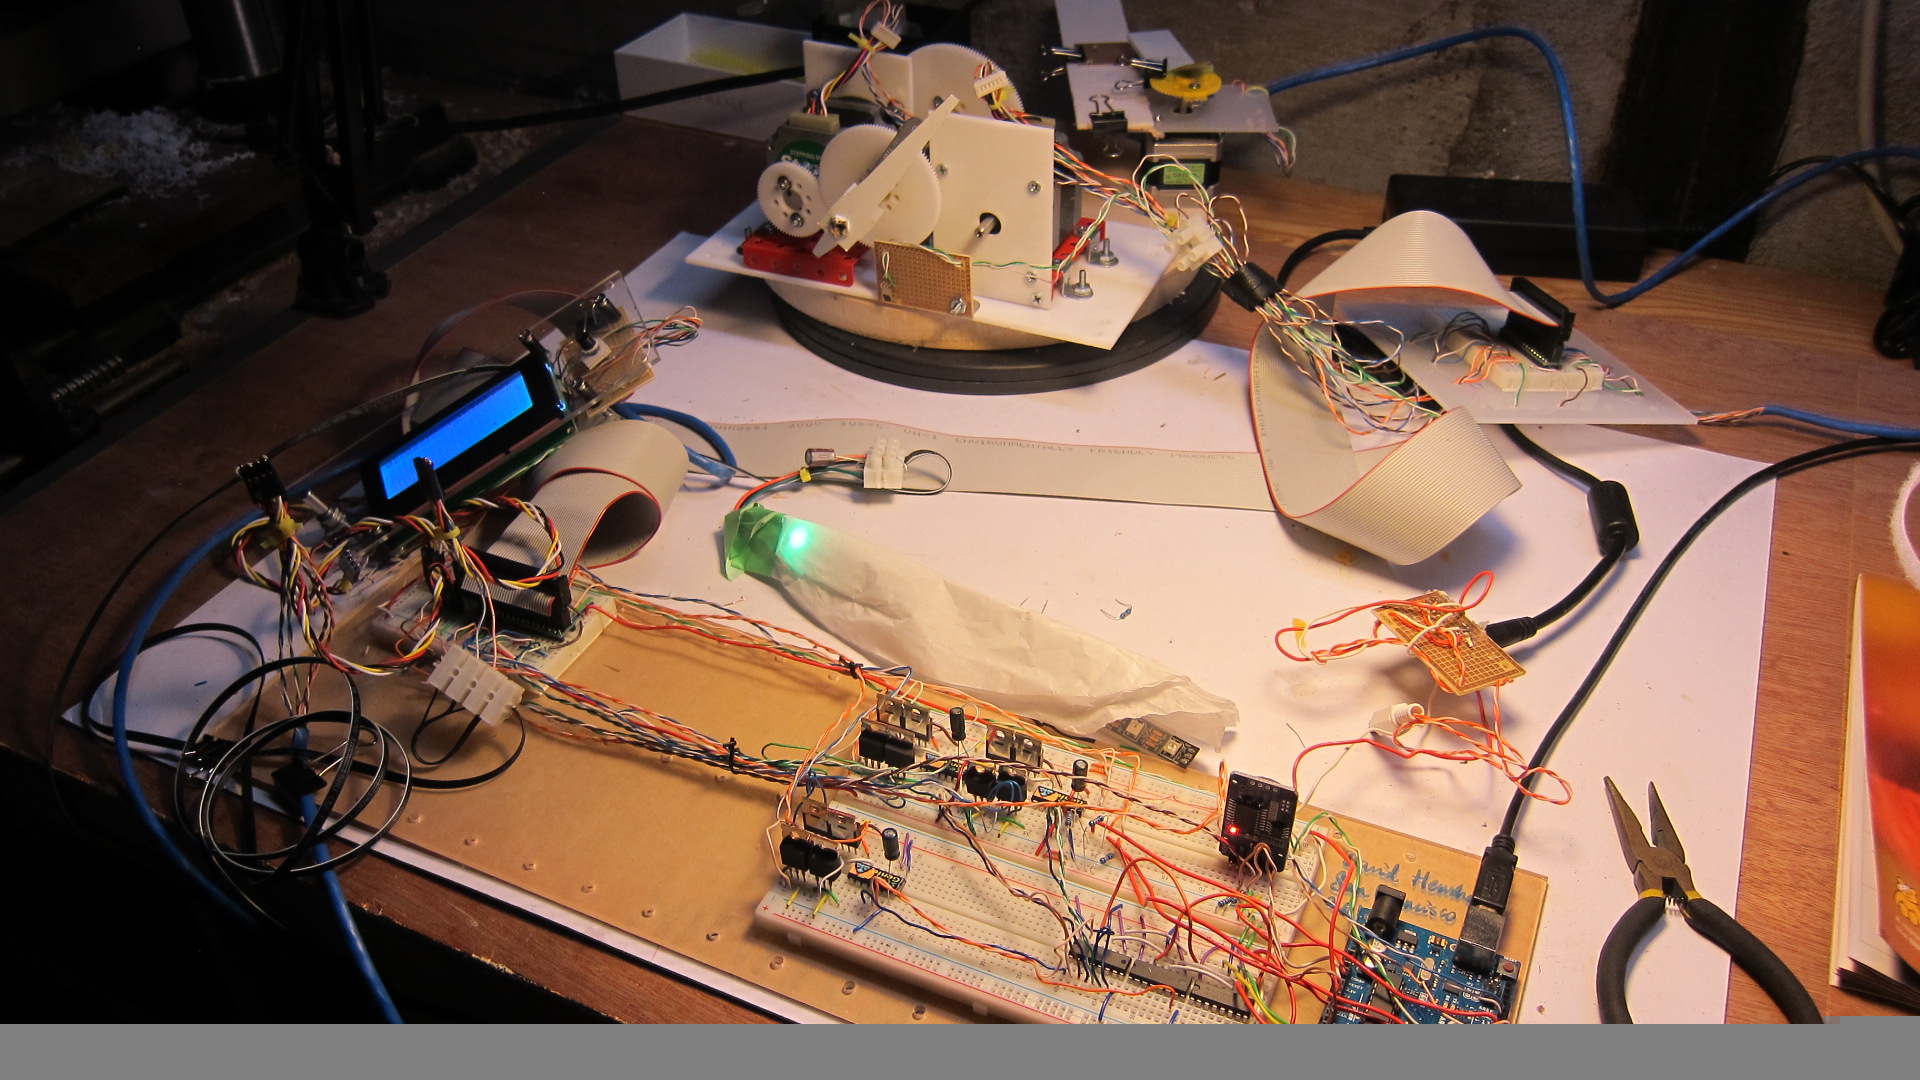
When you see a mechanical clock, you know on some level that it took a vast amount of expertise and craftsmanship to get working, but you might also assume that this could all be swapped out very easily with modern electronics. While this might be the case with a clock that only tells time, as David Henshaw shows with his project, once you add in extra features like a moon phase, date indicator, and chimes, things get complicated quickly.

Henshaw began by purchasing an 1847 vintage clock from England without the movement—the parts that actually it tell time. He then replaced the mechanical assembly normally found inside with stepper motors, sensors, an Arduino Uno, and a variety of other wires and bits.

You can see the retrofitted grandfather clock in action below, while the build process (which took the better part of a year) and Arduino code he used are outlined on his website.

Building an 8-step keyboard sequencer with Arduino

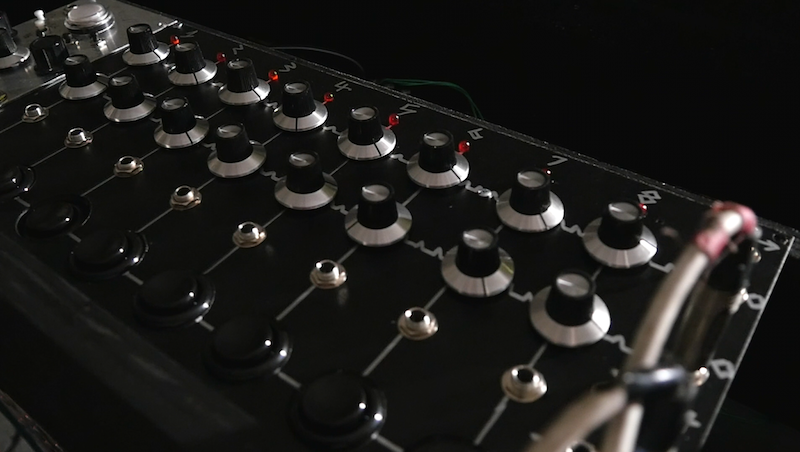
Sequencers, as YouTuber “LOOK MUM NO COMPUTER” explains, are musical devices that go through a sequence of tones one by one. While this can be done quite simply with a 4017 counter chip, if you instead substitute in an Arduino board for the counter, you can make your gadget behave normally, go backwards, or even act as a sort of keyboard using input buttons.

This particular project employs a Nano for control, giving it a conveniently small form factor to fit inside your equipment.

Since the start of building modular synths, ive always been looking for an arduino powered sequencer. but never really happy with the projects that were about. because it was still menu dives and button combinations. which is not what you wanna be messing about with! you may aswell use a computer and a mouse ha.

Be sure to check out LOOK MUM NO COMPUTER’s entire build process and a demo of the keyboard sequencer in the video below. You can also find circuit diagrams and Arduino code in the project’s write-up here.

DIY vending machine with Arduino

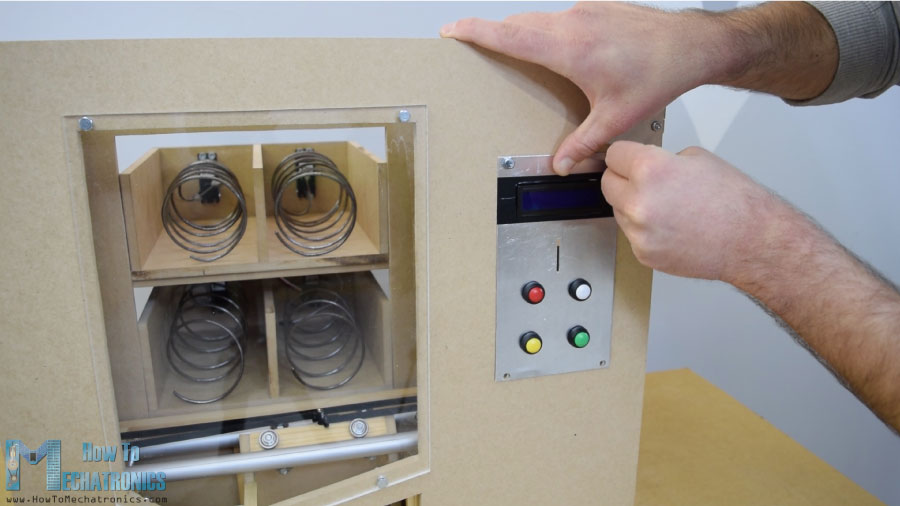
Have you ever wanted a vending machine for snacks but didn’t know where to start? With an Arduino Mega, some motors, and an infrared sensor to detect coins, Dejan Nedelkovski decided to build his own using only hand tools.

The DIY vending machine’s structure is made out of MDF, and uses wires bent into helical shapes to twist items out of four storage spaces with continuous rotation servos. While they could just drop to the bottom, Nedelkovski added a little extra flair and constructed an elevator system powered by stepper motors to gently lower the chosen treat to the exit opening.

You can see the project in action below, and find more details in Nedelkovski’s write-up here.

An excellent two-sided UV exposure box

If you want to make your own custom PCBs at home, one method is to paint a circuit board blank with photosensitive material, then expose the portion you don’t want to UV light using a printed transparency. After a process of etching and stripping, the correct traces are generated.

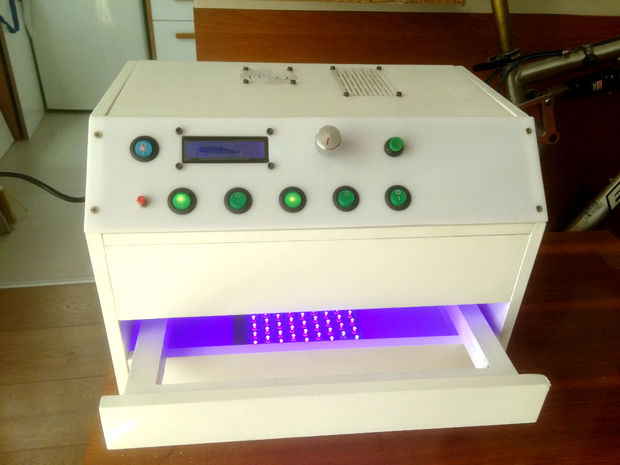
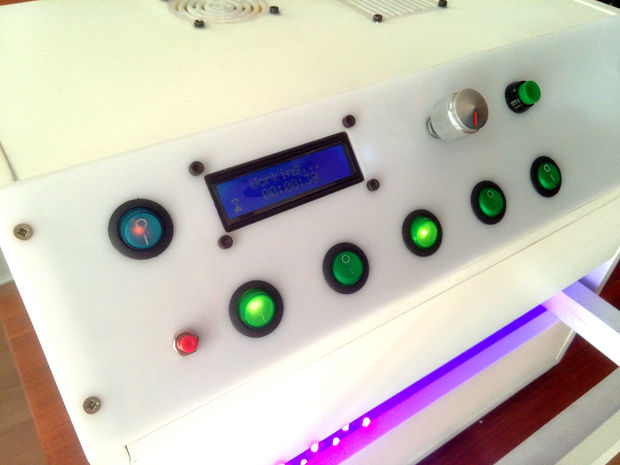
As seen here, in order to help with the UV process, GiorgiQ decided to create his own two-sided exposure box. It uses arrays of LEDs to produce the correct light, and an Arduino Nano for control.

The box itself is constructed out of MDF, white acrylic, and drawer slides to allow for easy insertion and extraction of the PCBs. It looks like an excellent tool, and his instructions would be a great place to start if you want to build your own!

Creating a classroom quiz machine with Arduino

Quiz games, where contestants try to “buzz” in and answer questions make for fun televised game shows, but they can also be great for making learning fun. In order to avoid paying several hundred dollars for an official quiz machine, Instructables user “arpruss” decided to build one for his school using an Arduino Mega.

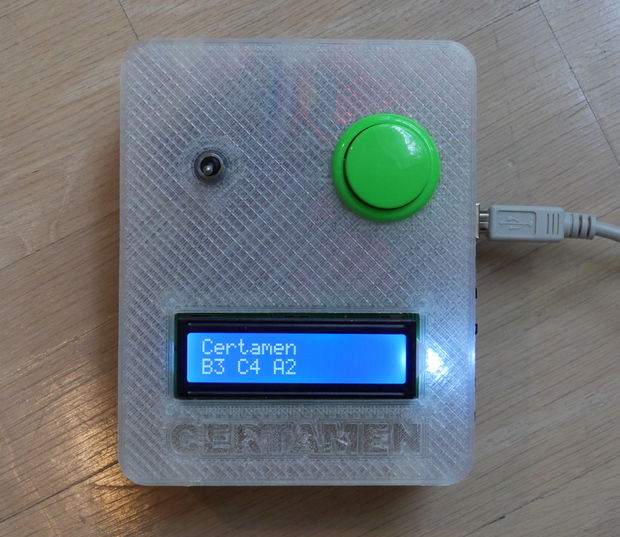
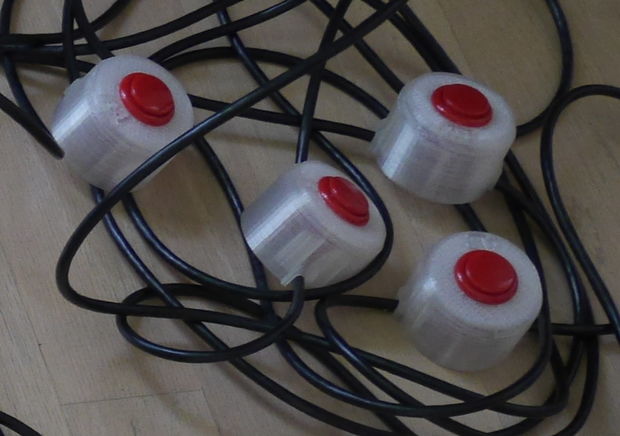
The device uses a series of CAT-6 cables to connect individual arcade-style buttons to a central control unit with RJ45 connectors, allowing each contestant to buzz in with an answer. While not approved for official competition, the system can pick out button presses down to a precision of 50 microseconds or less and displaying the order on an LCD screen, reliably determining the fastest individual nearly all of the time!

The Certamen quiz team competition from the Junior Classical League involves quiz questions on Greek/Roman subjects. Individual contestants press buzzer buttons when they have an answer. The machine keeps track of the order in which buttons were pressed, subject to the team-lockout rule that once a player on a team presses a button, the other presses from that team don’t count. The machine we built was for three teams of four players each. Additionally, so that other school groups could use the machine as a standard quiz machine, there is an option to disregard teams and just keep track of button order.

Want to create your own? Be sure to check out the project’s full tutorial here!

Star Wars fan builds an Arduino-powered R4-P17 replica

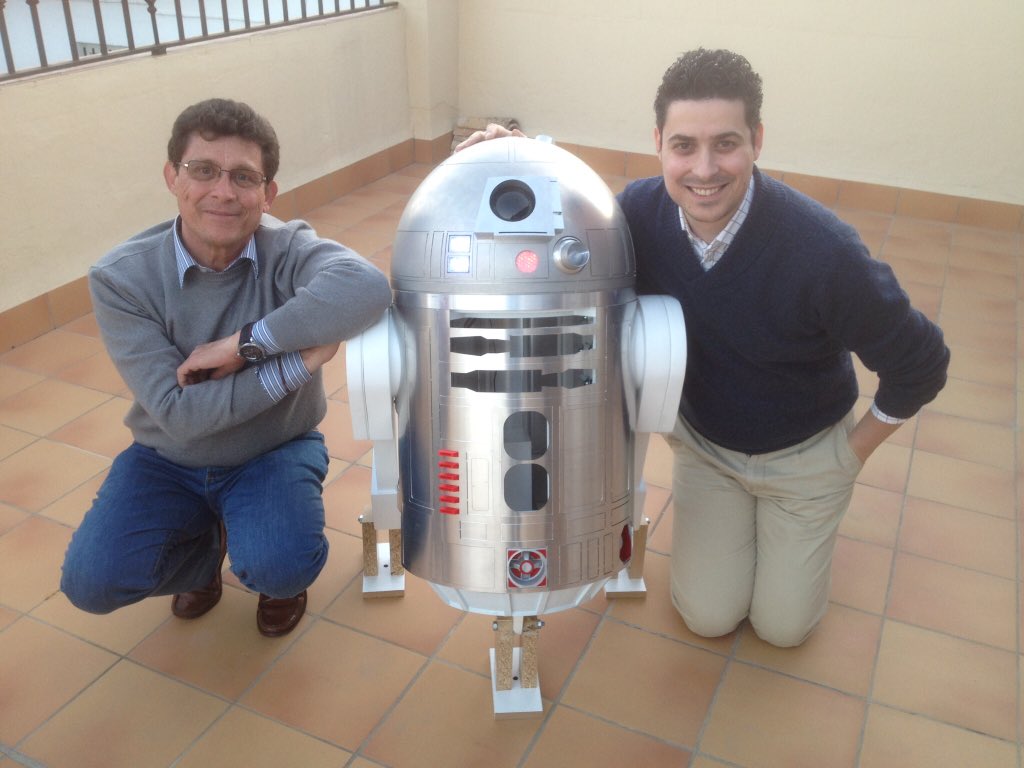
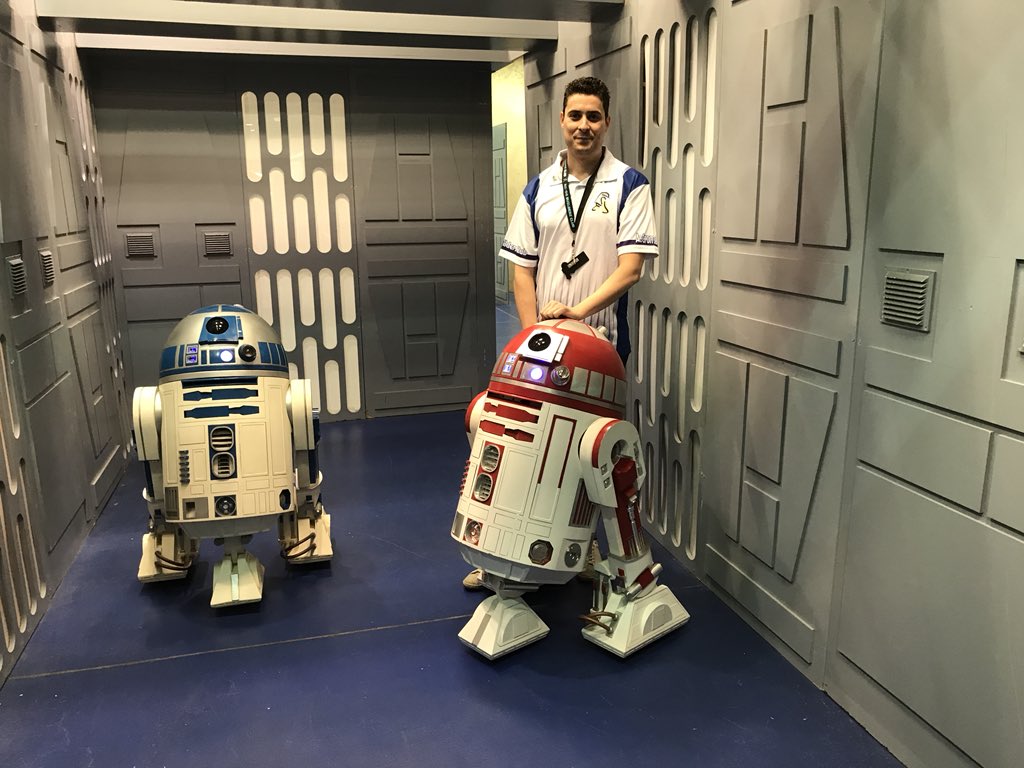
Alejandro Clavijo, together with his father Jerónimo, spent two years building the first official fan-made model of the R4-P17 Star Wars droid. For those not familiar with this family of droids, R4-P17 was the robot companion to the young Obi-Wan Kenobi.

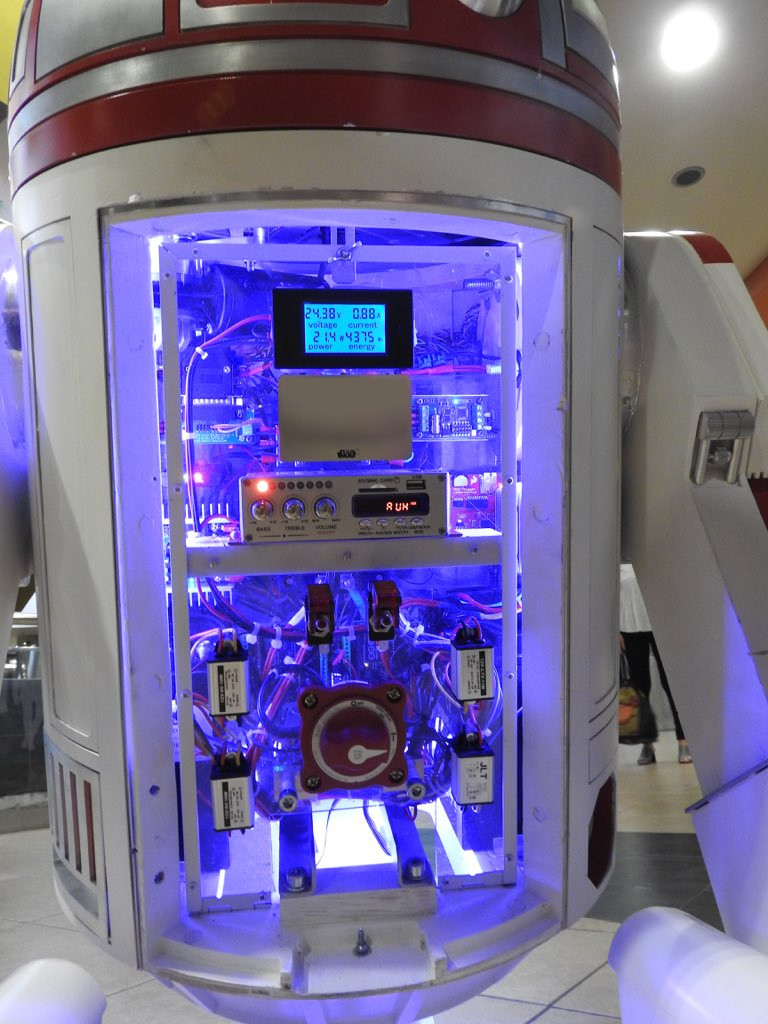
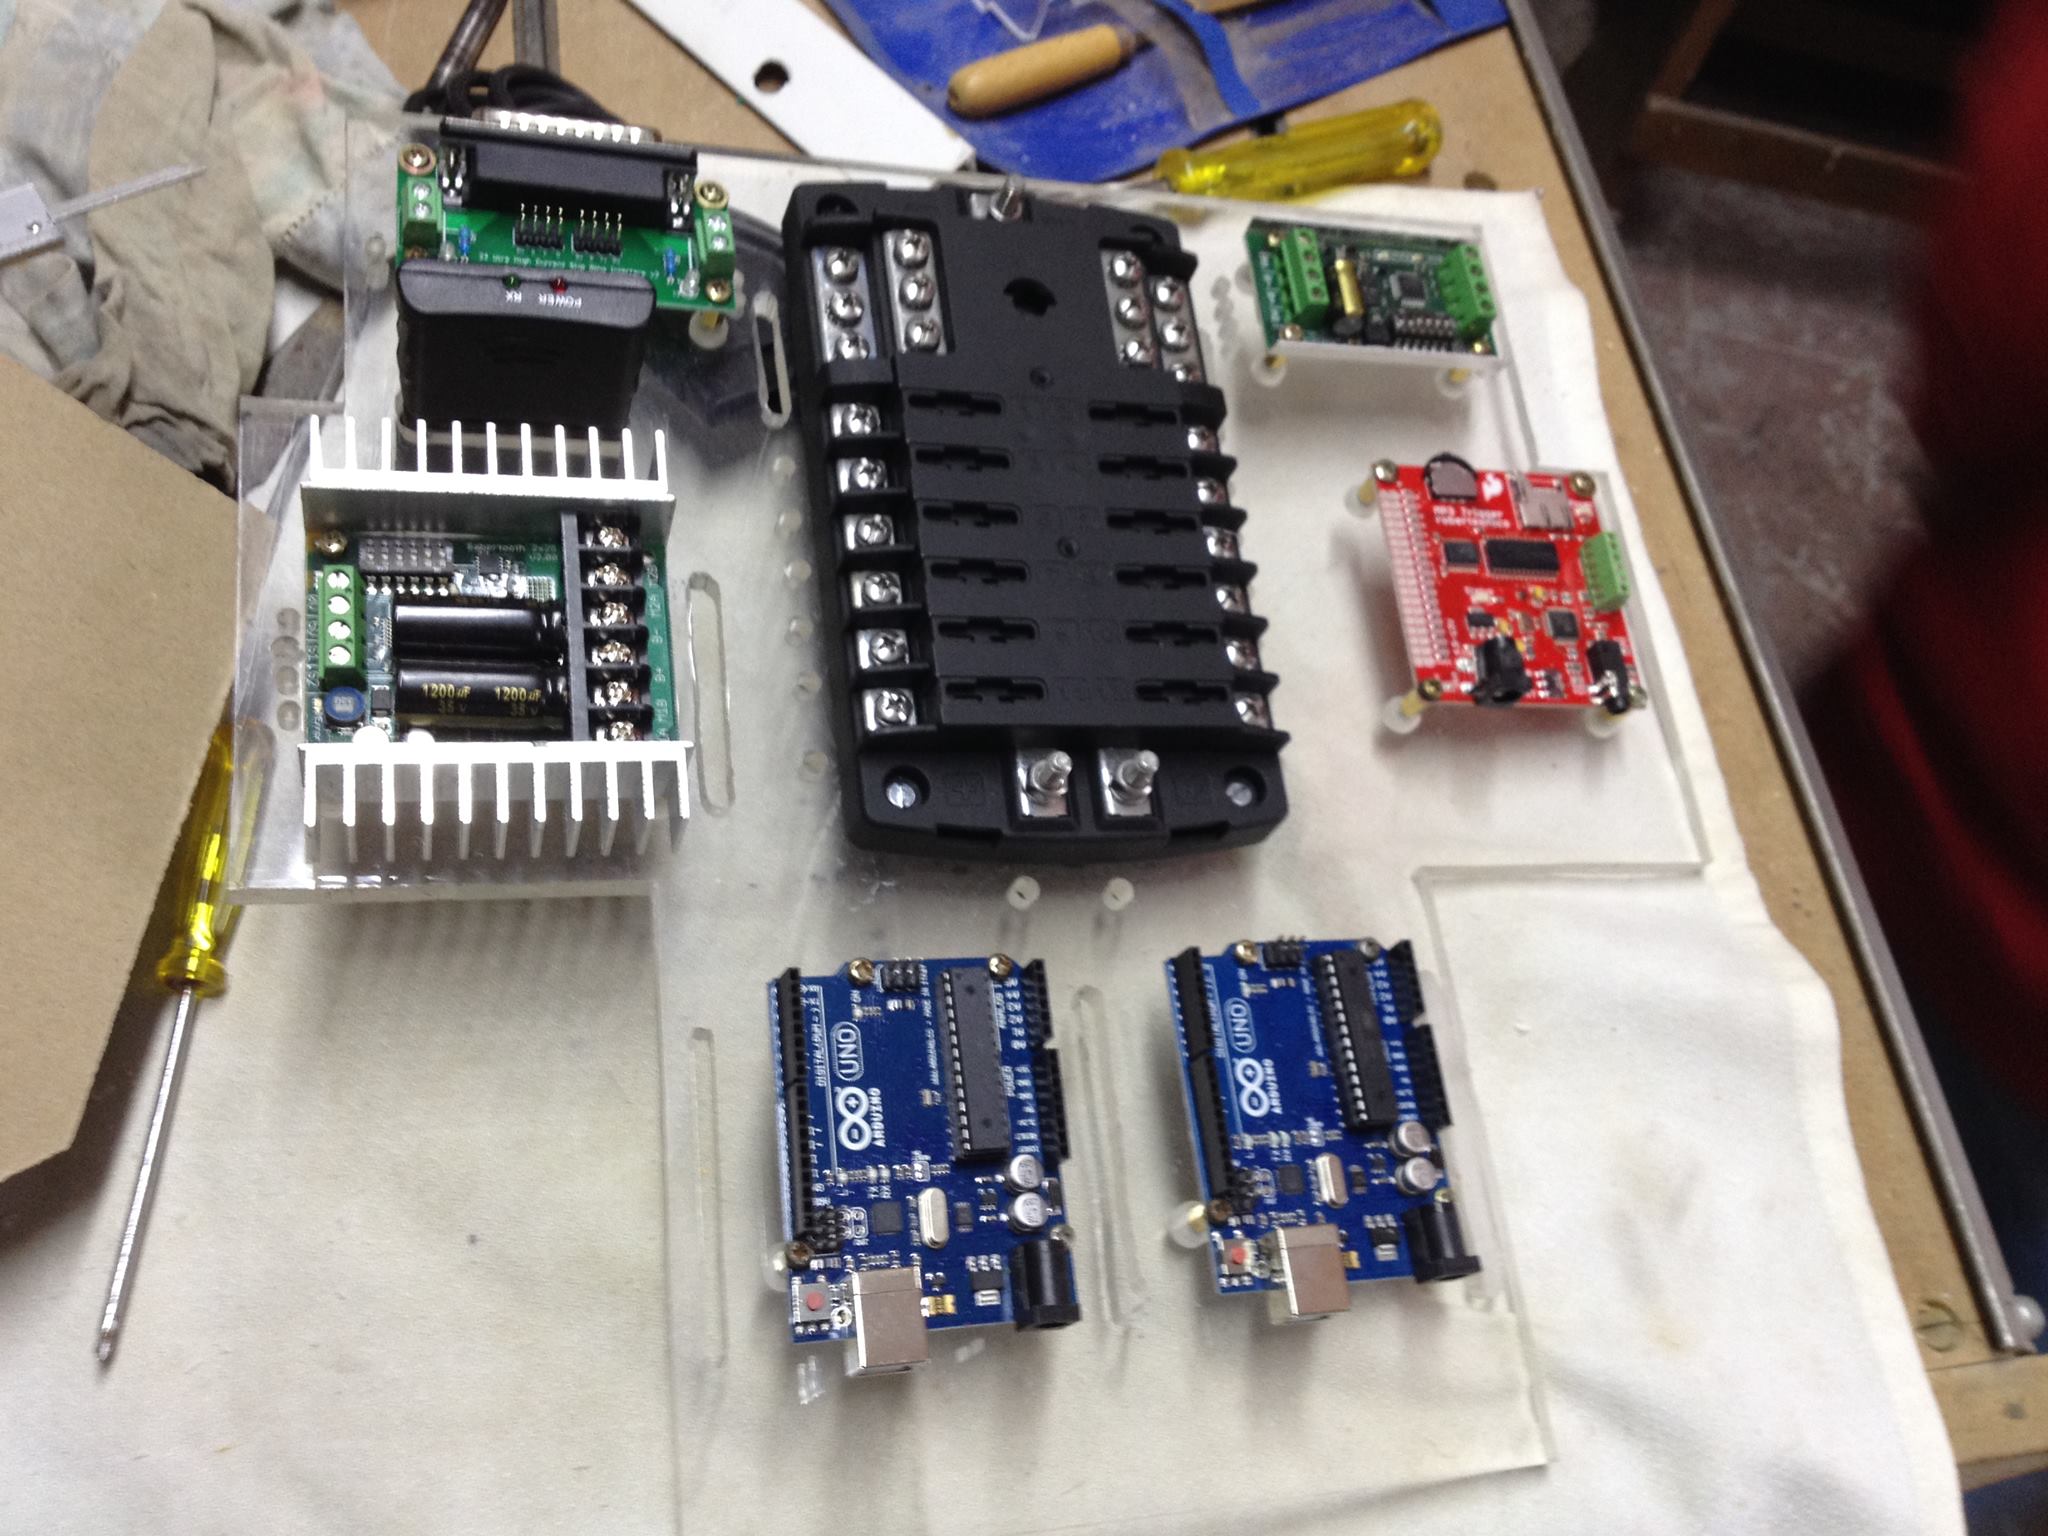
The replica is made of aluminum and wood, and runs on four Arduino boards. Impressively, the project has also been approved by Lucasfilm, the studio behind the saga, allowing Clavijo to bring it to official Star Wars events all over the world.

Clavijo sent us a bunch photos showing R4-P17’s construction, and more can be found over on its website. As you can imagine, the robot has been a big hit, already making several appearances on TV and in a number of blogs.

When not recreating Star Wars characters, Clavijo spends his days working as an engineer and has designed controls for “clean rooms” using Arduino Uno. You can see his design–made with CATIA–on Thingiverse.

Arduino Blog 13 Nov 19:40

Desafío STEM + Arduino Podcast [Español]

Con el fin de apoyar a los nuevos participantes del Desafío STEM 2017, Arduino y Telefónica se han unido para crear una serie de tres podcast, abiertos al público en general, conducidos por David Cuartielles.

Desafío STEM es un concurso interescolar que fomenta el desarrollo de competencias tecnológicas, creado por Telefónica Educación Digital para impulsar la implantación de nuevas formas de aprender a través de dinámicas motivadoras y fomentar las vocaciones STEM.

Durante los podcast se abordarán los siguientes temas:

  • Primer podcast: 15 de Noviembre
    Cómo crear proyectos creativos usando tecnología digital.
  • Segundo podcast: 22 de Noviembre
    Identificación de problemas técnicos en la creación de proyectos.
  • Tercer podcast: 5 de Diciembre
    Nuevos usos de tecnología en el aula.

La duración de los podcast será de una hora comenzando a las 19: 00 GMT+1. Podrán seguir la transmisión del podcast en: http://verkstad.cc/urler/desafiostem

David responderá durante el podcast preguntas de la audiencia que se envíen antes de los podcast. Para enviar las preguntas, seguir el link que se presenta a continuación y llenar el formulario: http://verkstad.cc/urler/desafio-preguntas. También se podrá participar en twitter con el hashtag #desafiostempreguntas.


To support the new participants of Desafío STEM 2017, Arduino and Telefónica have come together to create a series of three open podcasts, conducted by David Cuartielles.

Desafío STEM is an interscholastic competition that promotes the development of technological competences, created by Telefónica Educación Digital to promote the implementation of new ways of learning to motivate and inspire students to pursue STEM vocations.

The following topics will be addressed:

  • First podcast: November 15
    How to build creative projects using digital technology.
  • Second podcast: November 22
    Identification and resolution of technical challenges in the creation of projects.
  • Third podcast: December 5th
    New uses of technology in the classroom.

The duration of each podcast will be one hour starting at 19:00 GMT + 1. To follow along, please click on the following link: http://verkstad.cc/urler/desafiostem

David will answer questions from the audience during the podcast, which need to be sent beforehand via this link: http://verkstad.cc/urler/desafio-preguntas. Twitter users can also participate using the hashtag #desafiostempreguntas.

Mini Strandbeest goes electric with Arduino

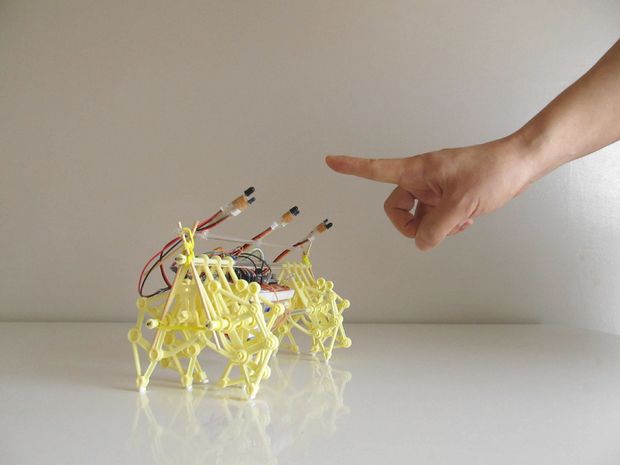
Strandbeests, as originally conceived, are gigantic PVC creatures that walk across the sand under wind power. While building one is certainly an enormous undertaking, smaller models are available that let you experience this strange kinetic motion in a more approachable size. These are also normally propelled by moving air, but maker “ArduinoDeXXX” decided to take things further with a pair of DC motors and an Arduino Nano.

The project came together over five distinct iterations, starting off with the normal wind-driven version, then adding uncontrolled motors. After that, the Arduino was included for automation, and this was upgraded with an IR remote. Finally, ArduinoDeXXX integrated simple gesture sensing using an array of IR LEDs.

You can see the mini Strandbeest in action below, along with a few “bonus” improvements at the end.