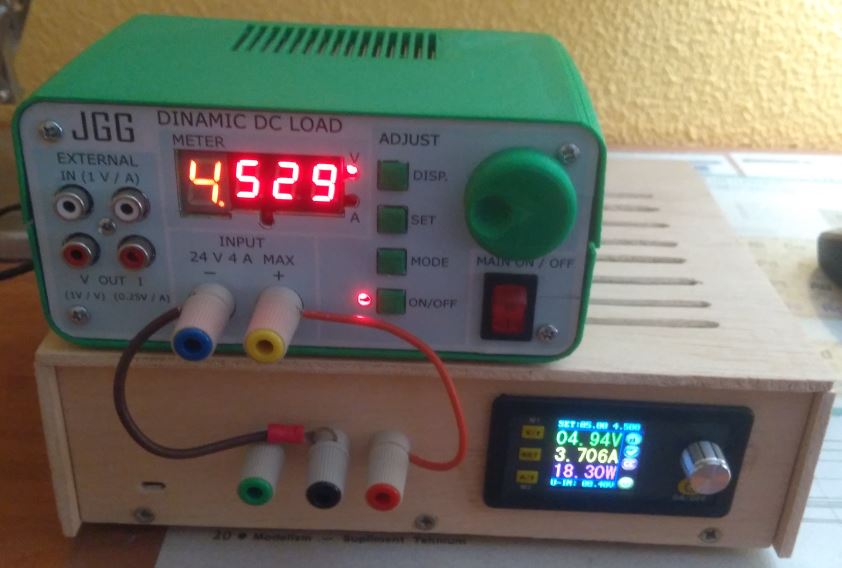
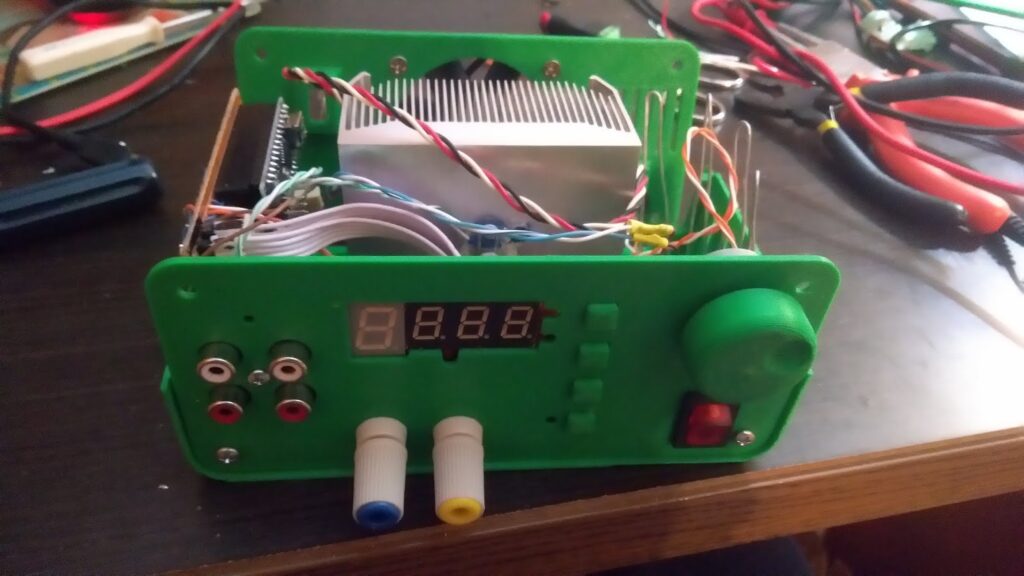
As seen here, Juan had some problems with his power supply, and while he wanted to “simply” build another one, he didn’t let the power supply go to waste. Instead he converted it into an adjustable dummy load based on the design by Dave Jones’ shown below.
This device, however, is no mere duplication of Jones’ and adds an Arduino for control, allowing for voltage, current, power, and temperature monitoring. The enclosure was designed in Fusion 360 and 3D-printed, and the front panel overlay in Inkscape.
Other interesting tricks include using a readily available DC motor for input instead of an encoder, along with an array of 7-segment displays that don’t quite all match, but act as functional outputs nonetheless.
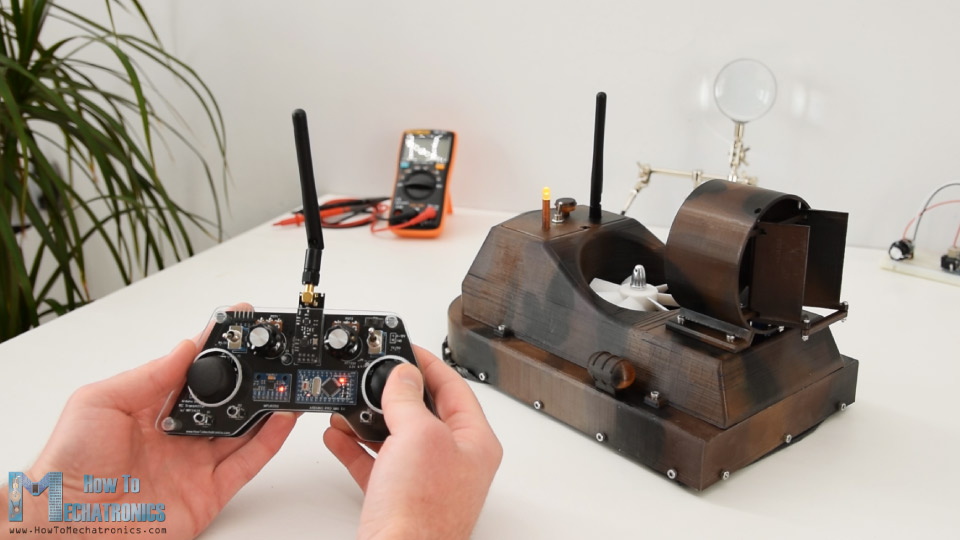
If you’ve ever considered building your own RC hovercraft, be sure to check out the latest project from “How To Mechatronics.”
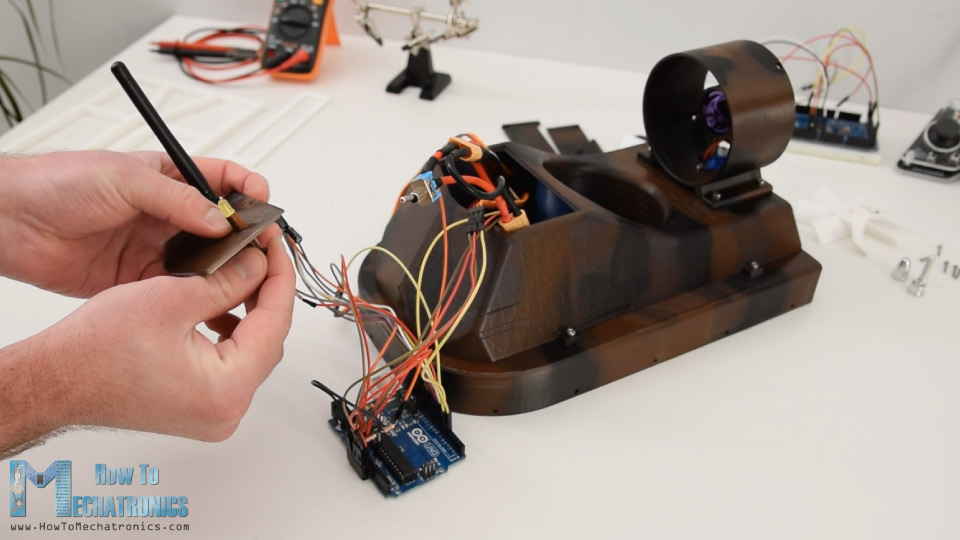
The build shows how to assemble one using a variety of 3D-printed parts, a pair of brushless DC motors for hover airflow and forward motion, and a servo for steering.
An Arduino Uno along with an nRF24L01 module are employed for control, and as demonstrated in the video below, it slides across a basketball court with the greatest of ease!
More info is available on How To Mechatronics’ write-up, including CAD/3D printing files, a parts list, and Arduino code.
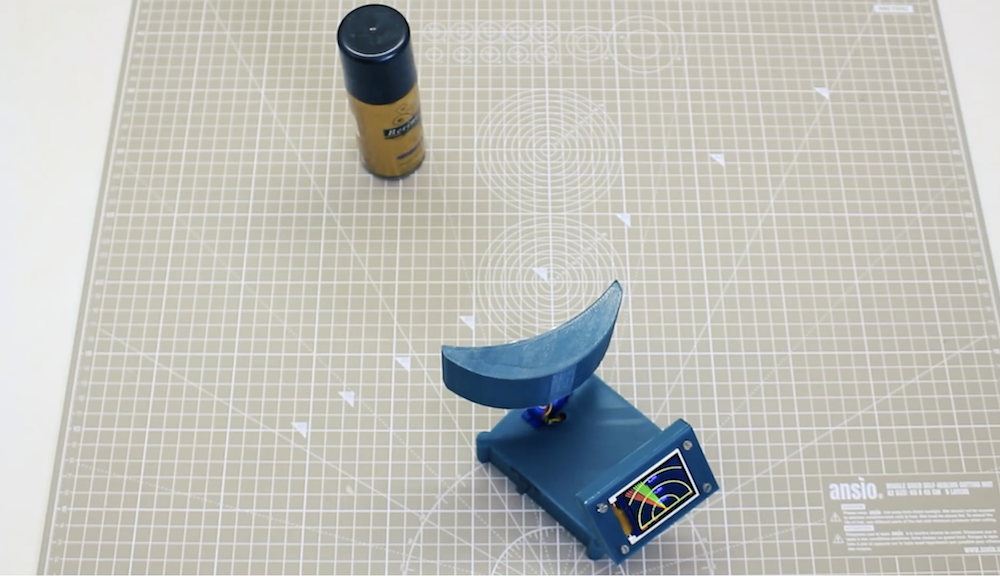
Ultrasonic sensors, which emit a high frequency sound wave then listen for its return to determine an object’s distance, are useful in a wide variety of robotics projects. If you’d like a visualization of how the sensor views an area, this “radar” from Mr Innovative presents a fun option.
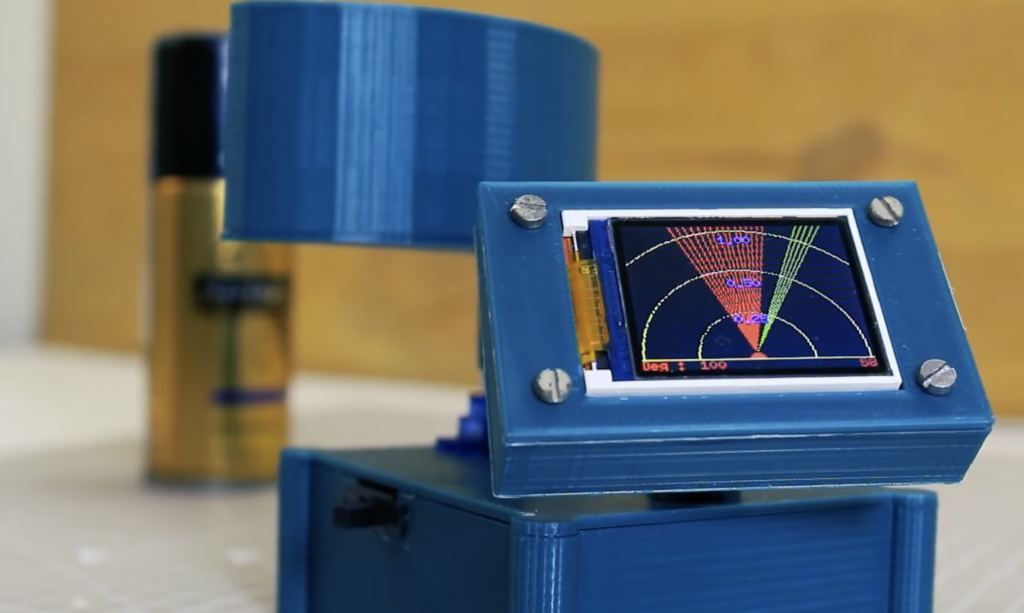
The 3D-printed console features a small SG90 servo to pan the sensor over a space, picking up obstacles in its path. The readings are then transmitted to an Arduino Nano, which displays object info on a TFT screen set up to look reminiscent of a radar screen.
I have made a mini compact radar with display for that I have used HC-SR04 ultrasonic sensor, this sensor emit ultrasonic sound which came back to sensor after reflecting from an object, all the data visualization is displayed on 1.8″ ST7735 display, if any object detect by radar it’ll show in display in red line.
The build could function either as a great teaching tool, or perhaps the basis for a panning robot sensor. Print files can be found here, and code is available on GitHub.
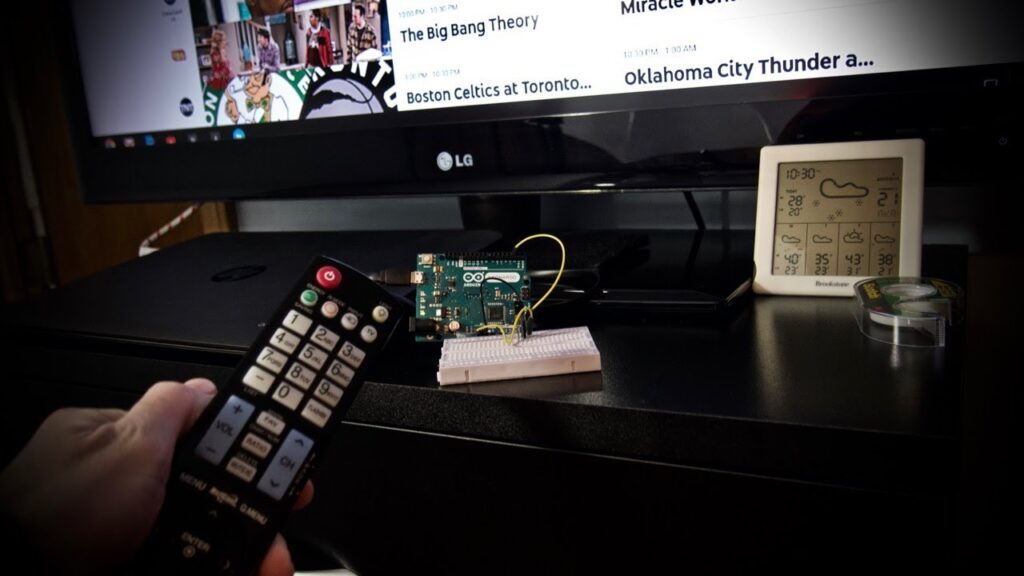
While channel surfing might increasingly seem to be a thing of the past, Kevin Darrah demonstrates that it’s possible to control your streaming computer with a traditional TV remote.
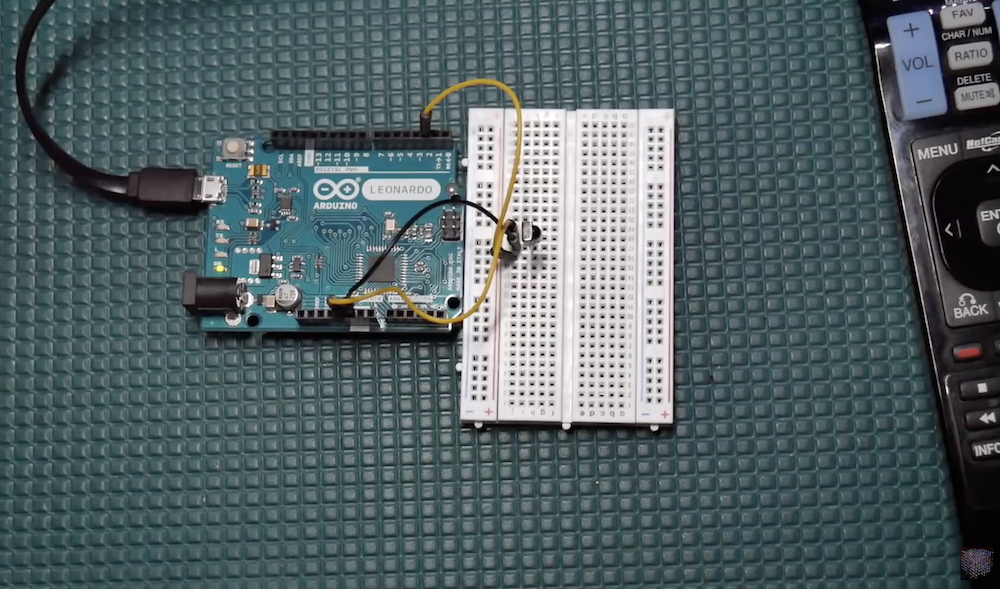
His simple solution reads IR signals with an IR detector module, which can then be passed along and translated into USB keypresses for computer control.
You can see his experimental Arduino Leonardo setup in the video below, which takes advantage of the board’s ATmega32U4 chip to emulate USD keyboard functions directly.
Fun project here that could have a lot of uses – basically a TV remote to USB translator, so could think of a lot of ways to use something like this. For me, I just wanted an easy way to channel surf using the same TV remote that came with the TV. For this, I just read in the IR codes form the remote, then map them to key-strokes to do different things. I could see the up/down left/right keys being used to drive the mouse around… lol, that might be my next project!
The bulk of the clip, however, is around a discussion on decoding IR signals and the programming involved (code available here), starting at about 6:00 in.
Regular icosahedrons are 20-sided polyhedrons formed out of equilateral triangles. As such, the geometry behind making one is slightly complicated, but the results in the case of this large light-up device appear to have been well worth it.
The project’s write-up does go over how to actually model these faces in CAD but also provides the 3D print files if you’d like to skip to building your own. Two versions were made, including a device that illuminates RGBW LEDs under Arduino Nano control, and a second icosahedron large enough to be used as a lamp shade!
A demo/explanation is seen in the first clip below, along with a better look at the electronics in the breadboard video.
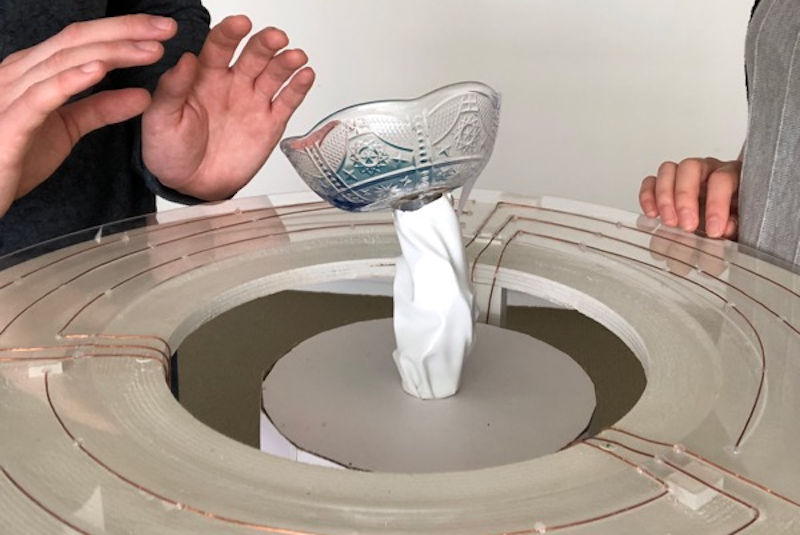
Depending on your personality, you may tend to dominate a discussion, or metaphorically slink back into the corner, waiting for a turn to speak that never comes. MIT Tangible Media Group’s SociaBowl, however, aims to change this as “a dynamic table centerpiece to mediate group conversations.”
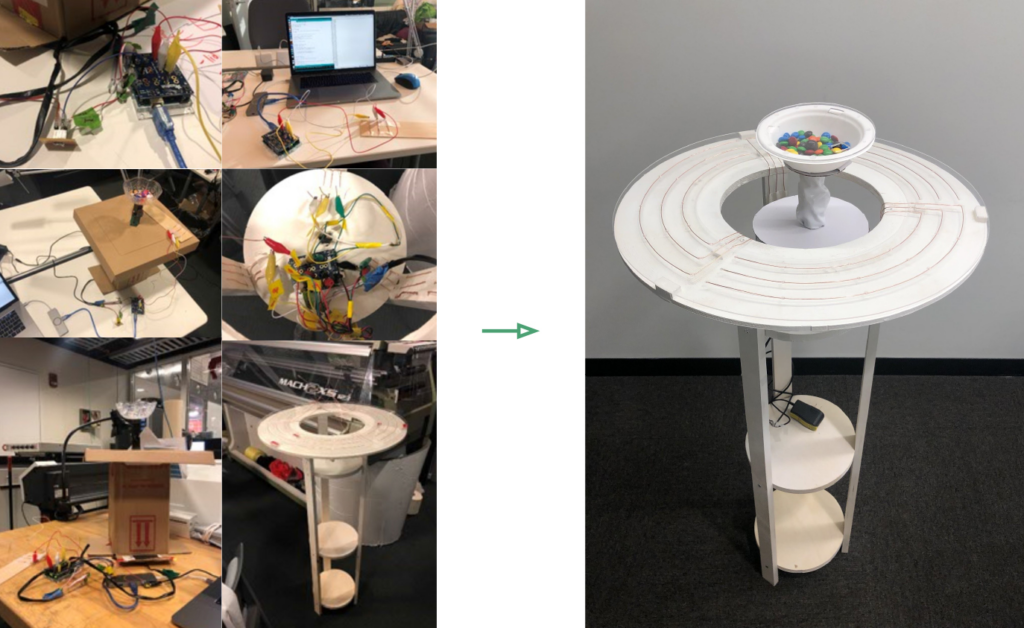
SociaBowl takes the form of a circular standing table, with a rather curious servo-actuated bowl in the center. Copper wires embedded in the table’s acrylic surface, along with a capacitive touch shield pick up user inputs.
An Arduino Uno then translates into bowl motion, which can mean a reward for thoughtful speakers when the bowl is filled with candy, or in another implementation, the possibility of water inside spilling if one chats for too long.
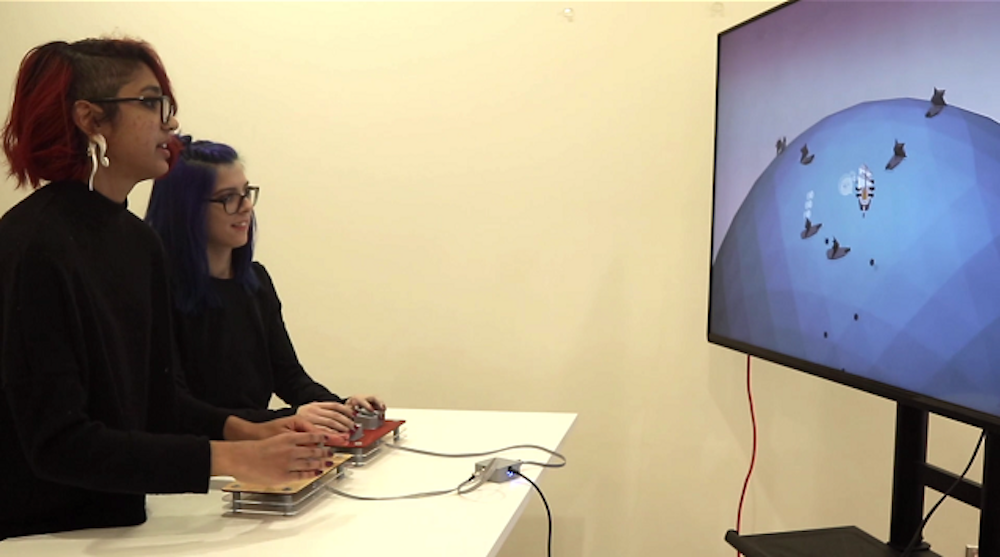
Interactive video games take many forms, but for the most part, each player has a separate controller that manipulates an onscreen character, vehicle, or other singular element. What if, as in real life, multiple players have to work together with physical objects to control a sailing ship?
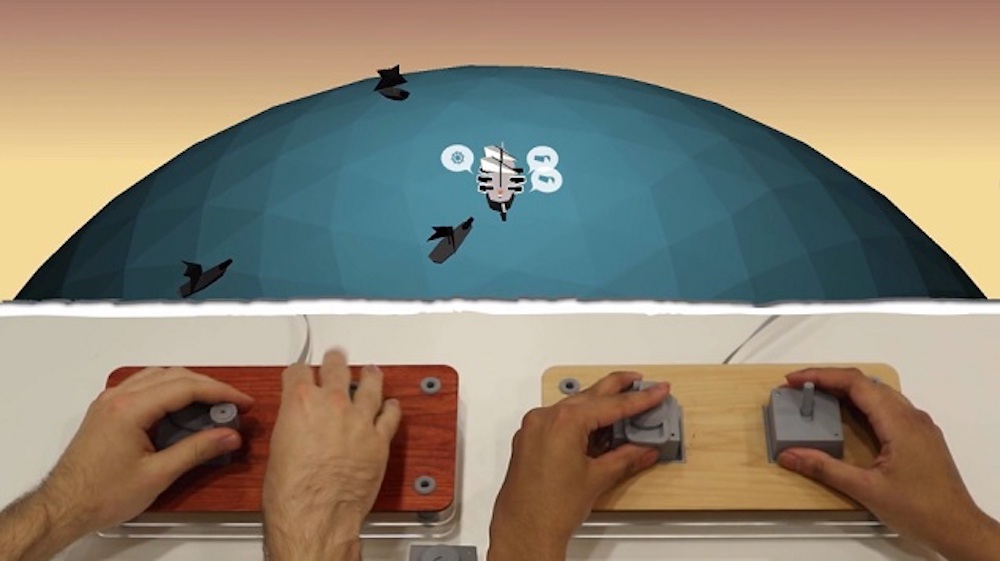
That’s the idea behind HOT SWAP: All Hands On Deck by Peter Gyory and Celment Zheng. In it, two players guide various parts of a ship using five different control elements. What makes this really interesting is that each player’s input device has room for two of these control elements, which must be swapped for actions such as steering and to load cannons. Input information is passed to the game via an Arduino Micro.
It’s like if we took a regular game controller, popped off all of the inputs, and made it so you could only use a couple of them at a time. There are two controllers, with each consisting of two input slots. Each controller controls one side of the ship, port or starboard. There are five actions total in the game, each executed with a dedicated physical input: a crank to raise and lower the sails, a wheel for turning the rudder, a hatch for loading the cannons, a wick for firing the cannons, and a flame button for dousing the fire.
There is only one of each input, which makes them a shared resource that players must trade back and forth as they play. There is this old Milton Bradley kids board game from the ’90s called Perfection where players must fit shapes into holes before a timer is up and the board shakes to make everything pop out. HOT SWAP is like if Perfection had a screen attached and had a goal outside of putting shapes into slots.
All of the code is done with JavaScript and the library Three.js, which we bundle into a desktop application using Github’s Electron. The brain of the controller is an Arduino Micro, which mostly just passes data along.
The inputs are created with the Mechamagnets technique that Clement has been developing through his research; all 3D-printed in PLA with neodymium magnets embedded in them. The actual “hot swapping” is facilitated by pogo pins that line up with our custom PCBs for each input. Also, lots of chocolate croissants.
More details on the build are available via this interview as well as in the video below.
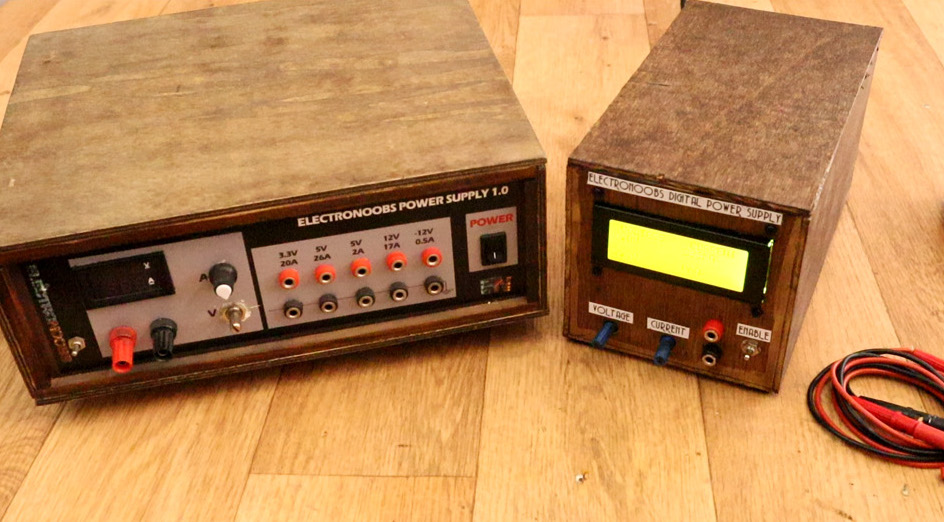
If you want a DC power supply that works well, there are a number of places to buy such a device. If, however, you want to learn how one operates, and perhaps build your own, the video below by YouTuber Electronoobs will show you how to accomplish this feat.
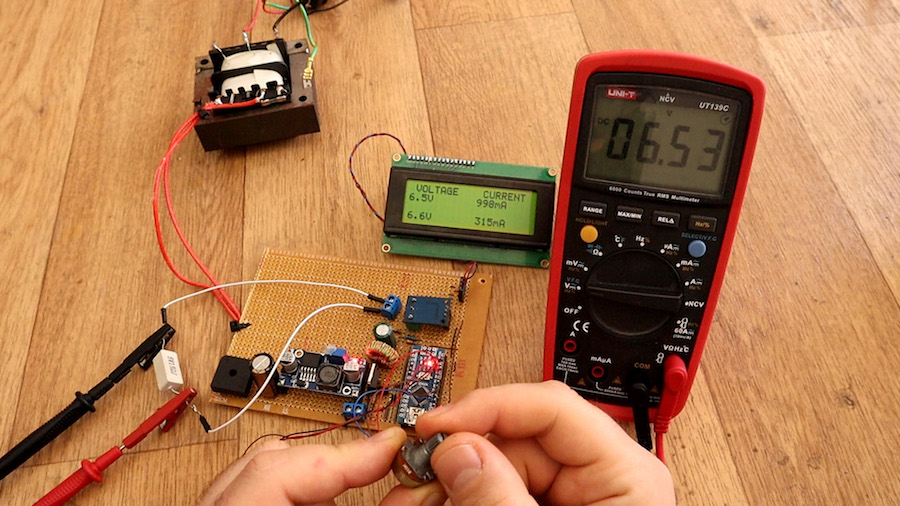
His project uses a transformer to step power down from the 230VAC available in Spain, along with a rectifier to produce DC current, and a capacitor to keep the output steady. An Arduino Nano produces a PWM signal that controls a MOSFET on the buck converter circuit, tuning the output voltage and current as needed based on user inputs.
Details can be found on Electronoobs’ website here, though you’ll want to use extreme caution when dealing with mains power. Also, the design will need to be modified if your country uses something other than 230VAC.
Woodworking with power tools creates dust. Lots of it. Hooking a vacuum up to your tool helps greatly, but only if it’s actually running. Annoyed with turning on his vacuum system every time he had to make a cut, Zach Hipps decided to automate the process.
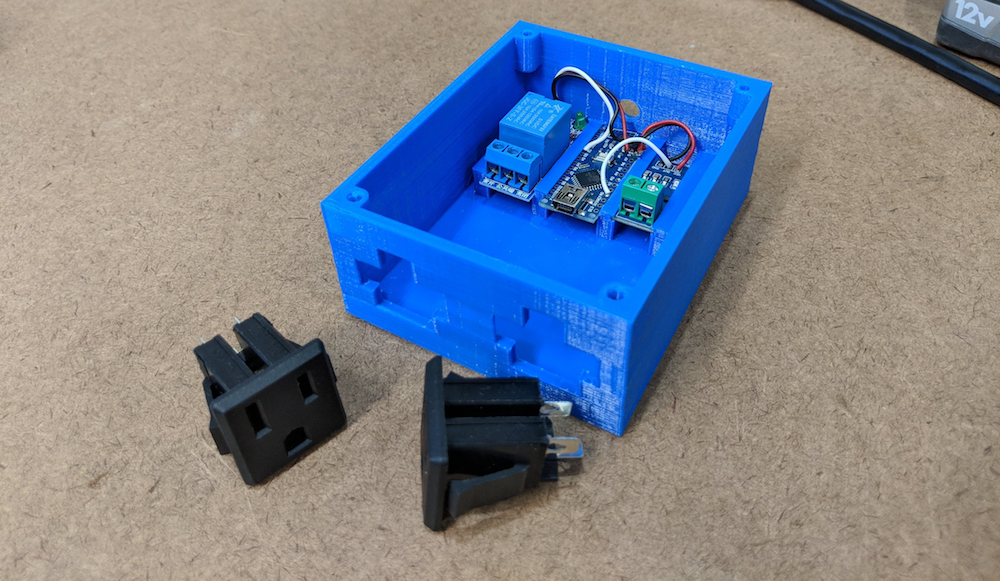
What he came up with uses an ACS712 current sensor to detect when power is flowing to his table saw, and an Arduino Nano for control. When current is sensed, it triggers the vacuum using a relay, then holds it on until five seconds after the device is turned off.
If I’m going to be able to automatically turn on the shop vac, I need to be able to detect when the tool is turned on and running. Without modifying the tool, the best way to do this is to get a current sensor like the ACS712 which I also got on eBay for a couple of bucks. This sensor can read alternating or direct current up to 20 Amps which is perfect for what I’m going to be using it for. The sensor outputs an analog voltage between 0 and 5 Volts that is proportional to the current it senses. I can read that analog voltage output with one of the ADC pins on the Arduino. Once I sense that the tool is running, I need to be able to turn on the shop vac. For that I’m going to use the relay module. A simple high or low logic signal from one of the Arduino’s digital pins is all that is needed to turn on the relay.
After I had the two modules soldered to the Arduino, I decided to model and 3D print an enclosure that will secure everything in place. With the enclosure done, I can wire in the AC power receptacles. One receptacle for the tool and one for the shop vac. Having these will make it easy to move this around my garage and plug in various tools. I bought an extension cord to use for this project and cut off about 8 inches of the male end.
The Arduino team is in Barcelona this week for Mobile World Congress! MWC is one of the biggest technology events in the world, so we’re really excited to be invited to participate in the Mobile IoT Experience’s developer expert zone by event organizers GSMA.
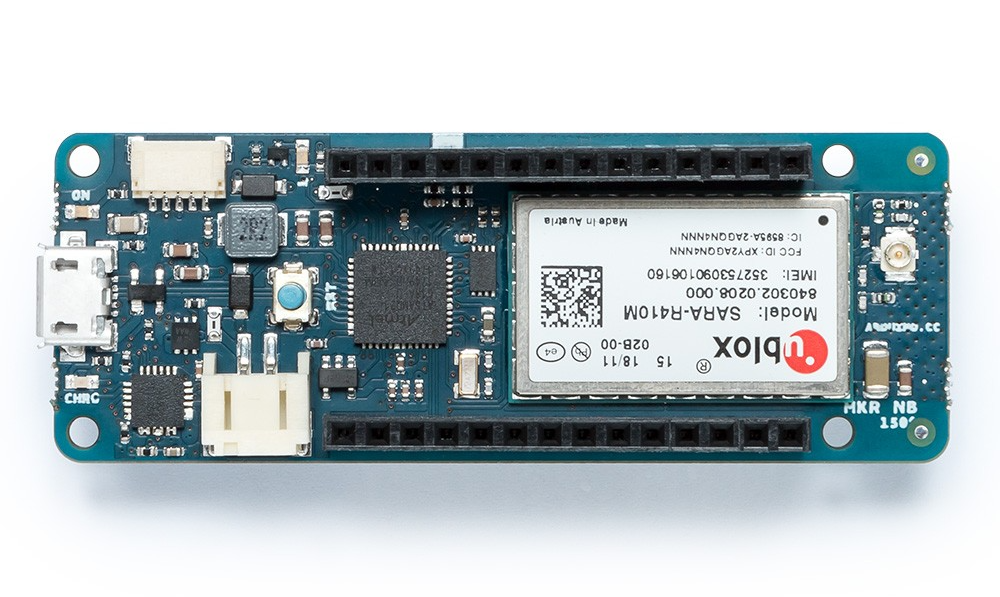
Come find us at Hall 4YFN Montjuic Hall M8 Stand 9 — we’ll be showing how create an LTE Cat-M / NB-IoT connected sensor with the new MKR NB 1500. Arduino Senior Engineer Martino Facchin will also be giving the keynote talk on Monday, February 25th in the Training Zone.
Like all MKR boards, the MKR NB 1500 was designed with security in mind, so we’ll discuss how to use certificate-based authentication and TLS to secure data from your device (and make it easier!) via the Arduino IoT Cloud and other clouds like Microsoft Azure IoT Hub.
Arduino has helped millions innovate by making IoT technology simple — it started with makers and education but Arduino is now used by developers in hundreds of companies worldwide. We’ve been partnering with operators like Telstra, Telefonica, and Vodafone to make cellular IoT even more accessible. We want to make connecting and securing devices to be as straightforward as possible — so people can focus on making their IoT applications.