Posts with «arduino» label

Simulate Climate With An Arduino

There are usually two ways to go about any task: the easy way and the hard way. Sometimes we might not know there are two options, but once we see someone else’s solution we might feel differently. When running a greenhouse or small farm, for example, we might decide to set up dozens of sensors to measure temperature, humidity, soil moisture, dew point, sunlight, or any number of other variables. That’s the hard way. The easy way is to use the Arduino-powered Norman climate simulator from [934Virginia].

Rather than relying on an array of sensors, any of which could fail or provide erroneous data for any number of reasons, Norman relies on a simple input of data about the current location – target coordinates, specified date ranges, and minimum/maximum values for temperature and humidity – in order to learn and predict the weather conditions in that location. It makes extensive use of the Dusk2Dawn library, and models other atmospheric conditions using mathematical modeling methods in order to make relatively accurate estimates of the climate it is installed in. There are some simulations on the project’s Plotly page which show its successes as well.

Presumably anyone using this device could run a greenhouse relatively well on only $10 worth of electronics rather than relying on a suite of sensors and input data, which is helpful for anyone strapped for cash (especially in developing areas of the world). The project is named after Norman Borlaug, a famous soil scientist and someone worth reading about. The first (and possibly only) sensor we might want to add to this project is a soil moisture sensor, since yearly estimates won’t tell us whether it has just rained or not.

Images courtesy of Wikimedia Commons.
Hack a Day 03 Aug 06:00

A Farewell To YouTube Sub Counters Set To Break With API Change

Of all the things you never would have guessed you’d need just ten years ago, a YouTube subscriber counter would probably rank highly. You would have guessed that the little hits of dopamine accompanying each tick upward of a number would be so addictive?

As it turns out, lots of people wanted to keep a running total of their online fans, and a bewilderingly varied ecosystem of subscriber counters has cropped up. All of them rely on the API that YouTube exposes for such purposes, which as [Brian Lough] points out is about to change and break every subscription counter ever made. In the YouTube sub counter space, [Brian] is both an enabler – he built an Arduino wrapper to fetch YT sub counts easily – and a serial builder of displays for other YouTubers. The video below shows a collection of his work, many based on RGB LED matrix display, like the one used in his Tetris-themed sub counter. They’re all well-built, nice to look at, and sadly, destined for obsolescence sometime in August when the API changes.

The details of the API changes were made public in April, and for the subs count it amounts to rounding the count and displaying large counts as, for instance, 510k as opposed to 510,023. We’re confident that [Brian] and other display builders will be able to salvage some of their counters with code changes, but others will probably require hardware changes. Thanks, YouTube.

Hack a Day 02 Aug 03:00

Filling water bottles automatically with Arduino

If you need to fill a bunch of water bottles, you could do so using your hands and a sink… or you could automate the task like YouTuber Easy HomeMade Projects.

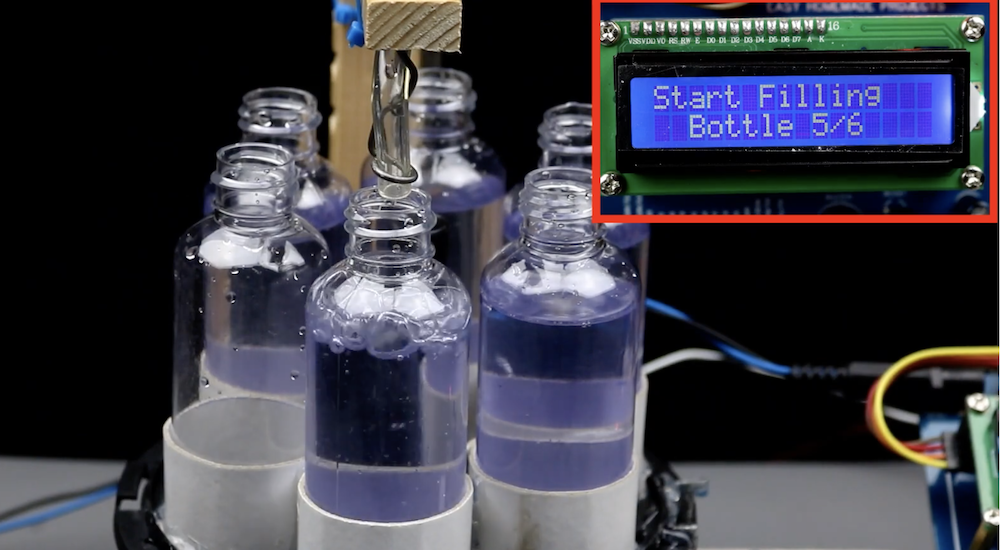
The build is controlled by an Arduino, spinning a carousel of six bottles under a fill hose with a stepper motor and timing belt. When in position, the system’s water pump is activated, filling each bottle for a set length of time.

For alignment, the device is rotated into a starting point sensed with a small switch, and the process is started with a small pushbutton. It then cycles through six positions, beeping to indicate when each is done.

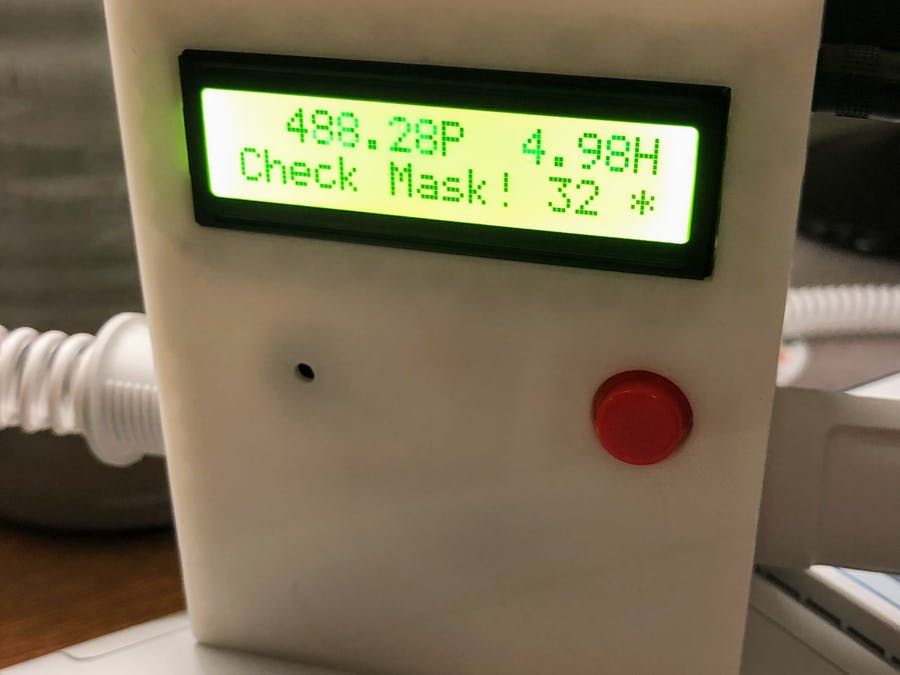
This monitor will let you know if your CPAP mask comes off at night

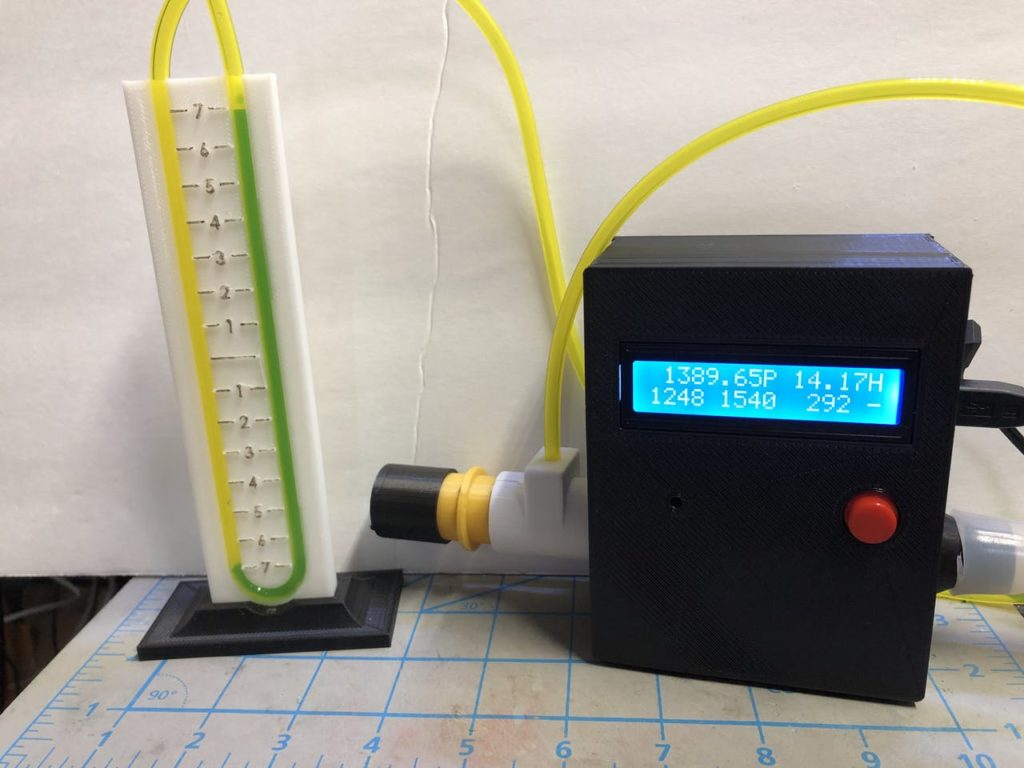
If you wear a CPAP (Continuous Positive Airway Pressure) mask to treat obstructive sleep apnea, you may wake up to find that you’ve flung the mask off during the night or adjusted it to the point that there’s a large air leak. To help with this problem, Bin Sun has developed a CPAP monitor that measures air pressure via an MPXV7002DP sensor—often also used to determine the airspeed of RC models.

The device is controlled by an Arduino Nano, and when it detects improper pressure readings in alarm mode, it activates a small buzzer, displaying a “check mask” message. It can also be set up to run in manometer mode in order to observe pressure changes. 

More information—including required parts, print files, and code to make it run—can be found here.

Arduino Blog 01 Aug 19:37

A Look At The Basics of Building an Arduino Watch

Miniaturization has made smart watches possible, even for the DIY maker to tinker with. For those just getting to grips with basic digital electronics, it can be daunting, however. For those just starting out, [陳亮] put together a handy guide to building the core of an Arduino-based watch.

The writeup starts at the beginning, going over the basic hardware requirements for a smart watch. This involves considering size, packaging and power draw, as well as the user interface. The build settles on an Arduino Pro Micro, as it uses the ATmega32U4 which eliminates secondary USB-to-serial chips, helping cut down on power consumption. A square IPS LCD display is used to display an analog-style watch face, and time is kept by a DS3231 real-time clock. A pair of small vibration sensors are used to wake the watch when the user moves their wrist to check the time.

While it doesn’t cover the final assembly into a watch-like form factor, it’s a handy guide on what it takes to build a working watch for those who are still getting their feet wet with hardware. Once you’ve got that down, it’s time to contemplate how you’ll build the sleek exterior. Naturally, a good maker has that covered, too.

Hack a Day 01 Aug 16:00

This display reminds makerspace members to wear hearing protection

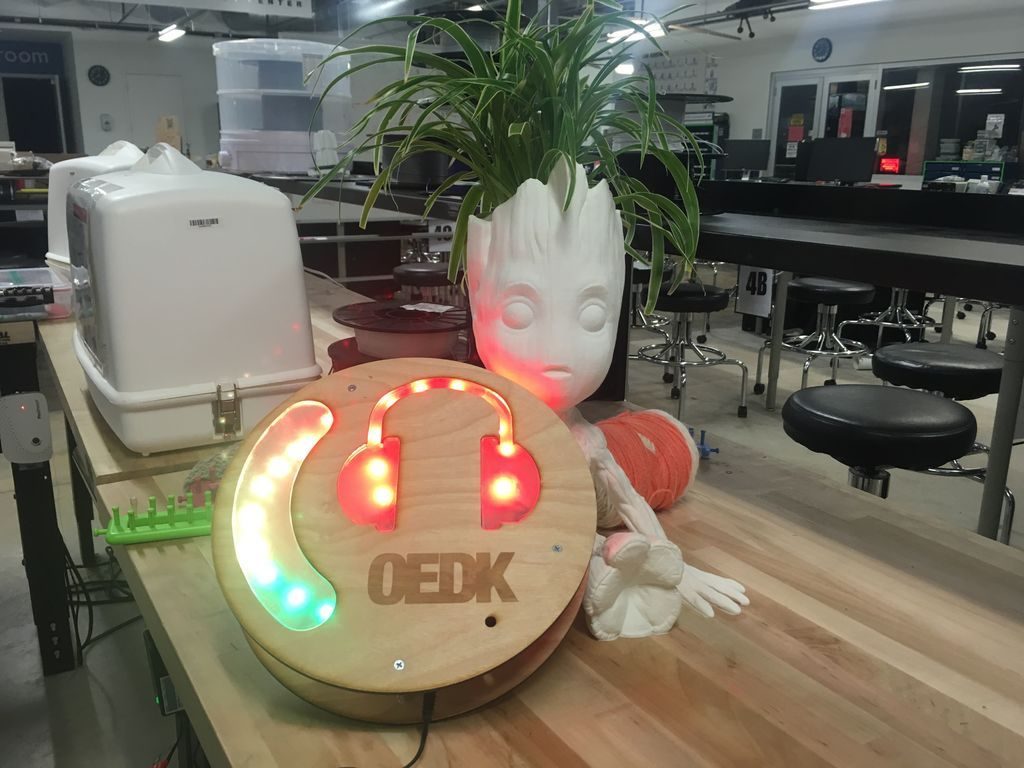
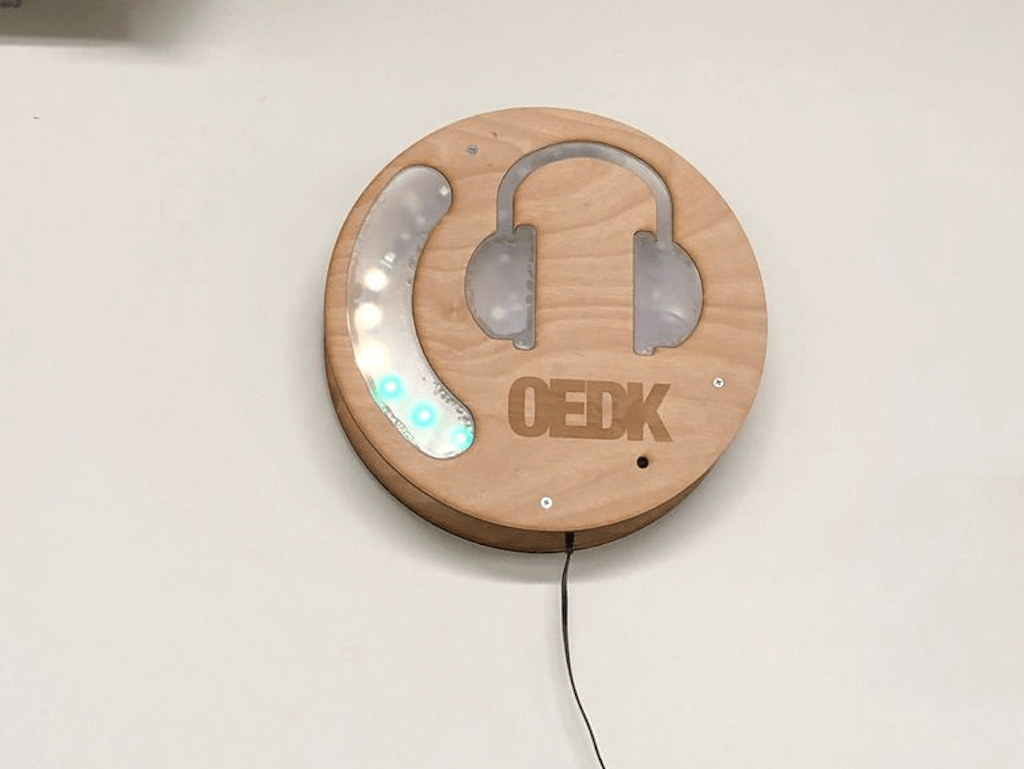
While members of the Oshman Engineering Design Kitchen makerspace at Rice University generally do a good job with wearing proper eye protection and gloves, hearing safety has lagged behind. In order to make it obvious when students need to apply the protective equipment, the “Ring the Decibels” team there has come up with an excellent sound display, laser cut out of wood and acrylic.

Their system uses an analog sound sensor to detect noise passing data on to an Arduino Uno. In response, the Uno controls two LED strips, one of which indicates levels in the form of a VU meter, while the second strip flashes red under an acrylic headphones cutout when dangerous levels are present. 

Build details are available here, and you can check out the demo below to see how it works! 

Mover3D is a 3D-printed moving light for your desk

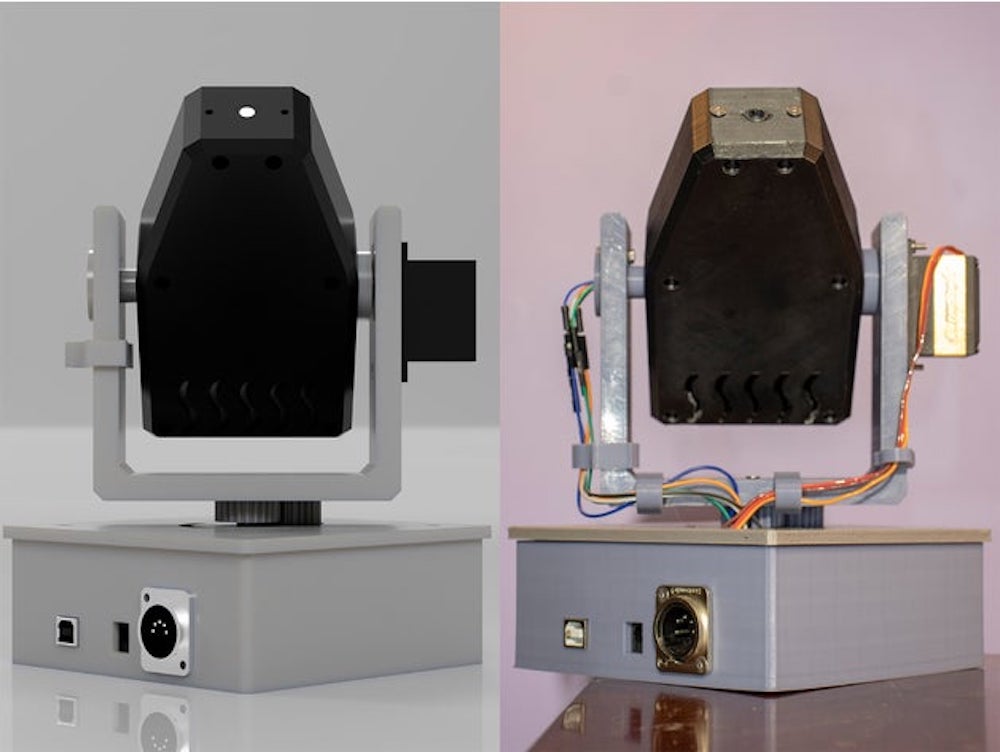
LEDs are fun, and RGB(W)s adds a new element to things, but what if you want a light that can also move by itself? The Mover3D does just that as a pan/tilt system controlled by the DMX512 communication protocol. You simply feed instructions in via any standard lighting console, and it dances around under your commands.

The 3D-printed device uses an Arduino Uno inside the fixture’s base to send signals to an RGBW LED, as well as control a pair of servo motors that pan and tilt the light turret. While light output is limited for now, a second version featuring a 14,000 lumen output with stepper motors and slip rings for 360° rotation is in the works, and should be quite impressive when it’s done! 

Setup and programming instructions can be found in the project’s write-up, and needed print files are up on Thingiverse.

If Then Paint is a six-axis CNC painting machine

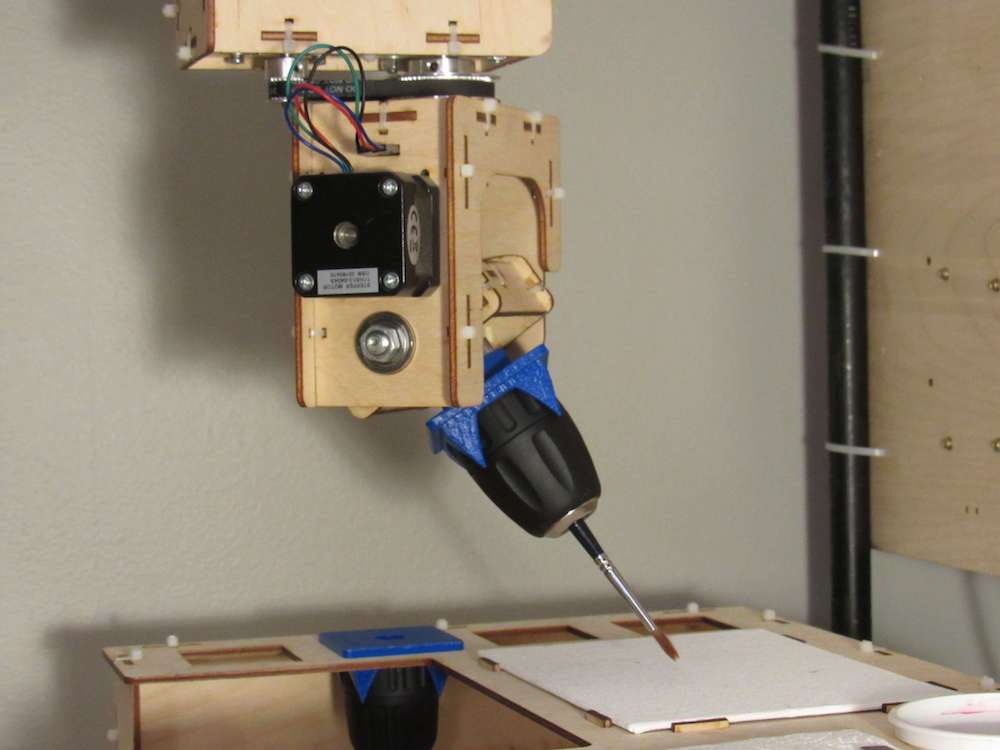
It’s easy to see that painting takes a lot of skill, but few really understand how much skill is involved like John Opsahl, who created the “If Then Paint” CNC canvas painting machine.

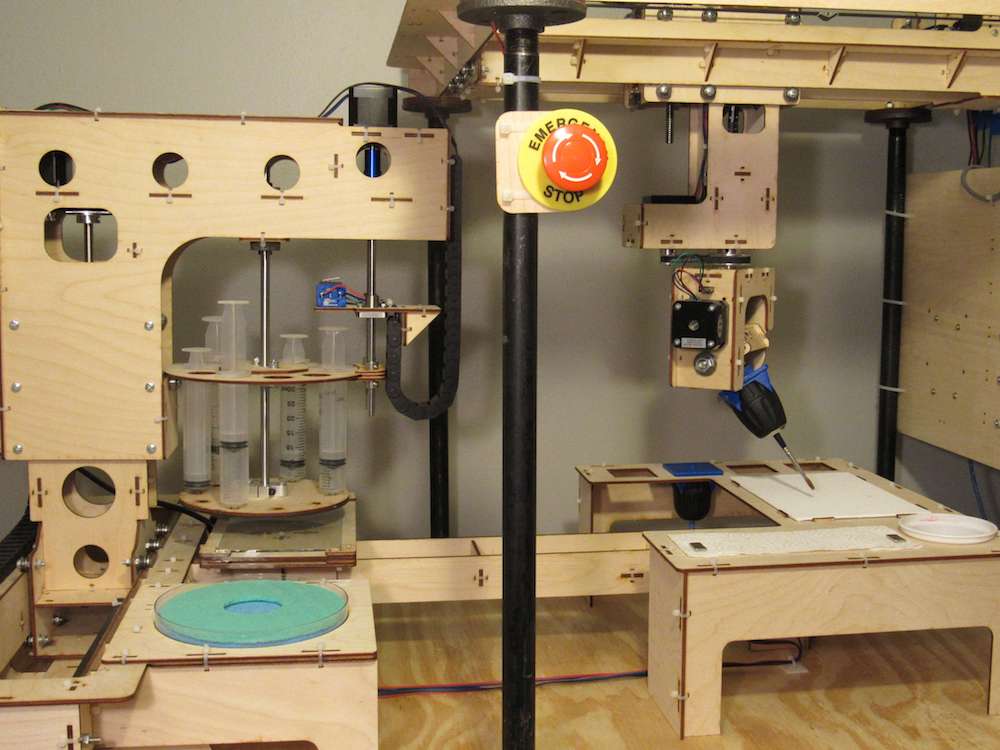
In order to produce the proper paint strokes, his device implements full six-axis brush control, moving not only in the X/Y/Z coordinate system, but rotating on three axes. Movement is handled by a modified version of Grbl running on an Arduino Mega.

If Then Paint also features the ability to change painting/art tools automatically, as well as a clever paint management system that turns a carousel of paint syringes. 

More info on the build can be found here, and check out a few examples of how it works in the videos below.

Arduino used for USB lock prototype

Richard J. Prinz wasn’t satisfied with pickable physical locks, so he decided to see if he could instead secure physical things with his YubiKey USB security fob.

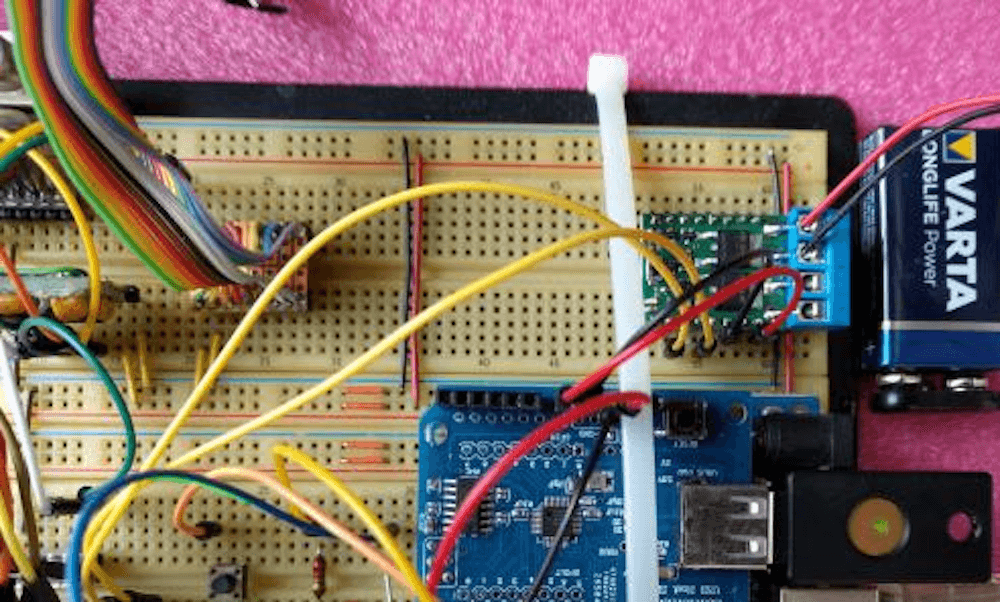
His setup uses an Arduino Uno, along with a USB host shield, to read data from the YubiKey then compare it to a stored password or passwords. If the proper code is submitted by the fob, it then unlocks the door, vault, chain, or any other security device, here represented by a green LED.

While the build shown is a breadboard-based prototype, it fulfills the basic goal of creating a standalone physical USB security platform. If you’d like to create something similar, or perhaps integrate the concept into an actual physical lock, code is available on GitHub[2].

Arduino Blog 29 Jul 21:27
arduino  uno  usb lock  yubikey  

Fail of the Week: The Arduino Walkie That Won’t Talkie

There’s something seriously wrong with the Arduino walkie-talkie that [GreatScott!] built.

The idea is simple: build a wireless intercom so a group of motor scooter riders can talk in real-time. Yes, such products exist commercially, but that’s no fun at all. With a little ingenuity and a well-stocked parts bin, such a device should be easy to build on the cheap, right?

Apparently not. [GreatScott!] went with an Arduino-based design, partly due to familiarity with the microcontroller but also because it made the RF part of the project seemingly easier due to cheap and easily available nRF24 2.4 GHz audio streaming modules. Everything seems straightforward enough on the breadboard – an op-amp to boost the signal from the condenser mic, a somewhat low but presumably usable 16 kHz sampling rate for the ADC. The radio modules linked up, but the audio quality was heavily distorted.

[GreatScott!] assumed that the rat’s nest of jumpers on the breadboard was to blame, so he jumped right to a PCB build. It’s a logical step, but it seems like it might be where he went wrong, because the PCB version was even worse. We’d perhaps have isolated the issue with the breadboard circuit first; did the distortion come from the audio stage? Or perhaps did the digitization inject some distortion? Or could the distortion be coming from the RF stage? We’d want to answer a few questions like that before jumping to a final design.

We love that [GreatScott!] has no issue with posting his failures – we’ve covered his suboptimal CPU handwarmer, and his 3D-printed BLDC motor stator was a flop too. It’s always nice to post mortem these things to avoid a similar fate.