Posts with «arduino uno» label

An Arduino-based doorbell/messaging system for your lab
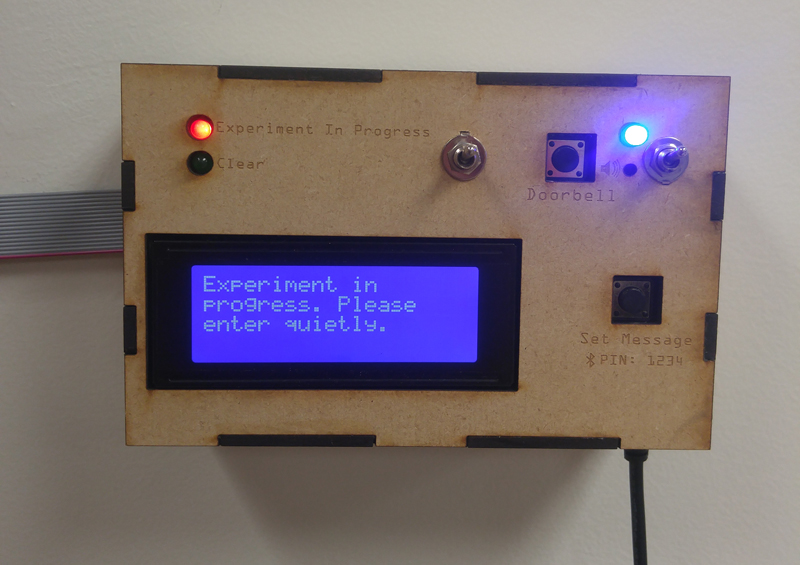
If you work in a lab, the last thing you want is someone barging in when you’re about to complete your latest experiment or build, disturbing all of your hard work. You could use a paper note, or perhaps lock the doors, but if you’d like to inform potential disruptors of what you’re doing and give them a way to signal you, this system looks very useful.

The device, which is installed in a psychology lab’s door, uses an Arduino Uno to display an LED for “Experiment In Progress” or “Clear,” and has a backlit LCD screen below for more explanation. The screen’s backlight powers up via a sonar sensor if someone approaches, and messages can be updated over Bluetooth.
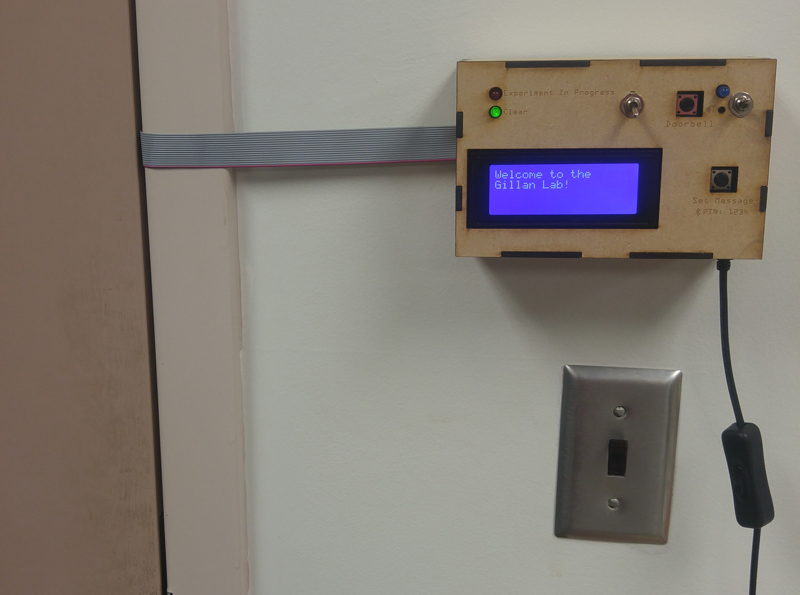
Finally, if you’d like to get the person inside’s attention, it even a doorbell feature that blinks a light and optionally beeps. For more info on the project, check out its creator’s Imgur set or Reddit post.
Maker builds a touchless tattoo machine switch with Arduino

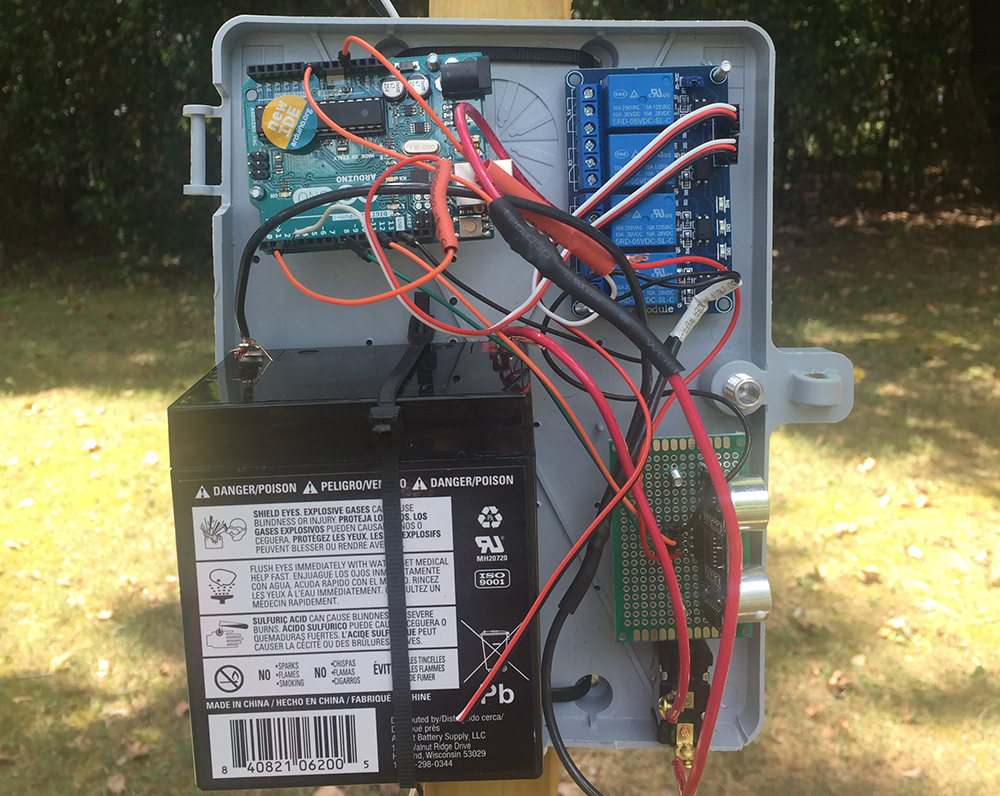
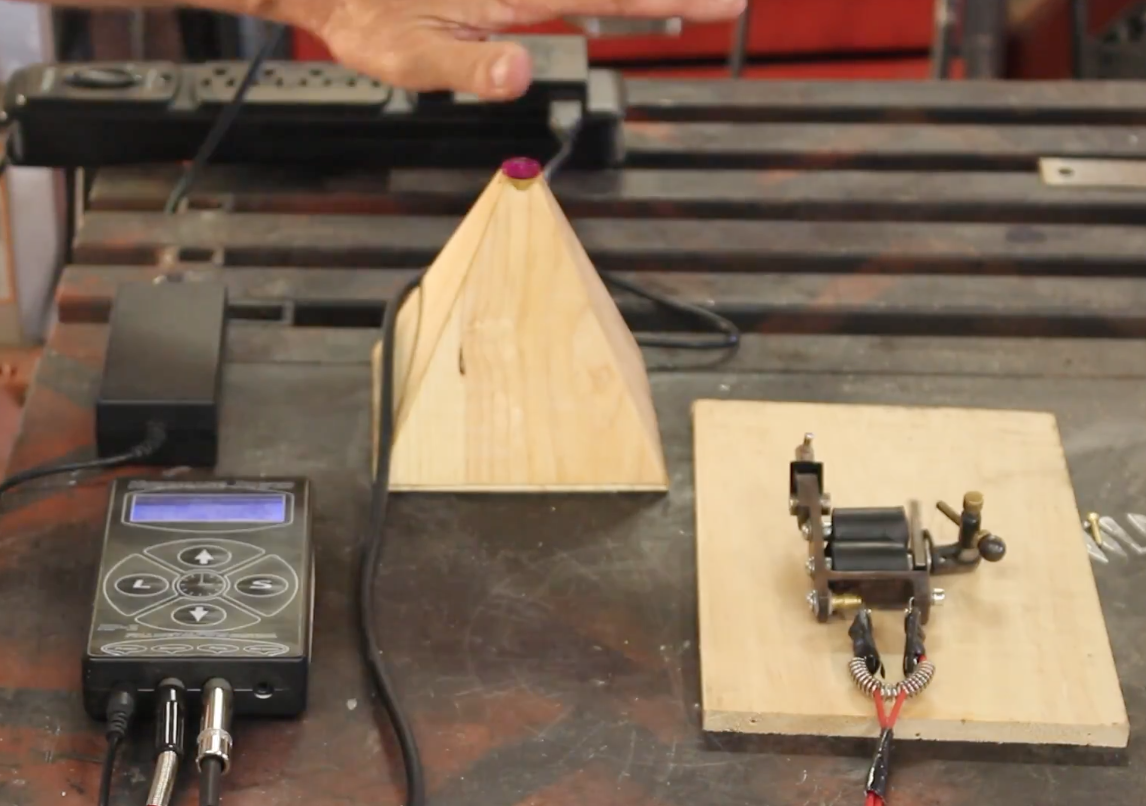
You can switch a tattoo machine on and off with a foot pedal, but this can be an issue when it’s time to pack it up with other gear that needs to be kept ultra-clean. To address this problem, YouTuber “Wildman Tech” made an Arduino-powered device in the shape of a beautiful wooden pyramid to control a tattoo gun with the wave of one’s hand.

Electronics-wise, the setup is fairly simple. An Arduino Uno detects the tattoo artist’s gestures via a distance sensor, and signals the machine with an on or off output.

This project uses an Arduino Uno, a distance sensor module, and an FET driver transistor module. They both take their power from the Arduino main board. The distance sensor output is fed into pin 2 on the Arduino and the FET driver input is taken from pin 9.

You can see more of Wildman Tech’s touchless switch, including its code, in the video below!

A fidget spinning robot!

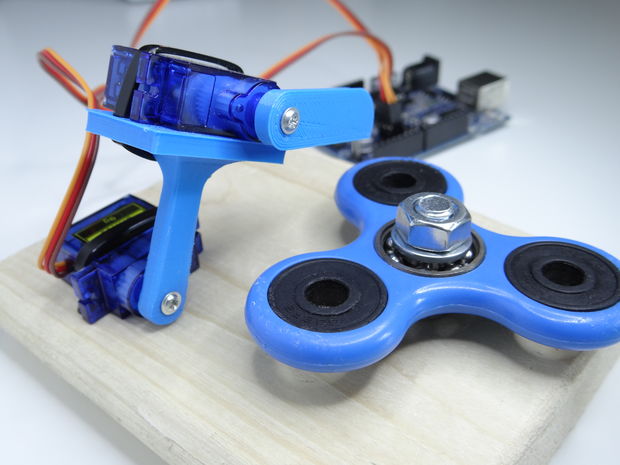
Fidget spinners are currently very popular, and if you get one you’ll certainly want to spin and spin, maybe thinking you’ll never put it down. Unfortunately, like Nikodem Bartnik, you’ll eventually get bored with this device. Perhaps setting it aside forever. However, as Bartnik puts it, “Spinner has to be spinned,” so he came up with a robotic device to do this for him.

The resulting robot consists of two small servos, along with two 3D-printed linkages, attached to a piece of wood. A spinner is also affixed to the same piece of wood with a bolt, which is spun by the servos under Arduino Uno control.

Check out Bartnik’s Instructables write-up to see how it was done, along with the code and STL files needed to create your own!

Arduino Uno-driven plotter uses rulers for arms

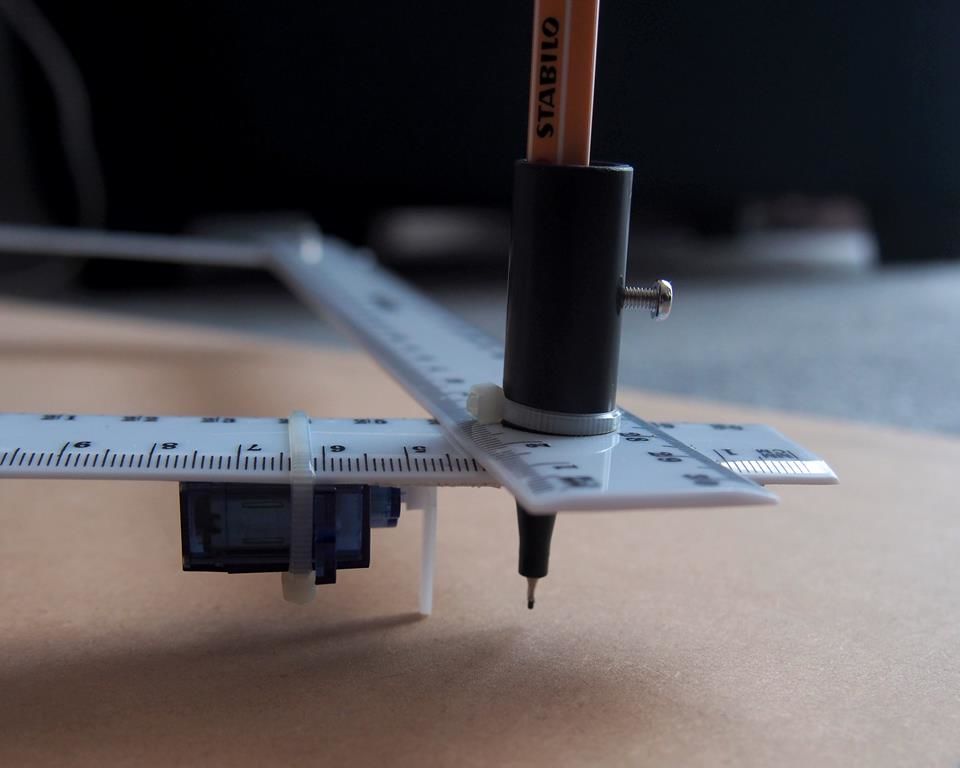
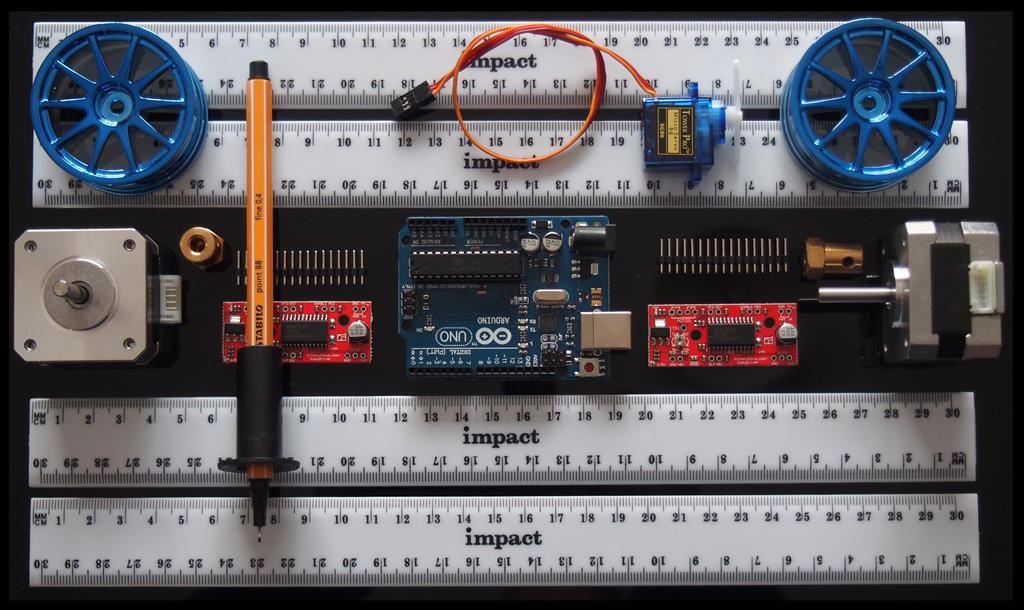
When you see a plastic ruler, you wouldn’t normally assume it was destined to become part of a CNC plotter. Maker “lingib,” however, realized their potential to be combined to form plotter arms, in this case actuated by two stepper motors.

The resulting build can expand and contract the resulting shape, allowing a pen at the end point of the two sets of rulers to move back and forth across a piece of paper. Necessary spaces in the plot are provided by a micro servo that can lift the pen/ruler off of the writing surface.

The device is powered by an Arduino Uno, which controls the two NEMA 17 stepper motors via a pair of EasyDriver Modules. You can find more details about how to create one of these, including code and how the geometry behind it works, on its Instructables page.

Grandfather builds a backyard railroad with Arduino

If you want to truly impress your grandkids, and perhaps entertain yourself at the same time, there are many things you could do. Building a 1/4-size railroad, however, has to be close to the top of the list. This well-constructed model was inspired by a 1965 Popular Mechanics article, and includes a beautifully-painted engine, a 275-foot-long wooden track, and an engine house for storage and maintenance.

The engine is powered by two 24V 350W DC motors, which are controlled by an onboard potentiometer or remote signal, via an Arduino Uno. As an added bonus, the tracks have a designated crossing area for his lawn mower, along with a fully functioning warning signal using ultrasonic sensors and another Arduino.

You can see more of this amazing backyard railroad on Imgur and on its project log here.

A Paris-inspired, Arduino-powered binary clock

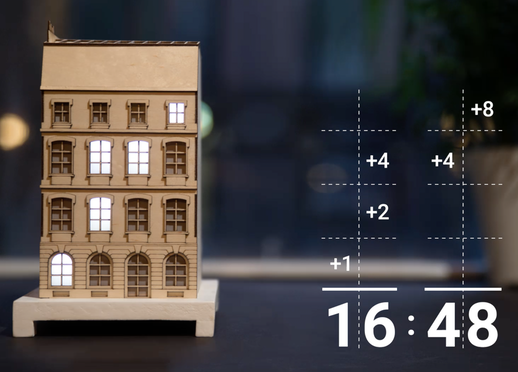
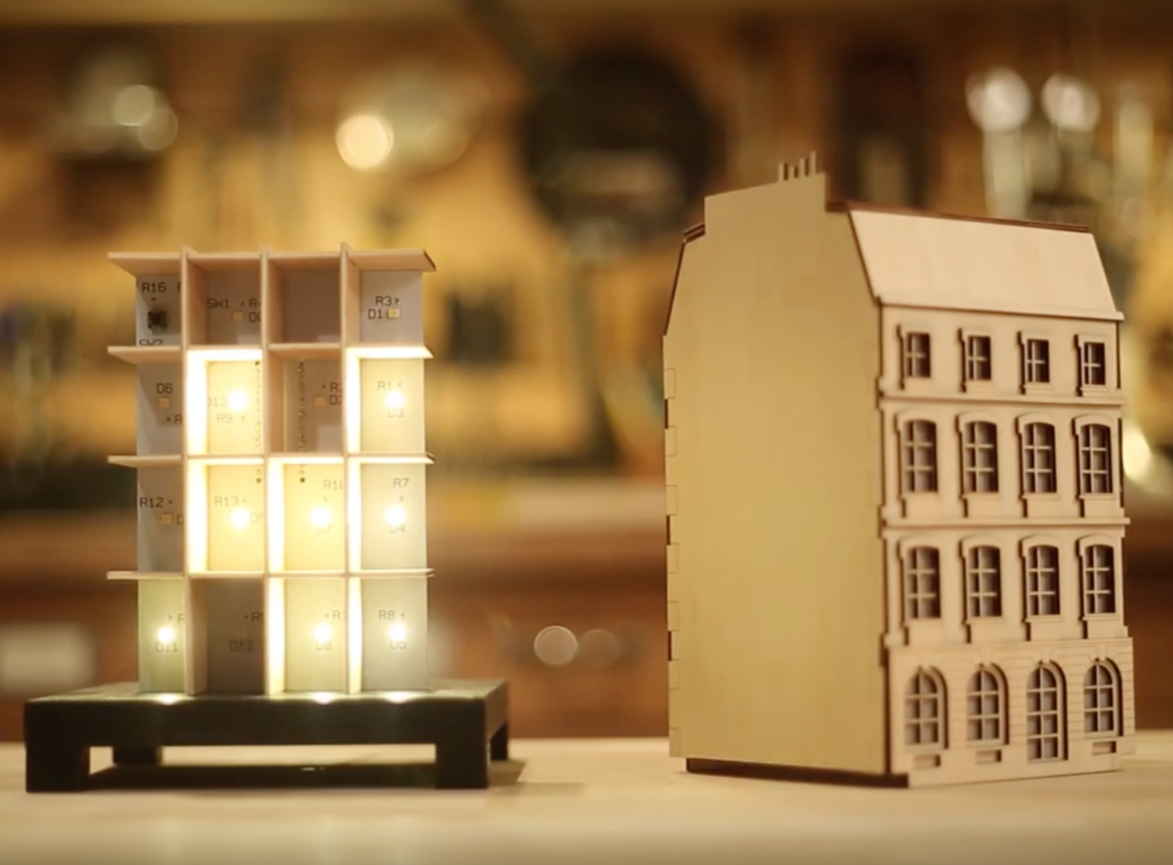
The La Fabrique DIY team has been working on a unique clock modeled after buildings seen along the Seine River in Paris. The “City Clock” is different from the others in that instead of a dial or decimal numbers, windows light up in a binary format, displaying the time in a binary sequence.

Electronics-wise, the clock can be made with an Arduino Uno, involving a fairly simple circuit with individual LEDs and resistors, as seen on this Imgur set. Also shown there is the Kickstarter version of the circuit, which amounts to a sort of gigantic shield that an Arduino Nano is plugged into.

With the City Clock, you calculate the time by adding every digit vertically. The first floor equals one, second equals two, third equals four, and the top equals eight. Using this system, it’s possible to create every digit from zero to nine by adding one number to another.

These clocks are available in various kit forms, including just the electronics or frame if you’d like a head start crafting something truly your own!

A ‘little helper’ for cutting square tubing

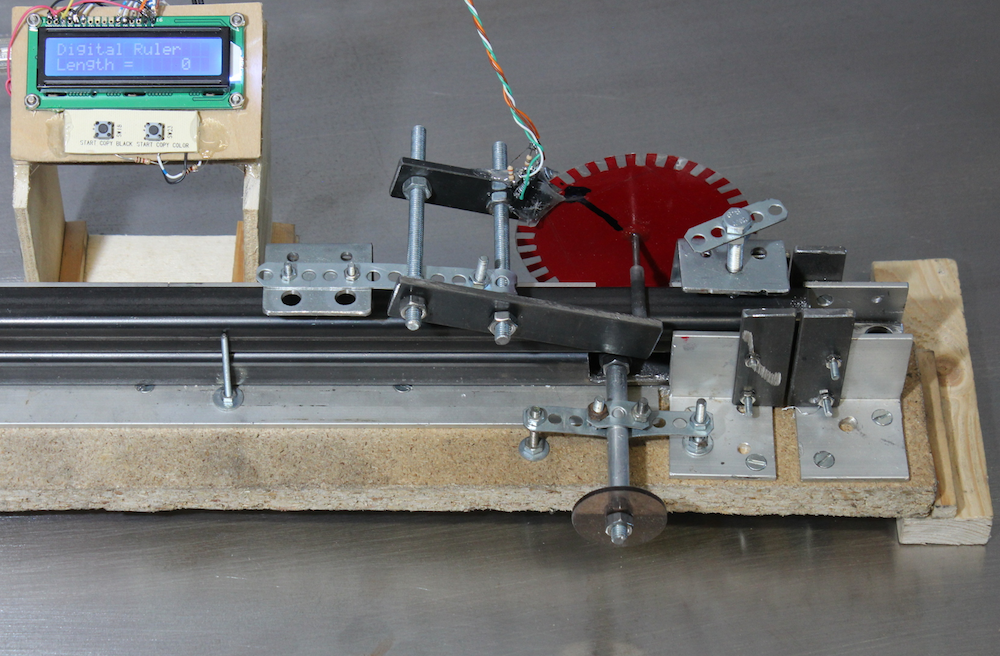
YouTuber “HomoFaciens” had quite a bit of square tubing to cut for his latest CNC router. As he’s known for combining simple tools with creative uses of electronic components, he came up with a jig that helps him precisely position his cuts.

This device works using an encoder made out of paper, tape, and a nail sharpened on both ends. Two IR emitter/receiver pairs send pulses to an Arduino Uno, which displays this number on an LCD screen. The machine is calibrated by measuring a known length of tubing verses the number of pulses for an actual distance measurement. Once set up, not only can the digital ruler be used to properly cut tubing, but can be put on a drill press for accurate hole placement!

Interested in building your own ‘little helper?’ Read more about the project on HomoFaciens’ page here, and see it in action below!

Arduino Blog 27 May 21:43

Build your own Arduino balancing robot

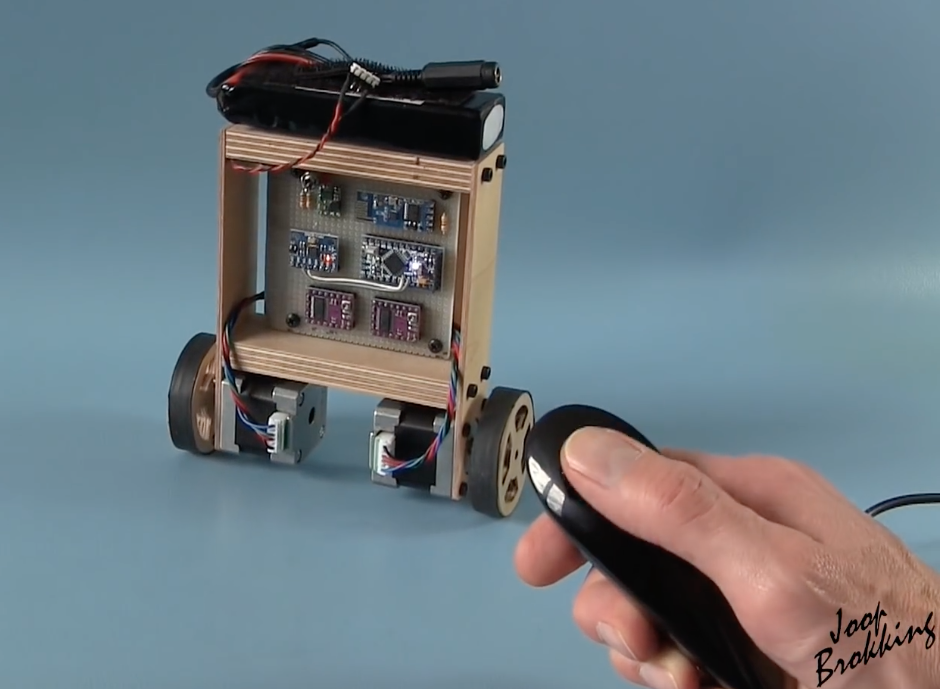
If you’re familiar with the Segway or other vehicles that balance in what is known as an “inverted pendulum” configuration, you may think that while interesting, creating something similar would be too complicated or out of your budget. Though perhaps still not simple, Joop Brokking takes you through his design for this type of bot in the video seen here, making it accessible if you’d like to build your own.

The robot, which will cost about $80 in parts, uses two stepper motors for greater movement precision than could be had with normal DC models, and employs an Arduino Pro Mini, along with an MPU-6050 accelerometer/gyroscope for control. It can be driven around by a Wii U-style nunchuck, which transmits to the robot via an Arduino Uno and wireless transceiver module.

You can find more info and product links for this project on Brokking.net.

Ancient CRT monitor revived using an Arduino Uno

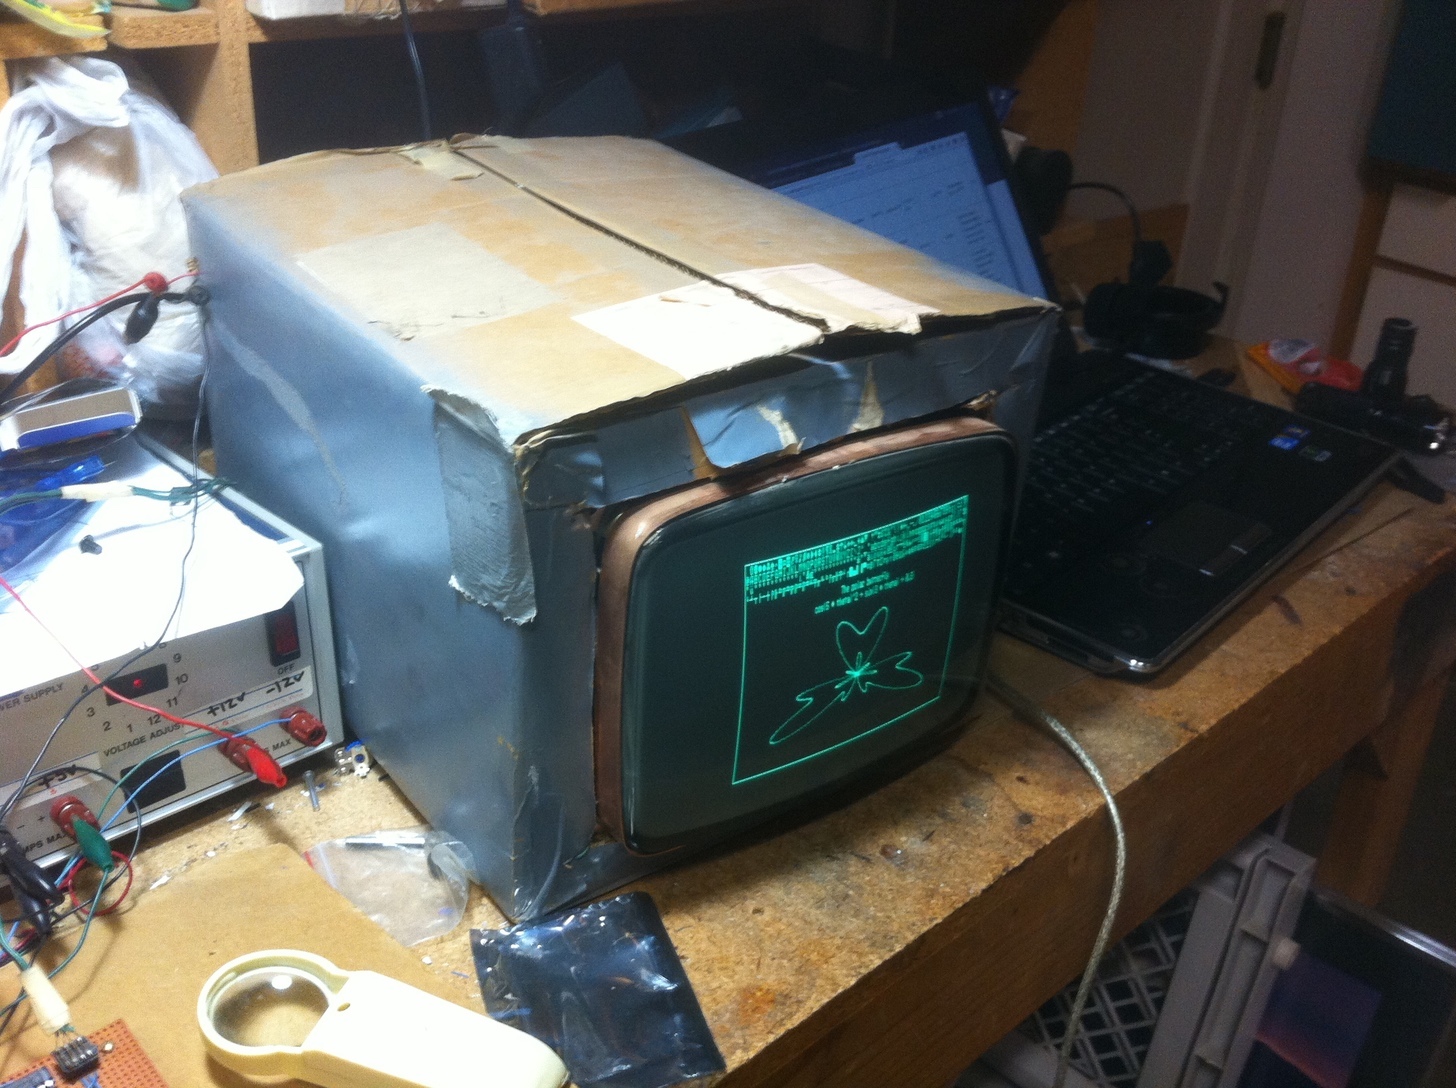
Hacker “MmmmFloorPie’s” senior project in college, in 1989, was a device based on the venerable Motorola 6800 chip that could record and play back sounds. It could also display these recorded waveforms on a monochrome CRT monitor. The monitor in question was purchased as a bare CRT for $20, and mounted in the cardboard box it was shipped in. Various risks aside, it’s quite an impressive setup.

As with many projects that seemed very cool at the time, this one sat in ‘FloorPie’s garage for many years, until it was finally powered up many years later. Naturally it didn’t work, but instead of giving up, an Arduino Uno shield was made in the form of the 68000 motherboard to send it the required signals.

Though it’s now much slower than the original, the CRT was brought back to life. You can find more about this build on Imgur or on ‘FloorPie’s Reddit post here.

Arduino Blog 16 May 16:03

EduExo is a DIY exoskeleton kit

You’ve seen exoskeletons in movies such as Aliens and Iron Man, and perhaps even heard about current experiments with human use. Unfortunately though, if you want to learn about this technology, the barrier to entry is very high.

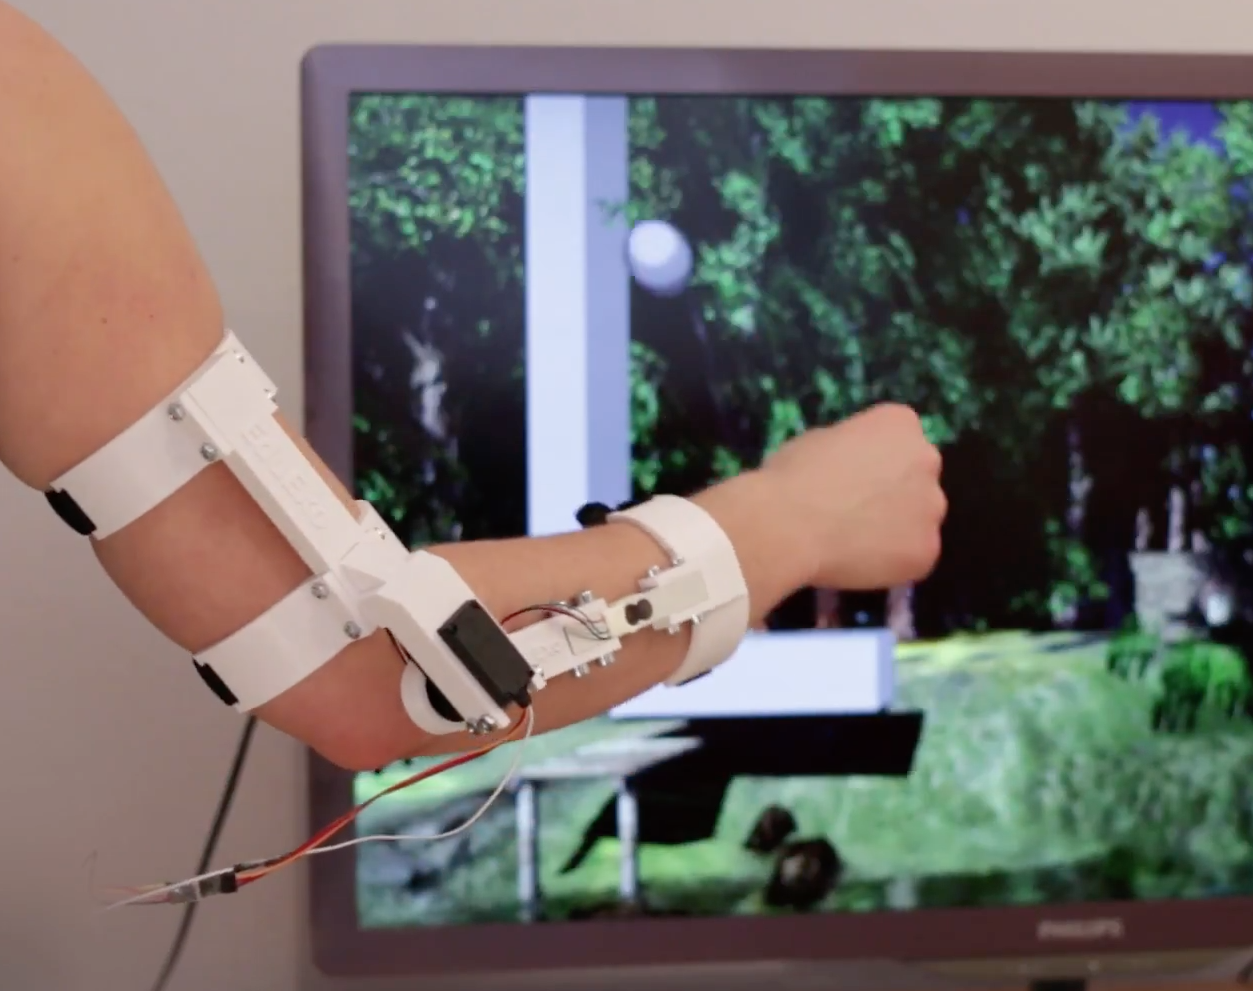
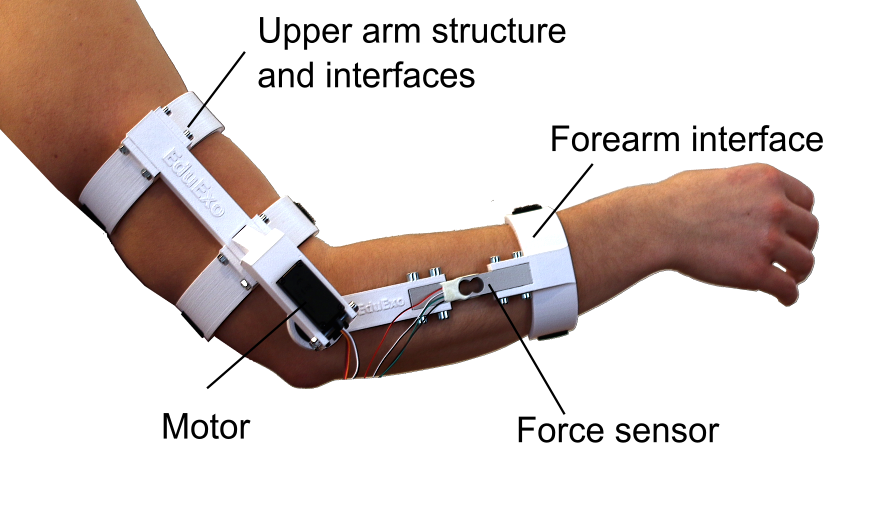
EduExo, now available on Kickstarter, is an attempt by robotics researcher Volker Bartenbach to bring this technology to the masses. Based on an Arduino Uno, the device takes the form of an upper and lower arm cuff, along with a motor and force sensor to allow it to be used for haptic control.

It’s available for you to 3D print and assemble yourself, or for a larger pledge, you can receive all the parts needed to build it. Interested? Check out Bartenbach’s campaign!