Posts with «arduino uno» label

A door-stopper becomes an amazing game with Arduino
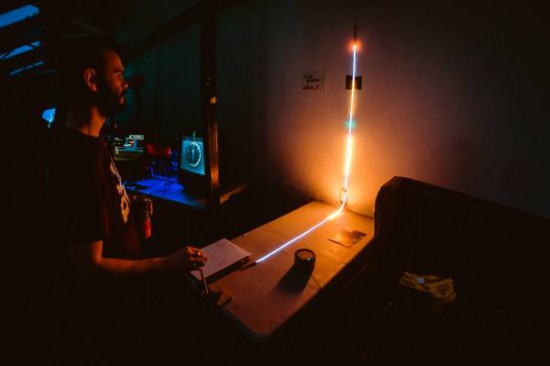
Developed by Robin Baumgarten during a 48-hour game jam,  Line Wobbler is a one-dimensional dungeon crawler game running on Arduino Uno. Robin was inspired watching a cat interacting with a door stopper and having fun!

The game is played using a unique wobble controller made out of a door-stopper spring and a several meter long ultrabright LED strip display. All the movement is controlled by bending the Wobble controller left and right, while enemies are attacked by wobbling:

Using a spring, an accelerometer and a rigid surface, the Wobble controller is a tactile and surprisingly precise joystick with a unique ‘wobble’ action (pull it back and let go to make it oscillate back and forth rapidly). It is this wobble action that is core to the experience and the game we have created for it. Initially made out of a shoe-tree, I’m now using door-stopper springs, since they’re easier to use. Fun fact: the original inspiration for the controller came from this cat video.

Since it was created, it’s been exhibited during Experimental Gameplay Workshop at GDC 2015, at Burning Man 2015 and other city around the world (London, Chicago and Oslo). Line Wobbler won also two prizes at the AMAZE Awards 2015 in Berlin and has been nominated as a finalist for the IndieCade 2015 awards last October!

A JTAG/XSVF Library for Arduino

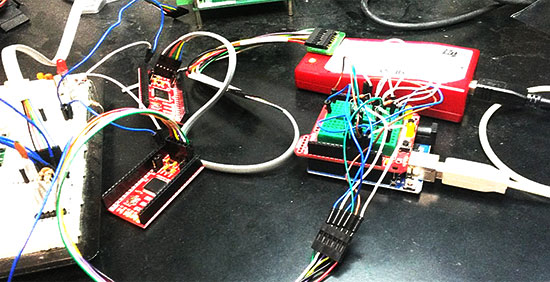
Marcelo Jimenez developed a library to use an Arduino as a JTAG programmer. Basically a Python script uploads a XSVF file to an Arduino which interprets it and performs the necessary JTAG manipulation in order to do the programming.

The project is pretty simple because it just uses  a few resistors and some wires and the library is included in the Arduino library manager or you can check it  on Github.

He also wrote an article to explain some JTAG, SVF and XSVF basics:

 I have recently felt the need to incorporate a JTAG port in a project to program a hardware that contained a CPLD. The idea was to both program it and perform some integrity tests on the board. I imagined something using pogo pins, to make it easier and quicker to test everything. I would also write the necessary test routines and generate some kind of report.

With this objective in mind, I have decided to design an Arduino shield to do the job. The testing routines were not really a big deal. And I was sure I would find some JTAG library for Arduino ready to be used. That was not the case.

There were some projects using Arduino to control a JTAG TAP (Test Access Port), but they were all incomplete. And I had no idea what was really JTAG. So I had to study a little bit to make things work for me.

In the end, the challenge proved enlightening. There were some caveats, both from hardware and from software. I’ll try to address them in this article.

Continue reading on his blog.

Arduino Blog 02 Sep 18:12
arduino  arduino uno  featured  jtag  library  uno  xsvf  

Exploring tangible user interfaces and soundscapes

Originally from Guatemala, Balam Soto is an artist and maker of software and hardware creating interactive art installations and public artworks that fuse low tech with high tech. He recently shared with us a project called Exp.Inst.Rain and running on Arduino Uno:

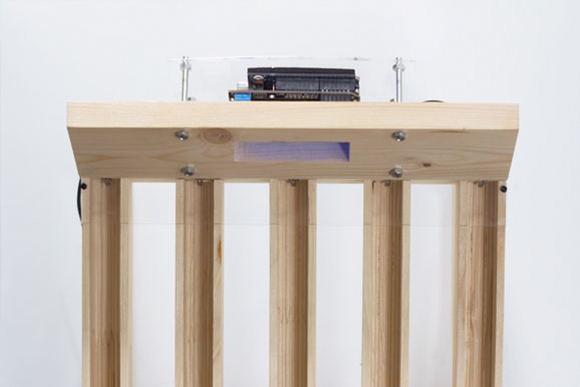
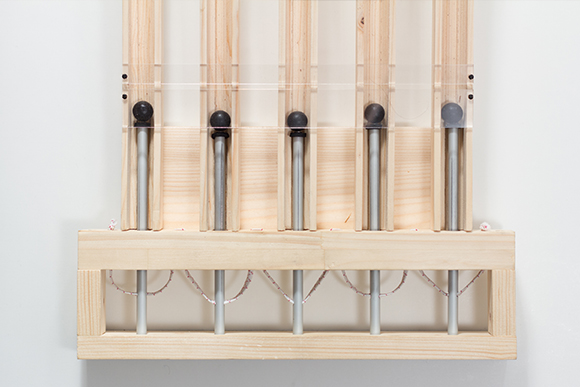
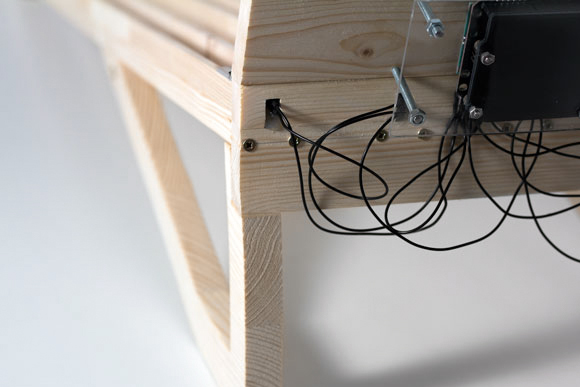
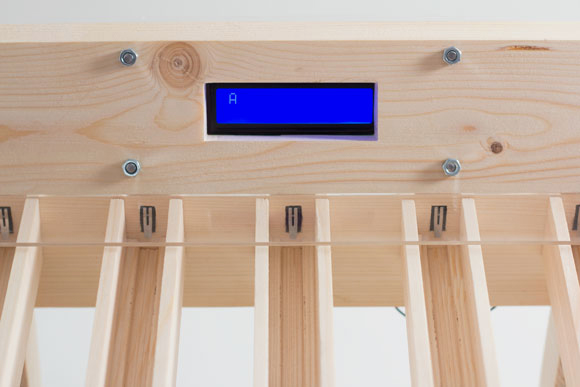
” Exp.Inst.Rain” is an interactive installation and experimental instrument that incorporates projection and sound generated by a wireless box made of wood, plexiglas, Arduino, electronic components and custom touch sensors. By touching the box at various points, participants create different sounds; these sounds then generate changes in the projection.

It is an analysis of the social and cultural adoption of tangible user interface. Globally, touch devices are increasingly common; people understand how to use them. “Exp.Inst.Rain” analyses this new technology and makes use of this new common understanding to fuse sound and visuals into realtime interactivity.

This artworks it’s power by Arduino and wireless vibes , using Capacitive Touch Sensor and home made aluminum electrode to pick up touch. Custom software acts as a Bridge between the Exp.inst.X and Midi software.


A tribute to 5-bit Baudot code

Julian Hespenheide is an interaction designer based in Germany who submitted to Arduino blogpost a writing machine called émile. It’s an interactive installation created in collaboration with Irena Kukric, David Beermann, Jasna Dimitrovskais and using Baudot code - a binary 5-bit code, predecessor of ASCII and EBCDID – intended for telecommunication and electronic devices, representing the entire alphabet.

It runs on Arduino Uno and  translates the bauds (/?b??d/, unit symbol Bd) into moving objects that are being sent over physical tracks in order to illustrate  a simple computational process of 5-bit binary information transmission:

The machine was built in six days with four people. In our group we came to the conclusion, that not every process in a computer is really transparent and it already starts when you type a simple letter on a keyboard. To unwrap this “black box” of data transmission, we set our goal to build a small writing machine where you can literally see bits rolling around. After some research we got back to the beginnings of Telefax machines and data transmission using Baudot-code. We then quickly designed punchcards and mapped them to a slightly altered baudot code table and cut them with a laser cutter from 5mm plywood.
Whenever a marble hits a switch, a short timer goes off and waits for input on the other switches. If no other marbles are hitting those switches, we finally translate the switches that have been hit into the corresponding letter.

Take a look at the machine in action:


Building a giant Iron Man suit you can actually wear!

If you are a fan of cosplay, props and hand built creations you can’t miss the work of  James Bruton. Based in Uk he’s got a personal project YouTube channel with a new video every week describing his work in details. At the end of June he posted the 34th “episode” of the project started nearly a year ago about  building an Iron Man Hulkbuster giant suit you can actually wear!

In the video below you can follow how he’s sorting out the arm mechatronics for the elbow, hand and cuff weapon with some 3D printing with Lulzbot and controlling the interaction with  Arduino Uno (electronic part starting around minute 10):

Explore the playlist of the project for other cool videos.

Solenoid drum machine and bass running on Arduino


Arduino user named Muiota shared with us an experimental DIY music project running on Arduino Uno and  solenoids.

Take a look at the video to hear how it sounds:

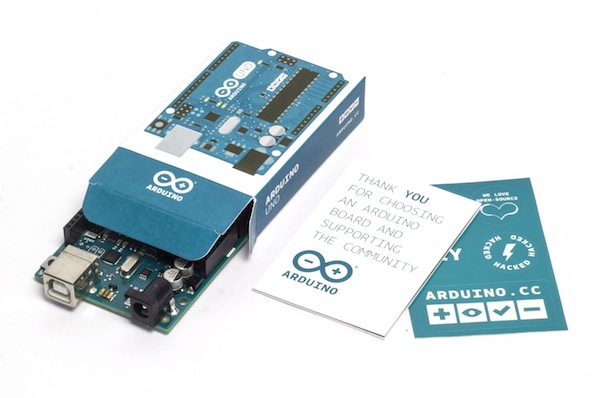
Arduino Uno assembled in US now available in the Store

We are proud to share with you the link to purchase the first batch of Arduino Uno ($24.95) assembled in US by Adafruit and created by #TeamArduinoCC.

The partnership started last May when Massimo announced it during Maker Faire San Mateo. Right after our team at Arduino and Adafruit team did all the best they could the make it happen on July the 4th, Independence Day! Now, it’s real! Arduino Uno can be back in your hands allowing you to create amazing interactive projects and, at the same time, supporting the open source community!

The partnership started last May when Massimo announced it during Maker Faire San Mateo. Right after that day, our team at Arduino and Adafruit team did all the best they could the make it happen on July the 4th, Independence Day! Now, it’s real! Arduino Uno can be back in your hands allowing you to create amazing interactive projects and, at the same time, supporting the open source community!

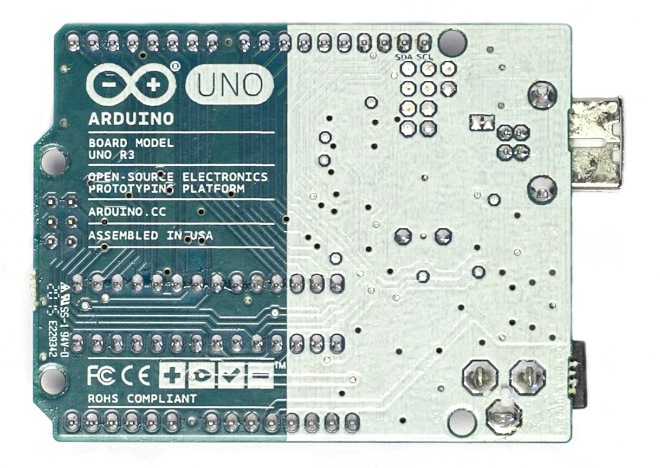
If you take a close look at the back of the board, you’ll find the “Assembled in USA” tag and also the new Genuino logo, Arduino sister-brand. We are adding the Genuino logo to make it easier for the Arduino community to spot original boards and we are going to include this logo to all genuine Arduino boards from now on (like we did for the recently-released Arduino Zero).

New Project: How to Make a Robotic Drum Using Arduino

Everyone has a Maker in them. We make for fun and exploration, we make to test ideas, and we make to solve real-world problems. Ponytrap wasn’t intended to be a Maker band — we just seemed to have a difficult time finding a drummer that wanted to play the classically-inspired tribal rhythm industrial music that […]

Read more on MAKE

The post How to Make a Robotic Drum Using Arduino appeared first on Make: DIY Projects, How-Tos, Electronics, Crafts and Ideas for Makers.

Motorcycle Gyromount Always Delivers Perfect Video

If you’ve ever watched MotoGP (motorcycle) racing, you might have wondered how the camera appears to stay level even while the bike turns left and right, nearly becoming horizontal. Saftari was curious about this himself and, rather than simply answering the question, he built a gyroscopic camera rig that allows the camera […]

Read more on MAKE

The post Motorcycle Gyromount Always Delivers Perfect Video appeared first on Make:.

Motorcycle Gyromount Always Delivers Perfect Video

If you’ve ever watched MotoGP (motorcycle) racing, you might have wondered how the camera appears to stay level even while the bike turns left and right, nearly becoming horizontal. Saftari was curious about this himself and, rather than simply answering the question, he built a gyroscopic camera rig that allows the camera […]

Read more on MAKE

The post Motorcycle Gyromount Always Delivers Perfect Video appeared first on Make:.