Posts with «arduino uno» label

Bring some zen to your living room with this CNC end table
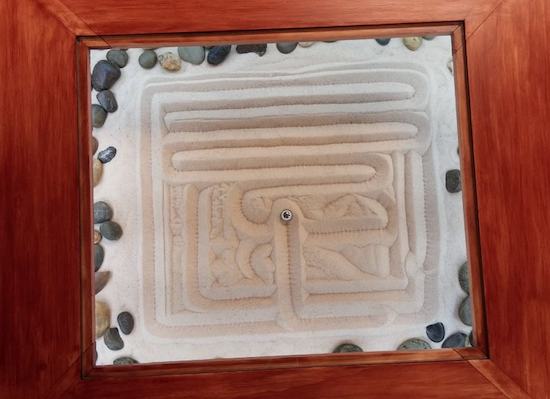
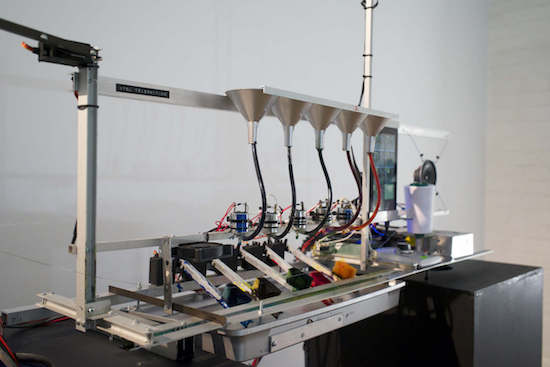
Why settle for a some boring furniture, when you can have your own sand and rock display powered by an Arduino Uno and stepper motors instead?!

According to his write-up, Instructables user “MakrToolbox” gets many ideas that never leave the pages of his Moleskin notebook. Although it has to be difficult to decide which ones gets to live in reality, this Zen Garden CNC End Table seems like it was a great build choice.
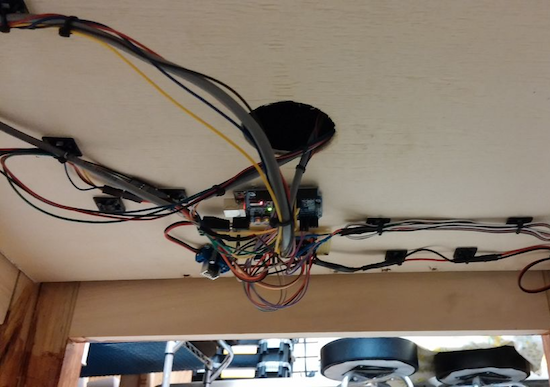
The table consists of a piece of plate glass covering a “garden” of sand and stones. On top of this is a metal ball that moves around via a joystick on the side of the table, traversing the sand and making interesting shapes, like a giant Etch A Sketch. The ball is pulled around with a magnetic servo-powered gantry system underneath.

Look like something you’d love to have in your living room? Be sure to check out the project’s page for more!
A DIY Laser Scanning Microscope

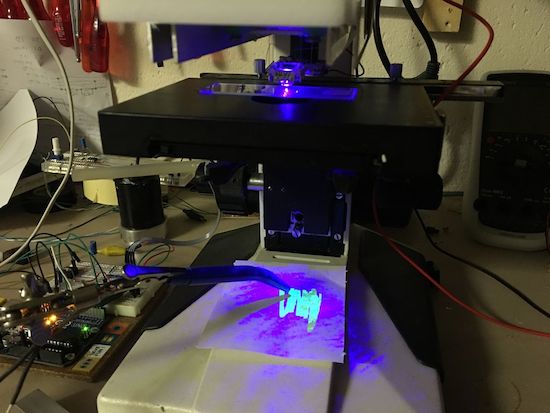
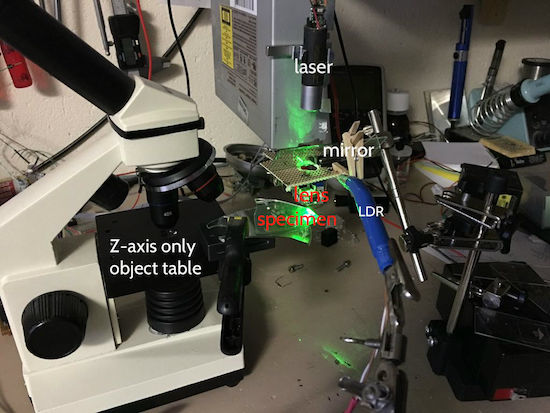
With a DVD pick-up, an Arduino Uno, a laser, and an LDR, Instructables user “Venkes” has managed to create a DIY Laser Scanning Microscope (LSM).

A laser microscope works by shining a beam of light on a subject in an X-Y plane. The intensity of the reflected light is then detected by a photoresistor (or LDR) and recorded. When the various points of light are combined, you get an image.

Obviously you need a very small laser beam. Since a DVD laser unit has to work with the extremely small bit markings on these disks and has coils to steer the lens built-in, this seems like a logical choice to use with a custom microscope. Though it took quite a bit of effort to make, it’s capable of 1300x magnification to attain a resolution of 65,6536 pixels (256 x 256) in an area of .05 x .05mm. Results start around 3:00 in the video below.

More details of this impressive build can be found on the project’s Instructables page.

Teleknitting: TV-based string art

Have you ever wondered what television would look like if transposed onto string and wrapped around another object? If so, you’re not the only one, as shown in this teleknitting sculpture.

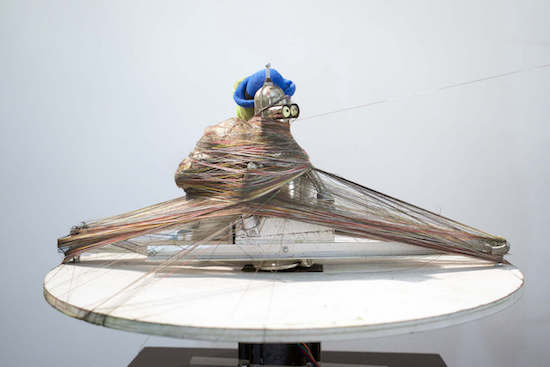
Although it’s hard to say where the idea for this piece came from, Moscow-based artist ::vtol::’s teleknitting installation resolves a TV signal down into one pixel by lowering its resolution in eight steps. This process is displayed as video on an Android tablet, and the results are transferred to thread via a unique dying mechanism involving “dye arms.”

This multi-colored string is then wrapped around an object (or objects) rotating on a pedestal, the height of the string being controlled by the TV signal’s volume.

As you can see below, the character Bender from Futurama along with an alligator bearing an accordion act as the items being wrapped in TV-string. You can find more details of this build on ::vtol::’s website, along with a number of his other Arduino-based interactive projects.

Start your day with Nerf target practice!

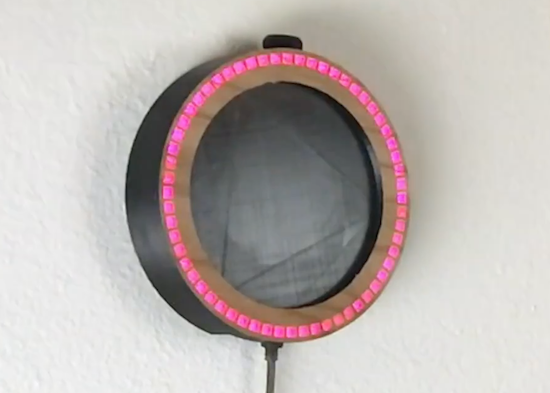
If you need motivation to actually wake up rather than sleep more, this Nerf target clock from “Normal Universe” could be a great solution!

For many of us, traditional alarm clocks have given way to smartphones, but the concept is still the same: an annoying sound, followed by either waking up, or hitting the virtual snooze button just… one… more… time. On the other hand, when this alarm goes off, you need to shoot it with a Nerf gun in order to silence it.

The alarm/target works using a piezoelectric sensor attached to the clock’s housing. When the alarm sounds, if it senses a dart hit by counting the signal pulses generated, it turns off. Ingeniously, and perhaps annoyingly, it can tell if it’s tapped by a finger, and not respond accordingly!

The clock uses a programmable RGB ring controlled by an Arduino Uno to display the time, and is nicely modeled in Fusion 360. Definitely worth a watch.

You can see more details in the video below!

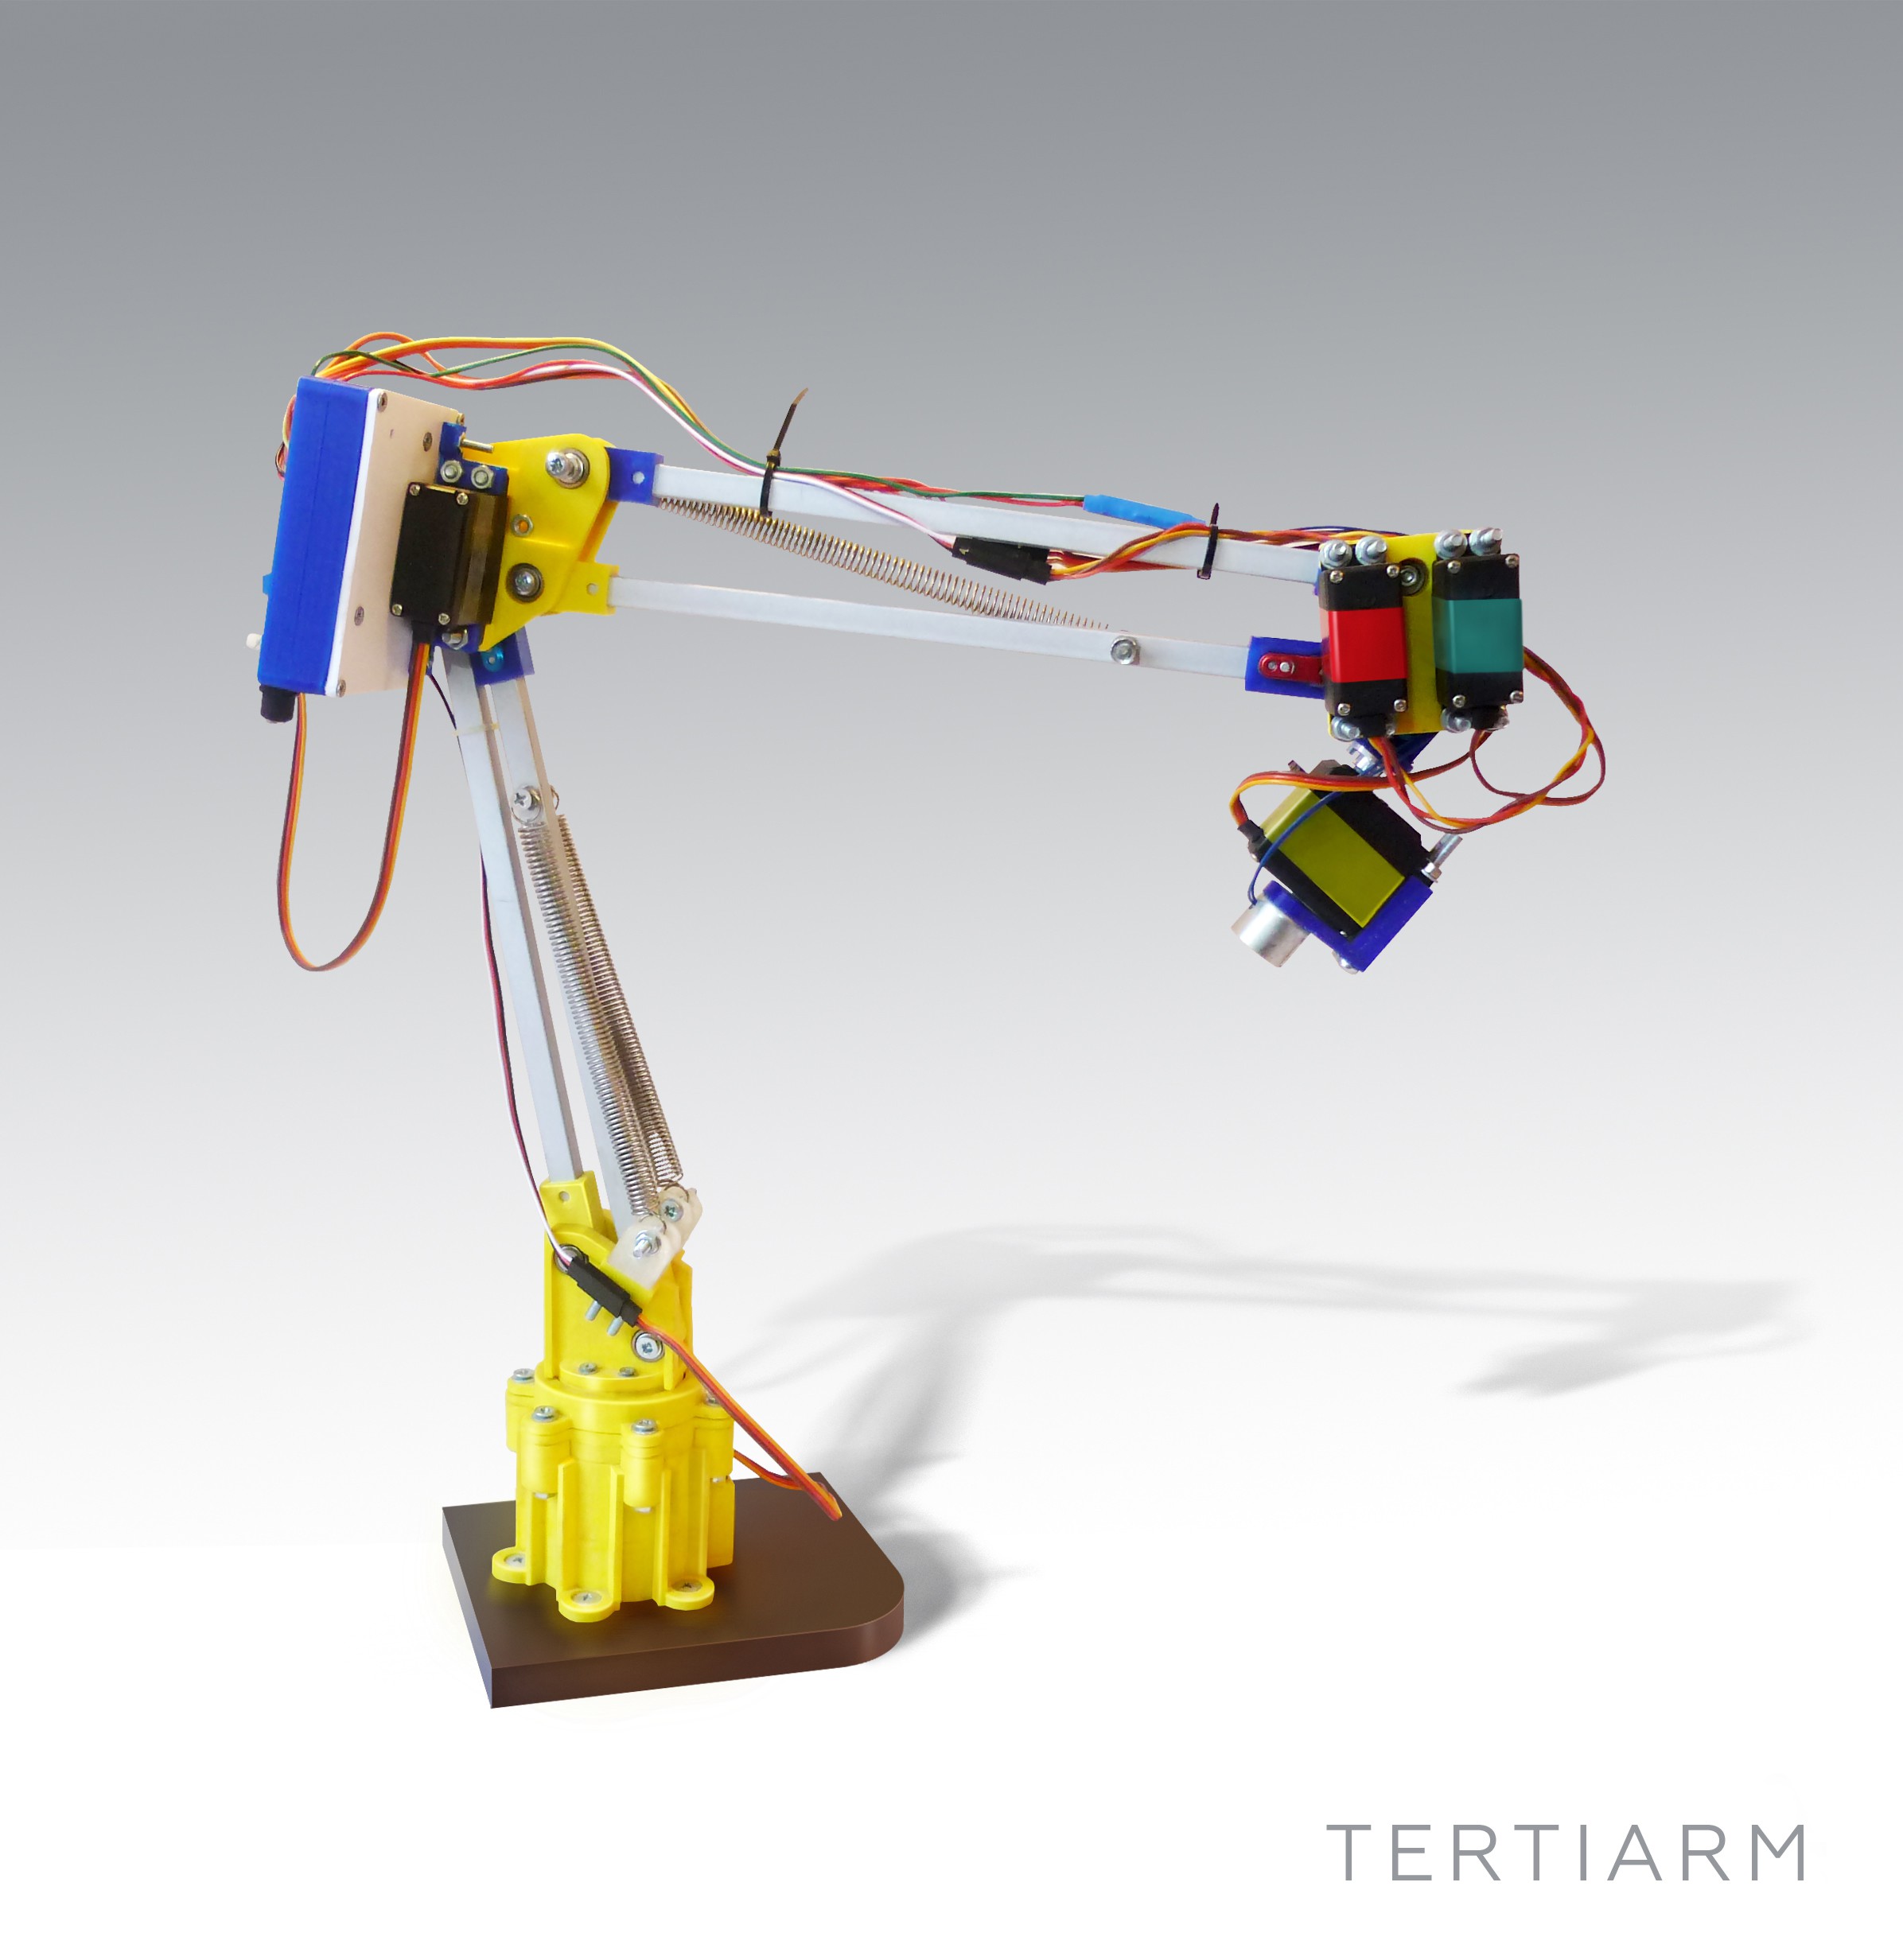
Tertiarm - low cost, 3d printed robot arm based on Ikea lamp

Primary image

What does it do?

Move things, push buttons, etc.

Cost to build

Embedded video

Finished project

Complete

Number

Time to build

Type

URL to more information

Weight

read more

Let's Make Robots 07 Feb 15:54

Tertiarm - low cost, 3d printed robot arm based on Ikea lamp

Primary image

What does it do?

Move things, push buttons, etc.

Cost to build

Embedded video

Finished project

Complete

Number

Time to build

Type

URL to more information

Weight

read more

Let's Make Robots 07 Feb 15:54

Tertiarm - low cost, 3d printed robot arm based on Ikea lamp

Primary image

What does it do?

Move things, push buttons, etc.

Cost to build

Embedded video

Finished project

Complete

Number

Time to build

Type

URL to more information

Weight

read more

Let's Make Robots 07 Feb 15:54

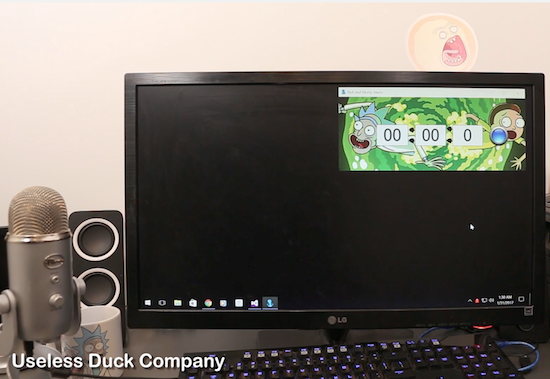
The Rick and Morty Alarm will make sure you’re always on time

Mike, CEO of the Useless Duck Company, recently got sidetracked playing computer games. After receiving a notification on his phone, he realized that he had lost track of the time and was late to a very important meeting. Being the Maker that he is, he decided to invent a system that would prevent this from happening again. Introducing the Rick and Morty Alarm.

Now Mike just has to enter how much time he has remaining (in hours, minutes and/or seconds), and he’ll receive an alert in the form of a Screaming Sun when it’s time to leave.

The alarm consists of a Windows Forms application that sends a serial signal to an Arduino Uno, triggering a stepper motor. He also designed and 3D-printed the mechanism that raises the TV show character’s cutout. Meanwhile, the loud yelling noise is played through his computer speakers.

Since this worked so well for his desktop, Mike say he created a mobile app to help him wake up in morning. Check it out below!

Watch the Toa Mata Band perform a cover of Kraftwerk

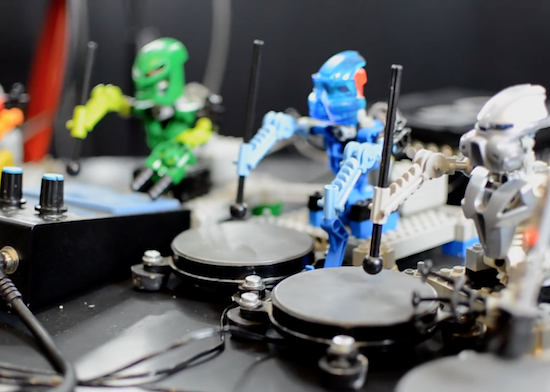
By now, you are probably familiar with the Toa Mata Band–the world’s first LEGO robotic band controlled by Arduino Uno, which is hooked up to a MIDI sequencer.

Now a few years since Toa Mata Band’s debut, Italian producer Giuseppe Acito has shared the group’s latest music video: a cover of Kraftwerk’s “The Robots.” As you can see below, Acito himself performs the 1978 track’s vocals while the LEGO Bionicle figures play the tunes using a variety of gadgets, including pocket synths, drum pads, xylophone keys, and iPhones running apps.

This is my inspiration to this Kraftwerk ‘s tribute, regarding their vision of the future and to their brilliant approaching to the music with a touch of irony that even now is still influencing a thousand of music producers around the world. My video contribution from Toa Mata Band (a tiny orchestra of Lego robots driven by Arduino) represents a version of the iconic tune “The Robots” using nowadays open-source technologies, microcontrollers, 3D printer, robot arm, music DAW, smarthphones, pocket synthesizers and more… trying to give a new way to read the message we got from them 40 years ago.

Interfacing 20*4 LCD with arduino

Hello Friends,

In this tutorial, we are going to interface 20*4 lcd with arduino uno. As the name suggests it has 4 rows and twenty columns. In total, we can show 80 characters. It has blue backlight. It has 16 pins just like 16*2. The pin configuration of 20*4 lcd is similar to that of 16*2 lcd.

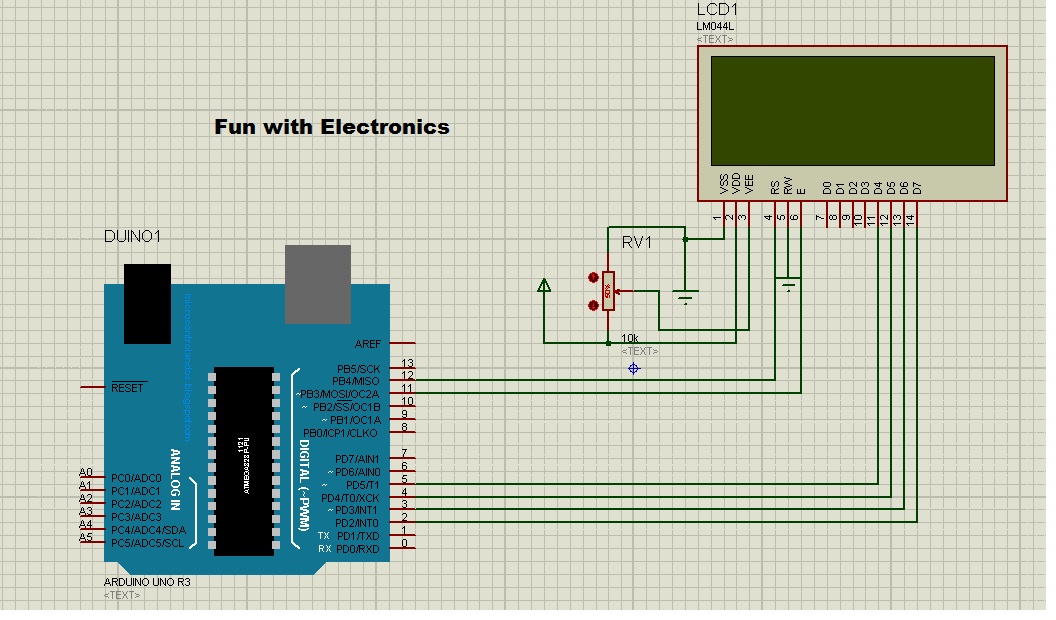
Circuit Diagram:
Connection on proteus


List of components:

  • Arduino Uno
  • LCD 20*4
  • 10k pot
  • jumper wires
  • Arduino IDE


Programming is quite simple. Let's start programming.


From Files > Examples > Liquid Crystal > Hello World

Make the following changes in the code:


Code:

#include <LiquidCrystal.h>

LiquidCrystal lcd(12, 11, 5, 4, 3, 2);

void setup() {
  lcd.begin(20, 4);   // for 20*4 lcd
//  lcd.print("hello, world!");   // this string will display on line 1
}

void loop() {
  lcd.setCursor(0, 0);
  lcd.print("     Welcome To     ");
  lcd.setCursor(0, 1);
  lcd.print("      Fun With      ");
  lcd.setCursor(0, 2);
  lcd.print("     Electronics    ");
  lcd.setCursor(0, 3);
  lcd.print("        v 1.0       ");
}

Check out the result: